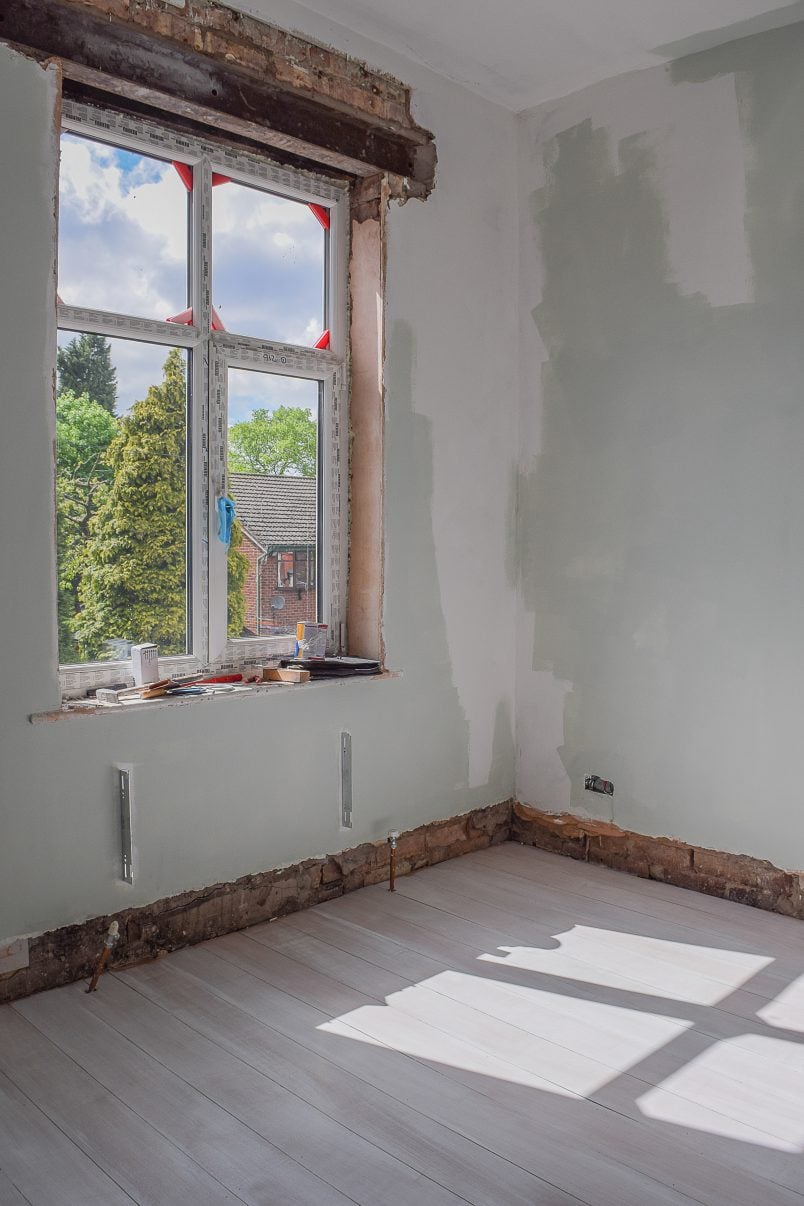
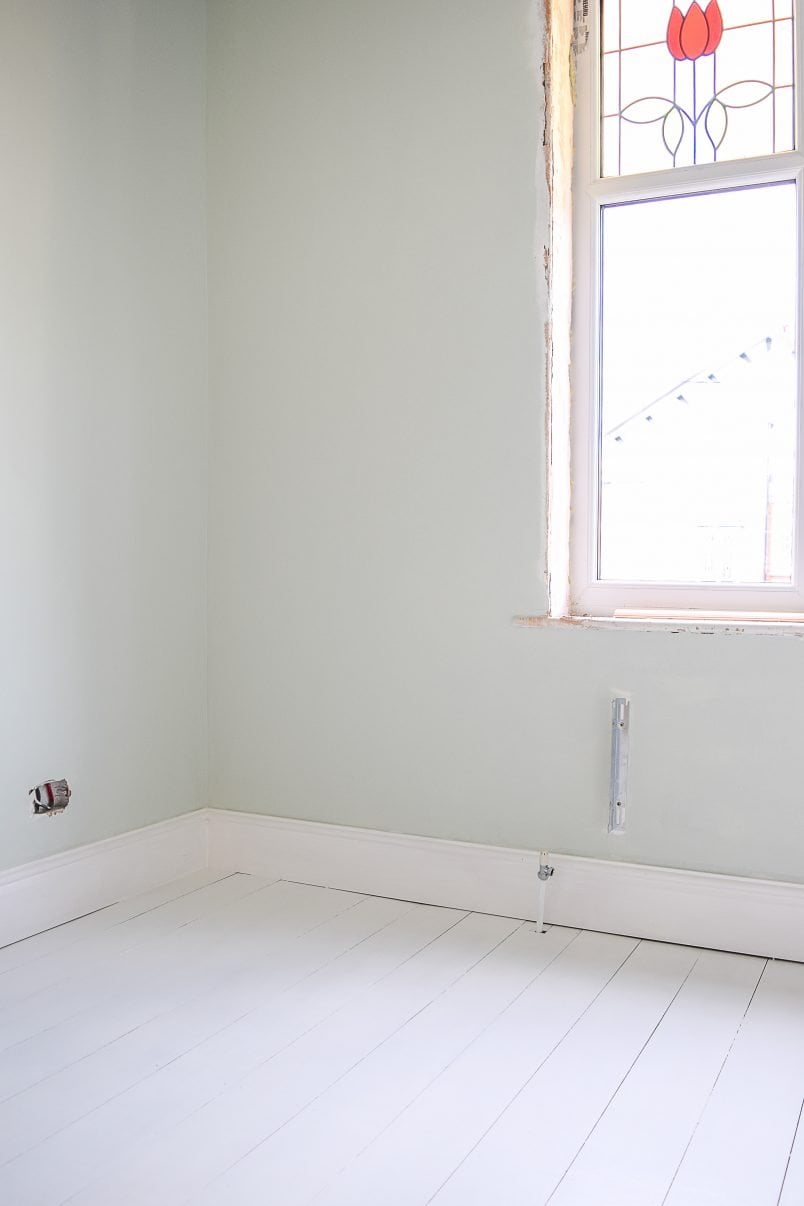
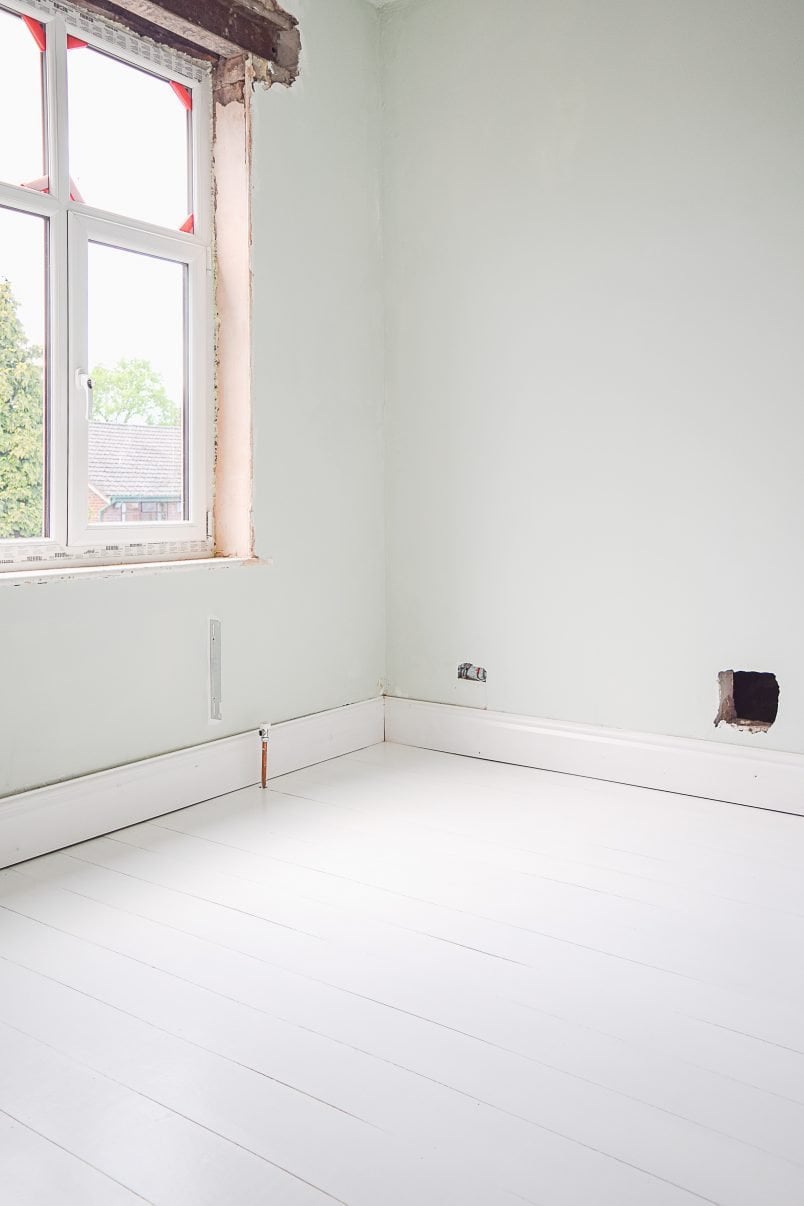
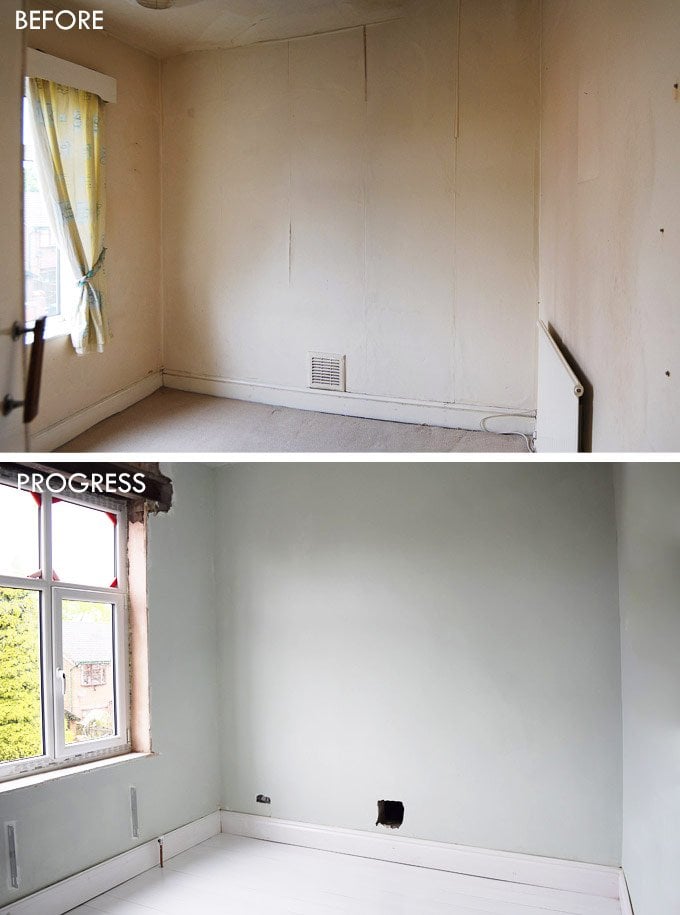
Did you see our newly painted wood floors last week when we shared our freshly plastered and painted fourth bedroom (which we just managed to finish on the day our visitors arrived!).
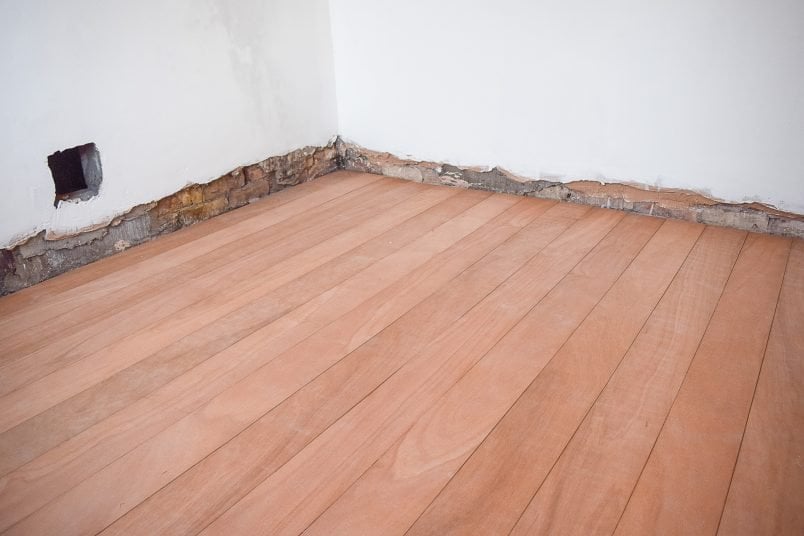
We’d always planned on painting the floor, but it was still a tough decision when it came down to it. We’d honestly never expected the DIY plywood floor to look so amazing without painting it and we really loved the texture and look of the plywood.

Painting a wood floor white is obviously not for everyone and we were worried how the finish would hold up. Obviously, we want to keep the floor white, pristine and chip-free so we did a lot of research into what kind of paint to use to paint the floor to achieve the best possible and most durable finish.
And, we’re sharing exactly what we used and how to paint wood floors to achieve a long-lasting result.
This is what you will need to paint wood floors:
This post contains affiliate links. We only recommend products we love and think that you will, too! Read our full disclaimer here.
You hardly need any tools or supplies to paint a wood floor. The most important thing is that you opt for quality supplies. These are the exact products we used to paint our floor. (Update: It still looks perfect two years later!)
- Primer
As always there’s so much information and sometimes conflicting advice available on the internet. After much deliberation, we opted to use Farrow and Ball Wood Floor Primer & Undercoat which turned out to be a great choice. - Wood Floor Paint
We wanted a pure white colour without any hints of yellow or grey so chose Farrow and Ball All White Floor Paint which is the perfect neutral white colour. We actually love it so much that we now use it to paint all interior woodwork as it’s so durable. - Paintbrush – We recommend these paintbrushes all of the time. They are amazing and are the secret to achieving a perfect brush stroke-free finish. We’ve been using the same set of brushes ever since starting our home improvement adventures and highly recommend them.
- Sandpaper – Sanding is the key to a perfect and flawless finish. You’ll need around 120 grit and 240 grit sandpaper to paint your wood floors.
- Vacuum cleaner – You need to make sure your floors are super clean and dust-free
- Optional: Knee pads – You’ll be on your knees for quite a while, so some squidgy knee pads will make painting your wooden floor much more comfortable
How To Paint A Wood Floor & Floorboards
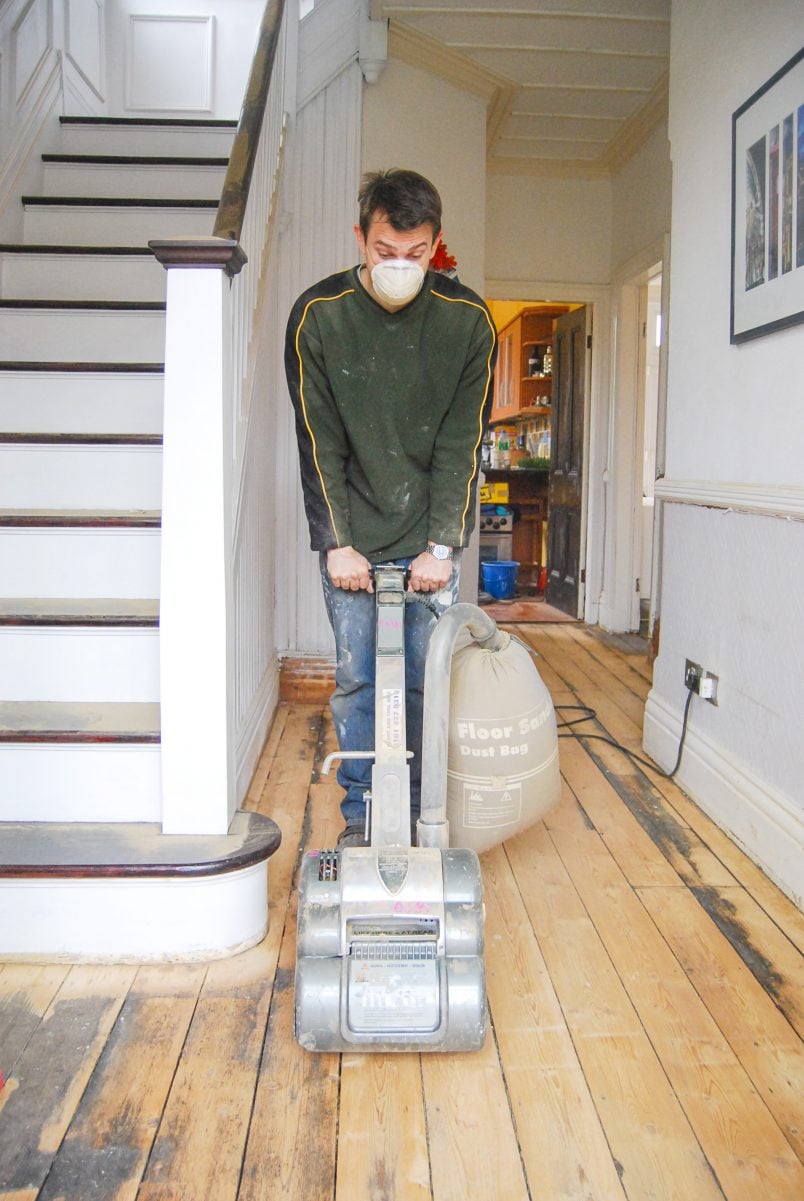
1. Clean The Floor
The finish you achieve when painting is always only as good as the surface you are painting. It’s really important to make sure that it’s smooth, clean and dust-free. Any bits of dust or dirt make it impossible to achieve a good finish.
If you are painting existing floorboards, make sure to remove any lumps, blobs of old paint and bits of plaster before you start painting. Any uneven patches on your floor will be visible after painting.
You don’t have to completely sand your floorboards before painting. Just make sure that they are as clean and even as possible before you start to paint your wood floor.
We use this vacuum cleaner for almost all DIY projects. It’s really powerful and is ideal for these kinds of jobs where you want to make sure your floor is as clean as possible. You can also attach your power tools to it so that it sucks up all sawdust straight away saving loads of time cleaning up afterwards. Did I mention that it’s a total bargain, too? We love it and highly recommend it.
2. Prime Your Wooden Floor Or Floorboards
For the first coat, paint the floor with a slightly watered-down coat of primer. We used Farrow and Ball Wood Floor Primer & Undercoat. You don’t have to use an expensive primer for this. Any good wood primer will be perfectly fine and there’s no reason to blow the budget on some fancy primer (even if we really like this one!).
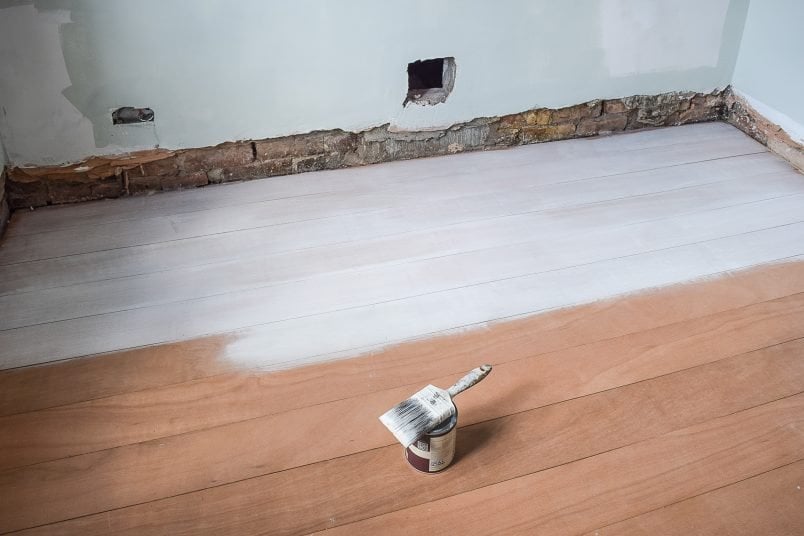
Being lazy as usual, we didn’t bother to mix the paint with water, but just used a wet paintbrush (that we occasionally dipped in freshwater) instead. Yes, this definitely isn’t the recommended way to apply a primer but it worked well and saved time.
3. Prime Your Floors Again
After priming the wood floor with watered down primer and, of course, letting it dry we then primed the floor again with a full coat of primer.
Depending on what colour you are painting your wooden floor, you may want to adjust the colour of the primer you are using. As we are painting our wooden floor white we used a light primer. If you’re planning on painting your floor with dark paint, it’s best to apply a dark primer first.
There are hundreds of wooden floor paint colours to choose from and all Farrow & Ball paints are available as interior floor paint.
Tip:
Have a cloth handy in case you missed any bits of dirt while cleaning the floor so that you can quickly wipe your brush clean.
4. Sand The Floor
We’re huge advocates of sanding between every coat of primer and paint, especially when painting wood furniture but, when it comes to floors, we’re slightly more flexible as we personally don’t think the finish has to be silky smooth.
Having said that, it is still something we recommend and should only take a couple of minutes! Just lightly rub over the whole floor with some 240 grit sandpaper.
Don’t press too hard as you don’t want to remove any of the paint. All you are doing is removing any air bubbles and tiny imperfections in the finish. When you’ve finished, vacuum up any dust and make sure your floor is super clean again.
You can read our full guide on how to sand wood and get our handy sanding cheat sheet here.
5. Paint The Wood Floor
After letting the primer dry it’s time to get out the paint. We painted the floor with Farrow and Ball All White Floor Paint. We like this interior floor paint so much that we’ve started using it for all internal woodwork
We personally like to use a paintbrush rather than a roller because we find that it’s easier to achieve a smooth finish, but it’s really a personal preference. This may be down to the fact that we love our paintbrushes so much and I’m convinced that they help us get a finish.
Work your way across the room. We found it best to paint two or three floorboards at a time but there are no rules here. Just make sure to paint the wood floor evenly. Always remember that lots of thin coats of paint are better than one thick one.
Multiple coats of paint will give you a better finish with less chance of gloopy blobs of paint and will result in a more hard-wearing finish, too.
6. Paint The Wood Floor again, and again, and again!
Depending on your paint coverage, you’ll have to apply a few coats to achieve solid coverage. All in all, we applied six coats of paint – two of primer and four thin coats of paint. Even the most durable wood floor paint will only work if you use it correctly and do all of the necessary sanding and cleaning first.
Alternatively, you could apply a thin coat of paint and have the texture of the wood show through but this obviously won’t be as durable as four coats of paint.
3 Tips When Painting Wooden Floors
1. Use The Right Tools & Supplies
Using the right products is important for any job and we highly recommend investing in good quality paintbrushes. They will make it so much easier to get a good finish without brush strokes. We’ve been using the same set for all DIY projects for over 6 years and they are still as good as new.
When choosing the best floor paint for wooden floors it’s important to consider how much traffic your floors will get. We are really happy with the Farrow and Ball Floor Paint that we used and it’s holding up really well. There are no chips or scratches even after using the room frequently.
As I mentioned above, a good vacuum cleaner will be really helpful for this project, too.

2. Don’t Skip Sanding
Make sure to work out your painting route before you start! You don’t want to end up stuck in a corner and have to walk across your freshly painted floor!
If you are painting old wood floors we recommend sanding them before painting them. This will obviously depend on the condition they are in but any imperfections you can see before painting will likely be visible after painting your wood floor, too. If your floors are in a good condition or if you are painting a new floor you can paint your wood floors without sanding first.
When painting your wooden floors, don’t forget to sand between coats of paint. Sanding may not be the most fun thing to do, but it will give you a smoother finish that will also last longer as you are creating lots of little scratches that the next coat of paint can stick to better.
3. Plan Your Route
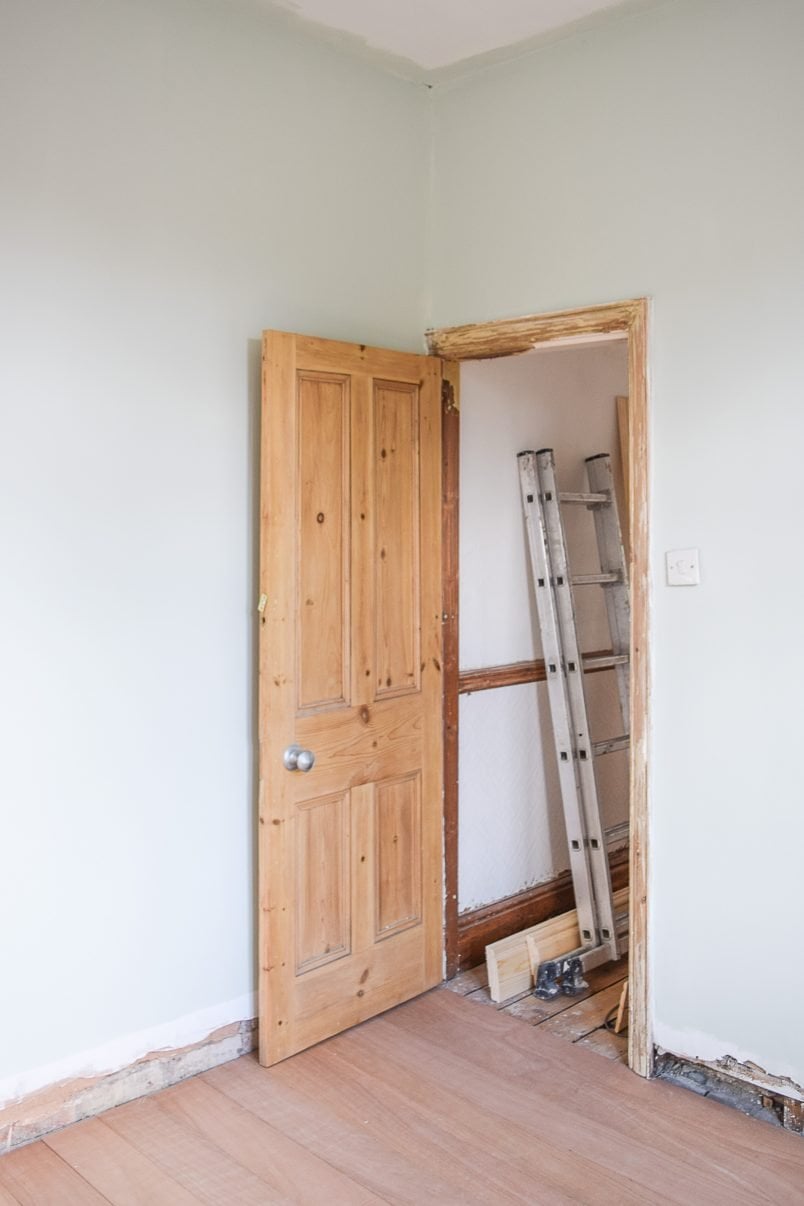
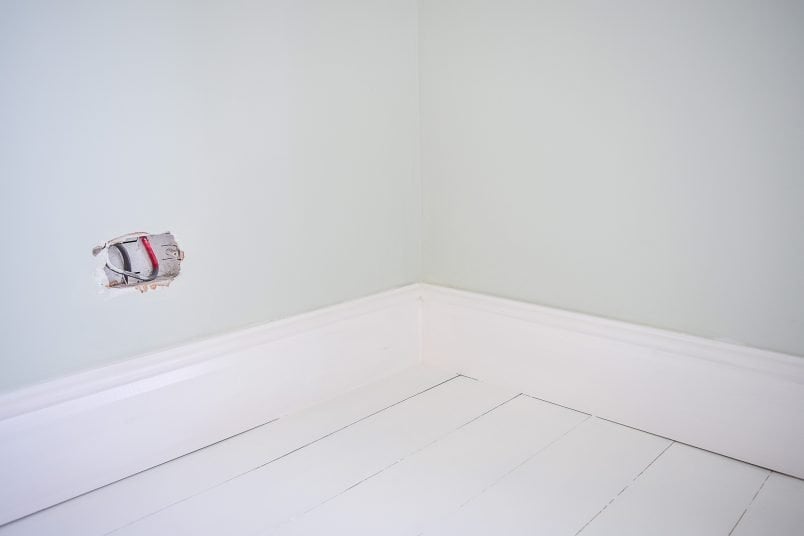
After painting the wood floor we could finally add the skirting boards and (almost) finish the room!
You could add the skirting before you paint the floor and paint everything at the same time. There’s no particular order you have to follow and the only reason we attached our skirting afterwards is because of the ridiculous timescales we set ourselves as we were rushing to get everything done before our guests arrived.
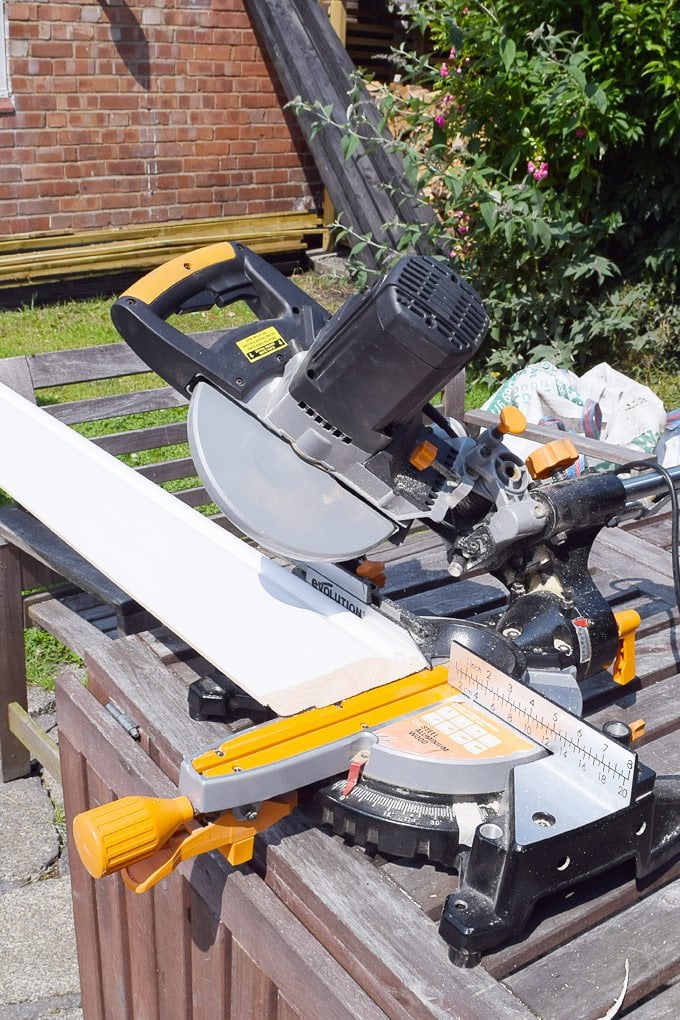
How To Attach Skirting Boards
- Measure each wall and cut the length of skirting to size with a mitre saw (this is the one that we have and recommend) before adding the necessary angles at each end.
Over the years, we’ve learned not to fuss too much about getting a perfectly mitred joint, as a bit of caulk can hide a multitude of sins – although it’s good to get it to fit as tightly as possible!
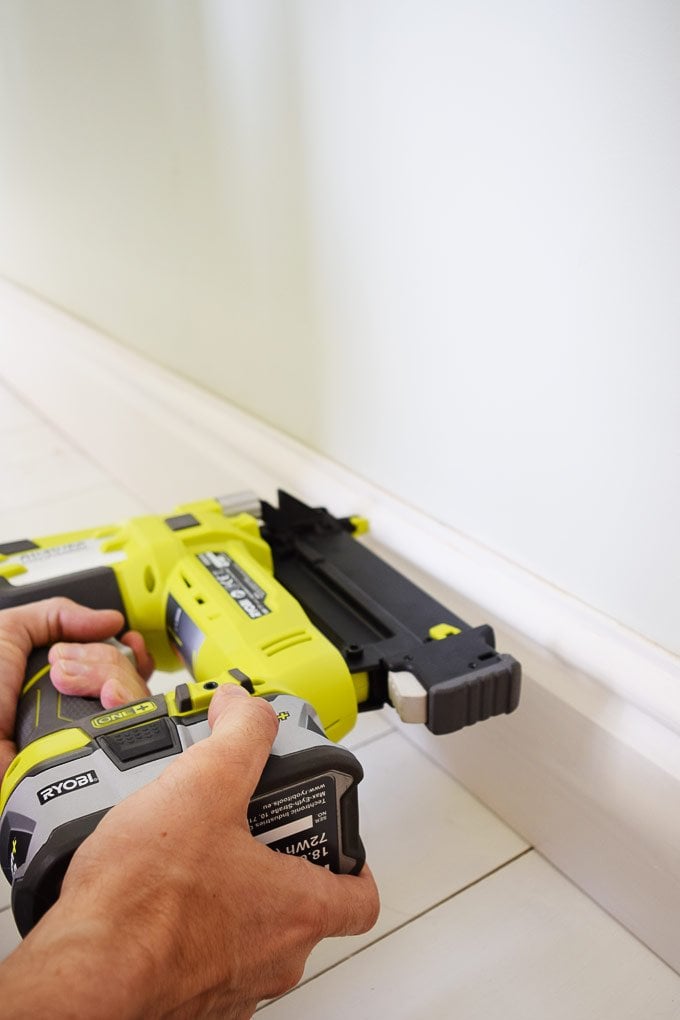
2. To attach the skirting to the wall we used our nailer which made the process super quick and easy.
It worked much better than any glue we’ve ever used as the fixing is much stronger and you can push (and slightly bend) the skirting against the wall which is great if either the wall or the skirting are slightly bowed or uneven.
When nailing the skirting into position watch out for any cables or pipes that may be in the wall behind it!

3. Caulking the small gap between the skirting and the wall will finish everything off and hide any imperfections. It’s the difference between an okay looking or a more professional looking finish.
You can read our guide on how to caulk without making a mess here.
We had considered stripping, sanding and repainting the existing skirting, but as we could get like for like skirting to match what had been there and because we were in a rush to get the room finished, we for once decided to make things a bit easier for ourselves and install new skirting instead.
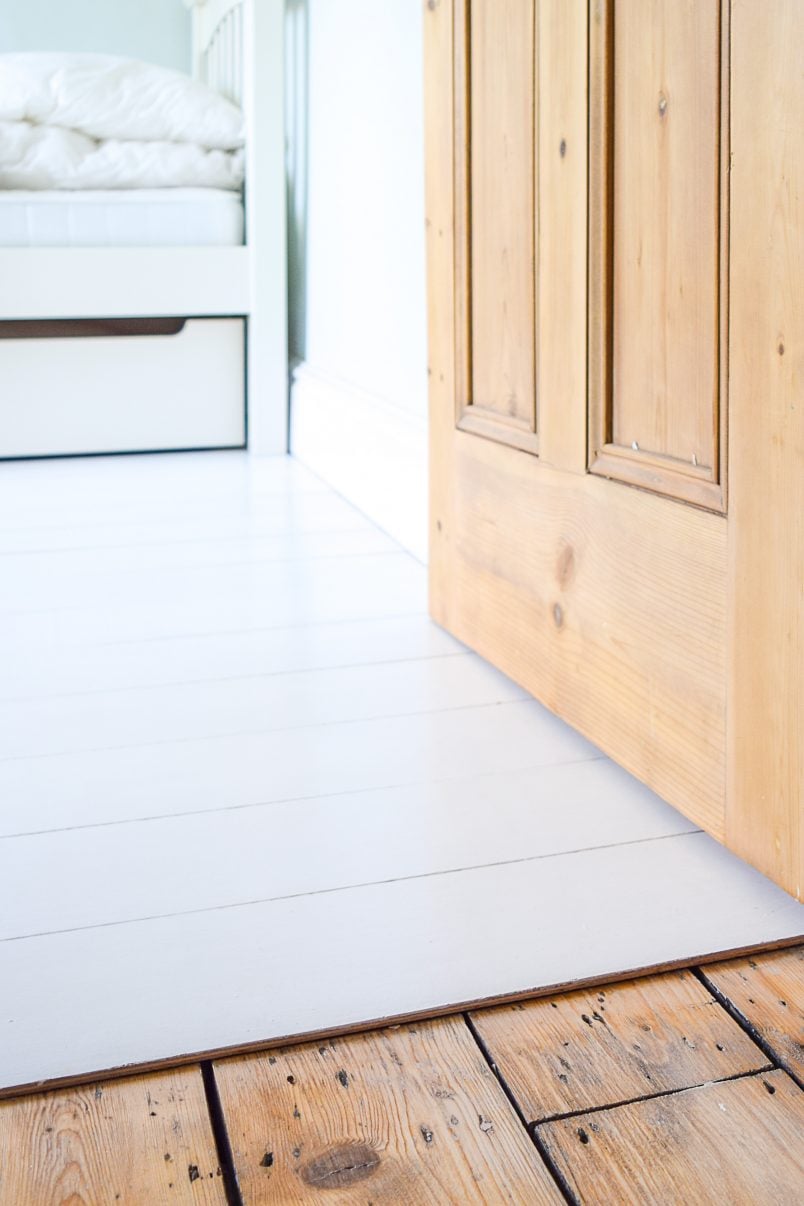
The floor is holding up really well. There are no chips in the paintwork and it’s still really white. It’s important to wait till the paint has thoroughly dried before furnishing the room. The paint will dry quickly but, depending on what paint you are using, it’ll take a week or more to fully cure. Until then, it’s a lot more susceptible to chips and scratches.
Do you prefer the natural floor or the painted floor? Do you have a painted floor – if so, how is yours holding up?

Amanda says
Hi, do you break down costs of your plywood floor anywhere on the blog? I’m really wanting to do plywood floors, but am having a hard time working out how much per square meter it is — so I can convince the husband!
Christine says
I didn’t do a cost breakdown because I ordered the plywood at the same time as other things so it was difficult to calculate as I got a better deal.
As a rough guide, it was around £250. Our floor was probably slightly more expensive as I opted for a high-quality and very thin plywood. I also had it cut to size (which I’d recommend). The biggest cost of the floor is obviously the plywood, everything else (depending on if you paint or not) is almost negligible.
Hope that helps!
Cx
Amanda says
Thanks! That’s about what I was estimating, so I’m glad I was on track!
Andrea at the creative coastal home says
Hi Christine, I’m wondering where you got your plywood from in the UK and whether they charged you extra to cut it to size? Can you advise?
Christine says
We purchased the plywood at a local joinery. I think they charged a bit for cutting it but overall it only worked out slightly more expensive than buying sheets at a DIY store. I’d definitely recommend going down a similar route.
Cx
Lins @Boo & Maddie says
It looks lovely and really opens up the space and light. Totally with you on caulking – the lazy people that did our loft conversion didn’t bother with any of that stuff and so we have massive gaps all the way round the bedroom X
Christine says
Thanks Lins! It’s so annoying when you pay for people to do work but then still end up having to do things yourself. I guess that’s part of the reason we DIY so much – at least we know what we’re getting!
Cx
lorraine says
I really like painted floors. I started off like you in a little used spare bedroom, and was so pleased with the result have done another bedroom, and our front room, that we use in the morning. I would say they have all worn well. I used Little Green floor paint in french grey dark. I got advice from Little Green as all floors had ben sanded and treated some years back. They recommended cleaning with spirit, sanding, then doing an initial coat one to four spirit and paint, then second coat just paint. It was really easy to do, the main pain is waiting for a week, to obtain a full cure. Easy if you can clear the room but not so easy when we had a double bed that we didn’t dismantle. I just did a half at time, so took about two weeks. Continue to enjoy your blog. Just 1 question you have used a roller when painting walls, do you get a dimpled effect?
Christine says
Those are great tips, thanks for sharing Lorraine! We had to sand and varnish our dining room floor in halfs. It’s kind of annoying to have to wait so much longer but – like for you – it worked, too.
Yes we use a roller for the walls and no, we dont have a dimpled effect. For us, using a roller sleeve with a short pile works well. I think that this is the one we have.
Cx
lorraine says
Thanks for this recommendation, will get this when I decide to paint our living room walls.
Lucy says
It looks great! The room looks big and bright and airy. Can I ask where you got your skirting from? Our house has been treated to a few different styles over the years so next year we’re planning to go round all the rooms and start afresh.
Christine says
Thanks Lucy! We got ours from here. We find that the quality is usually better than from the DIY chains.
Cx
Lucy says
Thanks Christine, I’ll look for something similar here in Bristol! :) x
susan says
I love the look of white painted floors but could never convince my husband. SIGH.
Christine says
I’m pretty sure I could only convice Jan because the floor is in our rarely used guest bedroom. Glad to hear you like our floor!
Cx
Magali@TheLittleWhiteHouse says
I chose the same paint for my bathroom floor.
Christine says
It’s such a nice shade of white, isn’t it? How’s it holding up in your bathroom? Or haven’t you painted it yet?
Cx