Ad – This post is in collaboration with Paint & Paper Library.
Transforming an old piece of furniture into a stylish and bespoke item is easier than you think and we’re sharing how to paint a wardrobe so that you can give an unloved piece of furniture a new lease of life, too.
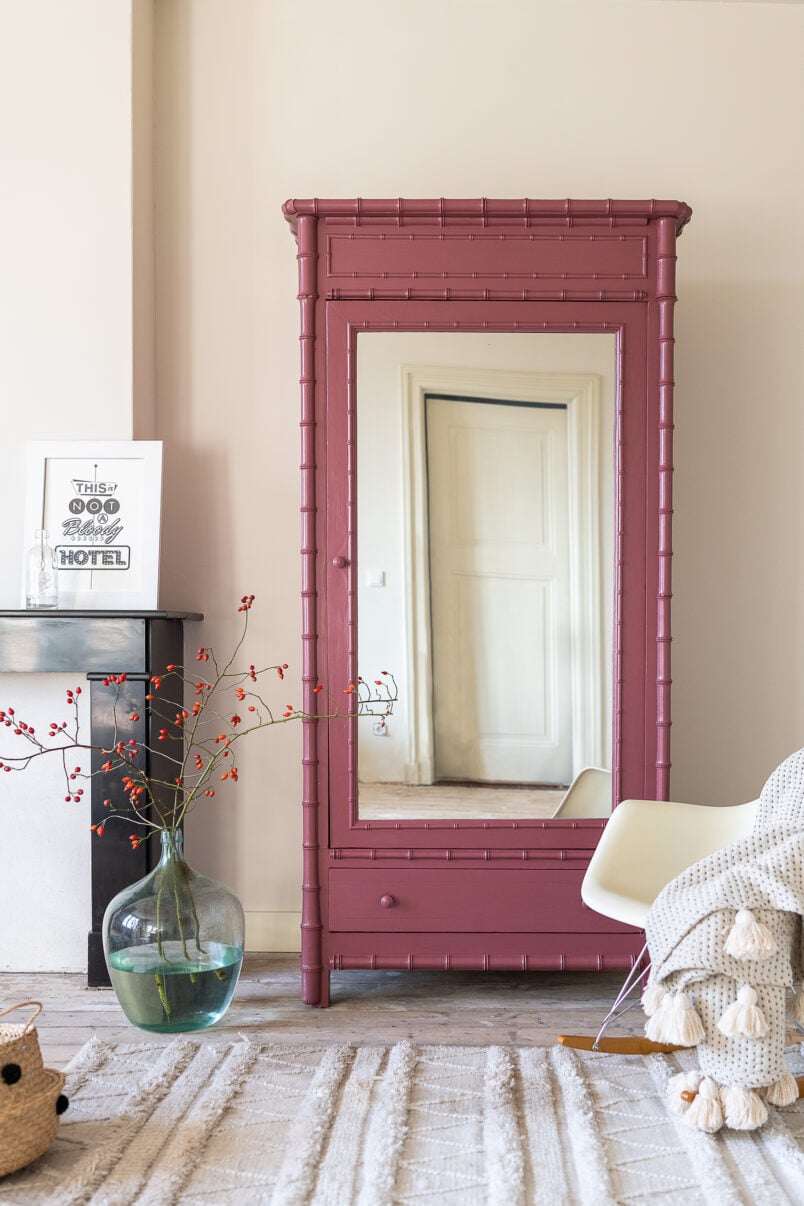
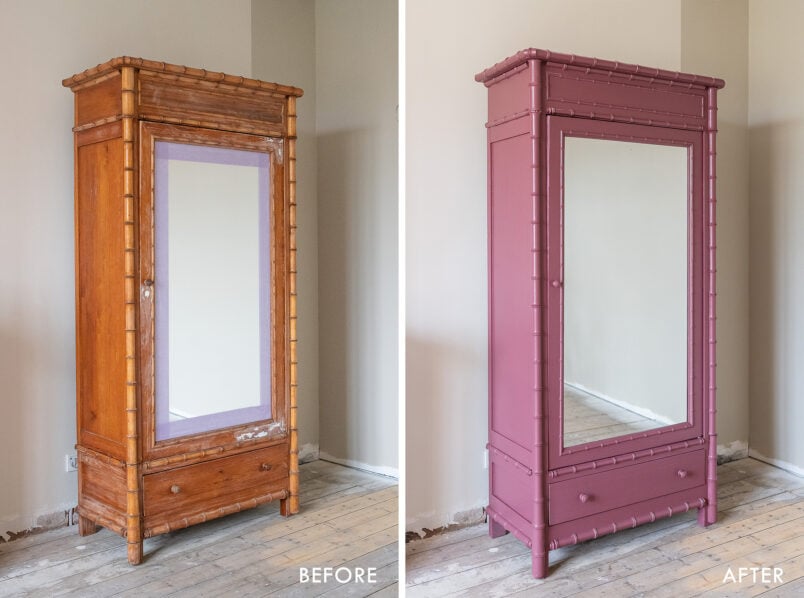
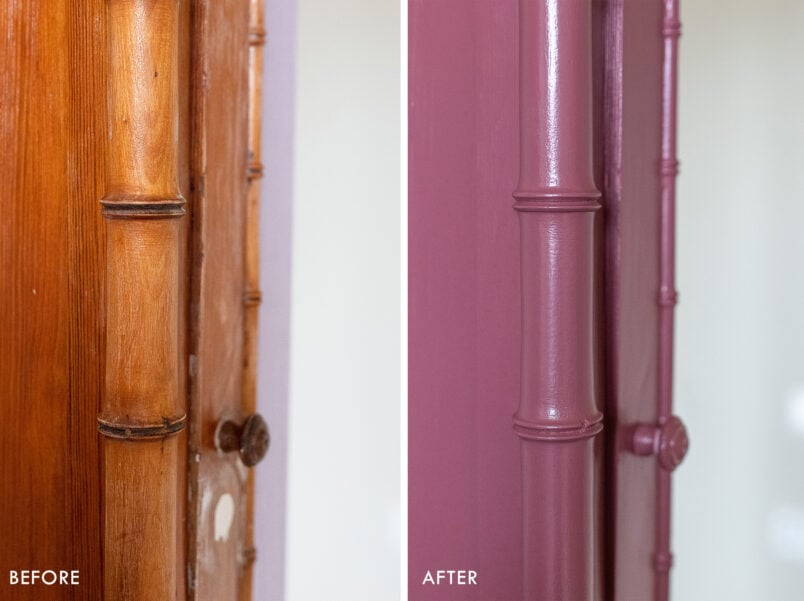
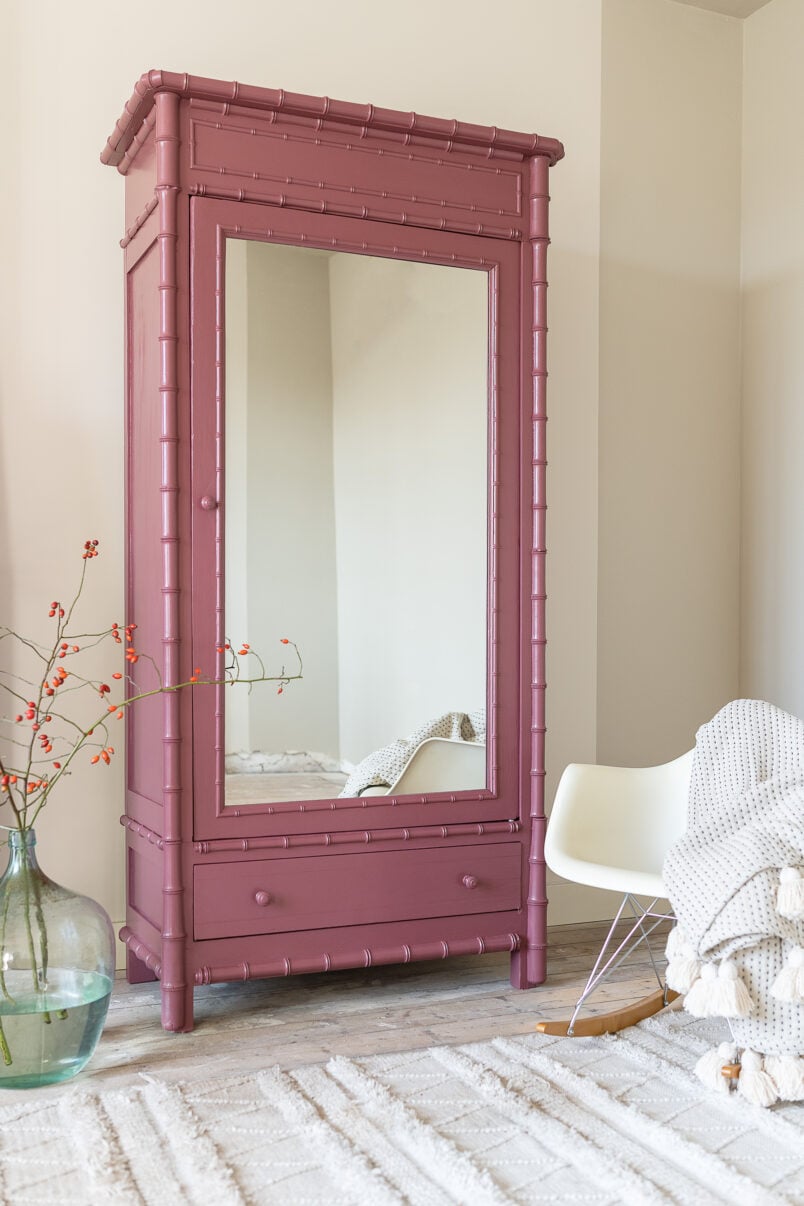
Our wardrobe was an amazing second-hand find but it was a bit damaged and we weren’t exactly fans of the orangy-yellow pine colour. Now our newly painted wardrobe is almost unrecognisable and I think you’ll agree that it looks spectacular.
We love upcycling furniture and it’s a great way to create a home that has a lot of personality and style without breaking the bank. This old wardrobe is now easily one of my favourite pieces of furniture and that’s all thanks to a bit of paint and a couple of hours of work.
If you take a quick look at Pinterest, you’ll see endless ideas for painting wardrobes and luckily, painting a wardrobe isn’t difficult to do.
Follow our tips on how to paint a wardrobe and achieve a professional and smooth finish even if you’ve never painted furniture before. It doesn’t matter if you’re painting built in wardrobes, IKEA wardrobes or second-hand furniture finds. Just follow the steps we’re sharing here to transform your wardrobes.
This post contains affiliate links. We only recommend products we love and think that you will, too! Read our full disclaimer here.
This is what you will need to paint a wardrobe:
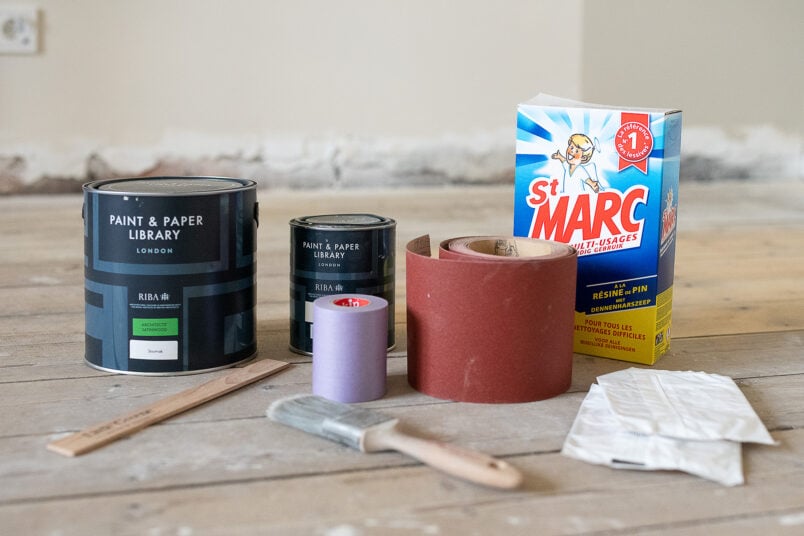
- Sugar soap (+ a bucket & sponge)
- Sandpaper (120 grit, 240 grit and (if you’re super fussy) 400 grit)
- Tack cloth
- Masking Tape
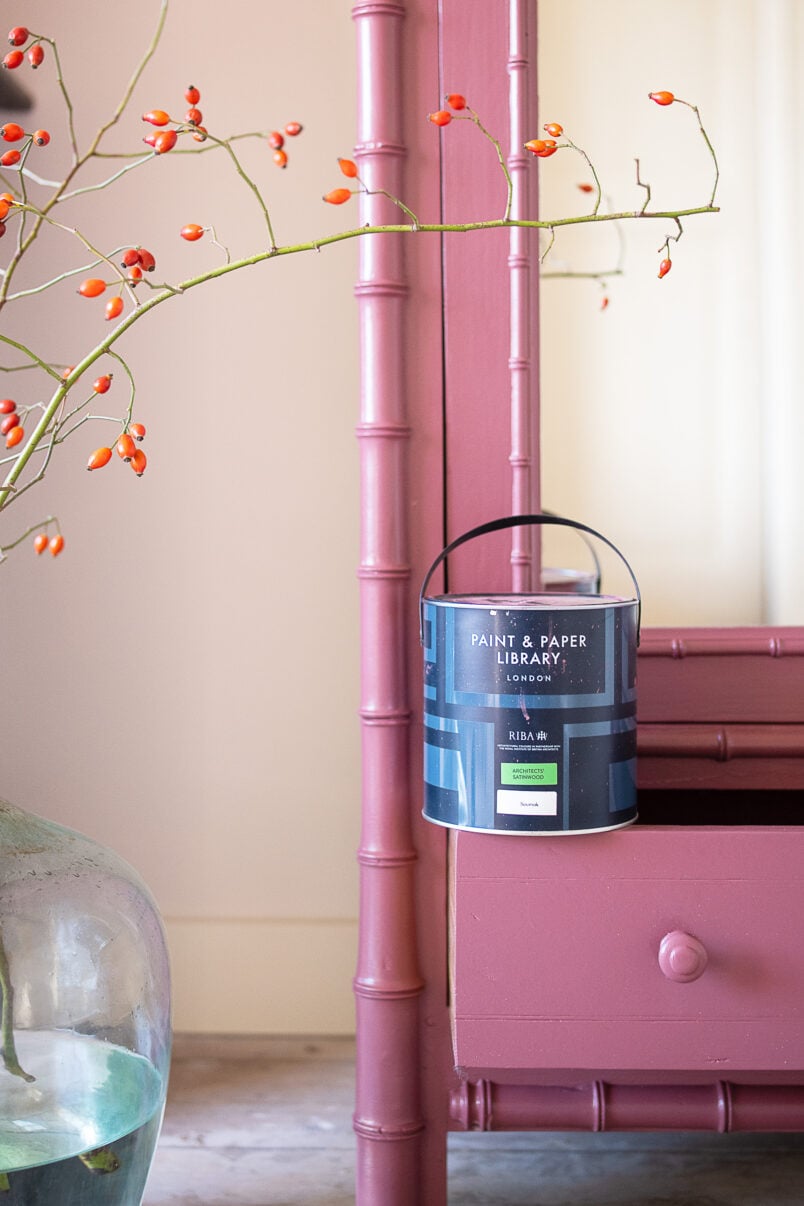
- Paint (we used Paint & Paper Library Architects’ Satinwood in Soumak)
- Primer & knotting solution (optional)
- Paintbrush, roller & paint tray or paint sprayer
- Dust mask & gloves
This is how to paint a wardrobe
Step 1
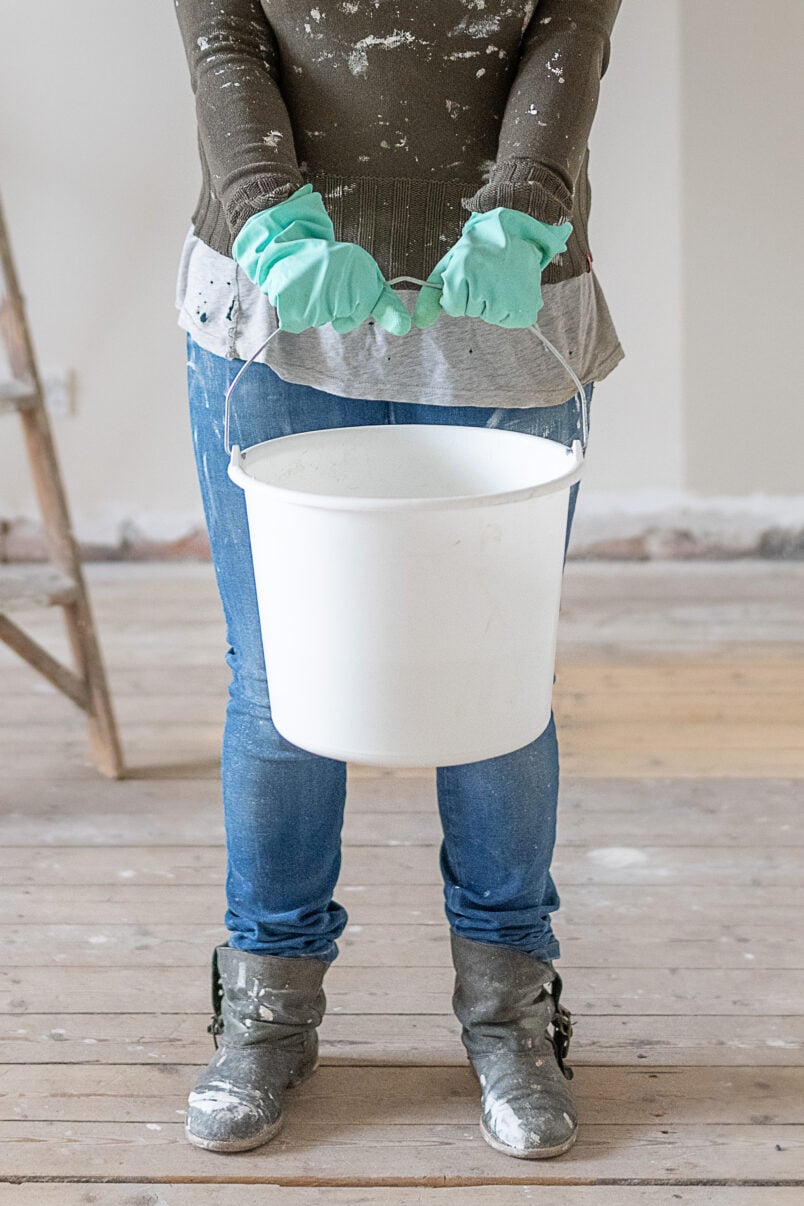
Clean & Prepare The Wardrobe
Start by giving the wardrobe a thorough clean. We love using sugar soap for this as it completely removes all dirt and grease without leaving a residue that could impact your paint finish.
Our wardrobe pieces slot together very easily which is why we took it to pieces for this step but it’s not necessary. If you don’t want to (or can’t) take your wardrobe to pieces, we recommend at least removing the wardrobe doors to be able to easily reach all areas.
Step 2
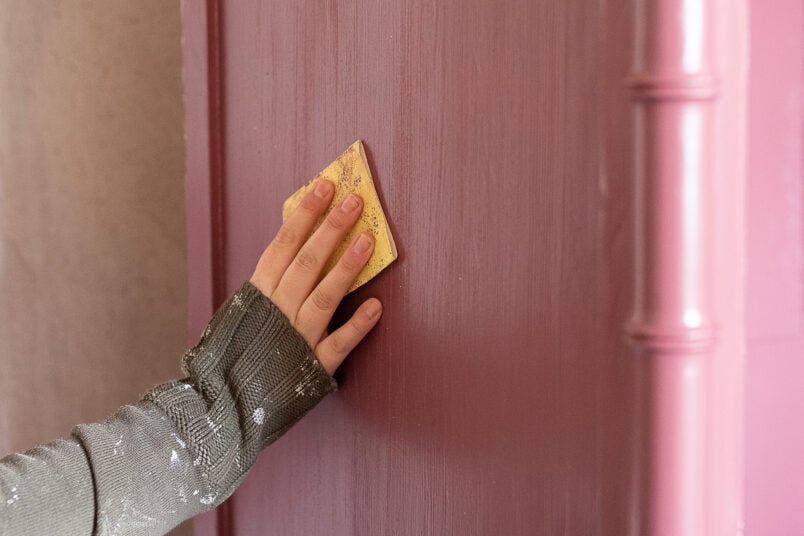
Sand Everything
When the wardrobe is clean and dry lightly sand the whole surface with some medium grit sandpaper (around 120 grit is ideal for this). This will remove any little imperfections and will provide a key for the new paint to stick to.
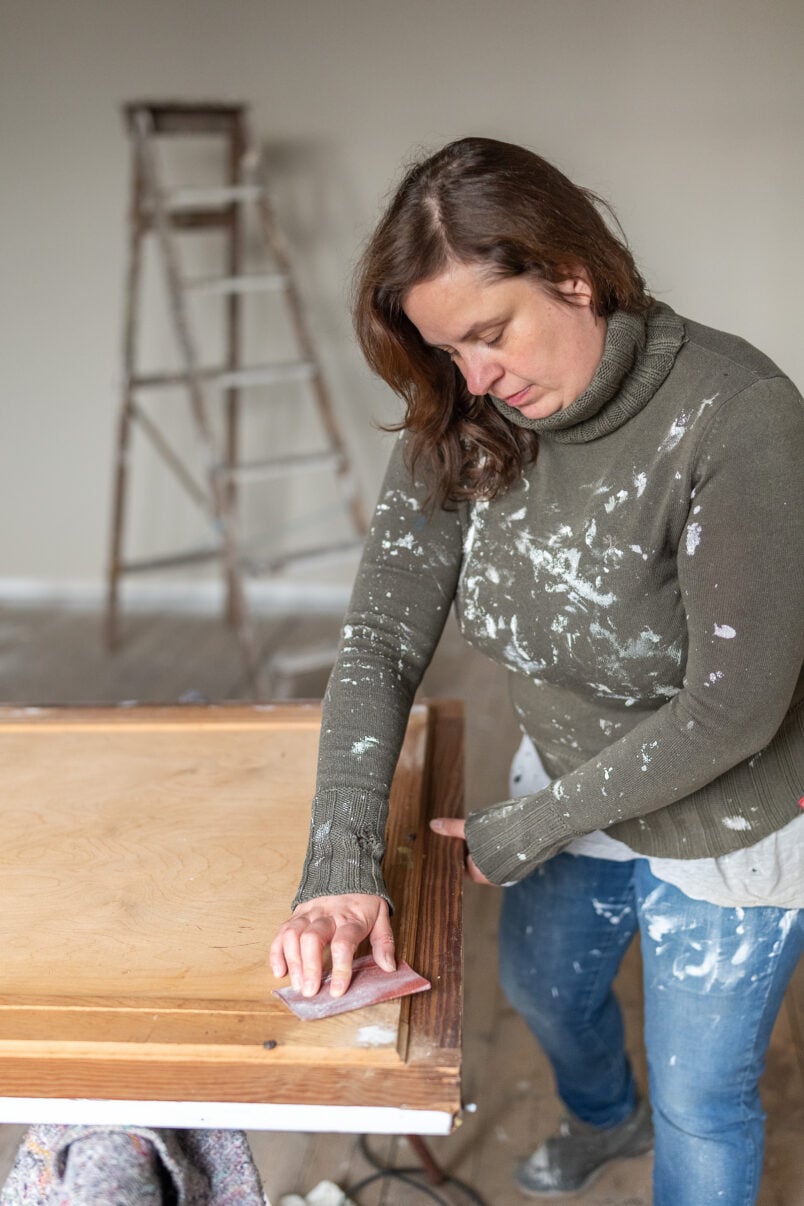
I know that most people hate sanding but it’s such an important step that you shouldn’t skip. We sanded the whole wardrobe by hand and it only took about 25 minutes to do.
If your wardrobe is flatter with less detail than ours, you could also use an electric sander to quickly sand the surface but a light sand by hand is more than enough to roughen up the surface of the wardrobe ready for painting.
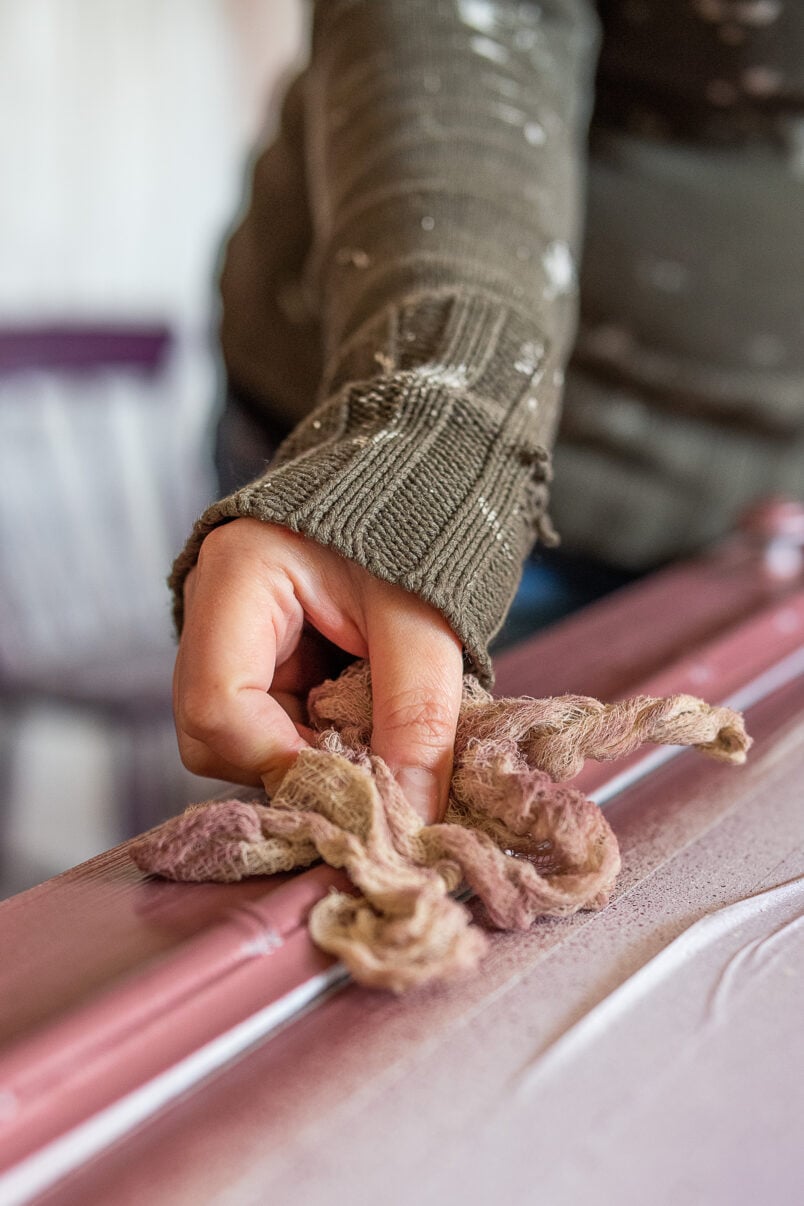
When you’ve finished sanding, wipe down the surface to remove any dust. For a perfect paint finish, you can also use a tack cloth to clean the surface. Tack cloths are slightly sticky and will help you remove even the tiniest bit of dust before you paint the wardrobes.
Step 3
Prime The Wardrobe
Along with the right wardrobe paint, choosing the right primer for your project is important as it will help ensure a long-lasting finish.
If you are painting a laminate wardrobe like IKEA Pax wardrobes, you will have to use an adhesion-promoting primer first. We shared a full post on how to paint laminate kitchen cabinets and the same method can be used to paint any laminate IKEA furniture, too.
If you are painting previously painted furniture you won’t need to use a primer if you use the Architects’ Satinwood paint that we’re using for this project. If the wood is still untreated and unpainted it’s best to use a wood primer though. We also recommend sealing any knots with a knotting solution to avoid them becoming visible through the paint finish.
The wardrobe we’re painting has a coat of clear varnish on the outside and is untreated on the inside which is why we decided to give the whole wardrobe a coat of primer.
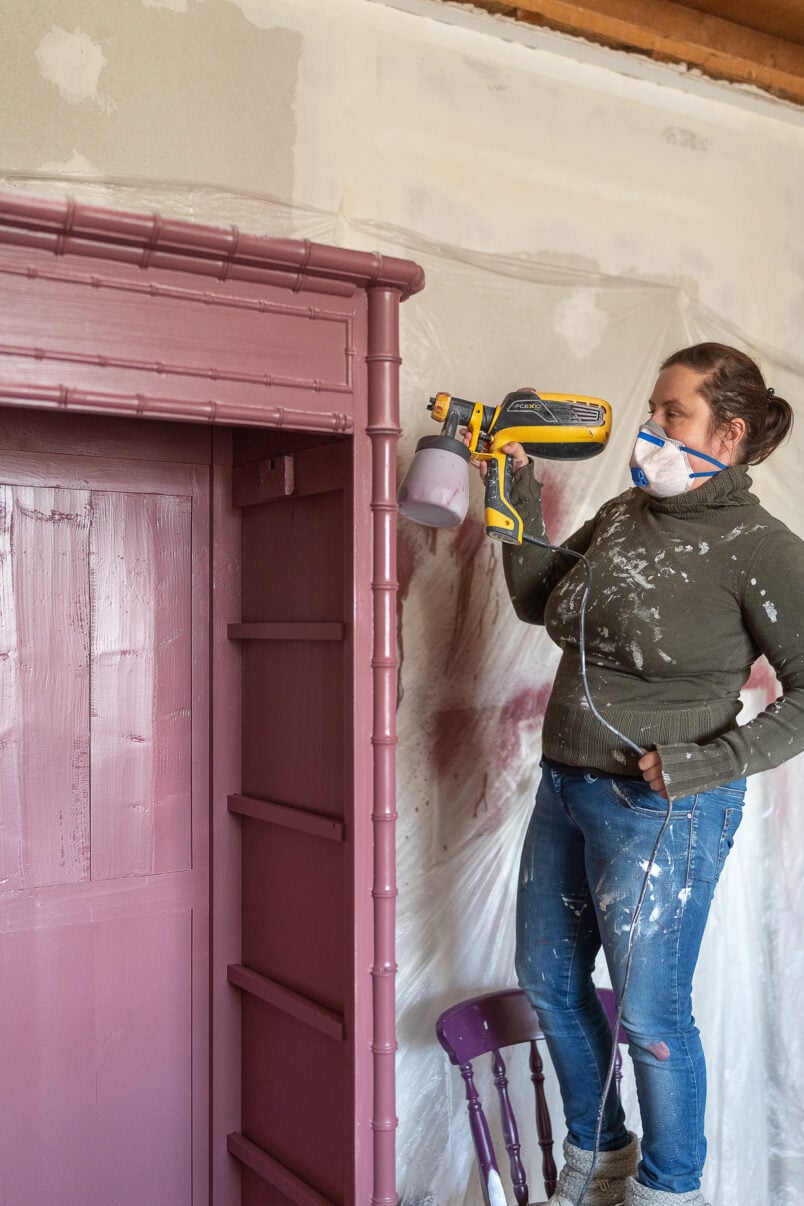
Use whatever tool you find most comfortable with to paint your furniture. We almost always use a paintbrush to paint furniture but a paint roller is a good option especially when you’re painting larger areas, too.
For this project, we decided to use our new airless sprayer to apply the primer and paint. It’s an easy-to-use tool and is great for painting detailed areas but you definitely don’t need one for painting an old wardrobe. Just a paintbrush will give you great results, too.
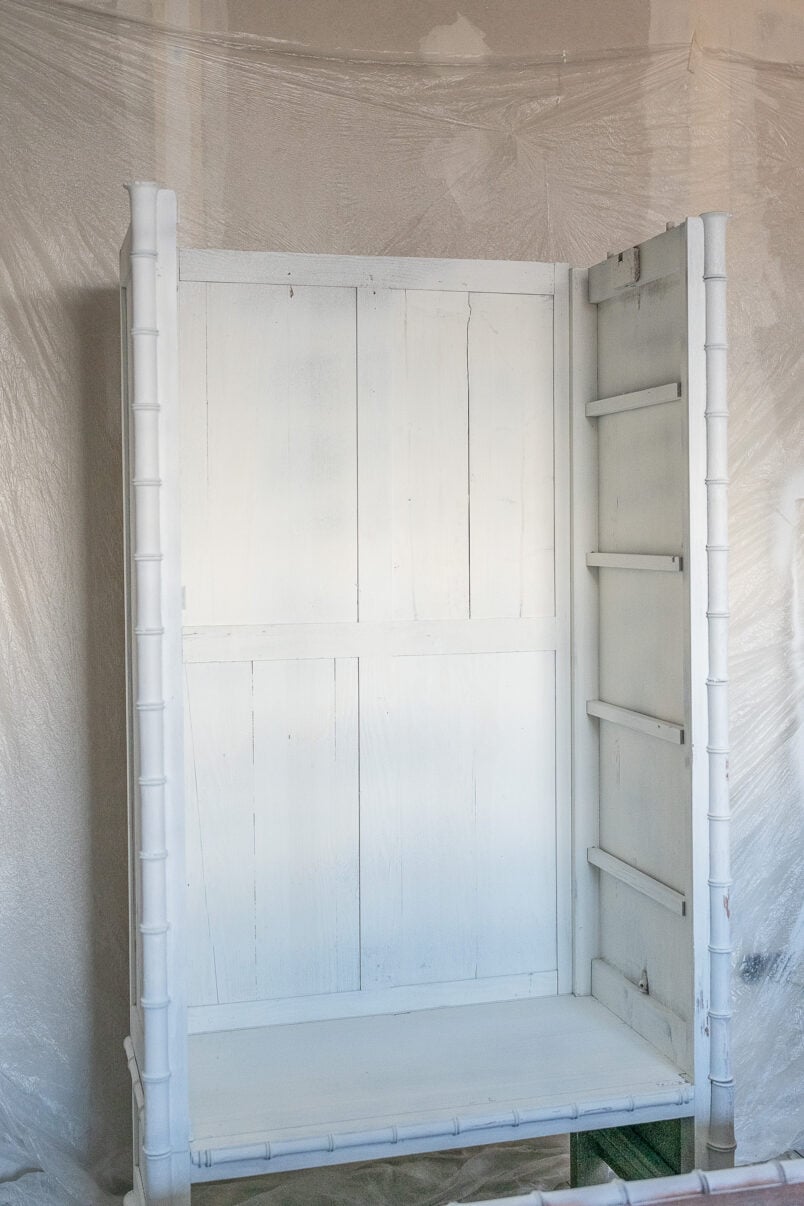
Apply an even coat of primer over the whole surface of the wardrobe. When it’s completely dry, give the whole primed surface of the wardrobe a very light sand with some fine sandpaper (about 240 grit) to remove any imperfections and raised grains and remove any dust with a tack cloth.
The painted white wardrobe is now ready to be painted with a colour of your choice.
Step 3
PaintThe Wardrobe
To paint a wardrobe, follow the same steps you took to prime it.
Make sure it’s completely clean and dust free before applying an even coat of paint. Our wardrobe is painted in Soumak which is one of the gorgeous new Paint & Paper Library colours. If you’ve not already seen the new Paint & Paper Library colours you should definitely order yourself a colour card as they are stunning.
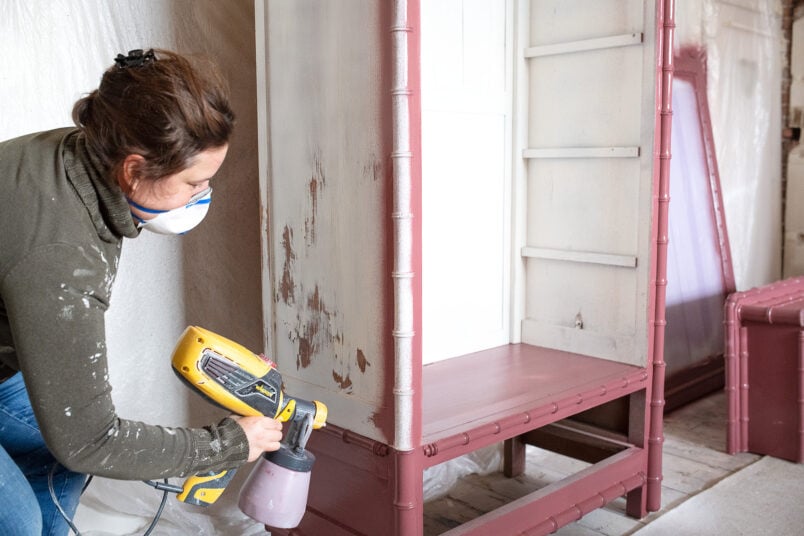
As you can see, we half assembled the wardrobe for painting. To be able to easily reach the inside we took the top off and removed the drawer and door. To paint wardrobe doors, drawers and any other parts follow the same method as for the rest of the wardrobe.
How much you take your wardrobe to pieces for painting will depend on your wardrobe but we always recommend removing the doors if you can.
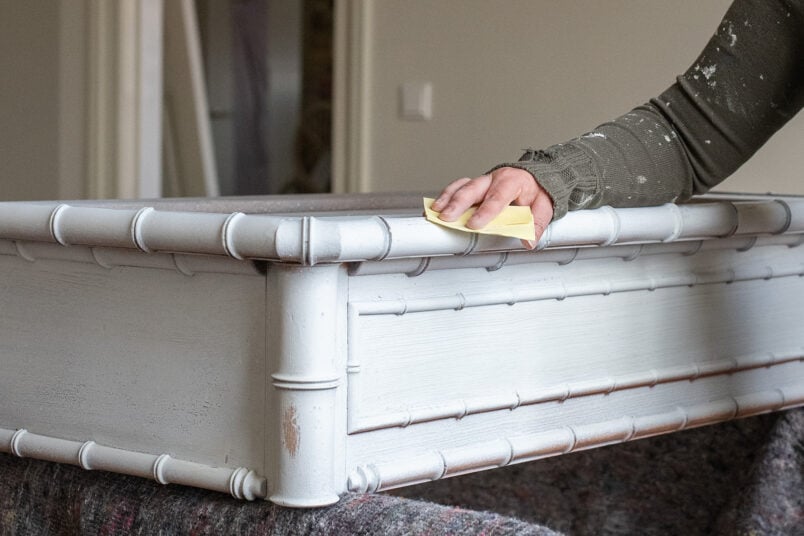
When the first coat of paint has dried, give the surface a light sand with some fine sandpaper to remove any imperfections.
Always make sure to thoroughly clean away dust from sanding as it will impact the painted finish. We generally just wipe away the dust but when painting furniture where a perfect finish is important we always use a tack cloth to make sure to remove every last spec of dust.
Then apply another coat of paint for an even and long-lasting finish.
Don’t forget that it takes some time for the paint to fully cure. While the paint is drying, the finish will still be susceptible to scratches and marks so be very careful during the drying time.
Then all that’s left to do is assemble the wardrobe and admire your work.
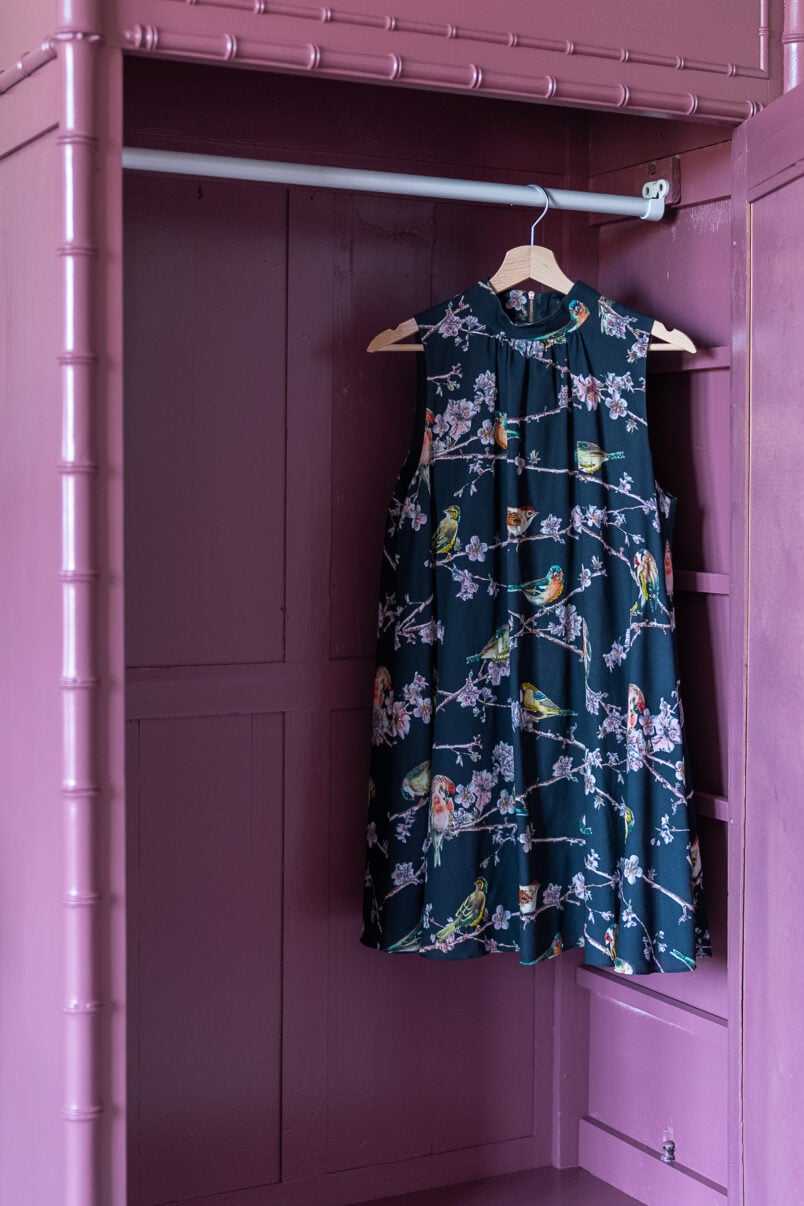
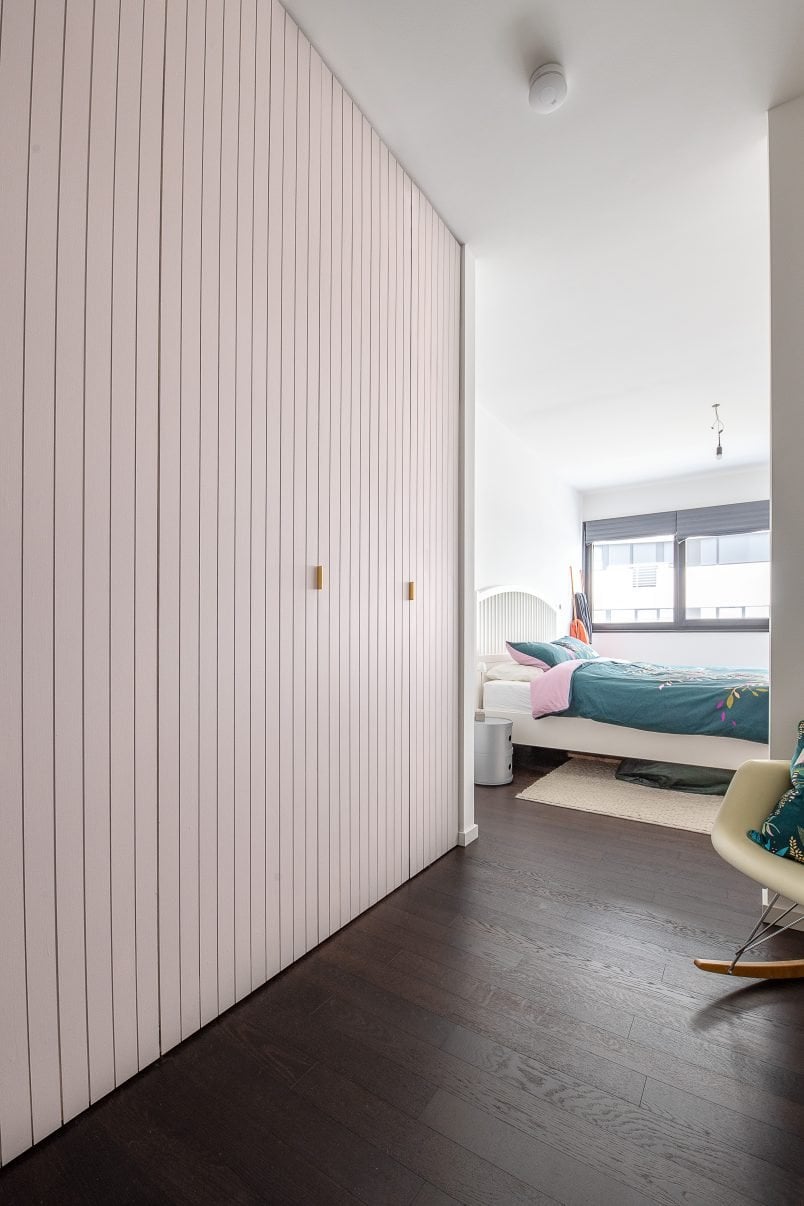
We are so happy with how our new wardrobe looks. The colour is fantastic and has such depth and looks perfect with our newly painted walls (they’re painted in Paint & Paper Library Stone II). I’m even more excited about finishing the room and having guests stay with us.
What is the best paint for wardrobes?
We used Paint & Paper Library Architects’ Satinwood which is a water based paint with a subtle satin finish. It’s specially formulated for use on wood mouldings, kitchen cabinets and wood furniture. It’s extremely hard wearing and is designed to withstand the many knocks and bumps that occur on busy interior wood surfaces so it’s the perfect paint to use to paint wardrobes.
If you want to paint wardrobes made of laminate, you’ll have to use a special adhesion-promoting primer that will stick to the smooth laminate surface. The steps to painting a laminate wardrobe or just painting laminate wardrobe doors are exactly the same as the steps we took to paint this wardrobe. The only difference is in the primer you have to use.
Can you paint the inside of a wardrobe?
Use exactly the same method you used to paint the outside of the wardrobe to paint the inside, too. We love the colour of our wardrobes so much that we painted the inside and outside the same. Why not have some fun and paint the inside a different colour?
Should you seal the wood after painting?
If you use high-quality wood paint like Architects’ Satinwood by Paint & Paper Library that’s designed to be hardwearing and used on surfaces that get a lot of use like kitchen cabinets or doors there’s no need to seal the surface again after painting.
The only time we recommend adding an additional layer of protection is if you’re painting shelves or other surfaces where you will be constantly moving things across the surface. You could add a coat of clear varnish or rub some wax over the painted surface for some additional protection.
How to paint a wardrobe door?
If you are just painting your wardrobe door, you can still follow the exact steps we shared above to paint wardrobe doors. Start by removing the doors and cleaning the surface.
If your wardrobe door has glass or a mirror in it cover it with some masking tape before painting it. Then sand the doors, prime them and then apply a couple of coats of your chosen paint finish.
How to paint fitted wardrobes?
The process of painting fitted wardrobes is exactly the same as painting a freestanding one. The only difference is that you may want to protect the walls and ceiling around your wardrobe with some masking tape before painting your wardrobes.
Can I paint my wardrobe without sanding?
We always recommend sanding wooden surfaces before painting. It will result in a better finish that will be more durable.
Sanding before painting is just a matter of quickly rubbing the surface with some medium grit sandpaper and doesn’t take long. You don’t want to go through all of the effort of painting something only to have the paint chip later because you didn’t spend half an hour extra sanding it before.
Leave a Reply