[Ad – This post is in collaboration with Bosch and contains affiliate links. We only recommend products we love and think that you will, too! Read our full disclaimer here.]
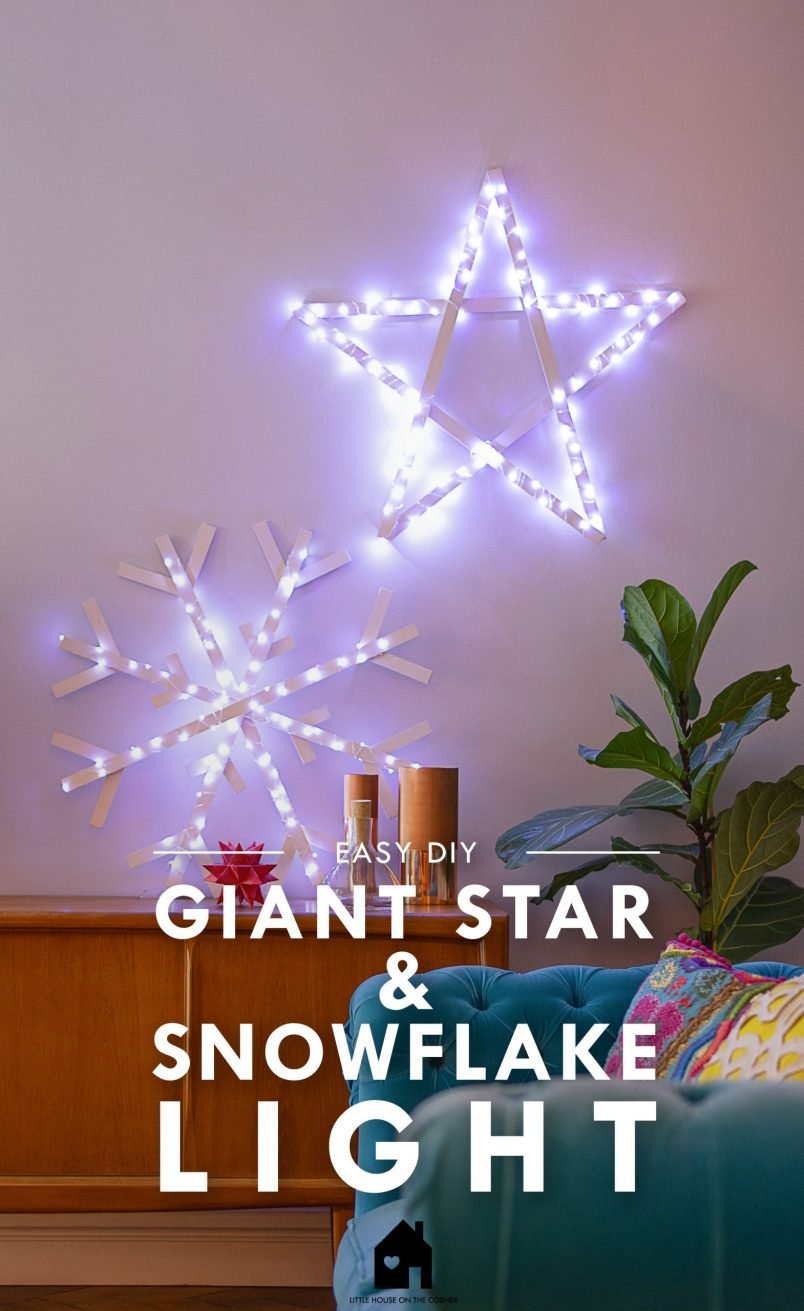
I’m sure you’re all thinking that I’ve lost my mind recommending a Christmas DIY project this close to the holidays, but these giant star & giant snowflake lights are so quick and easy to make that everyone has time to make them.
We have all of my family visiting for the holidays, and with 5 children in the house, I really want to make this Christmas special, and these giant lights are a perfect addition to our holiday decor.
Unlike our festive paper flower garland, which took hours to complete, these DIY giant star & giant snowflake lights are super quick to make. From start to finish, each of these lights only took about 15-20 minutes to build, and they’re something that even the most novice DIYer can easily accomplish!
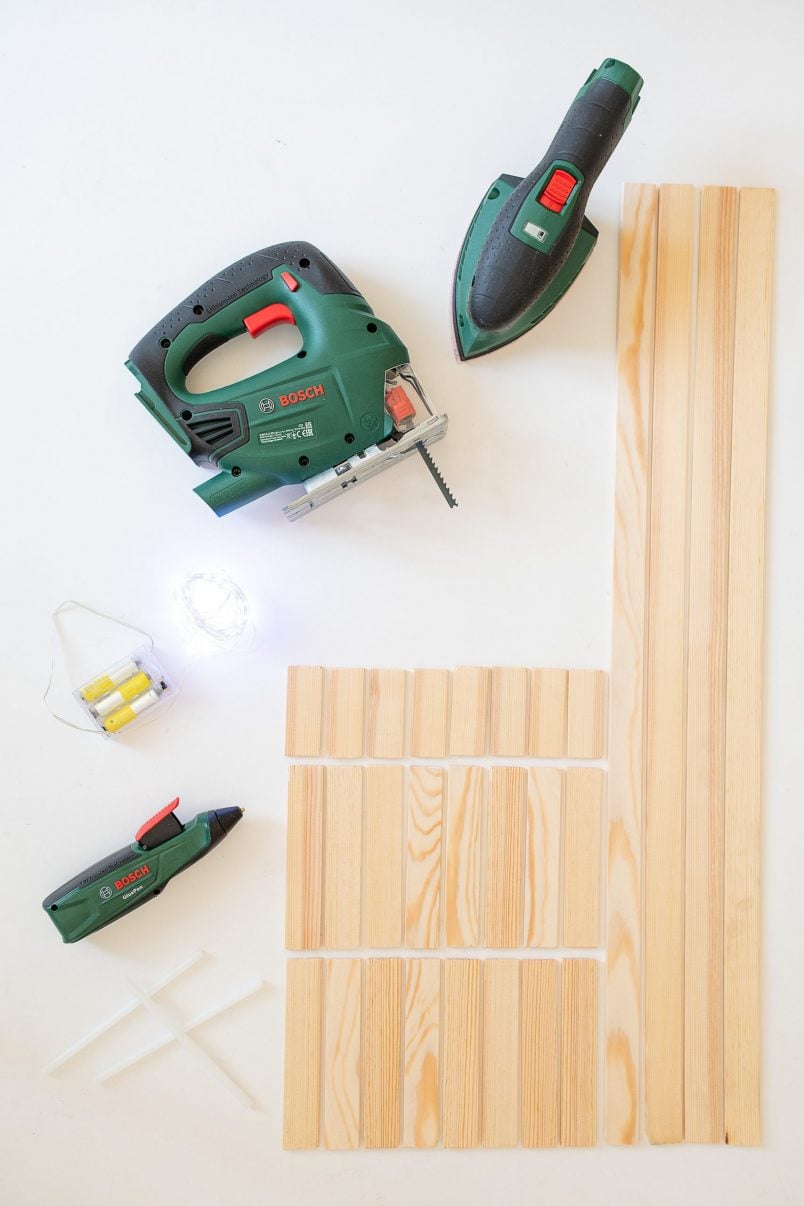
This is what you will need to make your own DIY giant star & giant snowflake lights:
This post contains affiliate links. We only recommend products we love and think that you will, too! Read our full disclaimer here.
- Timber Strips – we used 2,9cm x 0.5cm strips of smooth planed square edge timber. You’ll need about 4m to make the star and 6.2m to make the snowflake.
- Bosch GluePen
- Bosch EasySander 12
- Bosch Jigsaw PST 18 LI
- Fairy lights – we used these battery-operated wire one (for each light we used 10m long lights)
This is how to make a Giant Star and Giant Snowflake decoration:
For the star:
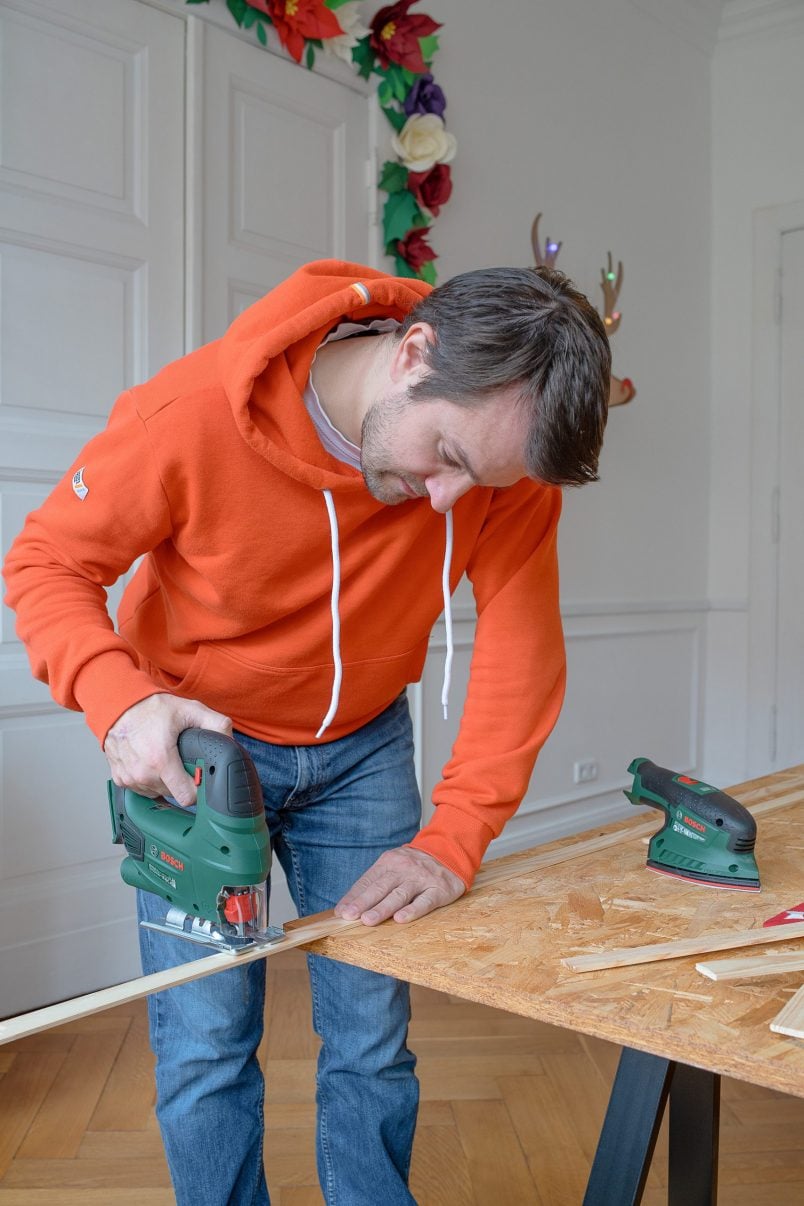
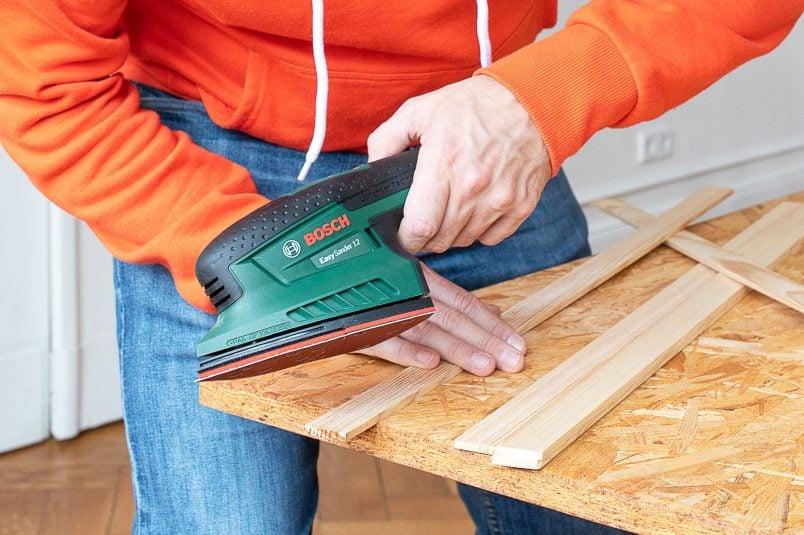
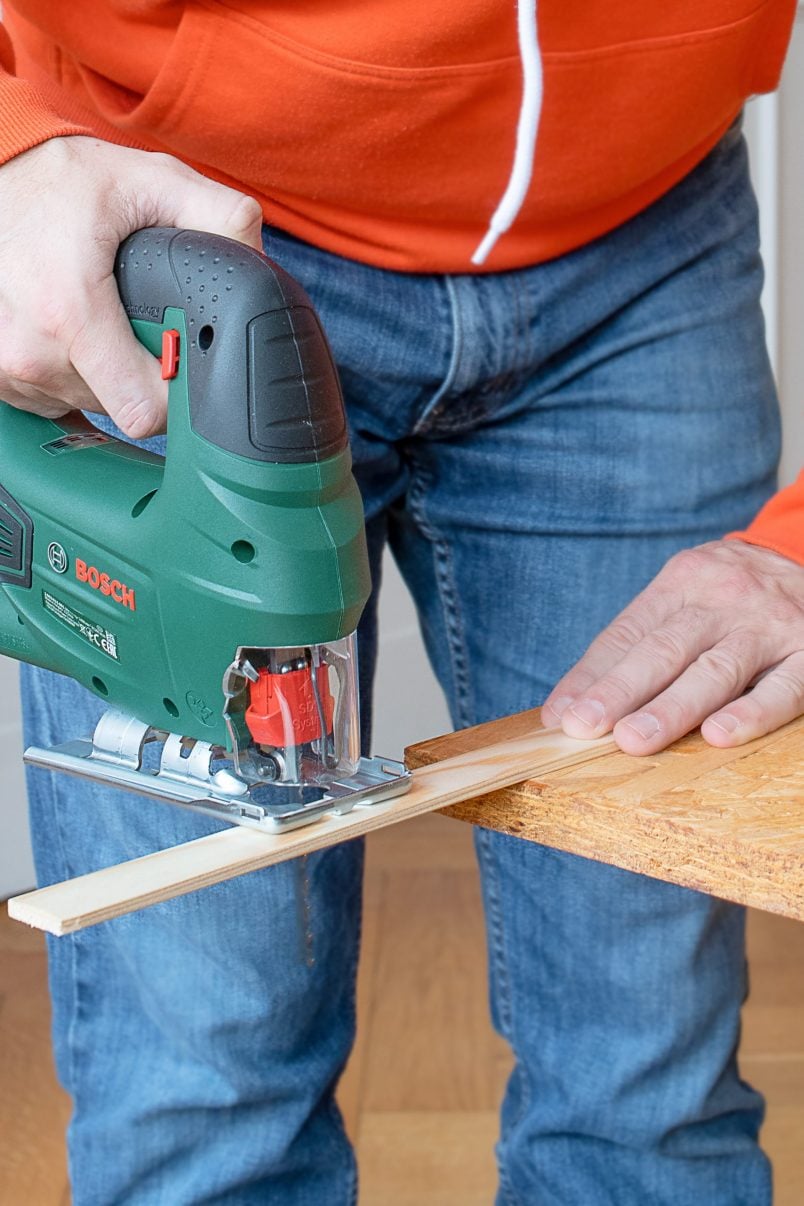
1. Cut the timber into 5 equal pieces (our strips are all 80 cm long) with the help of the jigsaw and smooth any rough edges with the palm sander.
2. Lay the pieces of timber into a star shape and then glue the pieces of timber together with the help of your glue pen.
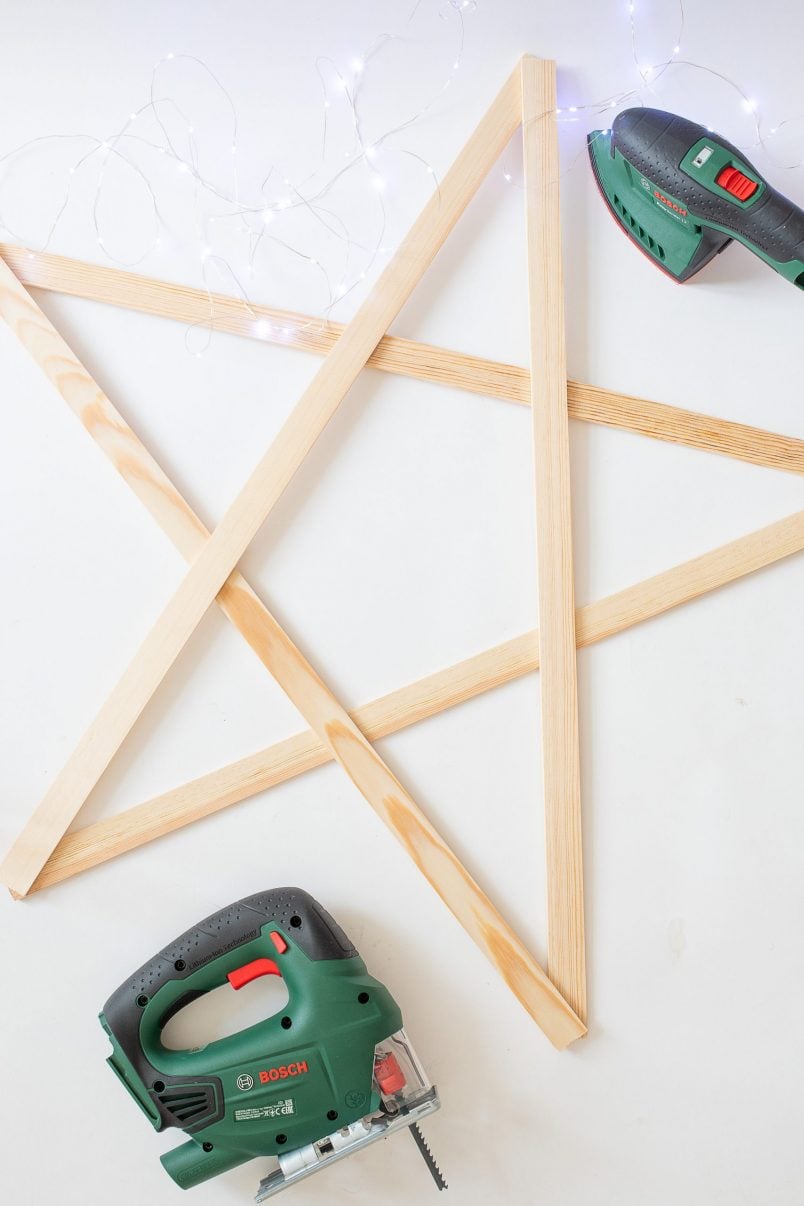
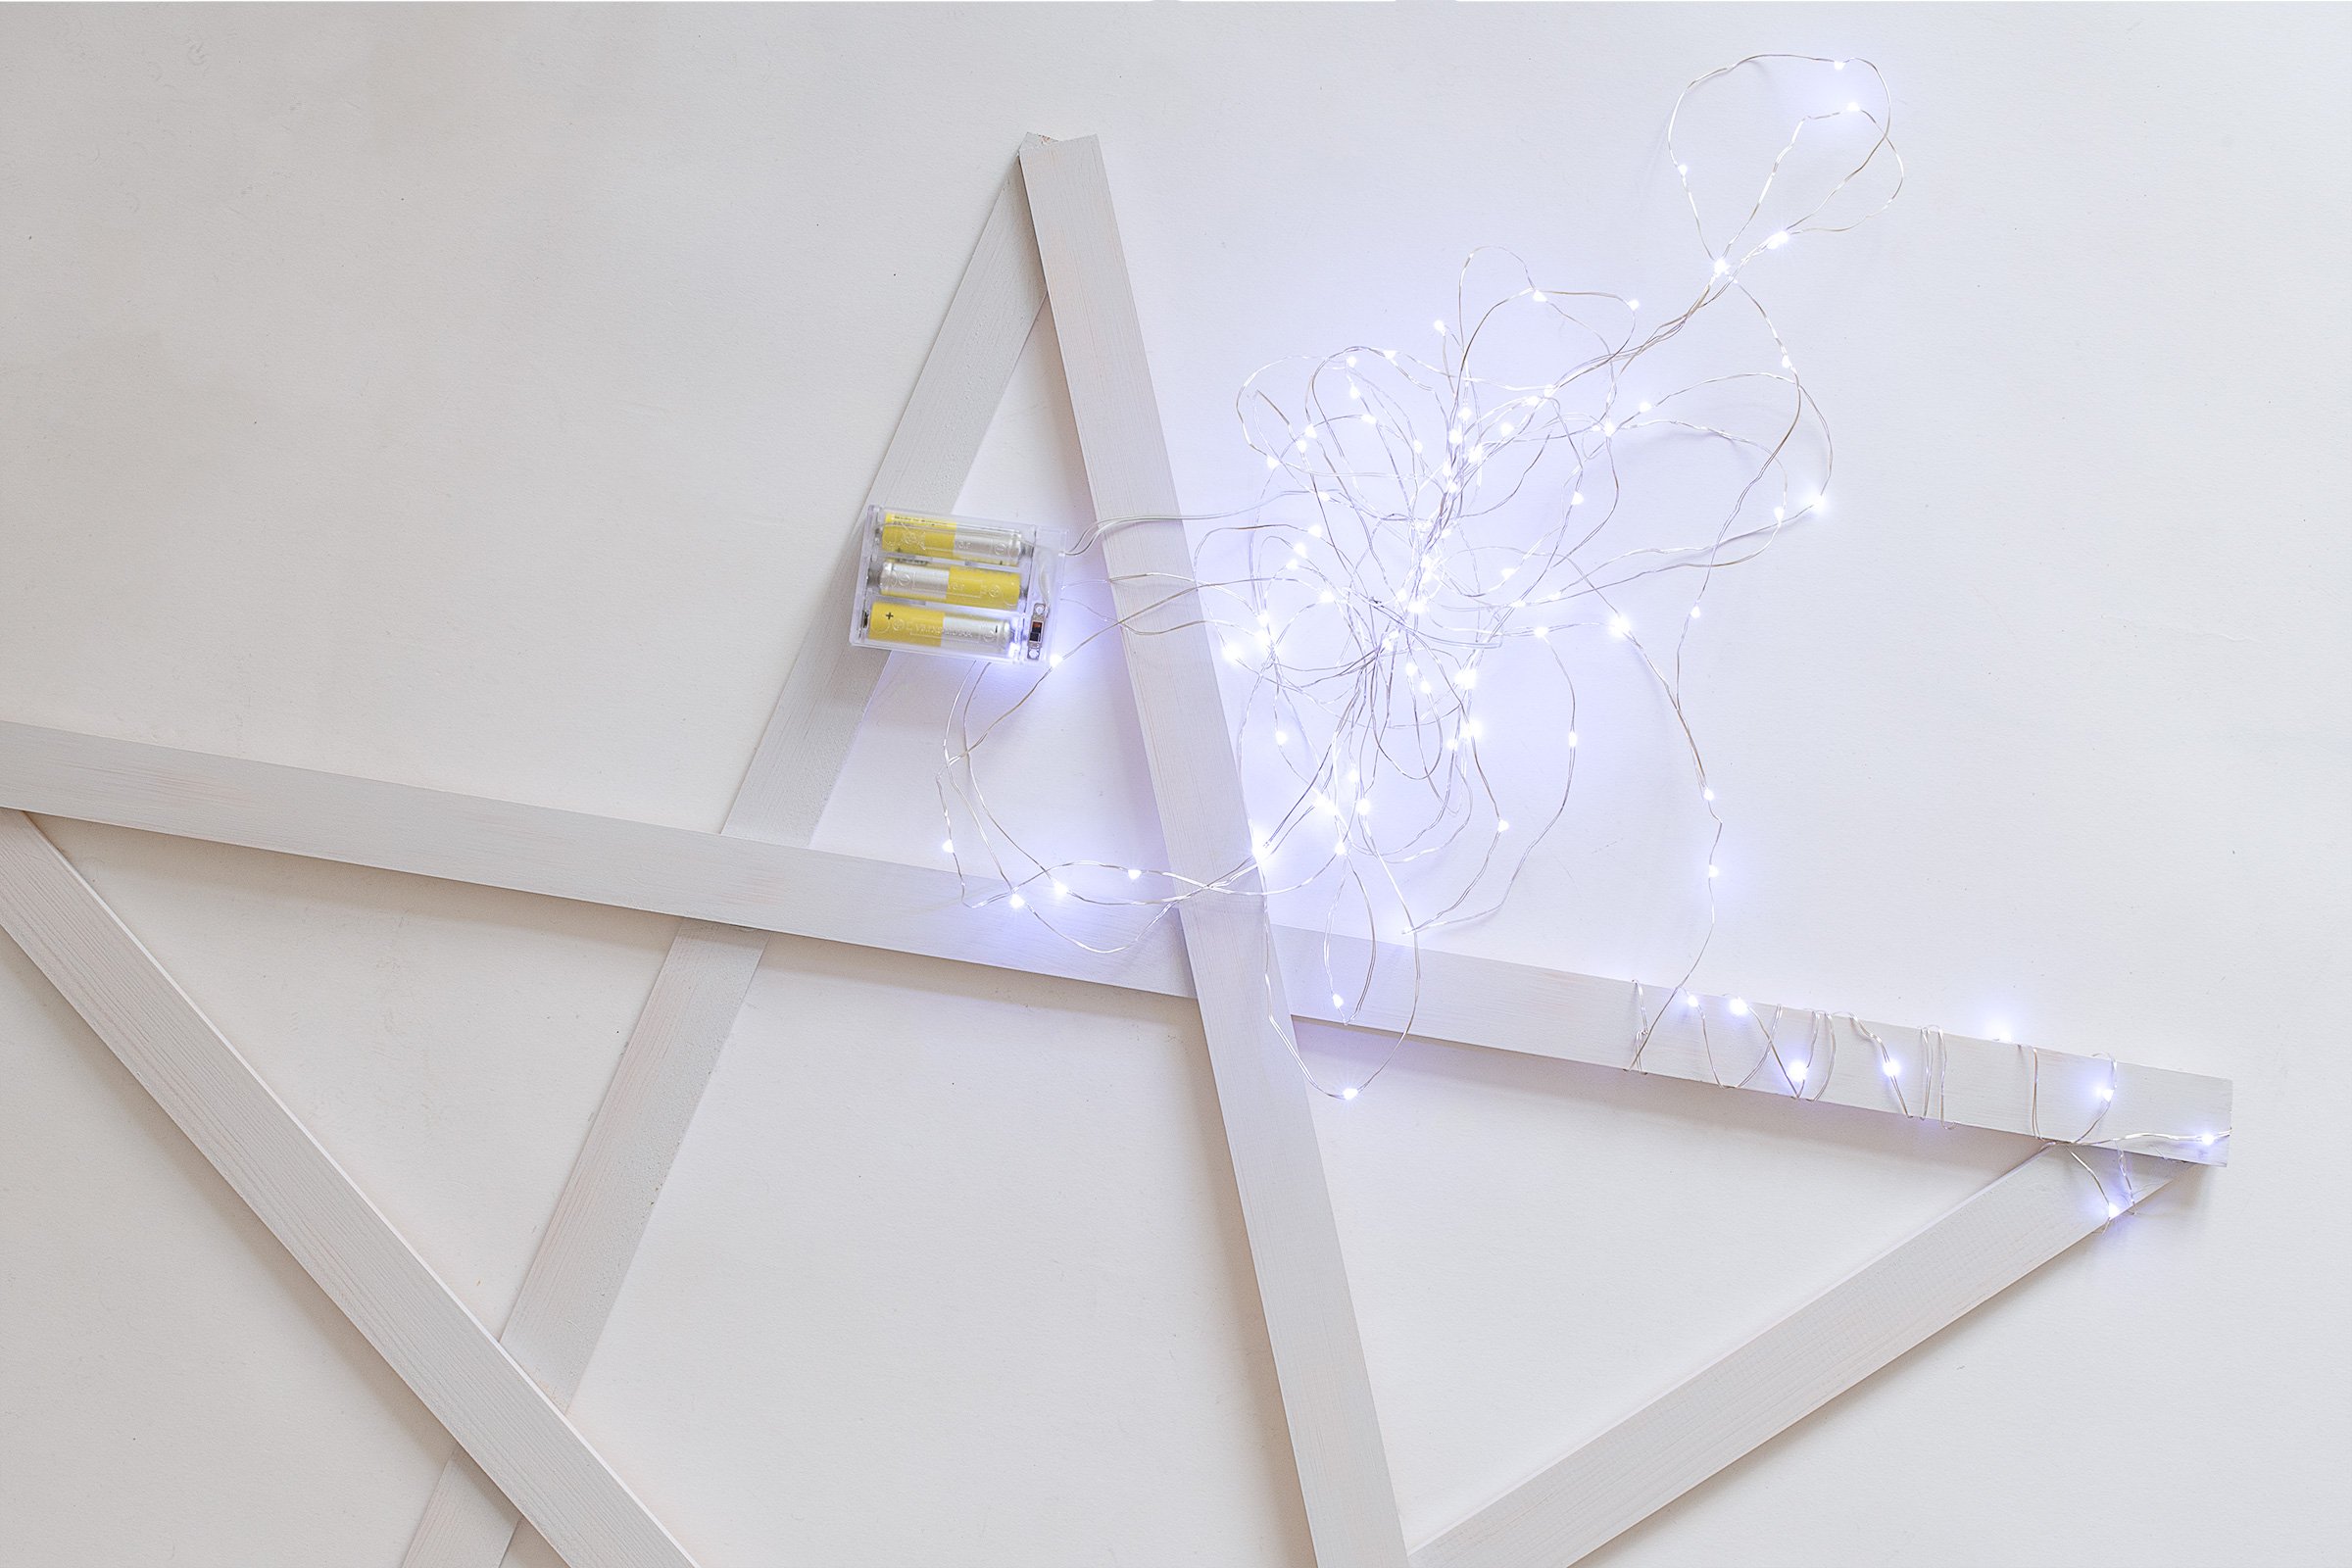
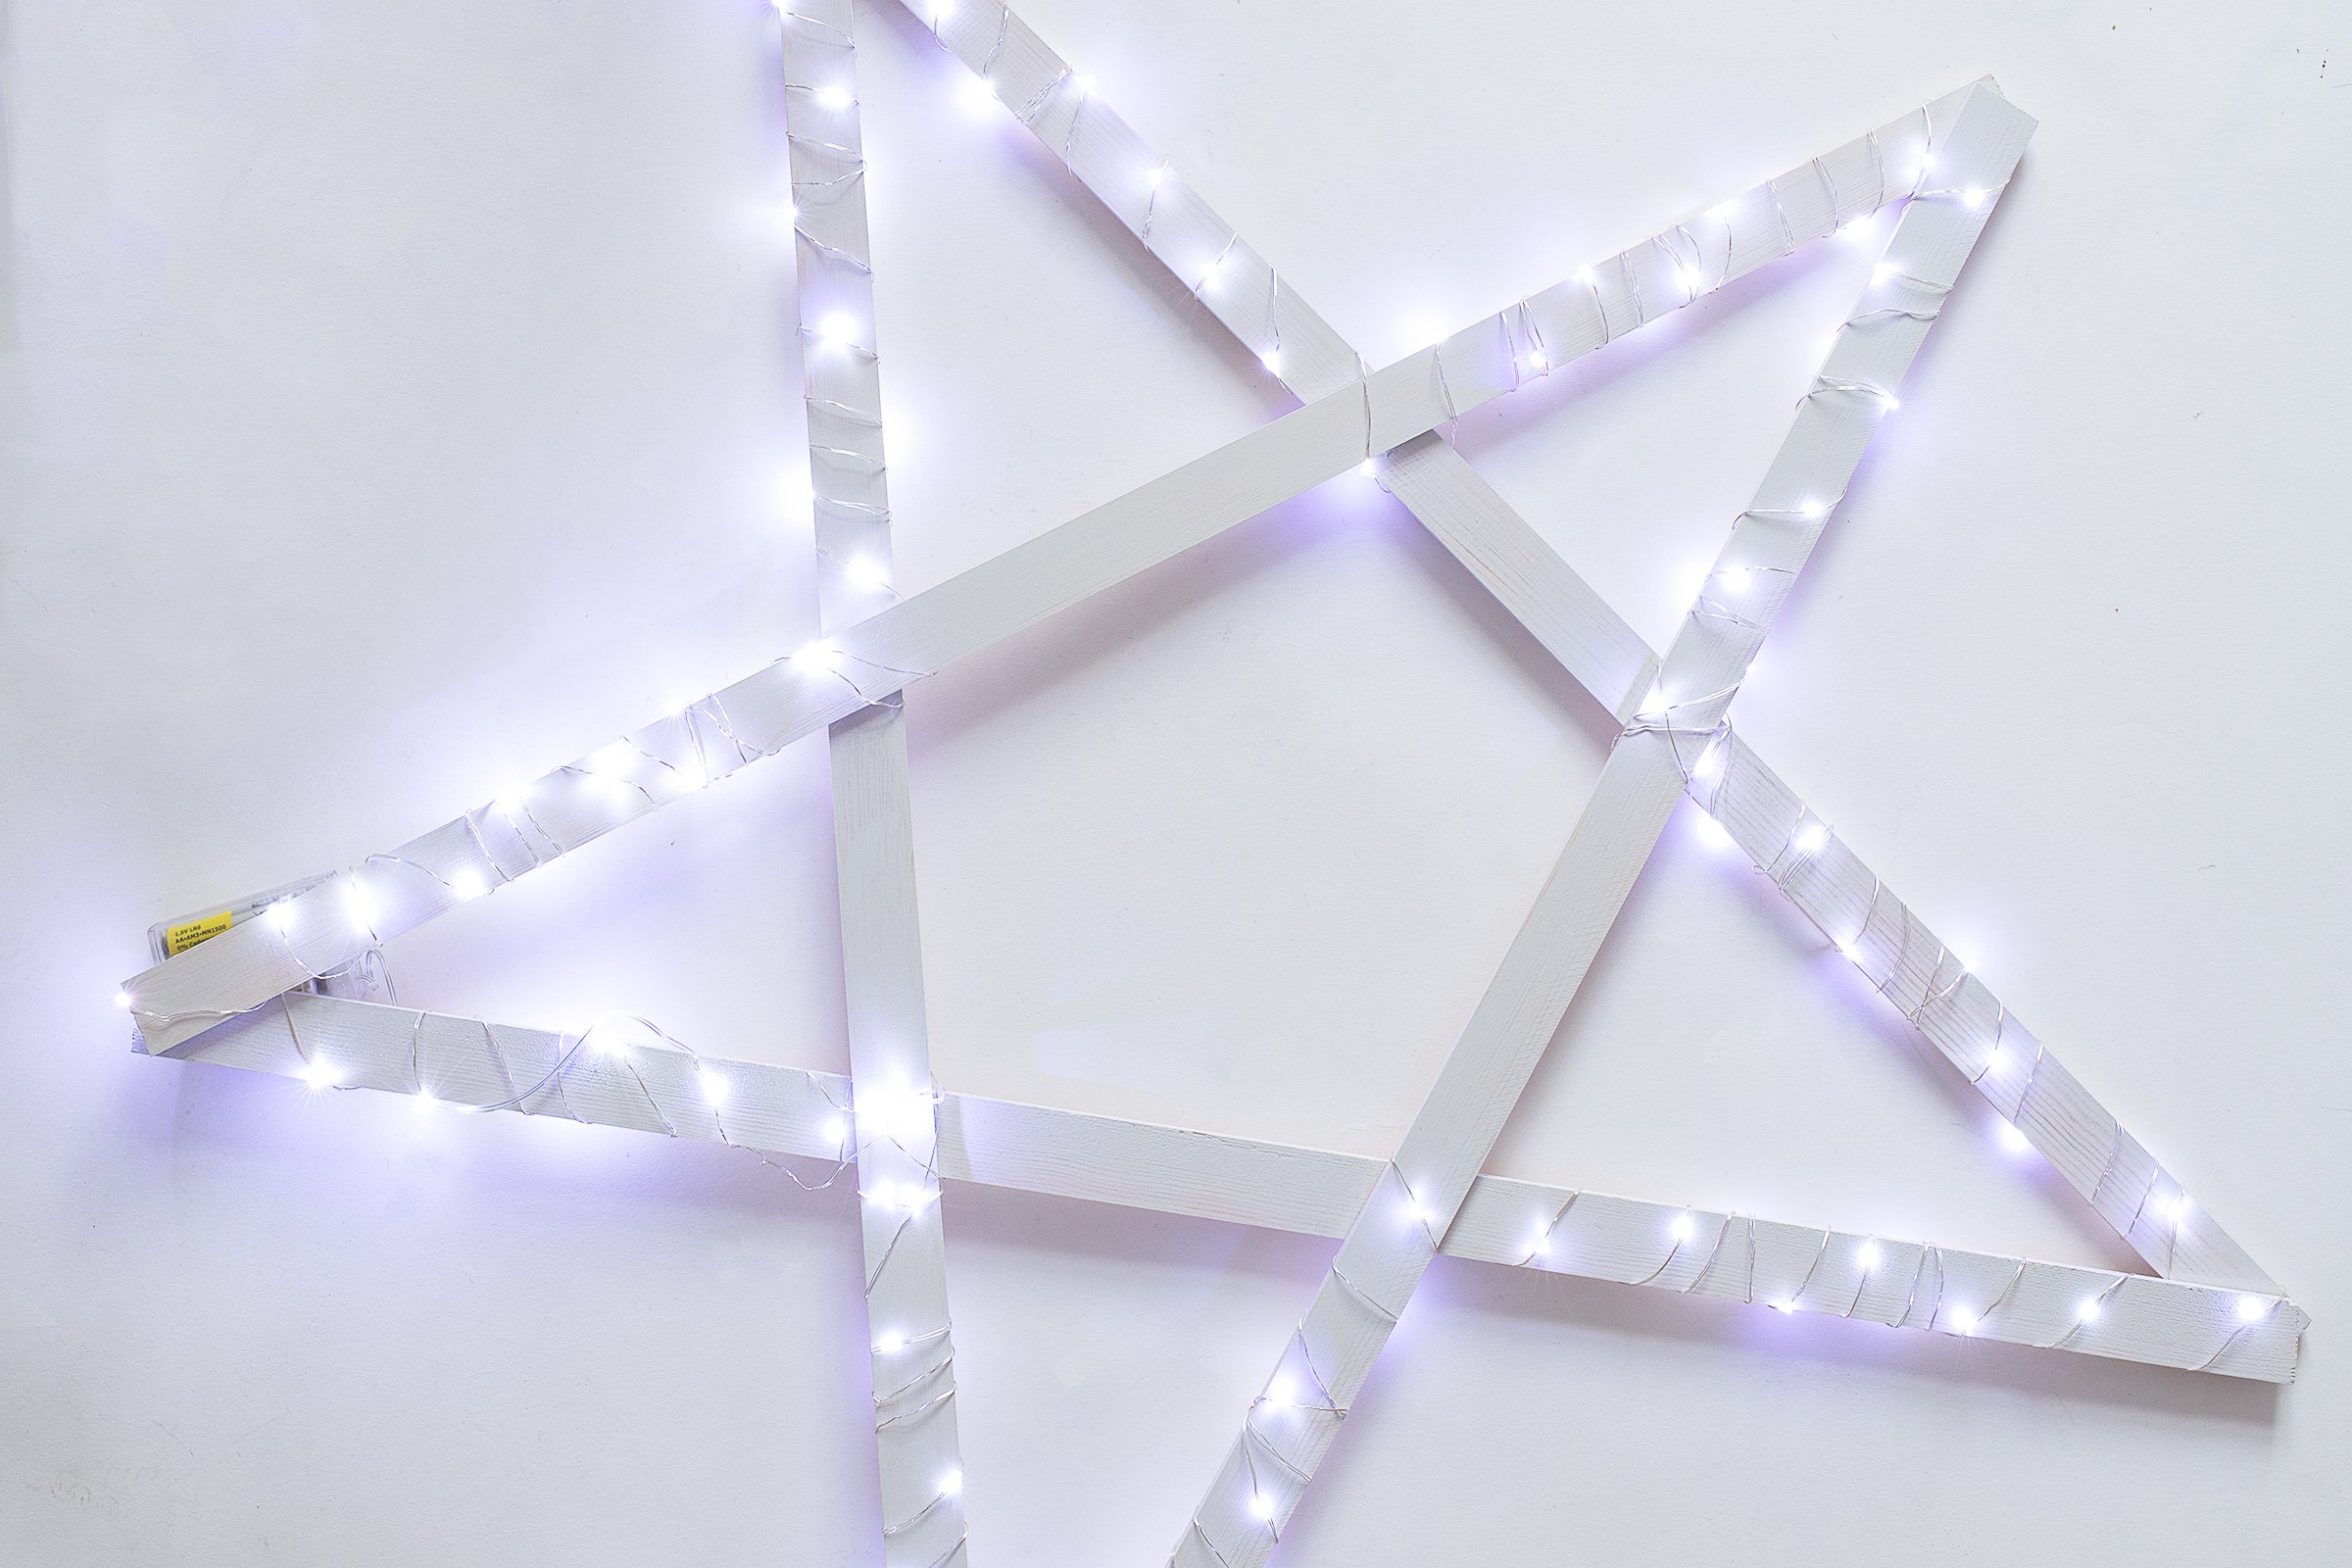
3. When you’ve stuck your star together all that’s left to do is wrap the string lights around it.
Using lights on a wire rather than a normal cable means that you can bend the lights to fit your shape exactly, and they stay in place.
Before attaching the lights, we gave our giant snowflake light a quick coat of paint with some wood paint that we had left over from another project, but that’s totally optional.
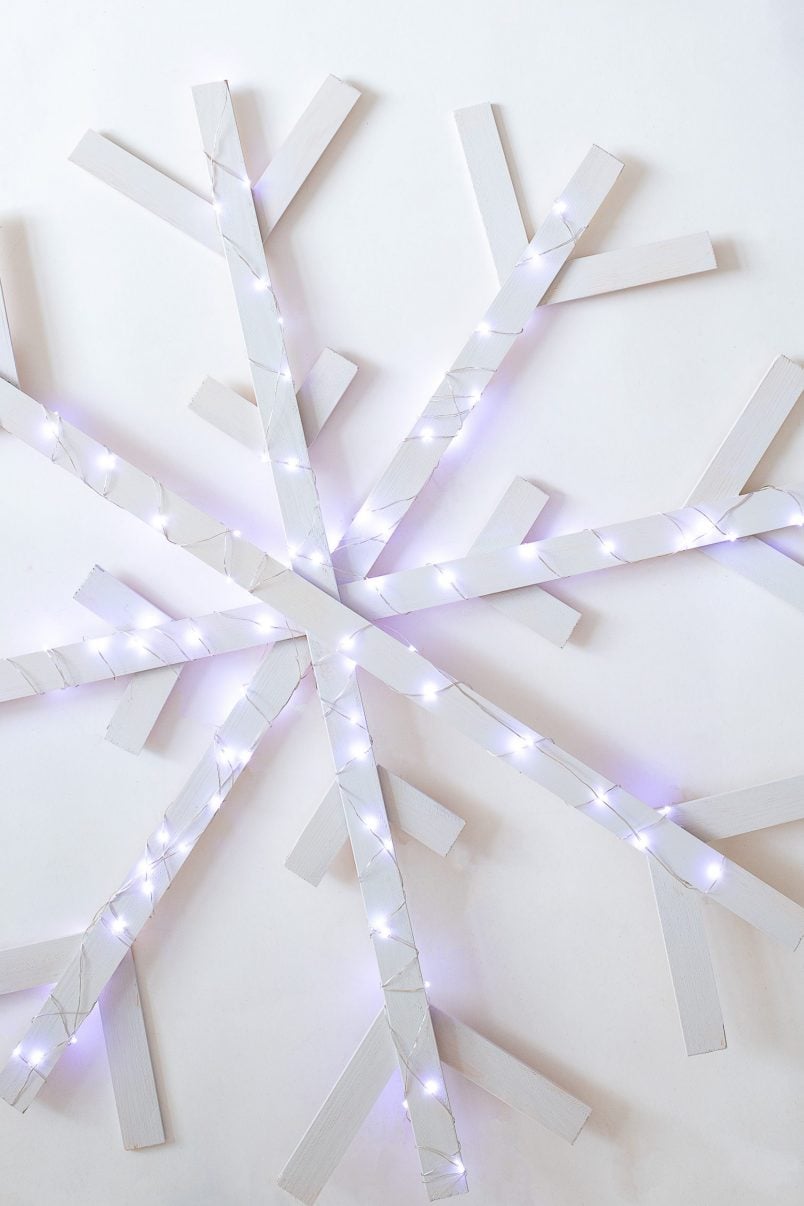
For the snowflake:
1. The giant snowflake light involves a bit more cutting, but the process is exactly the same as the star.
You’ll need 4 x 80cm, 16 x 15cm and 8 x 7.5cm pieces.
As before, cut the strips of timber to the lengths you need with the help of the jigsaw and give all of the rough edges a sand with the palm sander.
2. Glue two of the long pieces of timber together in the middle to create a cross shape. Then, add the other two long pieces at a 45° angle to the two you’ve already glued together.
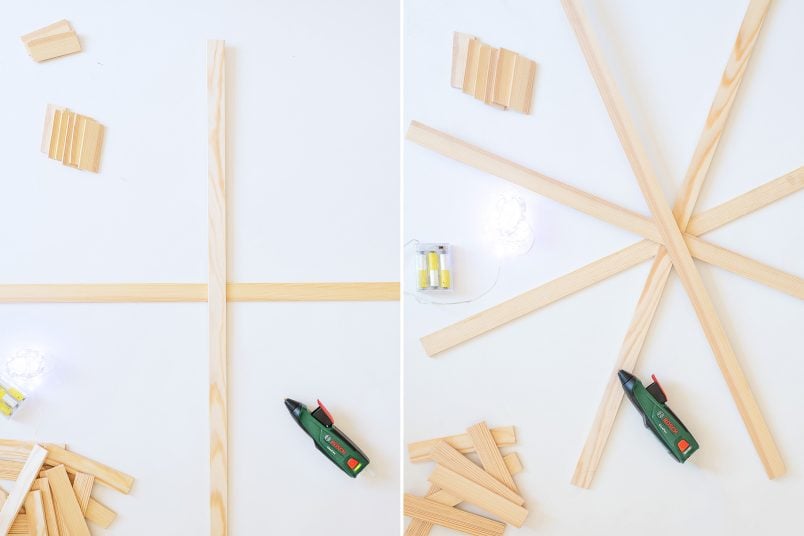
This is the basic shape of the snowflake. Then it’s just a matter of glueing the additional snowflake pieces to the frame you’ve just made with your glue pen.
You’re probably already familiar with a normal glue gun, but we used this Bosch glue pen is great and really easy to use (not that a normal glue gun is difficult). The glue pen gives you a bit more control over where you’re dabbing the glue and is ideal when you’re working precisely.
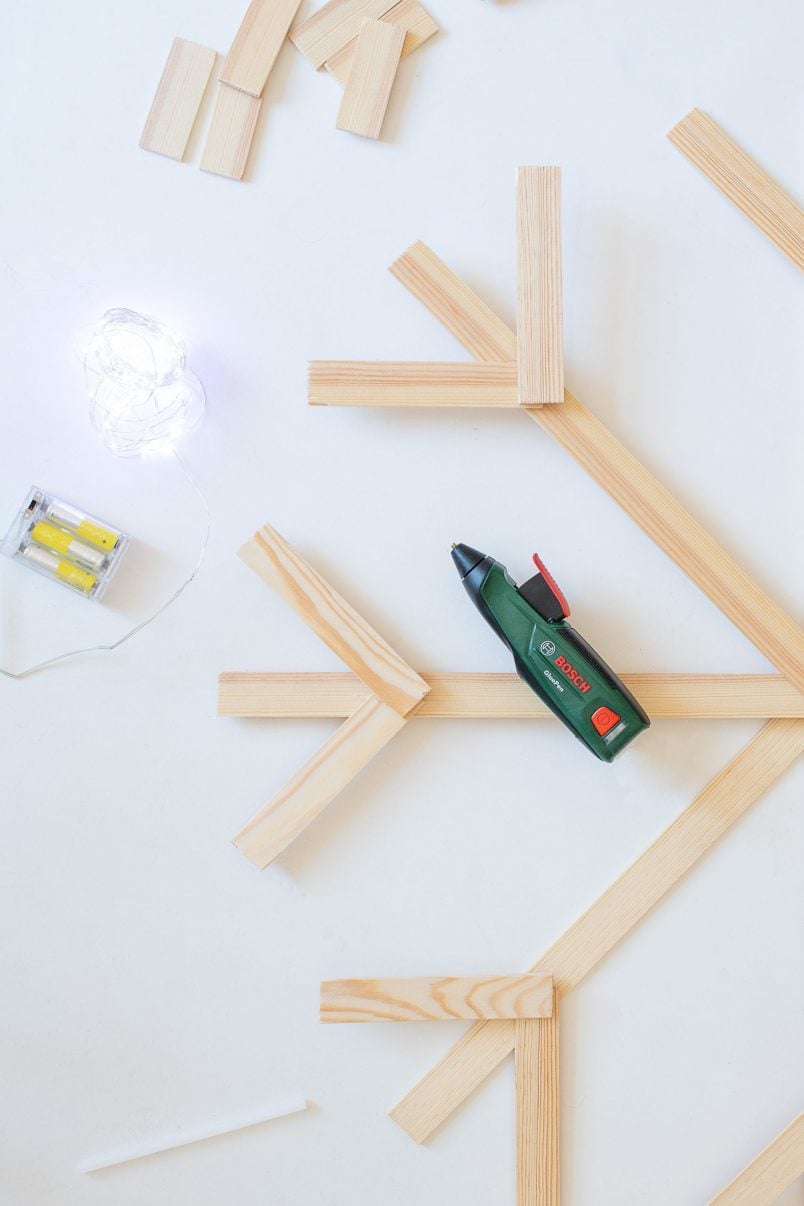
Attach two of the 15cm strips to each end of the snowflake. Then, glue the remaining short strips to the middle of every second long piece of timber. We didn’t bother to measure anything and just eyeballed the distances.
You should end up with something looking like this.

3. Now that you’ve built your snowflake, wrap the wire around it and around it before decorating your home with your new giant star & giant snowflake lights! As you can see, we opted to give our giant snowflake light a quick coat of paint, too.
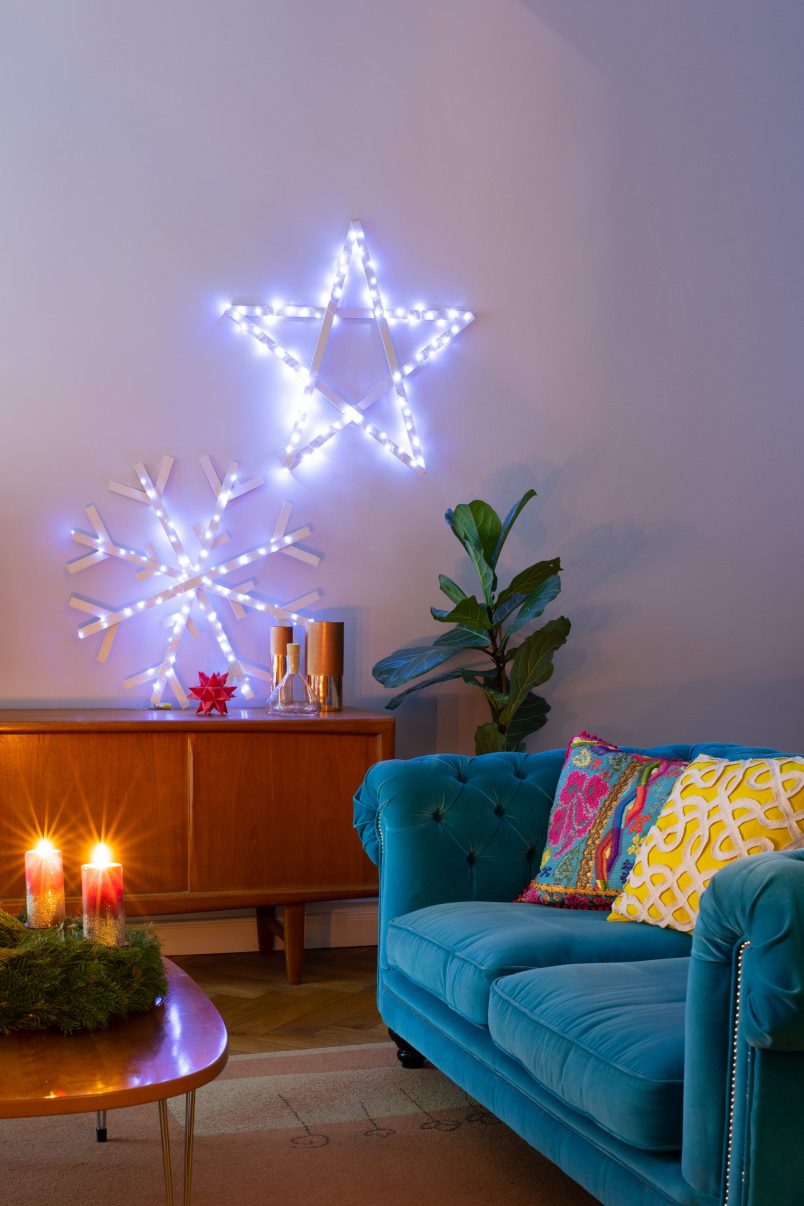
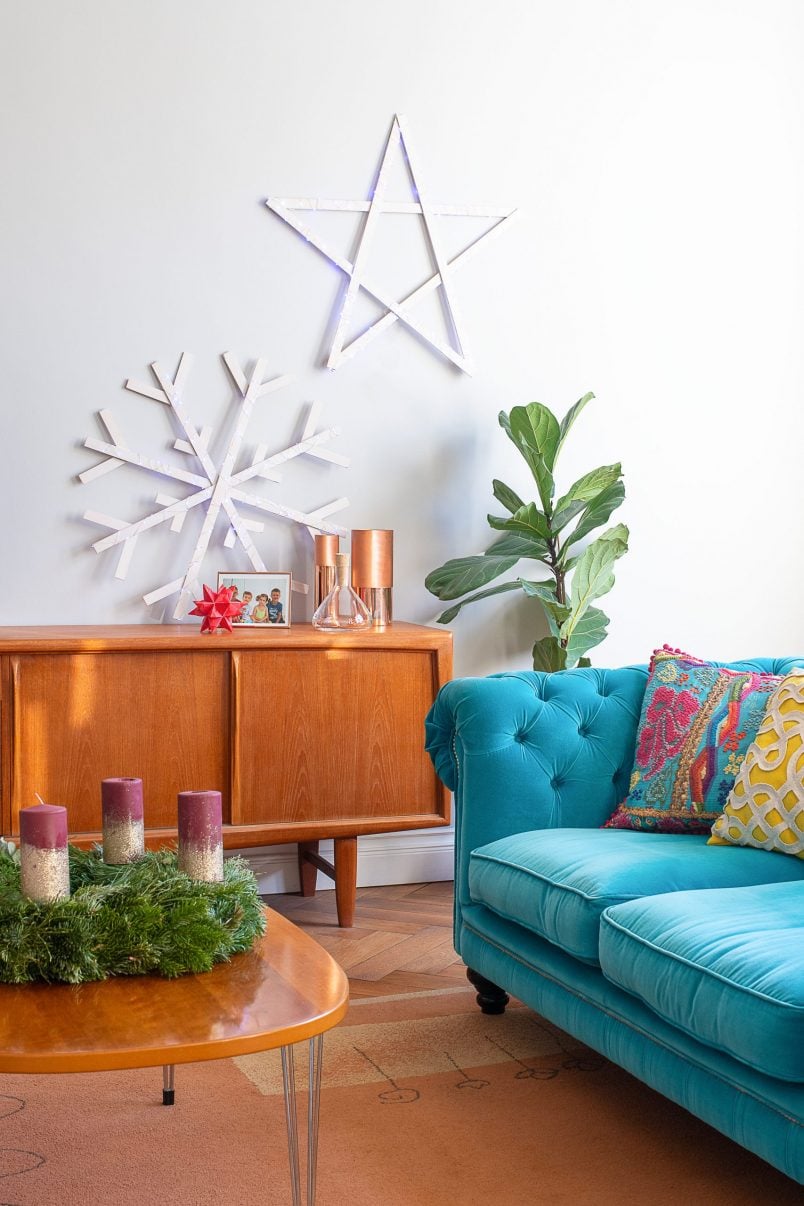
I absolutely love how these lights look in our living room. They’re so fun and festive, and I totally admit that I’m tempted to leave them there all year round!
With our Christmas decorations finally sorted, it’s probably about time that I started to get the rest of our home prepared for our guests.
I’ve managed to work out where everyone is sleeping, and our drinks order has arrived, but I still have absolutely no idea how much food I’ll need to get for 13 people! I’m sure it’ll all going to be loads of fun, though!

If you fancy some more DIY inspiration, it’s definitely heading over to the Bosch website for lots more inspiration and creative ideas!
We’d love to know what you think of our DIY giant star & giant snowflake light! Make our day and leave us a comment!
Have you already decorated your home for Christmas? What will you be doing this Christmas? Will you have the house full of guests like we are, or will you enjoy a slightly more relaxing festive break?

Deanna Redenbach says
I get so many cardboard boxes from purchases that I decided to cheapen this idea up by using cardboard instead of the wood. This would not be as good as the wood but would last in a sheltered place for the holidays. Easy to throw away after the holidays. Love the article, thanks
Dpopcorn
Christine says
That’s a fantastic idea, Deanna! You don’t need much wood so it isn’t too expensive to make but cardboard boxes are a great idea!
Would love to see a picture if you make them :)
Cx