We love large-scale, full-on building projects like knocking down walls and building roofs, but it’s great to work on more creative projects every now and then, too. Last week, we shared our new DIY console table with a gorgeous concrete top, which we absolutely loved, and now we’re sharing another fun and super quick project – our new modern geometric DIY serving tray.
I’d seen something similar a while ago when browsing Pinterest, and being stingy as usual, I figured instead of paying a small fortune for a designer serving tray, I could just build my own. And that’s exactly what we did!
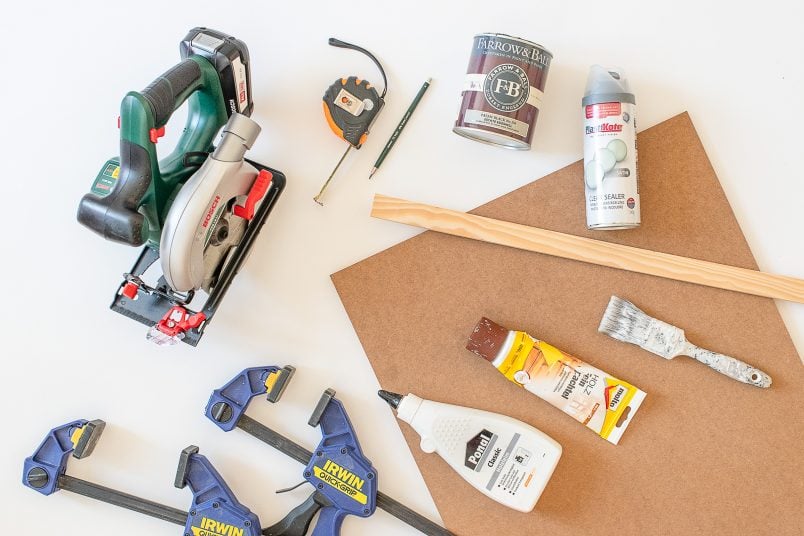
If you’d like to make your own geometric DIY serving tray, this is what you will need:
This post contains affiliate links. We only recommend products we love and think that you will, too! Read our full disclaimer here.
- 12mm MDF Board (600 mm x 500 mm)
- Strip of timber – 5 mm x 30 mm x 240 cm
- Primer – especially important when painting MDF
- Paint – we used Farrow & Ball Estate Eggshell in Paean Black (It’s the colour we used for our front door makeover, too)
- Sandpaper – 120 grit and 240 grit
- Wood glue
- Masking Tape
- Mitre saw – Next to our cordless drill, our mitre saw is easily our most used tool!
- Circular saw
- Wood Filler
- Paintbrush – we always use our Purdy brushes, which we love!
This is how to make your own modern geometric serving tray:
Draw, Measure & Cut The Base
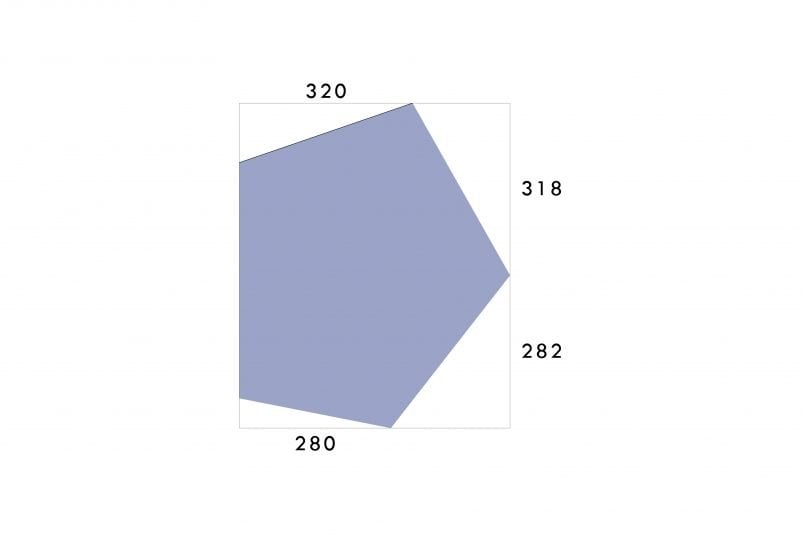
Start by drawing your design onto your MDF board. As you can see, I drew fairly random lines to create a shape and kept adjusting them until I had a design I was happy with.
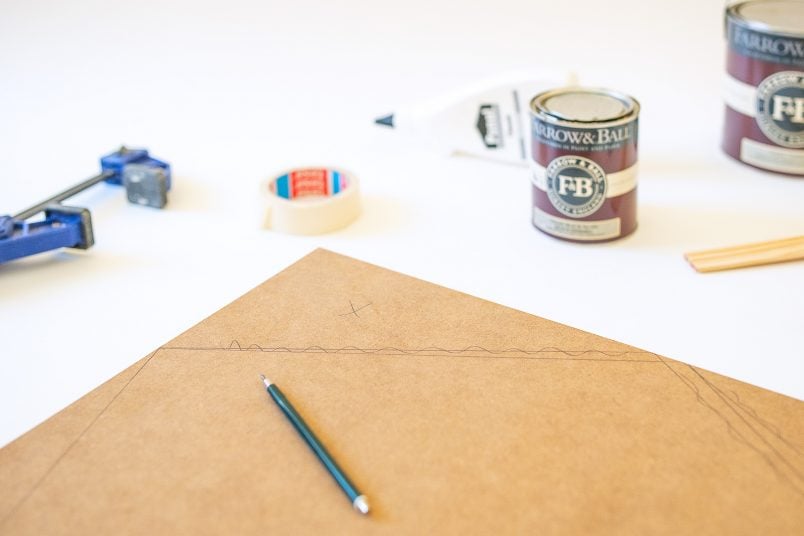
I didn’t bother to measure anything, but if you do want to make a serving tray that’s exactly the same as ours, here are the measurements that we used. The overall board is 600 mm x 500 mm.
After drawing the shape of your tray onto your MDF board, it’s time to get cutting. We used our cordless circular saw to cut along the lines we’d drawn.

I’m always picky when it comes to finishes, but you really do have to cut straight edges for this serving tray as any imperfections will really affect the overall finish.
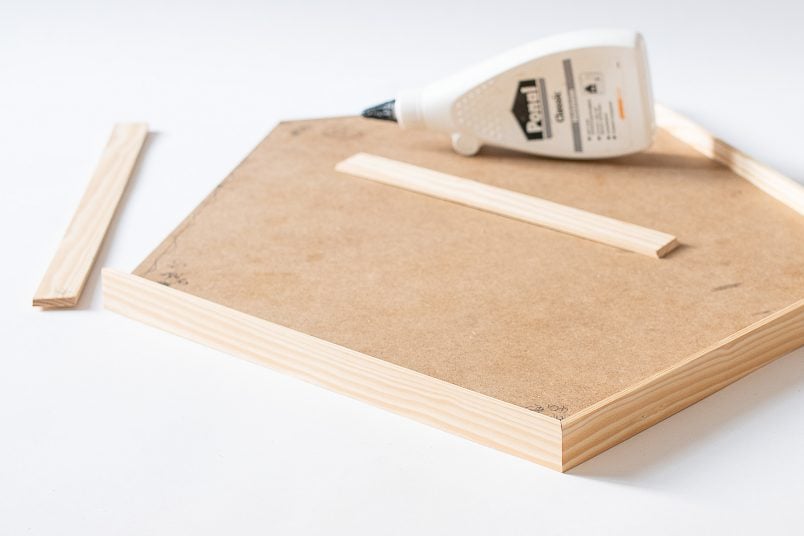
Cut & Attach The Edging
Next, cut the strip of timber for the edge of the tray. Carefully measure the angles of the base of the tray you’ve just prepared, and then cut them with your mitre saw.
You could cut them by hand with a fine saw and mitre box, but I’d definitely recommend using a mitre saw for this project as it’ll make it much easier to cut precise angles and quickly trim off any excess if you’ve not cut correctly.
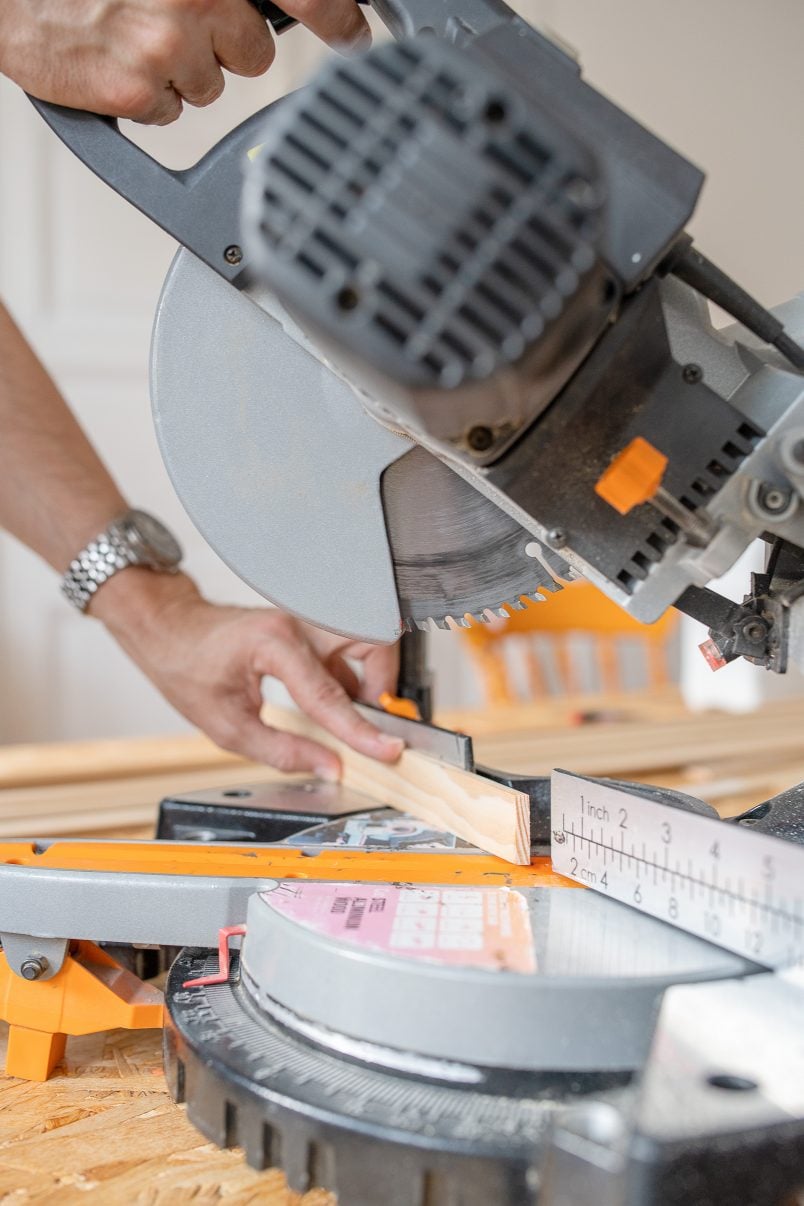
Our mitre saw is actually one of our most used tools (we’ve used it for everything from installing wall panelling and building a slatted garden fence right through to updating our Ikea Hemnes chest of drawers with cane webbing and building our ribbed coffee table.
Use a protractor to measure the angles. Then divide the measured angle (of the whole corner) into two and add 90°. This will give you the exact angle at which you have to cut the end of the timber edging strip.
I’m not going to lie, calculating the angles is a complete pain and nearly ran out of the edging strip I bought because I made a couple of wrong cuts. As much as the calculations made my head hurt, the actual cutting was super straightforward. Just adjust the angle on your mitre saw and cut the timber.
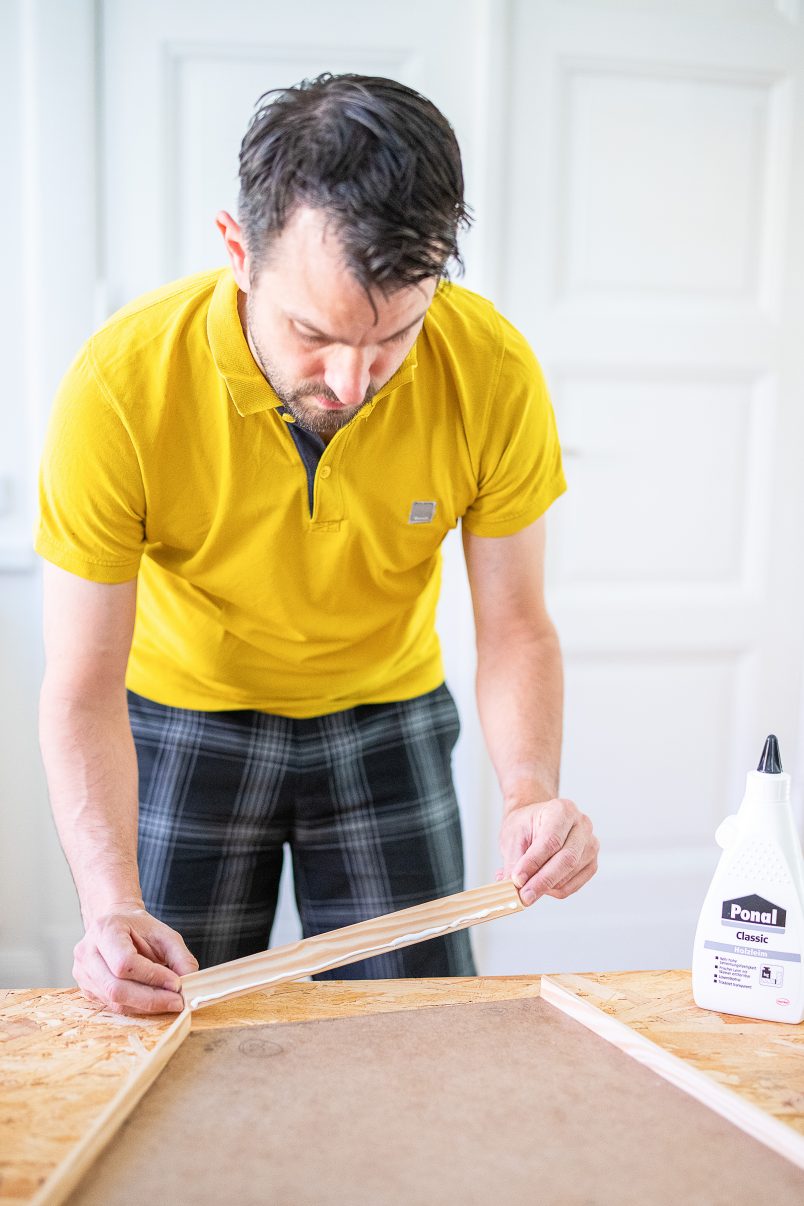
Next, make sure that the angles fit perfectly together before giving them a light sand to remove any rough bits and glue them to the side of the tray with some wood glue.
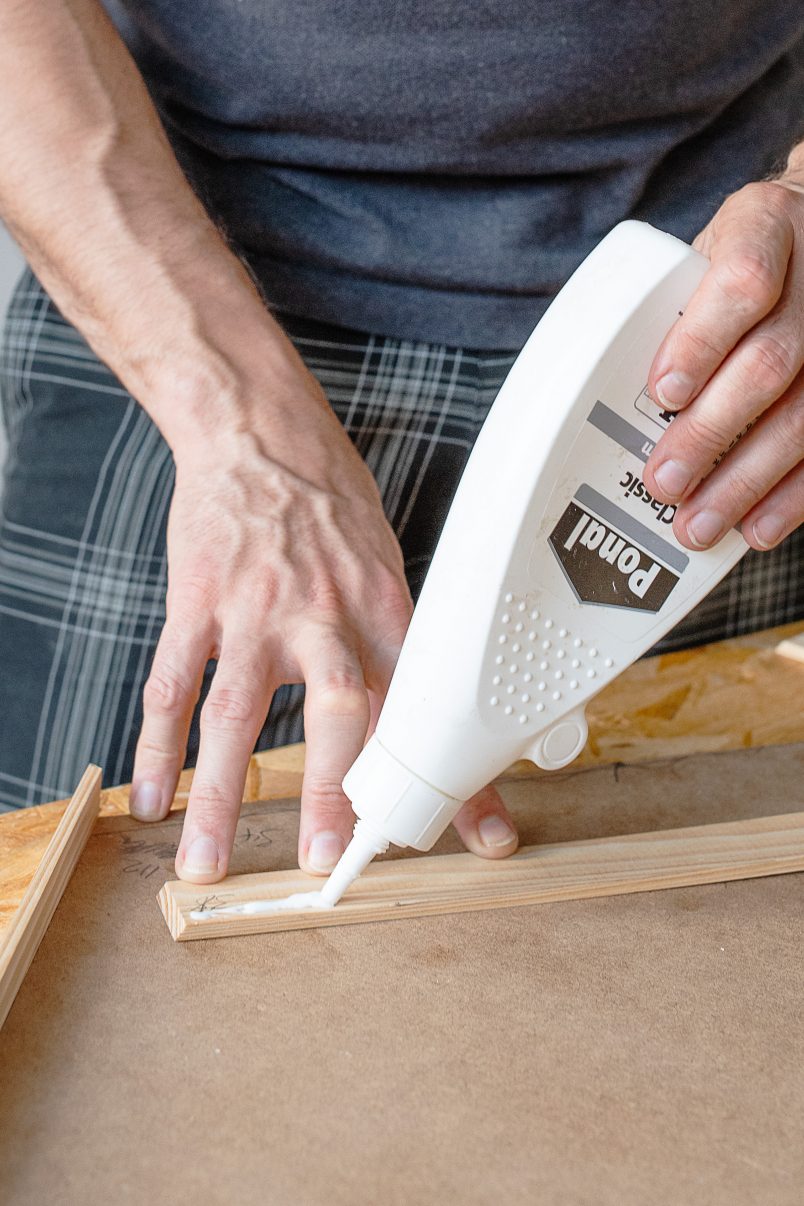
Clamping at an angle is difficult, so we used masking tape to hold the pieces in place while the glue dried. Work your way around the edge of the tray, cutting and glueing each piece of edging in place.
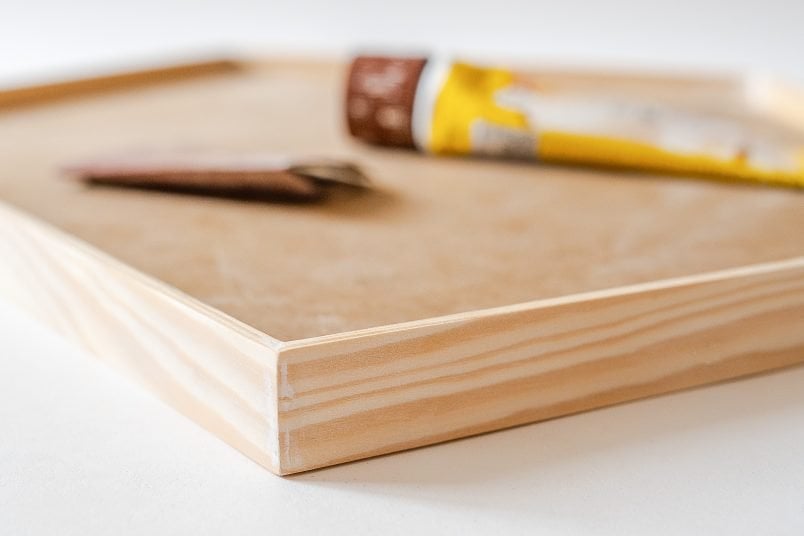
Fill Any Imperfections & Sand
Once all edging strips are glued to the base of the tray, fill any small gaps and imperfections with some wood filler. When it’s dried, give the whole tray a sand with some medium grit sandpaper (around 120 grit) until it’s completely smooth and there are no rough edges or lumps of filler.
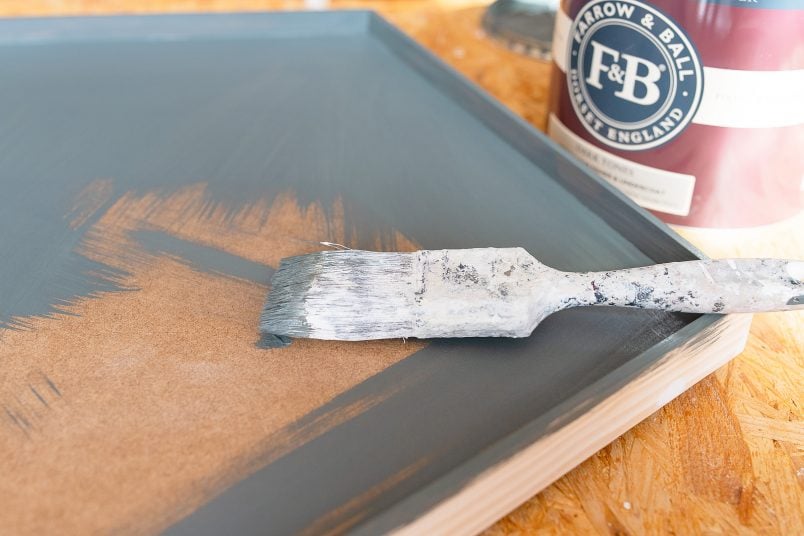
Paint
The last step is to paint and varnish your geometric DIY serving tray. Make sure that the surface is clean and dust-free before giving it a coat of primer.
We used Farrow & Ball dark undertones primer, which we had left over from painting our kitchen cabinets, but any primer that’s suitable for MDF will work.
After letting the primer dry, give everything another very light sand with some fine sandpaper (about 240 grit) to remove any imperfections and air bubbles. Wipe it all clean, and then apply a couple of coats of your chosen paint finish.
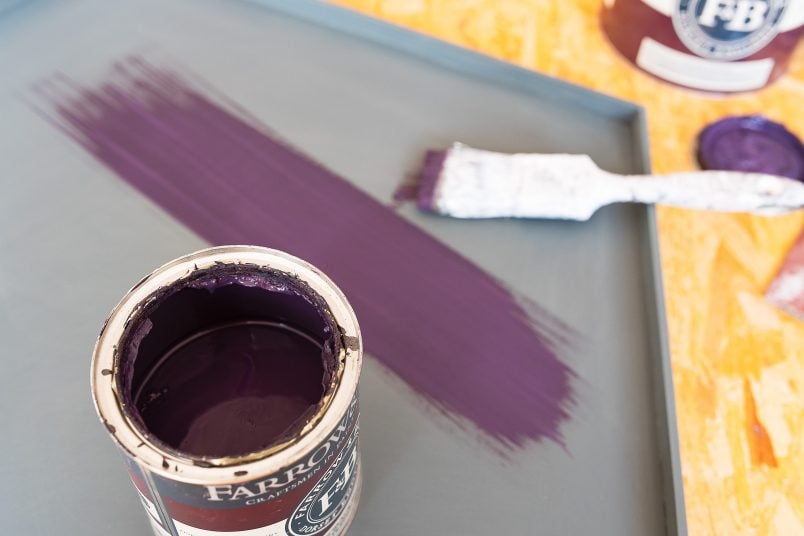
We opted for Farrow & Ball Paean Black Estate Eggshell for wood, which is a gorgeous rich purple-black auberginey colour.
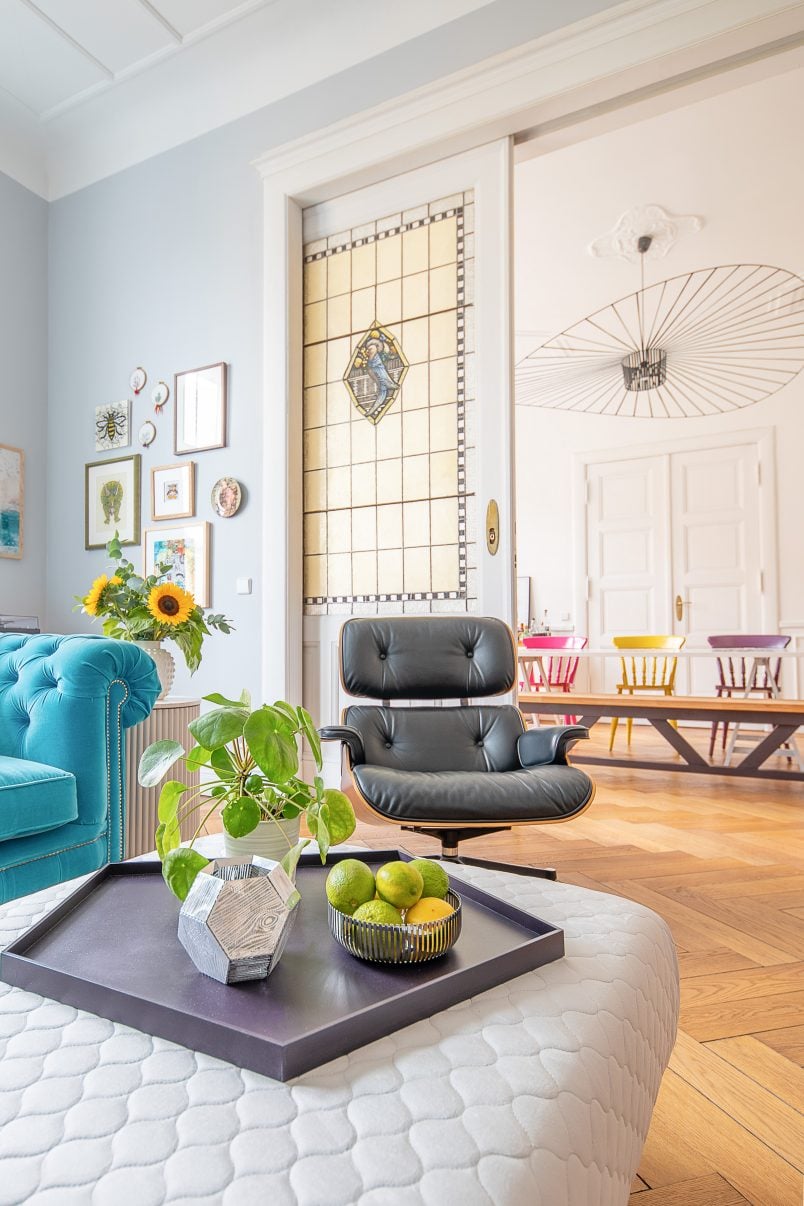
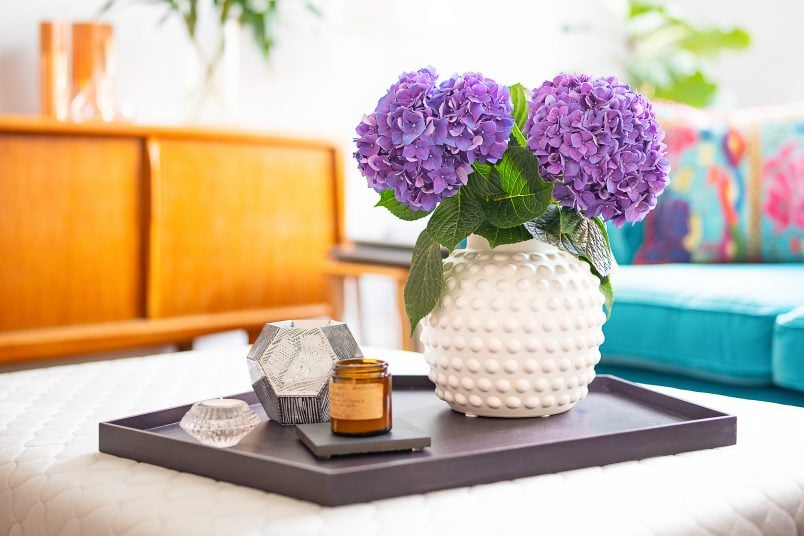
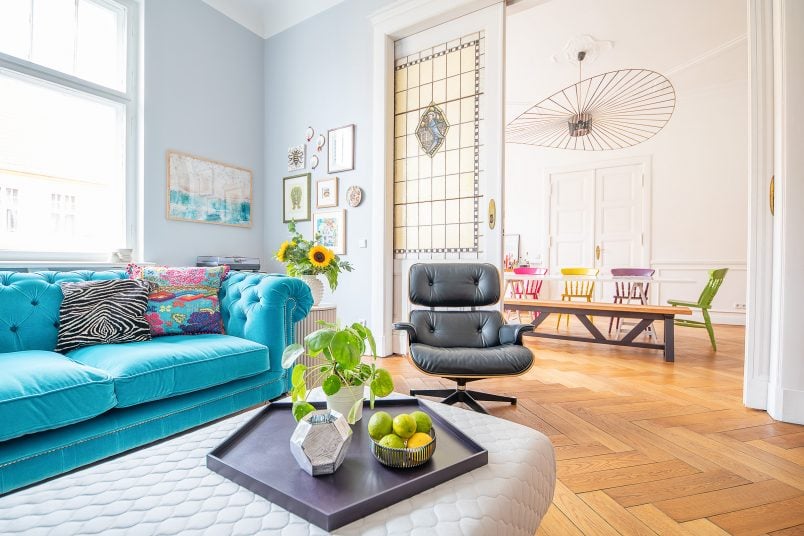
And that’s all there is to it! The tray looks great on our new ottoman (more on that project soon) and is the perfect spot to rest your wine glass in the evening. As well as being super quick to build – it only took about an hour to an hour and a half to build the tray (plus drying times) – it’s a super affordable project, too!
Cost Breakdown:
MDF – 3.60€
Timber edging strip – 2.60€
Sandpaper, filler & wood glue – 1€
Primer, paint & spray varnish – 2 – 3€ (we had paint leftover from previous projects)
Total: about 10€
As you can see, it really doesn’t get much more affordable when it comes to creating something totally bespoke, stylish and practical for your home.
Would you have guessed that our new geometric serving tray is so easy to build? With the holidays just around the corner, don’t you think this would make a great Christmas gift?

Marcel says
Hi Christine, This is just what the doctor ordered. After recently doing a refurb on an apartment I need something easy to make. This geometric serving tray is perfect. Btw have you seen investorgirlbritt on IG? You’ll love her. She has very cool time lapse vids. Btw I can’t wait to check out the rest of your site. Thanks Marcel
Christine says
Thank you for your kind comment, Marcel! No, I’ve not checked out the Insta lady you recommended but I’ll definitely have a look! We keep meaning to share more videos (we have a few in the pipeline) but it’s so hard to make anything that’s actually watchable :)
Cx