[Ad – This post is in collaboration with Bosch Home & Garden and may contain affiliate links. Read our full disclaimer here.]
Autumn is my favourite time of the year. I love how the leaves on the trees change colour, how you get amazing sunny days with crisp fresh air and, honestly, there’s nothing better than cuddling up in front of the fire with a glass of something delicious.

But, before we start to hibernate for the winter, we’re trying to make the most of our balcony and are tackling a few projects that will help us create an outdoor space to enjoy and give us somewhere pretty to relax even in the colder weather.
We upgraded our hammock with a super warm and fluffy fur throw (faux, of course), we have a gorgeous new outdoor rug and we built 3 easy DIY outdoor lanterns that make the space feel really cosy and welcoming.

Creating a cozy space was top of our priority list this year, but there are a few home maintenance jobs that have to be tackled around this time of year, too.
Yes, I know that home maintenance probably doesn’t sound like the most fun way to spend a couple of hours but it’s important to keep your home looked after as it will save you a lot of hassle and money in the long run.

And, to make keeping your home and garden maintained as easy as possible, we’ve put together a free autumn home maintenance checklist that you can download at the end of this post to help keep on top of all of the jobs that you need to get done!

As we currently live in an apartment, our autumn home maintenance is mainly focused on getting our balcony ready for the autumn, and before we could create a cosy space to relax and enjoy the last few days of sunny weather, we had a couple of small things to take care of first.
If you’ve been following us for a while, you’ll already know that we’re huge fans of the Bosch 18V POWER FOR ALL range (our first-ever power tool was actually a Bosch cordless drill!) which also includes lots of tools that are perfect for outdoor maintenance throughout the year.
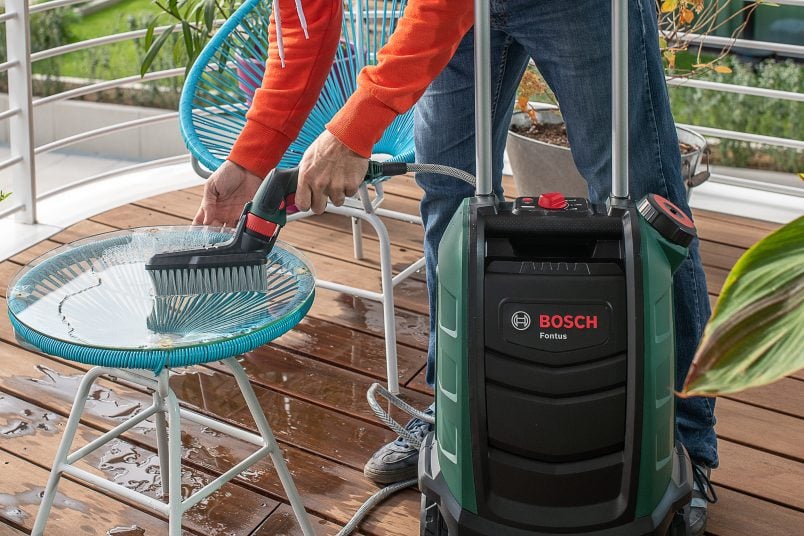
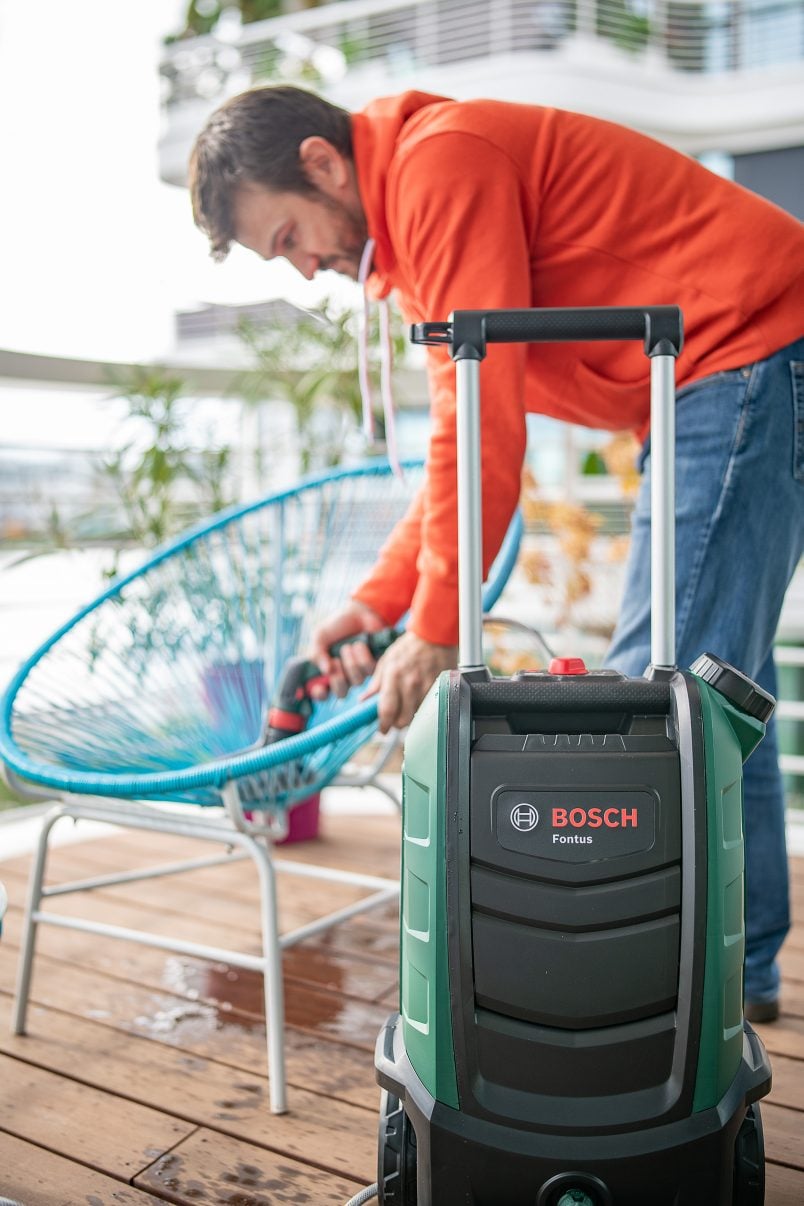
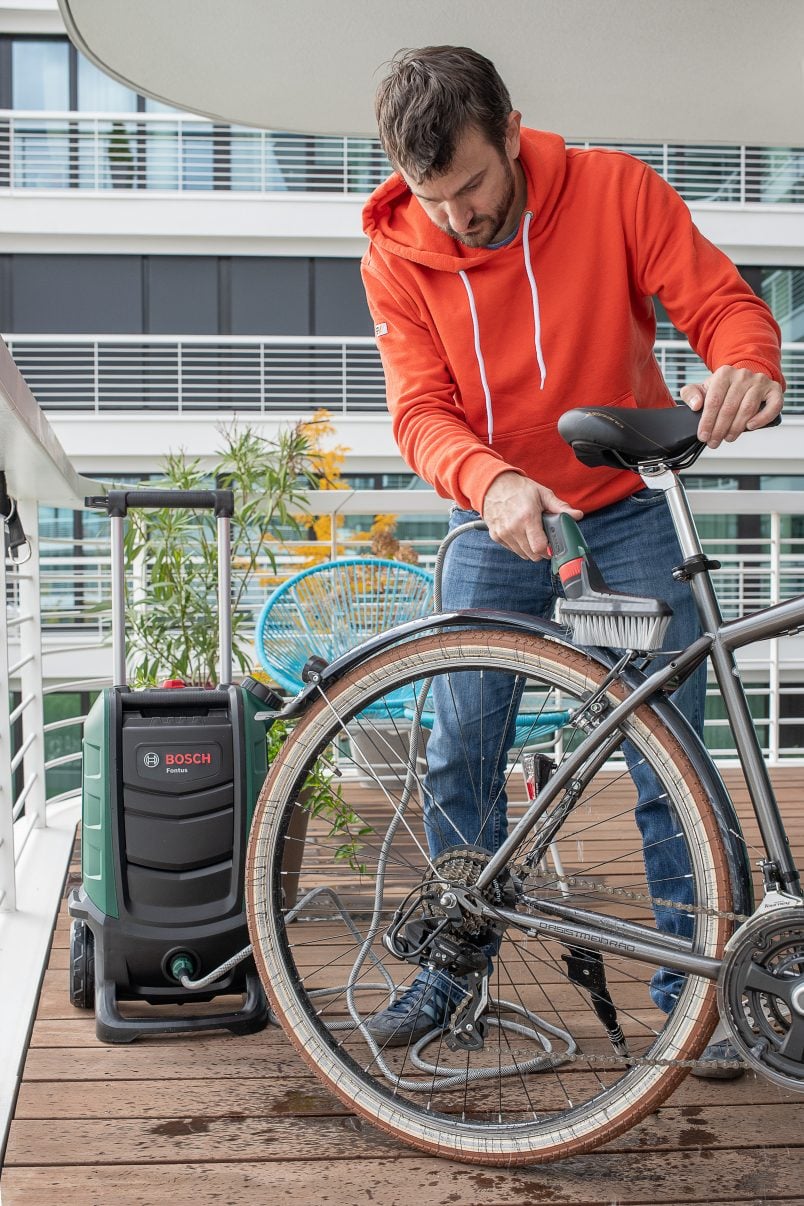
One of their newest tools is the Bosch Fontus cordless outdoor cleaner which we tested and absolutely love. It’s so versatile and, because it’s battery powered, you can take it everywhere with you making it really flexible when you’re out and about, too!
First up on our to-do list was cleaning our garden furniture before storing it for the winter. We don’t have a water connection on our balcony, so the Bosch Fontus is ideal for us as it has a built-in water tank. This means that it’s perfect for cleaning at home or on the go even when you don’t have a water or electrical supply!
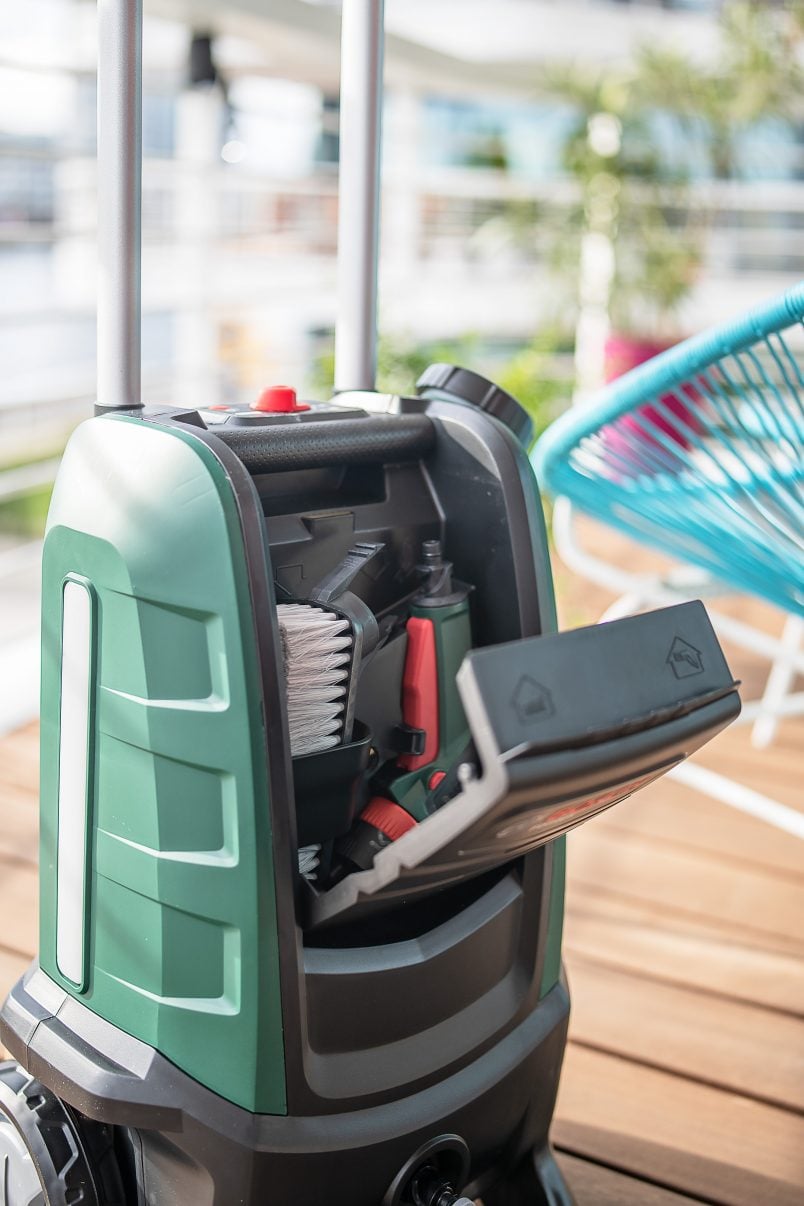
Because of the built-in tank and the fact that it’s battery-powered, it’s also the perfect tool to keep in the boot of your car. It has a gentle setting which makes it ideal to clean dirty paws after a muddy walk or your feet after a day at the beach. Oh, and it almost goes without saying that it’s cleverly designed, so it has built-in storage for all of the accessories it comes with.
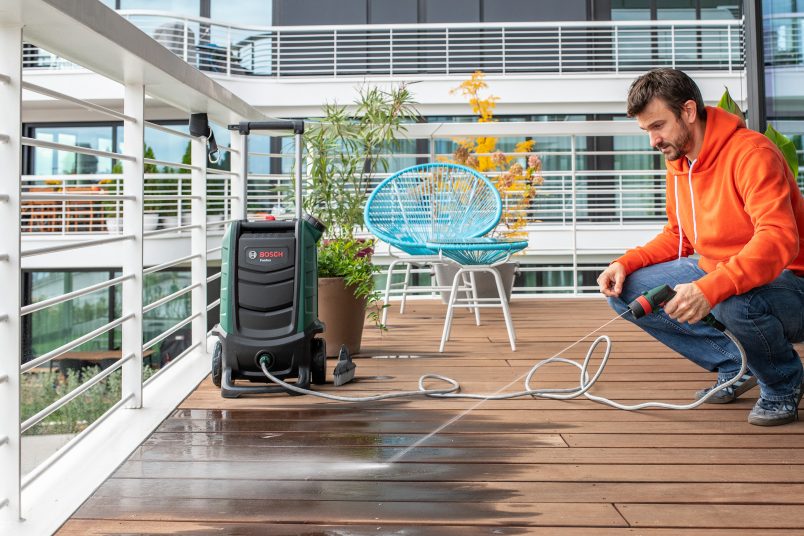
Another box to tick on our autumn checklist was giving our decking a clean.
Inevitably, there are always more than a few dirty spots where plant pots stood or flowers and leaves got stuck to the timber decking.
The pressure of the Fontus can easily be adjusted, which means that it’s great to use on decking, and after a quick spray, our decking looked as good as new!
Oh, and while we were busy cleaning, Jan couldn’t help giving his new bike a clean, too. He’ll be using it throughout the autumn and winter, so strictly speaking, it’s not something that has to be on your autumn maintenance checklist, but the Bosch Fontus cordless outdoor cleaner works so well and has so many clever attachments that we couldn’t resist trying it out on Jan’s bike, too.
Bosch Home & Garden makes so many clever 18V cordless tools that all use the same battery, and it’s definitely worth heading over to their website to take a look at the huge range of tools they have. Did you know that there’s even a Bosch cordless lawn mower?! Yep, no more accidentally chopping through cables!
Obviously, there are a lot more autumn home maintenance boxes to tick, and to make things as easy as possible, we’ve created a printable autumn home maintenance checklist for you to download and print so that you don’t forget any of the jobs you have to tackle before winter. Just click the button below to get your free home maintenance checklist!

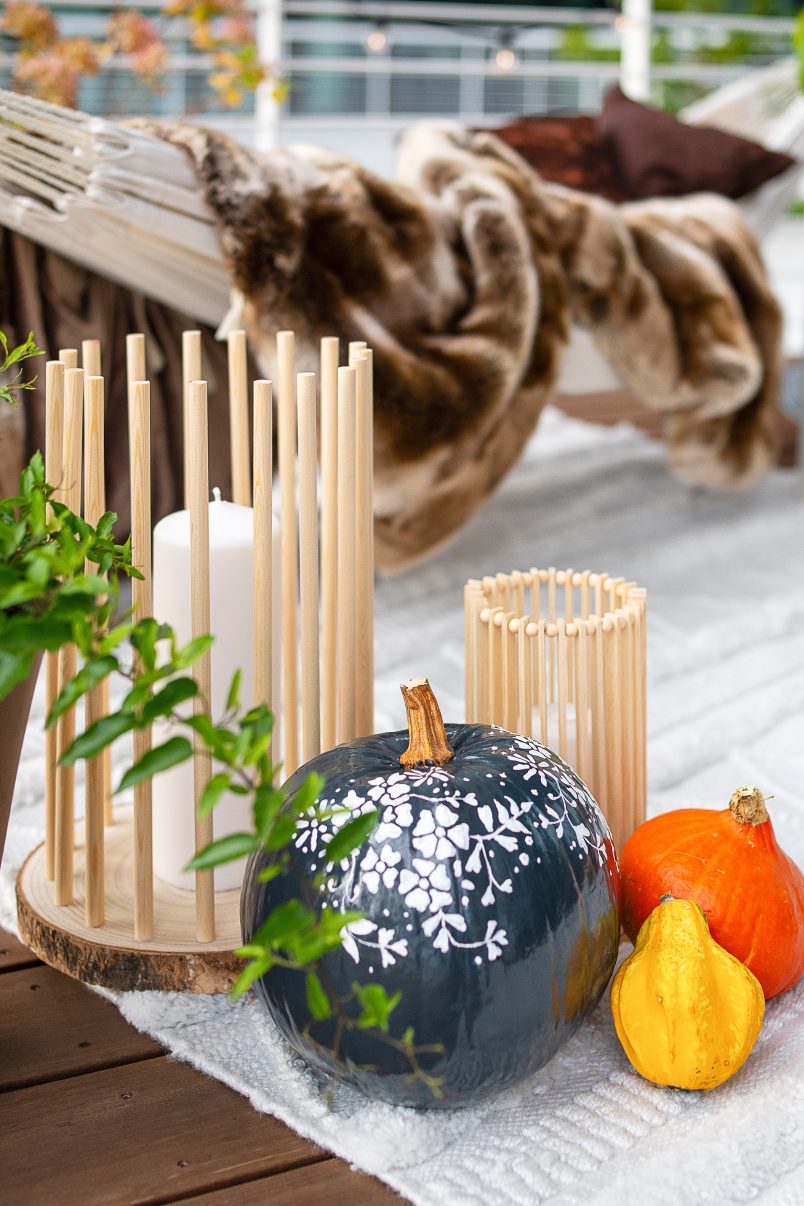
Now, let’s get back to more fun projects like our new DIY outdoor lanterns! They were honestly so easy to make that it almost feels wrong to call them a DIY project!
As you can see, we made three different types of outdoor lanterns, but the possibilities are endless, and you can be as creative as you like.

This is what you will need to make your own DIY outdoor lanterns:

Tools:
Supplies (for the rectangular lantern):
- Planed square edge timber – 2 x 20 mm x 20 mm x 2.4m
- A square piece of timber – 225 mm x 225 mm x 16 mm (the thickness doesn’t matter too much – anything under 2 cm will work well)
- Sandpaper
- Candles (we’d recommend using electric ones to be safe)
Supplies (for the round lantern with beads):
- 2 mm drill bit
- Round base (you could cut this with your jigsaw – we used a jar lid from Ikea!)
- Nylon thread
- 10mm wood beads (with a hole through the centre)
- Candles (we’d recommend using electric ones to be safe)
Supplies (for the round lantern with live edge):
- Dowels 3 x 13 mm x 2.4 m (it doesn’t matter if the diameter is a millimetre smaller or larger; just make sure you use a corresponding Forstner bit)
- Live edge round piece of timber about 30 cm diameter
- 13 mm Forstner drill bit
- Sandpaper
- Candles (we’d recommend using electric ones to be safe)

This is how to build the DIY outdoor lanterns:
For the rectangular lantern:
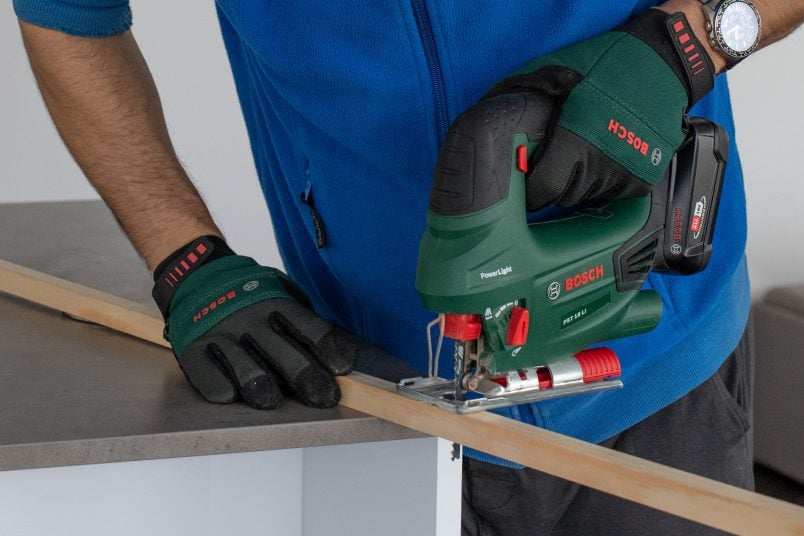
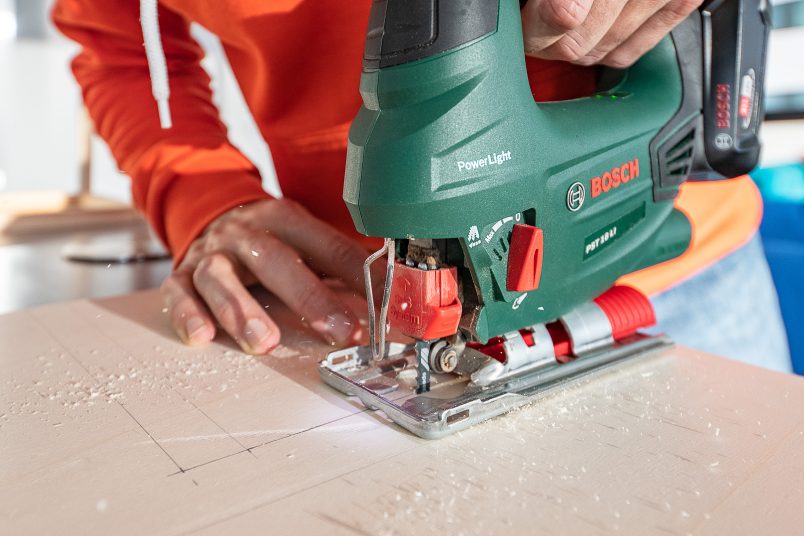
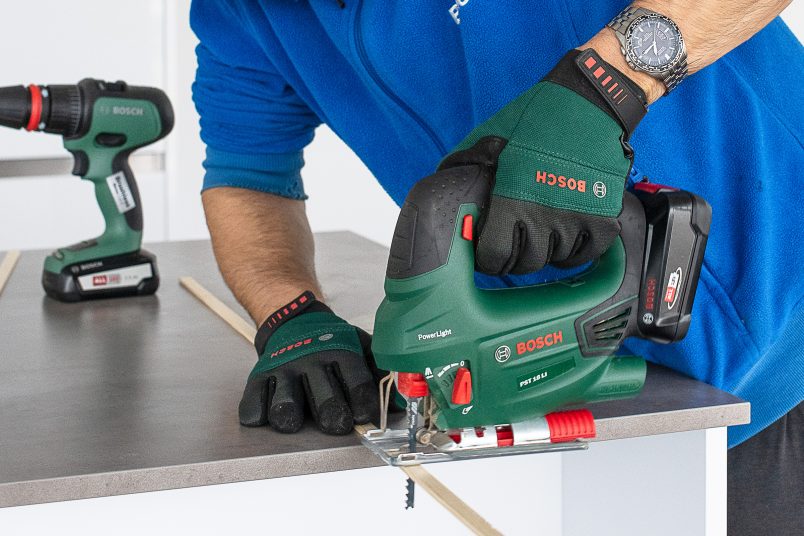
- Cut your planed square edge timber to the lengths you need with a jigsaw. You’ll need 4 long pieces (500 mm) and 8 short pieces (225 mm).
2. Cut the square base of the lantern with a jigsaw. It should slot into the base of your lantern, which means that it has to be 225 mm x 225 mm.
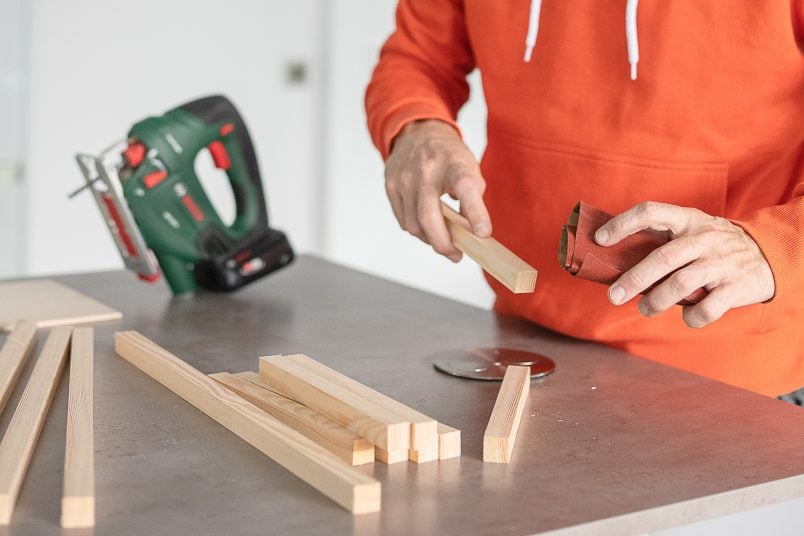
3. Give any rough edges a sand with some 120 grit sandpaper.
4. Assemble the base of the log store by glueing together the four long corner pieces with four of the short side pieces. A glue gun is perfect for this as the glue dries almost instantly and makes assembling the DIY lantern really quick.
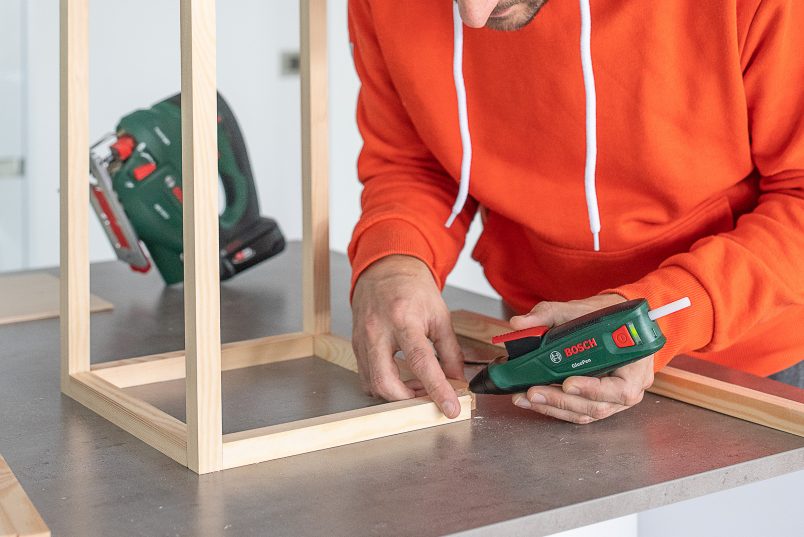
5. Attach the four remaining short pieces of timber to the top of the lantern.

6. The last step is to attach the base of the lantern. Apply some glue to the sides of the square and slot it into one end of the lantern.


For the round lantern with beads:
- Start by preparing the base of your lantern. You could cut out a circle with a jigsaw or, if you’re lazy like us, you could use a ready-made circle. We used the lid of an Ikea jar, which has a slightly raised bit in the middle that makes it perfect to attach the timber strips. The only prep work you have to do is remove the rubber seal off the lid!
- Cut all of your timber strips to the required length (12 mm x 4 mm x 240 mm) with a jigsaw. You’ll need about 28 strips of timber in total.
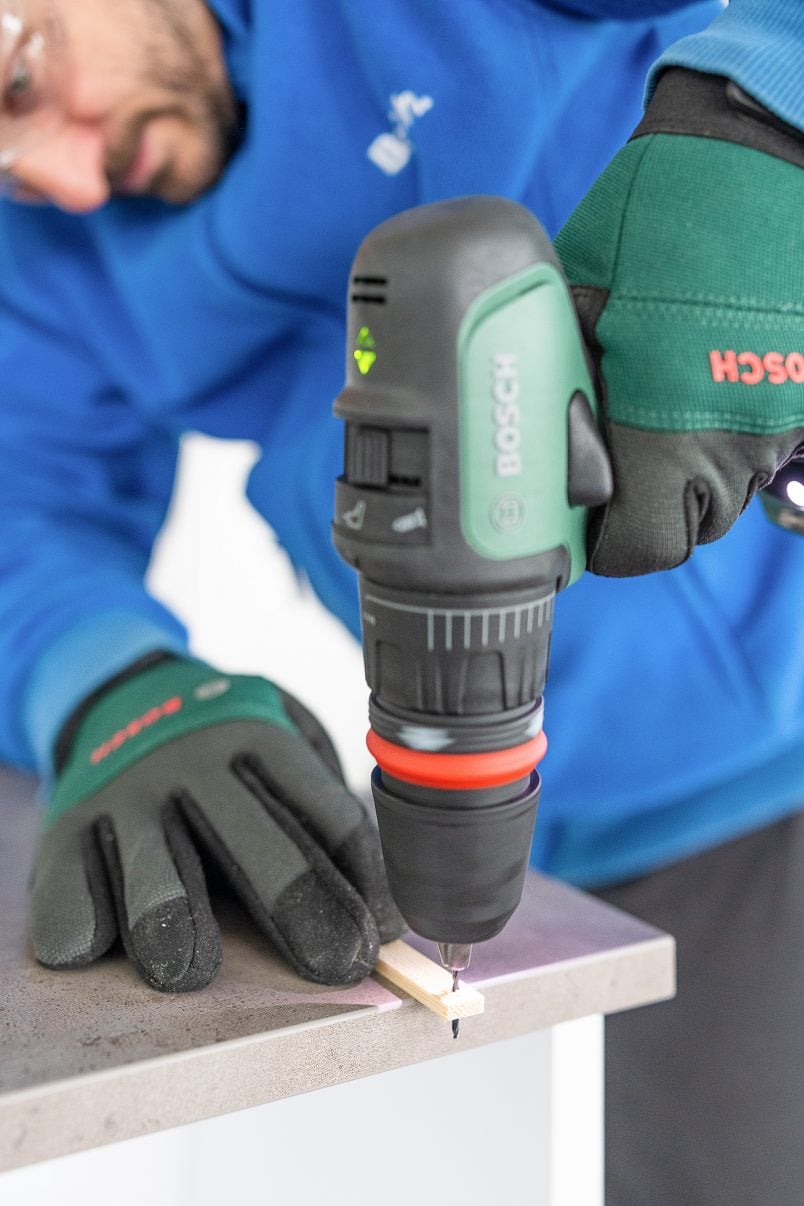
3. Drill a small hole at each end of every strip with your 2 mm drill bit and a cordless drill. I’m not going to lie; this step does take a while, but you do get quicker with practice! I only measured the hole for the first couple of strips and then eyeballed the rest as I was too impatient.
4. Give everything a light sand with 120 grit sandpaper to remove any rough edges.
5. Thread a wood bead onto your nylon thread, followed by a piece of timber. Continue alternating the beads and timber pieces until you have a strip that’s long enough to wrap around your base and tie the ends of the nylon together.
6. Then, add the wooden beads to the other end of your timber strips, again alternating between beads and timber and tightly tie the ends of the nylon together.
7. Double-check that the timber strip and ball tube fits over the circle, and apply a thick layer of glue with your glue pen to glue it in place.

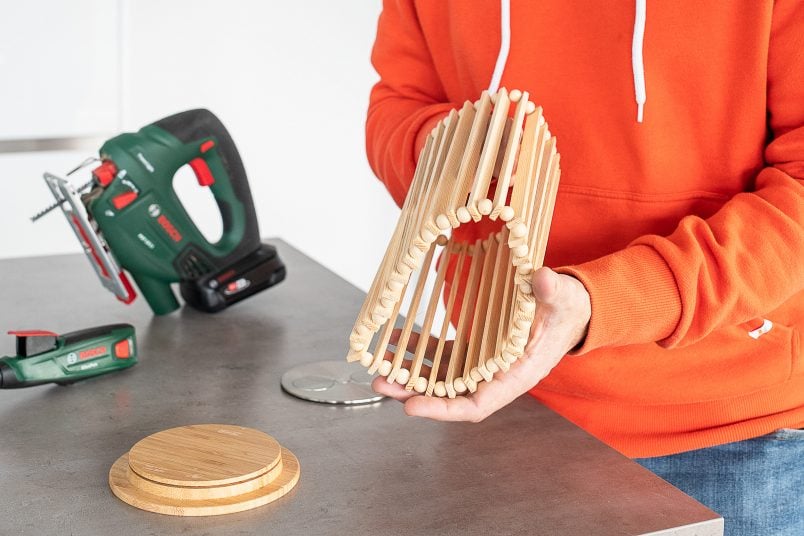
For the round lantern with live edge:
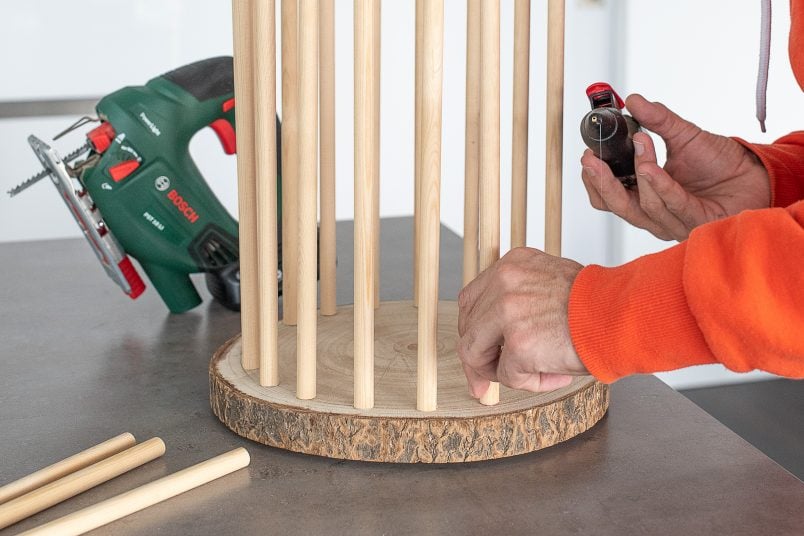
- Measure and mark where you want to place the dowels around the edge of your DIY outdoor lantern. We spaced ours out equally around the whole edge, but you can space out the dowels if you would like to create a totally bespoke design.
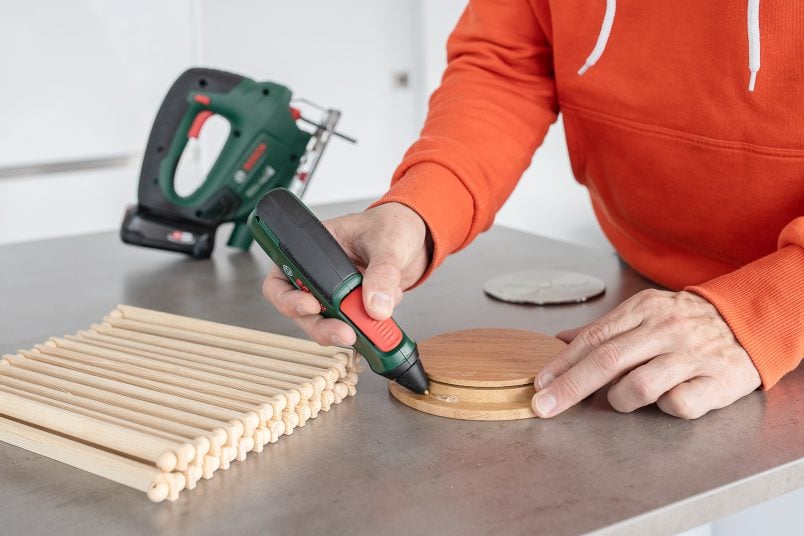
- After marking where you want to insert your dowels, drill holes into the timber base with a Forstner drill bit and a cordless drill. This will create lots of holes for you to be able to slot the pieces of dowel into. Alternatively, you could just glue the dowels to the timber base, which is exactly what we did, as we didn’t have a Forstner bit in the size we needed.
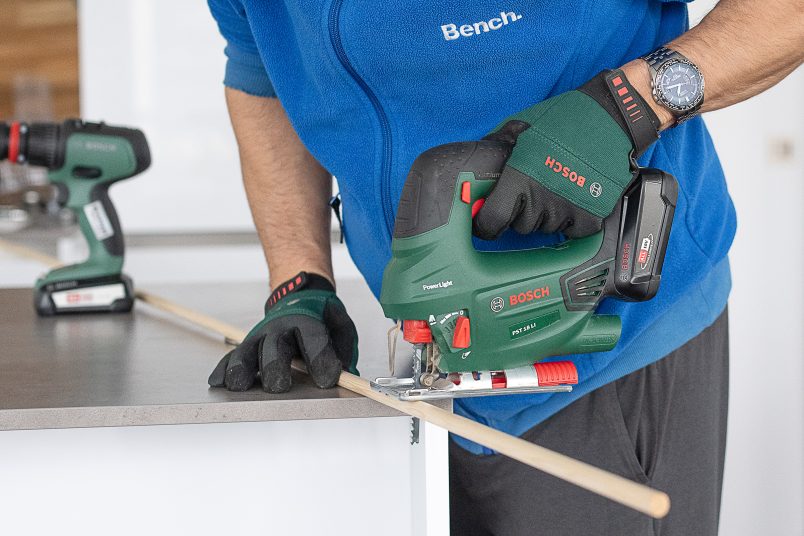
- Cut the dowel into equal 300 mm pieces with a jigsaw and give any rough edges a quick sand with some 120 grit sandpaper to remove any rough edges.
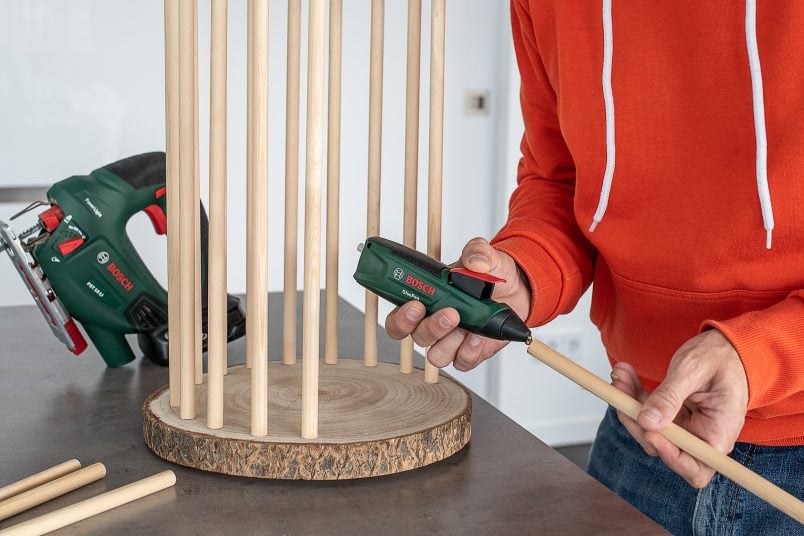
- Squeeze a blob of glue onto one end of each dowel with your glue pen and stick them to the base (ideally in a hole that you drilled, but just on top of the base worked well, too).
And that’s all there is to it! I really wasn’t exaggerating when I said these DIY outdoor lanterns were easy and quick to build. It took less than 30 minutes to build each lantern, and I think they definitely make the balcony feel a lot more inviting and cosy!
Now that our balcony is autumn-ready, we just need to get the rest of our new apartment sorted! There’s soooo much still left to do. There are still a couple of unpacked boxes lying around, our cellar is full to the top (literally!) and already needs a thorough sort out and we’ve not even hung up a single picture yet.

We can’t wait to share a full house tour with you soon! What do you think of our DIY outdoor lanterns? What jobs do you have on your checklist before winter? What’s your favourite season, and is there anyone who actually likes winter?! Do you love cordless tools as much as we do? What’s your all-time favourite tool?


Leave a Reply