Last weekend we travelled over to Düsseldorf on the other side of Germany to visit one of our closest friends and celebrate his 40th birthday!
We had such a fun weekend away and for us getting away from the DIY chaos in our home always invigorates and motivates us to tackle new home improvements.
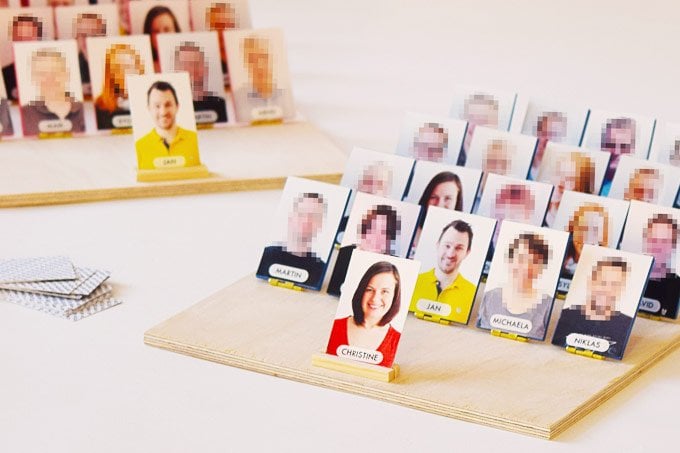
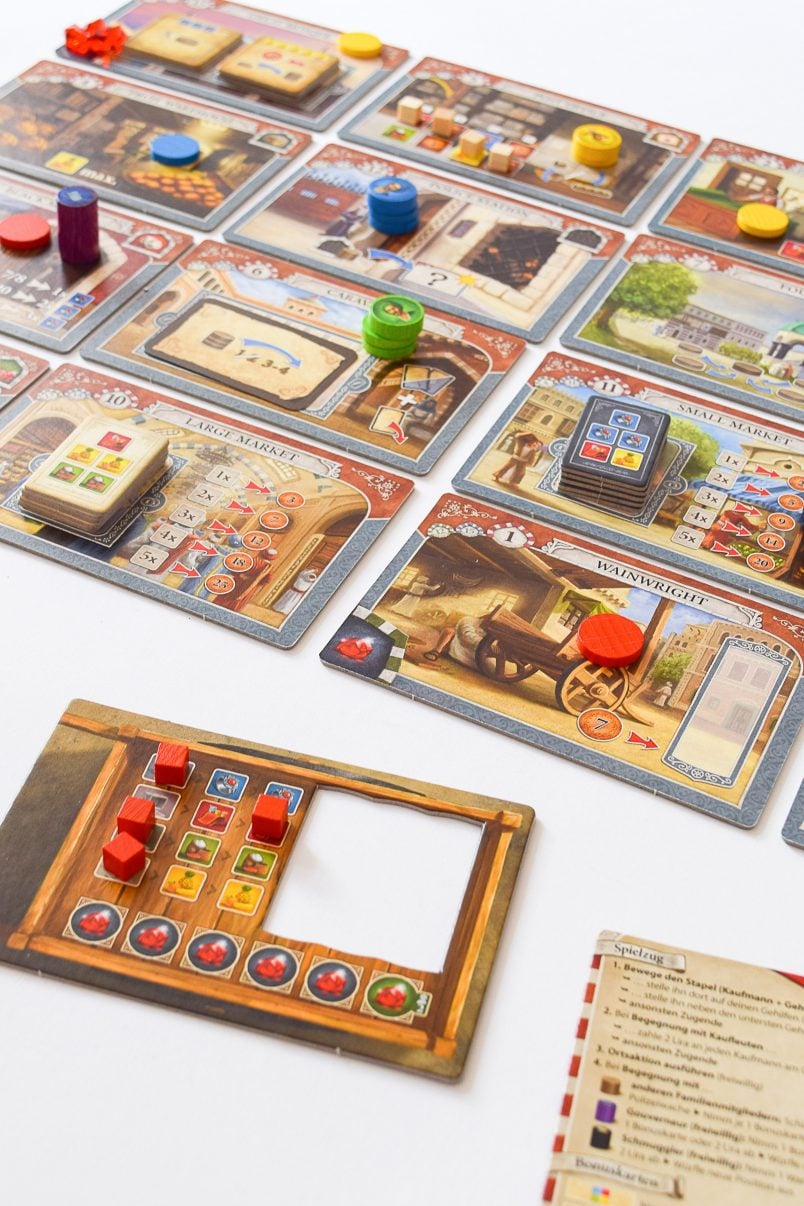
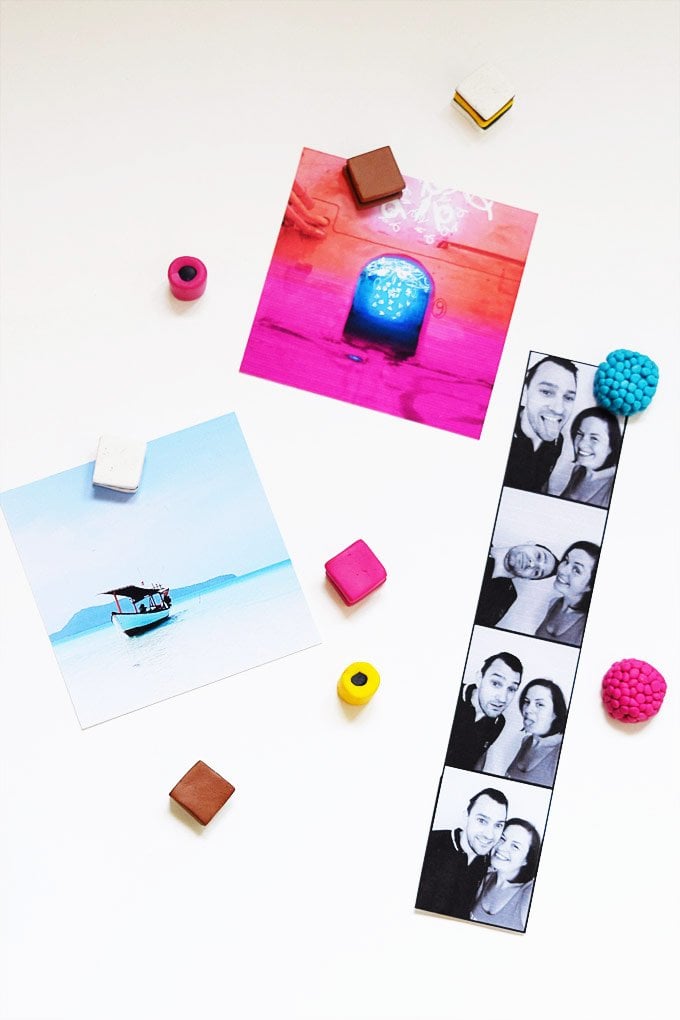
Our friend is a bit of a board game geek. For this 30th birthday, I made a memory game with fun pictures of his friends and family so 10 years later I just had to make a game for his 40th, too!
This time I decided to make a DIY Guess Who Game!
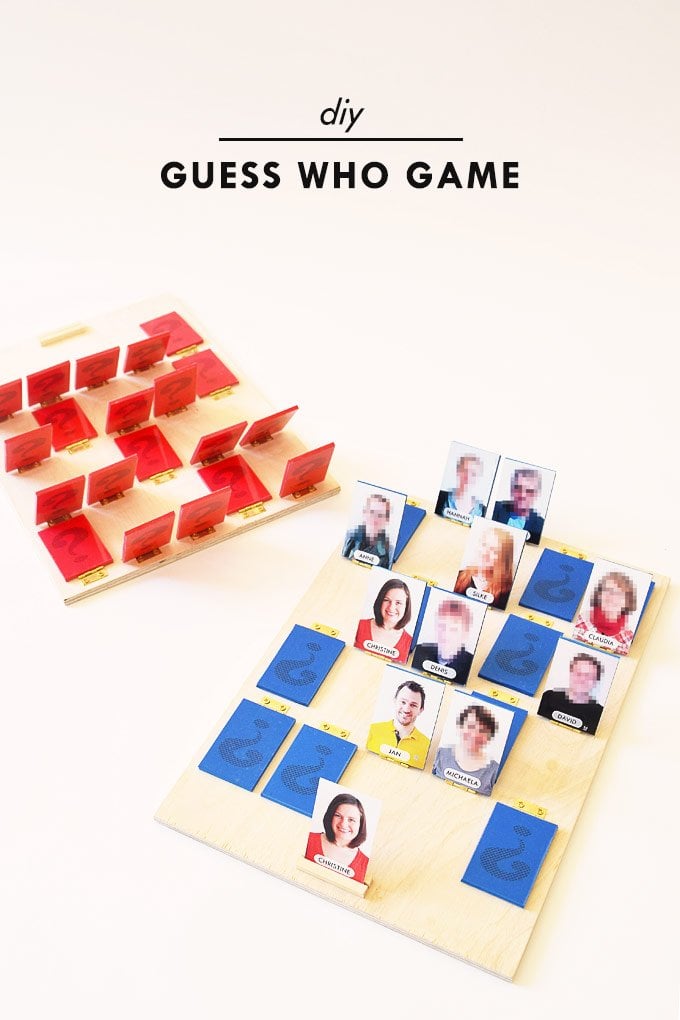
This is what you will need to make your own DIY Guess Who Game:
This post contains affiliate links. We only recommend products we love and think that you will, too! Read our full disclaimer here.
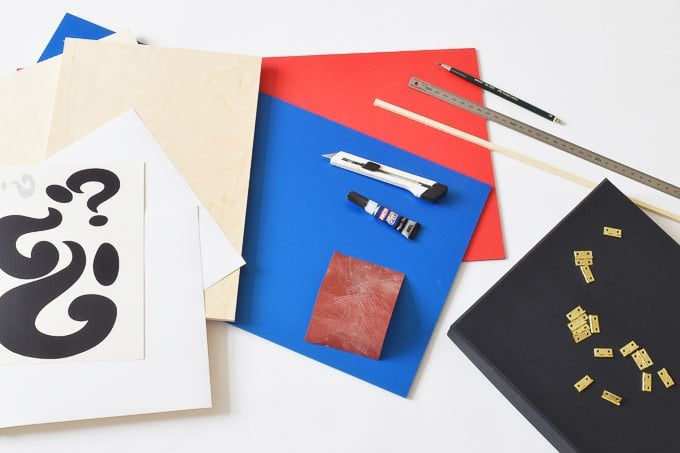
- 2 x Plywood base (297 x 210 x 4mm)
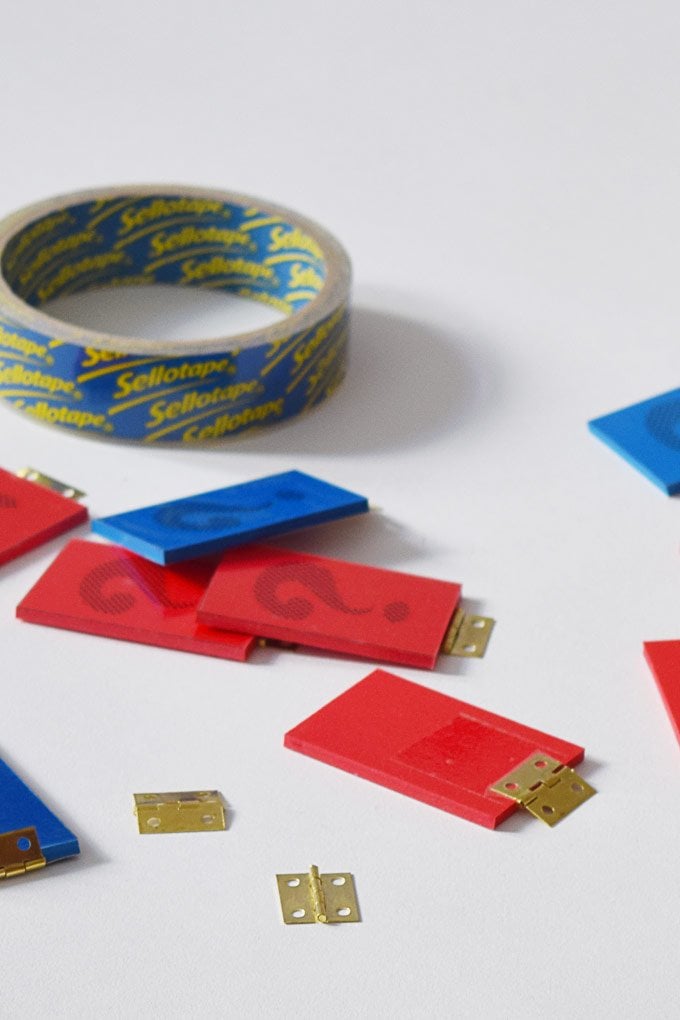
- 40 x Rectangles (35 x 52.5 x 3mm) – We used coloured plastic sheets called Guttagliss hobbycolor in red and blue that we found at a DIY store. We’d originally planned on using plexiglass but the hobbycolor sheets were so easy to work with (you can cut it with a craft knife) that we’re really glad we opted for them instead. You could use any other material though. Plywood or even cardboard, as long as it’s thick, would work, too.
- Sandpaper (about 120 grit)
- 40 x small hinges
- Strong glue & sellotape
- 3 x Picture sheets – one set for each board and another one to choose your character to guess. (you can download a blank template here)
- 1 x Sheet cardboard – to make the backing for cards that you choose the character to guess from slightly more rigid.
- Bag – to hold the Guess Who Cards
- Box to place the finished game in
- 1 rectangular moulding strip (5 x 5 mm) – this is to hold the guess who photo
- Pencil and ruler
- Craft knife
- Printer
- Screwdriver
- Stickers for the back of the character pieces – They’re optional but I love how they add some detail to the game (You can download them here)
- Sticker paper
This is how to make a DIY guess who game:
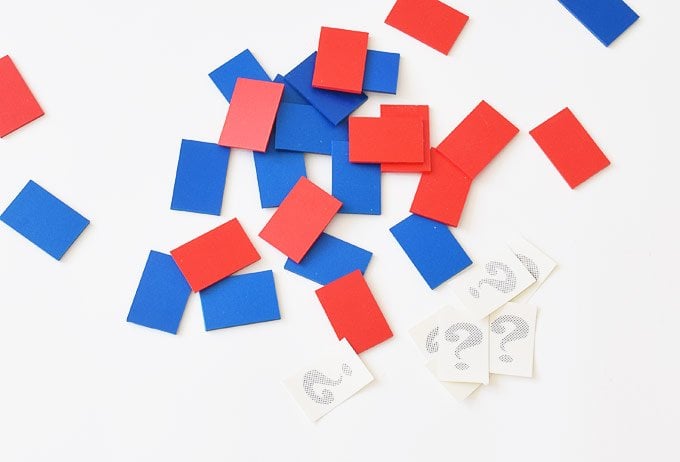
1. Prepare the timber bases and all of the game tiles for your game. We had our plywood based cut at the DIY store when we bought them and the plastic sheets were really easy to cut with a craft knife. Give all pieces a quick sand as necessary with some sandpaper to make sure that there are no rough edges.
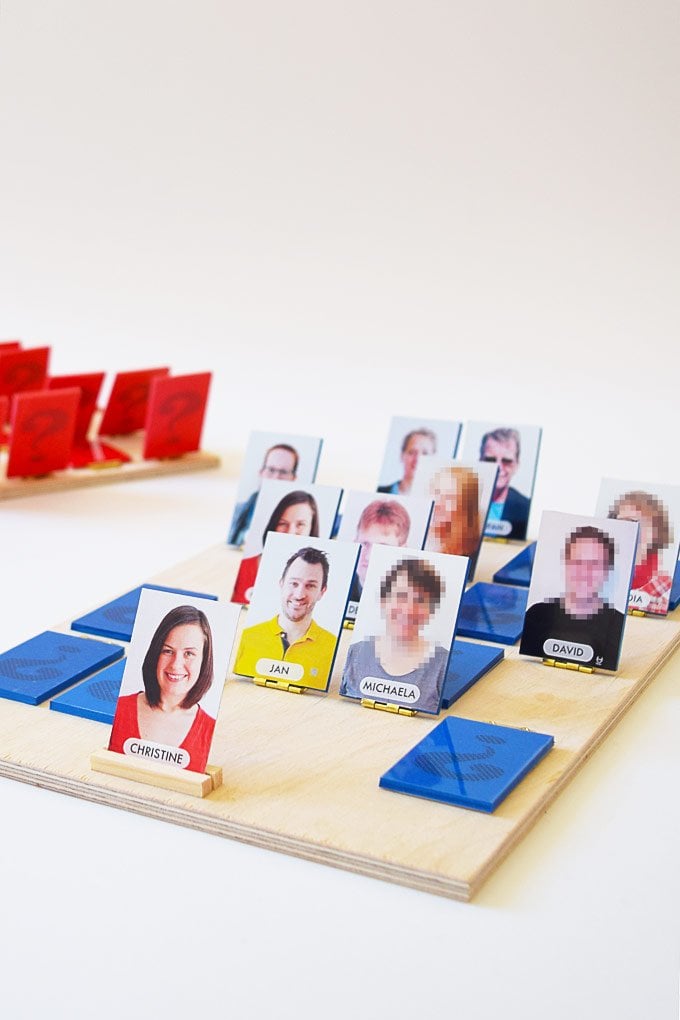
2. Mark and measure the two plywood bases according to the measurements we’ve shared below. The markings show the edges of your flip pieces.
Altogether there are four rows with five images in each. It’s important to measure and mark as accurately as possible otherwise your finished board game will end up looking rather wonky!
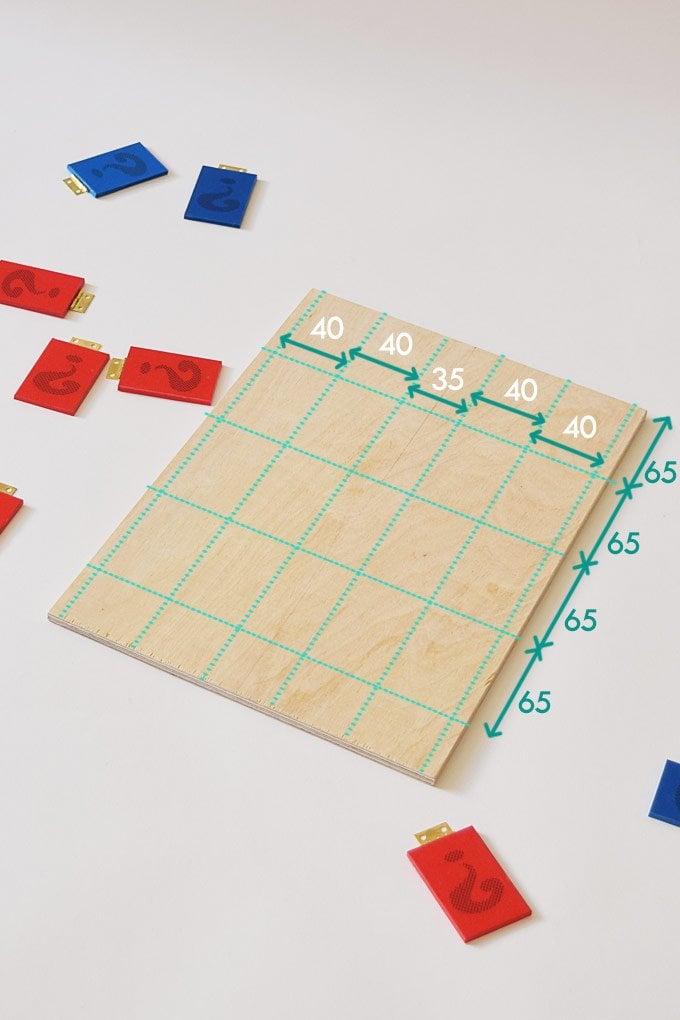
Don’t worry too much about pencil marks. If you only press lightly you can remove them with an eraser or some fine sandpaper when you’ve finished. (You can just about see our pencil marks but we’ve accentuated the lines to show what we mean for the purpose of this tutorial.)
4. Next, glue a hinge to each of the guess who tiles. Measure the exact middle of each of the shorter edges and attach a hinge to each of the pieces with some sellotape. Make sure that they’re perfectly centred and that all hinges face in the same direction.
Tip: We tried to glue them in place first but taping them down was much easier. If you do use glue, make sure to get none on the hinge!
5. Now it’s time to prepare your guess who images.
I inserted the images and names when I made the template. To make your own cards you can update the template with your own photos on the computer or you could just as easily cut out and stick photos on top of the templates to create your own personalised version.
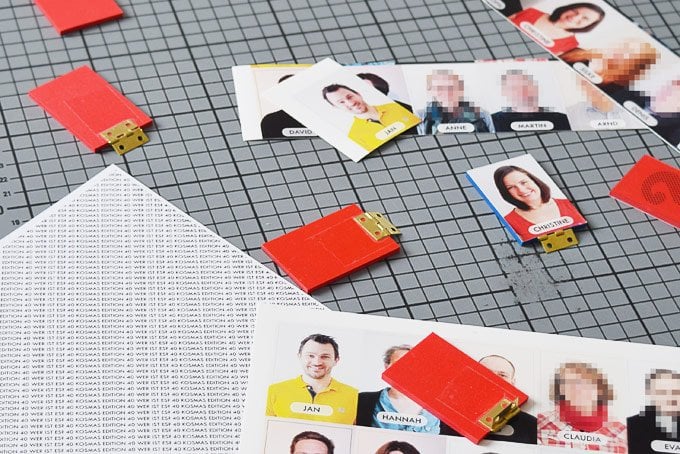
Overall you’ll need three of every image – one for the red board and one for the blue board as well as the third set of images for the bag that you’ll be choosing the person you have to guess from.
To make things as easy as possible, I printed the images onto some sticker paper which could then easily be stuck to the tiles.
Cut out all picture tiles and place the ones that are glued onto the backing card in the bag. These ones are already done!
All other images have to be glued to the plastic rectangles. When you’ve finished you should have one set of cards in the bag and two full sets of plastic tiles.
We wanted as much of the hinges to be hidden which is why we attached the hinges to the pieces of plastic before glueing the guess who pictures onto the top of the plastic pieces.
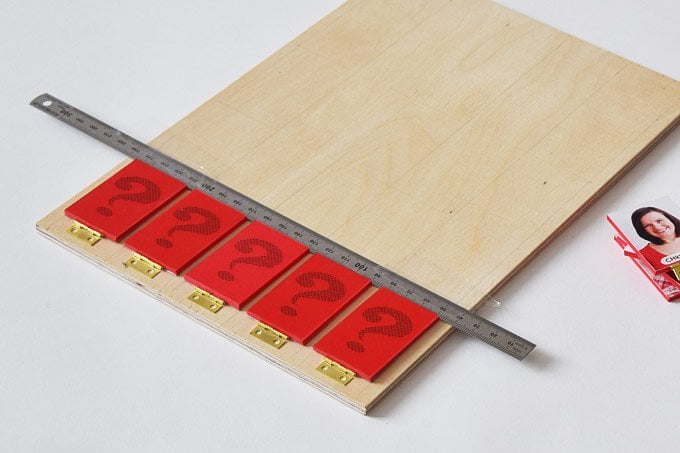
6. (Optional) We also printed some fun question marks for the back of the plastic tiles. It’s totally optional but I love how they add a bit of detail. Again, we used sticker paper (this time in transparent).
7. Lay out all of your game tiles onto the board. Double check your measurements and make sure that everything lines up correctly.

Then glue the hinges to the positions you marked out earlier. To ensure that you align everything perfectly we used our ruler as a guide to push the tiles against. This way you can be certain that they’re all in one exact line.
8. You’re almost there now! Now that all of the tiles are glued into position you can add the screws. Theoretically, you don’t have to add them and the glue we used held perfectly well but we wanted to make sure the game would last so went through the additional step of screwing everything in place.
9. The last thing to do is glue the guess who card holder onto the board.
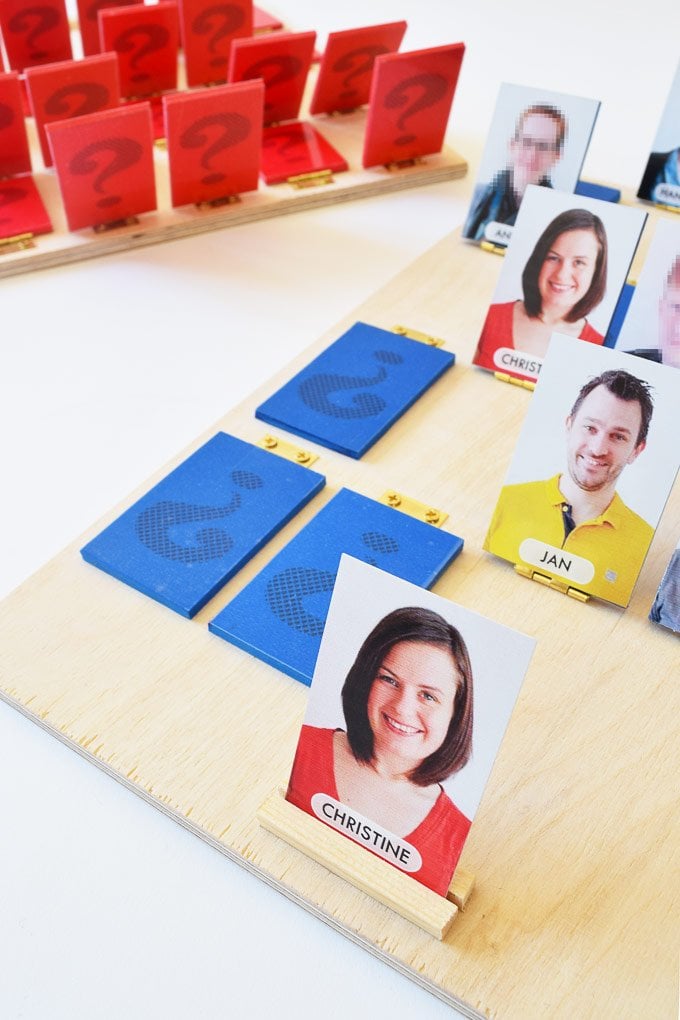
Cut four short pieces (two for each board) of the rectangular moulding strip and then glue them to the board. Make sure that there’s a small gap between the two pieces so that you’re able to slot in the guess who character card that your opponent is trying to guess.
10. That’s it! Check that all pieces of the game move properly before popping it into the box and giving it to someone special!
There’s no denying that this took a while to make but the game was really well received and our friend really liked it, too!
Are you a bit of a board game geek, too? Have you ever made a personalised gift for someone special? Do you have a favourite (board)game?
PS, Don’t forget to share any projects that you makeover on Instagram and tag us with #littlehouseonthecorner so that we can see it! We can’t wait to see your DIY projects!
If you like this project, you will love these ones, too!
Leave a Reply