The Christmas markets have opened which can only mean one thing – December is just around the corner. It’s that time of year again when we start to get into the festive spirit and get crafting a few fun Christmas themed projects.
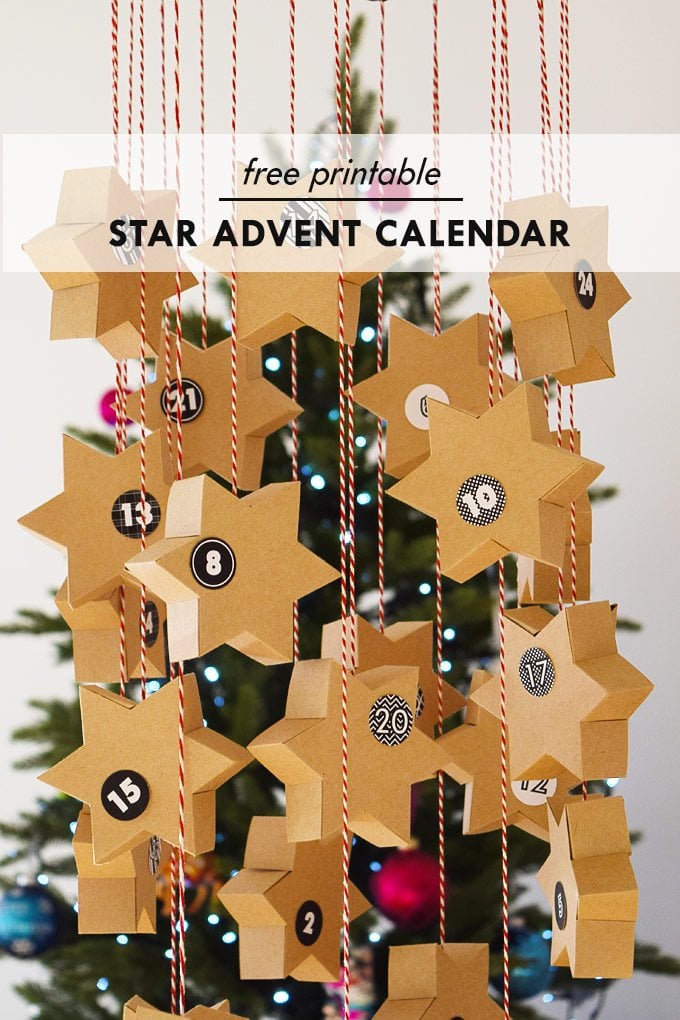
Last week we already shared our DIY Concrete Star Advent Wreath and today we’re sharing our DIY Star Advent Calendar.

There’s still just enough time to make your own star advent calendar before the beginning of December and for this project, you probably already have most supplies so no excuse to get crafting!
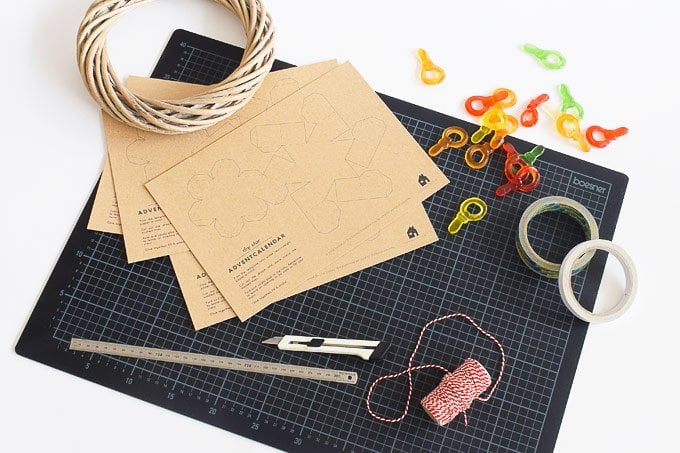
This is what you’ll need to make this star advent calendar
This post contains affiliate links. We only recommend products we love and think that you will, too! Read our full disclaimer here.
- Paper in a colour of your choice (we’d recommend card that’s about 120 g/m²) & printer
- Craft knife and ruler
- Cutting mat
- Glue or double-sided tape
- Rope
- Wreath (or something else to hang your stars from if you’re hanging them)
- Goodies to fill your stars with
This is how to make the advent calendar
#1 Download the template and print it onto some heavyweight paper.
We opted for neutral brown paper but you could use any kind of paper, colour or pattern you’d like. You’ll need to print it 24 (or 25 depending on how many days you’re counting down) times – one for each box you’ll be making.
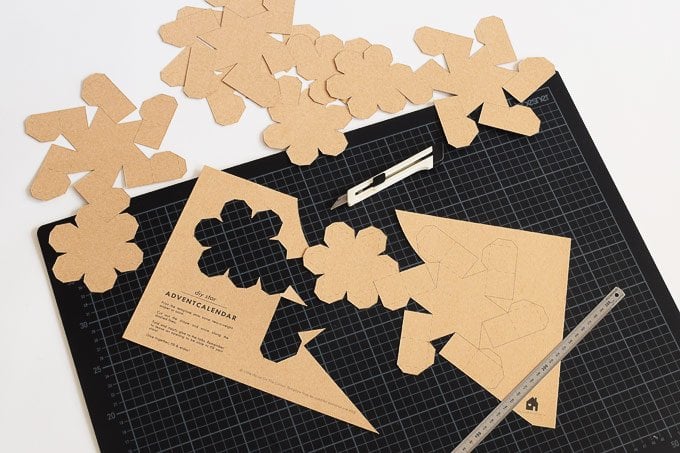
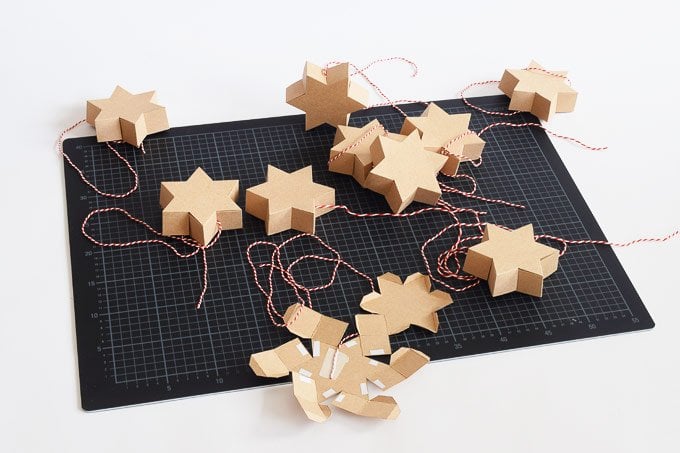
#2 Cut out and fold the boxes – the continuous lines are the ones you have to cut through, dashed ones are where you have to fold.
We’d recommend scoring along the dashed lines with a craft knife before you fold the boxes for a clean fold.

#3 Before you glue your stars together you’ll have to attach the cord that you’ll be using to hang up your stars. Cut a length of the cord and stick it to the inside of the star.
Make sure that it’s securely attached and goes through the section of the star that’s close to where the second star joins the first one (as shown in the picture).
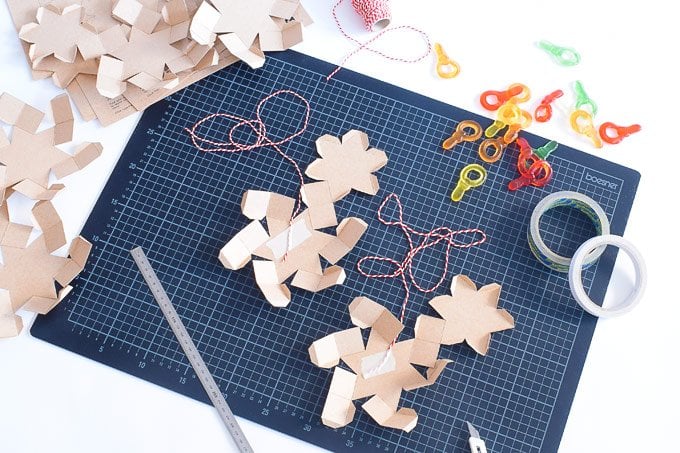
#4 When you’ve cut out, folded and attached some cord to all of the stars it’s time to glue them together. We used double-sided tape but you could use glue if you prefere. Remember to leave at least one section open so that you add the goodies!
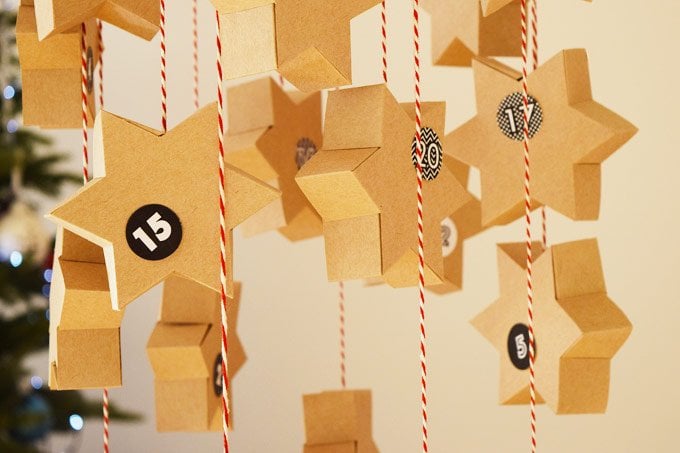
#5 Next add the numbers. We used a circle punch to cut ours out but you could use scissors just as well. Now, all that’s left to do is fill your stars and hang them from the wreath with the cord you attached earlier. You obviously don’t have to hang the stars and could stack them instead.

We’re really happy with how this little project turned out. It’s really easy to make even if cutting out and folding 24 stars was a bit more time-consuming than I would have liked.

We still have a load more Christmassy things to prepare but now that we’ve finished our star advent calendar and our DIY concrete advent stars we’ve at least ticked a few boxes on our Christmassy to-do list.

Do you have an advent calendar? What makes you start to feel festive? Do you also find that you have loads of things to do before the holidays?


Leave a Reply