Finding affordable furniture when you’re on a budget can feel impossible which is just one of the reasons that we love DIY projects. Building your own furniture really isn’t as difficult as you imagine and it’s a great, cost-effective way to create something totally bespoke and unique for your home.
After seeing so many gorgeous DIY bar carts on Instagram and on some of my favourite blogs like this stunning drinks cabinet hack by the super talented Melanie Lissack or this amazing rolling bar cart that Medina Grillo designed and built, I couldn’t resist having a go at building one, too!
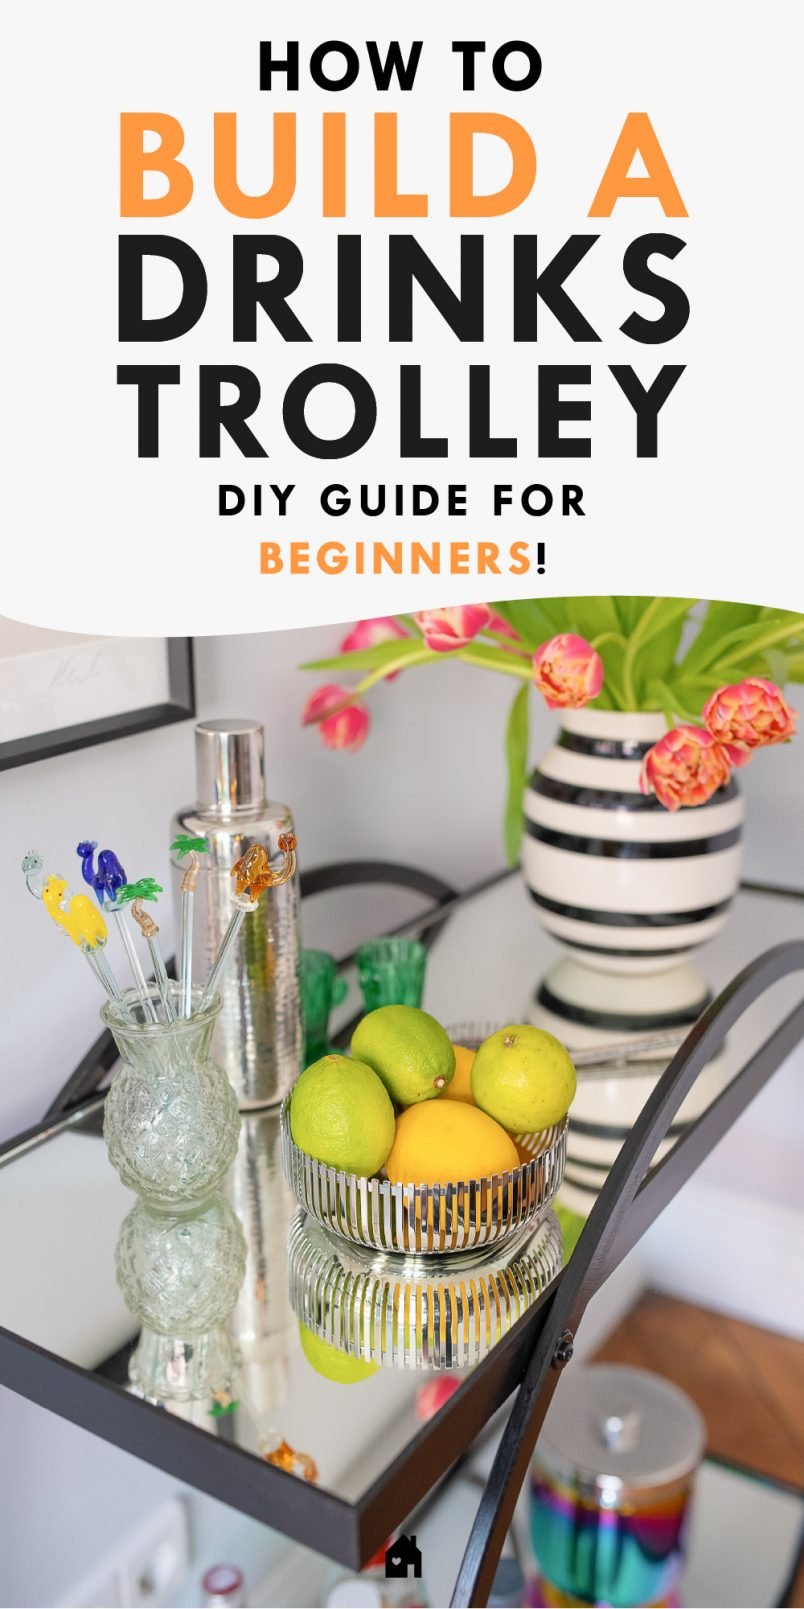
And, here’s what we came up with!
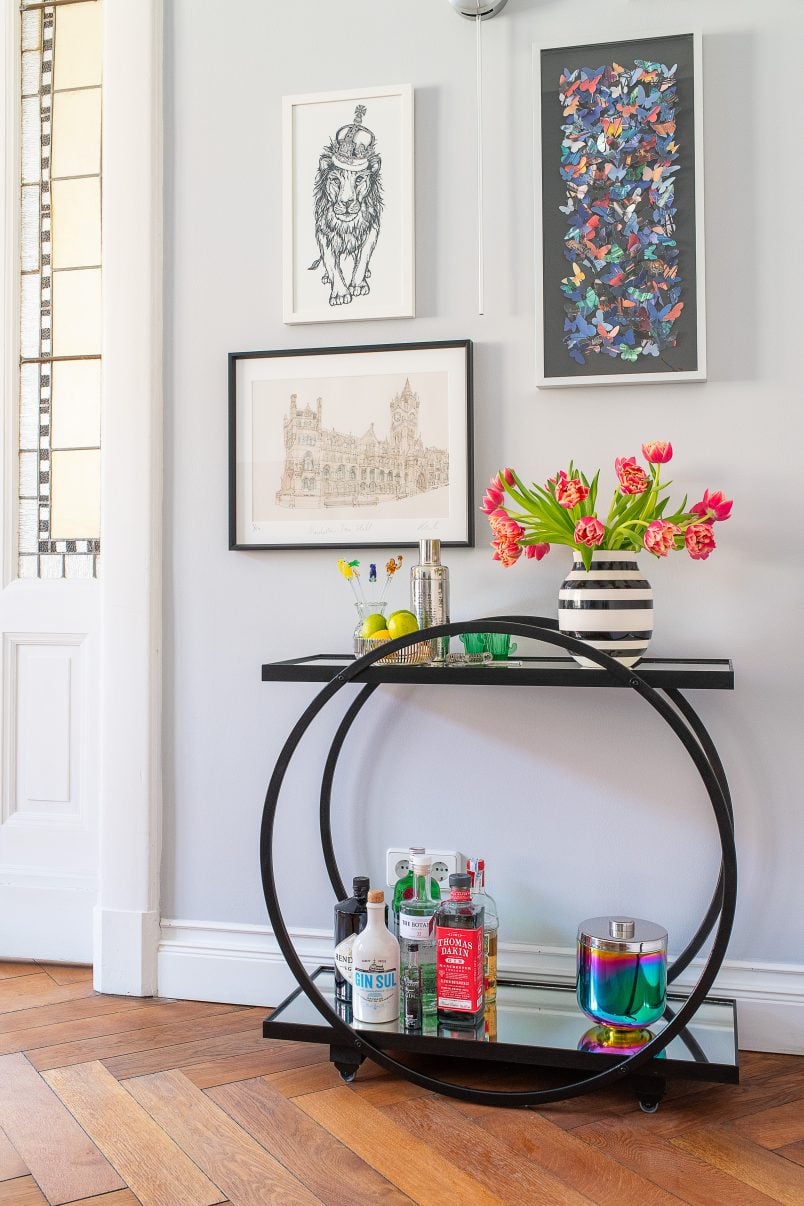
I totally admit that this was a bit of an experiment and I had visions of it all collapsing as soon as I put more than a shot glass on it but it turned out so much better than I expected and it’s actually really sturdy!
Best of all, it was ridiculously simple to build!
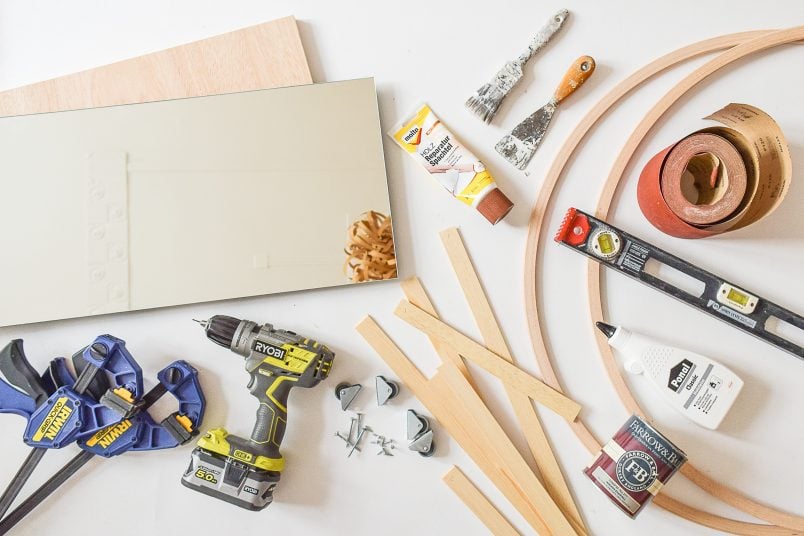
This is what you will need to build your own DIY bar cart:
This post contains affiliate links. We only recommend products we love and think that you will, too! Read our full disclaimer here.
Supplies:
- 2 x Mirrors (79 x 39 cm x 4mm thick) – ideally you should use toughened glass or an acrylic mirror for this project
- 2 x Plywood Board (79 x 39 cm x 19mm thick)
- 2 x Wooden Hula hoops 80 cm diameter
- 2 x 2.4 m x 28 mm x 5 mm Strip of timer
- 4 x Rubber furniture wheels (ours are about 25mm in diameter)
- 2 x 36 cm x 58mm x 40 mm Timber battens
(We just used an offcut we had lying around. The size doesn’t matter too much, you just want it to be wide enough to attach your wheels to.) - Wood glue
- 8 x 4 x 50mm pan head woodscrews
- 8 x Washers with a 20mm diameter
- 4 x Screws (roughly 3-4 cm long) to attach the battens to the bottom tray
- 8 x Small Screws to attach your wheels
- Wood filler
- Sandpaper (120 grit and 240 grit)
- Adhesive
- Primer & paint (we used all in one black satin paint)
Tools:
- Mitre saw (or a fine saw & mitre box)
- Cordless drill and drill bits
- Clamps
- Sealant gun
- Filling knife
- Paintbrush

This is how to build your DIY bar cart:
Step 1
Prepare All Parts & Paint
Start by getting all parts of the bar cart cut to size and painted. We had both the plywood board and the mirror cut to size where we bought them so just had to cut the edging strip for the two floating shelves.
As always, we cut all timber with our mitre saw but you could just as easily cut it by hand with a fine saw as there isn’t much cutting involved.
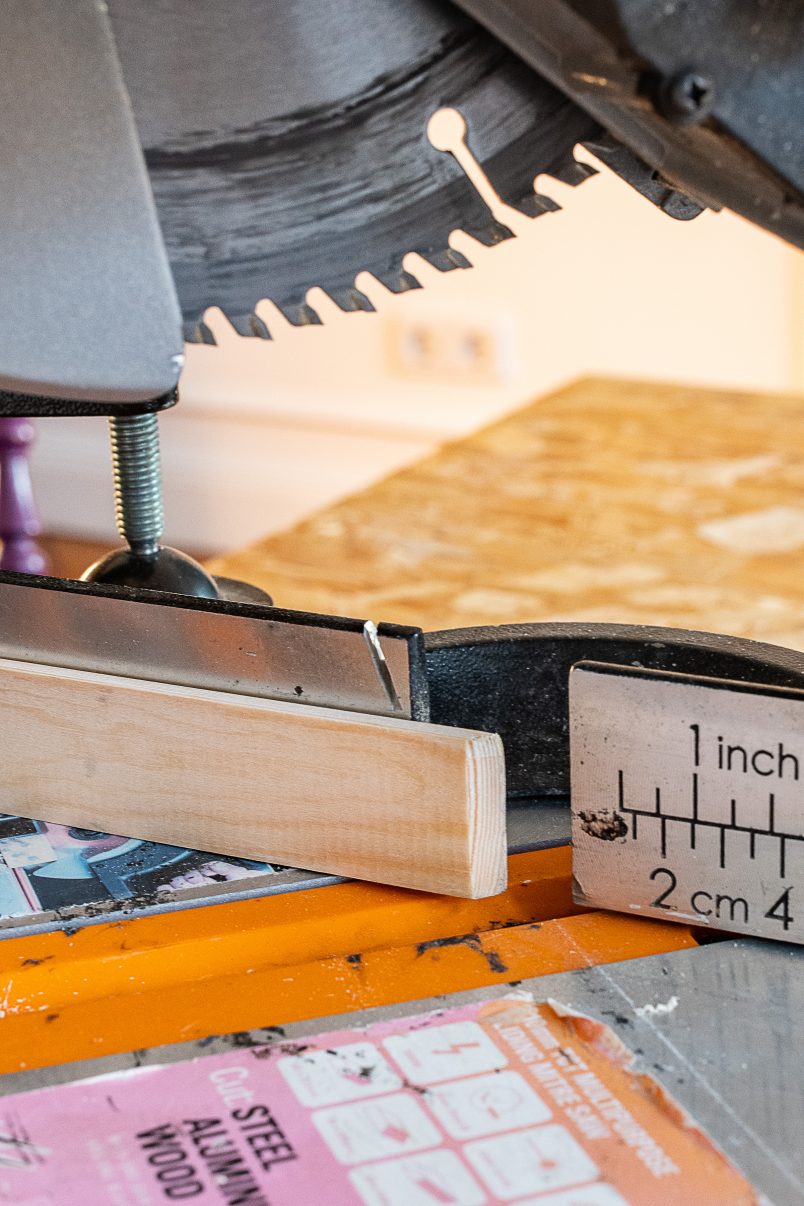
We cut the corners at a 45° angle. It’s no more work cutting it this way but gives you a much better finish when the two corners are joined together.
Give any rough edges a sand and make sure that everything is smooth and clean before giving everything a couple of coats of your chosen paint. When the paint has dried give everything a very light sand with some 240 grit sandpaper to remove any small imperfections and air bubbles.
Then, clean the surface and then paint it all again. Continue these steps as often as necessary to get the coverage you want. (You can read our guide to painting wooden furniture here.)

Remember, lots of thin coats of paint are always better than one thick one!
Step 2
Assemble The Shelves
To build this DIY bar cart, you’re basically making two trays that are held together by two wooden hoops.
The two trays are almost identical, the only difference is that the bottom shelf has four wheels attached to it.
Start by building the bottom tray.
Make sure the painted side of the plywood board is facing you and measure roughly 11 cm from each short edge. Then glue the two battens to the board (the wider side should be glued to the board).
Here’s what the finished underside of the bottom tray will look like.
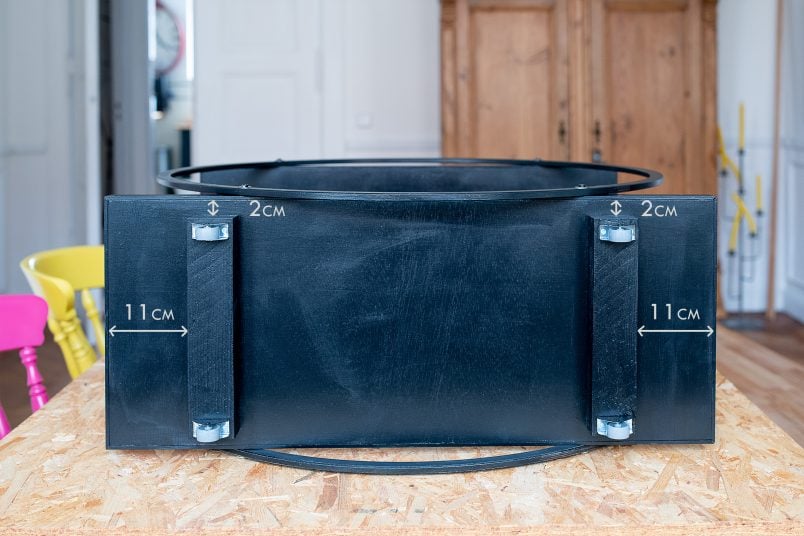
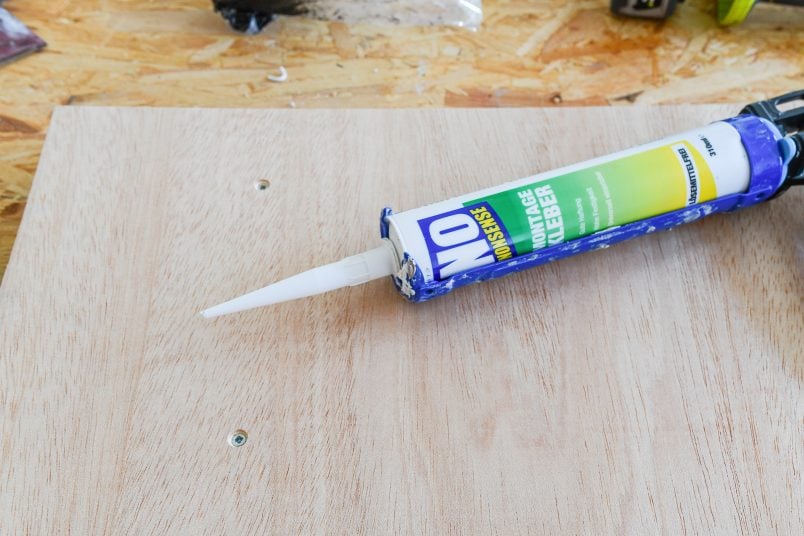
When the glue has dried, turn it over and add some screws to make sure the battens are really securely attached.
I predrilled the holes (I didn’t bother measuring as these will be completely hidden) with a 2mm drill bit and used a countersink bit to make a small crater for the screw head to sink into.
Now you can start to assemble both trays.
Make sure the surfaces of your plywood boards are clean and apply a layer of adhesive. Then place your mirror on top, give it a wiggle and then push it down so that it’s firmly stuck to the board.
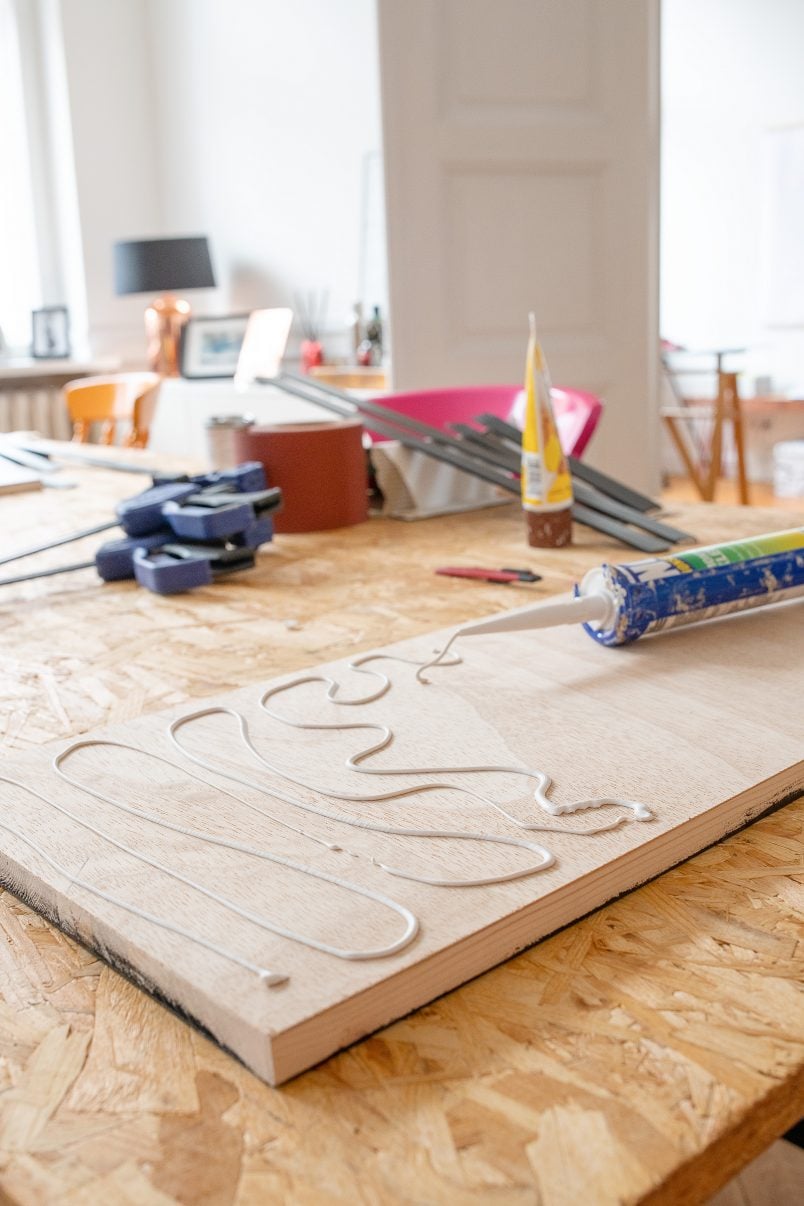
Make sure that the mirror is positioned so that the edges of the board and the edges of the mirror line up perfectly.
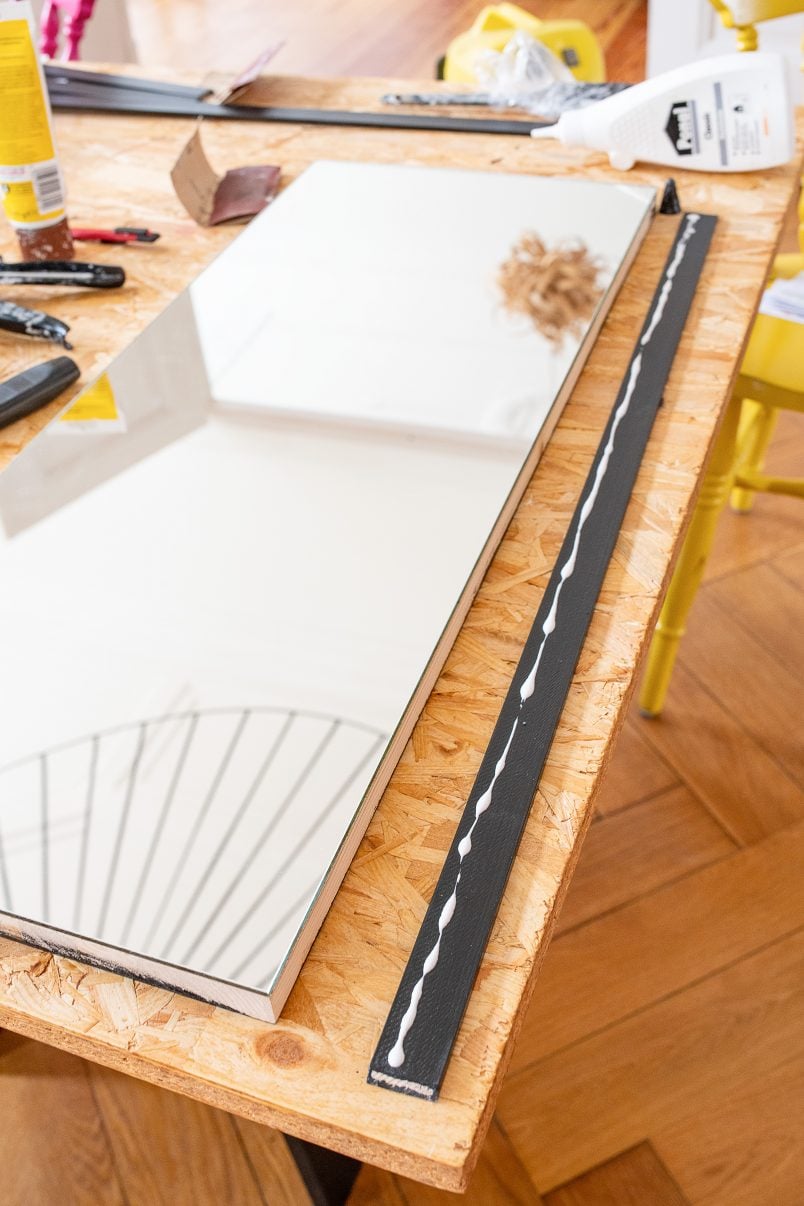
When the mirror adhesive has dried, glue the wooden strips around the edges of the plywood/mirror boards with some wood glue before clamping them to the board while the wood glue dries (if you don’t have clamps that are large enough you can use masking tape to secure the edges while the glue dries).
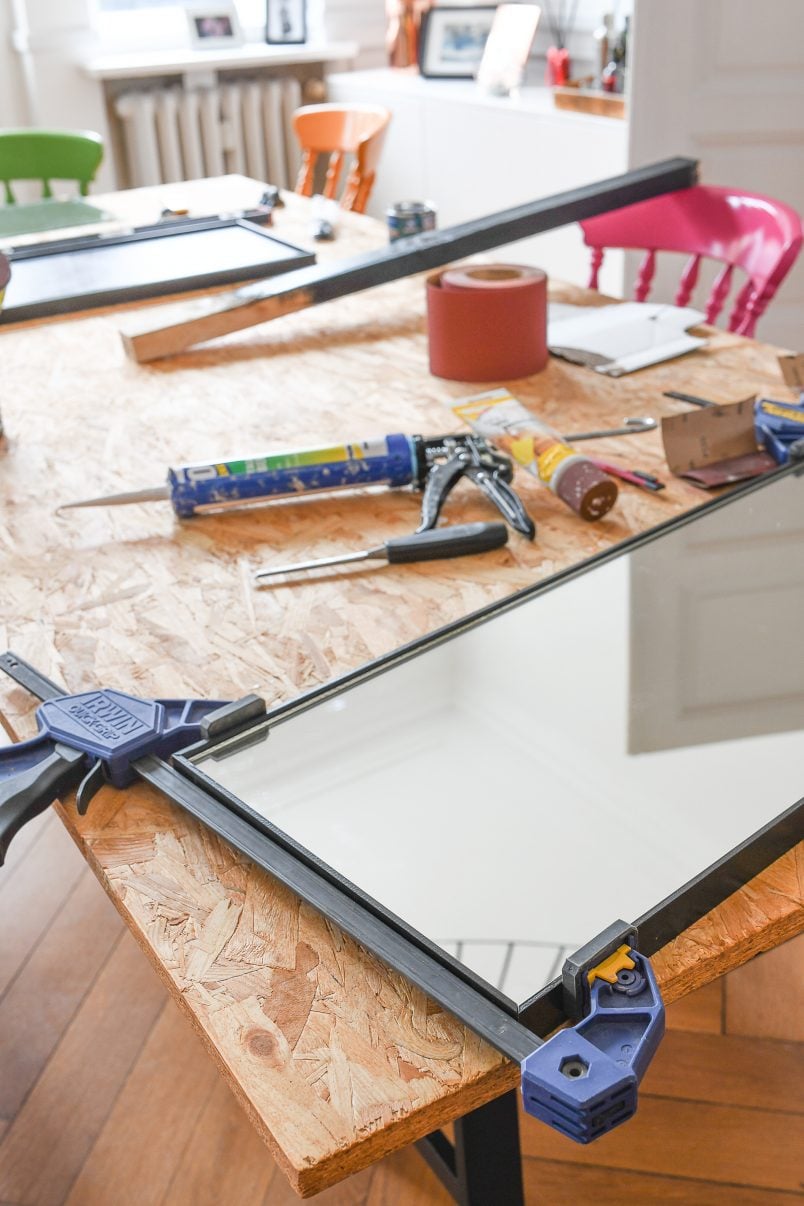
If you have any little gaps or imperfections, you can easily fill them with some wood filler and then sand and paint over it when it’s dry.
Step 3
Attach The Wheels
3. Attach The Wheels
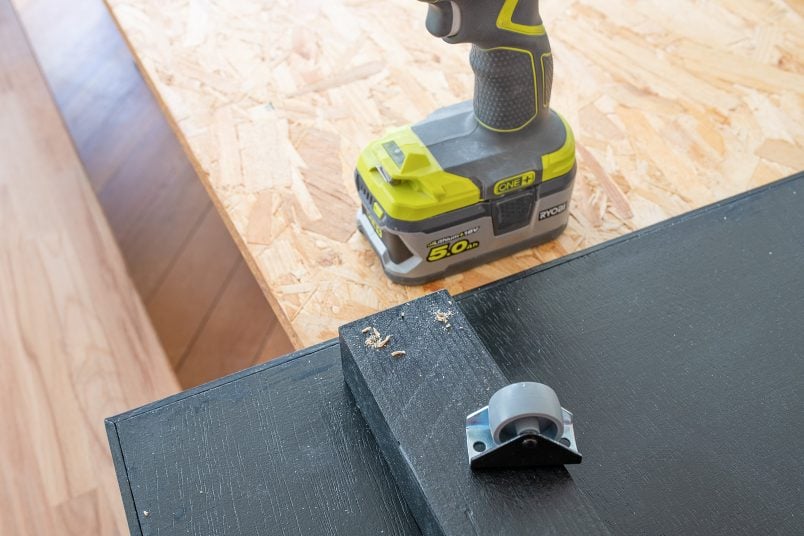
Wait a couple of hours for everything to dry before attaching the wheels to the bottom tray.
I pre-drilled the holes and then just screwed the wheels to the battens. As you can see, I also painted the sides of the wheels black. It’s totally optional but I wanted them to almost disappear under our DIY bar cart.
Step 4
Assemble The Bar Cart
Now it’s time to start assembling your DIY bar cart!
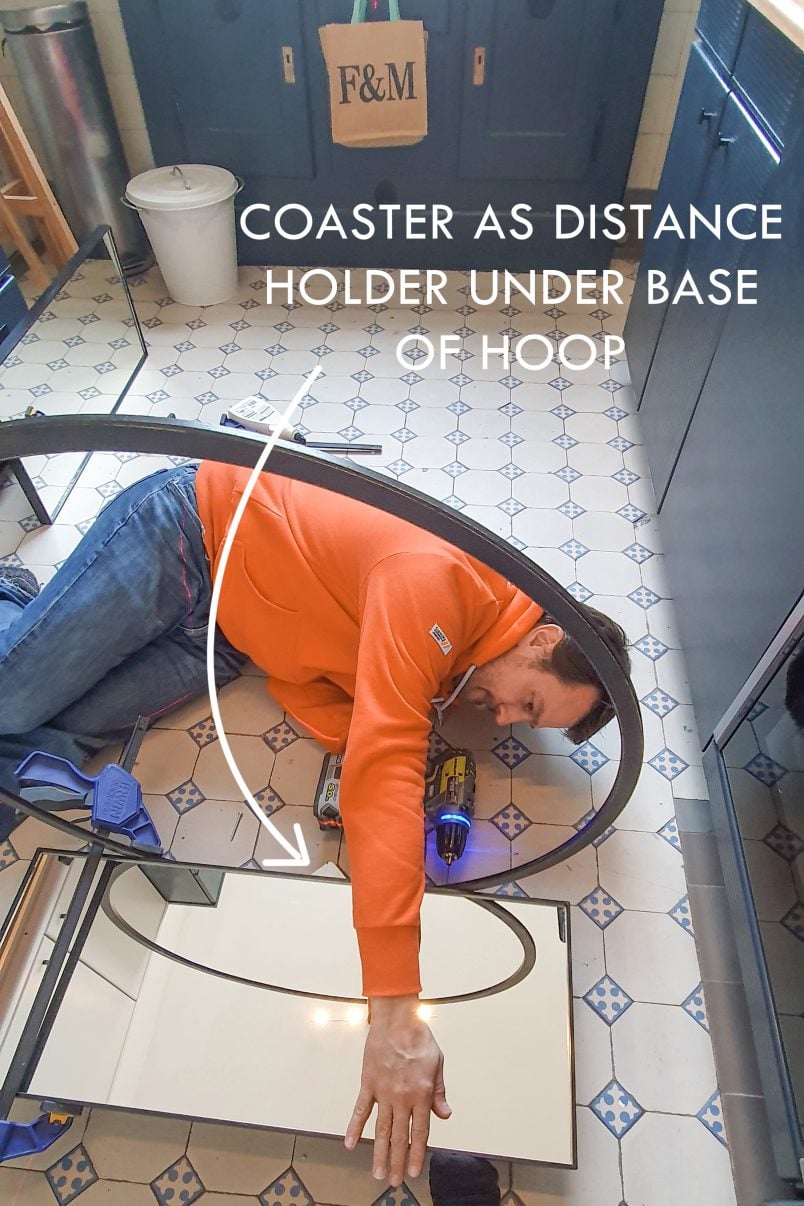
Line the first hula hoop up with the centre of the bottom tray and make sure the distances to each side are equal before clamping it into place.
We wanted the hoop to be ever so slightly raised off the floor so I just popped a coaster underneath the hoop to raise it by a couple of millimetres while screwing the hoop to the trays. Obviously, this is optional and you could use anything you have lying around to raise it off the floor slightly but a coaster seemed kind of appropriate since we’re building a DIY bar cart!
When the hoop is positioned and clamped to the tray, drill a hole straight through the centre of the hoop into the base of the shelf with a 2 mm drill bit. This is a bit tricky as you have to make sure to drill into the centre of the 19mm plywood base to ensure you don’t damage the mirror.
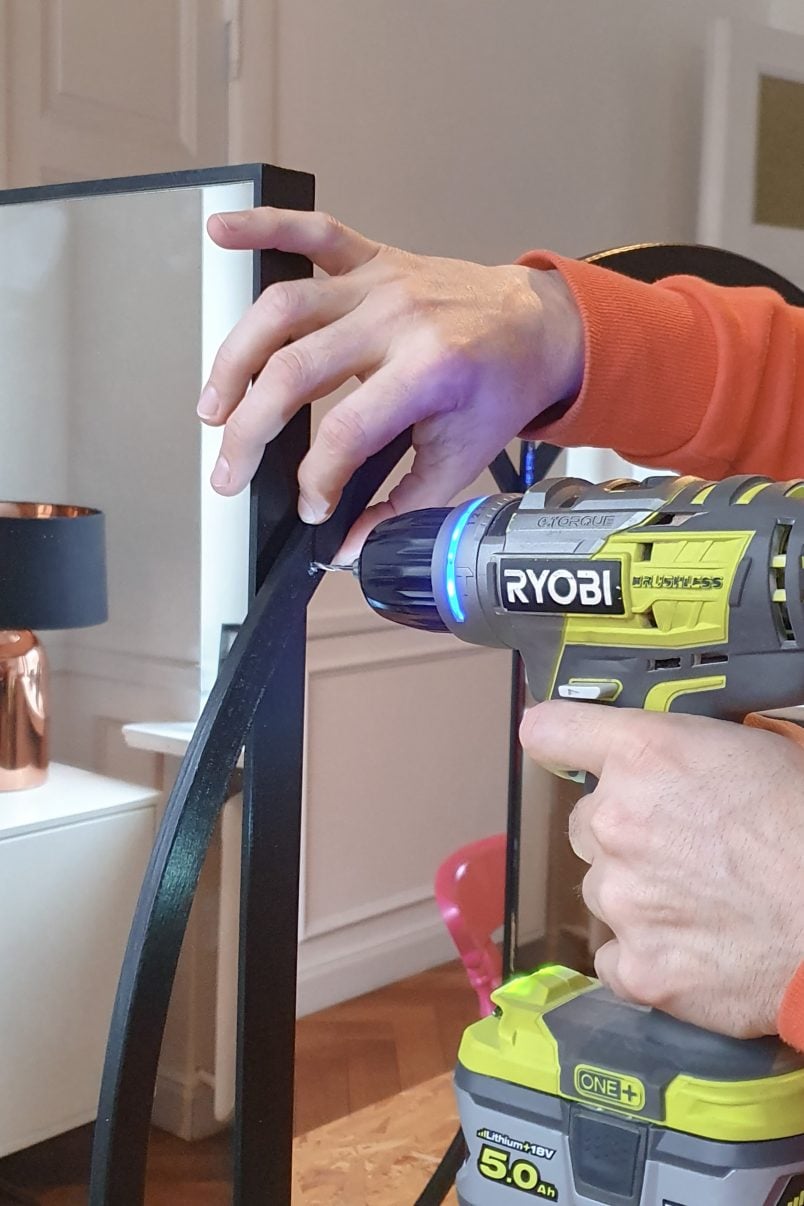
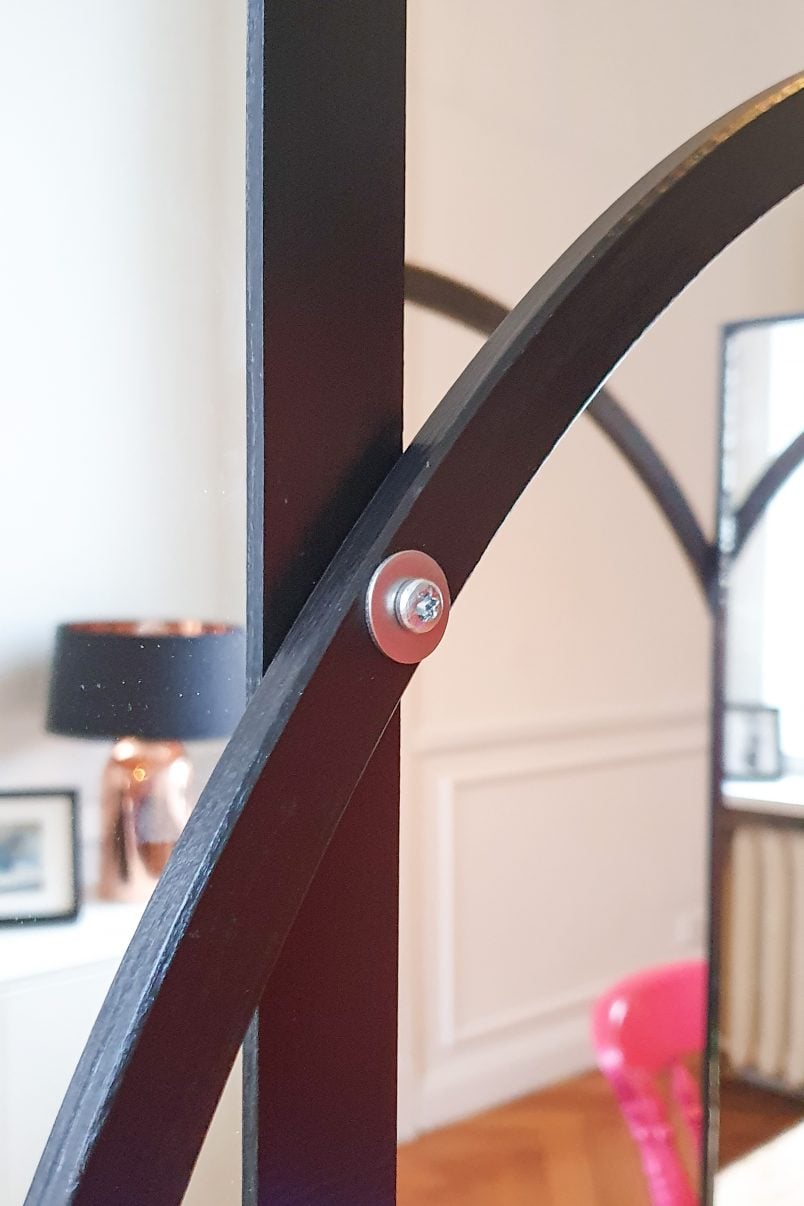
After drilling the hole, secure everything together with the washer and screw before repeating the same on the other side where the hoop and shelf meet.
The trickiest bit of this project is getting everything lined up perfectly and making sure that the hoops are exactly congruent with each other.
Keep measuring and double-checking all distances before you drill any holes to make sure that everything is positioned exactly where it should be.
After attaching both hoops to the bottom tray we flipped the semi-built bar cart onto its side to make it easier to attach the top tray.
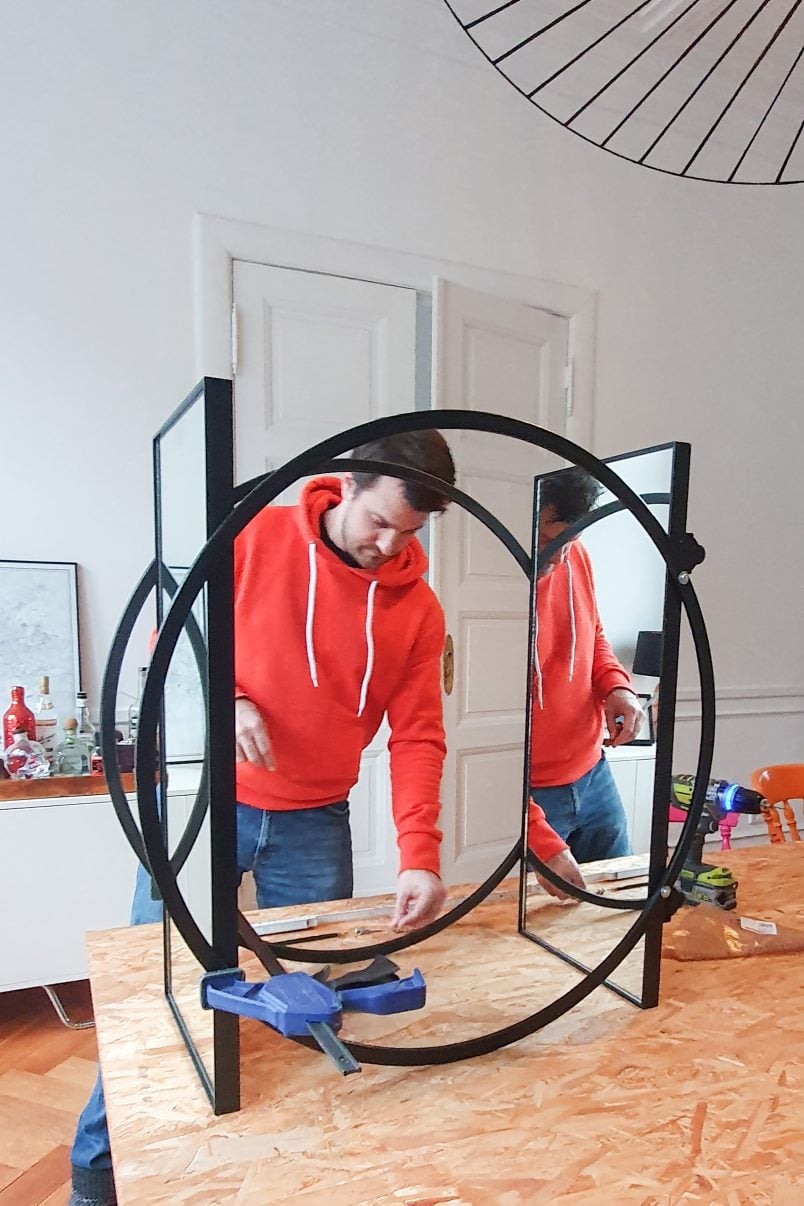
Place the top tray between the two hoops and measure the distance between the two trays to make sure the top shelf is perfectly parallel to the bottom tray (ours are 59.5 cm apart).
Then clamp everything together before drilling and screwing everything together exactly as you did with the bottom tray.
Step 5
Finishing Touches
All that’s left to do is paint over the screws and washers so that they blend in with the rest of the bar cart and tidy any imperfections.

I’m chuffed with how this DIY bar cart turned out and it looks and best of all it was super affordable to build, too!
Cost & Time to Build A Modern DIY Bar Cart
From start to finish, it took about 3 – 4 hours to build this DIY bar cart including all cutting assembly and painting (plus drying time).
- Plywood Base – 6€
- Edging Strips – 7€
- Batten – 2€
- Hula Hoops – 20€
- Mirrors – 40€
- Wheels – 6€
- No Nails & Wood Glue – 2€
- Paint – 9€
- Screws & Washers – 3€
Total: 95€
(approximate price as we already owned some of the supplies and all of the tools necessary to build this drinks trolley)
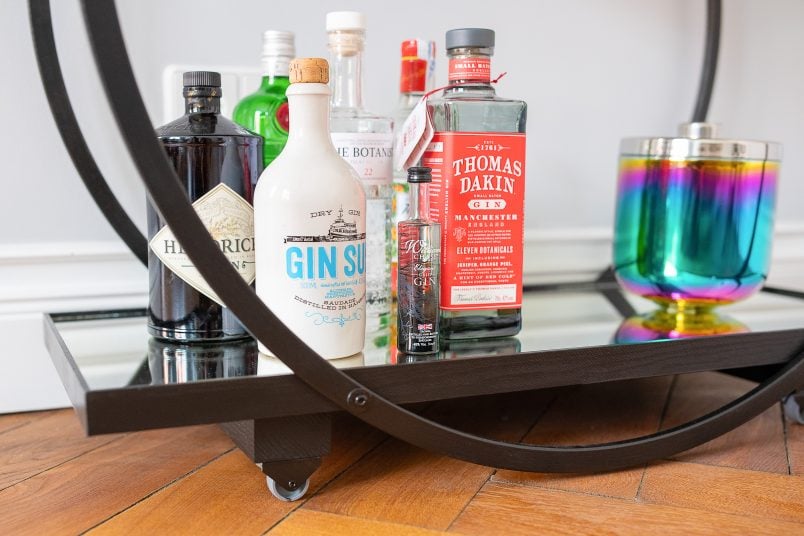
I love how this DIY drinks trolley turned out and it is really sturdy. Having said that, I purposely placed our ever-grown gin collection on the bottom shelf as I didn’t want to risk adding too much weight on the top shelf and risk everything collapsing!
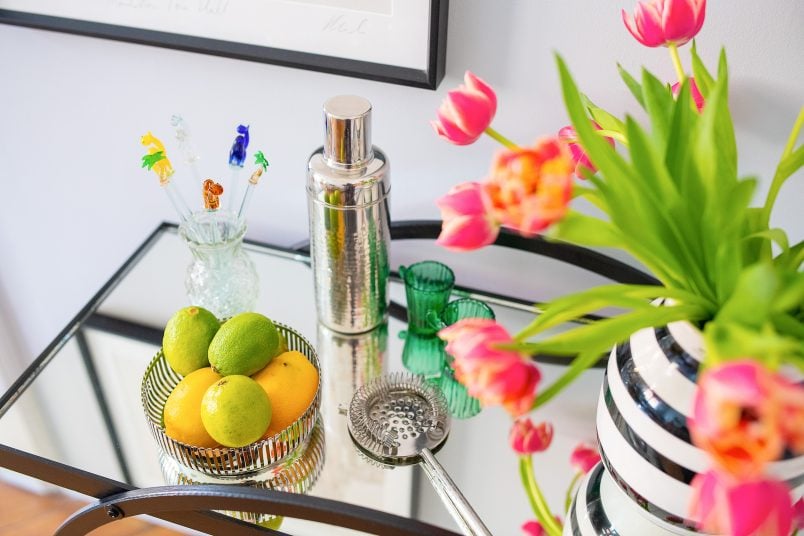
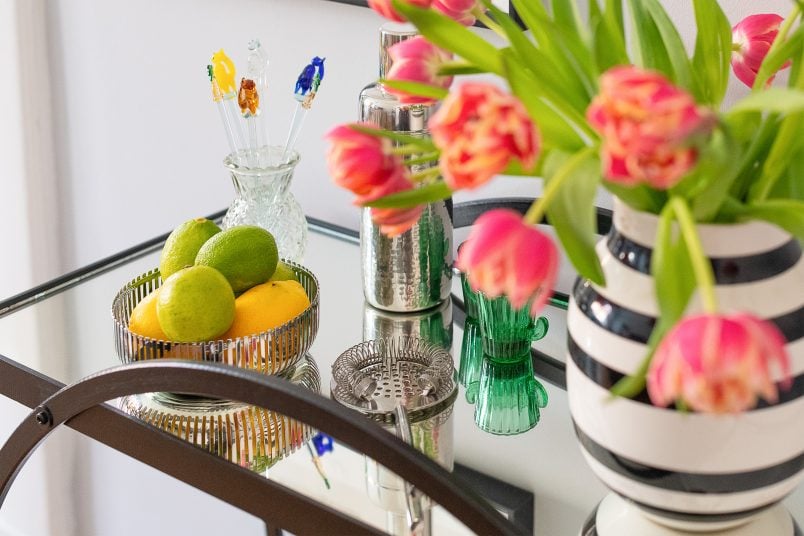
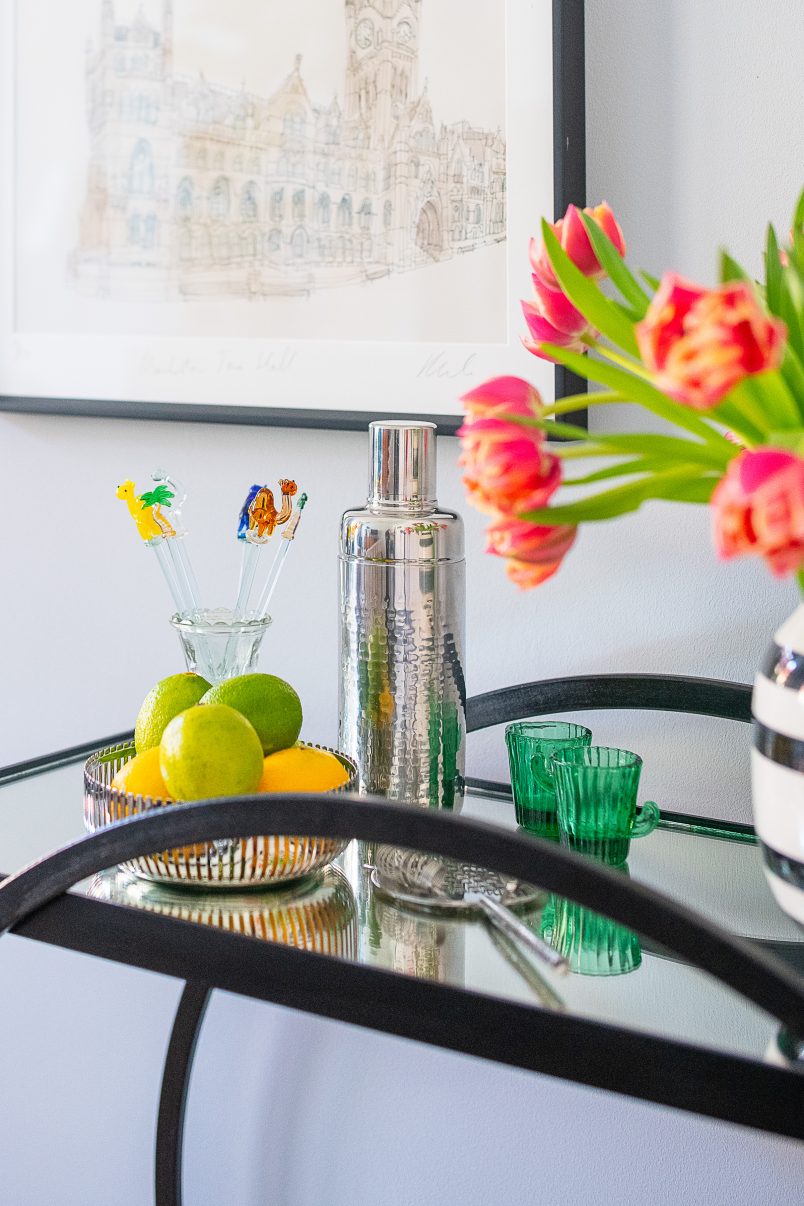
Ice Bucket | John Lewis
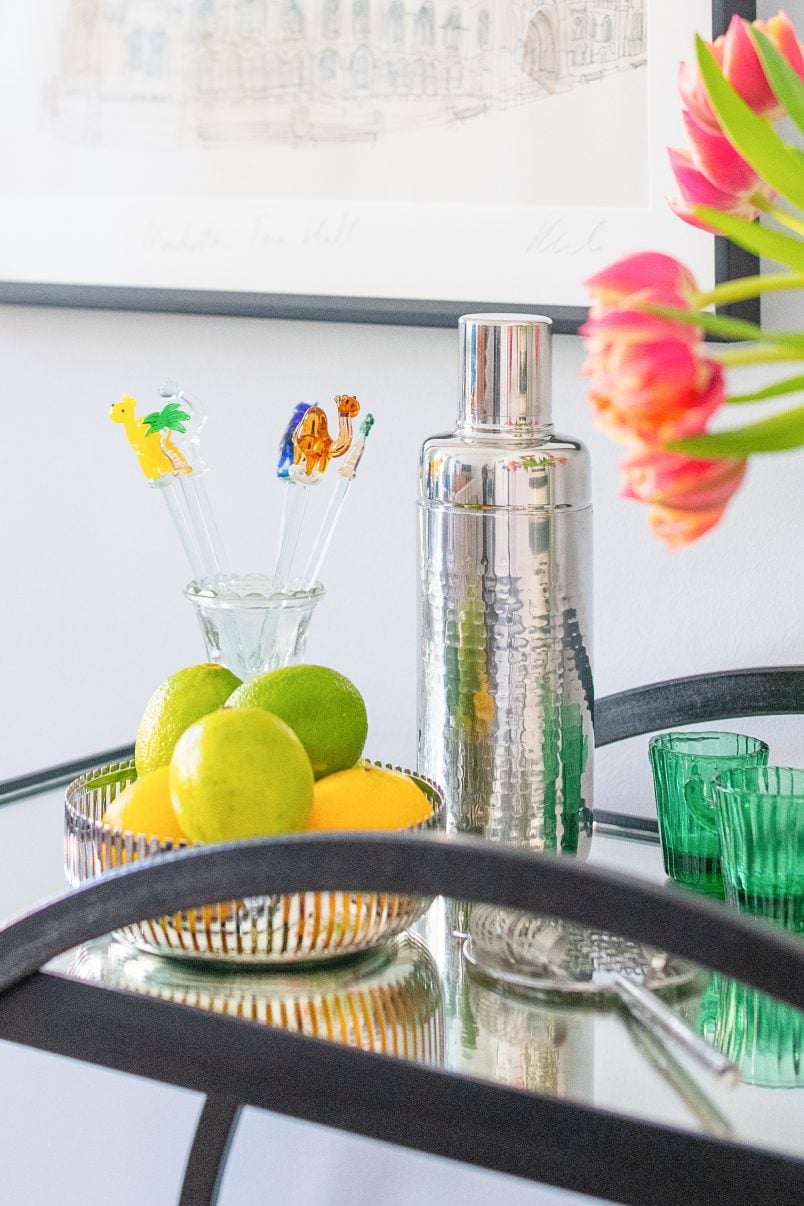
Cocktail Shaker & Strainer | Marks & Spencer (previously gifted)
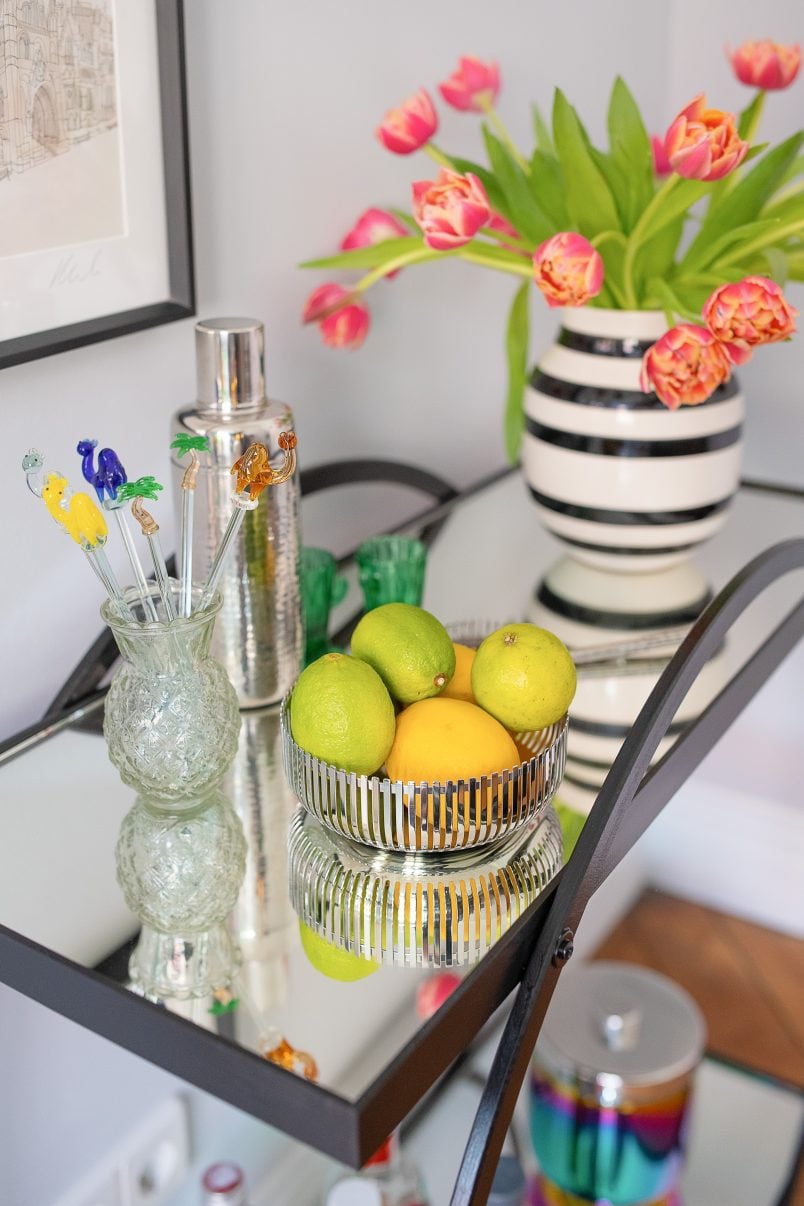
Round Basket | Alessi
Tealight Holder | Tom Dixon
Cactus Shot Glasses | Amazon
Vase | Kähler
Now all we need are a few new gins to add to our collection. Let us know if you have any recommendations!
Have you ever attempted to build your own furniture? Do you have a drinks trolley in your home and does it get used?

P.S. If you like this project, you may like some of our other furniture projects, too! Here are some of our favourites!
Natasha says
WOW, WOW, WOW!!! This is beyond brilliant. I’ve been searching for one of these and they’re sold out or an extortionate price. For a fleeting moment I considered making one but thought it was impossible…. but it’s not!! Thank you so much, I am inspired and subscribed.
Christine says
Aww, thank you so much, Natasha! We’d love to see a picture if you do make one!
Cx
Eina says
Gorgeous cart. It deserves beautful bottles of tasty liquor. Do bottles need pads to protect the mirror?
Christine says
Thank you! We’ve not had an issue with scratches so far. The cart is quite new though and to be fair we don’t drink a huge amount so the bottles aren’t moved more than once every couple of weeks.
Cx