Did you catch the reveal of our bathroom makeover? It’s safe to say that I’m over the moon with how it turned out!
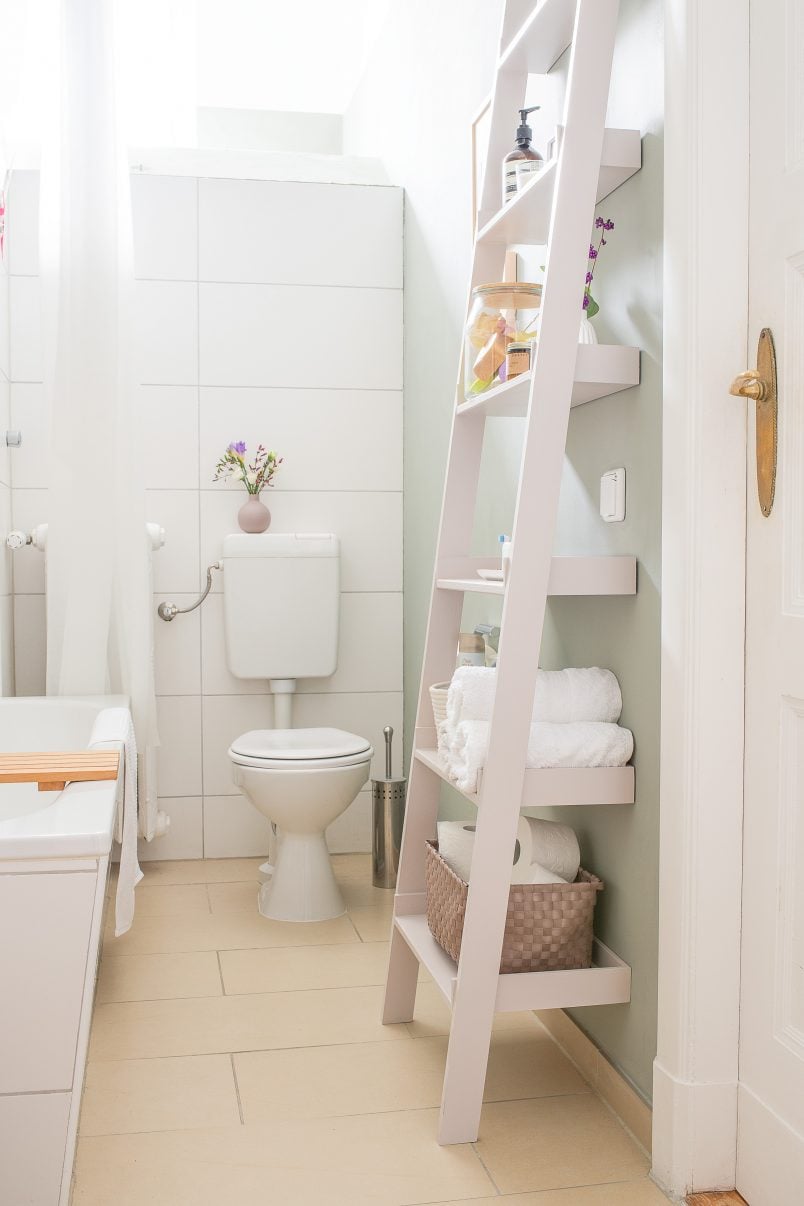
The new washbasin and vanity along with the newly painted walls make such an impact but our favourite new addition is the DIY ladder shelf that we built.
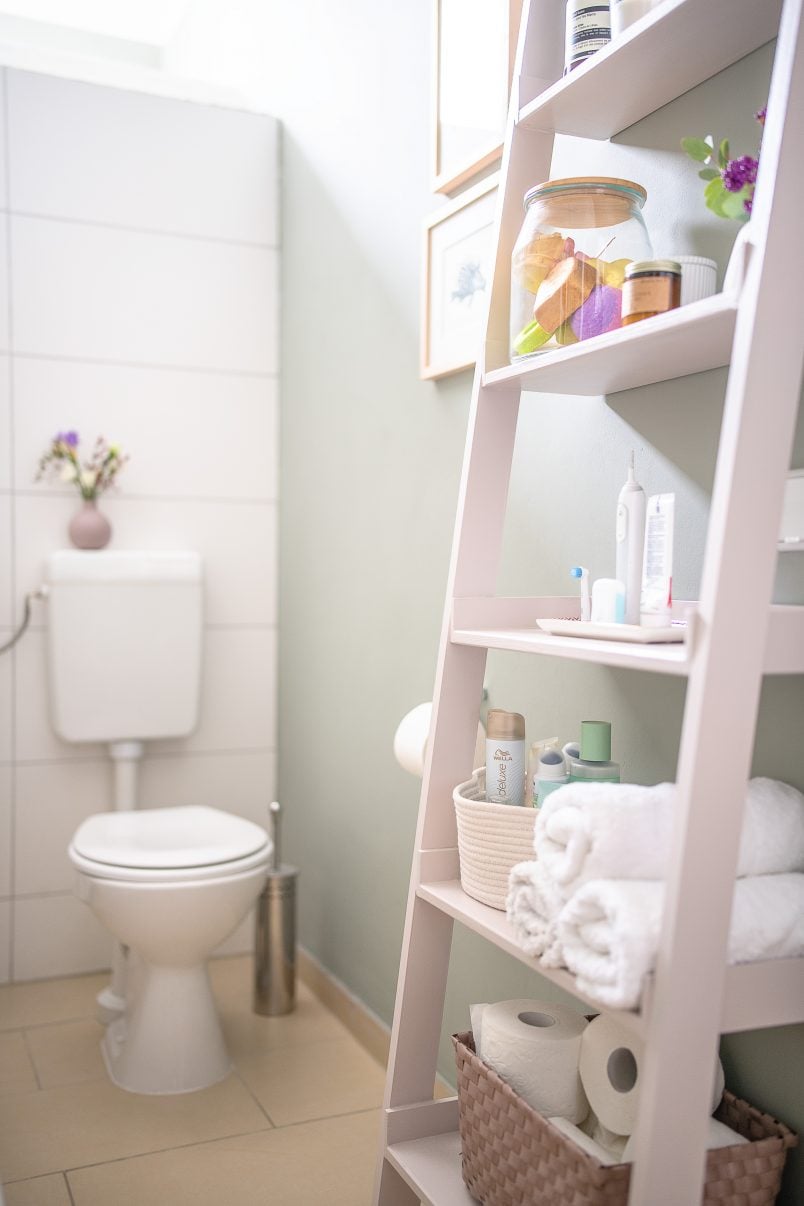
As our bathroom is really narrow which is why we didn’t want anything big and bulky taking up too much space. Our DIY ladder shelf is perfect as it adds just enough additional storage whilst still being space-saving and pretty!
If you’d like to build your own DIY ladder shelf, this is what you will need:
This post contains affiliate links. We only recommend products we love and think that you will, too! Read our full disclaimer here.
Supplies:
- Timber
For the shelves you will need:
- 2000 mm x 300mm x 18mm board cut into the following rectangles:
- 1 x 480mm x 278mm
- 1 x 480mm x 239mm
- 1 x 480mm x 199mm
- 1 x 480mm x 160mm
- 1 x 480mm x 121mm
- 1 x 480mm x 82mm
For the edge of the shelves you will need:
- 2 x 2.4m x 60mm x 10mm strip cut into the following lengths:
- 6 x 480mm
- 2 x 288mm
- 2 x 249mm
- 2 x 209mm
- 2 x 170mm
- 2 x 131mm
- 2 x 92mm
For the main supports you will need:
- 2 x 1.85m x 19mm with the ends trimmed at a 8° angle (more on that later)
- Wood glue
- Wood screws (as thin as possible, we used 3.2 x 50mm)
- Sandpaper (about 120 grit)
- Wood filler
- Paint & paintbrush
Tools:
- Clamps
- Mitre saw (or a fine saw and mitre block)
- Circular saw (or you can have the boards cut to size at your local DIY store)
- Cordless drill & drill bit (3mm)
The quantities are based on the size that we built our shelves but you can adjust them to suit your space – that’s the fun of DIY!

This is how to build your DIY ladder shelf:
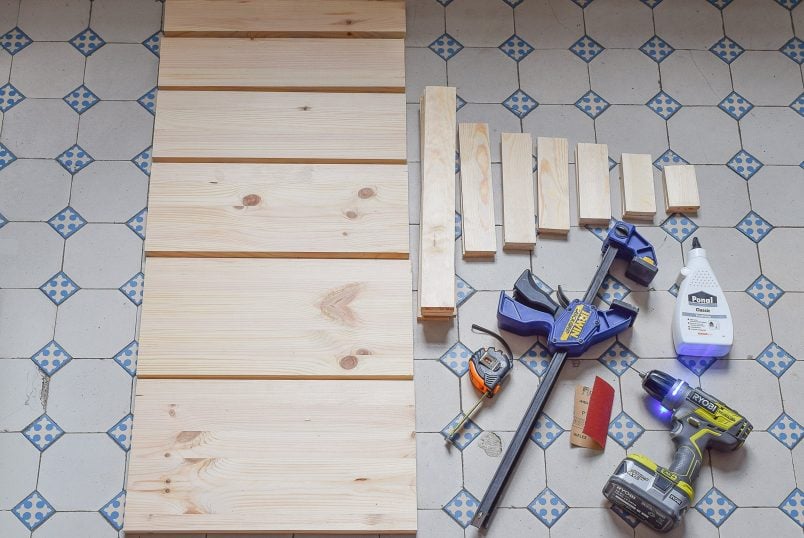
1. Measure & Cut.
I know that it seems like this might be a complicated project based on the list of supplies that you’ll need but I promise that it’s actually really straight forward.
Basically, you’re building six shelves with an edge that you’re holding together by attaching them to a long piece of timber. Already sounds much easier, right?
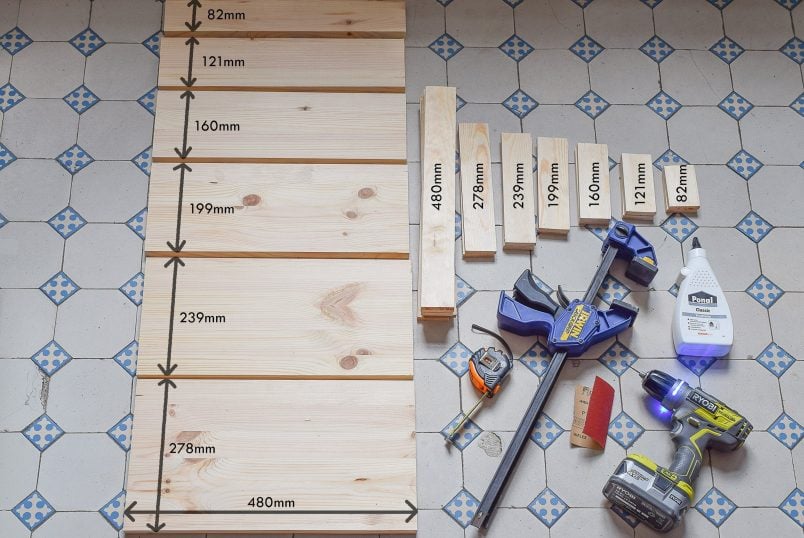
Start by cutting all of your timber to the sizes you need. If you’re building shelves the same size as we did, you can use the measurements above.

We used our mitre saw but you could cut all of the timber strips by hand with a fine saw and mitre box if you prefer. Having said that, a mitre saw will make your life so much easier as it’s quicker and more accurate, too! (You can see our list of must-have DIY tools here and, you guessed right, the mitre saw is on it!)
Because you’re leaning the shelf against the wall at an angle, you’ll have to cut the bottom of the two long sides of your shelves at an 8° angle so that it’ll stand flat on the floor. We also cut the top of the long shelf side at the same angle.
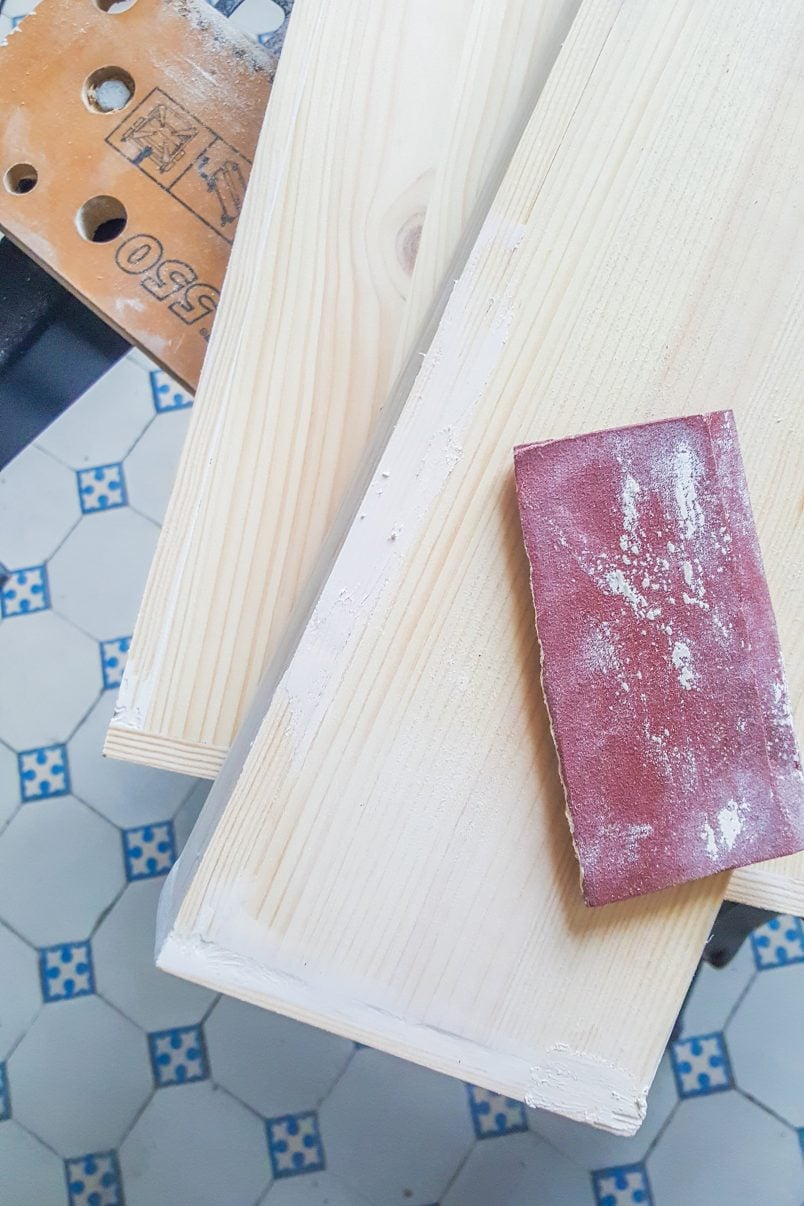
Give all edges a sand with some sandpaper to remove any rough edges before moving on to the next step.
2. Assemble.
Each of the six shelves is assembled in exactly the same way. They each have three sides (one back and two sides) and the front of each shelf is open.
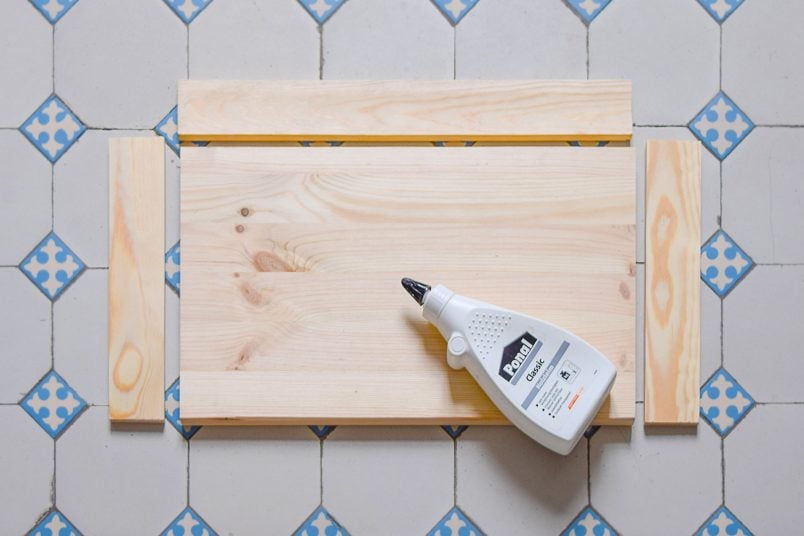
Start by attaching the sides of the shelves first. Make sure that the edges are completely flush with the bottom and front of your shelf board.
Just apply an even coat of wood glue along the edge of the shelf and glue the edging strip on to it before securing with some clamps and repeat this step with the other five shelves.
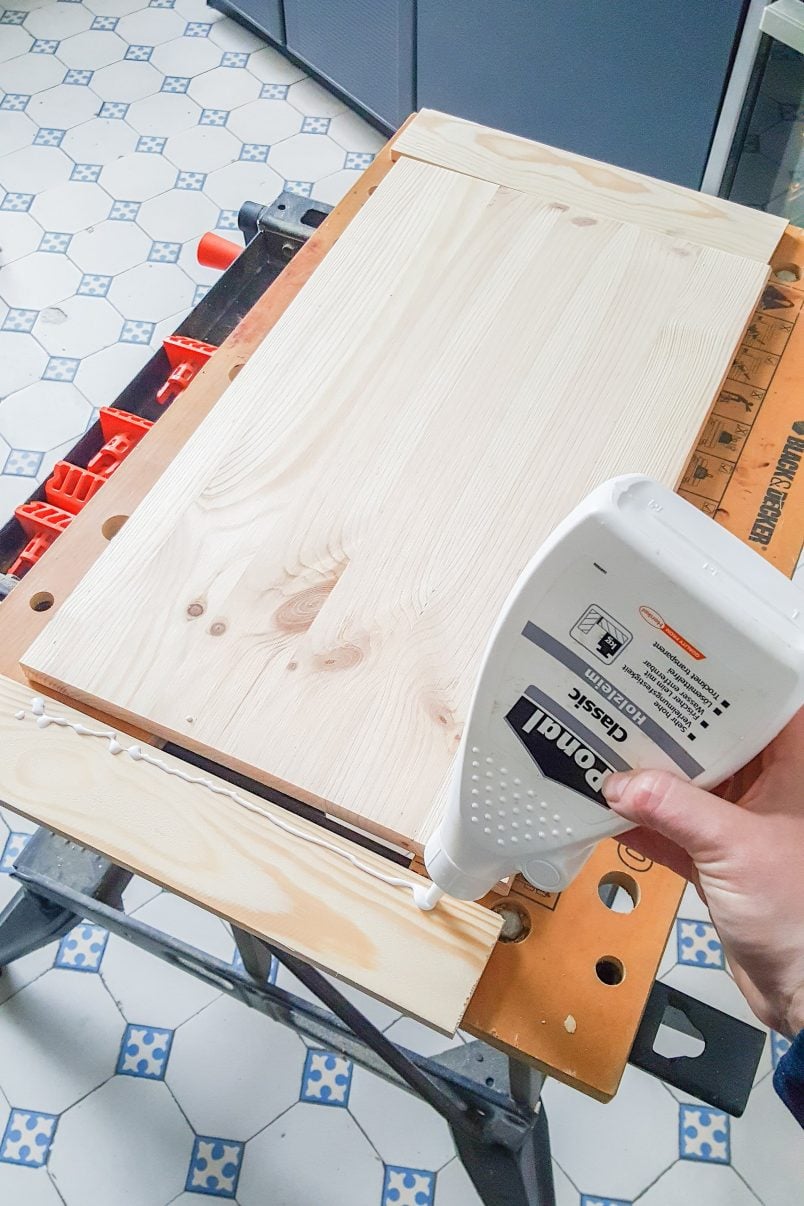
When the side edges have dried move on to adding the back to each shelf using the same method.
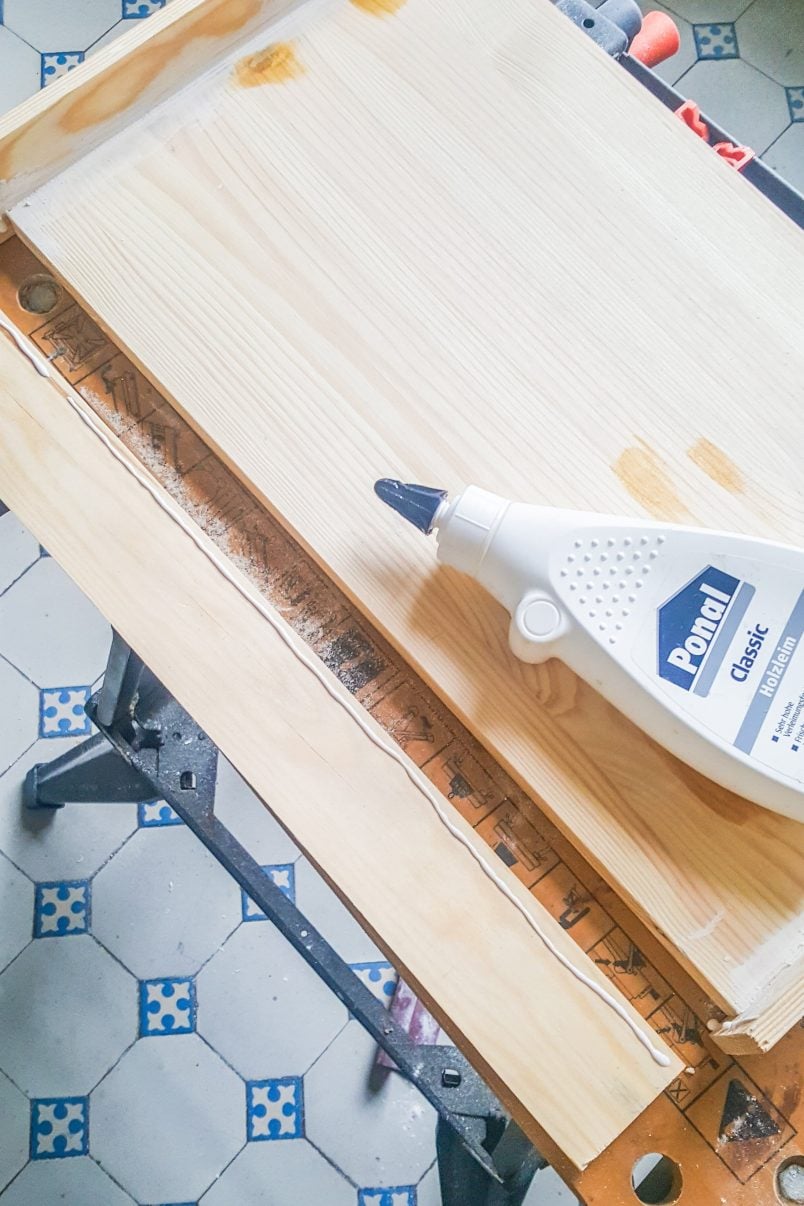
If you find that you have any gaps after glueing the shelves together (we did), fill them with some wood filler before moving on to the next step.
Note: The sides of each shelf don’t actually support anything, which is why just glueing them into place is enough to keep everything stable.
3. Build.
Once you’ve assembled each of your six shelves it’s time to build the DIY ladder shelf.
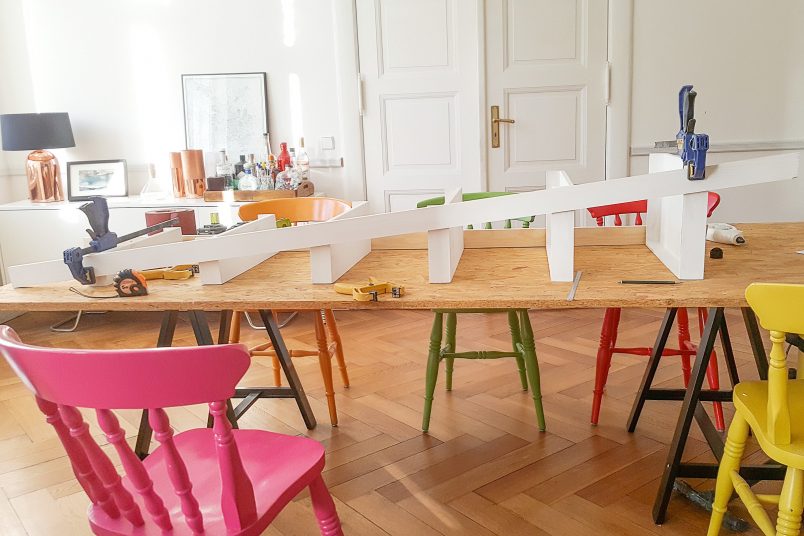
Lay out each of the shelves on the floor standing them on the long edge with an equal distance between them.
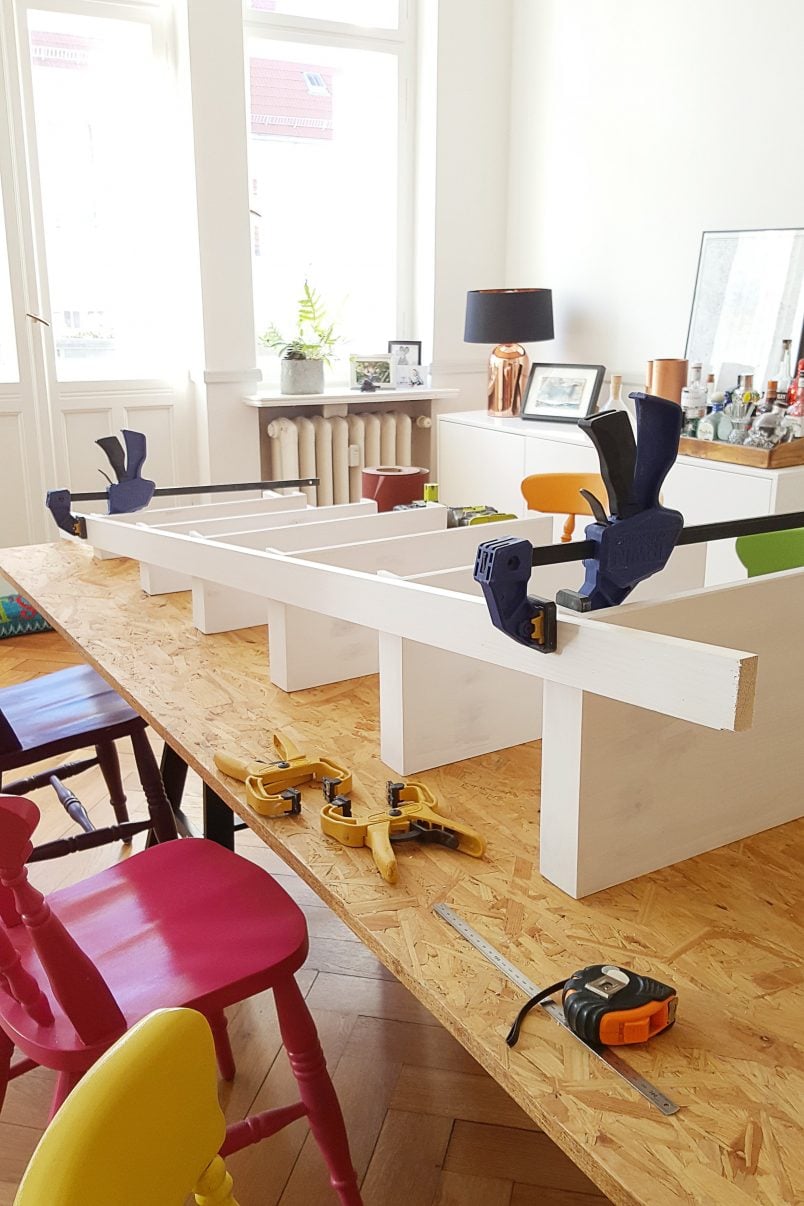
Then, clamp one of the side supports to the front of the shelves lining it up with the front corner of each shelf.
It should look something like this:
When you’re happy that everything is perfectly aligned, glue the slat to the shelves and clamp it into place while the glue dries.
When it’s dried, pre-drill two 3mm holes through the slat and into your shelf. Predrilling makes it easier to screw into the timber makes it less likely to split.
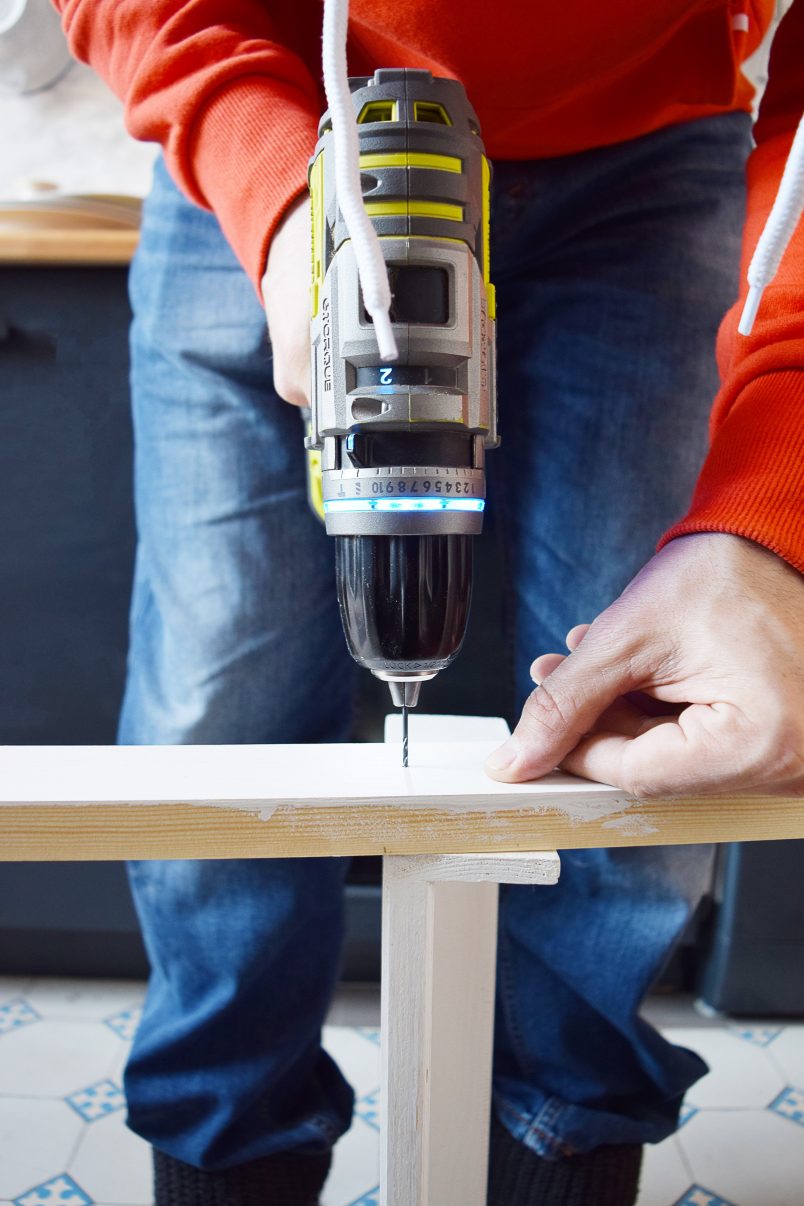
You’ll be hiding the screw heads later so it’s not too important to be perfect. Just make sure to drill as straight as possible so that you don’t accidentally screw right through your shelf!
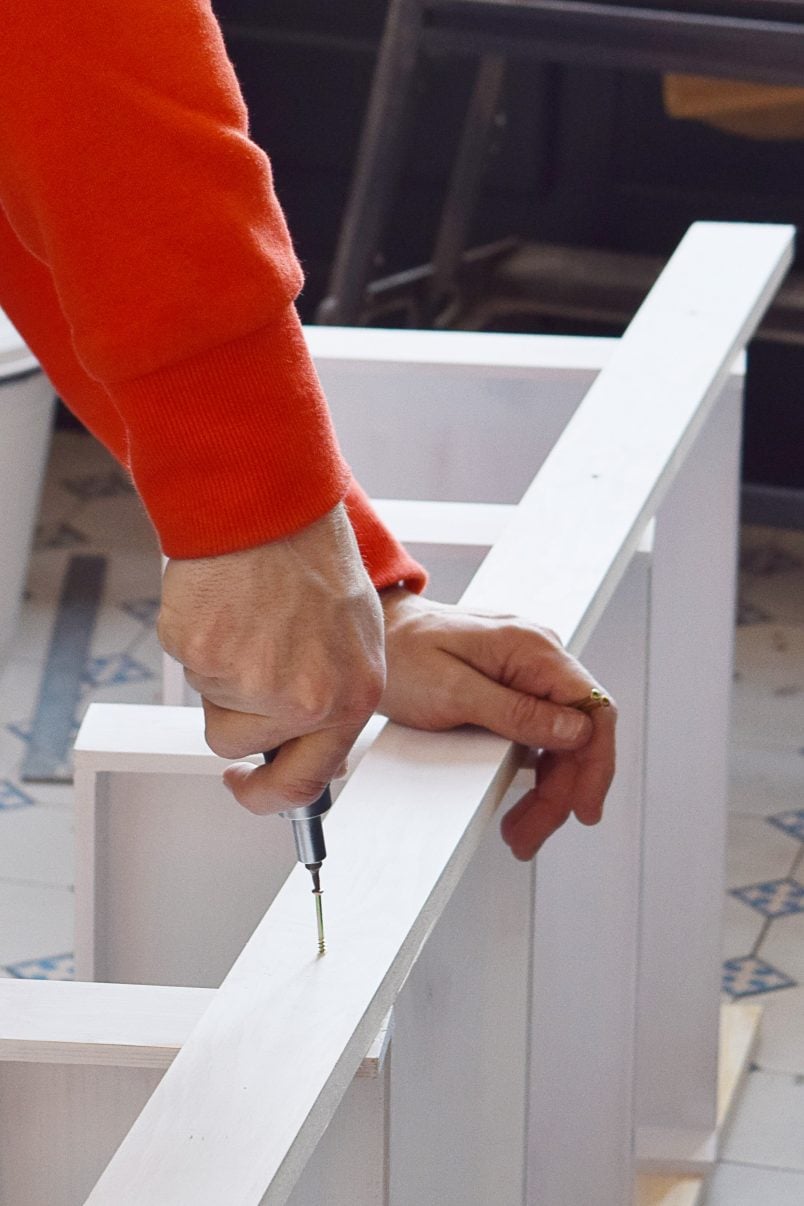
Work your way along the ladder, drilling and screwing each shelf into position. Then turn everything over and attach the second support using the same method. Don’t forget to double-check your measurements and distances first – you don’t want to end up with wonky shelves!
4. Finish.
When you’ve finished screwing everything together it’s time to hide any drill holes. Make sure that you’ve sunk the screws into the wood so that you can hide them under some filler.
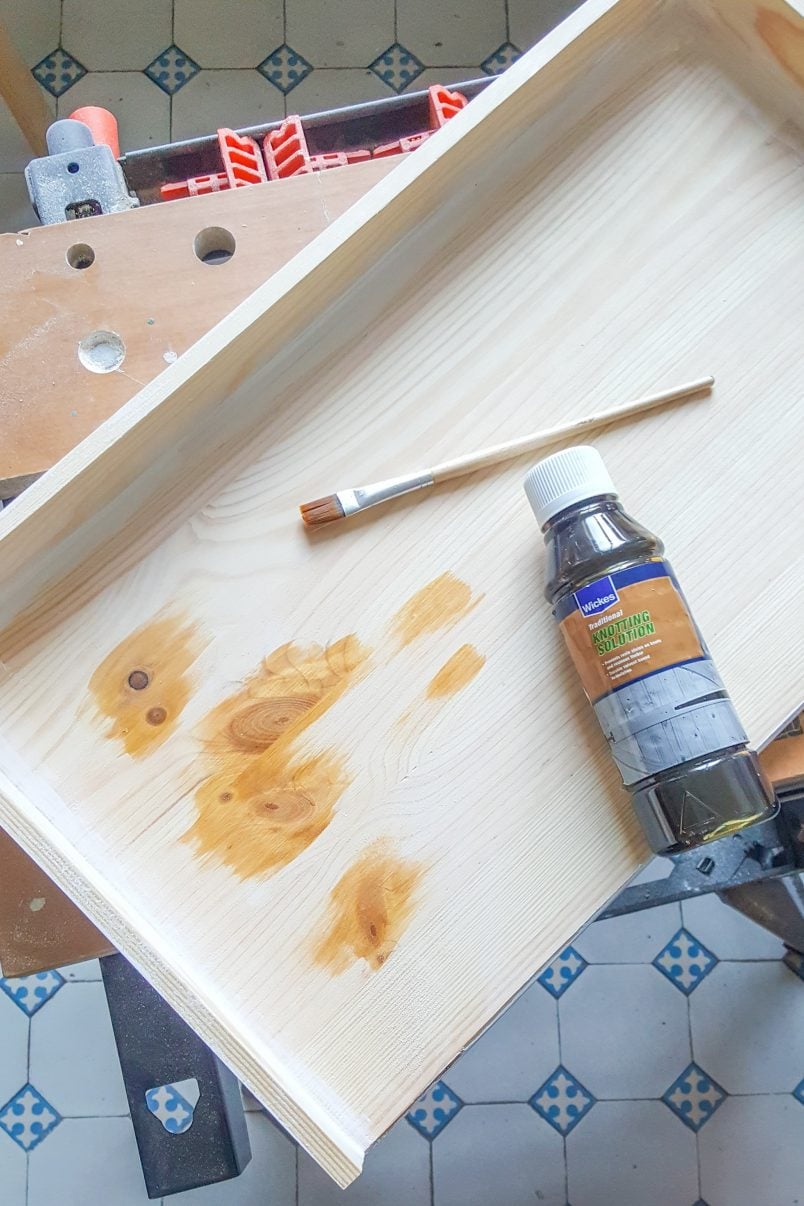
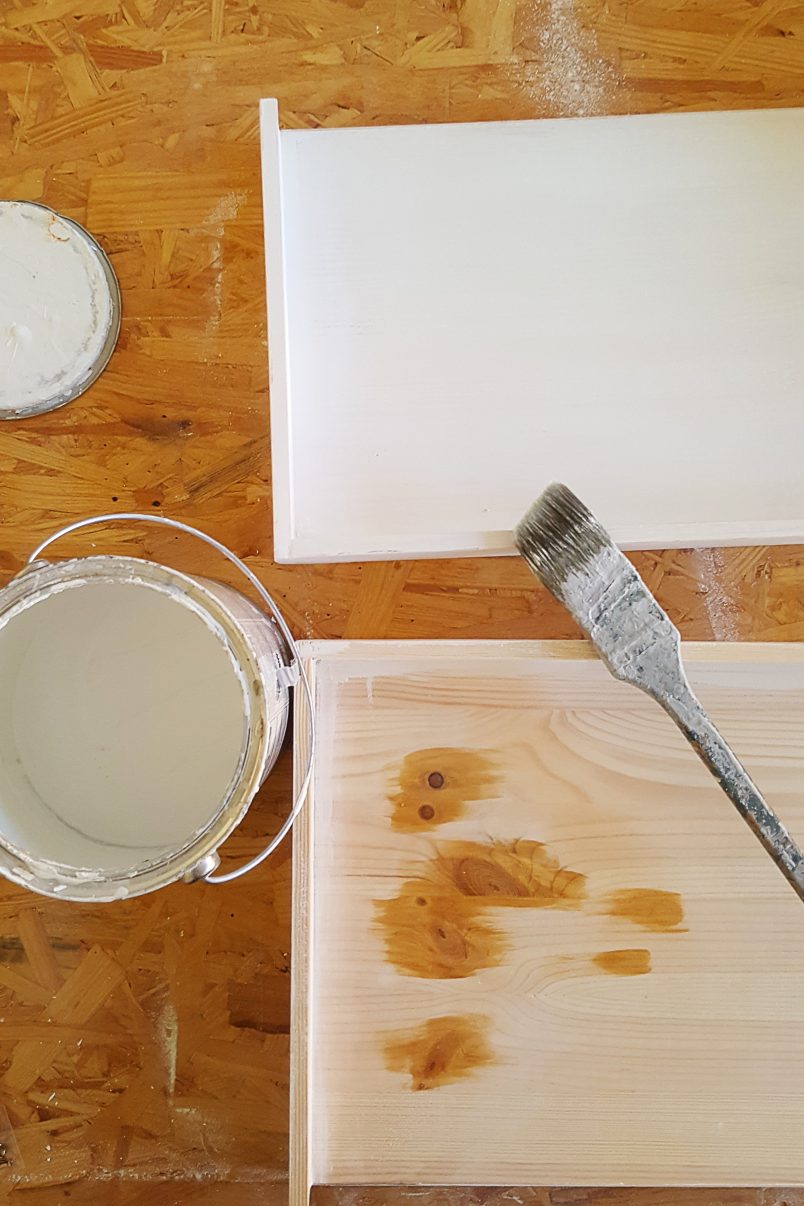
Then, all that’s left to do is to paint your shelves. Treat the knots with knotting solution (if you don’t treat them they will cause stains later on) then prime everything with a wood primer before finishing with two coats of wood paint. Our DIY ladder shelf is painted in Peignoir by Farrow & Ball.
I know that some of you find it helpful to know how much projects cost and how long they take to build, so here’s a quick breakdown of our experience building this DIY ladder shelf.
Cost & Time:
From start to finish it took us roughly 4 hours to build this shelf plus a couple of hours to paint them.
The materials for the shelves cost us roughly 40€ (plus paint).

This DIY ladder shelf is really sturdy but if you have small children, I would recommend securing them to the wall to be extra careful!
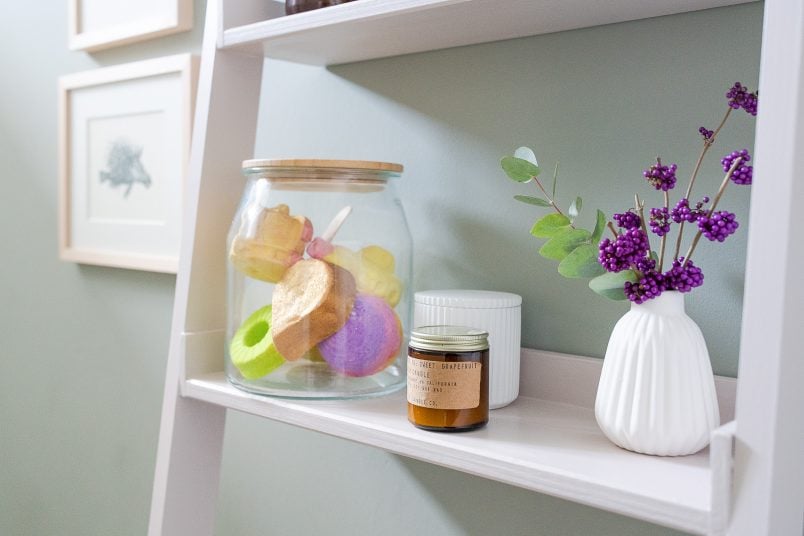
As you can probably guess, I’m really pleased with how the shelf turned out It’s ideal for that extra bit of storage space we need in our narrow bathroom without making the room feel too cluttered.
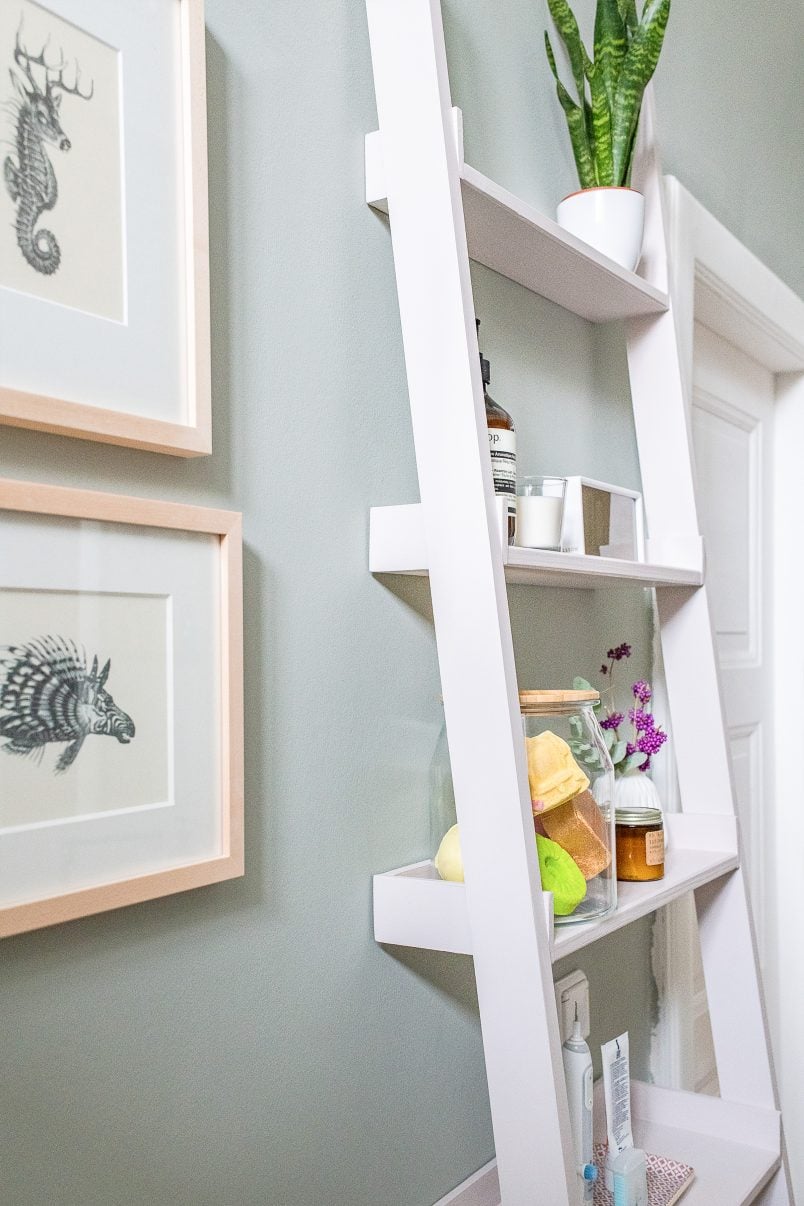
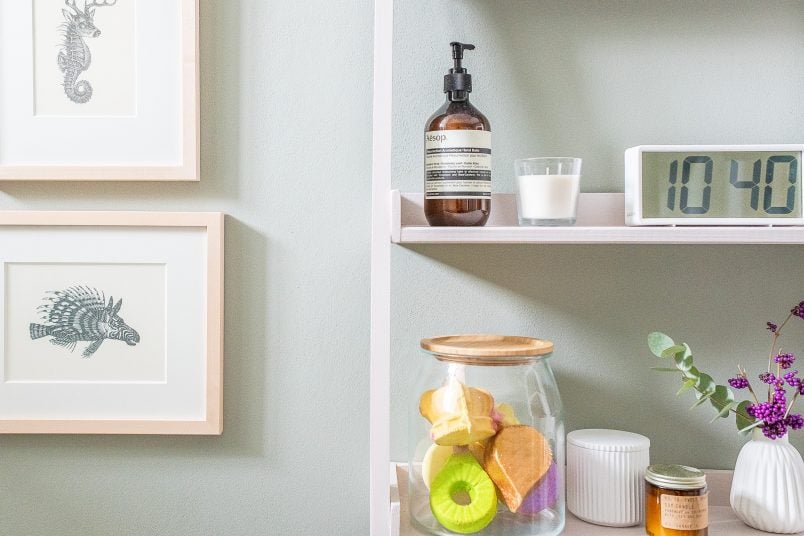
Obviously, the majority of our less pretty supplies are tucked away in our new vanity unit (more on that DIY soon!) but it’s surprising just how many things fit onto these shelves!
Now that we have more storage I totally admit that I can’t seem to stop buying bath bombs, bubble baths and other fancy spa products to fill them with! At this rate, we might need to build more storage just to house my new obsession.
What would your dream bathroom look like? Have you ever attempted to build your own furniture? I never had a soak in our bath in our last home (I just couldn’t ever get over knowing what the bath looked like when we moved in) and I have to admit that I’m really starting to get into it! Do you have any indulgent bathroom treat products you’d recommend I try?
SHOP OUR DIY ESSENTIALS
Leave a Reply