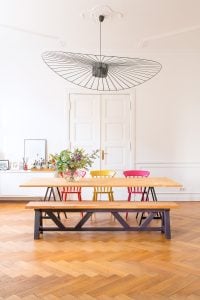
Our DIY terrazzo style resin dining table that we built last year is still one of our all-time favourite projects and we loved it so much that we decided to build another one!
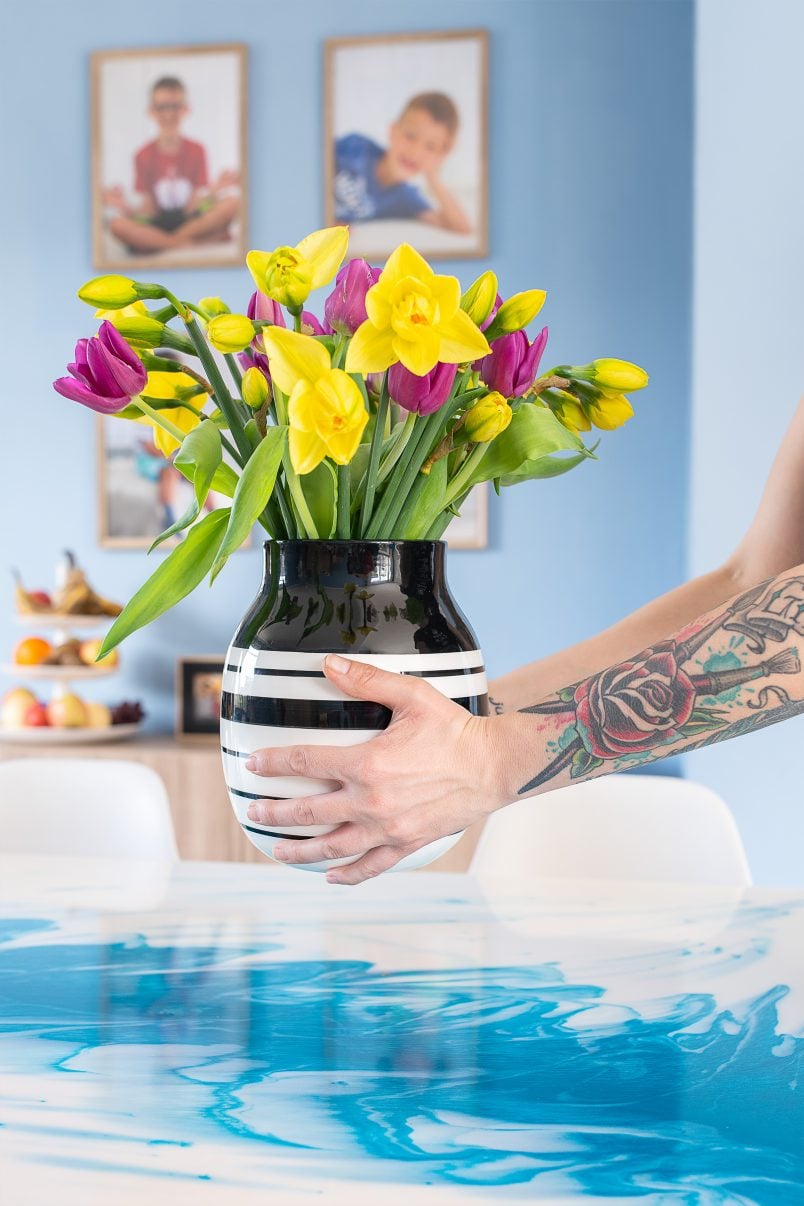
This time, we opted for a completely different design and, instead of adding hundreds of little terrazzo chips, we covered this dining table in two different colours of metallic resin!
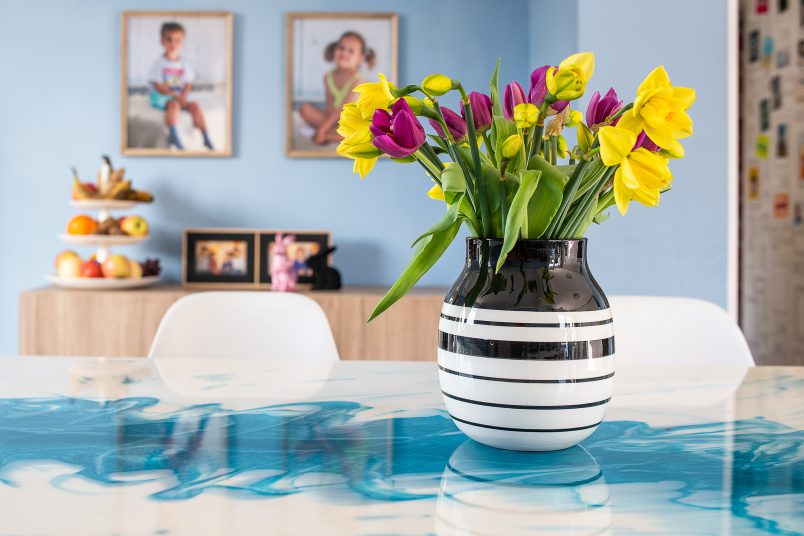
It’s definitely the glitziest thing we’ve ever built!
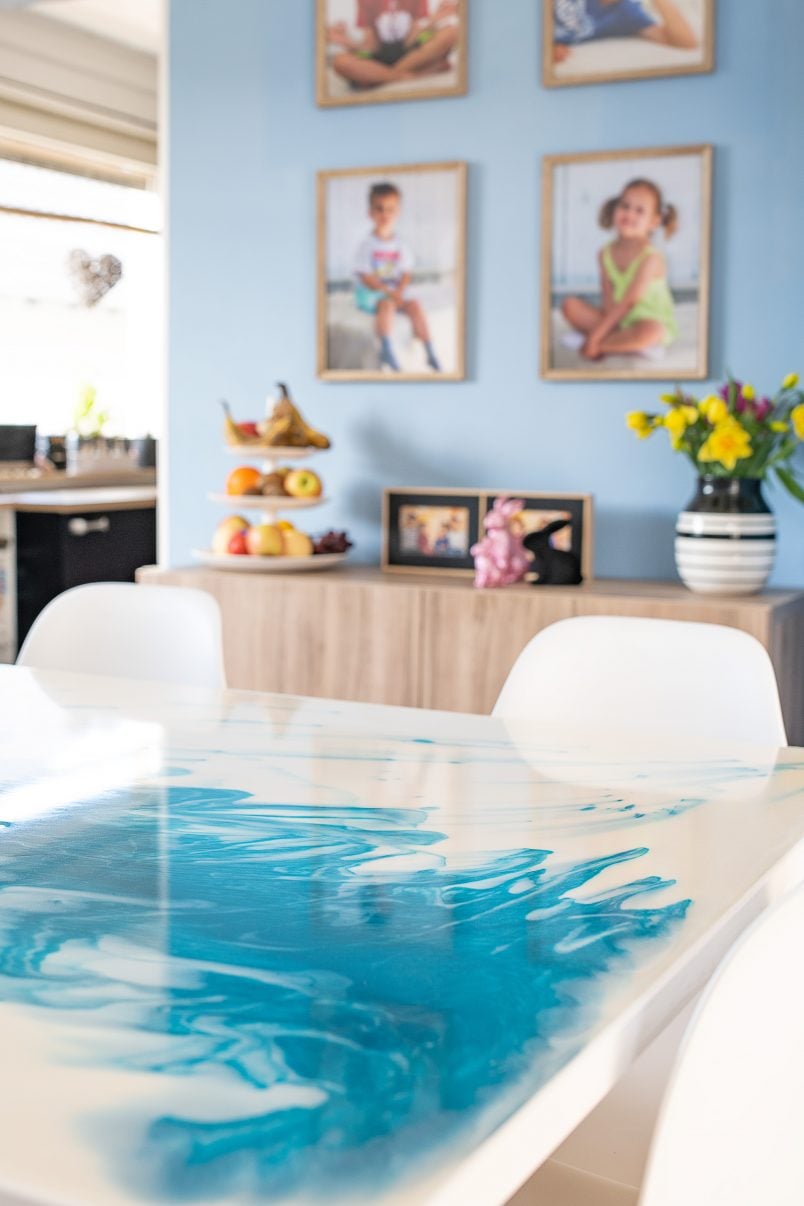
As you can see, this DIY resin dining table isn’t actually in our home. And before you ask, no we haven’t branched out and no, we’re not taking orders for epoxy resin tables. We built this table for my sister and her family.
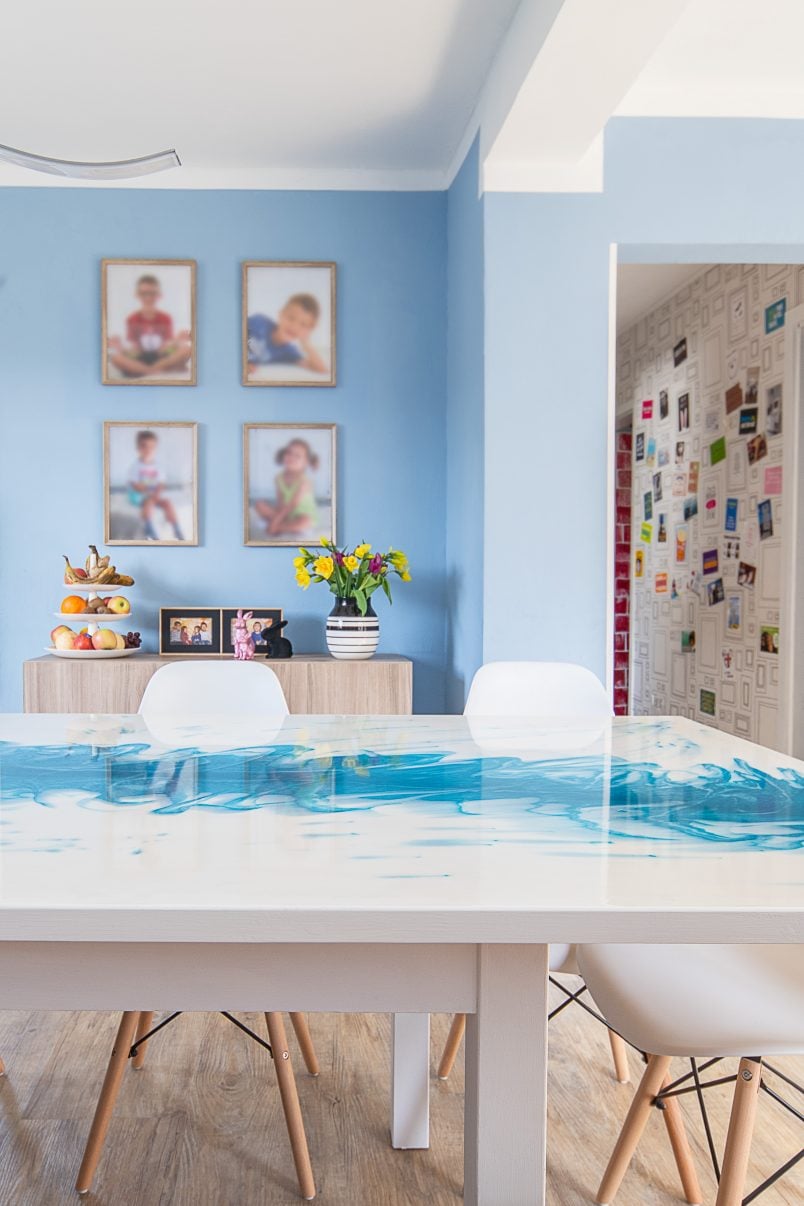
It turns out that they loved our epoxy resin table top as much as we did so we built one for them, too!
Luckily, it is an easy and surprisingly quick project and we’re sharing the full step-by-step tutorial so that you can build your own DIY resin dining table (or any other type of table), too!
Did you know that we’ve also started a YouTube channel where we share our DIY projects? That’s where you can take the full video tour of our apartment and now, you can see exactly how we built this super-cool metallic resin table there, too!

We’d love it if you’d give this video a like! And, while you’re there why not give us a follow, too? We have loads more fun projects coming up in the next couple of weeks that we’ll be sharing there!
This is what you will need to build your own DIY resin dining table:
This post contains affiliate links. We only recommend products we love and think that you will, too! Read our full disclaimer here.
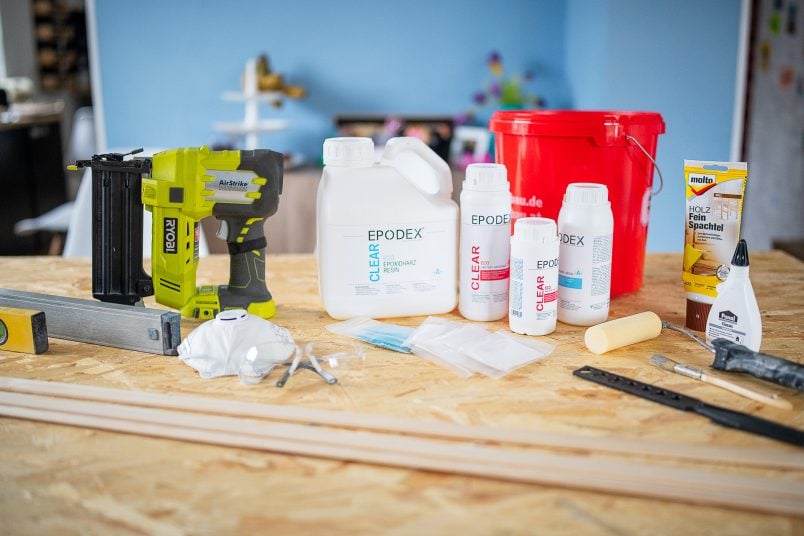
Tools:
- Mitre saw – our mitre saw is one of our most used tools and we highly recommend investing in one. We always recommend borrowing or hiring tools if you’ll only need them for one project though. A good alternative would also be a fine saw & mitre box.
- Cordless Drill
- Nailer & Nails (Alternative: You could nail by hand but a nail gun will make it quicker and easier.)
- Scales – just some standard kitchen scales will be fine for this project
- Optional: Blow torch
Supplies:
- Resin (We used the same resin as last time just in different colours. This table is a mixture of approximately 75% pearl white and 25% turquoise). The website we ordered the resin on has a calculator so that you can work out exactly how much resin you will need for your project, too.
- Bucket & paint mixing stick (one for each colour you are using)
- OSB board (22mm) that’s the size you want your table to be
- Table edging strips
- Wood glue
- Wood filler
- Sandpaper
- Paintbrushes (one good one and one cheap one that you’ll have to throw away after use)
- Foam roller & roller frame
- Wood paint
- Dust sheets
This is how to build an epoxy resin dining table:
Step 1
Gather your supplies
Building this resin table is a quick project, so get everything you need ready before starting this project.
You can take as much time as you want when working on the table base and frame but as soon as you start to mix the resin things have to move fairly quickly as you only have about 20 minutes time until the resin starts to set. Twenty minutes may seem a lot to just pour some resin onto a base but they have a way of disappearing very quickly!
Step 2
Prepare the table
The exact steps you’ll have to take to prepare your table will depend on what you are using as a base but basically, you add an edging strip around the edge of the table to give the resin something to flow up to and not spill over the edge.
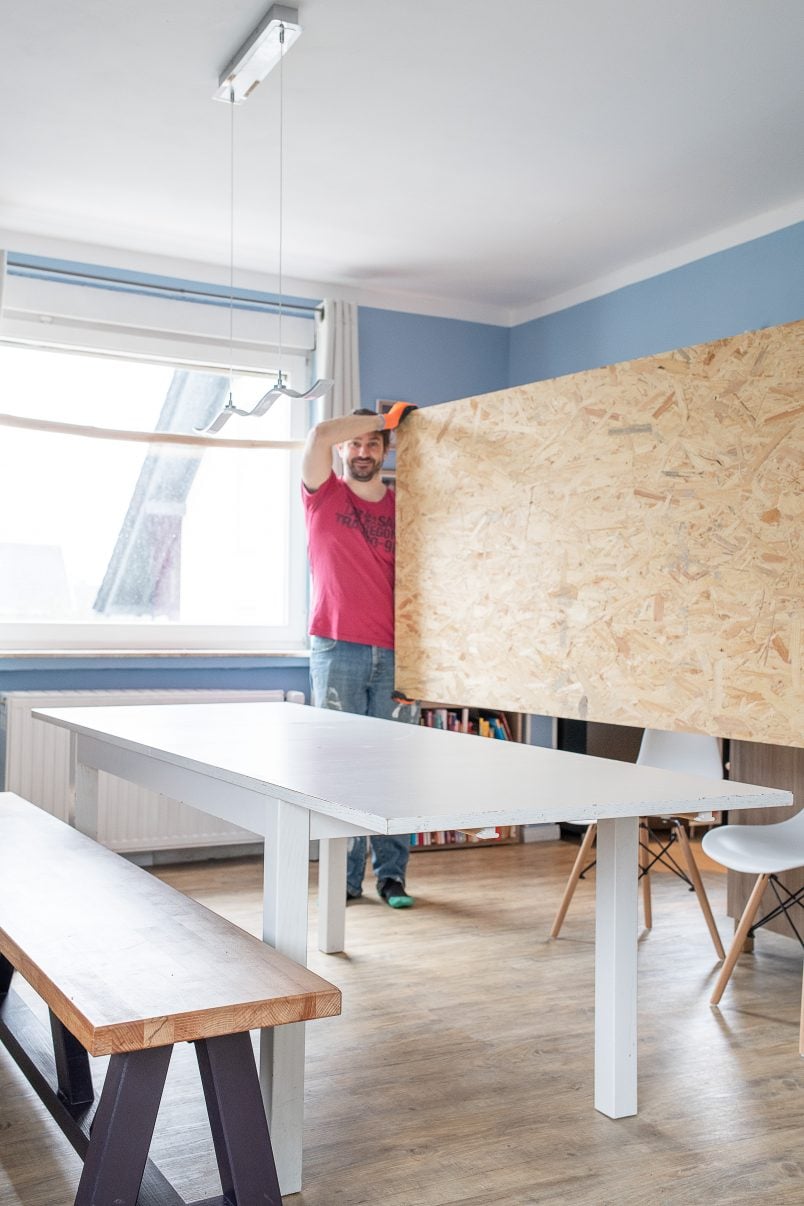
For our terrazzo style resin table, we just used a board resting on some trestles but for this project, we used an existing table as a base which we attached an OSB board to.
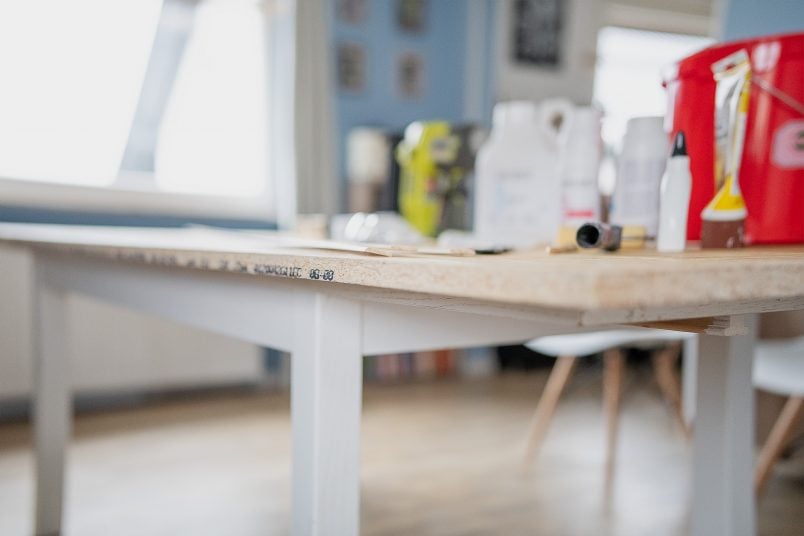
The existing table had seen better days with the laminate surface peeling in parts and chips and scuffs everywhere. The main issue though is that it was too small for a family of 6.
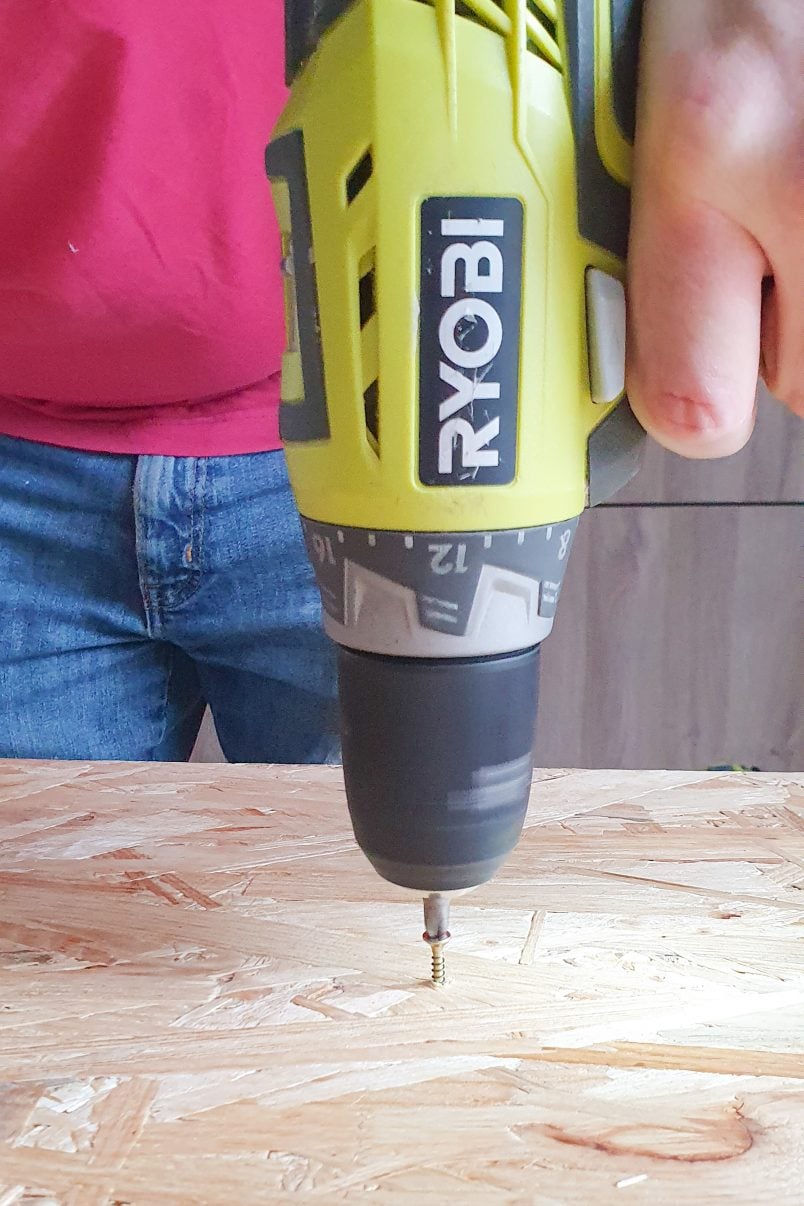
OSB boards – the ones we used are 22mm thick – are cheap and sturdy so work well as a base for the resin tabletop. We had the board cut to size at the DIY store and then just screwed it to the top of the table making sure to leave an equal amount of distance around the edge of the existing table.
Step 3
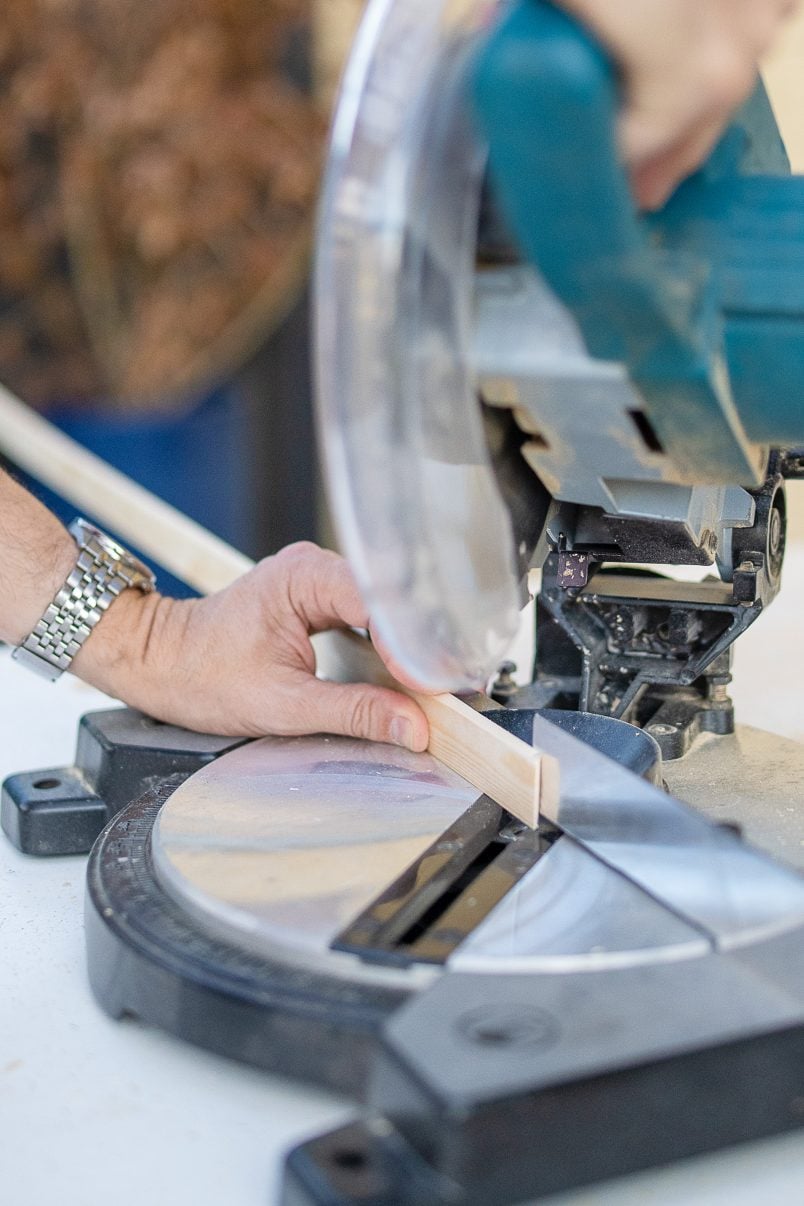
Add the table edging strips
Next, attach the edging strip around the edge of the OSB board.
This edge is so that the resin has something to flow against and doesn’t go everywhere when pouring it.
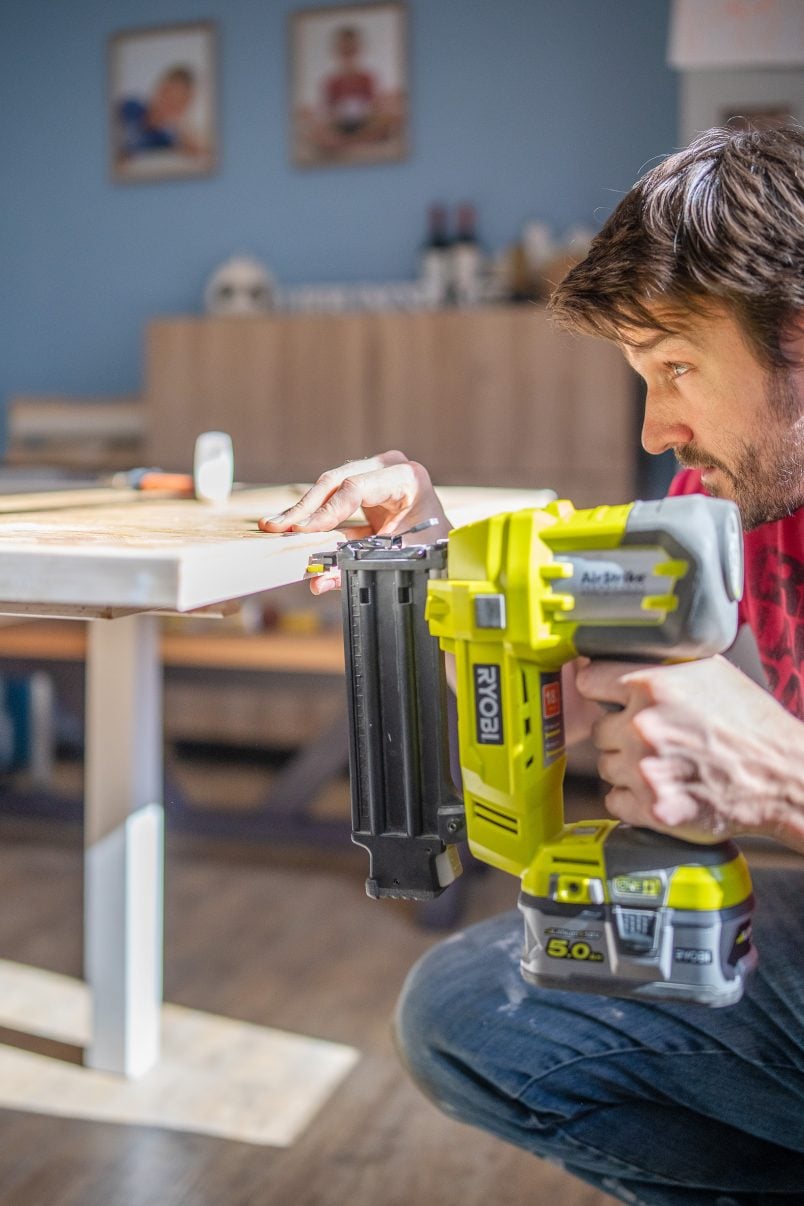
Cut each end of the strip at a 45° angle and double-check that it fits perfectly along the side of your table before applying a thin coat of wood glue and sticking it to the edge.
For extra stability, we’d definitely recommend nailing it to the OSB board, too. We used our nailer for this but you could easily do this by hand with a hammer and a couple of nails, too.
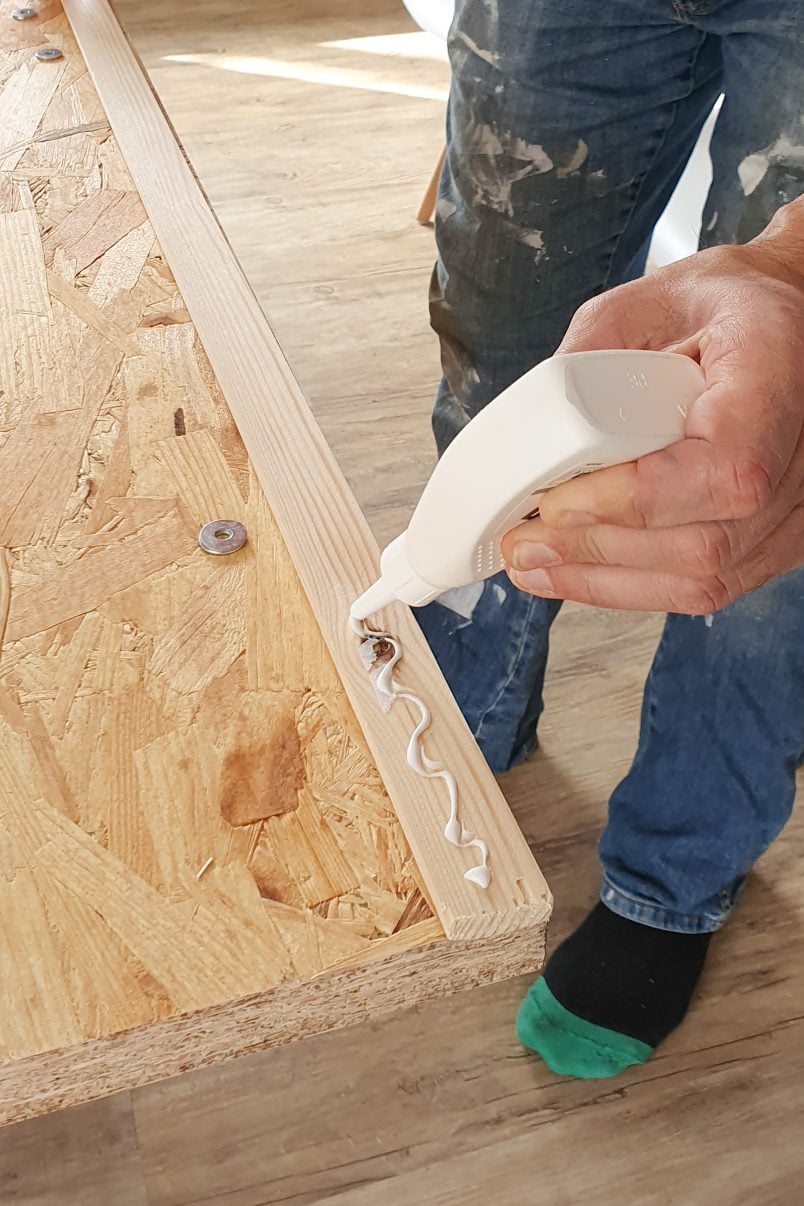
The top of the strip has to be raised about 1.5 – 2mm over the surface of the OSB board. This is the thickness of the resin that you’ll be pouring on top. We used a couple of washers as distance holders making sure that the top of the edging strip and the top of the washers were at the same level when we nailed the edge in place.
Step 4
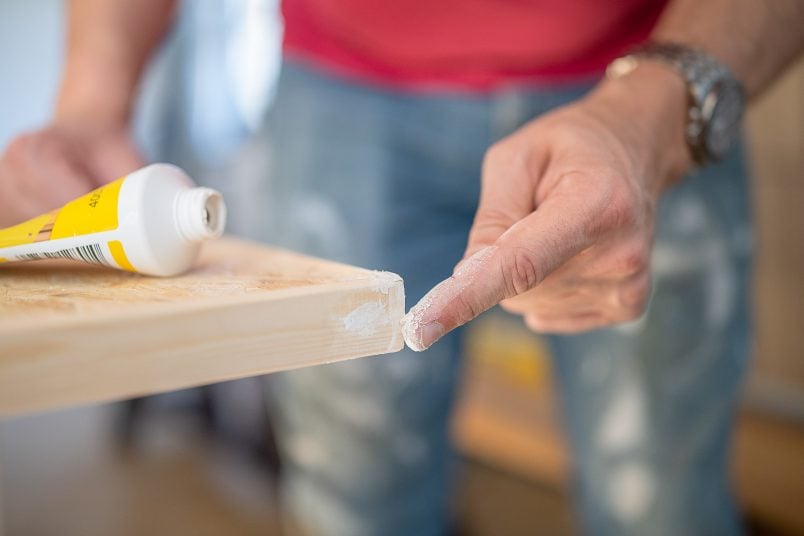
Fill & Sand
After attaching the edging strips, fill any nail holes and imperfections with some wood filler and let it dry before sanding everything so that it’s smooth.
Step 5
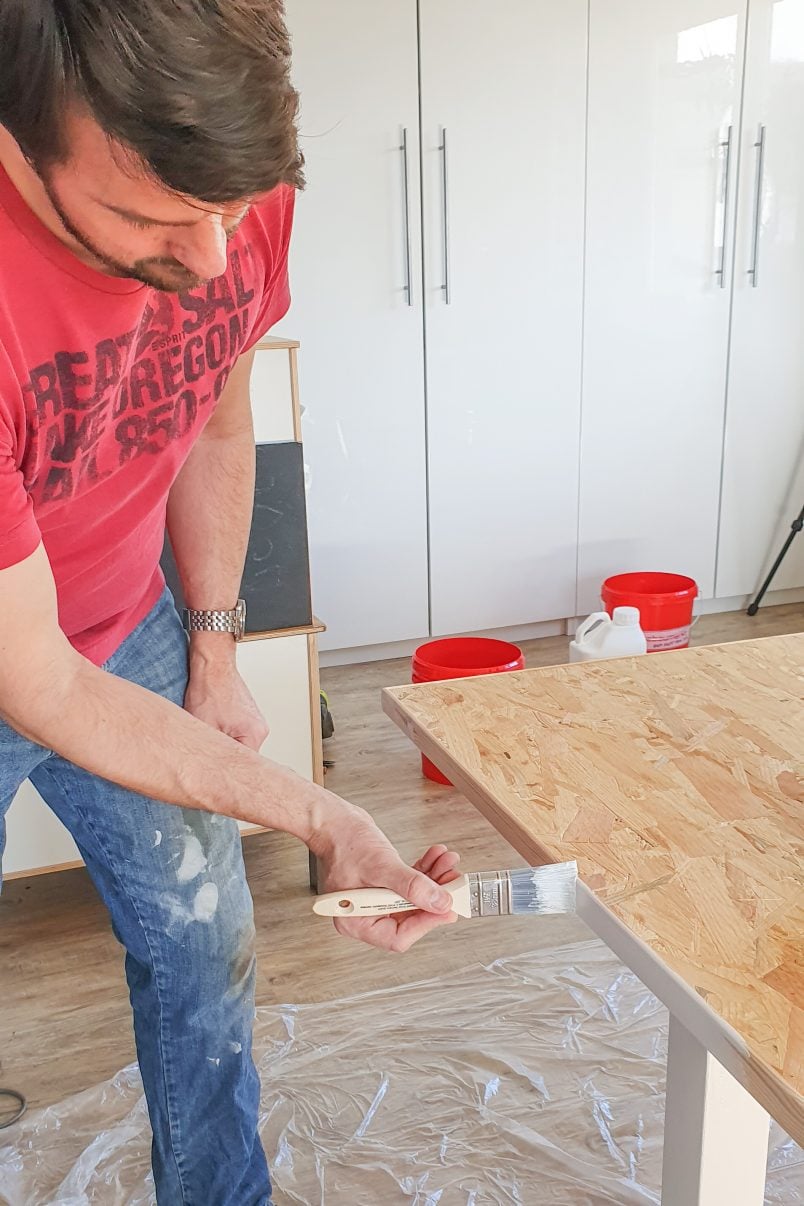
Prime & Paint
Give the edge of the table a couple of coats of paint with some good quality wood paint. This edge will stay visible when the table is finished, so choose a colour to match your finished table.
We also painted the whole surface of the table with a wood primer. We did this when we built our terrazzo style resin table but ultimately don’t think it was necessary because the resin is really opaque.
This time we mixed the colour pigments with clear resin (vs. the ready-mixed resin we used last time) and weren’t sure if the resin would stay slightly translucent and wanted to avoid the yellow OSB being visible through the resin.
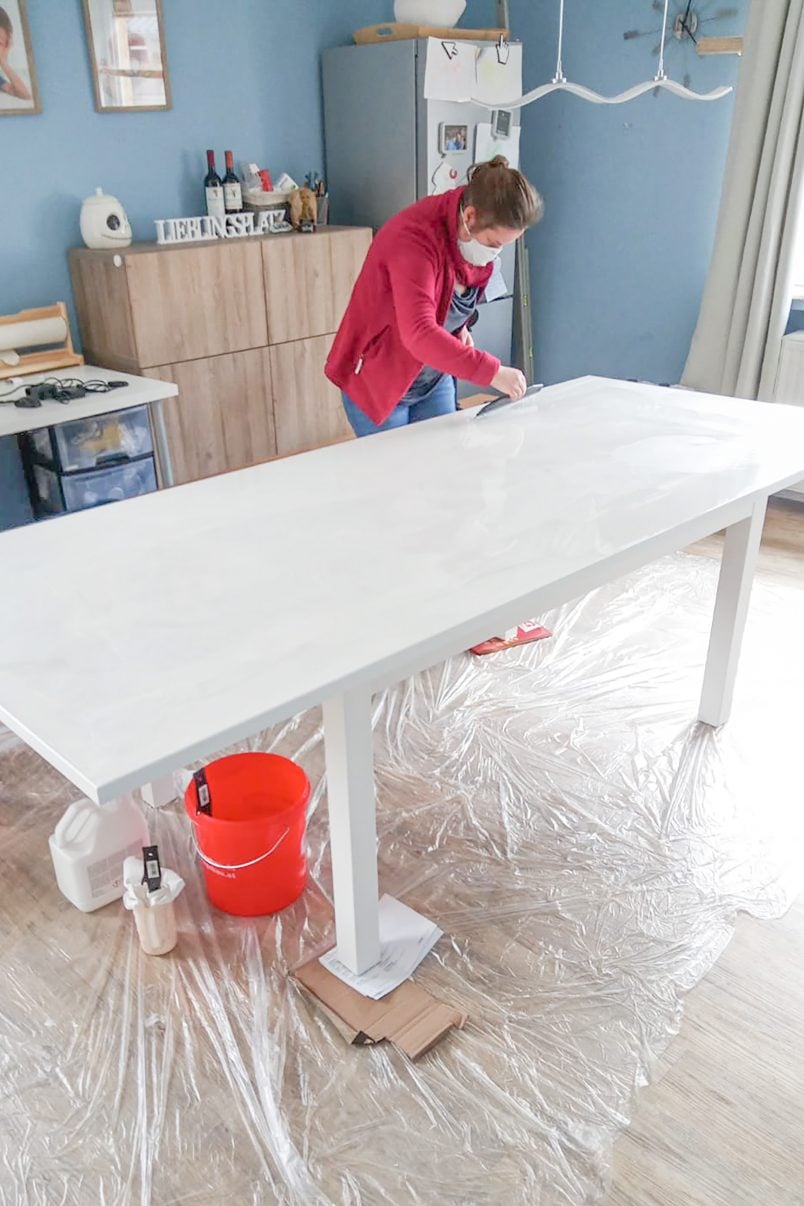
When the primer and paint have dried, you can start to apply your first coat of resin. This first thin coat will act as a sealer and will help avoid any air bubbles in the final coat of resin later on.
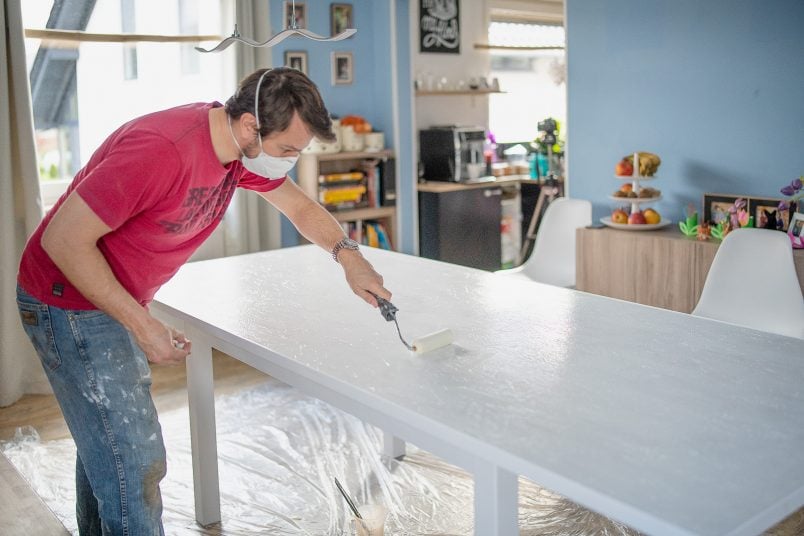
Mix a small amount of the resin and roll a thin and even layer over the whole surface of the table. We also painted around the edging strip with an old paintbrush to make sure that any possible gaps between the edging strip and OSB board were completely sealed. You don’t want any of the resin to escape later on!
Let this first coat dry overnight.
Step 6
Add The Epoxy Resin Table Top
All of the preparation is now done and you can add the final coat of epoxy resin.
Mix the resin according to the manufacturer’s guidelines and, if you are using them, add the colour pigments.
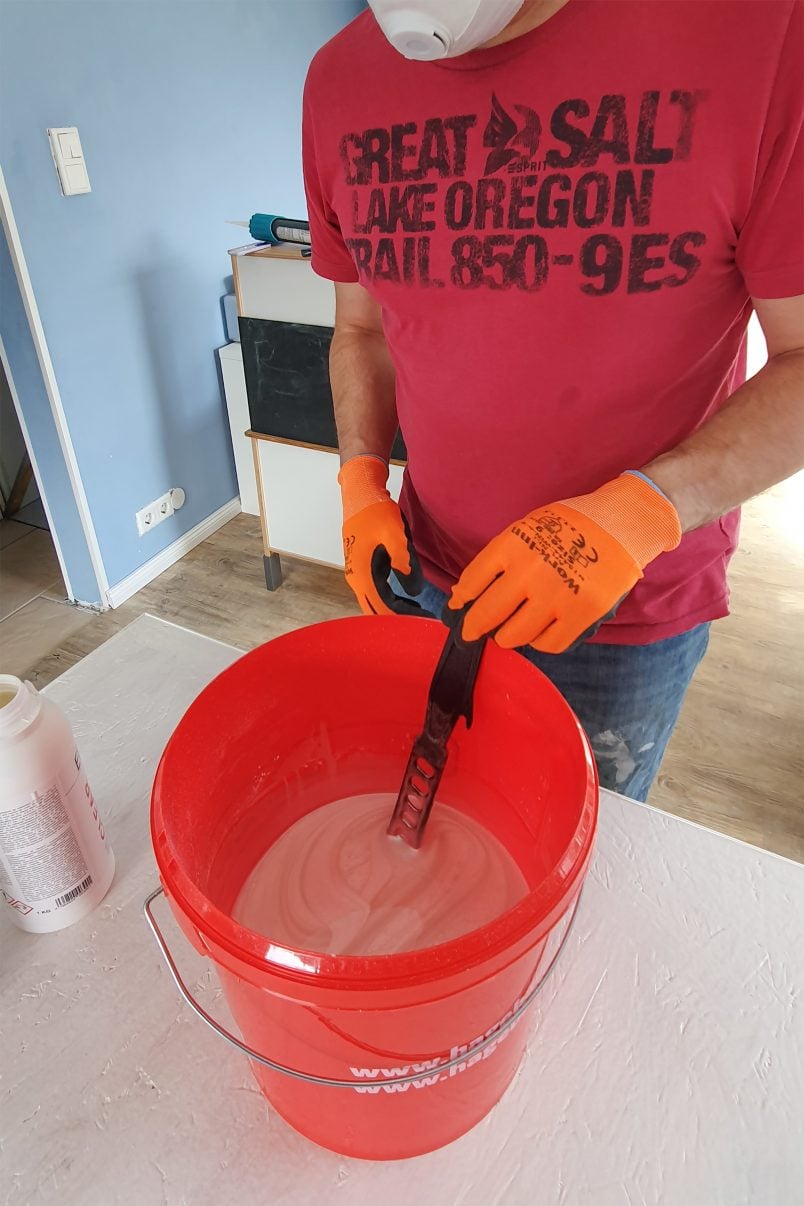
Tip: We added the colour pigments to the resin and made sure everything was thoroughly mixed before adding the hardener. As soon as you add the hardener you only have about 20 minutes time to work so mixing the resin and pigments first gave us a few extra minutes.
We also prepared the second colour by mixing the resin and coloured pigments but only added the hardener later on when we were ready to use the second colour.
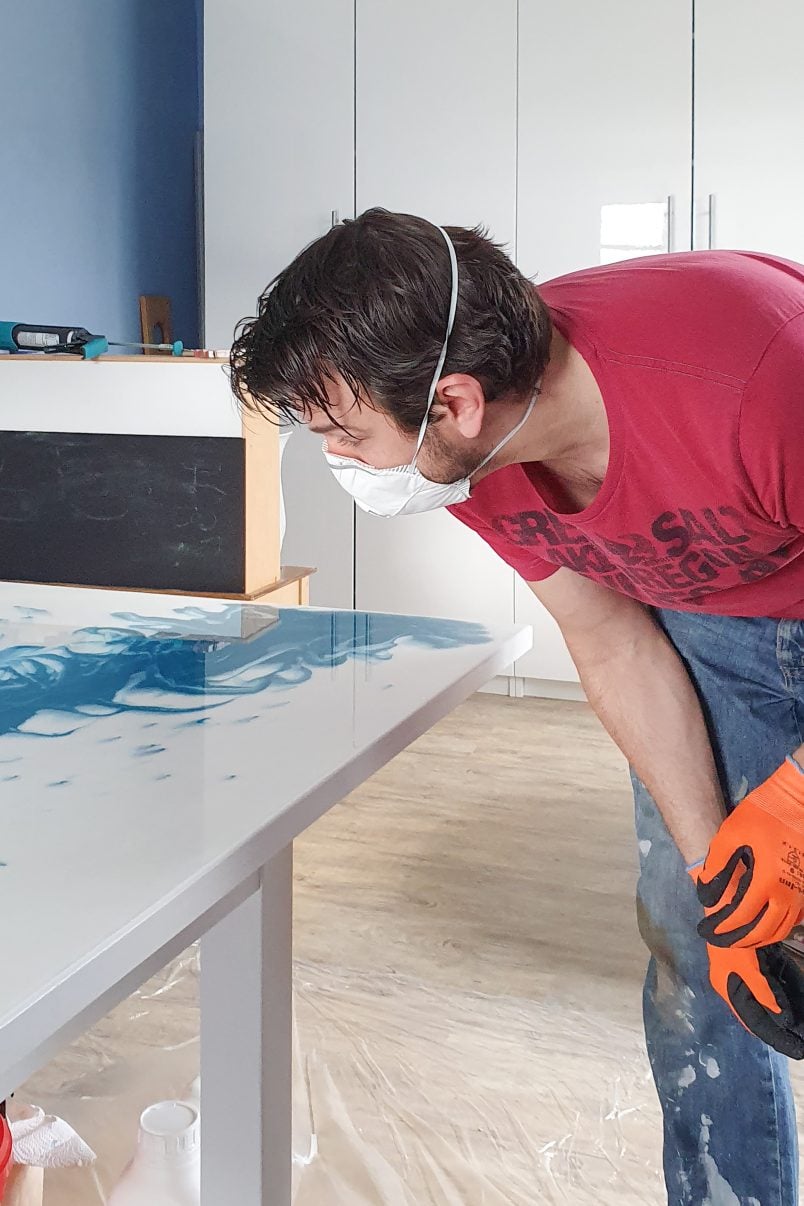
Exactly how you apply the resin will depend on the type of resin you are using, so always check the manufacturer’s guidelines, too! Also, don’t forget to use protective gear and make sure your space is well-ventilated as the resin is really sticky and smelly!
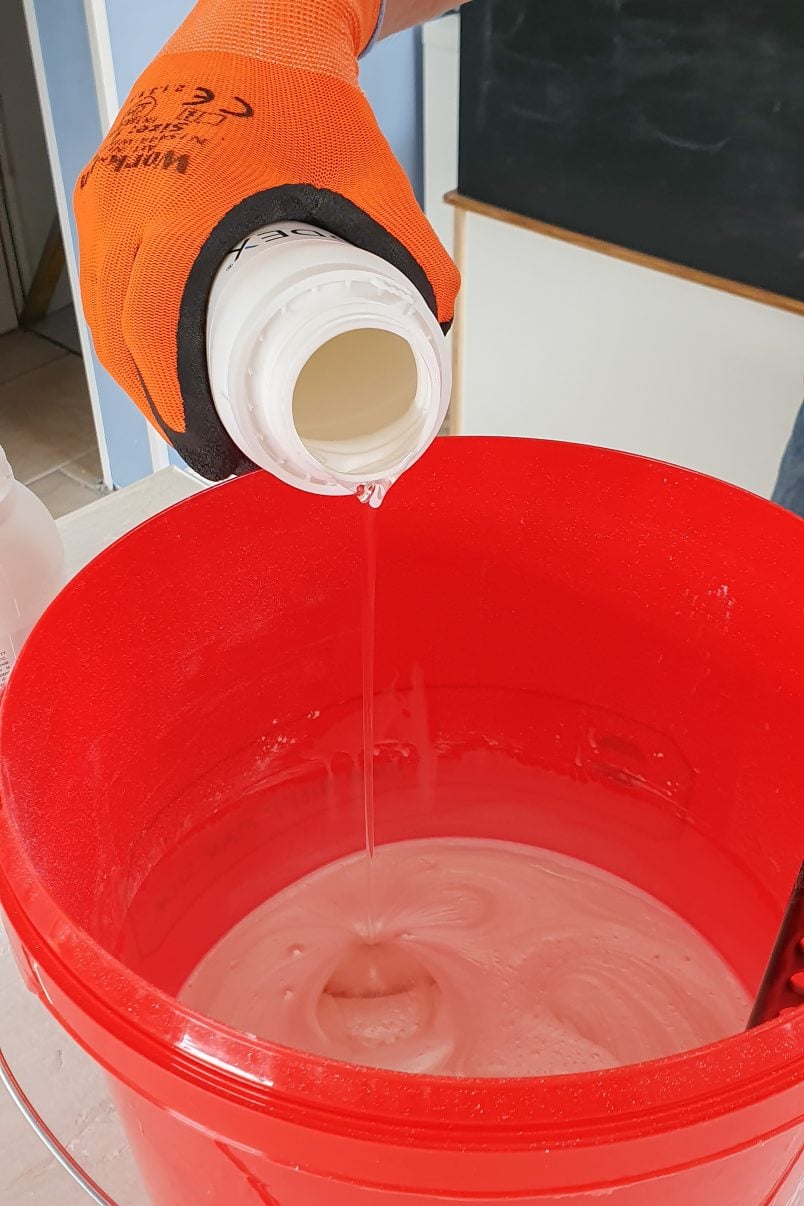
Once you’ve mixed the resin, it’s just a matter of pouring it onto the table and waiting. The resin self-levels but you’ll probably want to give it a nudge here and there to help it along and make sure it gets right into the corners of the table.
Once the table is completely covered with the first coat of resin, finish mixing the second colour and then just pour it on top of the base colour you’ve already poured onto the table.
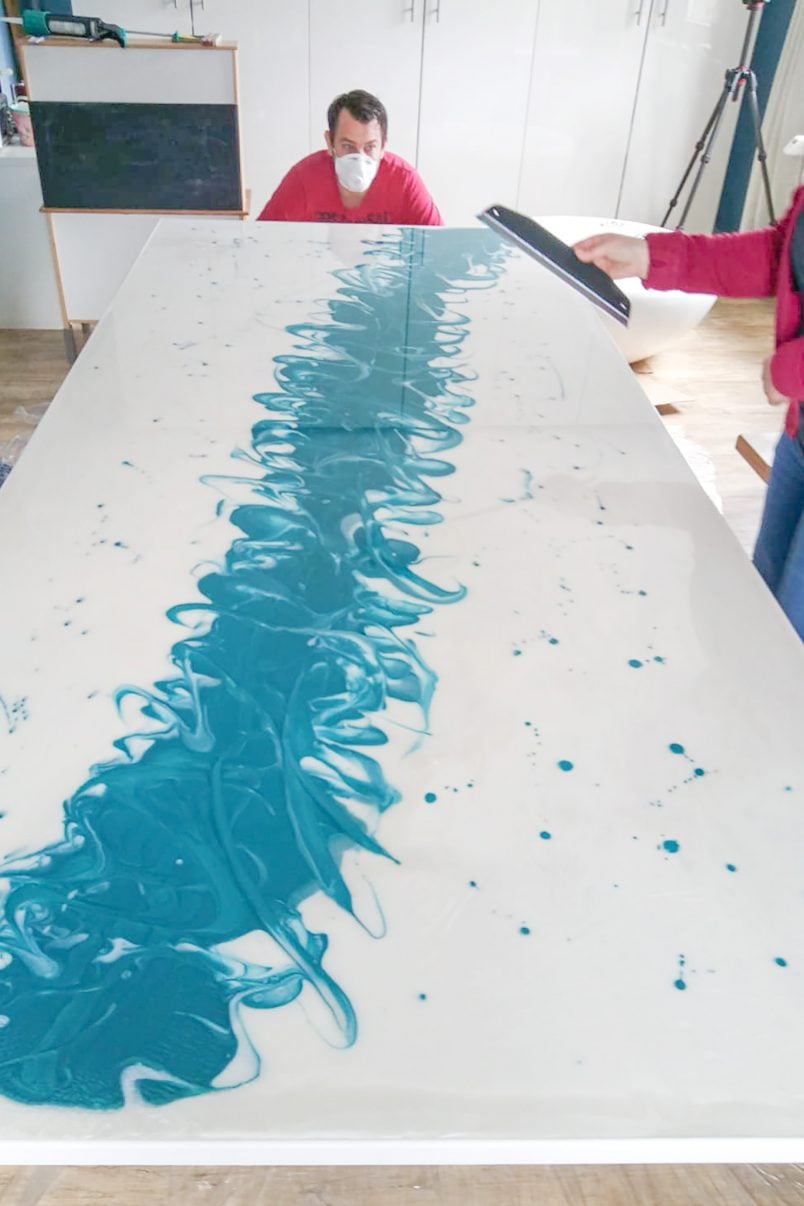
This is where you can get creative but I totally admit that we made it up as we went along! We poured a long stripe down the middle of the table and feathered the edges of the turquoise resin into the white resin with swirly patterns.
The speckles over the rest of the table were kind of accidental as Jan dropped a large blob of turquoise resin into the pearl-white surface so we figured we’d go with it and add a couple more dots everywhere.
Luckily, this turned out to be a great accident as the dots and speckles across the surface look great and make the design feel more coherent.
Something we didn’t expect is what happened next.
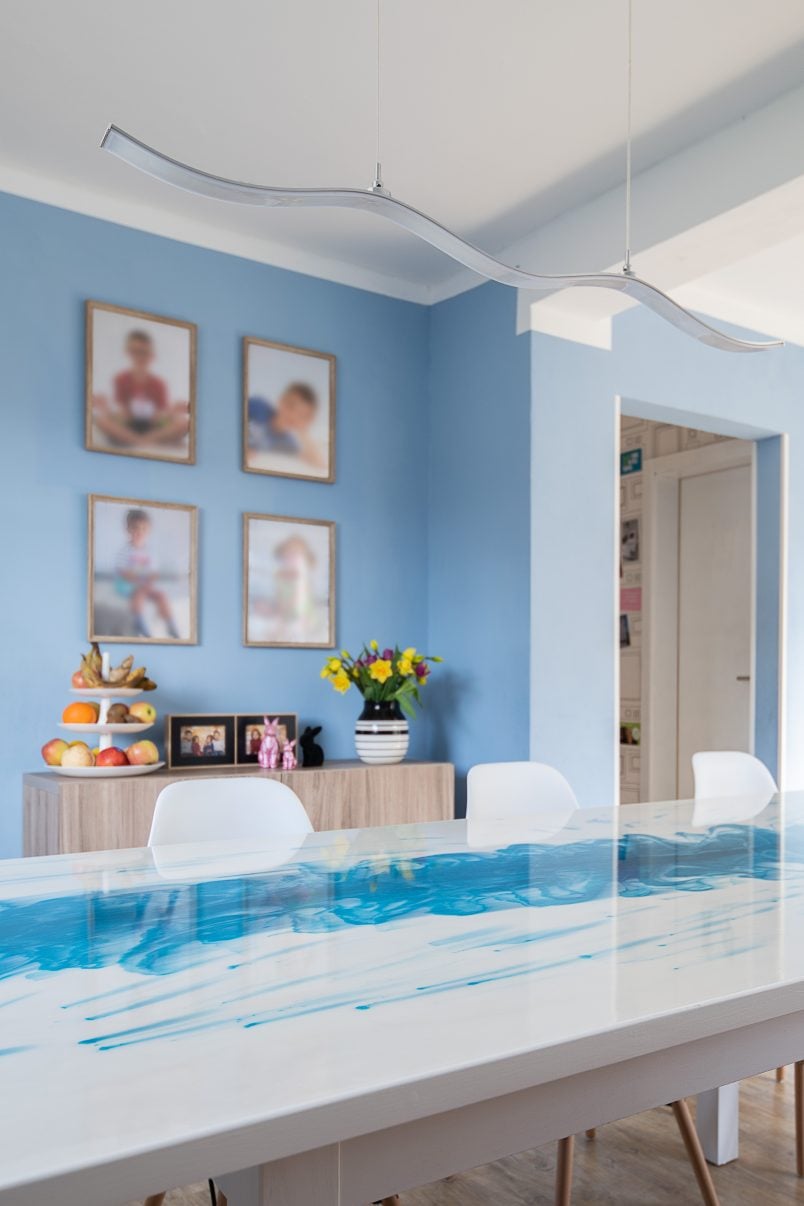
When the resin starts to self-level it starts to move the pattern in the resin. The turquoise dots over the surface started to stretch into wiggly lines and the harsher edges where the two colours of resin meet became much softer.
It was amazing to watch as every time you looked the pattern had changed again. The pearl white finish of the resin is beautiful and has a lot of depth and pattern within it but the addition of the turquoise resin really adds another fun element and more depth to the finished epoxy resin dining table.
Epoxy resin is available in hundreds of different colours – there’s glow in the dark resin – so you can really get as creative as you want and build something totally bespoke for your home.
One thing to look out for is air bubbles. Most resin tutorials say that you have to use a blowtorch on the surface to get rid of any bubbles but, we only had about 5 or 6 bubbles which we just popped with the end of the tool we’d used to help the resin level.
I think that priming the base helped reduce the air bubbles and just popping them seemed much easier than using a blowtorch. Having said that, manufacturers’ guidelines will vary so check the recommendations for the resin you are using, too!
Step 7
Wait
Now for the most difficult bit of the whole project – waiting! You have to wait 7 days until you can use the table. The resin is firm after about 24 hours but it takes longer for it to fully cure and be moisture resistant. After that, the epoxy resin tabletop will be really durable and won’t scratch easily.
Our resin table top had to put up with a lot including parties where it ended up covered in red wine and all sorts of other fun things but it was really easy to just wipe clean. I would say that it doesn’t hold up too well to heat through and I’d definitely recommend using coasters and placemats!
Step 8
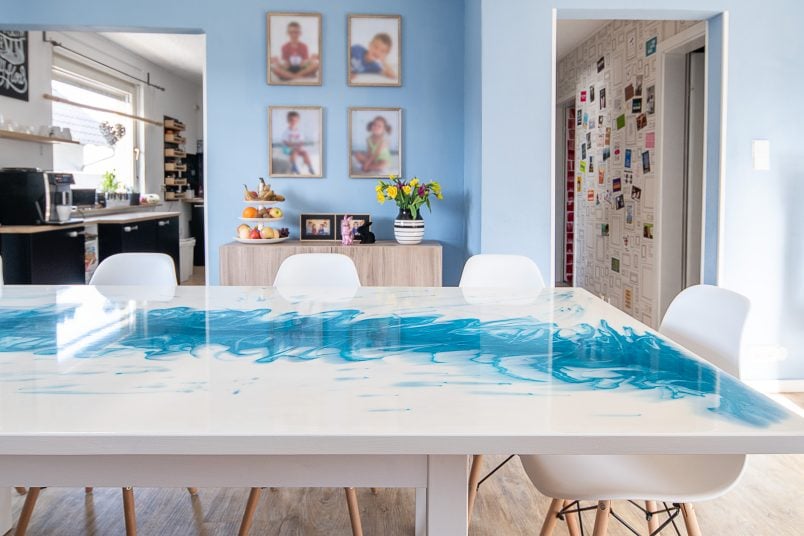
Enjoy!
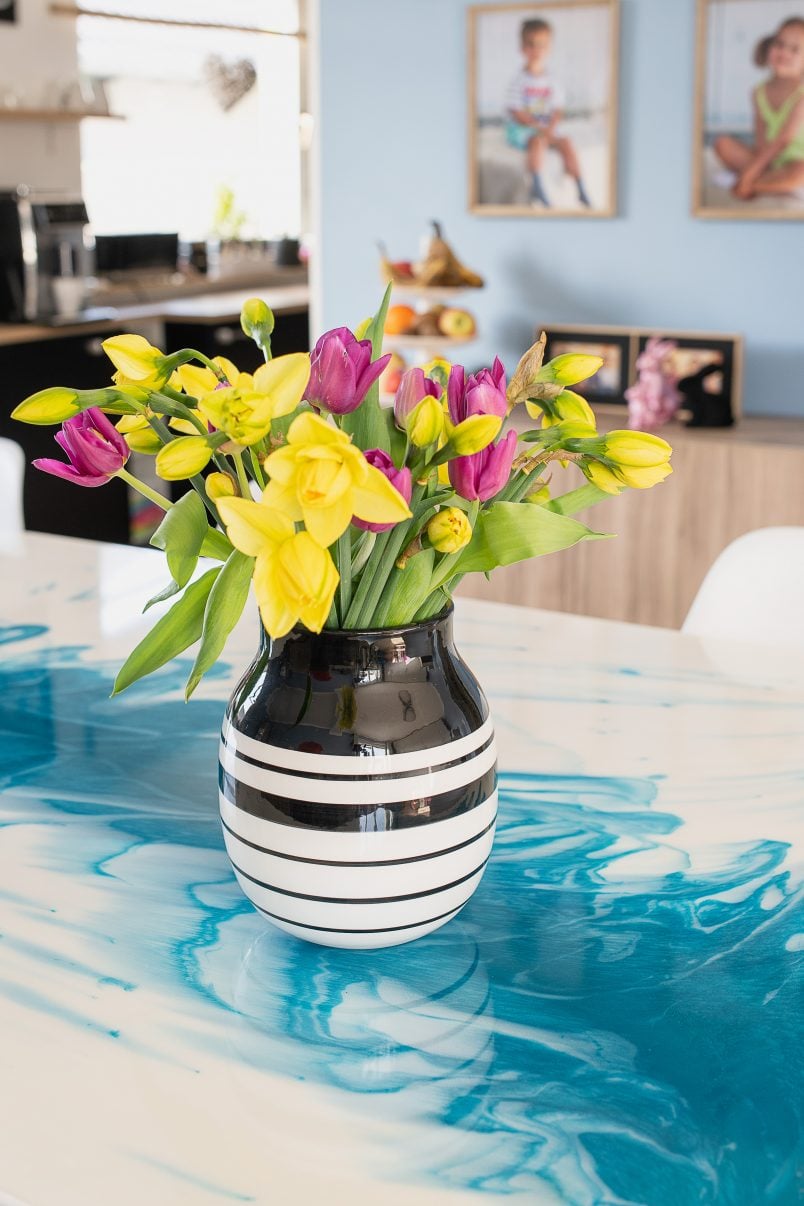
All that’s left to do is enjoy your new DIY epoxy resin dining table!
Don’t forget to check out the full video tutorial over on YouTube, where you can see exactly how we built the table, too!
This table may look completely different to our experimental epoxy resin terrazzo style table but the process of building it was almost the same and it was affordable, too!
How much does it cost to build a resin dining table?
- OSB Board | 25€ (was on offer)
- Resin | 90€
- Edging strips | 7€
- Plastic buckets & mixing sticks | 5€
- Wood paint | about 3€
- Nails, wood filler, sandpaper & screws | about 3€
Total: about 133€ (£115)
(this doesn’t include the existing table we used as a base)
I’m pretty sure it would be impossible to buy such a large and bespoke table for such a small amount of money but the most important thing is that my sister and her family love their new table!
Resin is such a fun material to work with and we’ll definitely be making more projects with in the future.
What do you think of this table? We’d love to know your thoughts, comments and advice, so let us know in the comments below! Would you want a table like this in your home?


Leave a Reply