Did you know that building your own furniture isn’t as difficult?
I know that a lot of people think that DIY is complicated and difficult or that they don’t have the necessary skills or tools to complete most projects, but nothing could be further from the truth!
Today, we’re sharing 5 easy ways to build floating shelves. We built all of these shelves with basic materials and, more importantly, basic tools that you probably already have in your home!
So, whether you’re looking for chunky floating shelves, floating shelves made out of solid wood, or super-thin floating shelves, you’ve found the right place, as we have a tutorial for all of these different shelves!
And most importantly, they’re all surprisingly easy, quick and affordable to build, too!
Here are the top 5 tried and tested ways to build floating shelves :
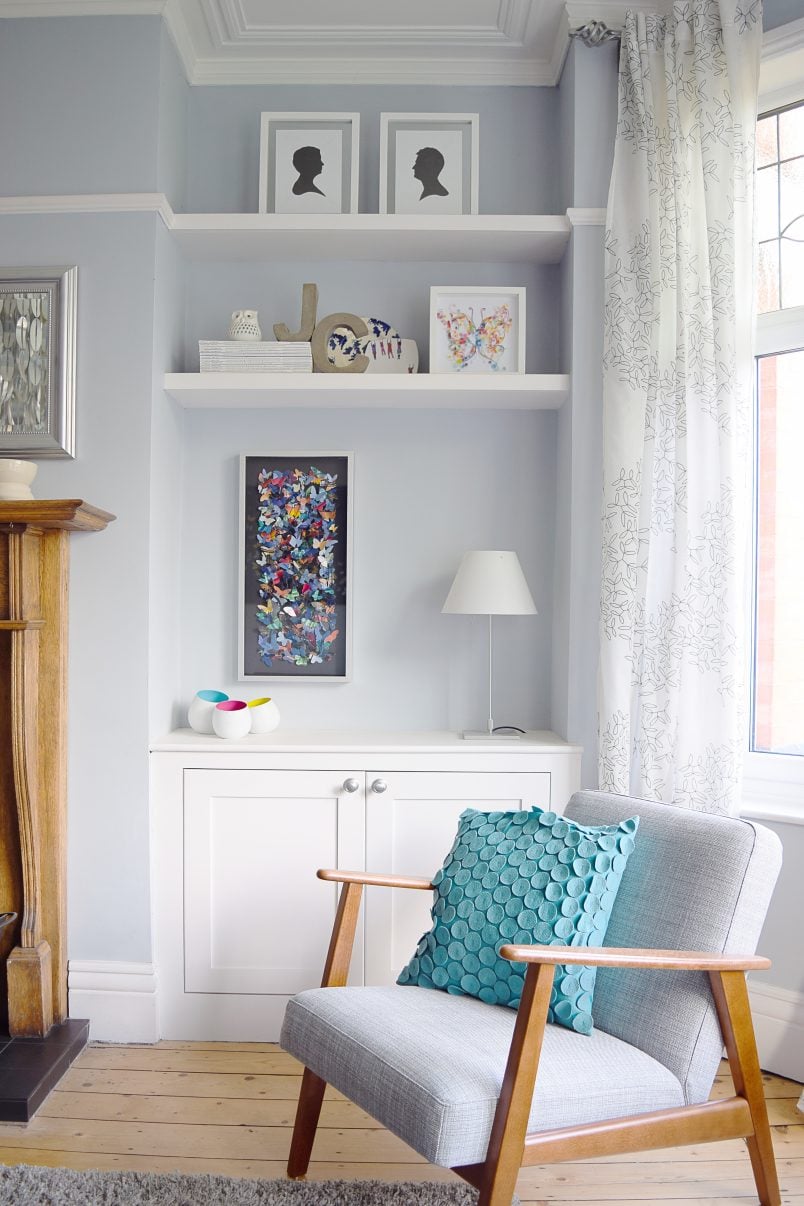
1. Chunky Floating Shelves (In An Alcove)
These shelves are one of the first things we ever built! We had absolutely no idea what we were doing and made things up as we went along (this was before things like Pinterest existed!).
Luckily, they turned out really well! And, although we were totally winging it at the time, they actually really stood the test of time, and I’d still build them using the exact same method we used back then!
We built our shelves in an alcove, but you could just as easily build them completely floating (which would actually be easier as you’ll probably find that your walls aren’t as straight as you’d like them to be).

As I already mentioned, our chunky alcove floating shelves were really easy to build, and the only tools we used were a cordless drill and a fine saw! Yep, that’s all!
The whole construction is really simple. You’re basically just building a frame that you screw to the wall which you then hide under some MDF.
We had all of our timber cut to size at a DIY store when we purchased it (cutting it is usually for free) so all we had to do was assemble the shelves in our alcove!
Some small adjustments were necessary, but we just did any cuts we needed by hand with a fine saw!! Then it was just a matter of filling a few holes and giving everything a coat of paint!
I told you it was easy!
You can see the full step-by-step tutorial on how to build floating shelves here.
2. Super-Thin Floating Shelves
A similar but completely different style of floating shelf design are these super-thin floating shelves, which we built in our kitchen as part of our kitchen makeover.
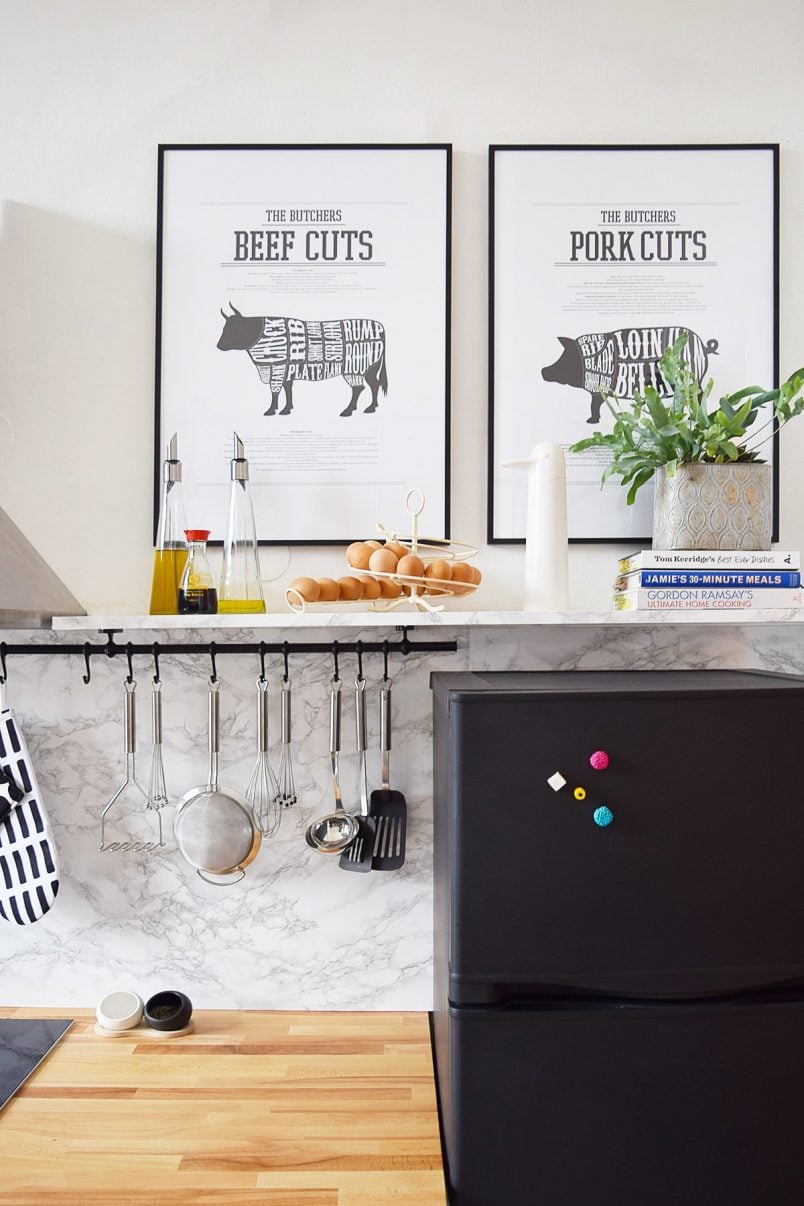
They are so thin – they are only 19mm thick in total! – that it seems almost impossible that they could hold anything, but they’re actually really sturdy!
The secret to creating them is by actually using floating shelf brackets! And no, I’m not talking about some fancy hidden shelf brackets that cost a fortune. I’m talking about cheap steel angle brackets that you can pick up at any DIY store.
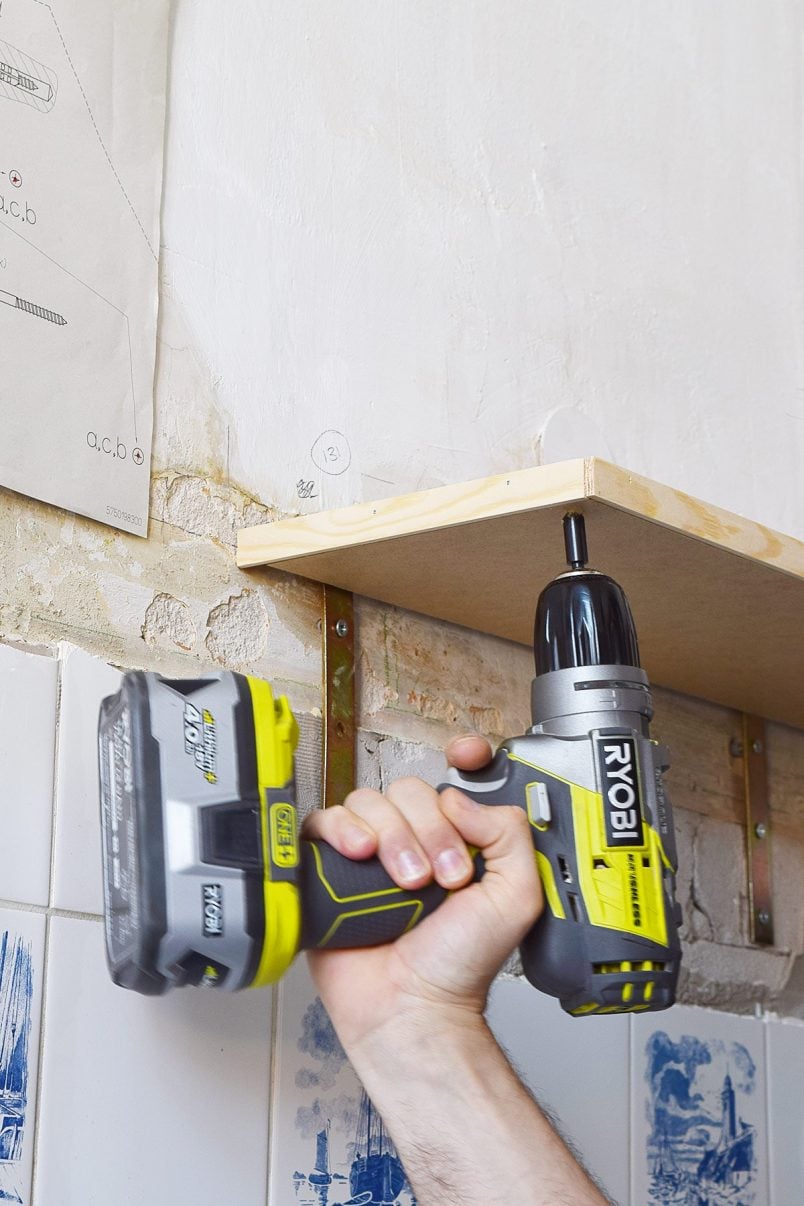
They’re perfect for this project as they are really heavy-duty and really thin at the same time, making it possible to build shelves that look almost too thin to be possible.
The steel angle brackets are the main part of your floating shelf construction. They are attached to the wall and do all of the necessary structural work and are then just hidden under some timber. Simple, right?!
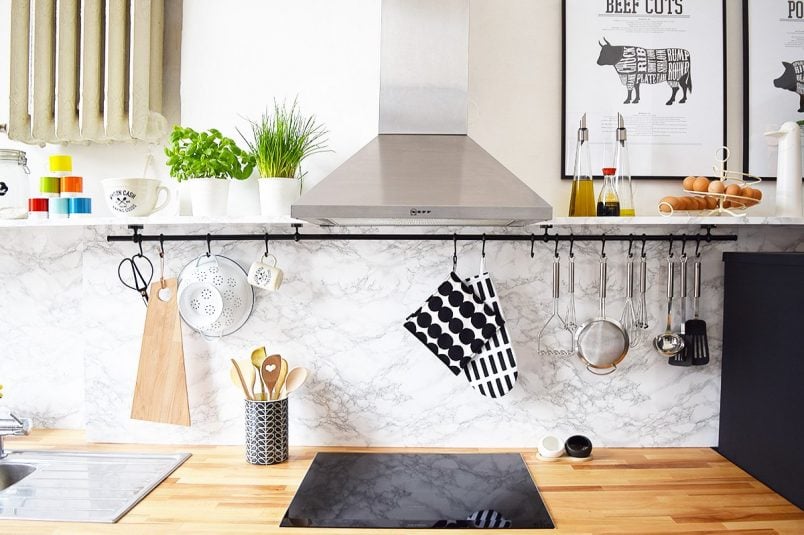
We covered our shelves in some marble effect foil to match our backsplash, but you could just as easily paint them to match your cabinets.
If you want really long floating shelves, this is the method we’d recommend you use to build them. You can install as many hidden floating shelf brackets as you need to give your floating shelves the necessary stability and make sure that they are really strong.
Even if these are the thinnest shelves out of all of the ones we’re sharing here, they are probably the strongest!
You can read the full tutorial on how we built our super-thin floating shelves here!
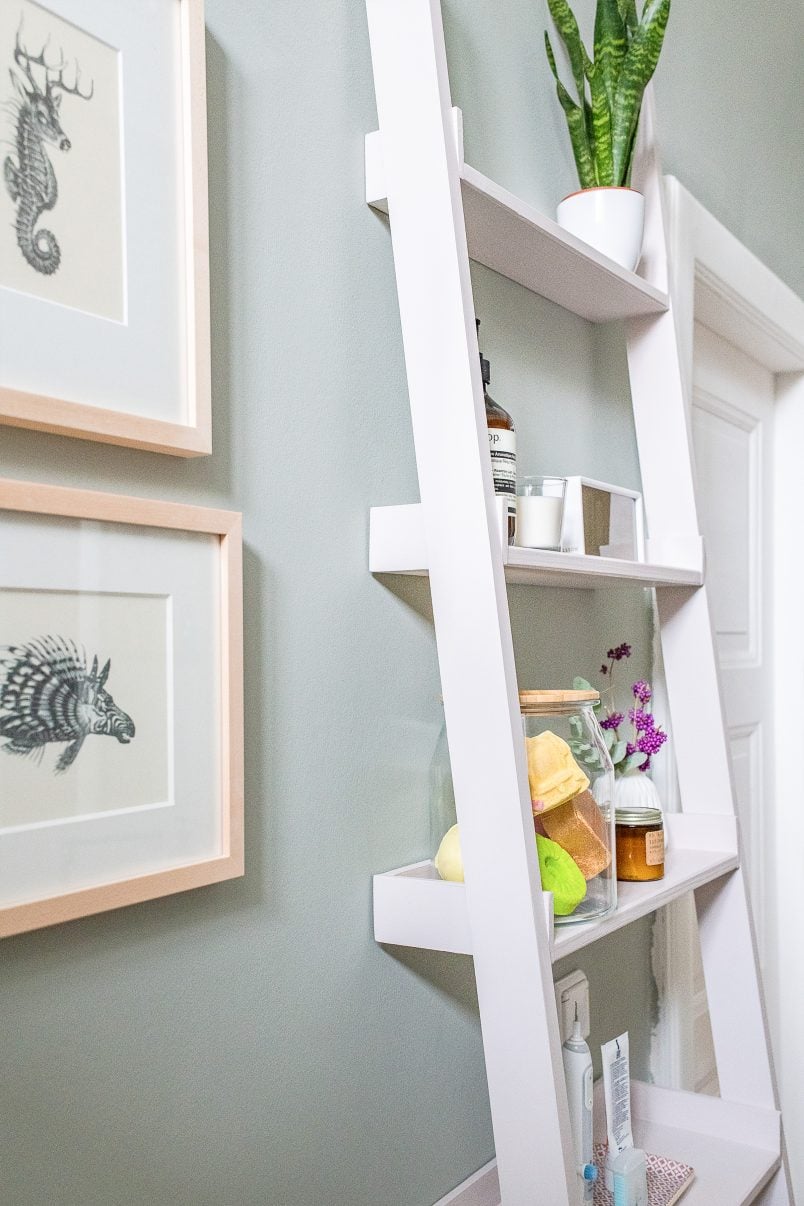
3. DIY Floating Shelves Out Of Solid Wood
We absolutely love our floating spice rack, and it really helps keep our kitchen organised.
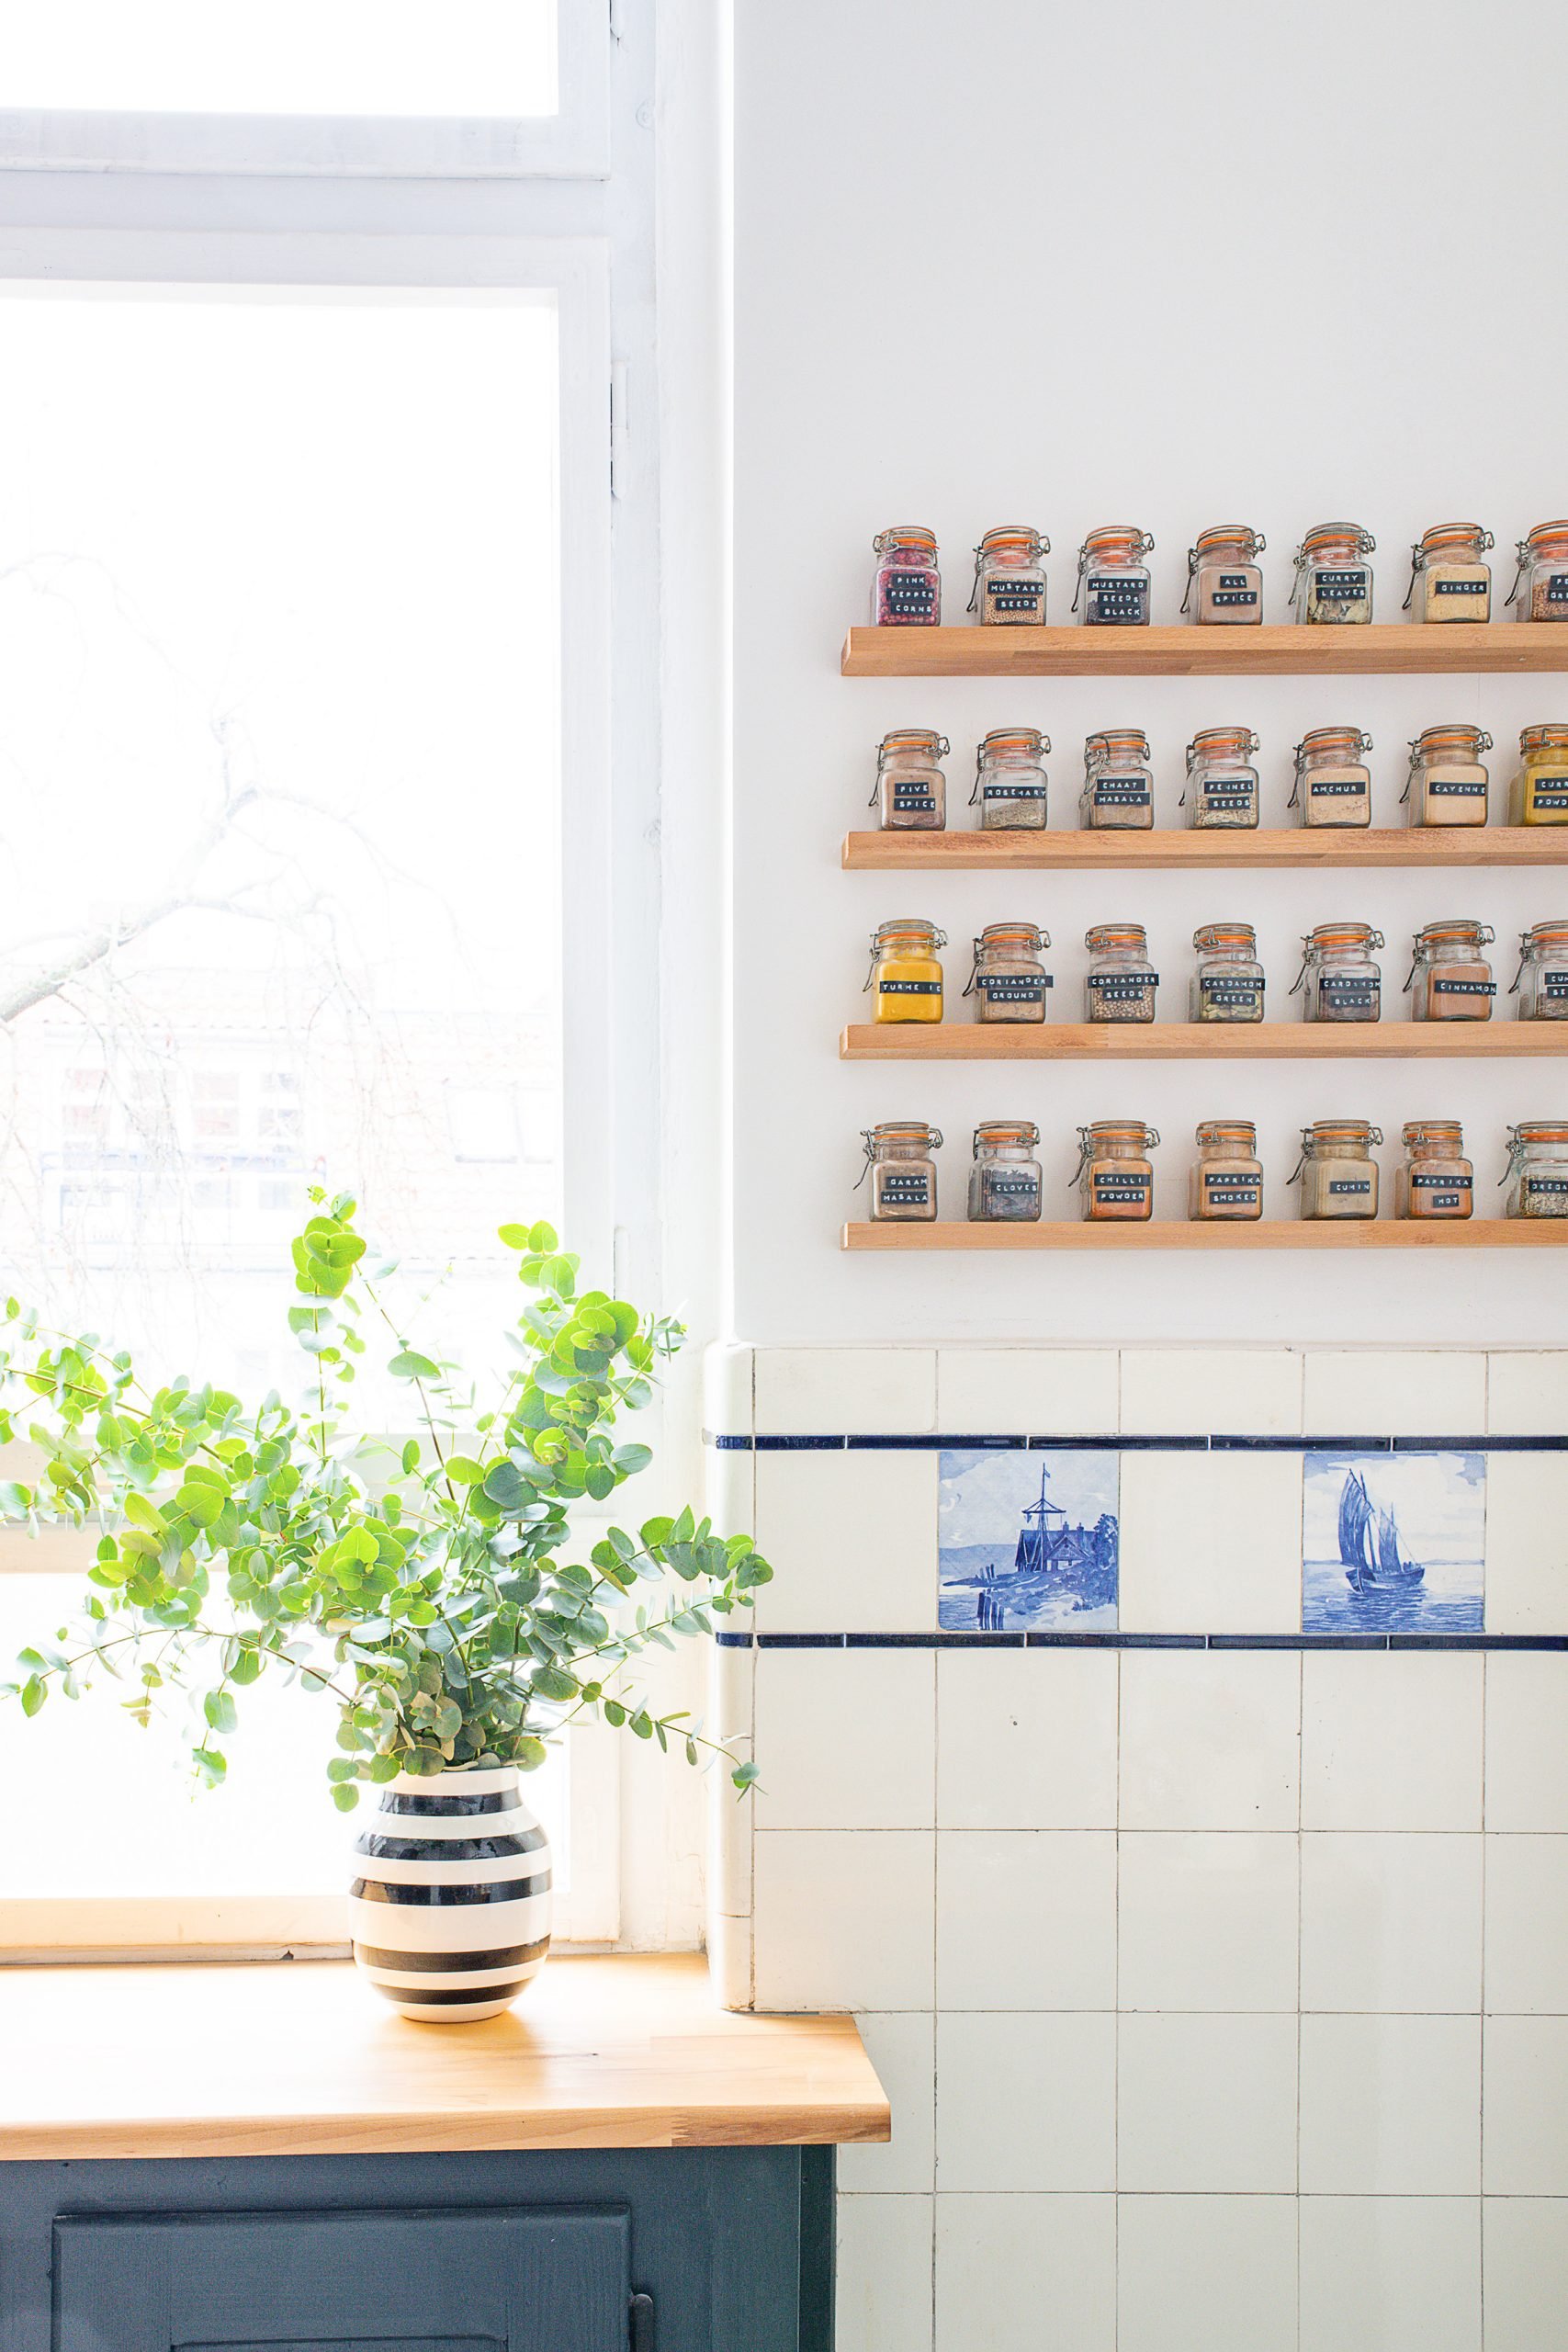
Unlike the first two methods for building floating shelves that we shared, these slim solid wood floating shelves aren’t attached to the wall with some magic invisible brackets for floating shelves or complicated hidden timber construction.
They are just slotted onto some screws in the wall! Yes, it really was that easy to build them!

Out of all the ways to build floating shelves that we’re sharing, these were probably the quickest to build, although you do have to be really precise when measuring and drilling.
The spice shelves are actually really sturdy, but I would only use this construction method for some small shelves that aren’t very deep. It’s fairly easy to drill a short straight hole into some timber, but if you want to build deeper shelves, you’ll inevitably have to use longer screws and drill longer holes which could get very difficult.
You can read the full tutorial on how we built these floating shelves out of solid wood here!
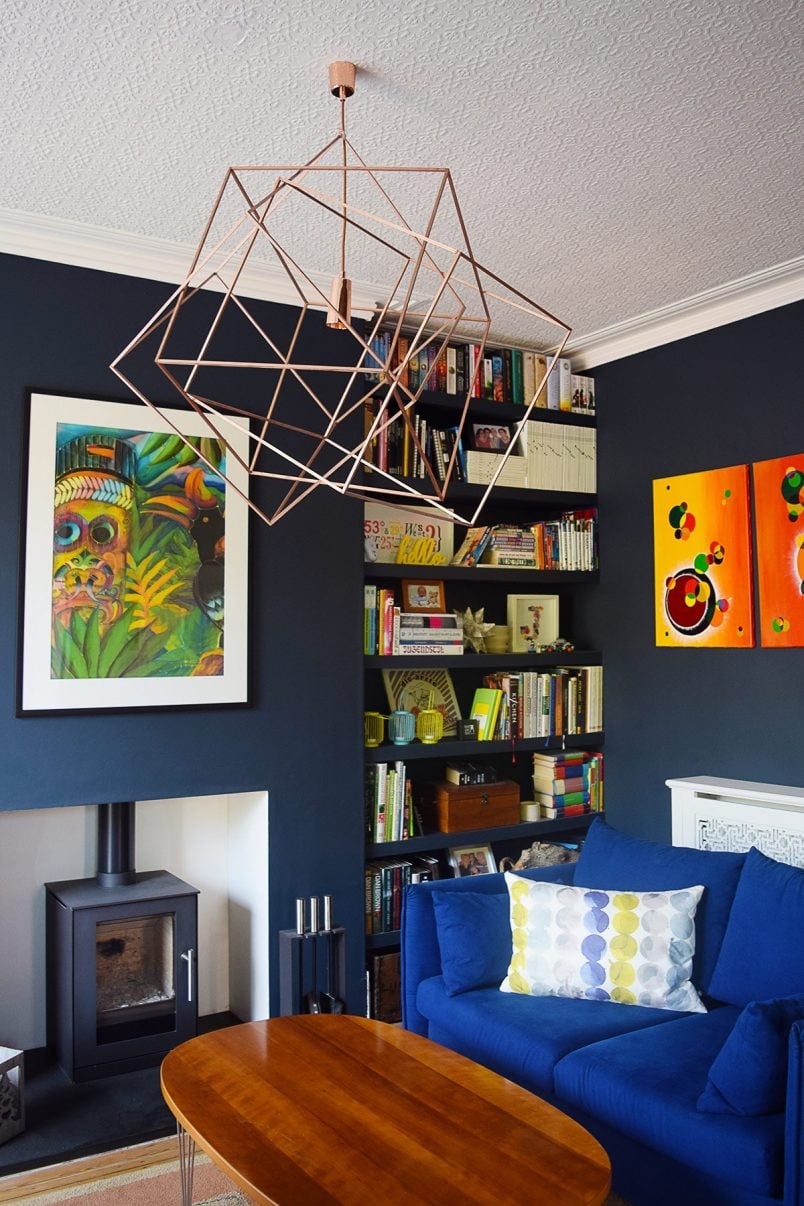
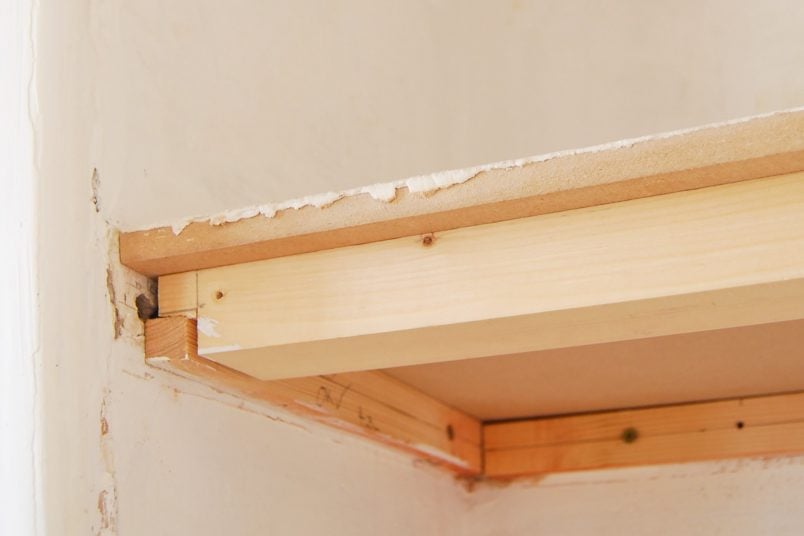
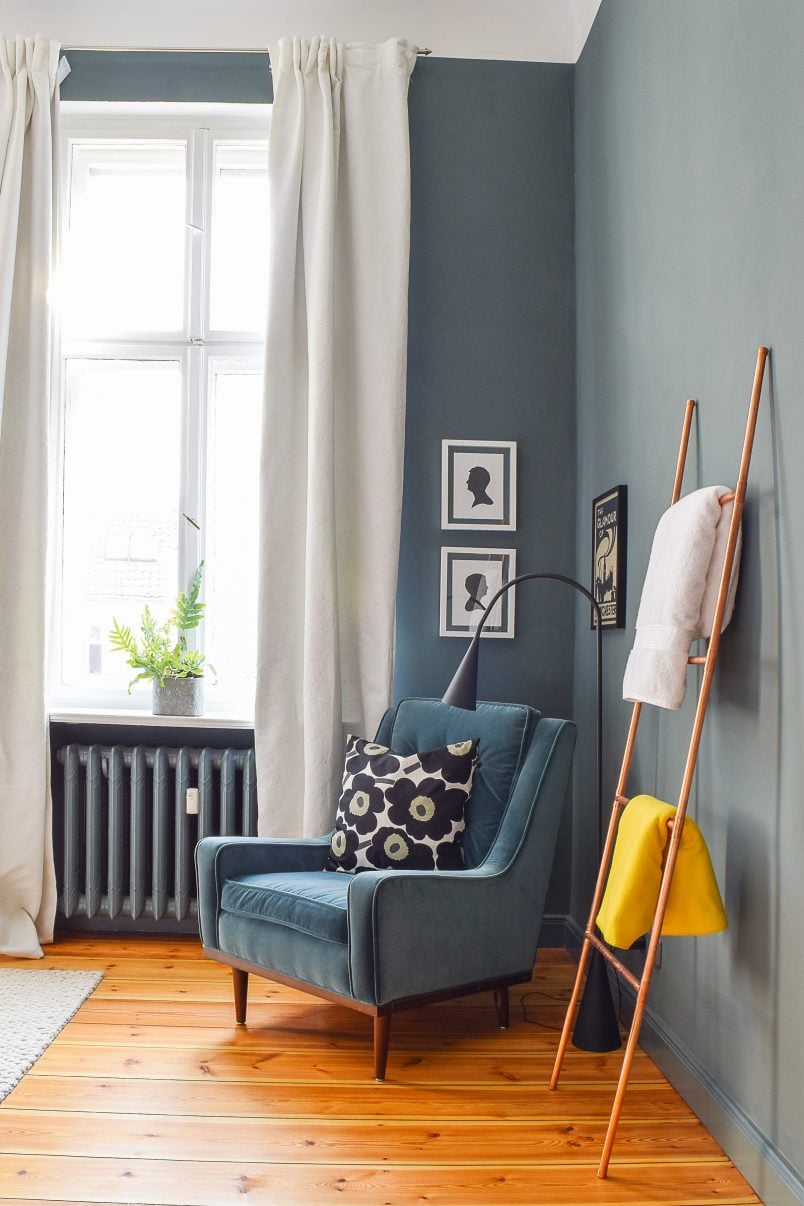
4. DIY Floating Shelves In Alcoves
These alcove shelves use absolutely no floating shelf hardware at all! They are just made of three pieces of timber! There’s not a screw or bracket in sight!
I know you’re probably thinking that that’s completely impossible, but even though these shelves have no fixings at all, they’re probably sturdy enough to sit on (although I wouldn’t recommend trying it!).
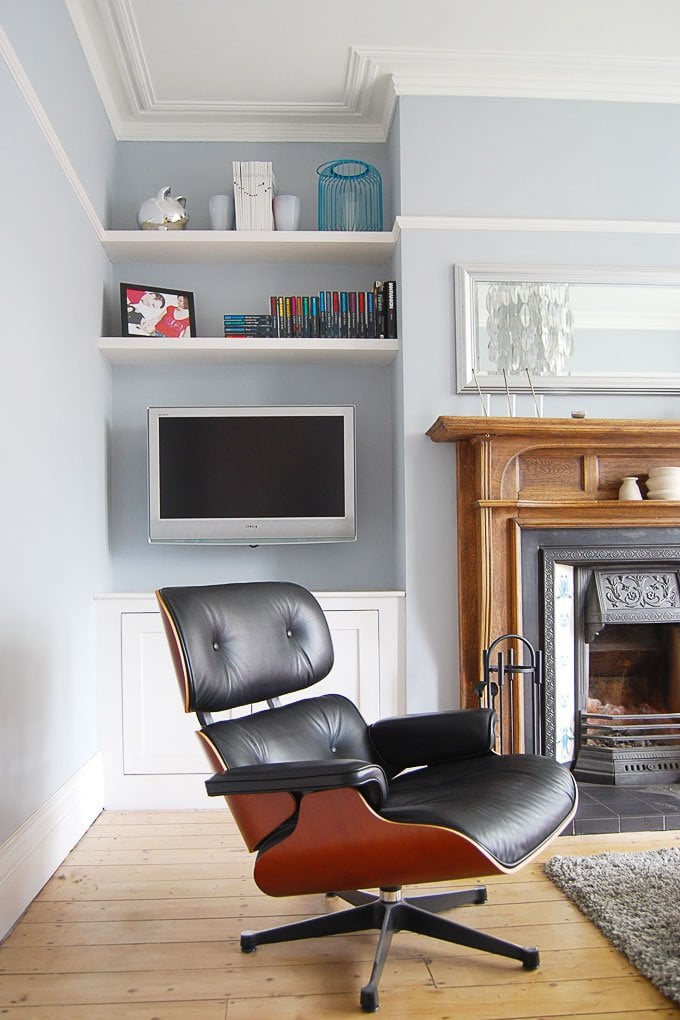
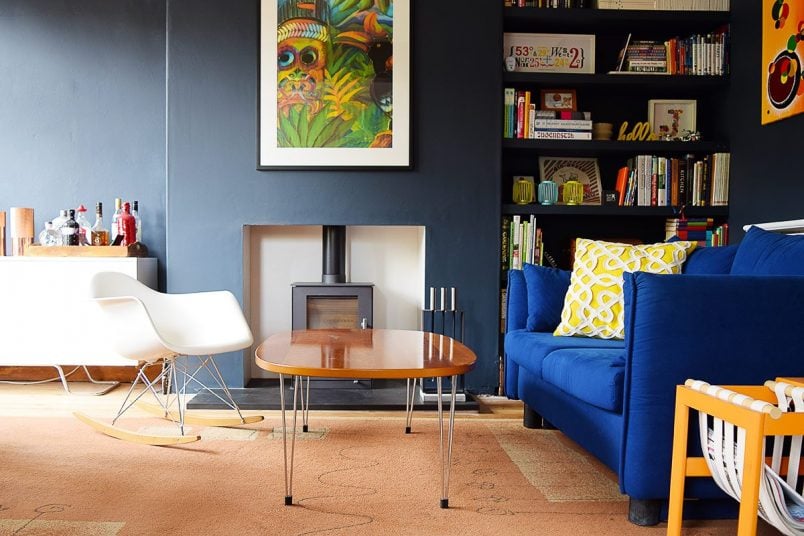
The shelves were installed when we gave our living room a full makeover and are plastered into the wall! The old plaster was removed to create long channels for the timber shelves to slot into. Then, the whole room, including the area around the shelves, was replastered so that the shelves were firmly attached to the walls.
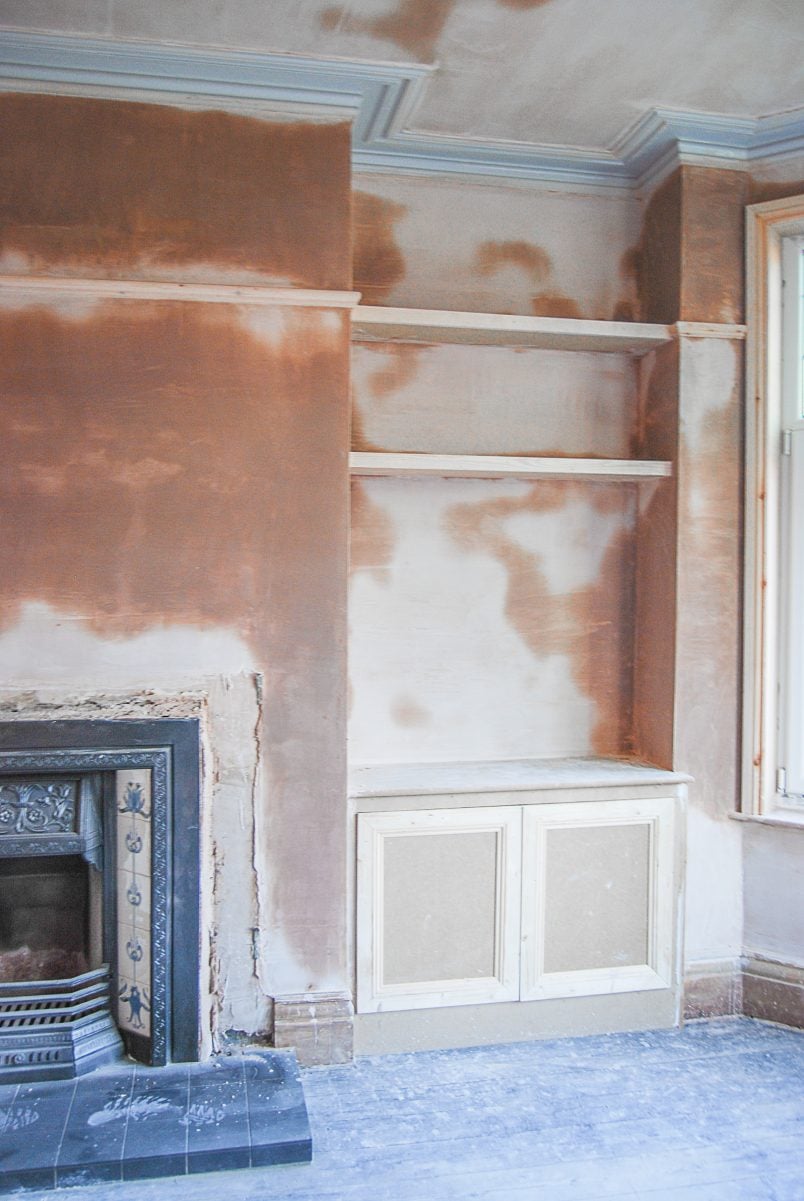
Obviously, we didn’t replaster the whole just to build the shelves and this shelf construction method is definitely only something you’re only going to do as part of a bigger renovation but in terms of ease and affordability, this method for building floating shelves is pretty much unbeatable when it comes to ease and affordability.
Oh, and did you notice the little design trick we used to make everything seem even more streamlined? We installed the top shelf and picture rail at exactly the same level, making it possible for us to have one sleek line around the whole room!
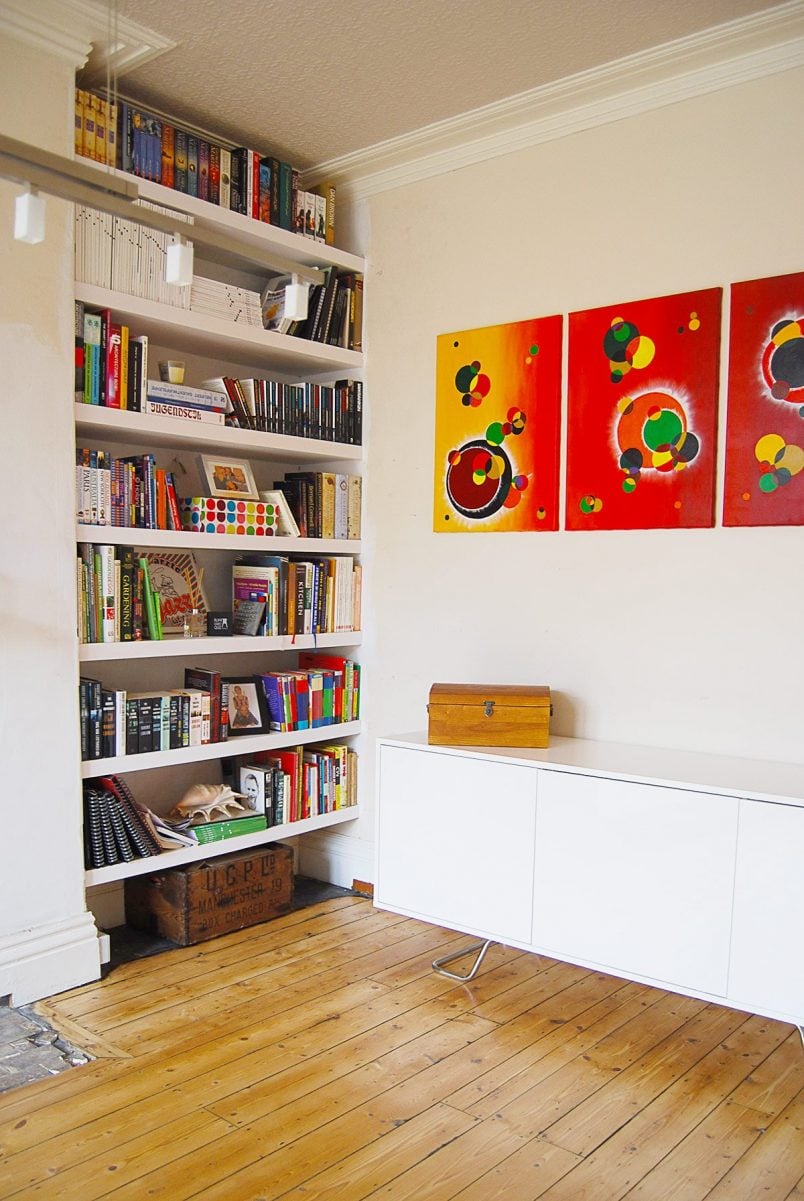
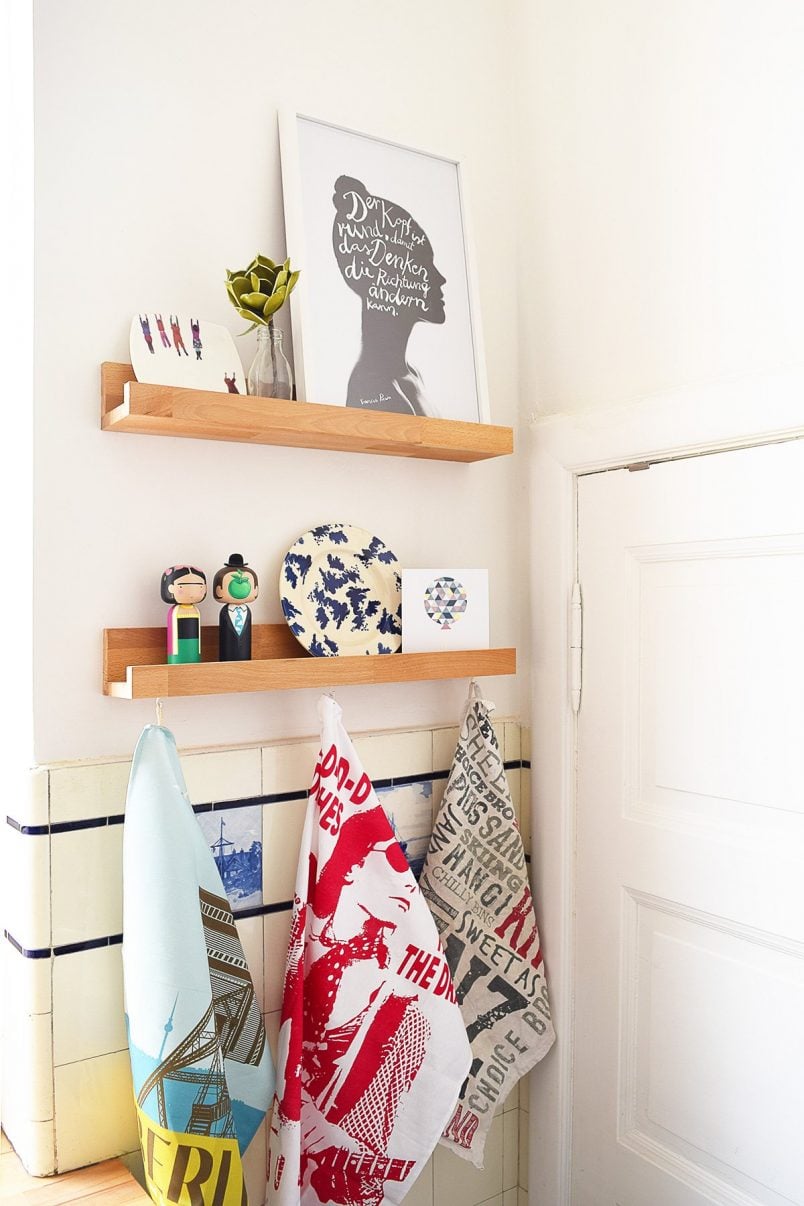
5. DIY Picture Shelf
You can never have too much art (in my opinion, anyway), and picture shelves are a great way of displaying your precious memorabilia and pictures.
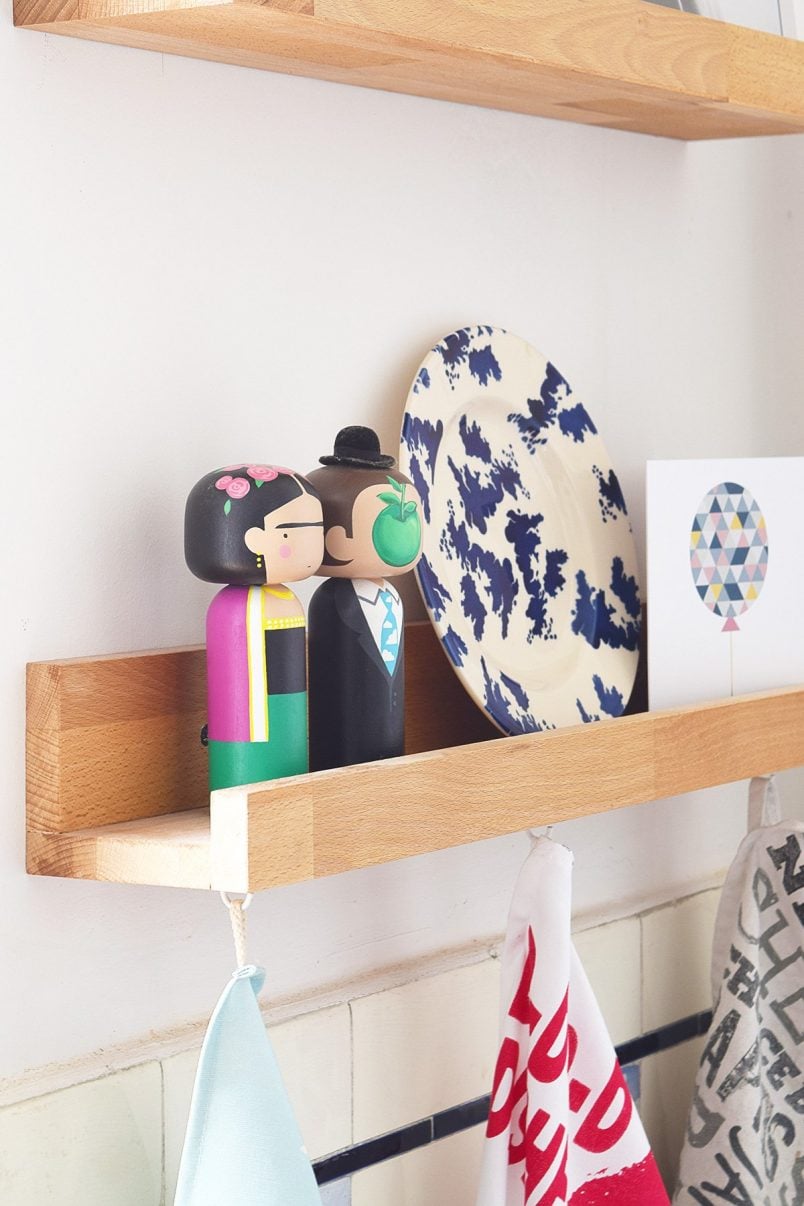
Whilst my dream choice of art may be slightly out of budget – no, I still don’t own a Monet or Lowry (although gifts are welcome!) – these picture shelves are much more budget-friendly and only cost 2€ each to build. No, that’s not a typo – they really are super affordable and quick to build!
To build your own picture shelves, you really only need a piece of timber, some wood glue and a couple of screws. Cut the timber into three strips (or have it cut at the store when you buy it), glue it together and screw it to the wall. Yep, that’s all there is to this project!
For me, these are the best kinds of DIY projects. They improve your home and are quick, easy and fun to build!
You can read the full tutorial on how to build your own super affordable picture shelves here!
BONUS: Floating Shelves From IKEA
As much as we love DIY and always recommend giving projects a try if you are looking for chunky shelves that don’t have to be a certain size, we’d also recommend having a look at some ready-made shelves like the Lack floating shelves from Ikea.

They’re super affordable and, by the time you’ve added up the cost of materials, would probably work out at roughly the same price as building them yourself. Obviously, if you want the fun of the project, by all means, build them from scratch but don’t forget to take the financial aspect into consideration when DIYing, too!
Do you love floating shelves as much as we do? Have you ever built your own shelves or furniture? Do you have a favourite DIY project or would you like us to cover something that you’re struggling with? Let us know what you’d like to see here in the comments!
Leave a Reply