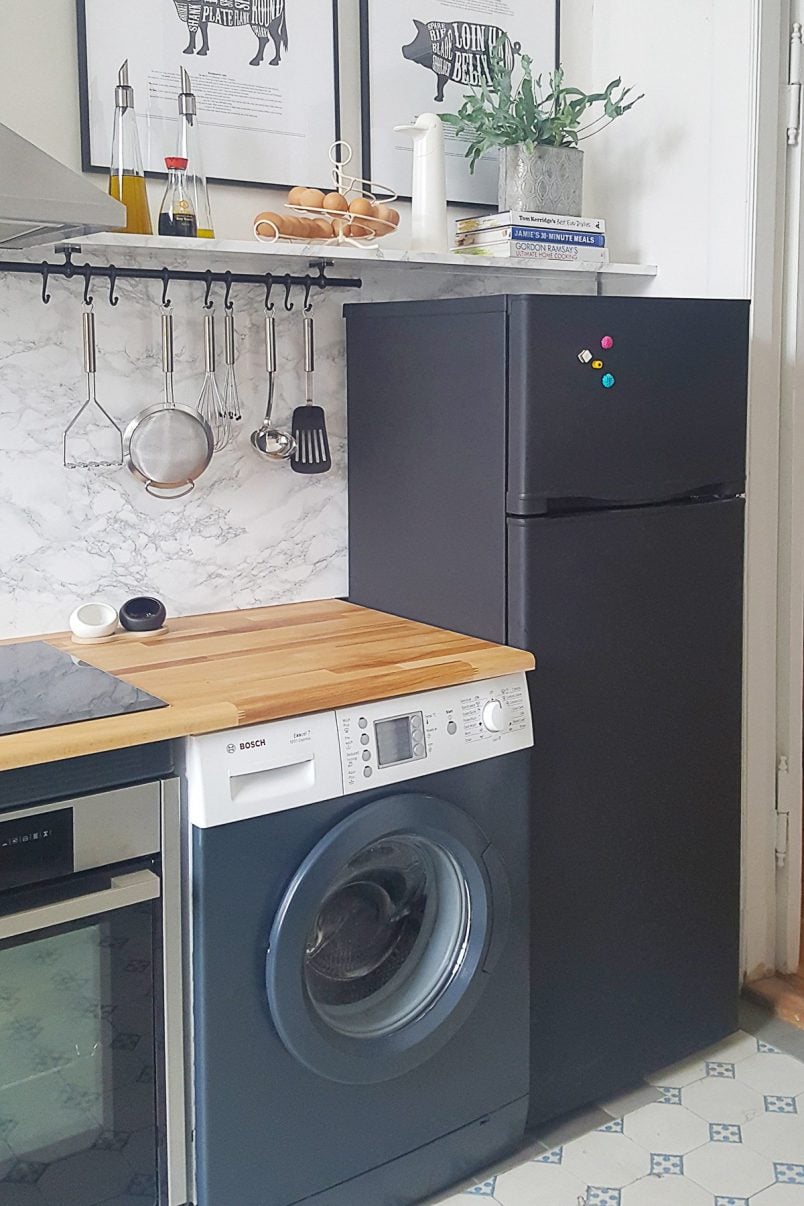
It’s safe to say that our recent kitchen makeover was a complete success (we’re just ignoring the bit where we accidentally smashed our hob).
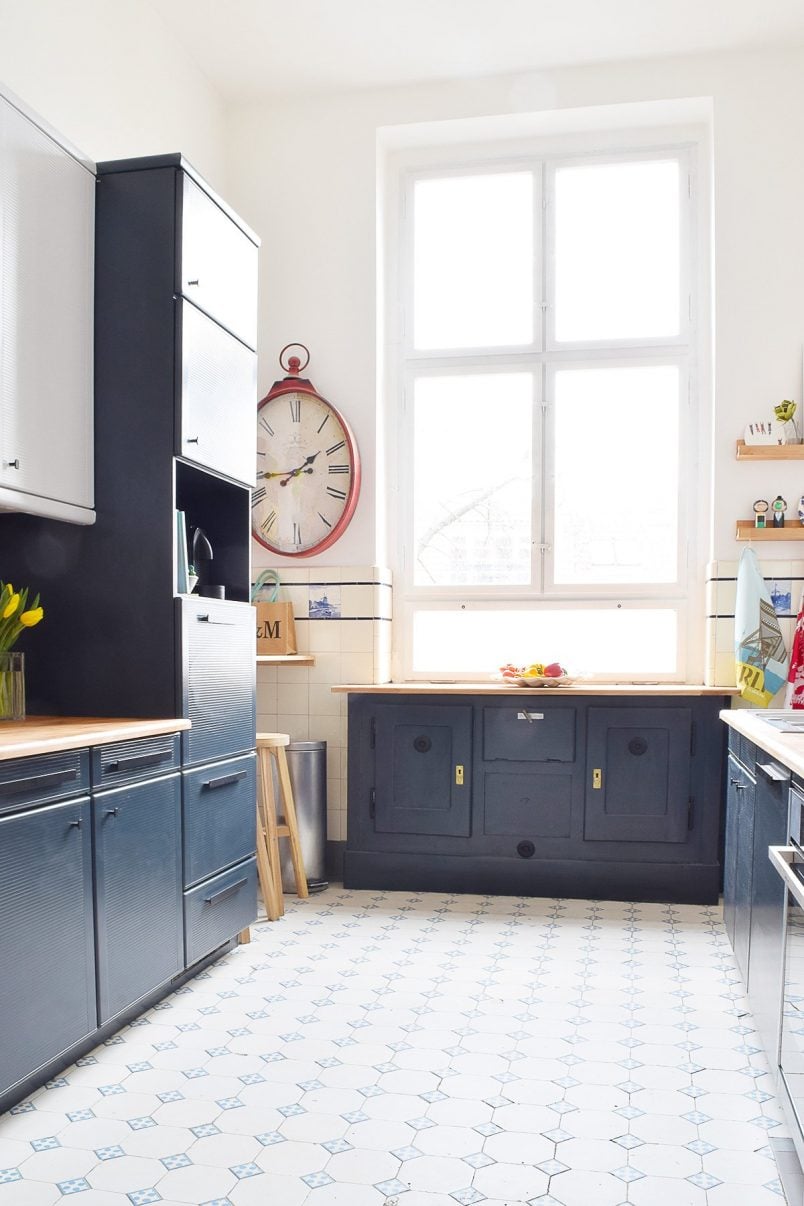
Saying that it’s life-changing may be a bit of an exaggeration, but it has definitely made a huge difference to the way the kitchen feels and it’s now a room we enjoy spending time in.
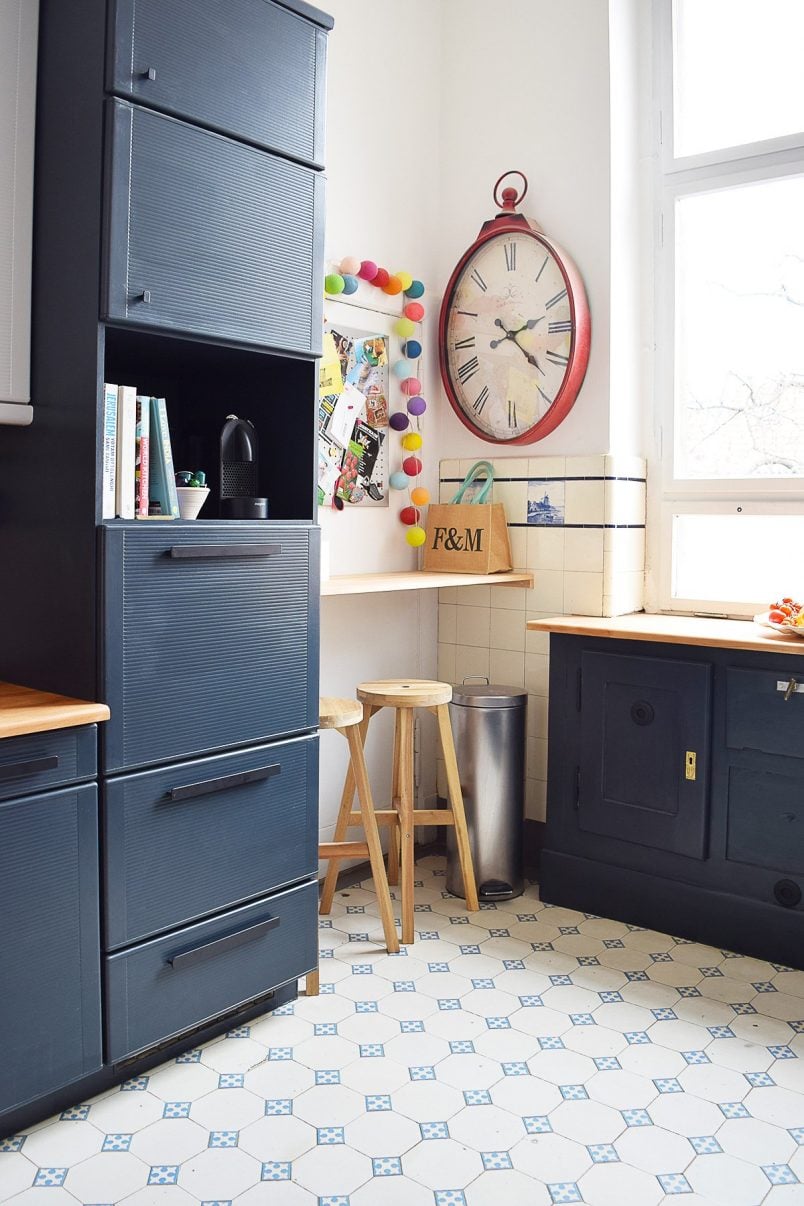
As well as the full-on makeover of the cabinets, we added a few additional touches that make the kitchen work even better for us and help make the space feel more inviting.
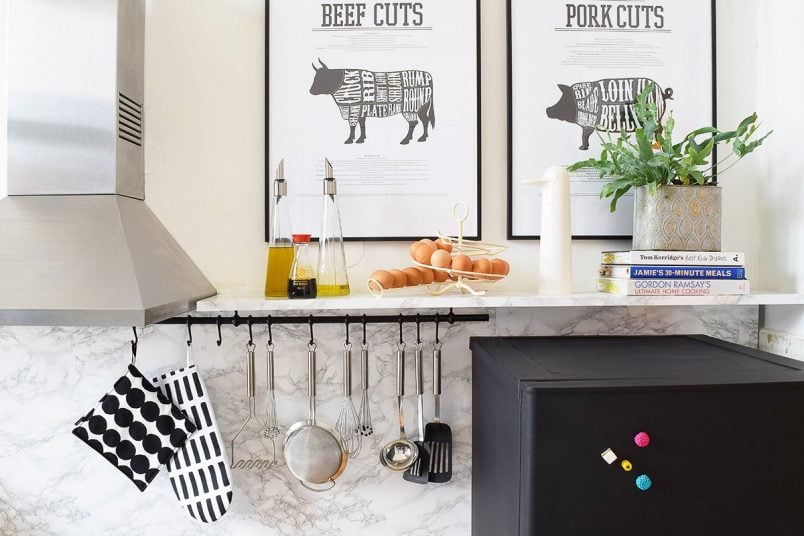
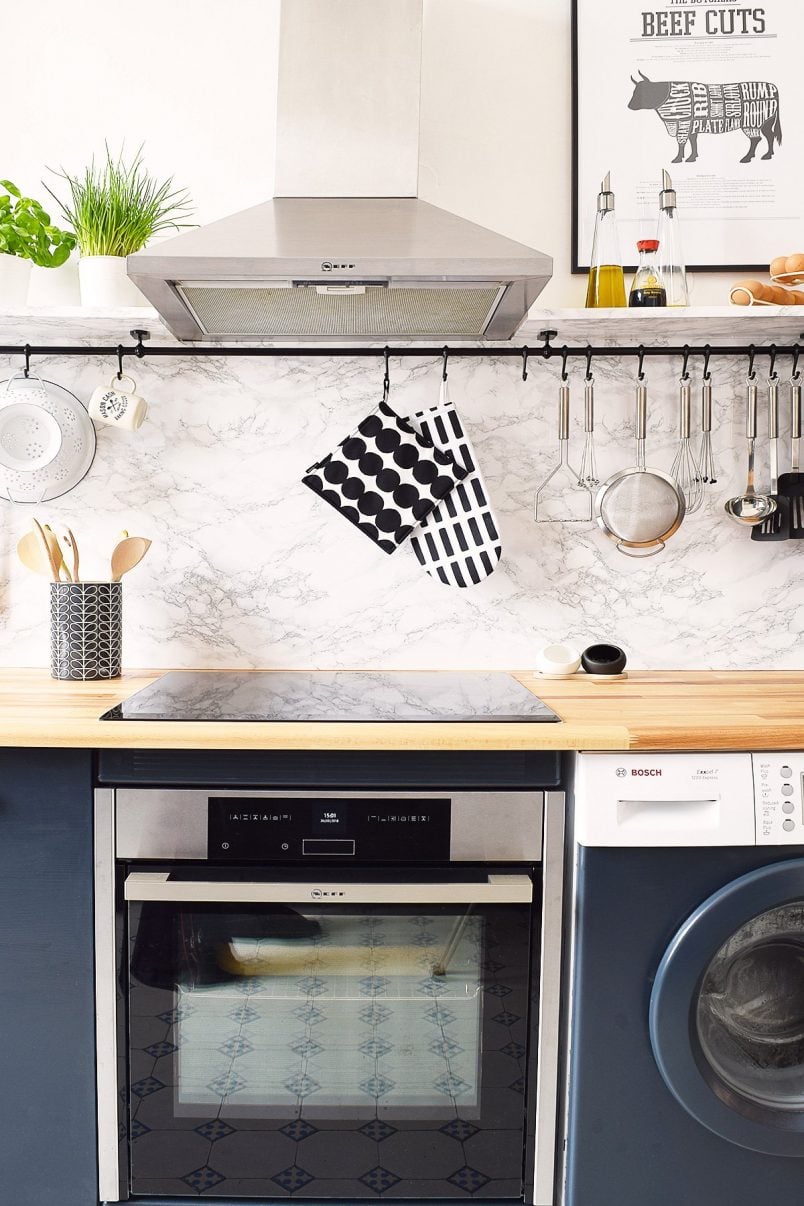
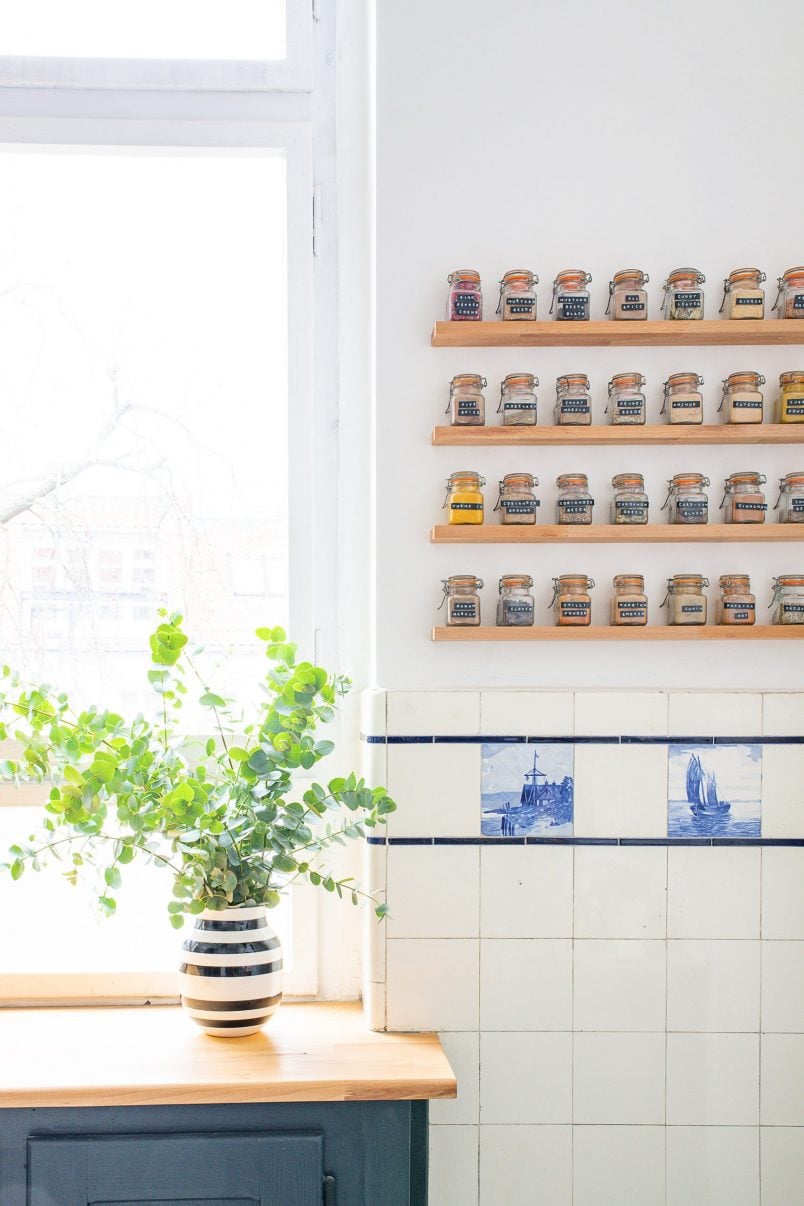
We installed a small breakfast nook area and added lots of much-needed lighting which means we are no longer in danger of chopping our fingers off because we can’t see anything. We also added some fun art like the pork and beef prints (they’re these ones from Desenio) art and built our super-thin floating shelves.
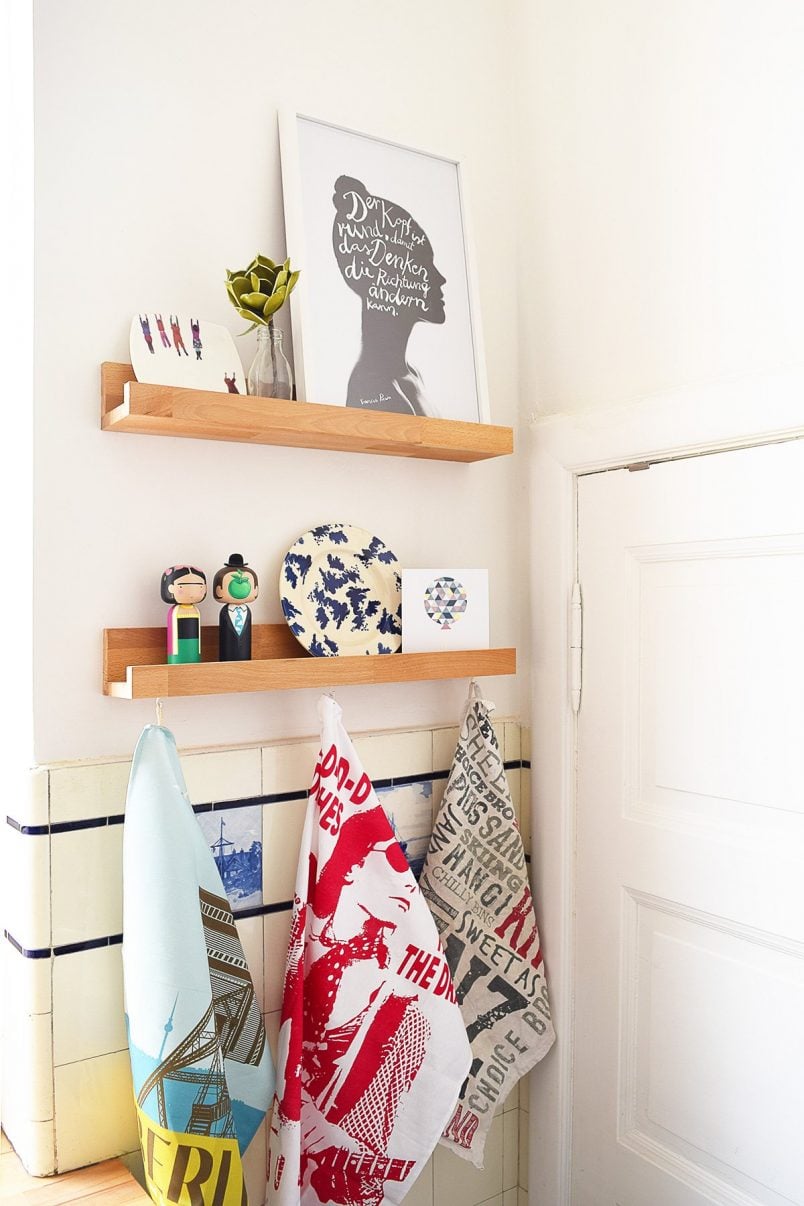
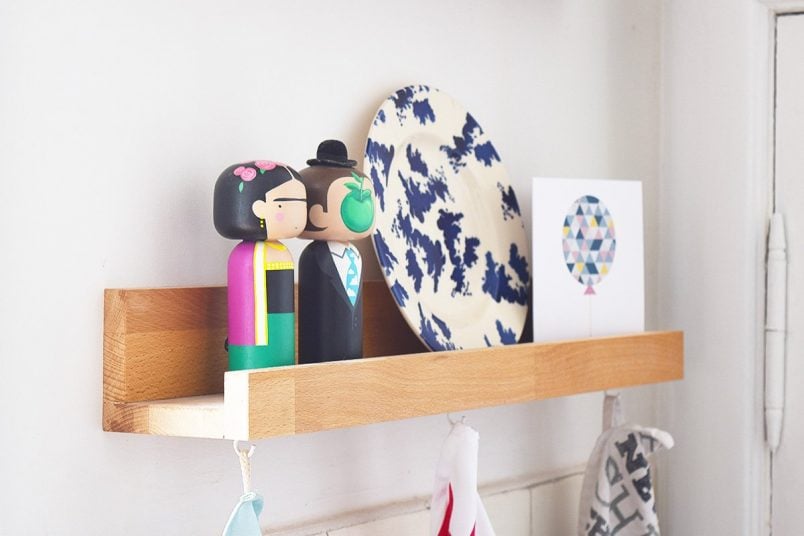
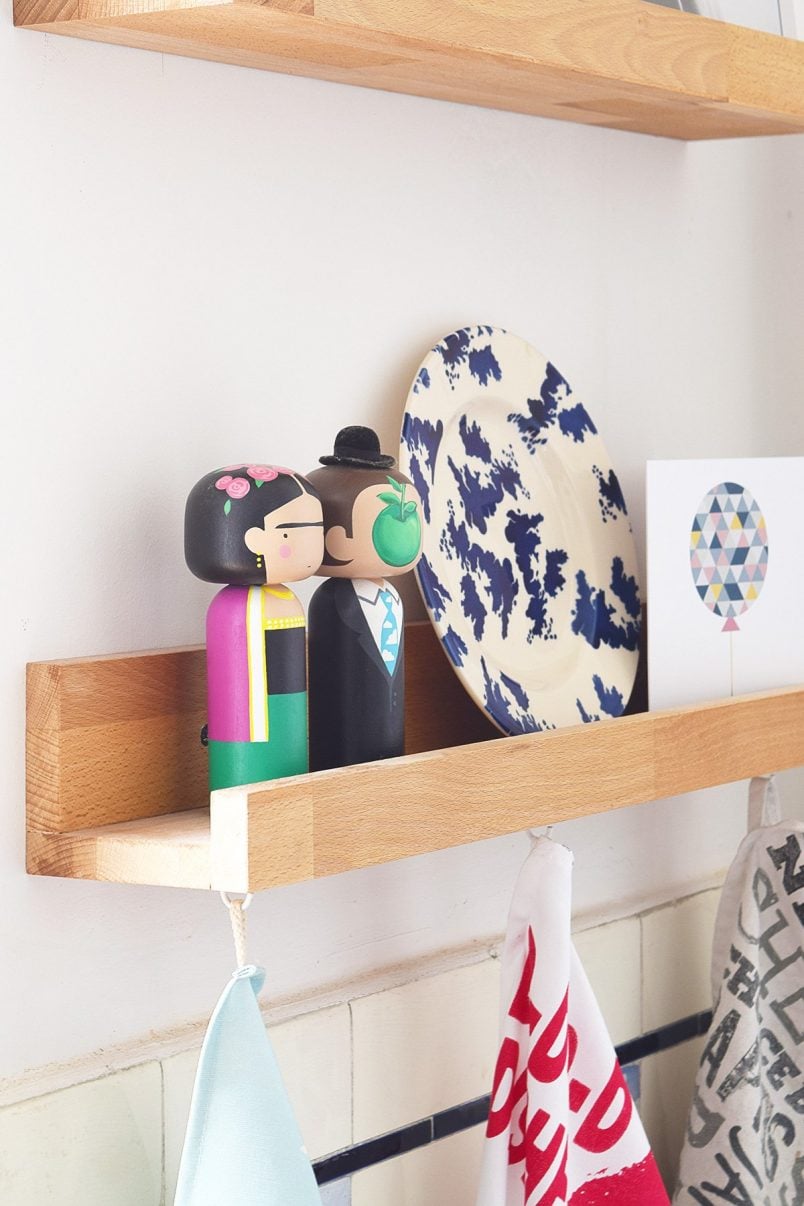
Another little project that we built is our new DIY picture shelves.
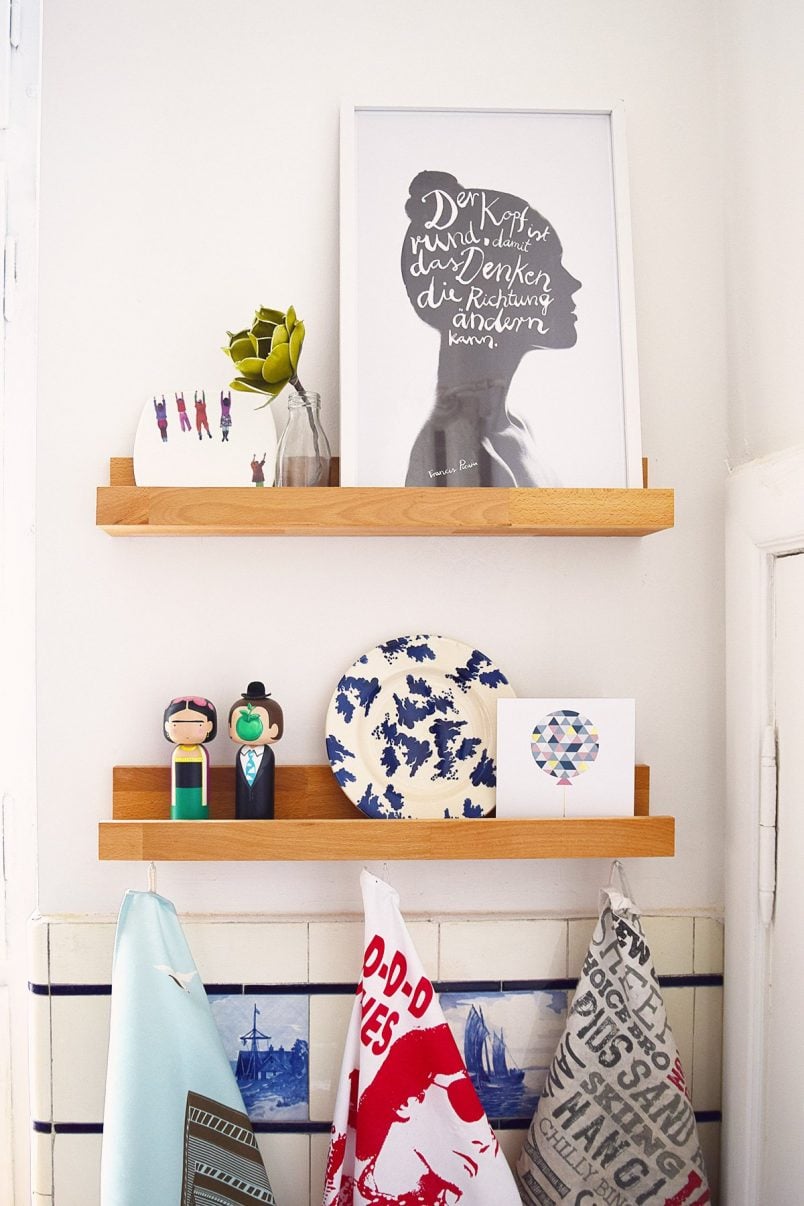
This has got to be the easiest DIY project we’ve ever shared and it really only takes minutes to complete! Best of all, it’s super cheap, too! Each DIY picture shelf only costs just over 2€ to make!
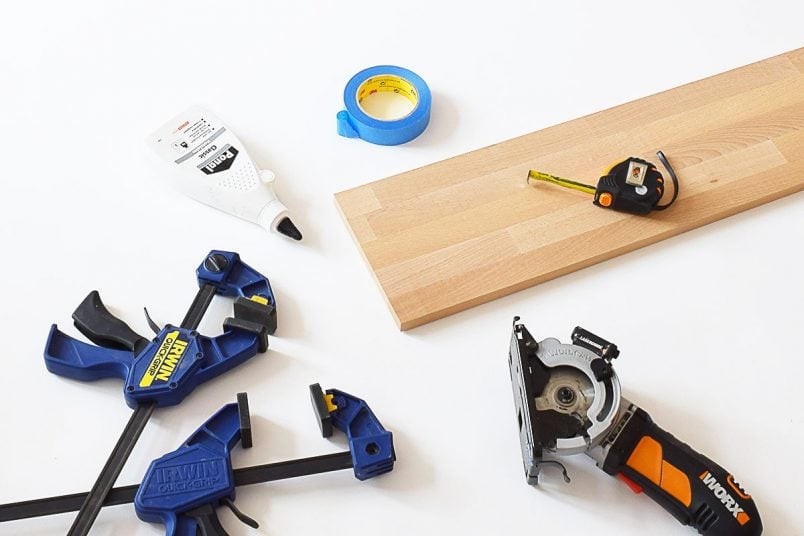
This is what you will need to build your own DIY picture shelf:
This post contains affiliate links. We only recommend products we love and think that you will, too! Read our full disclaimer here.
- A piece of timber (we used a piece that’s 1200 x 200 x 18mm large which was enough to make two shelves that are 60cm long)
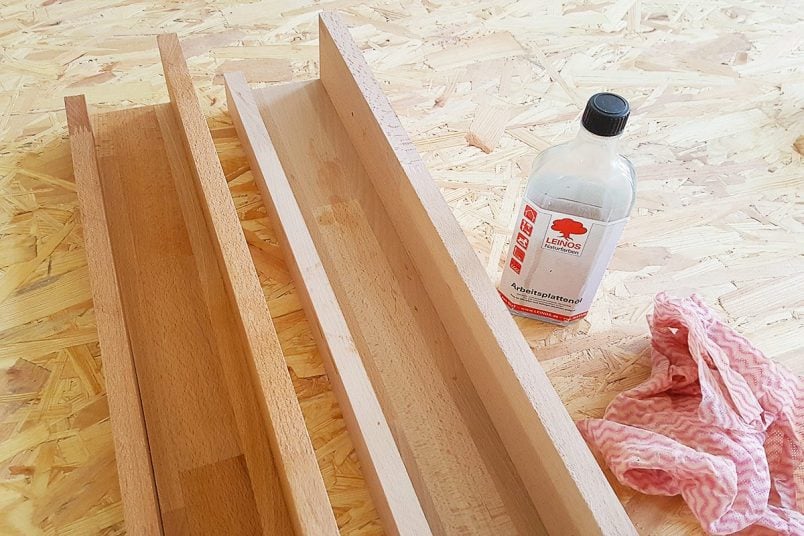
- Wood oil (or paint)
- 120 grit sandpaper
- Masking tape
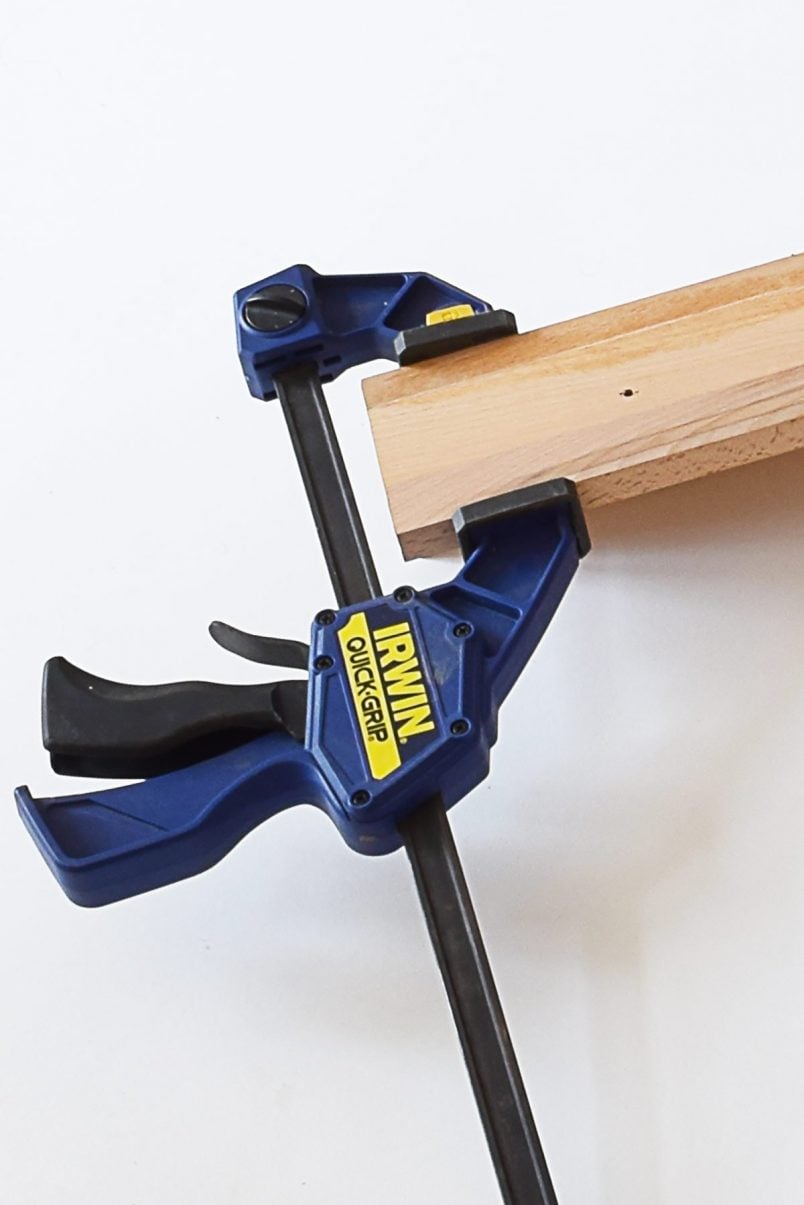
- Clamps (These are the ones we have)
- Wood glue (our favourite wood glue is Ponal)
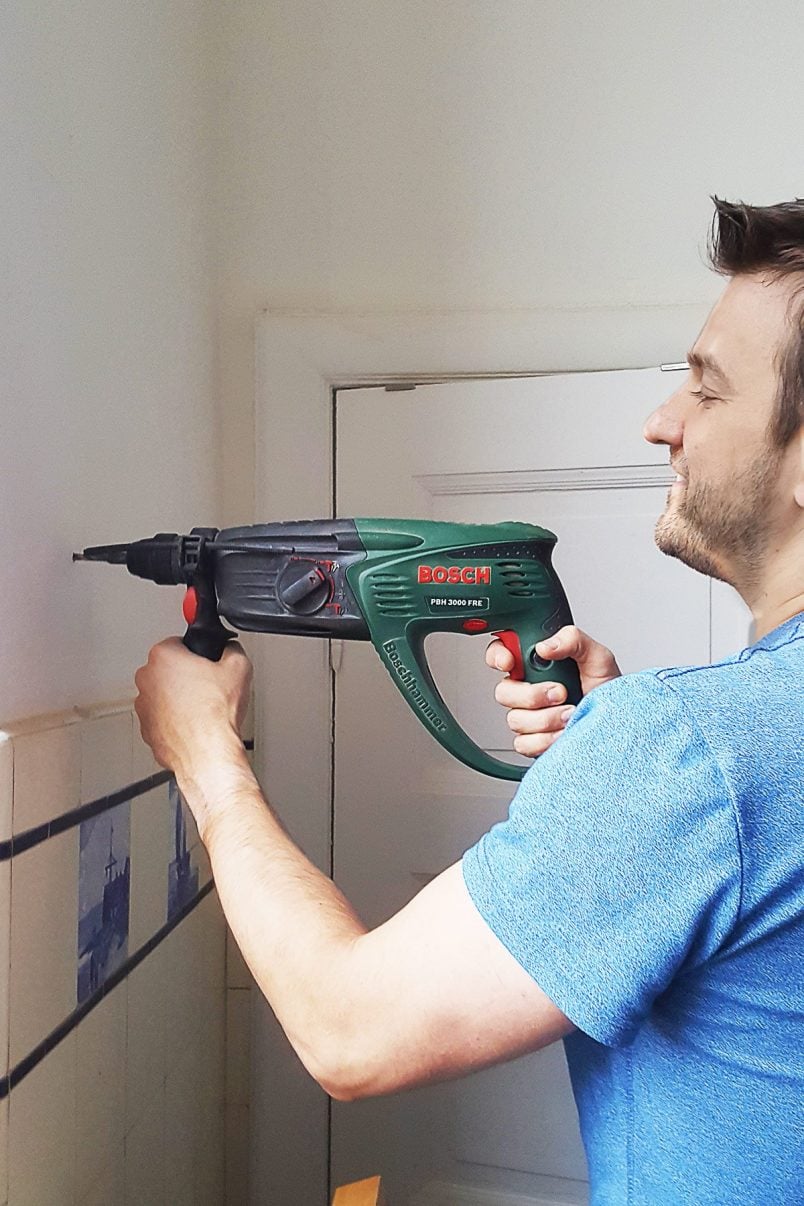
- Drill & drill bit
- Screws & wall plugs (to attach the shelf to the wall)
- Circular saw
- Tape measure and pencil
This is how to build a DIY picture shelf:
1. Measure & Cut
All together you’ll need 3 strips of wood – one piece for the back, one for the front and one piece that will be the base.
We cut our 20cm wide board into pieces that are 9 cm wide (for the base piece), 4cm wide (for the front piece) and 7cm wide (for the back piece).
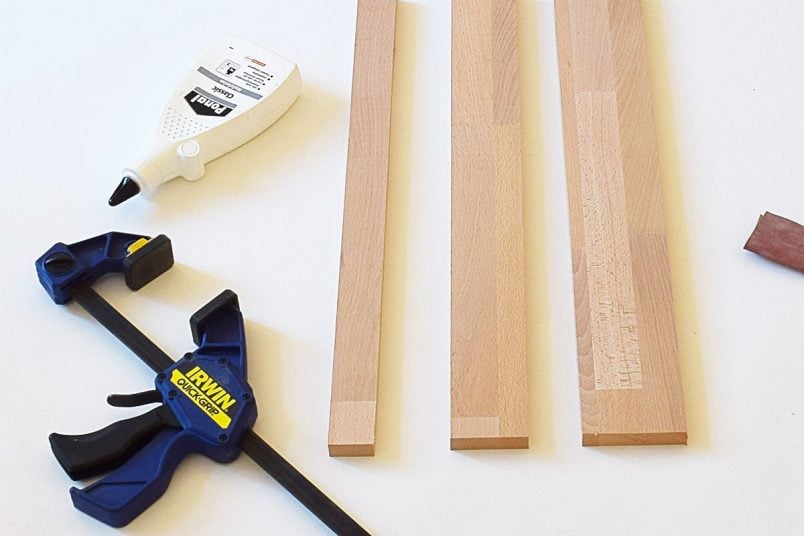
Stick some masking tape along the lines where you’ll be cutting. This will help achieve a really clean edge and will reduce the chances of the wood splintering where you’re cutting. Then cut your piece of timber into three strips with a circular saw.
2. Drill & Sand
Give all edges a quick sand with some sandpaper and make sure that all edges you cut are smooth.
It’s a good idea to pre-drill the holes you’ll need to be able to attach the shelf to the wall now. You can drill the holes later but it’s easier to do before you’ve assembled them.
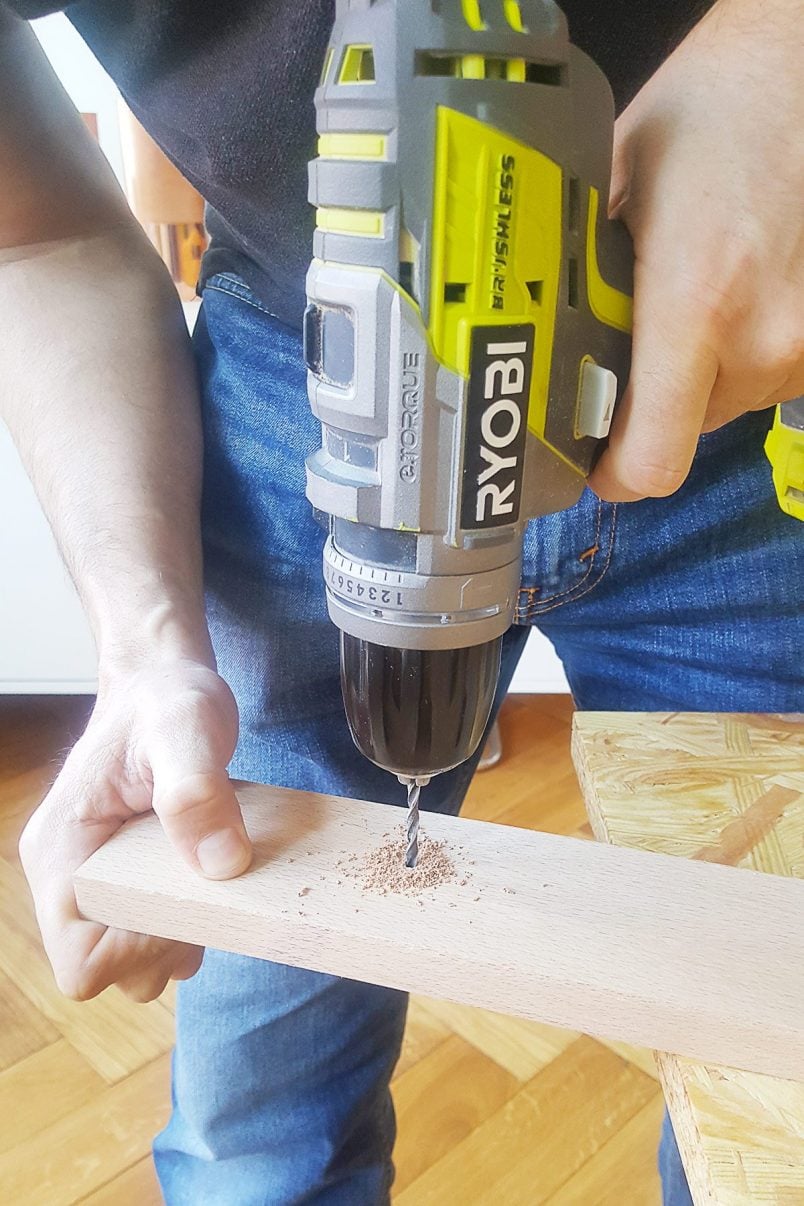
Just drill two holes through the piece of wood that will be the back piece of your shelf (it’s the piece that’s 7cm wide).
3. Assemble & Finish
Now it’s already time to assemble the DIY picture shelf. Place the 3 pieces of timber together. Place the smallest piece of timber (the one that’s 4cm wide) in front of the base piece and place the back piece (the one that’s 7cm wide) on top of the base.
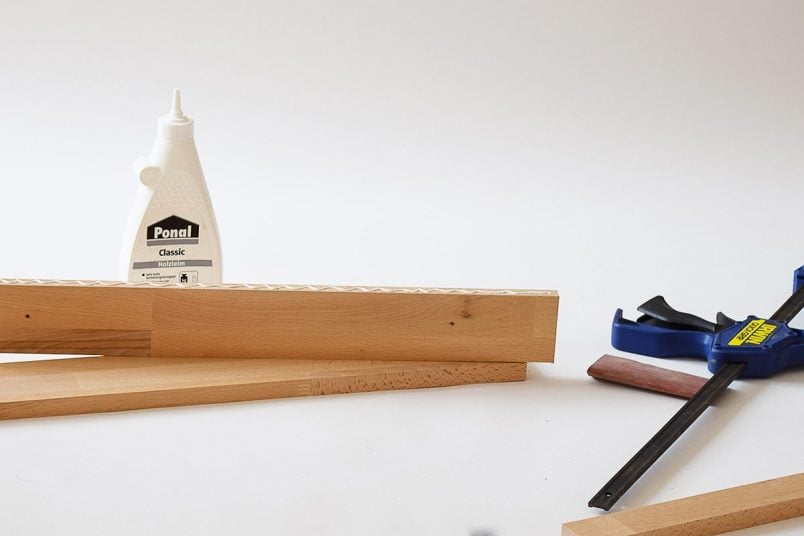
Test that everything will fit and then apply some wood glue to the edge you’re gluing together before clamping the pieces together. Leave it to dry overnight before applying a coat of oil (or painting if that’s what you’d prefer).
4. Install
All that’s left to do is attach your new DIY picture shelf to the wall. Our walls are all brick so we just had to drill two holes into the wall, squash in some wall plugs and screw the DIY picture shelf to the wall.
In an ideal world, I would have used biscuit joints to attach the pieces of timber to each other but we don’t own the necessary (and very expensive) tool so the wood glue is all we’ve used to build the shelves.
Our shelves are really secure and they’ve been up a couple of months now, so I’m guessing they’ll hold for the foreseeable future. Having said that, I would probably not use the shelves to display anything that’s really heavy.
Bec says
Hi! I’m going to take on this little task after not being able to find the perfect shelves for my space at an affordable price!! Could I ask where you got your wood? And, how did you make sure your lines were straight with the circular saw? Thank you!
Christine says
We bought the wood at our local DIY store. It’s really nothing special and you should be able to get it at any DIY store, too. When we cut lines, we always clamp something (like a straight piece of wood or spirit level) to the wood to use as a guide for the circular saw. You can see a picture of us cutting something using that method in this post.
Hope that helps!
Cx