[Ad – This project is in collaboration with Kohler.]
It’s rare but sometimes in DIY world, you come across a project that turns out to be much quicker and, more importantly, much easier than you thought it would be. Replacing our bathroom washbasin and tap turned out to be exactly one of those projects and it was such an easy thing to do that I can’t believe we didn’t do it sooner!
I’m the first to admit that we’ve always shied away from anything to do with plumbing partly because Jan decided to move a radiator in our last house and ended up flooding the kitchen but also because it always felt like something that’s best left to the professionals.
Now, I’m not going to recommend replumbing your whole house but giving your bathroom a quick makeover by installing a lovely new tap and washbasin is easily doable! Seriously, if we can do it – anyone can!
And, if you caught our bathroom makeover reveal that we shared last week, you’ll already know that that’s exactly what we did!
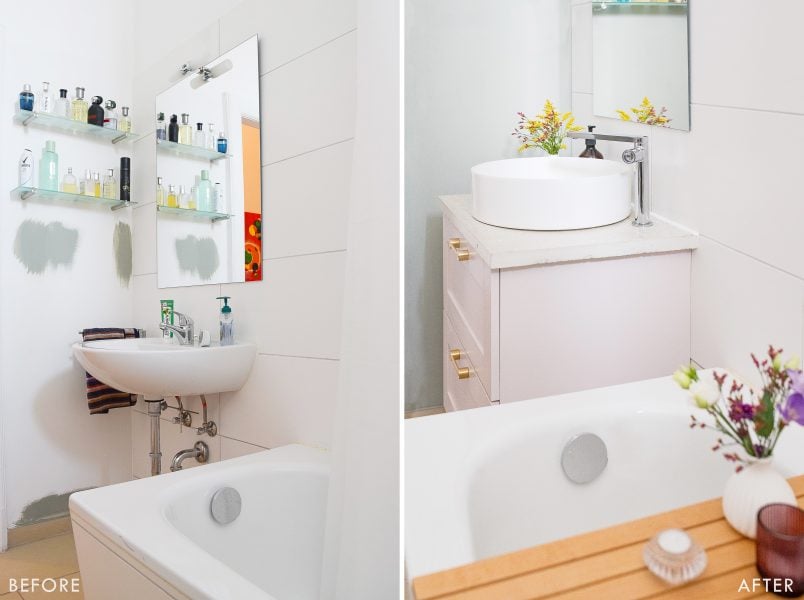
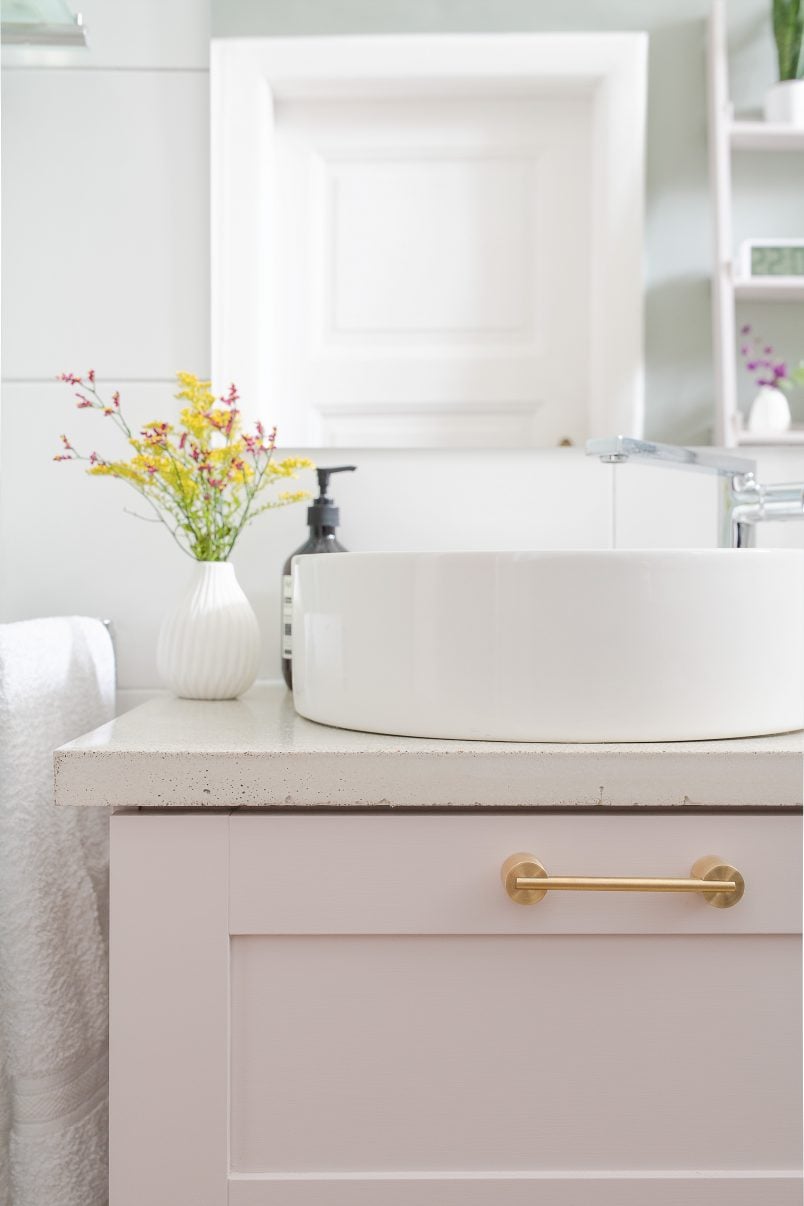
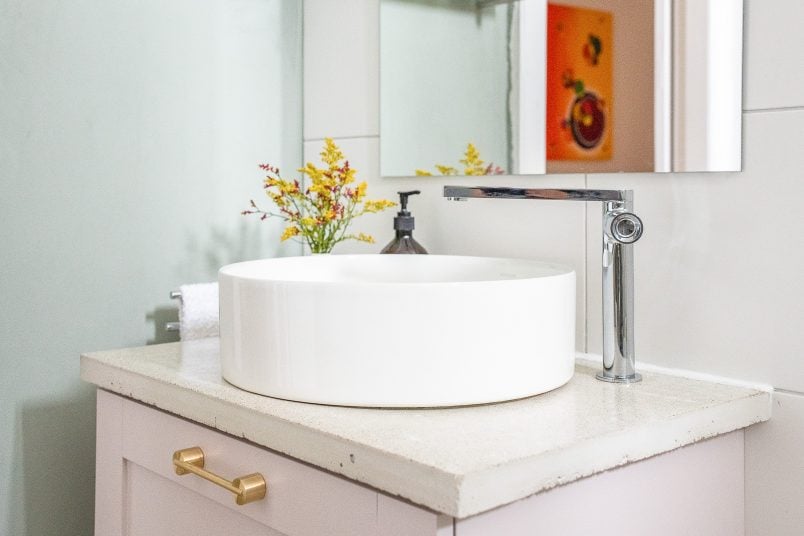
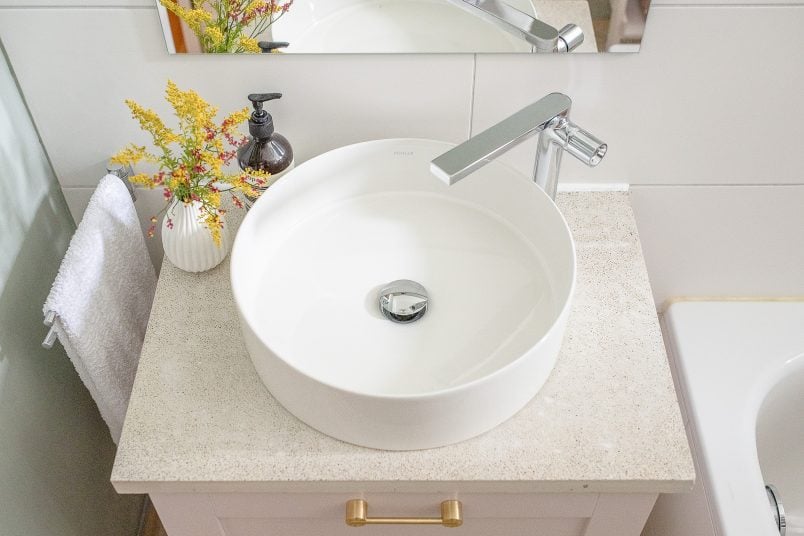
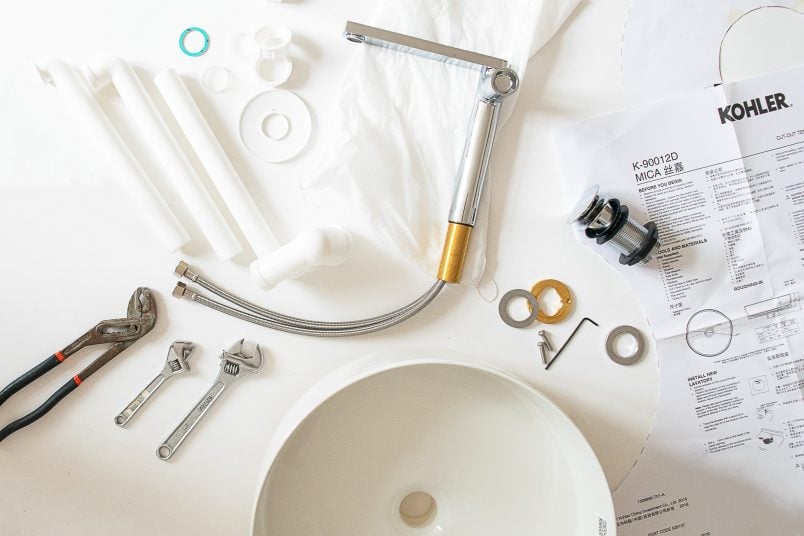
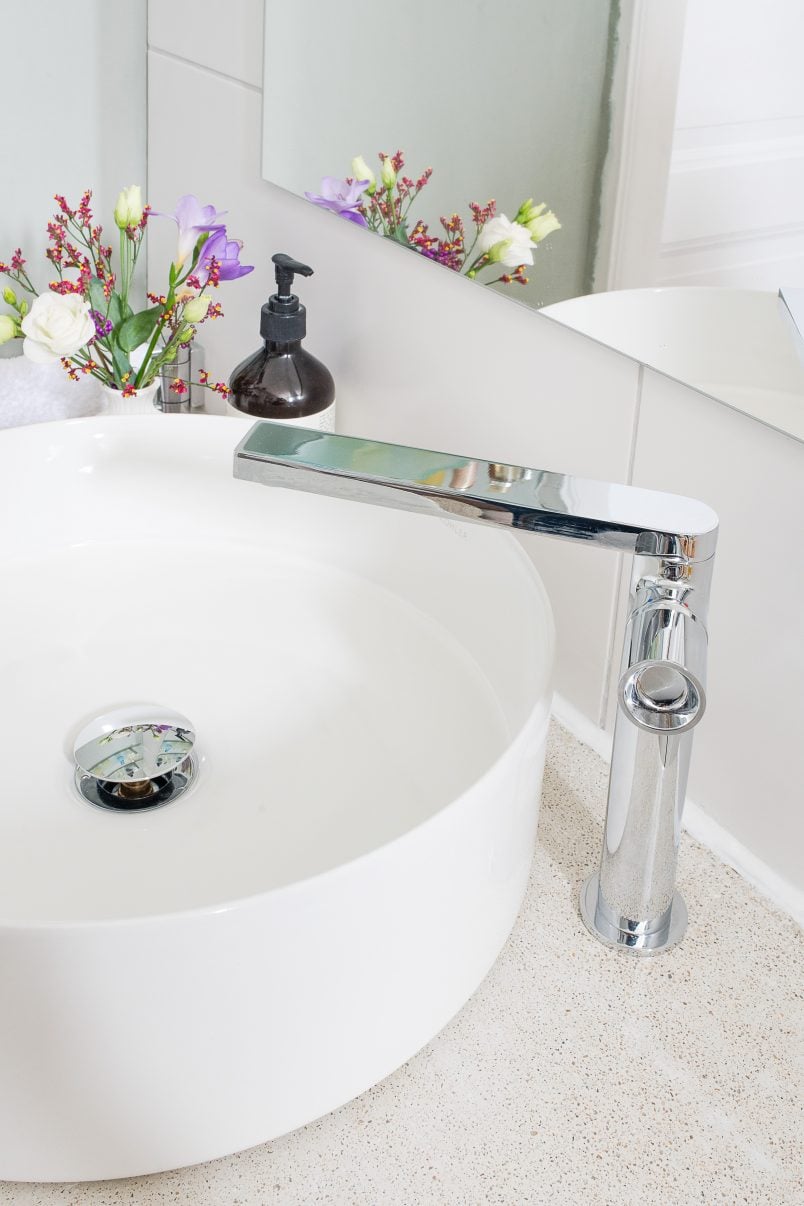
We completely transformed the dreary corner of our bathroom and installed a new vanity unit with gorgeous new handles (they are Myford handles by Swarf Hardware – gifted), a concrete countertop (more on that soon), and a new modern and stylish tap (it’s Composed by Kohler – gifted) and washbasin (it’s Mica by Kohler – gifted).
So, how did we do it?
Well, here’s our guide on how to install a bathroom tap & washbasin!
If you’re just replacing your tap it’s as simple as removing the old one and attaching the new one (yes, it really is that simple). Replacing a washbasin will involve a bit more work but it’s really not difficult to do either!
Before You Begin
Turn off your water!
It kind of goes without saying that you’ll have to turn off your water to tackle anything plumbing related! You don’t want to end up flooding your bathroom (or worse!). Double-check to make sure that you’ve really turned off both your hot and cold water connections at the valve or stopcock.
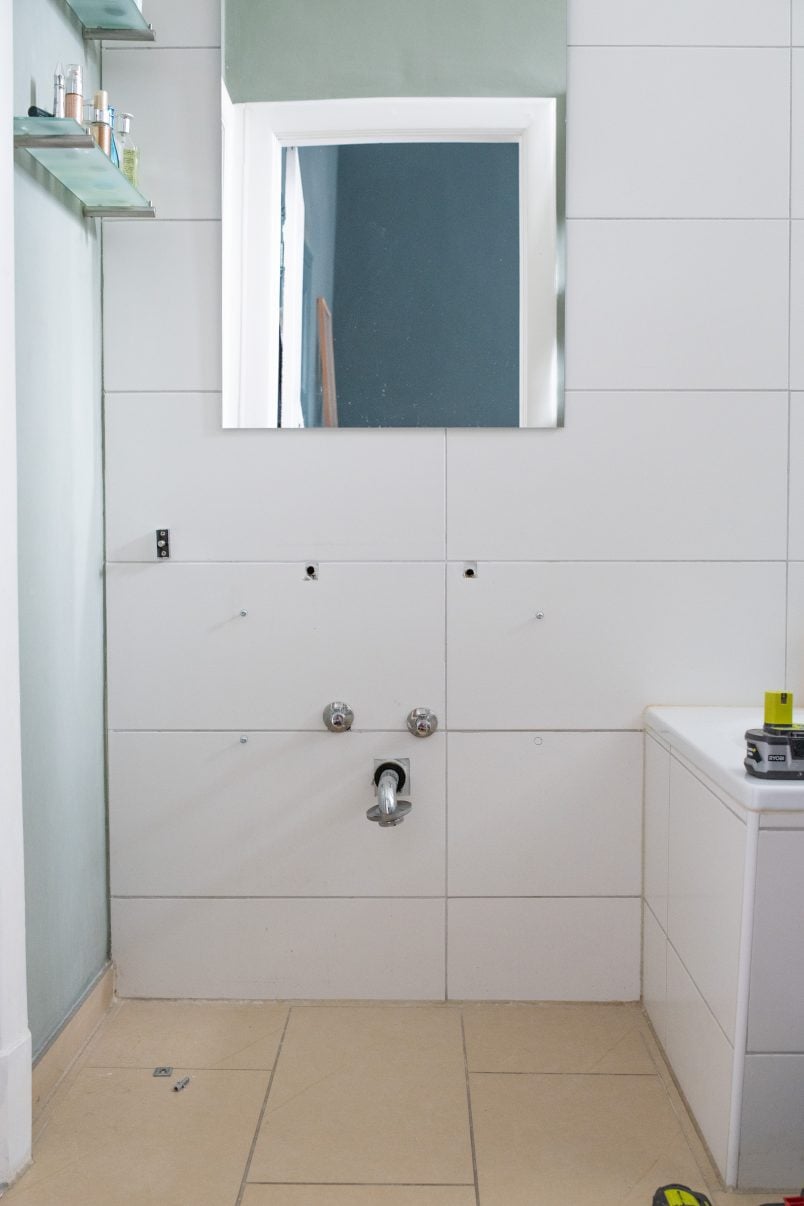
Demolition Time
Remove the tap
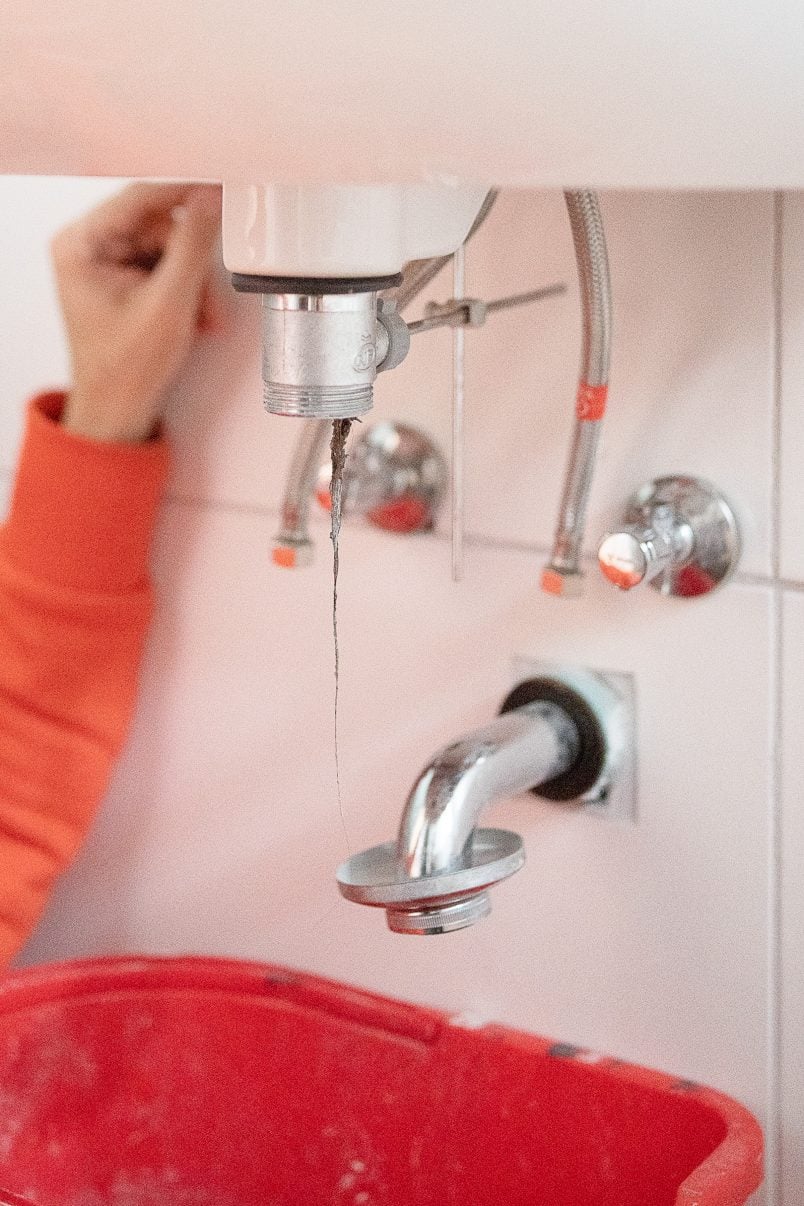
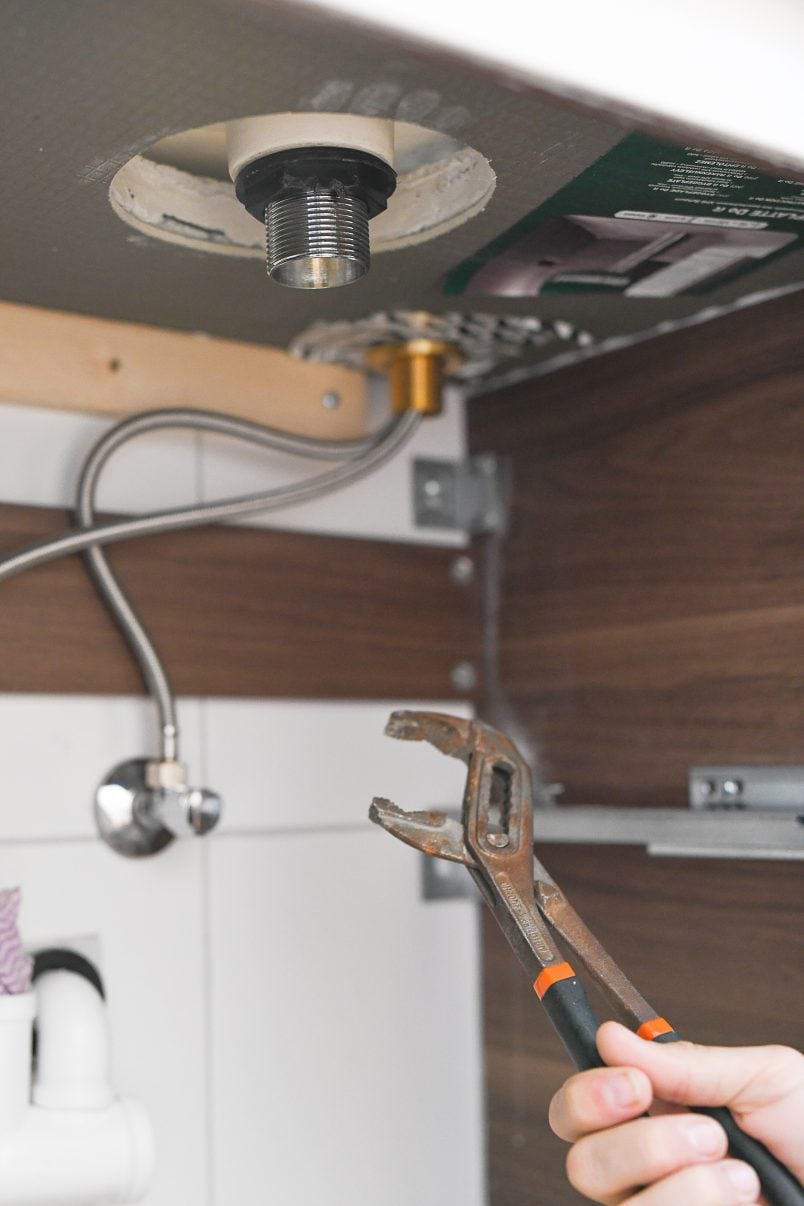
Place a bucket under your pipework to catch any water that’s still in your freshwater and drain pipes. Then, loosen the bottom nuts of the two flexible pipes that connect them to your warm water and cold water connections with some water pump pliers.

After loosening them, you can completely unscrew them by hand and empty any remaining water into your bucket. Once you’ve disconnected the water pipes you can start to remove the tap from the washbasin.
Exactly how it’s connected will depend on the make and model of your tap but the basic concept is always the same. It’ll be attached with a nut that you just have to unscrew to be able to remove the tap.
Disconnect The Waste
Next, you’ll have to disconnect the waste trap and waste pipes. The waste pipes are just slotted together so all you have to do is give them a tug and they’ll easily come apart.
Remove The Washbasin (+Silicone)
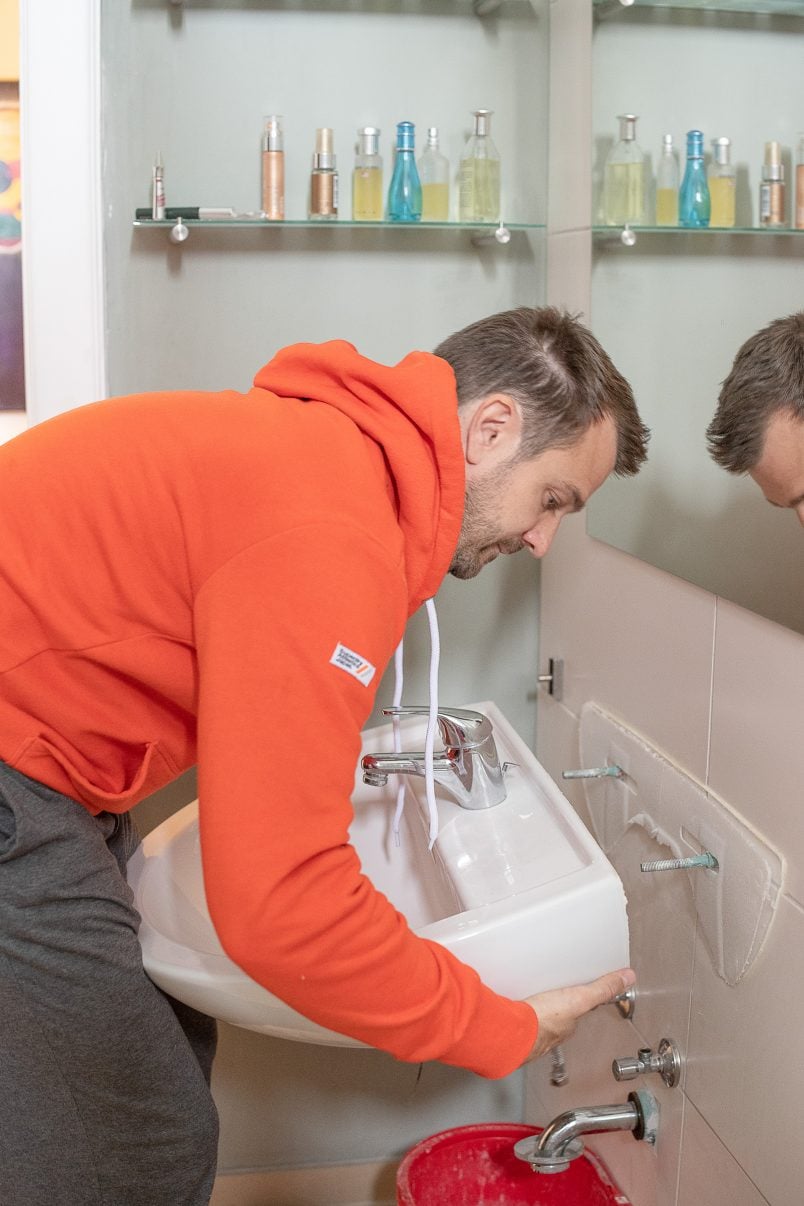
Depending on the type of washbasin you have (wall-hung, vanity-top, pedestal, etc) this will again vary slightly. Ours was wall-hung and just attached to the wall with some long screws, nuts and wall plugs.
After unscrewing the nuts, the washbasin is loose and you can, in theory, just pull it away from the wall (it’ll still be resting on the screws so shouldn’t just fall off the wall – be careful though!).
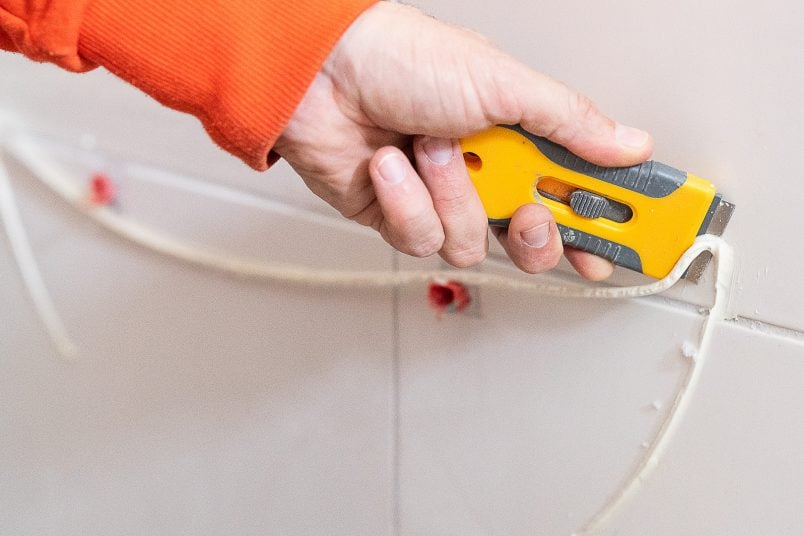
In reality, you’ll probably find that the silicone seal between the washbasin and wall is super strong so just cut through it with a sharp Stanley knife and you should easily be able to lift the washbasin away from the wall.
Clean
Remove any silicone and dirt. There are special silicone removers available but on a flat surface like tiles, I find it easier to remove it by scraping with a glass scraper and then just giving the whole area a quick wipe with some white spirit.
I’ve gone into a lot of detail here and have probably made it all sound much more complicated than it is! Basically, you’re just unscrewing a few nuts and removing/disconnecting bits. In terms of timescales, to do all of this only took us about 15 minutes!
Install Your New Bathroom Washbasin & Tap
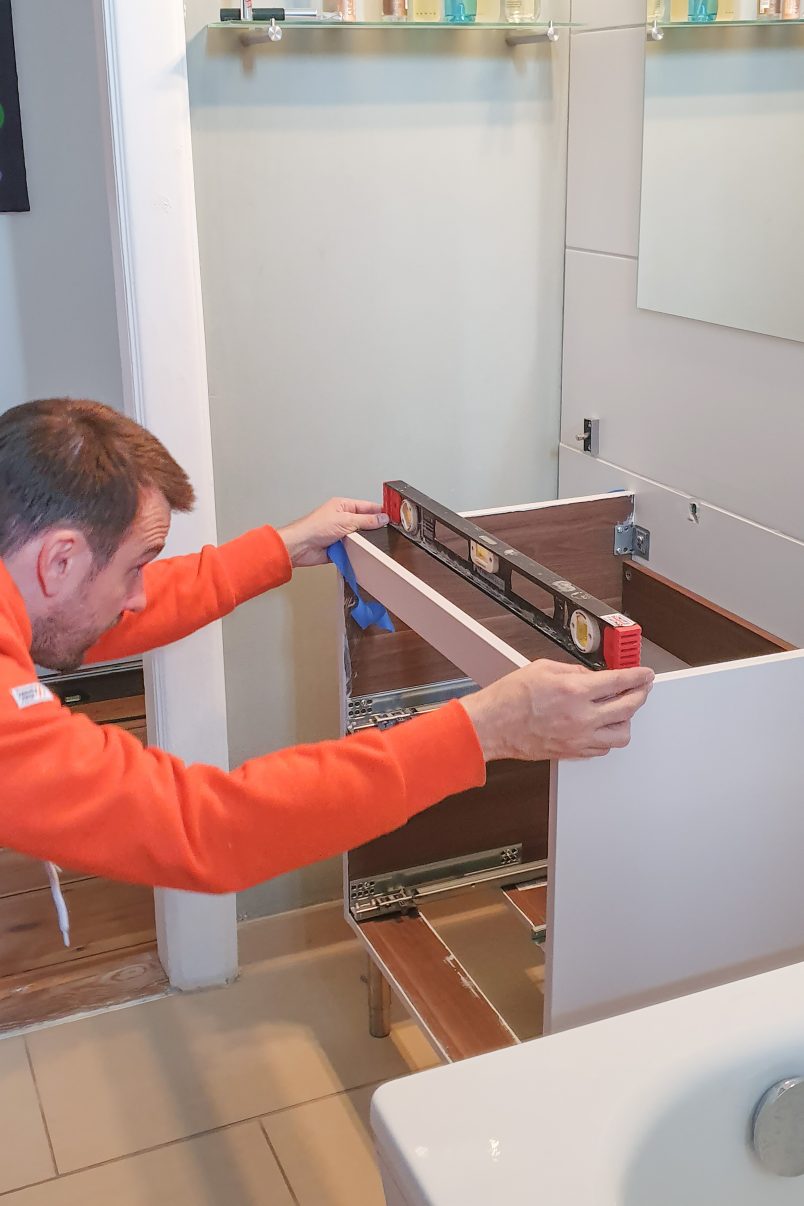
Vanity
Our gorgeous new washbasin is a vessel basin which inevitably meant that we had to install a vanity unit with a top to be able to have something to mount our washbasin on!
Our vanity just screws to the wall with 4 screws. This was probably the most difficult part of the whole bathroom makeover project, mainly because I was paranoid about drilling into a pipe (it wouldn’t be the first time!). Really though, you just have to attach it to the wall and make sure it’s installed completely level!
Countertop
There are so many options when it comes to countertops! We opted to build a concrete top on our vanity (we’ll be sharing a full post on how we did it soon!) but you could just as easily install a ready-made one!
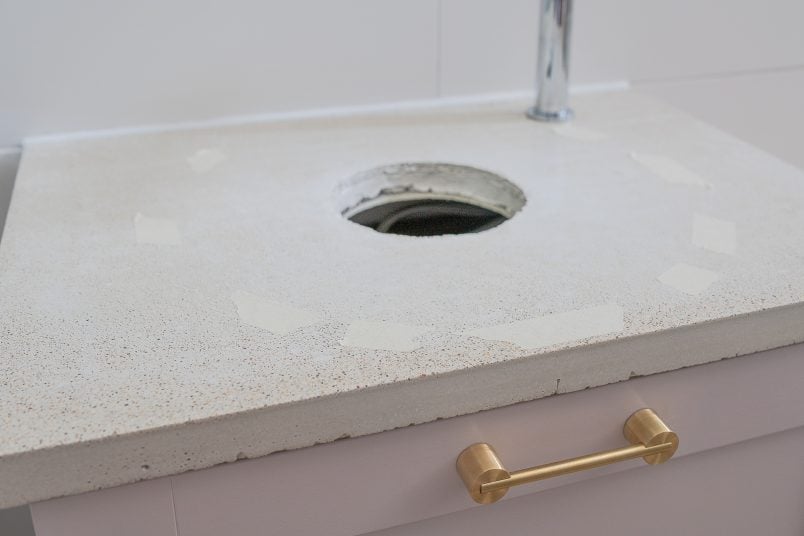
The only thing you have to bear in mind are the locations of holes for your new tap and washbasin.
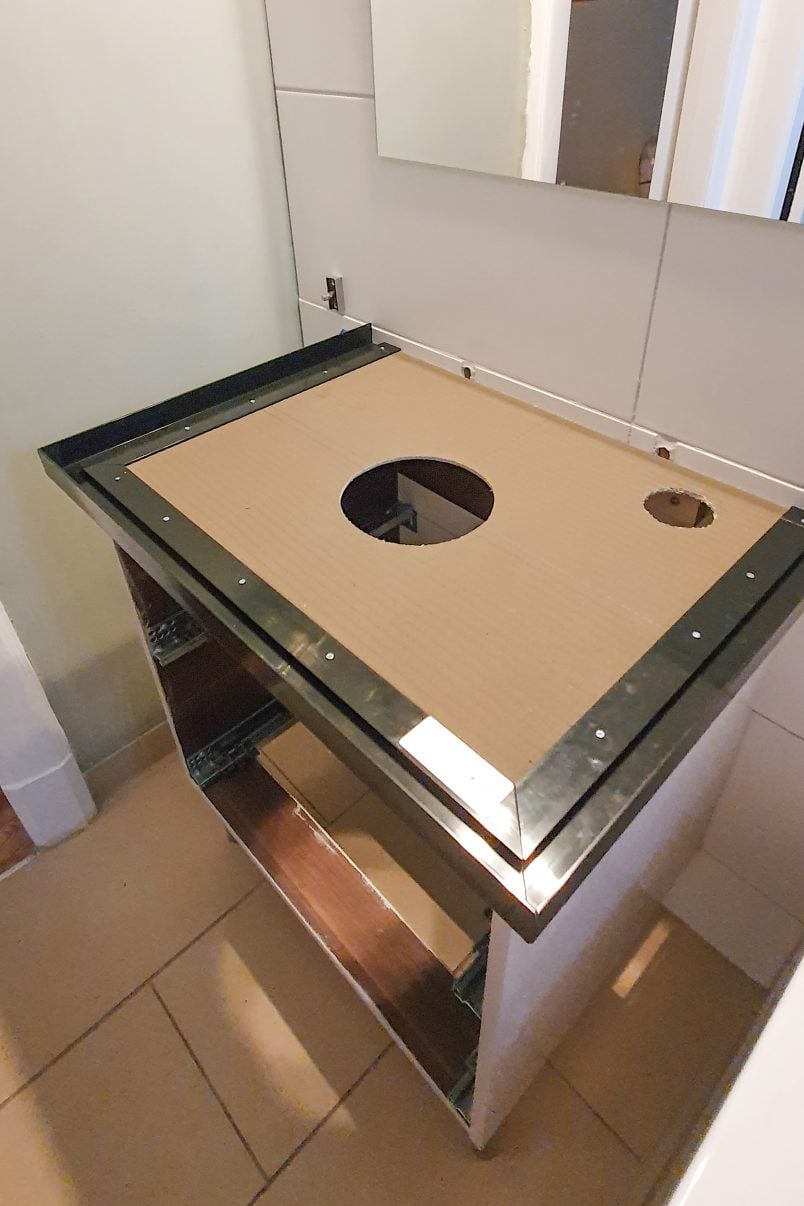
The Mica washbasin comes with a template, so it’s just a matter of positioning it where you want it and then cutting out the hole in your vanity top with a jigsaw.
The same goes for the position of the tap. Just work out where you want to install it and then drill a 32 mm hole (the size of the hole may vary depending on your tap) into the vanity countertop for your tap to slot into.
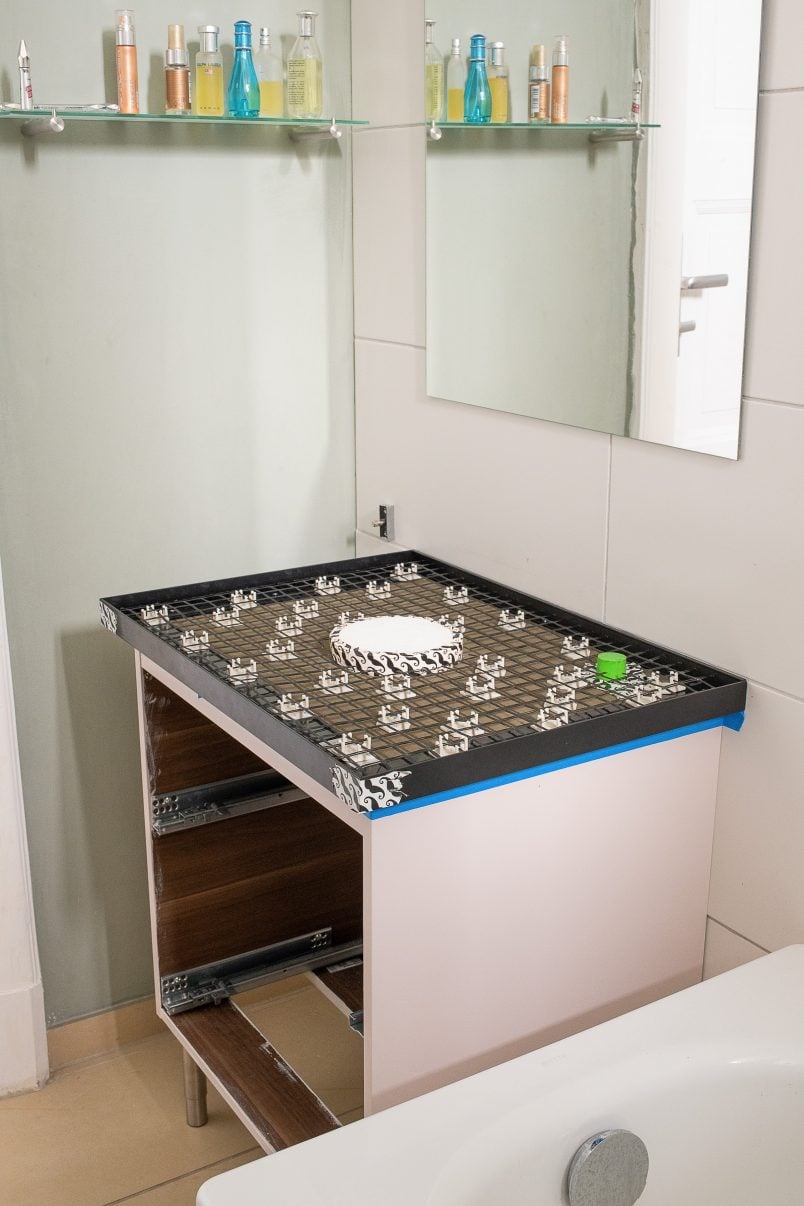
We made our lives slightly more difficult by installing concrete countertop which meant that we cut out the holes exactly as you would with any other countertop but then had to make little space holders for the concrete to flow around so as not to fill them again (or flood the bathroom with concrete!).
Tap
This is the bit you’ve been waiting for! How do you actually install a new washbasin & tap?
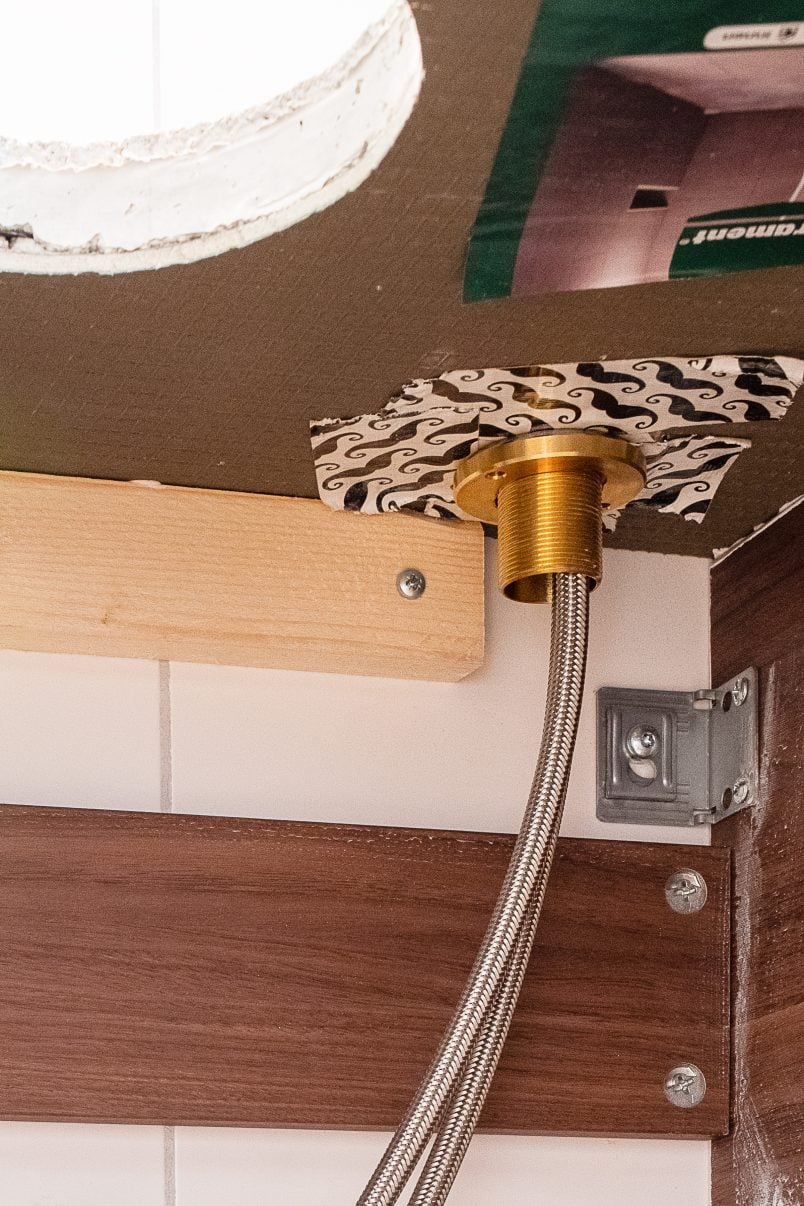
Installing our new Composed tap was so, so easy and quick! Place the chrome ring over the hole in your countertop and then insert the tap and flexible pipes.

Then, it’s just a matter of securing the tap to the countertop. There are two connecting rings that you screw over the bottom of the tap to secure it to the countertop from underneath.
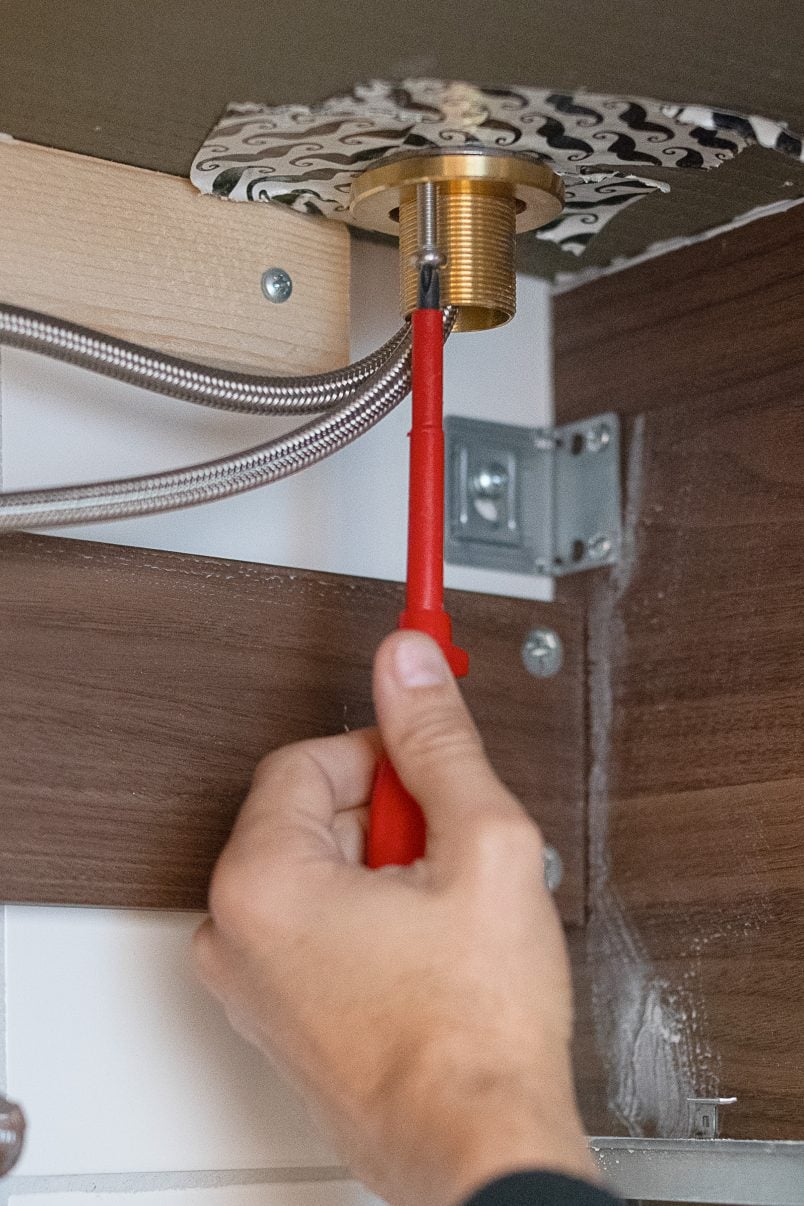
Before you completely tighten it, make sure that the tap points in the direction you want it to before tightening the two connecting rings.
Additionally, there are also two screws that slot into corresponding holes in one of the rings you just tightened. These just help to secure the tap to the countertop some more.
Told you it was easy! Now, all that’s left to do is attach the flexible pipes to your water connections. Just screw them over the hot and cold water connections in the wall by hand and then tighten them some more with some water pump pliers.
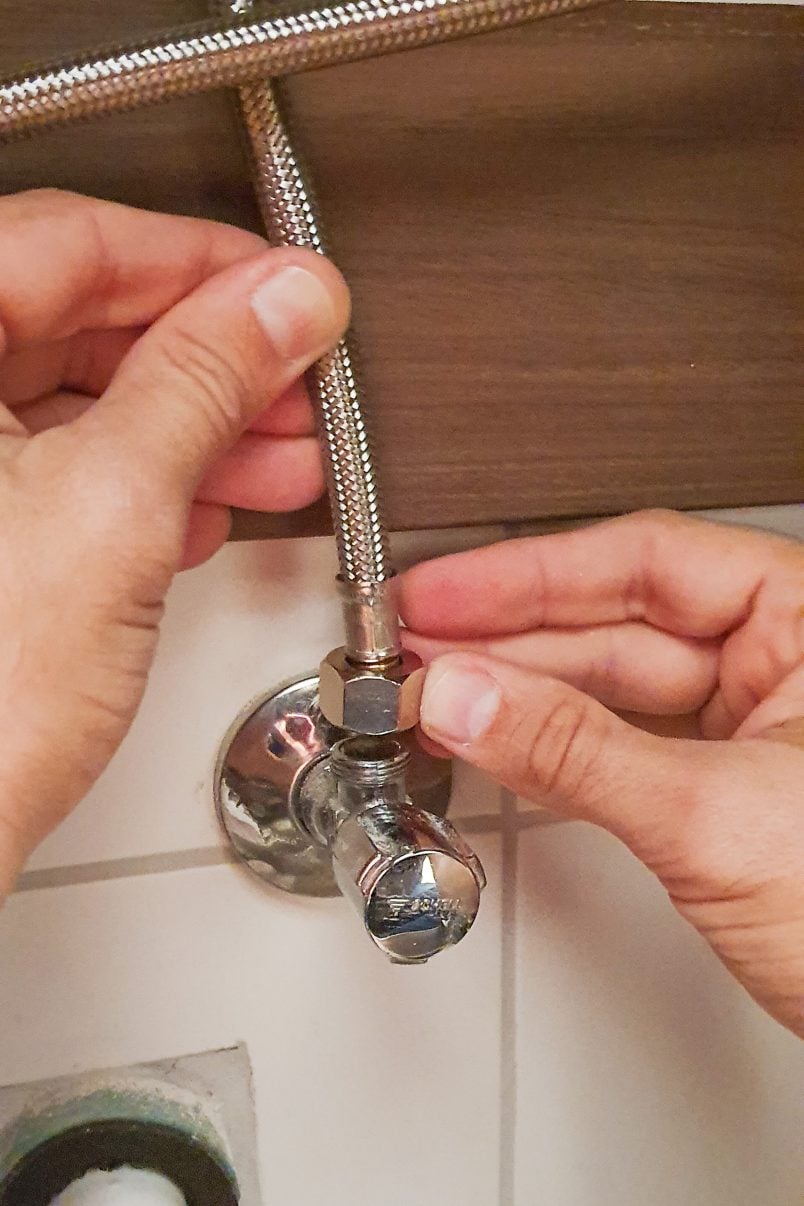
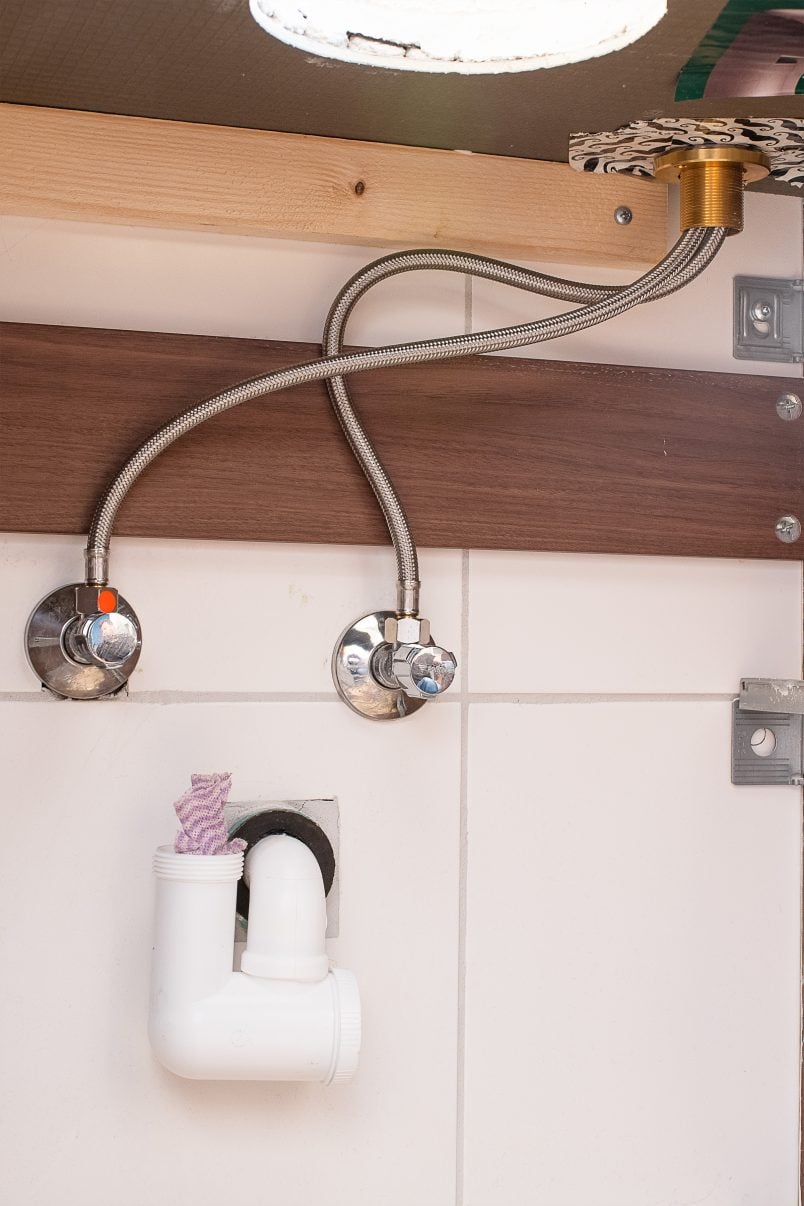
Just make sure not to get your hot and cold water supplies confused! (Usually, the warm water connection is on the left).
That’s all there is to it! Best of all, installing the new tap only took about 10 minutes to do (obviously this doesn’t include building the concrete countertop which took a long time!).
Washbasin
After you’ve installed your new tap it’s time to install the washbasin.
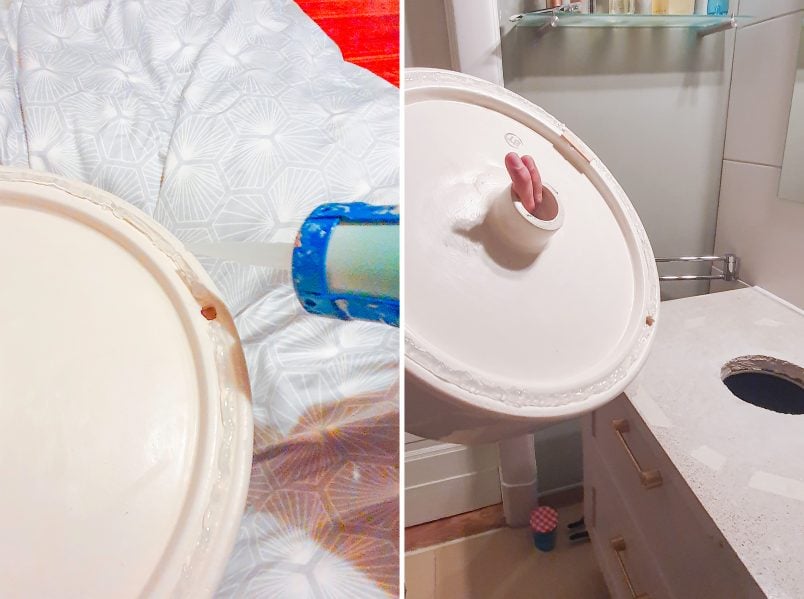
Use the template that comes with your washbasin (ours is Mica by Kohler) as a guide to position it and then use some masking tape to mark around the edge of the washbasin (I think you’re actually meant to use the template for all of this but our masking tape method worked great for us).
To attach the washbasin to the countertop, apply a thin bead of silicone around the inner edge of the bottom of the washbasin. Carefully lay it in the exact position it needs to be and wait for the silicone to completely dry (it’s a good idea to wait about 24 hours).
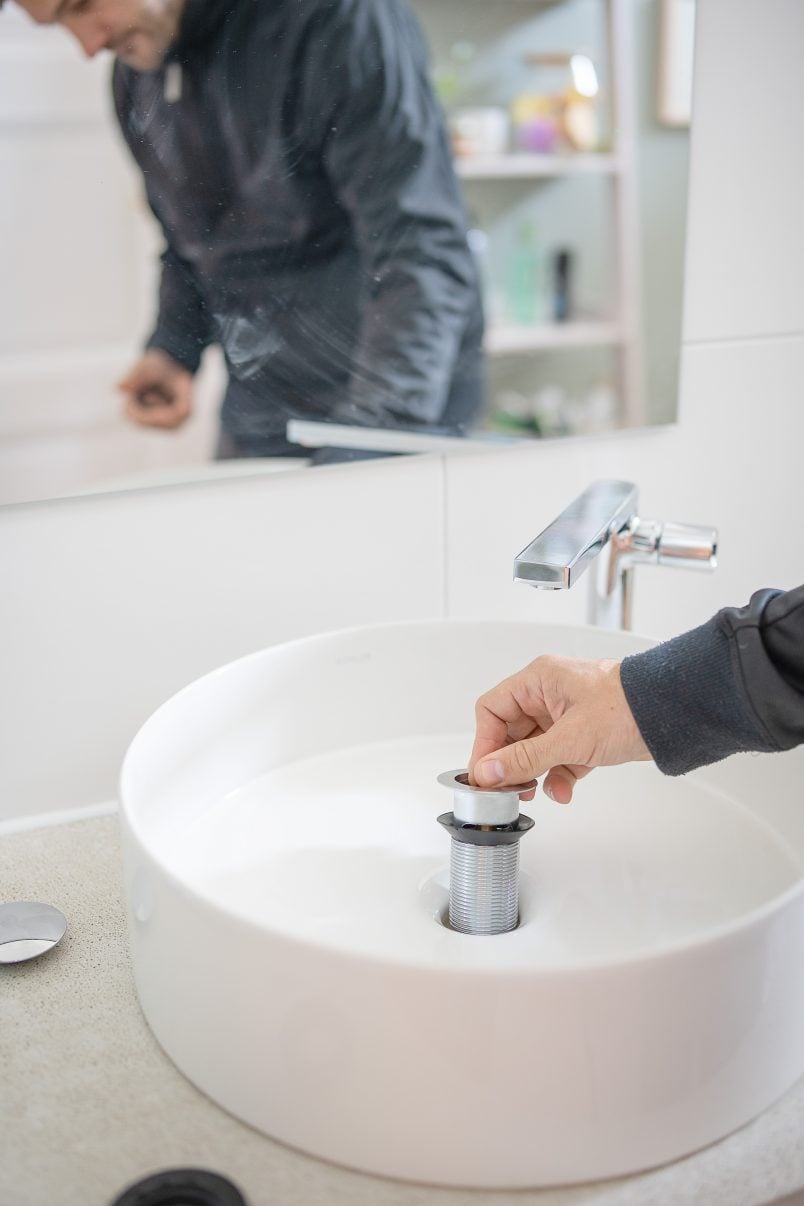
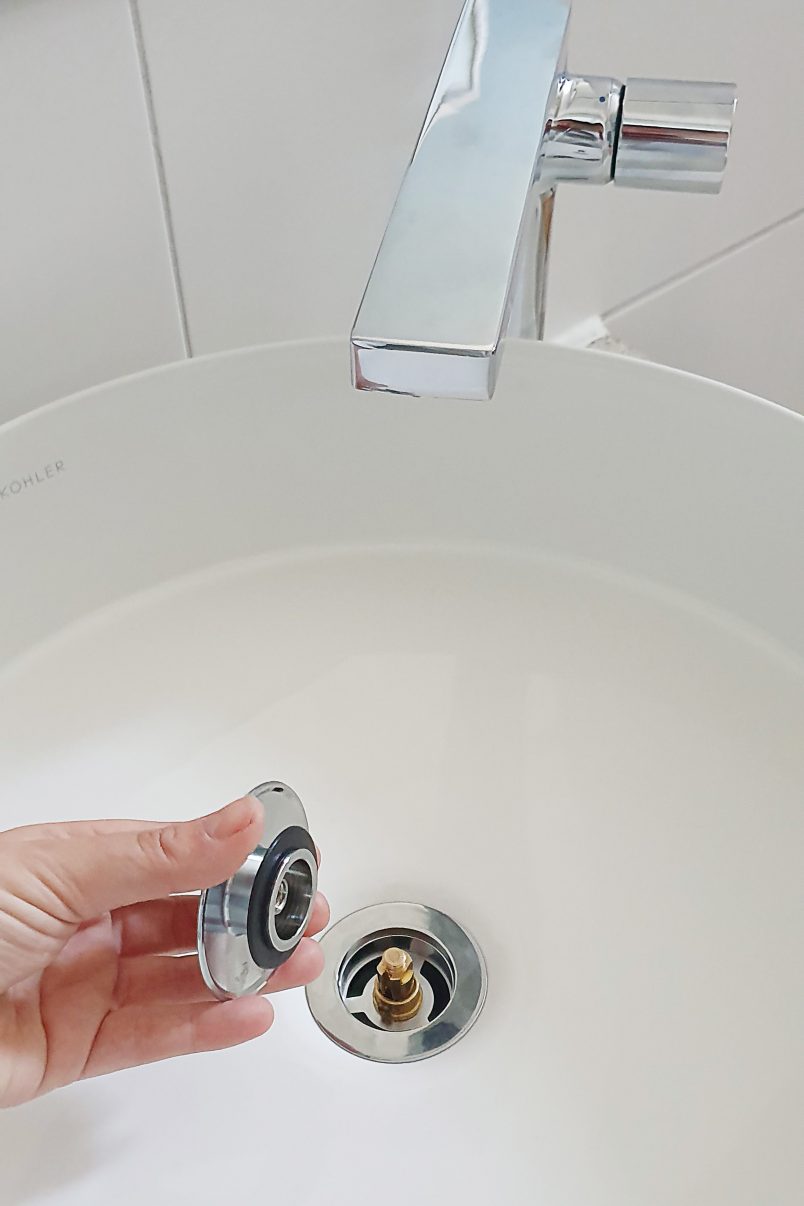
When the silicone has dried, all that’s left to do is connect your clicker waste and waste pipes.
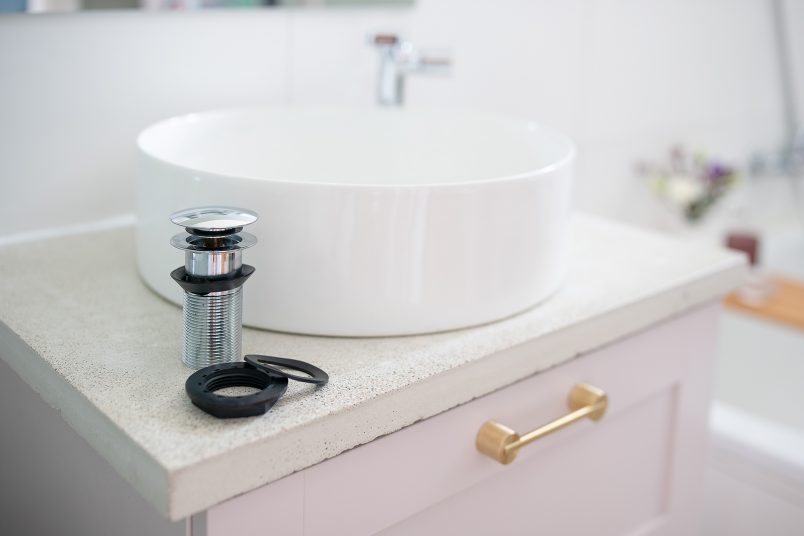
Unscrew the top of the clicker waste and remove the bottom sealing washers. Then just plop it into the hole in your washbasin before securing it from the bottom with the sealing washers you just removed and tighten it with some water pump pliers.
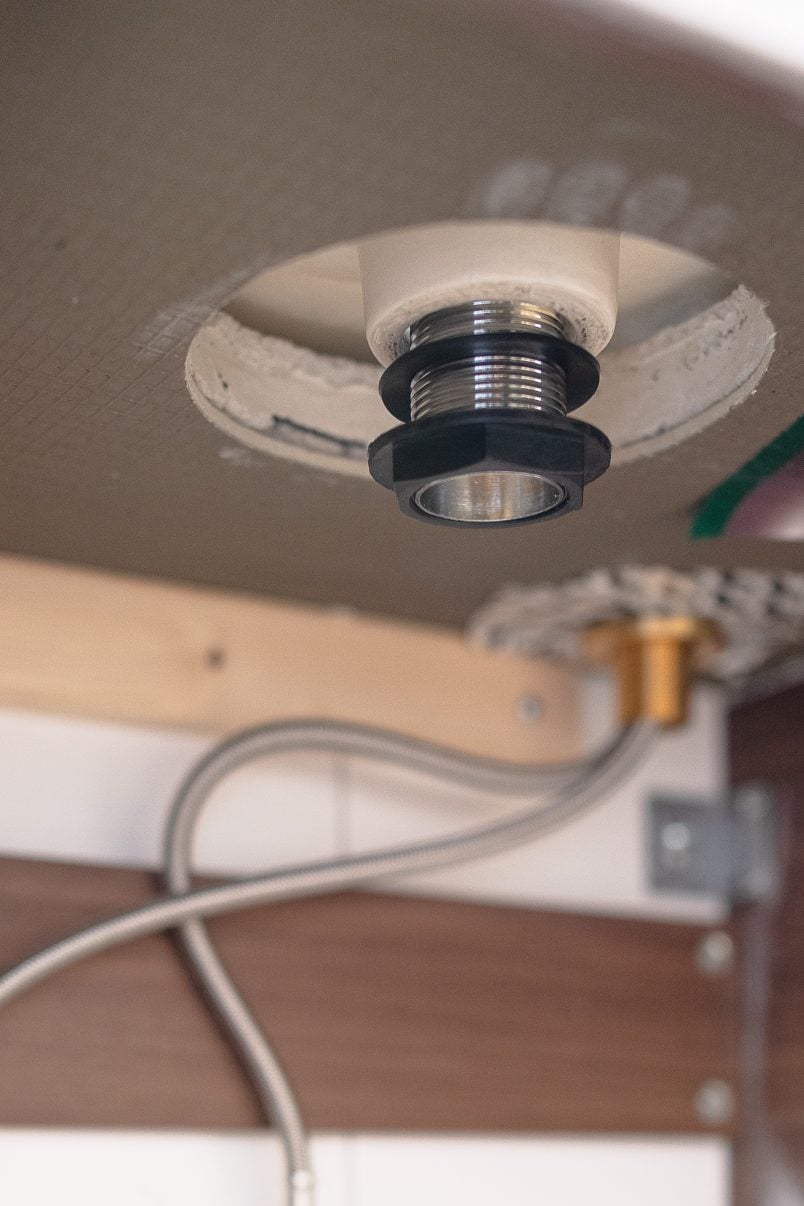
Reattach the top of the clicker waste just by screwing it back onto the top.
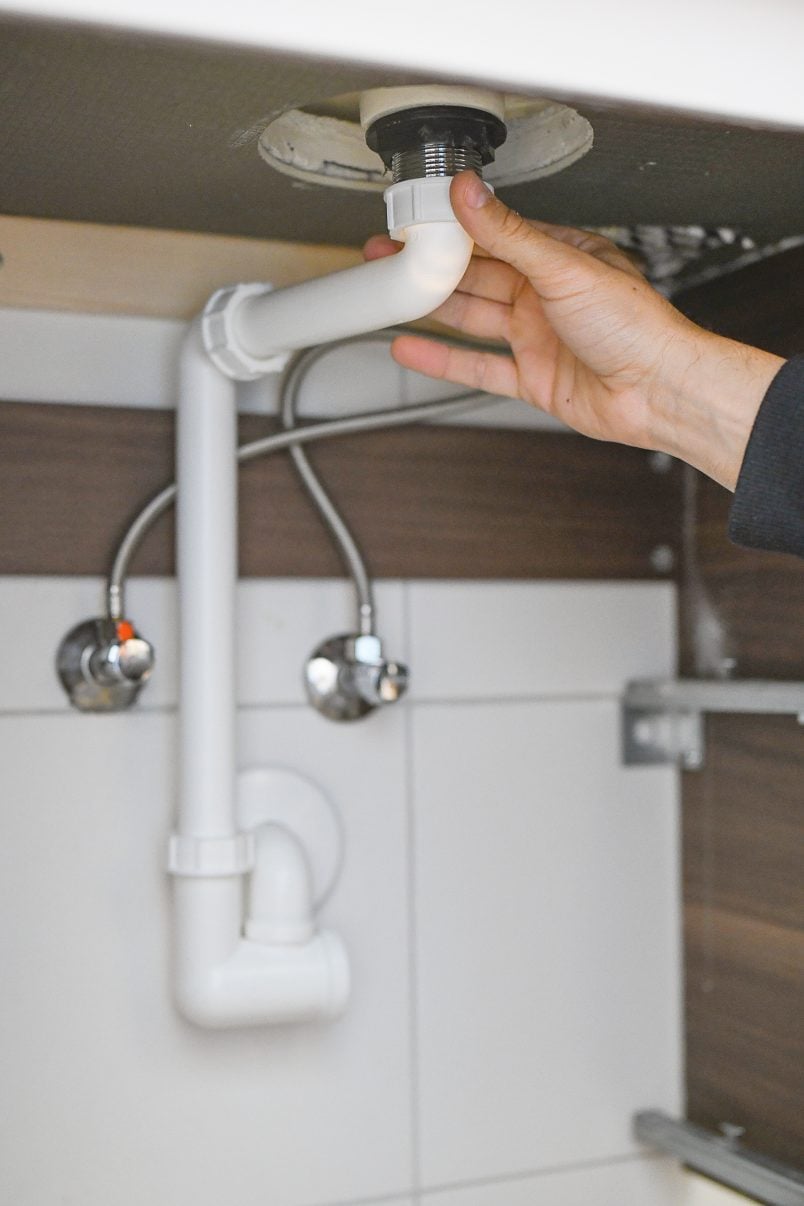
Waste Pipes
Next, connect the waste pipes to your washbasin. This is a bit like a jigsaw – it’s easy but you have to work out which piece goes where.
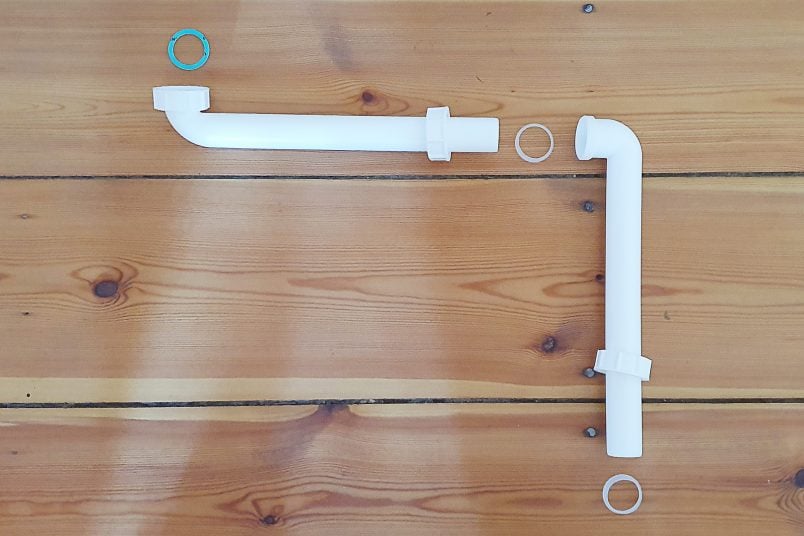
Push the part with the two pipe ends into the opening in your wall before adding the long vertical pipe and connecting it with the plastic washer. Don’t forget the rubber sealing gaskets in every connection!
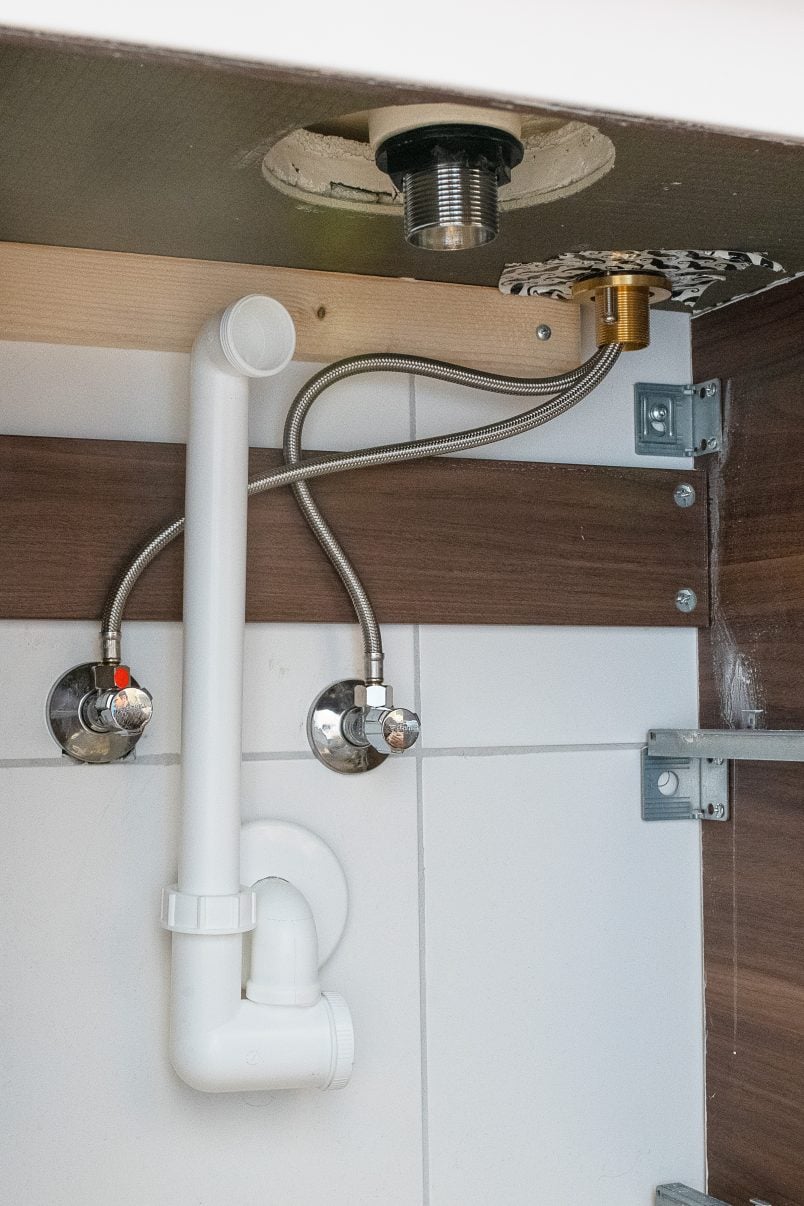
Next, connect the horizontal piece of pipe to the clicker waste and the vertical pipe you just installed. For this, you’ll almost certainly have to shorten it slightly to fit. Just measure and mark how long your pipe has to be and saw a bit off so that it’s the right length to connect to your pipe and waste.
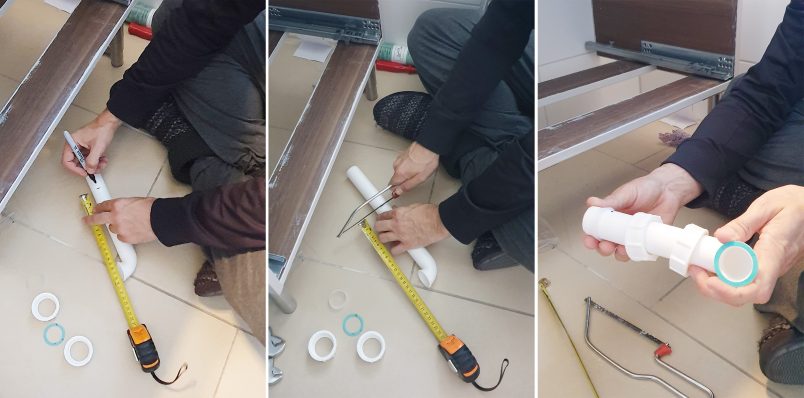
Make sure that the horizontal pipe has a slight downward angle towards the vertical waste pipe so that the wastewater runs in that direction.
All that’s left to do is check that everything is securely tightened before turning your water back on and checking that all of your connections are completely watertight.
We had a tiny leak around the edge of the washer and clicker waste so we sealed it with some plumber’s putty. The putty is a bit like playdoh which you can roll out into a sausage and then squash around any leaky areas.
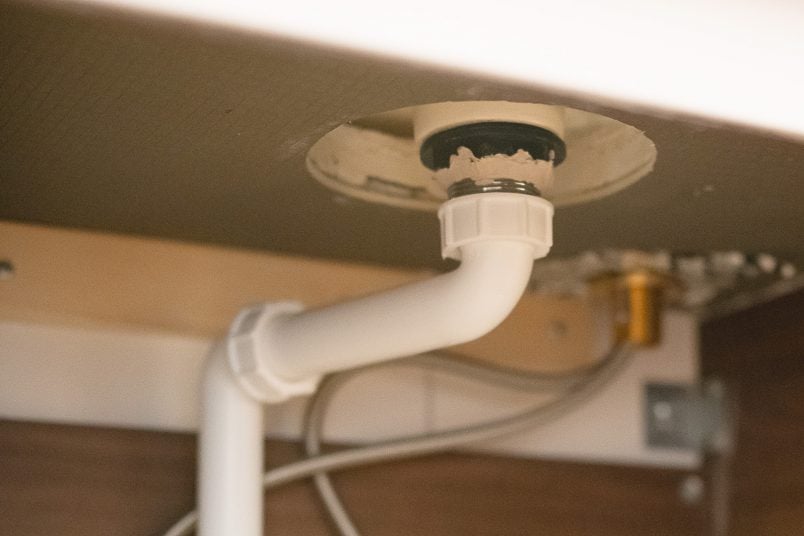
It may not be pretty but it definitely works and everything is now as watertight as it gets!
All in all, it took us about an hour to install our new tap and washbasin (plus drying time and building our vanity and concrete countertop). It really is a surprisingly easy DIY job and we’d definitely recommend having a go if you’re thinking of updating your bathroom!

We love how our bathroom has been completely transformed through these simple updates and I’m so excited by our newly acquired plumbing skills that I’m already planning a complete overhaul of our guest bathroom!
Have you ever tackled a DIY job that turned out to be easier than expected? What are your favourite DIY jobs to work on?
As always, these are our personal experiences. This is what worked for us. If you are unsure about anything, always consult a professional!


Leave a Reply