Love it or hate it – there’s no way you’ll ever get round having to sand something.
Whether you’re building your own furniture, filling a hole or preparing some wood for painting, sanding is a vital step in preparing your woodwork for your DIY project!
So, what is the best way to sand wood? What kind of grit sandpaper should you use to sand wood with? And, is there a way that you can make sanding wood any faster?
We’re sharing all of the answers to these questions and everything else you need to know about how to sand wood right here!
How To Sand Wood
Let’s start with the basics. How you sand wood will depend on what kind of wood you are sanding, what condition it’s in and how you are planning on finishing it later on.
The basic process of sanding wood is always the same.
Start by sanding the surface with the coarsest grit you are using, give everything a clean, then sand everything with a finer grit and repeat the process until you’ve sanded the surface with the finest grit sandpaper.
Simple, right? Well, almost. There are a few more things you should consider that make the sanding process much easier, quicker and will help you achieve a better result, too!
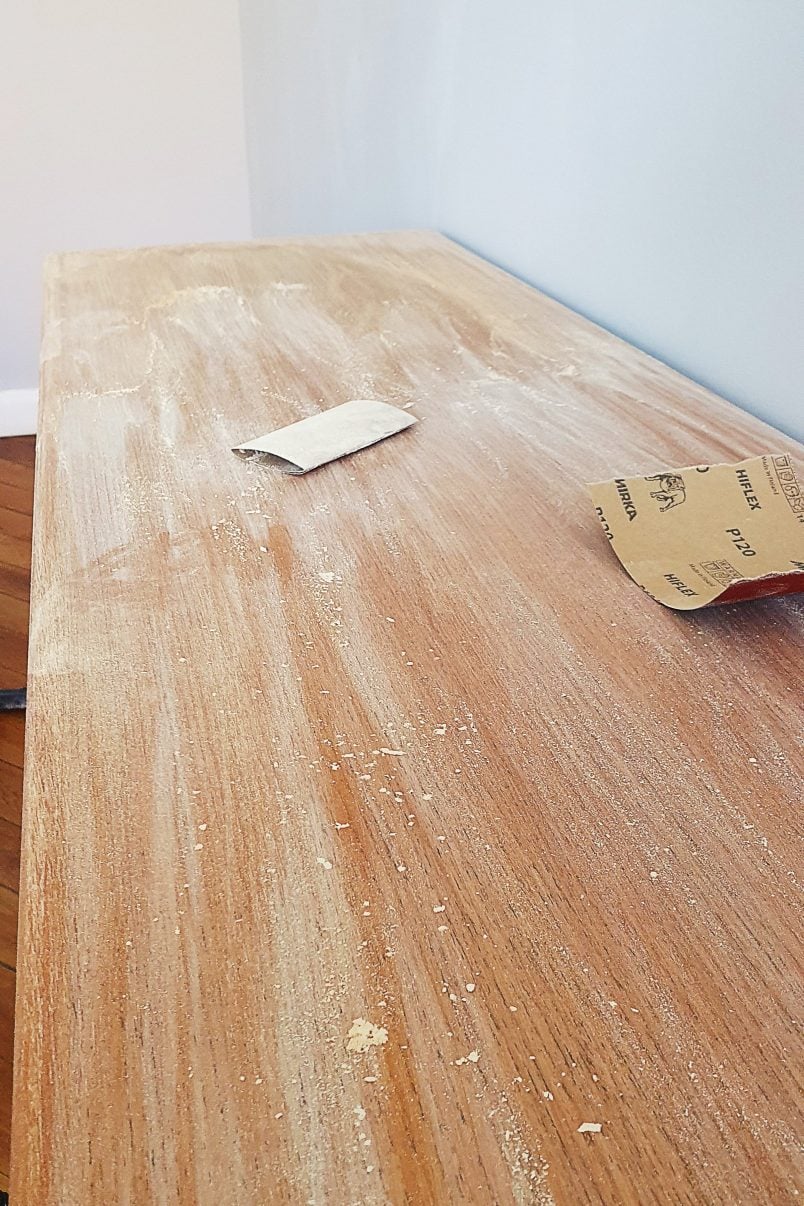
Sand With The Grain Of The Wood
Something you should always do is sand with the grain of the wood. But what does sanding with the grain mean and why should you do it?
Sanding with the grain means that you sand along the long fibres of the wood. Basically, you’re following the long lines of the wood. (This rule also applies when oiling or waxing wood).
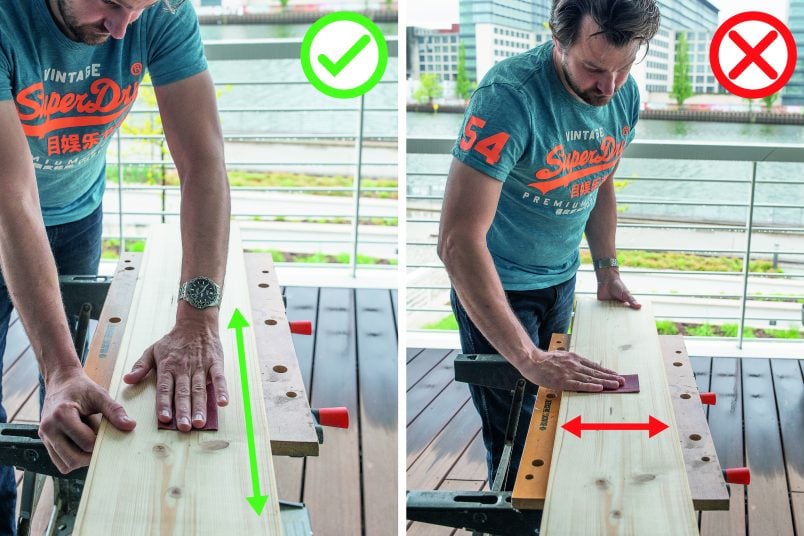
As we already mentioned, each grit of sandpaper you sand your wood with will leave grooves in the wood. If you sand with the grain of the wood, you will leave grooves that aren’t as deep and are less visible.
If you don’t remove all of the grooves you’ve created when sanding the wood it will impact the finish. Sanding with the grain will therefore make the whole sanding process quicker as you’ll need less time to remove the grooves that each layer of sandpaper leaves. If you sand across the grain, the grooves will be deeper and will take longer to remove.
If you break it down, there are really only 3 types of projects when it comes to sanding wood:
- Sanding before (and during) painting
- Sanding before varnishing, oiling or waxing
- Sanding floors
This post contains affiliate links. We only recommend products we love and think that you will, too! Read our full disclaimer here.
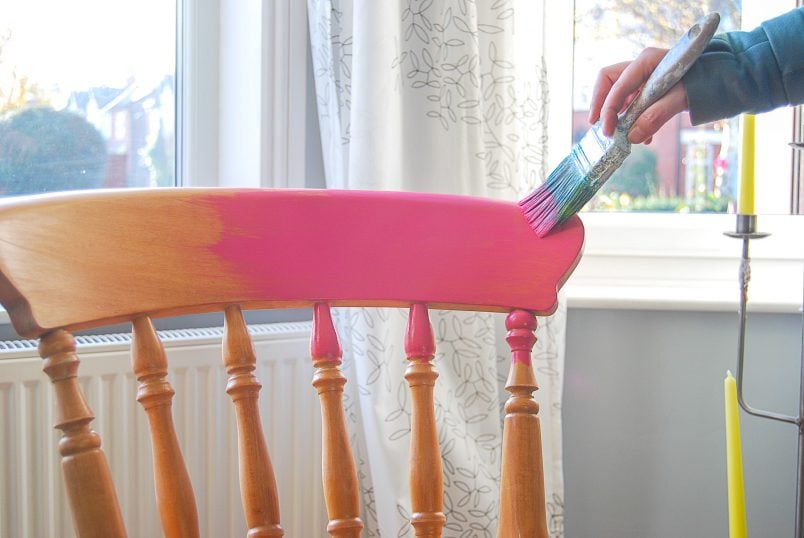
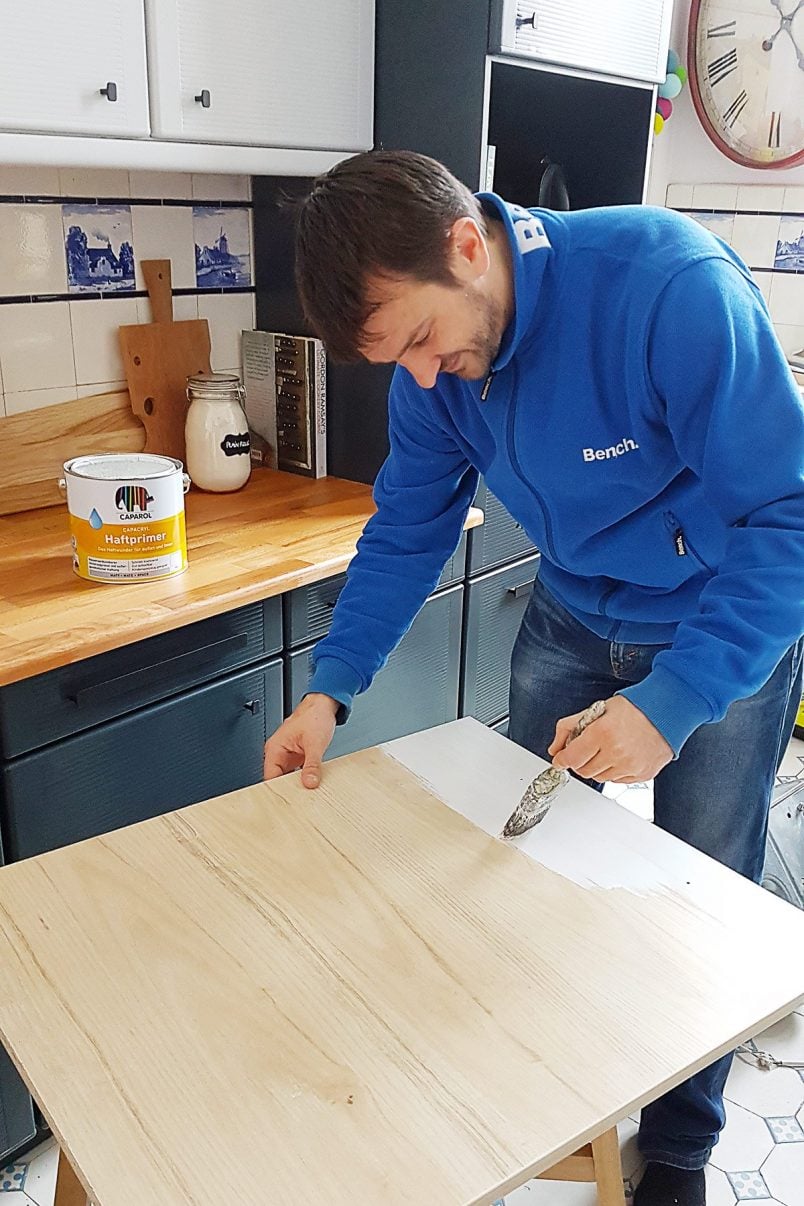
Sanding Before & During Painting
You don’t have to sand wood differently if you’re planning on painting it. But, if there is just one thing that you take away from this post, it’s that you should always sand between EVERY coat of paint. It’ll make your paint finish last much longer and it’ll be smooth and perfect, too!
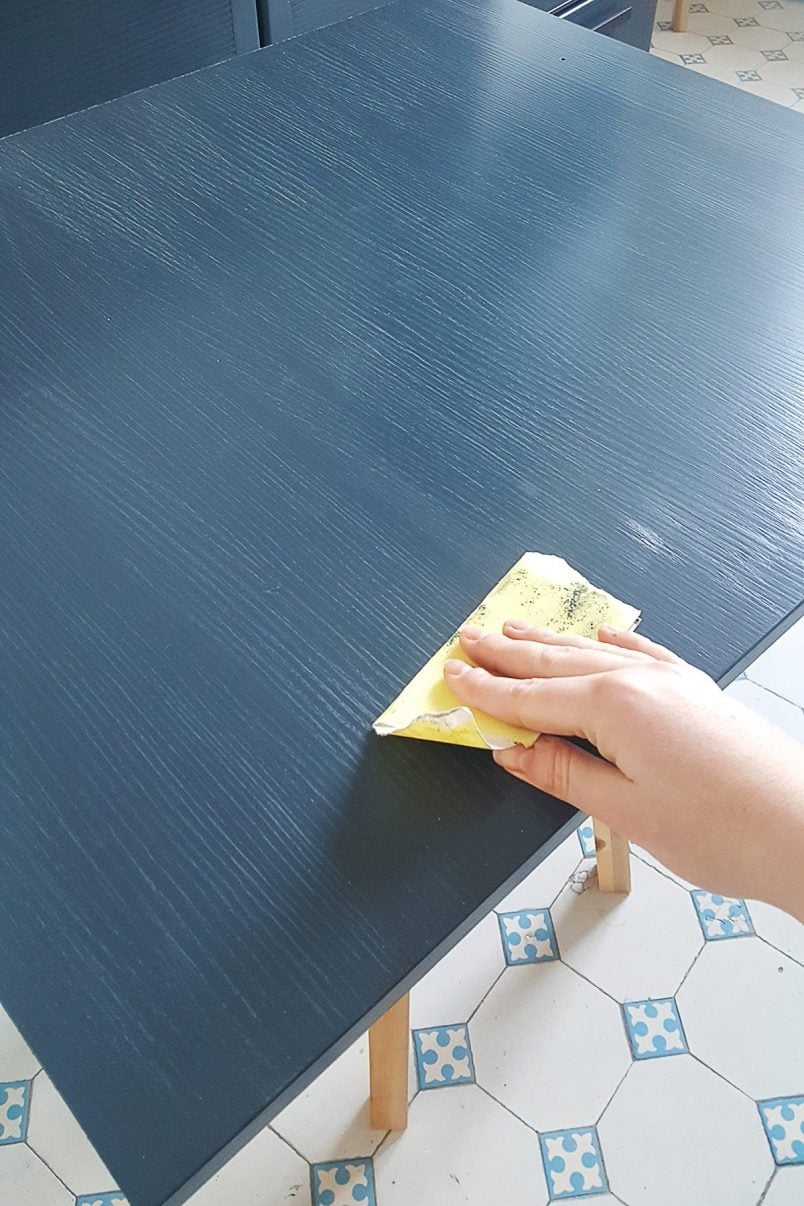
Between each coat of paint (or primer) you should give everything a very light sand with some fine (about 220 grit to 240 grit sandpaper). This will remove any imperfections and raised grain as well as giving enough key for the next layer of paint to adhere to. It doesn’t matter if you’re painting with oil-based paint or water based paint – do not skip this step.
Apart from sanding, something else we always do before painting a piece of furniture is to give it a thorough clean with some sugar soap. It’s something we swear by to remove all dirt and grime before painting your furniture.
If you’d like more details, you can see our full guide on how to paint wood furniture here.
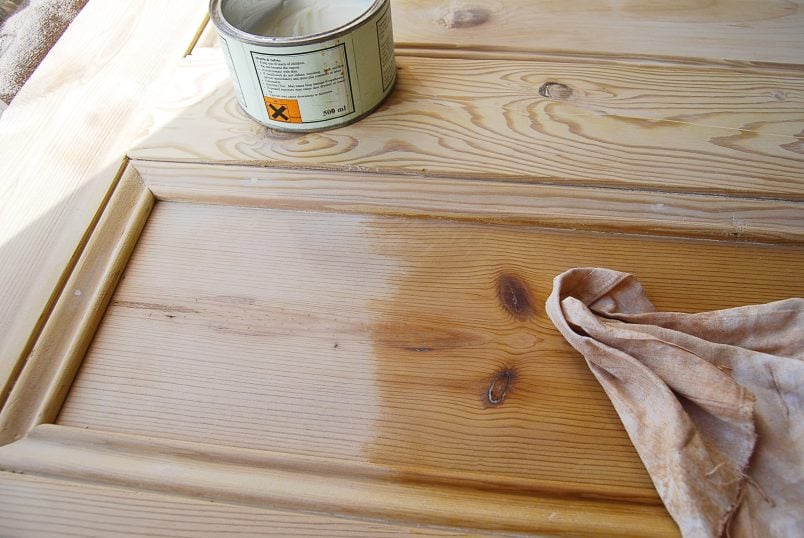
Sanding Before Varnishing, Oiling or Waxing
Sanding before varnishing or oiling is exactly the same as sanding something you’re going to paint. The only difference is that you have to be meticulous about really sanding away all grooves as they will not only be visible through the clear finish but will probably also be enhanced through it!
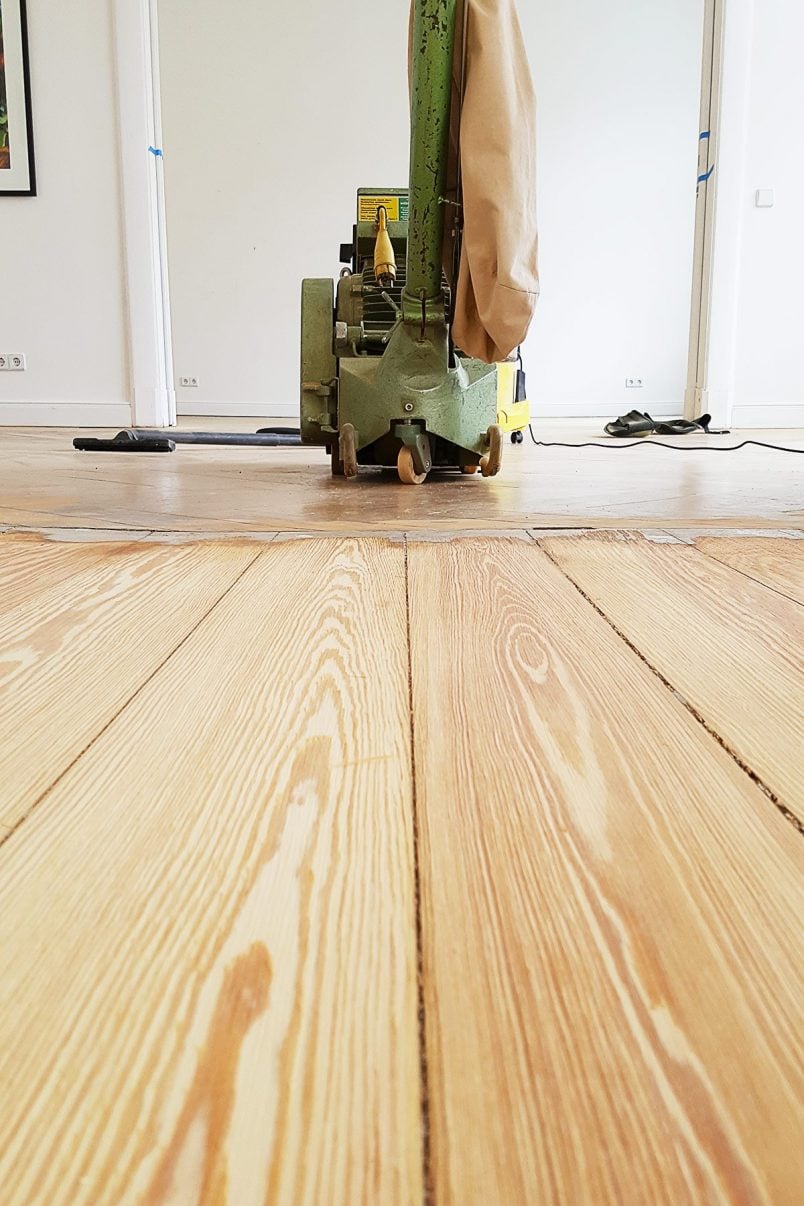
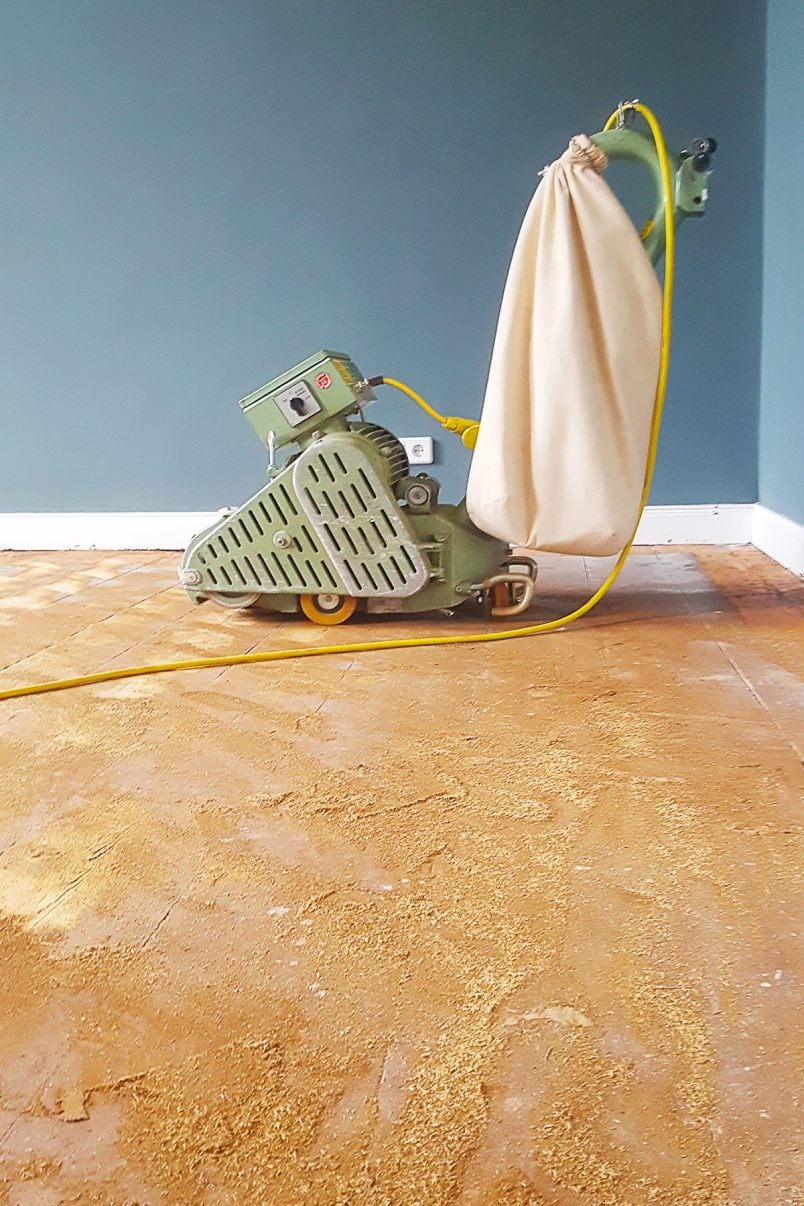
Sanding Floors
We’ve sanded so many floorboards over the years that I can’t help feeling achy and tired just thinking about it. Sanding wooden floors and floorboards isn’t difficult but it is hard work.
Whether you’re sanding your floors or a piece of furniture the process is the same. You just start with much coarser sandpaper to remove the old finish and dirt than if you were sanding a piece of furniture.
We’ve shared lots of helpful articles about how to sand your wooden floors and if it’s something you’re thinking of doing, we’d definitely recommend checking them out!
We see the same floor sanding mistakes all of the time so have also put together a list of the most common floor sanding mistakes we see and, more importantly, how to avoid them!
Sandpaper Grits & More
So, let’s get into the nitty-gritty details. (See what I did there?)
There are lots of different grits of sandpaper available and which one you start and which sandpaper grit you end with will depend on what you’re sanding and what the finish is you’re trying to achieve.

As a general rule, you always start sanding with the coarsest sandpaper grit you’ll be using and move on to sanding everything finer grits. Coarse sandpaper grits will take away much more of the wood than finer grit sandpapers which will remove any scratches left by the coarse papers and leave a smooth finish.
What kind of grits of sandpaper are available?
The number on the back of the sandpaper tells what grit it is. The lower the number the coarser the sandpaper is.
There’s an almost endless choice of grits ranging from very coarse like 16 grit and 24 grit to super fine like 4000 grit and even 32000 grit sandpaper (although you wouldn’t use that for sanding woodwork).
How do you know which grit sandpaper to use?
Deciding which grit sandpaper is best for your project isn’t as difficult as you think. When sanding wood there are some common grits that you’ll use for most projects.
If you are sanding something like floors that have been previously painted, you’ll have to start the sanding process with a very coarse grit. If you are refinishing wood furniture and are just preparing it for a fresh coat of paint or some wood stain, you’ll be able to start sanding with a medium grit.
To give you a better overview of common sandpaper grits and when to use them, we’ve created a handy cheat sheet with an overview of which sandpaper grits work best for sanding wood and what projects you might use them on.
Just pin it now so that you have it saved for when you need it!

Here are a couple of real-life examples to give you a better idea of what grit sandpaper to use for your project
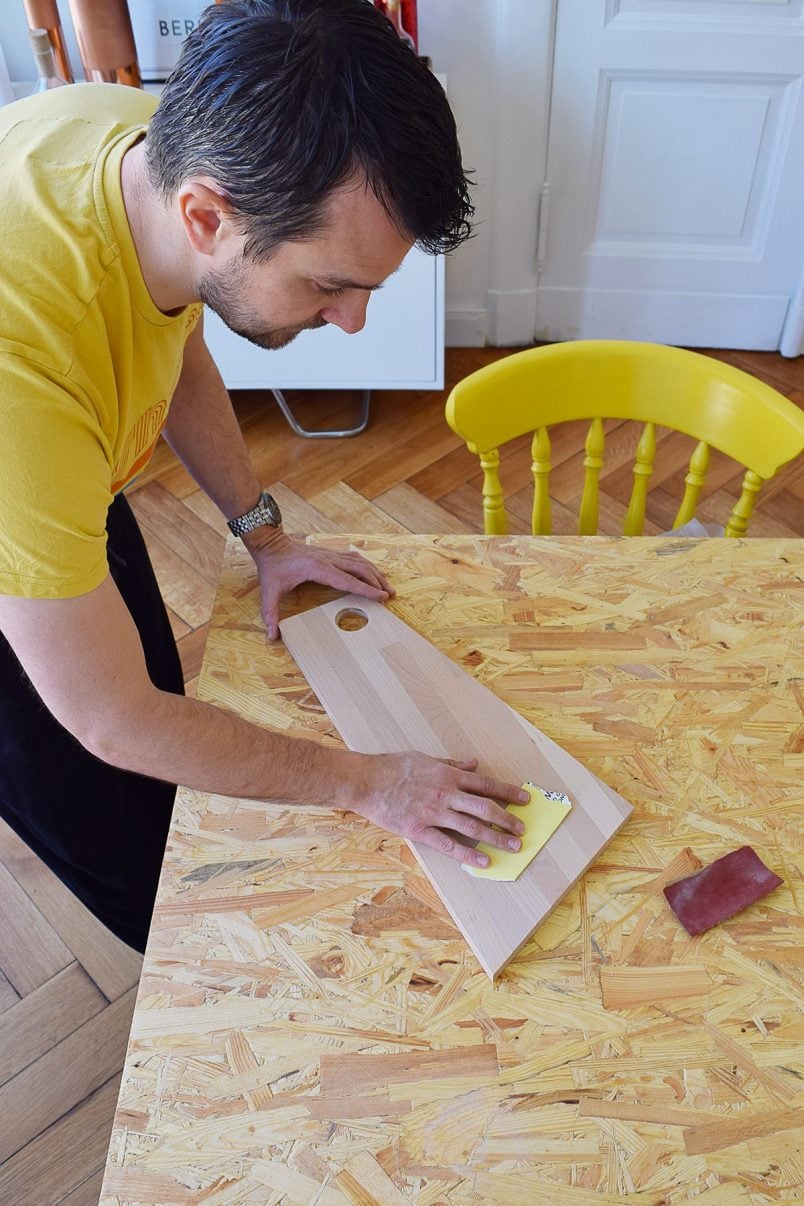
How To Sand Wood For Painting
If you are sanding wood furniture in preparation to paint it, you won’t have to do much sanding. The aim of the sanding is just to roughen up the surface slightly to give the paint a good surface to be able to stick to.
For this, using 120 grit sandpaper will be sufficient. Between coats of paint, we used 240 grit sandpaper and after the final coat of paint, we sanded everything with 400 grit sandpaper.
You can read our full detailed guide on how to paint wood furniture and achieve a great finish here.
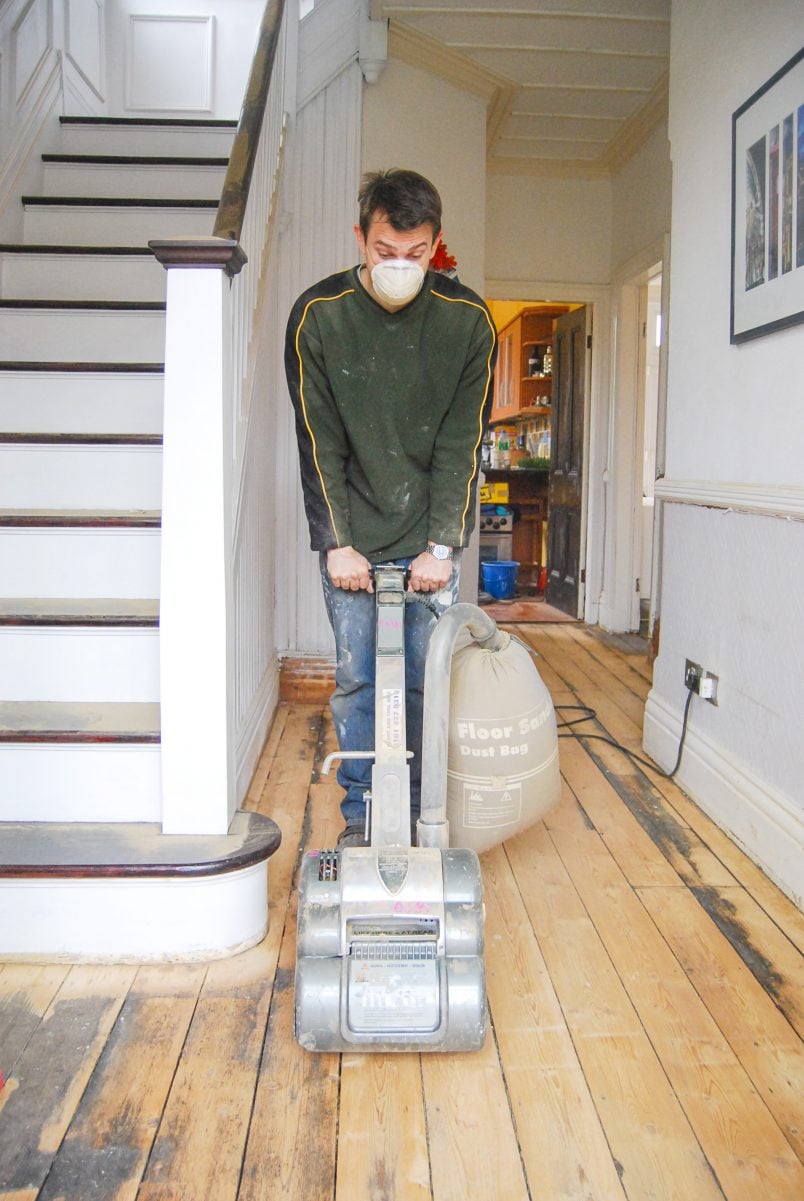
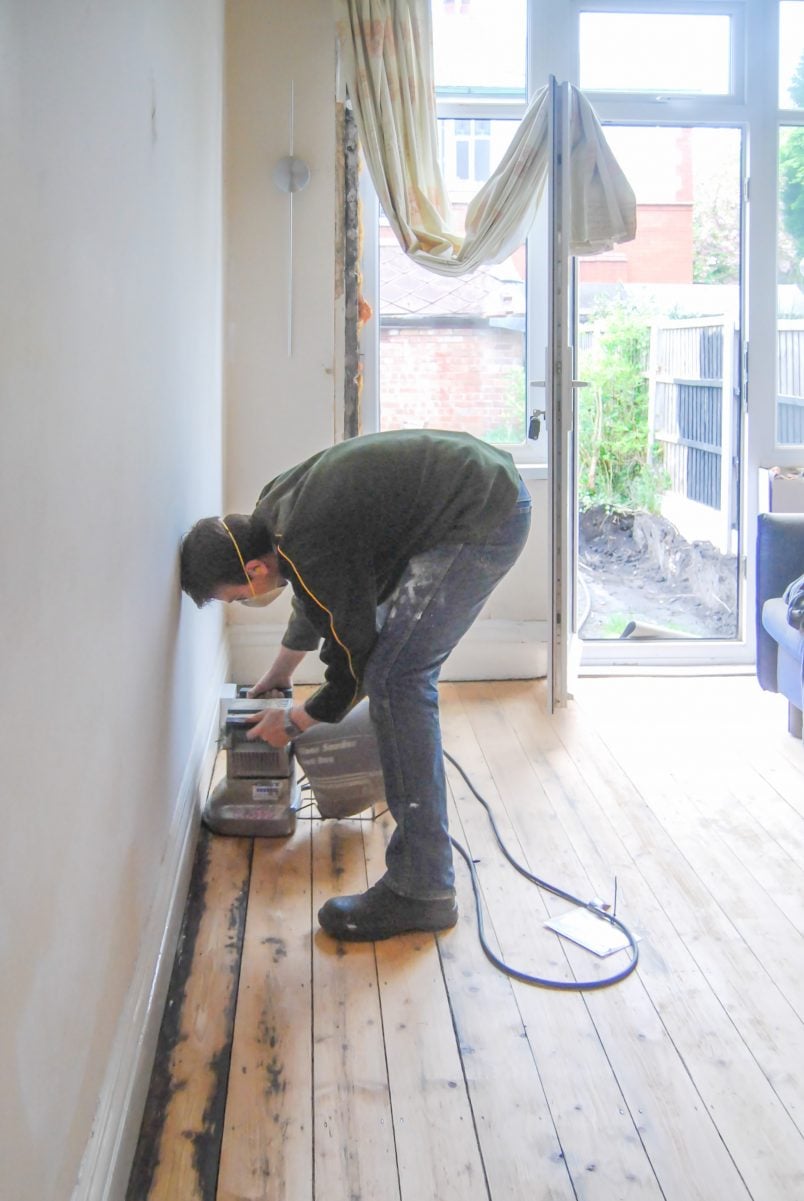
How To Sand Wood Floors
We sanded almost all of the floors in our Edwardian house ourselves. They were in a good condition without any major problems. The floorboards had been stained, were slightly wavy and hadn’t been sanded before.
We started sanding with 24 grit sandpaper, then sanded everything again with 40 grit, then again with 80 grit, then 100 grit and finally finished 120 grit sandpaper.
We also sanded the floors in our last home. These were in a great condition but they were very wavy and were covered in a really thick layer of dark red paint.
The first grit sandpaper we used was 16 grit, then 24 grit, then 40 grit, then 80 grit, followed by 100 grit and again finished the process with 120 grit sandpaper.

Stripped woodwork before waxing or oiling
We completely stripped back the staircase, door frames, doors and skirting boards in our house. There were countless old layers of paint to remove and it left the surface of the wood scratched, covered in thin patches of stubborn paint and lots and lots of imperfections.
For the untreated but already stripped wood we started sanding everything with 40 grit sandpaper to smooth out the majority of dents and scratches, then sanded everything again with 80 grit sandpaper and finally 120 grit sandpaper
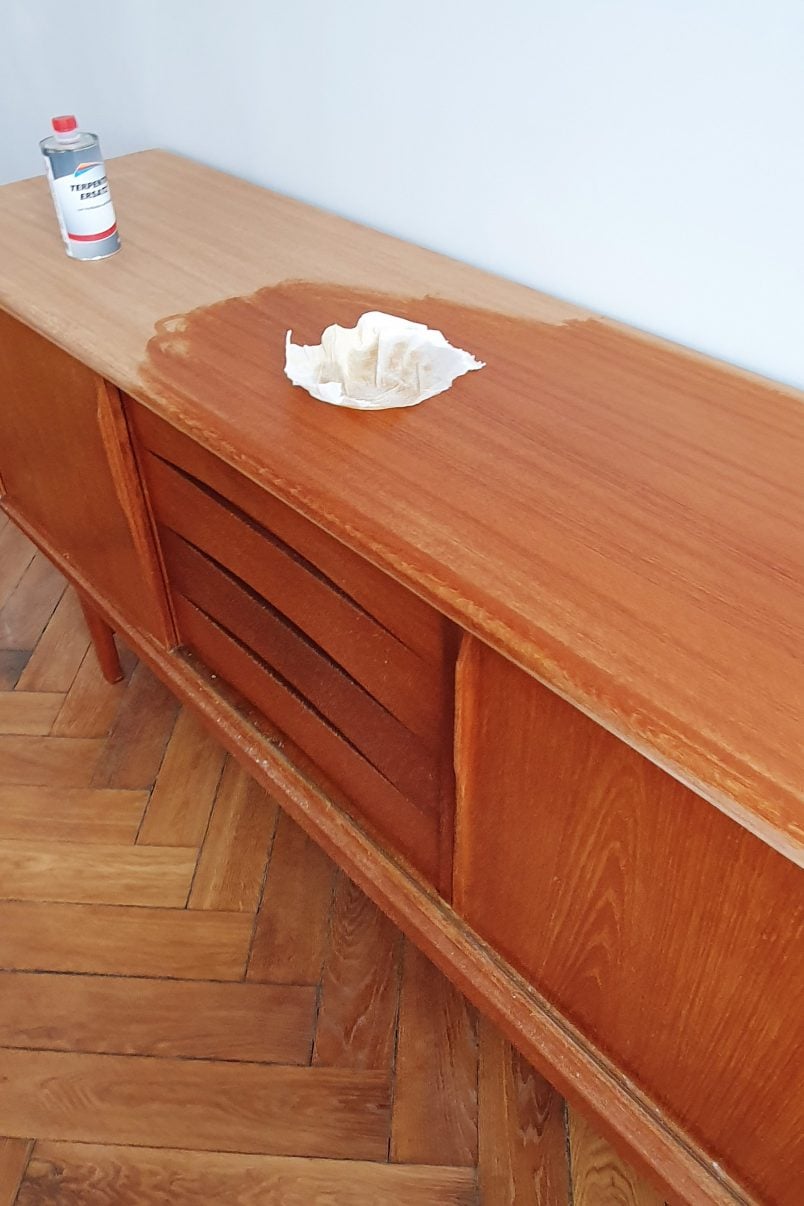
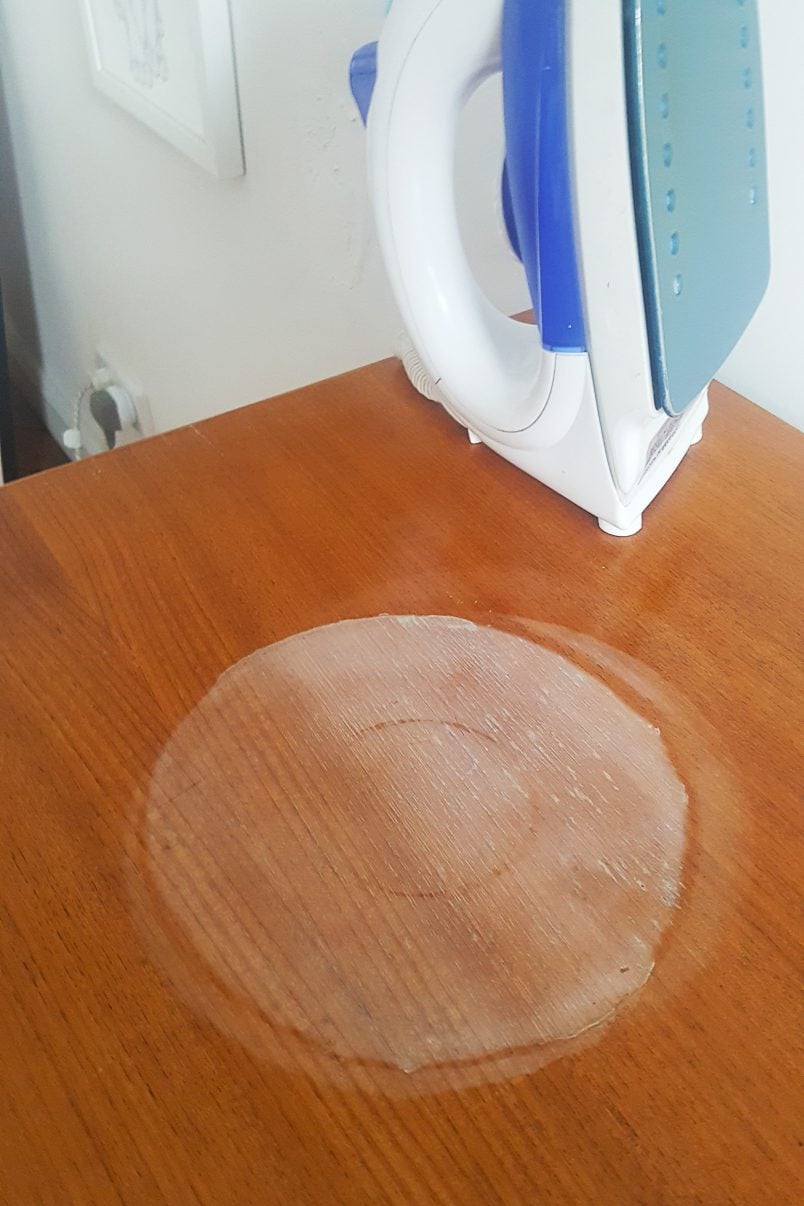
Removing a watermark off our mid-century sideboard and re-oiling the surface
Although we almost managed to remove the watermark by ironing it (you can read more about the methods we used to remove the watermark here) we decided to sand the whole surface for a perfect finish.
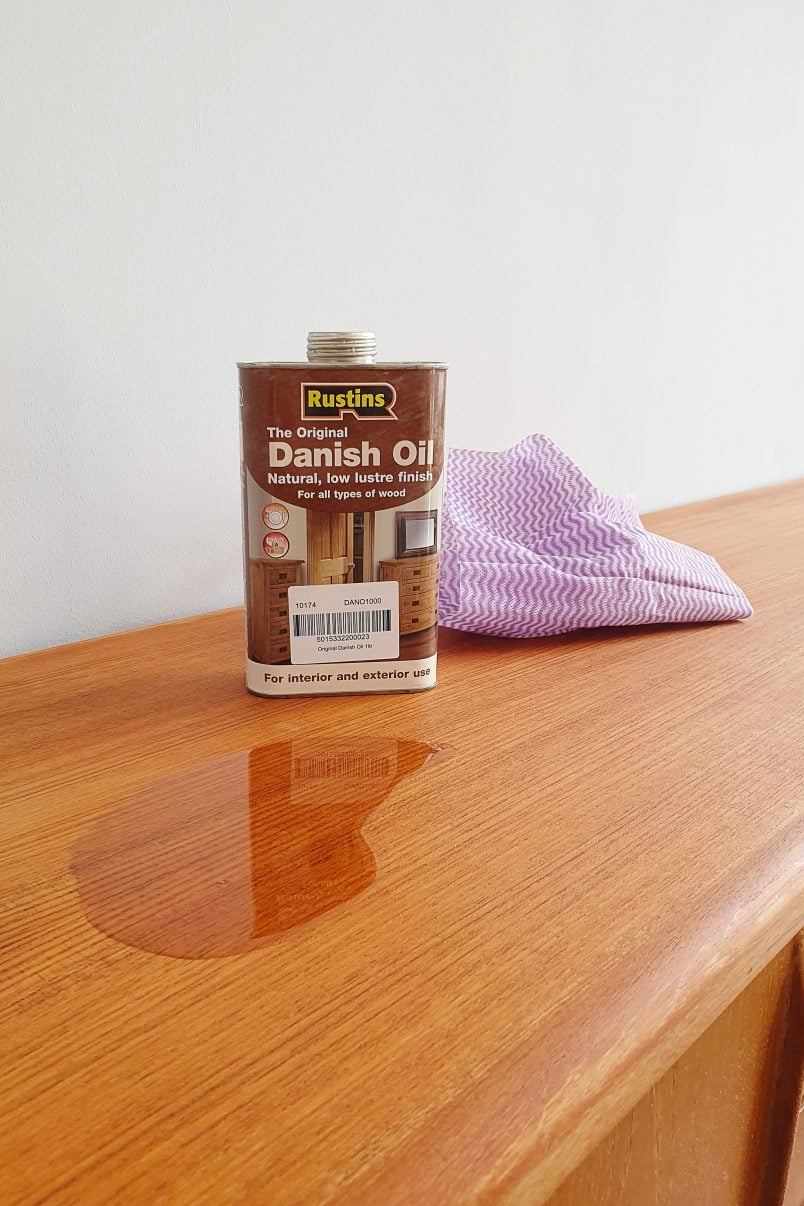
We didn’t want or need to remove any of the timber because it was smooth but just wanted to get rid of the old layers of varnish and the rest of the watermark.
For this, we sanded the whole surface with 120 grit sandpaper and then with 180 grit sandpaper for a super smooth finish.
BONUS TIP: Invest in good quality sandpaper
You’re DIYing which probably means you want to save money where you can, but don’t save on sandpaper.
Cheap sandpapers will lose their grits before you’ve even properly started the job and they’ll just not last as long as good quality papers. You’ll end up using more sandpaper in the long run which can actually end up costing you more money!
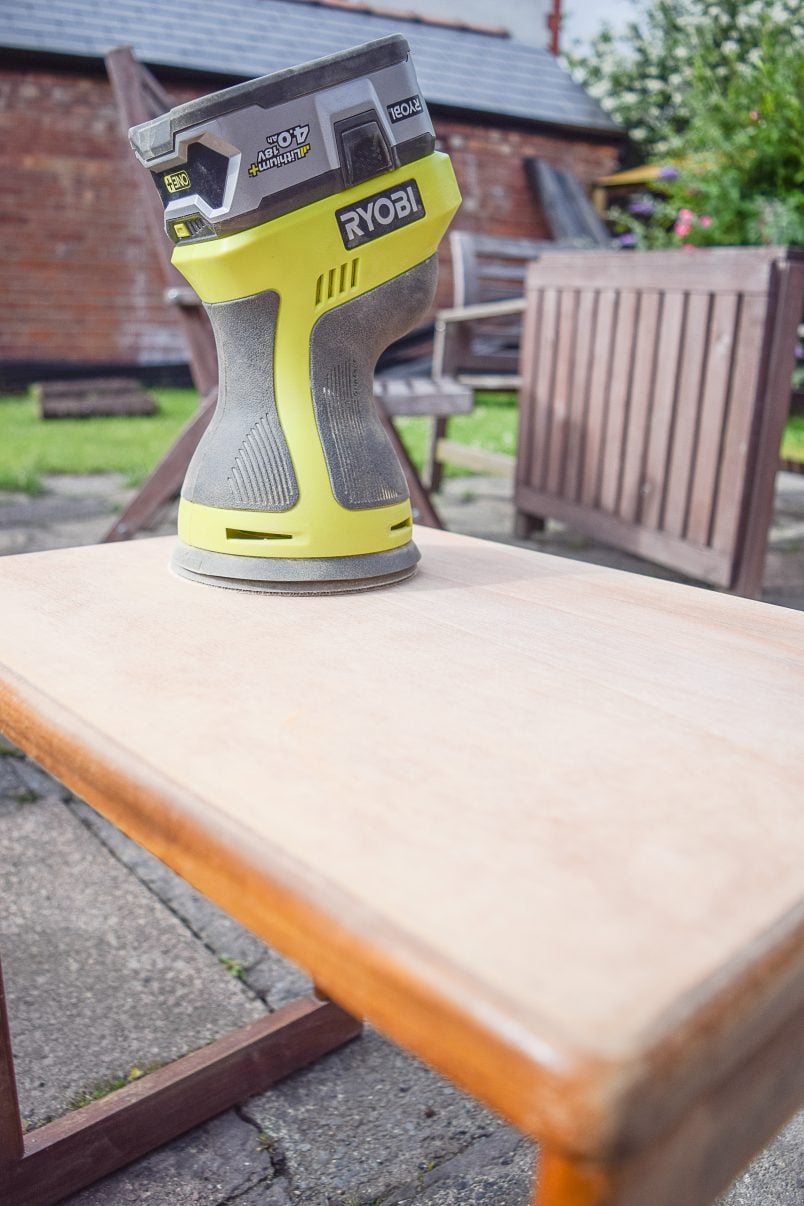
How To Sand Wood With Electric Sanders
There’s a time for machine sanding and there are projects where sanding wood by hand will give you better results.
Using a power tool will make it much quicker and easier to sand flat surfaces but it’s much more difficult to sand any curved or detailed areas with a mechanical sander.
There are a couple of different types of power tool sanders. There are orbital sanders, belt sanders and mouse sanders – each of which has different uses as well as pros and cons.
Orbital Sanders
Random orbit sanders move in a random cylindrical motion. The random movement ensures that the sandpaper doesn’t sand the same path twice during the same rotation and doesn’t leave swirl marks.
You also don’t have to take the direction of the grain into consideration when using a random orbital sander.

Belt Sanders
As the name suggests, a belt sander has a piece of sandpaper that’s a loop and moves in a continuous conveyor-belt like action.
They are generally powerful and are good for quickly sanding flat surfaces like tables but aren’t great for fine sanding jobs and should only be used at the beginning of the sanding process.
Mouse or Detail Sanders
Mouse sanders are probably the least useful of all mechanical sanders but they are great for really detailed areas like hard to reach corners and for sanding furniture.
If you’re sanding with a mechanical sander, you should finish the last coat of sanding by hand as you’ll be able to remove any fine scratches that are left behind.
Biggest Sanding Mistakes
We see the same few sanding mistakes over and over again. Whether you’re sanding your floors or want to refinish wood furniture, don’t make these mistakes that will ruin your overall finish and make your project less durable, too.
1. Not sanding with the right grit
You probably need to start sanding with a lower grit than you think. Sanding with the right grit sandpaper is also our biggest time-saving tip.
Yes, of course, you could sand your whole project with a fine sandpaper and “save” money because you only have to buy one kind of sandpaper but it would take forever to sand the wood and would probably end up costing you more in the long run, too. Finer sandpaper tends to clog up faster so only use it when you have to!
Also, sanding really isn’t the most fun DIY job – anything that can make the process quicker has got to be a good thing!
2. Not sanding between coats of paint
We’ve been sharing our DIY adventures here for over 8 years and in all of that time, the one thing I repeat over and over again is that you have to sand between every coat of paint!
It’s the secret to a smooth and long-lasting finish. I’d honestly go so far to say “Don’t trust anyone who doesn’t tell you to sand while painting!”
Sanding before and during the priming and painting process helps provide lots of little groves for each layer of paint to stick (key) to. This means that the finish will be a lot more durable over time.
Have you ever noticed that the first coat of paint on woodwork is really rough?
That’s because the grain of the wood swells up when it comes into contact with moisture. The grain raises leaving the surface of the primed or painted wood feeling really rough. This is why you also have to sand between every coat of paint as it will smooth out the raised grain and remove any imperfections before you apply the next layer of paint.
3. Skipping grits of sandpaper
There’s no point in making your sanding life harder than it has to be. When sanding you start with the coarsest grit and then move on to sanding everything again with finer grits.
Every finer grit of sandpaper will smooth out the scratches left by the sandpaper you used before. Skipping a grit will just make the process much more tedious and definitely won’t save you time or energy!
Tools & Supplies For Sanding Wood
Safety
It goes without saying that you should always stay safe when doing any DIY. Sawdust can be dangerous, so it’s always important to wear protection like dust masks (ideally you’ll use a respirator) and some goggles.
The fine particles in MDF can be particularly damaging, so definitely take extra precautions here, too!
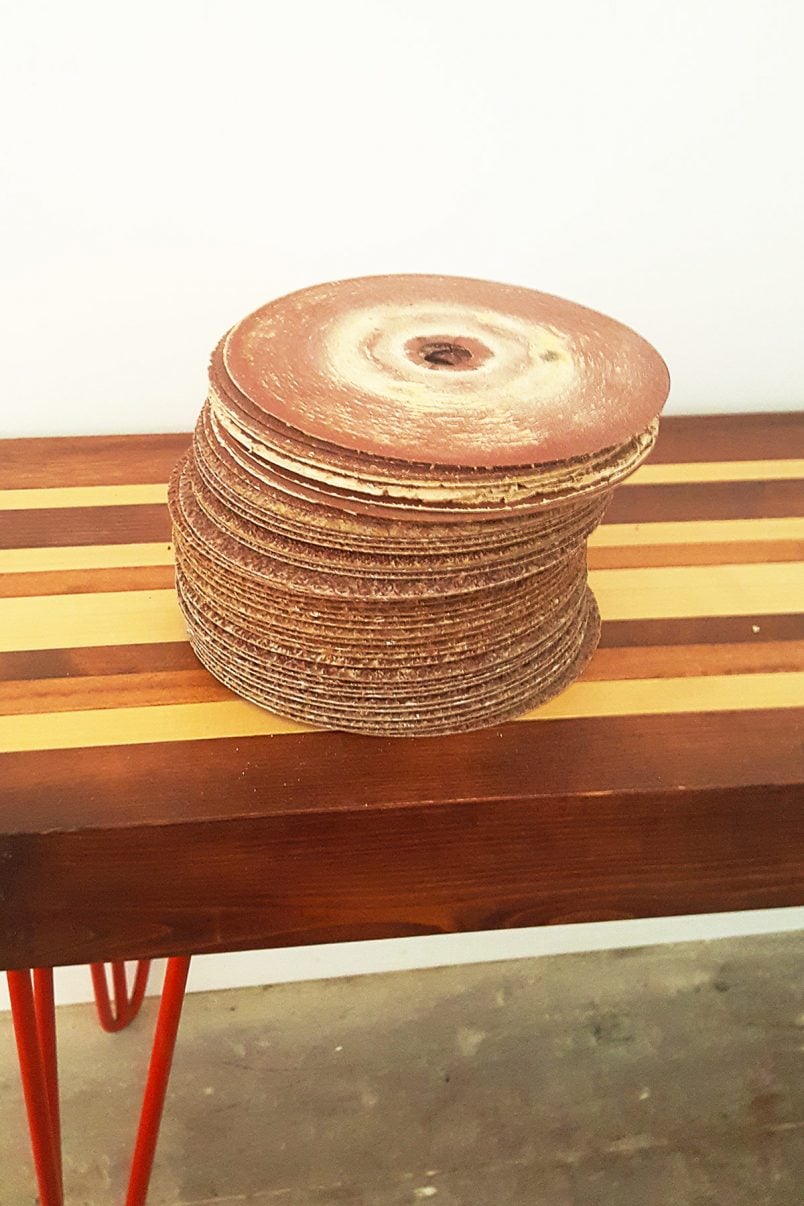
Sandpaper & Sanding Blocks
As I already mentioned, it’s definitely worth investing in some good-quality sandpaper. The most common grits we use are 40 grit, 80 grit, 12o grit and 240 grit sandpaper. These grits will be sufficient for almost all DIY projects.
We always purchase a roll of sandpaper. This may seem pricey, but it actually works out the cheapest way to buy sandpaper. Not to mention the fact that you always have a supply of sandpaper around (and you’d be surprised at how quickly you work your way through it!).
Sanding blocks are totally overrated in our opinion. Yes, you may need them every now and then to achieve a completely flat sanded surface but there’s no need to invest in a special tool to hold your sandpaper. Just use an offcut of timber that’s wide enough to wrap your piece of sandpaper around and you’re good to go!
These are our favourite sandpapers & sanders
Wood fillers, Stains, Paints & Oils
There’s an almost endless choice of finishes when it comes to treating wood. What is right for you will depend on what you are painting, oiling or varnishing and where it is in your home. Is it indoors or outdoors? Does it get a lot of wear and tear? Are you painting a piece of furniture, waxing your doors or oiling your floor?
These are our favourite wood fillers, waxes and oils
How To Clean Wood When Sanding
The easiest way to clean wood between sanding is to give it a thorough vacuum. We highly recommend investing in a robust vacuum cleaner that will suck up all of the dirt and dust. We have this vacuum cleaner that we use for all of our DIY projects and we absolutely love it. We honestly couldn’t DIY without it!
I mentioned above, that moisture will raise the grain of the wood when painting. That’s why you shouldn’t wipe down any freshly sanded wood with a wet cloth (with water) to clean the surface as this is what will cause the grain to raise.
You can use a tack cloth to remove any residue but, if you want to be meticulous about removing any dust before you paint your surface, use some white spirit or mineral spirits and a clean rag to wipe over the surface. This will remove any traces of sanding dust without affecting the finish.
How To Remove Paint From Wood
I’m not even going to try to sugarcoat this – removing paint from wood is not fun but it is possible.
You have a few different options when it comes to stripping paint from wood. If you don’t have much paint to remove you can sand it, you can use a chemical stripper to remove multiple layers of paint or you can use one of our newest favourite tools – a paint shaver – to remove layers of paint (this is an advanced tool that you’ll only need if you’re planning on stripping a lot of wood).
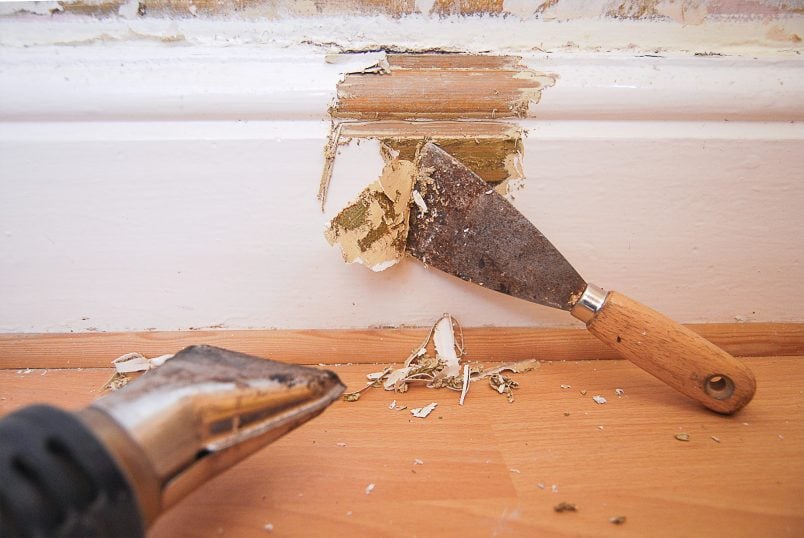
We’ve stripped a lot of paint over the last few years including all of the skirting boards, doors and doorframes in our 4-bed Edwardian semi.
Here are some paint stripping posts that you’ll find helpful if you are planning on stripping paint off woodwork.
Restoring Original Wooden Doors
Restoring Original Wooden Windows
How To Strip & Repaint Skirting Boards
These are our favourite paint stripping tools & supplies
Please don’t forget to always be safe, too. Always check for lead paint before attempting to sand or remove any old paint in your home! We shared a full post on how to deal with lead paint and safely remove it that you can check out here.
Wood Sanding Tips For A Perfect Finish
Fold Sandpaper The Right Way
Can you fold sandpaper the wrong way? Well, probably not but we have one tip for you that will change the way you sand forever. We call it the 3-way-fold.
If you’ve ever sanded by hand with some sandpaper you’ll know that sandpaper has a way of flopping and moving around with the part you’re sanding with wiggling around so that you’re not actually sanding with it anymore.
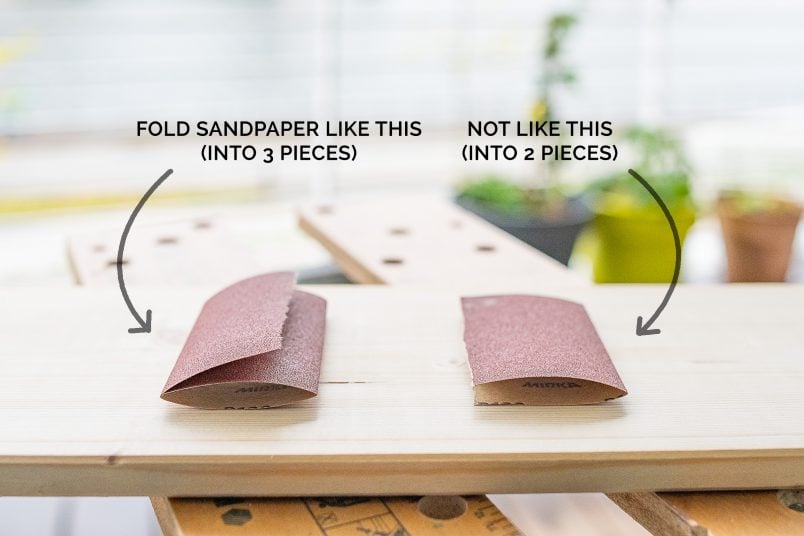
Instead of folding a piece of sandpaper in half and starting to sand think bigger. Use a slightly larger piece of sandpaper and fold it into three and all of your sanding problems are instantly solved.
Seriously, give it a try – it really works! Okay, maybe not all of your sanding problems are solved and you will still have to do all of the sanding yourself but at least the sandpaper won’t slip around as much!
Let us know what you think! Does this trick work as well for you as it does for us, too?!
Let us know if you have any questions about sanding wood! Did you know that it’s important to sand with the grain of the wood? Did you know that using the right grit of sandpaper can actually save you time? Let us know if you have any wood sanding tips that you’d like to share with us! Just leave us a comment below – we’d love to know what you think!

Robin says
this is all very helpful so thank you very much for sharing
I am a bit embarrassed to ask but those of us new to DIY, is there any trick to knowing which direction the woodgrain is going? It’s clearly obvious with some pieces but others..
Thanks again
Robin in Texas
Christine says
Don’t be embarrassed at all – we all have to learn somewhere, Robin! Every kind of wood has its own woodgrain pattern but generally speaking, all have end grain and long grain. If you imagine a tree, the end grain will be visible if you cut straight through the tree trunk horizontally exposing the rings and the long grain becomes visible if you cut through the tree lengthways. You should always try to sand with the long fibres of the tree which can usually be recognised by long lines or an elongated pattern in the piece of wood you are sanding. I hope that makes sense – it’ll definitely get easier over time to recognise in which direction you have to sand.
Cx
slp says
Thank you for a thorough and well laid out post. It was straight forward and extremely helpful.
Christine says
Glad you found it helpful!
Cx