Remember our sideboard disaster? You know, the one where I got threatened and screamed at in the middle of the street by the delivery guy? (If you’ve got no idea what I’m on about you can catch up on the whole saga here.)
After the delivery nightmare, it’s taken me almost a year to find the motivation to give the sideboard the TLC it desperately needed but, it’s finally done!
Without going into the ugly details of our sideboard delivery, it’s safe to say that it didn’t arrive in the condition we expected it to.
As much as it probably looked fine on the pictures we shared, reality (and apparently eBay listings), as so often is a different thing.
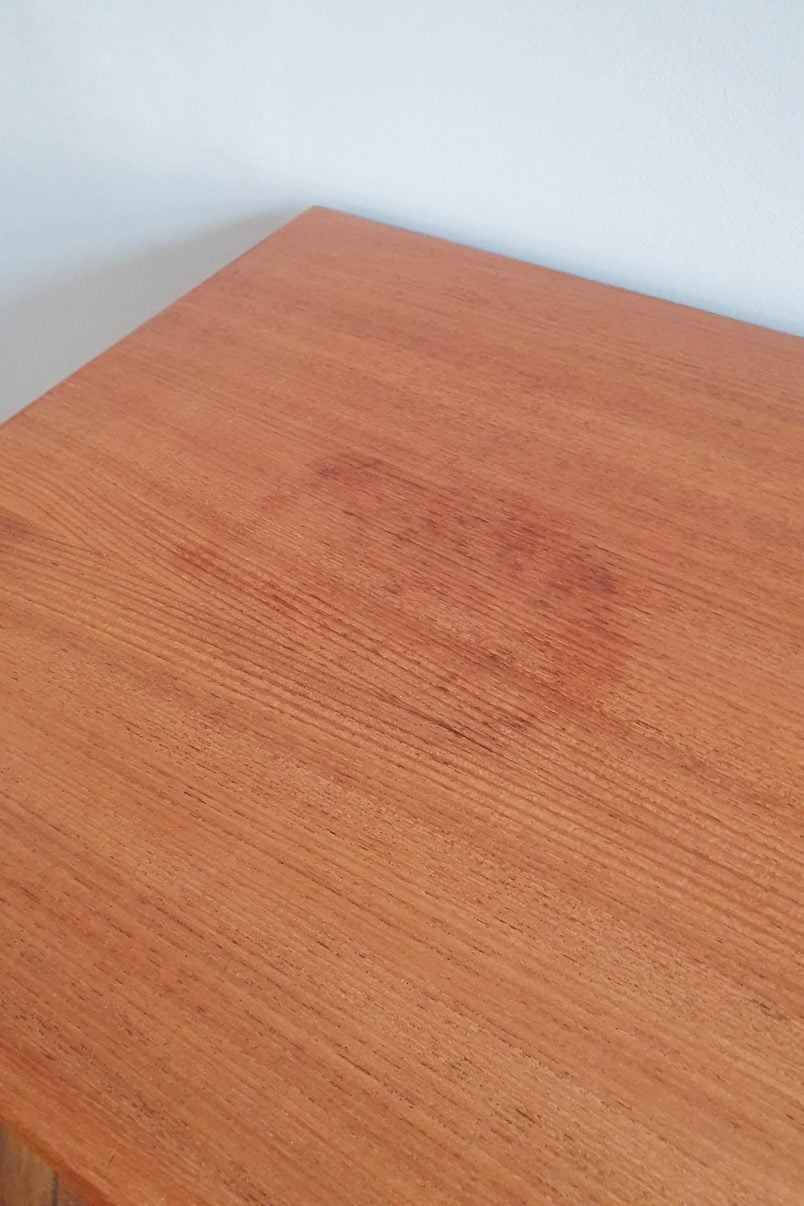
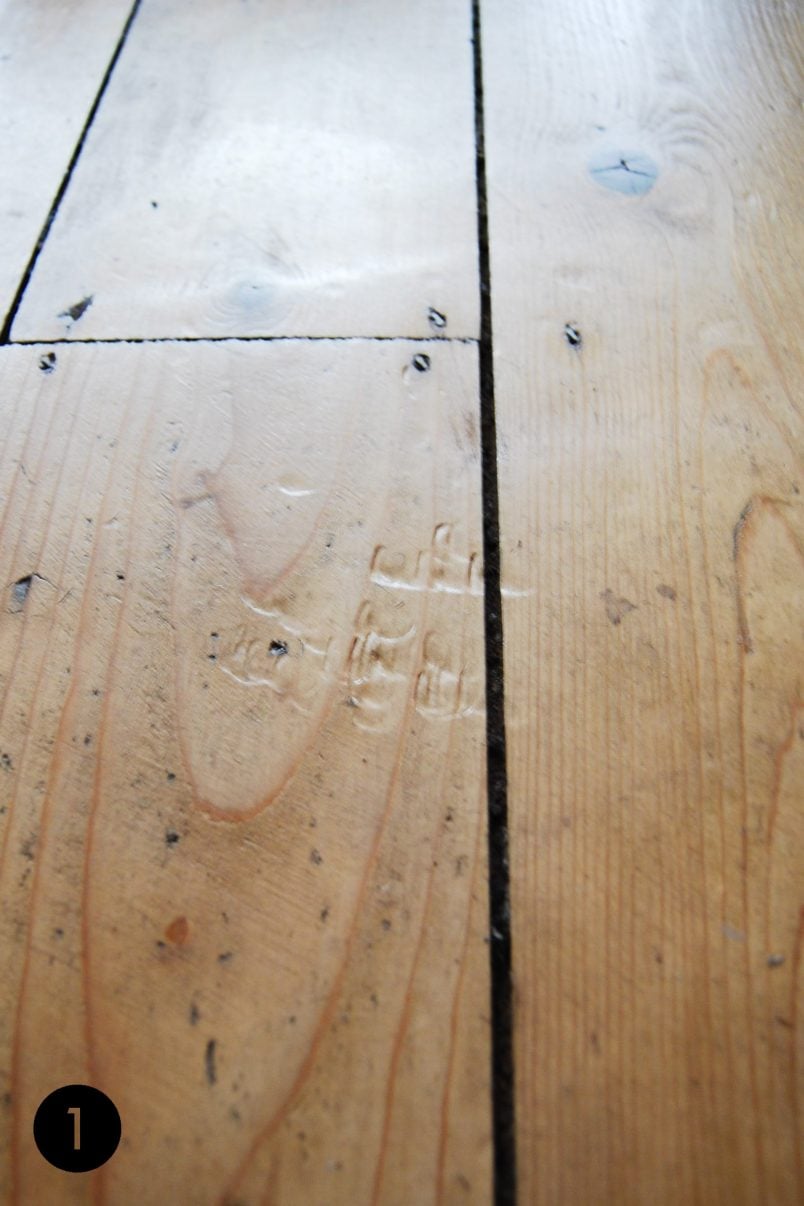
It was covered in dozens of little dents, countless tiny scratches, a couple of chips and a watermark that could probably be seen from space. Think I’m exaggerating? Well, take a look at this…
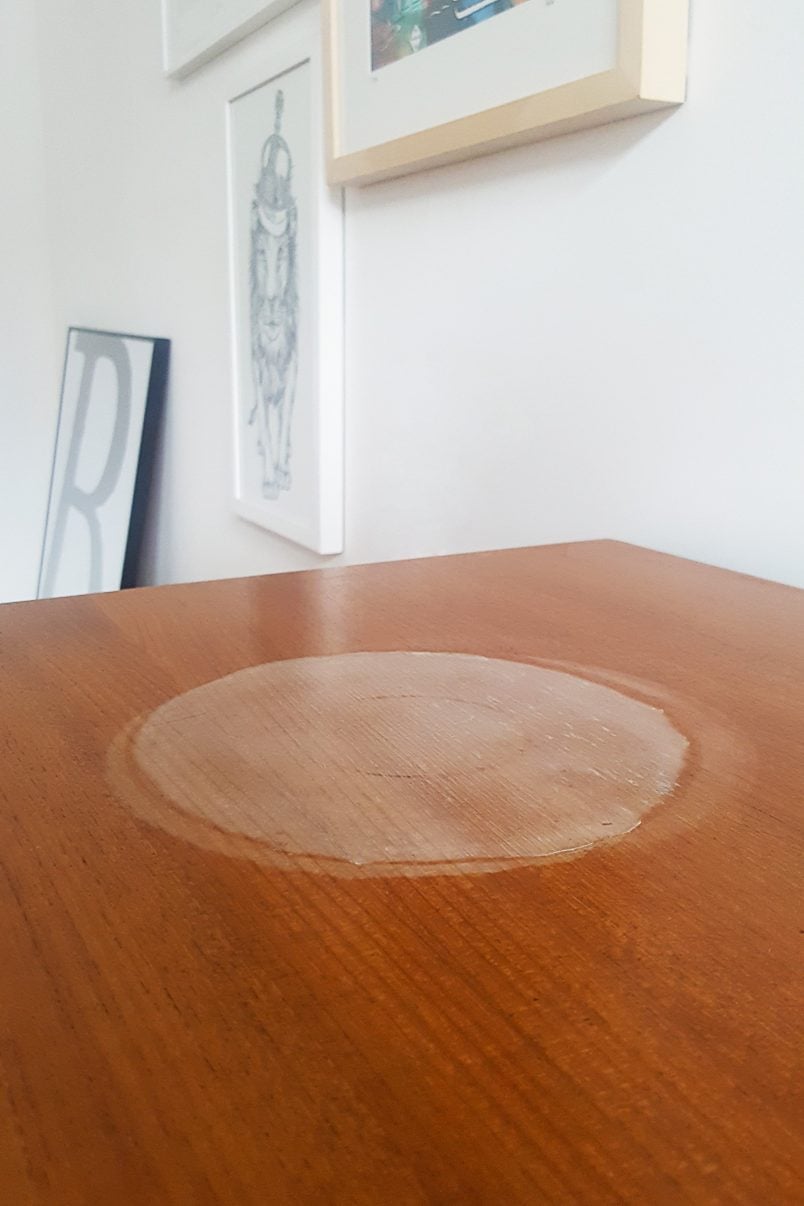
Yep, it’s enormous!
So, did we manage to remove the watermark from our wooden sideboard?
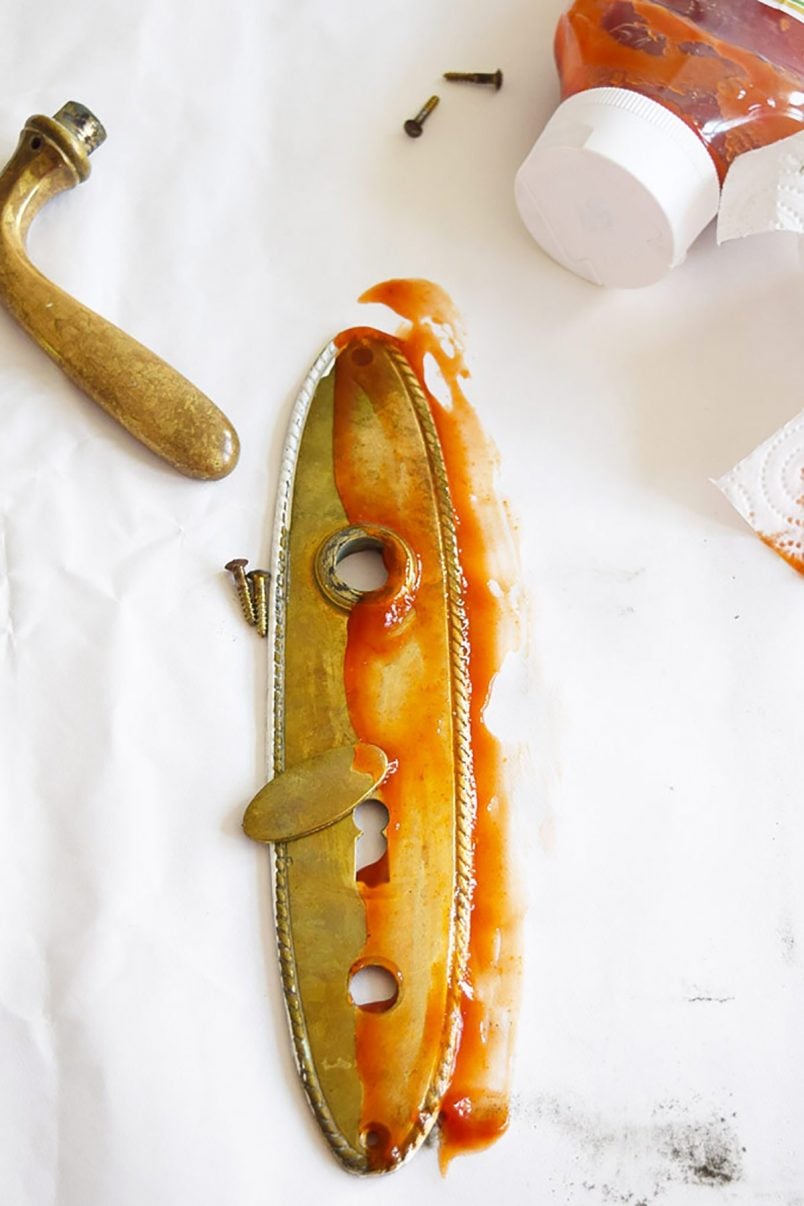
Well, we love a home improvement challenge and last year we already gave six brass cleaning methods a try to test which ones really work (spoiler: it’s probably something you have in your fridge!) so we figured that this time we’d give lots of watermark removal tips that we heard of a try, too!
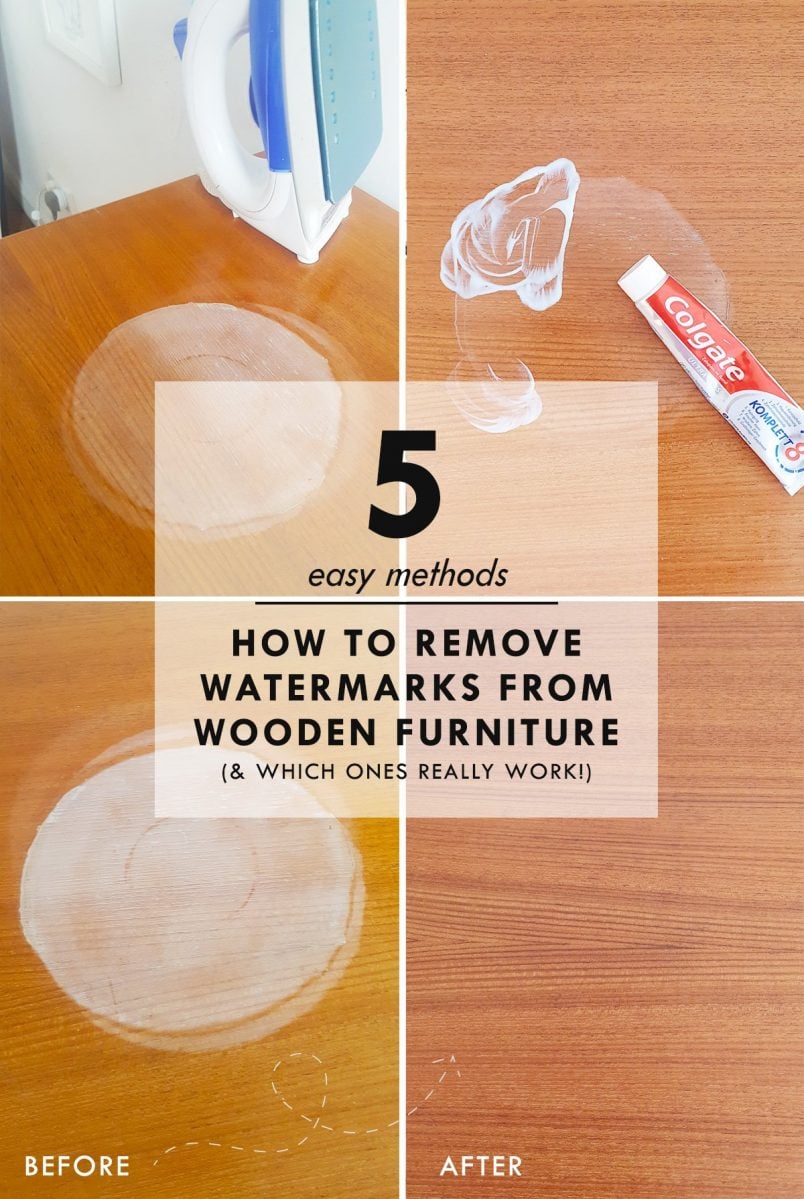
And, here’s the result!

It’s pretty much disappeared! There’s just one tiny spot that you only notice if you know where the watermark was and what to look for but I’d say it’s pretty close to being perfect.
Our watermark was particularly bad as it wasn’t just a mark. The moisture must have soaked into the timber so much that the edge around the white stain was slightly raised. Needless to say, fixing this mark was always going to be a challenge.
If you would like to know how to remove a watermark from wooden furniture, here are the 5 methods we tested!
This post contains affiliate links. We only recommend products we love and think that you will, too! Read our full disclaimer here.
1. How To Remove Water Stains From Wood With An Iron
First up on our water ring removal list: ironing. I know it sounds slightly bonkers to iron your furniture but we’ll give most things a try and it’s not as if the watermark could get much worse!
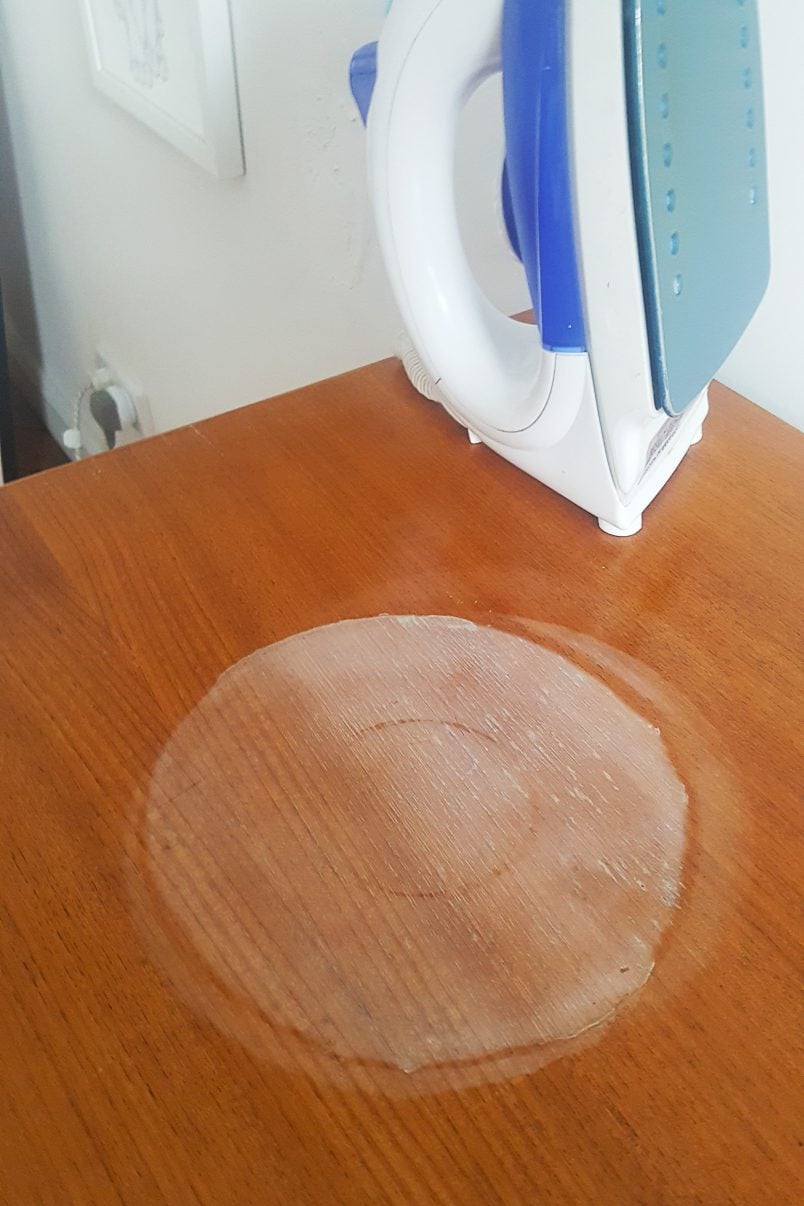
Place a clean tea towel on the watermark and set the iron to a medium setting. Then ‘iron’ the mark which basically involves holding the iron on the tea towel and waiting a few seconds before checking to see if the mark has magically disappeared.
In our case, it didn’t disappear after a few seconds and it didn’t disappear after a few minutes or over an hour of ironing either. It did, however, become a lot lighter and it definitely improved.
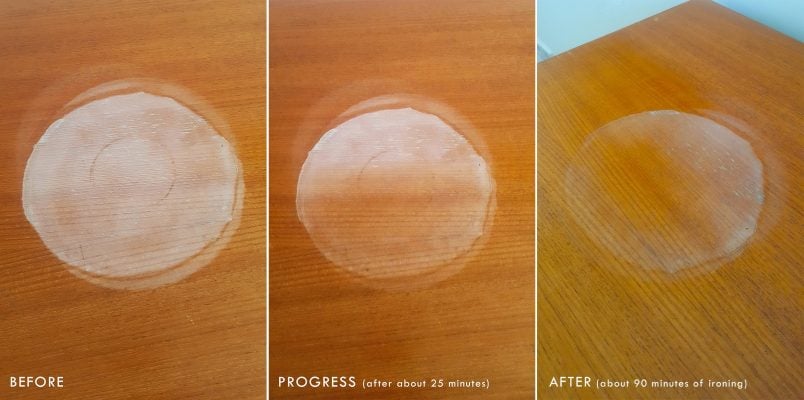
If our ugly white water rings hadn’t been so severe, I honestly think that ironing it would have made it completely disappear. Ironing the watermark worked really well and you could almost watch the watermark fade.
2. Removing A Watermark On Wood With Mayonnaise
As ironing the watermark wasn’t enough to completely remove it, I moved on to the next method. Mayonnaise.
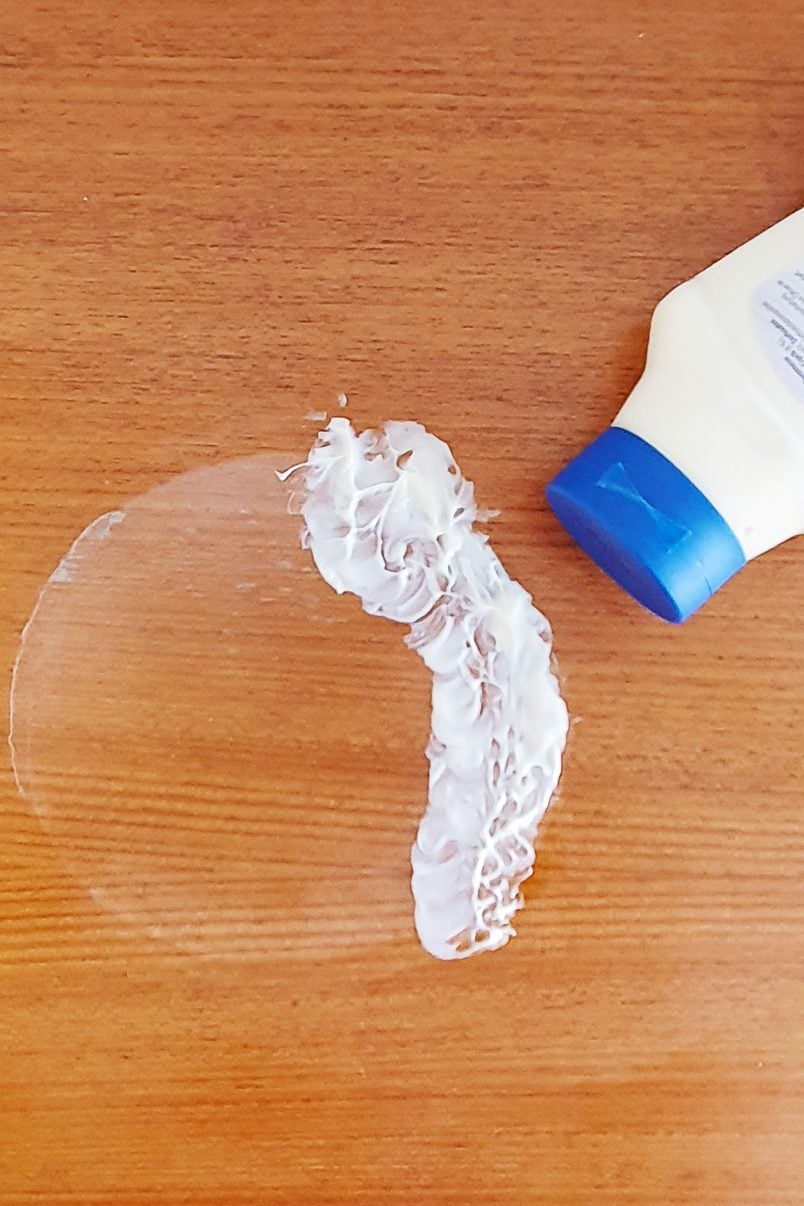
Yep, you heard right – mayonnaise. Rub mayonnaise over the water stain, cover with a piece of kitchen paper, let it soak in for a couple of hours and the watermark will have magically disappeared. Well, that’s the theory at least.
I read about this method a few times and a few people suggested it over on Instagram, too so I was really hoping that it would help remove the remaining mark.
After applying the mayonnaise on the watermark, I waited a couple of hours before it removing it and wiping the surface clean.
Honestly, I don’t think it made a difference at all. If anything, it actually looks worse on the photo (although that’s probably down to the lighting).
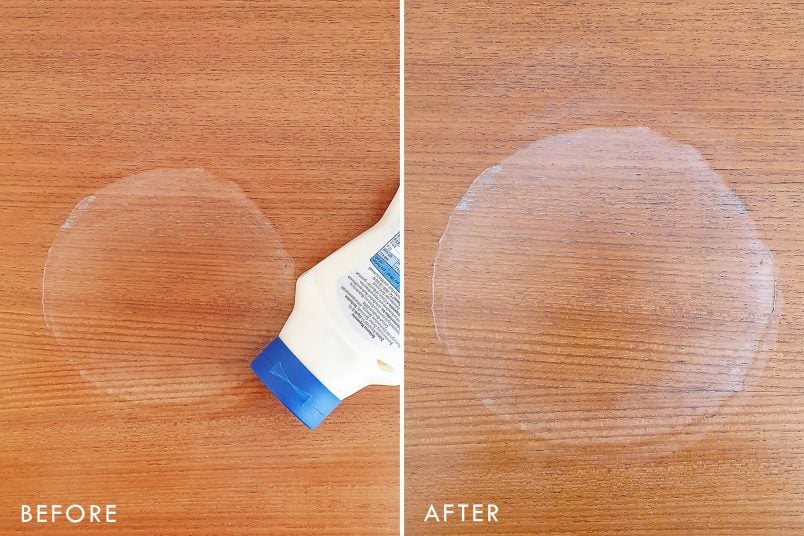
Maybe the mayonnaise would work on a fresh watermark or it may have worked better on a less stubborn mark (I had already removed the worst of it with the iron).
Rubbing a bit of mayonnaise over the mark and waiting for a couple of hours was definitely less work than ironing it for hours on end so maybe this method is worth a go before you attempt any more time-consuming ones.
3. Removing Watermarks From Wood With Toothpaste
We tried cleaning brass with toothpaste but it didn’t work at all and I’m the first to admit that I had doubts that it would be a good way to remove watermarks either.
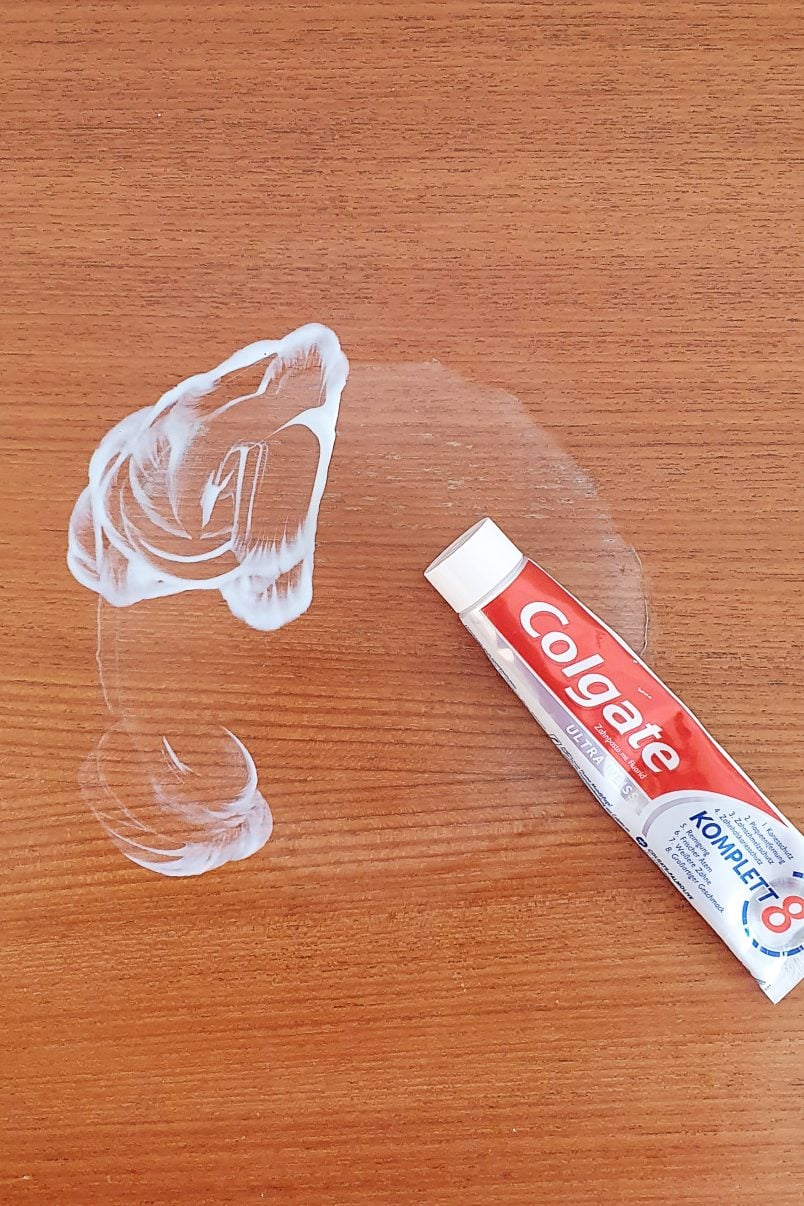
Apply some toothpaste to the watermark and rub it in for a minute or so. Then wipe it up with a damp cloth. What’s the worst that can happen?
Well, in our case not much happened. If you look closely there is a tiny improvement but it honestly wasn’t really worth the effort.
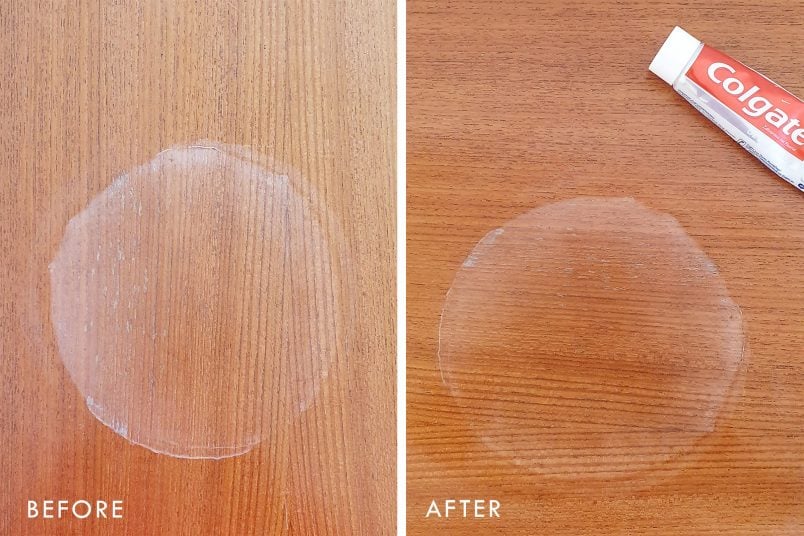
If you do want to give this method a go, bear in mind that toothpaste can remove the finish of your wood so it’s important to not leave the toothpaste on for too long or to rub too much.
4. Removing A Water Stain On Wood With Salt & Oil
This may sound like something you’re more likely to dip some crusty bread into but apparently, an equal mixture of oil and vinegar will remove watermarks, too.
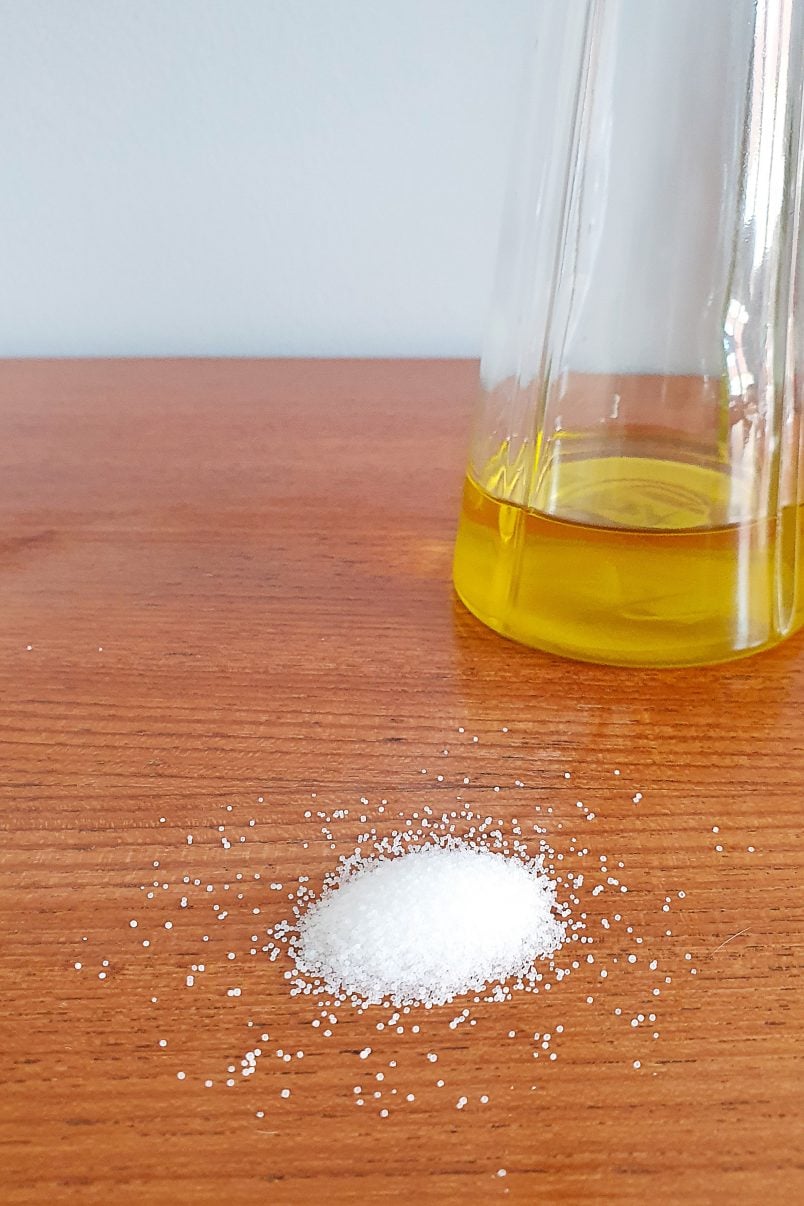
We used some olive oil and normal household salt that we already had at home. Gently rub the mixture over the wood surface with a soft cloth and follow the grain of the wood as much as possible. Then wipe it up with another clean cloth and polish. That’s the theory, anyway. Did it work?
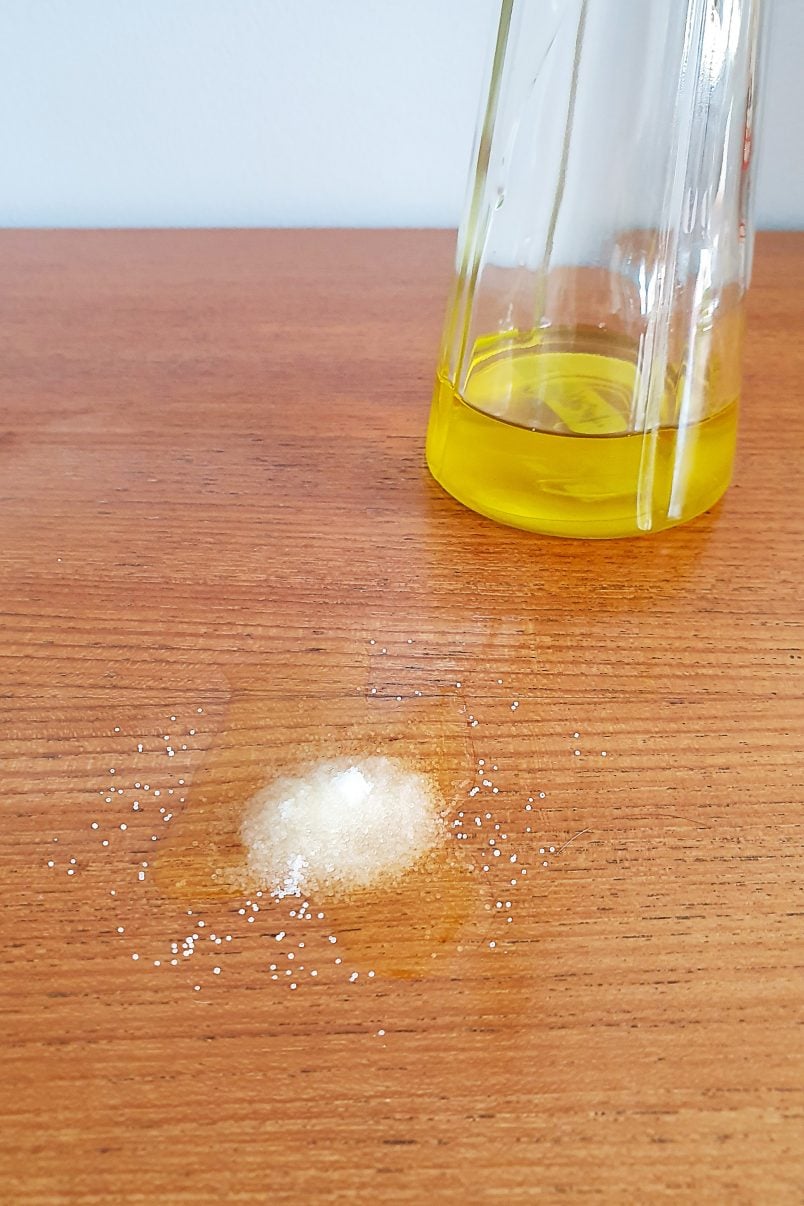
Well, I didn’t even bother taking a picture of the result as there was absolutely no difference at all!
5. How To Remove Water Stains From Wood By Sanding
Obviously, this is the most radical method we tested.
As much as the watermark almost disappeared with some of the other methods I am admittedly super fussy and I knew that I just wouldn’t be happy with the sideboard if I didn’t manage to completely remove the mark – or at least try to!
First, I tried just lightly sanding the watermark before applying some oil to reseal the surface. It kind of worked and definitely looked much better than before but there were a few problems with this method.
Because I just sanded the area where the watermark was, the finish of the sanded area was different from the rest of the sideboard surface.
The oiled area ended up slightly darker and the sheen of the oil and varnish were different so that the sanded spot was visible depending on how the light shone on it.
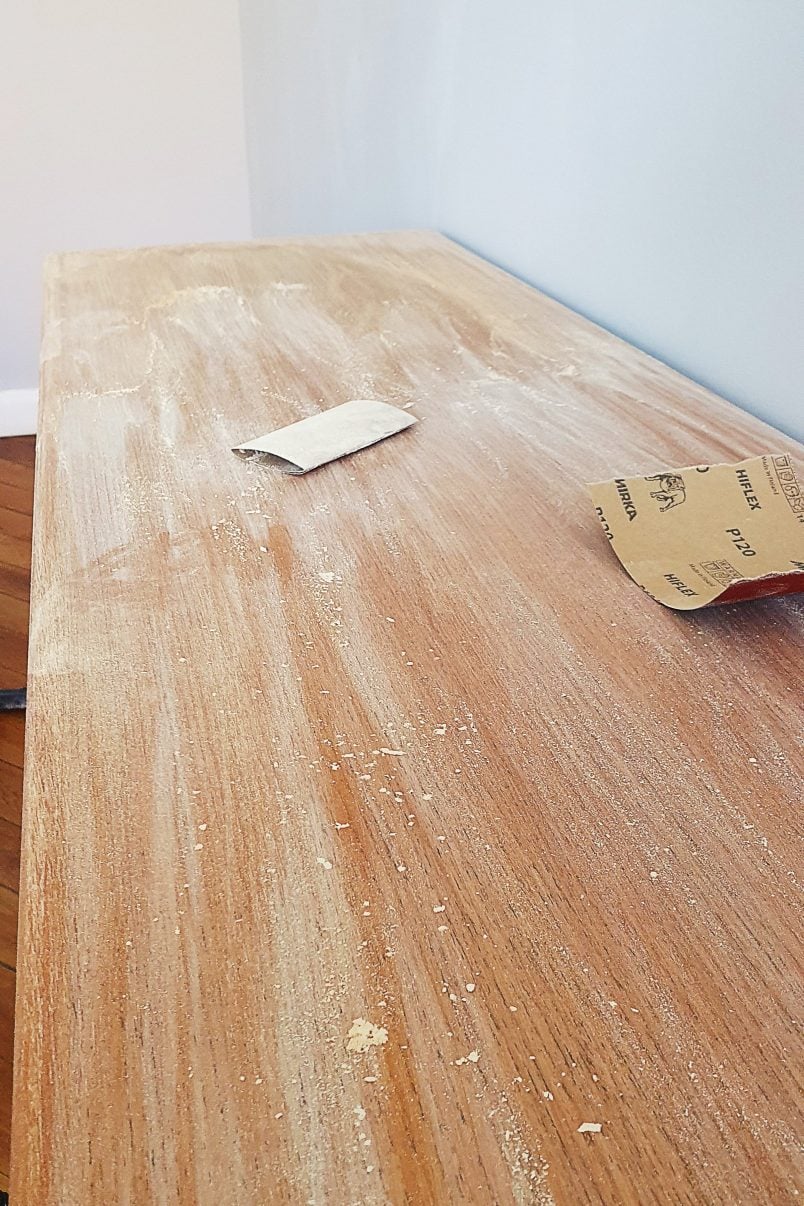
I quickly realised that you can’t just sand a part of the surface which is why I then moved on to sanding the whole top of the sideboard. Not exactly a quick thing to do but it turned out so much better than I could have ever imagined!
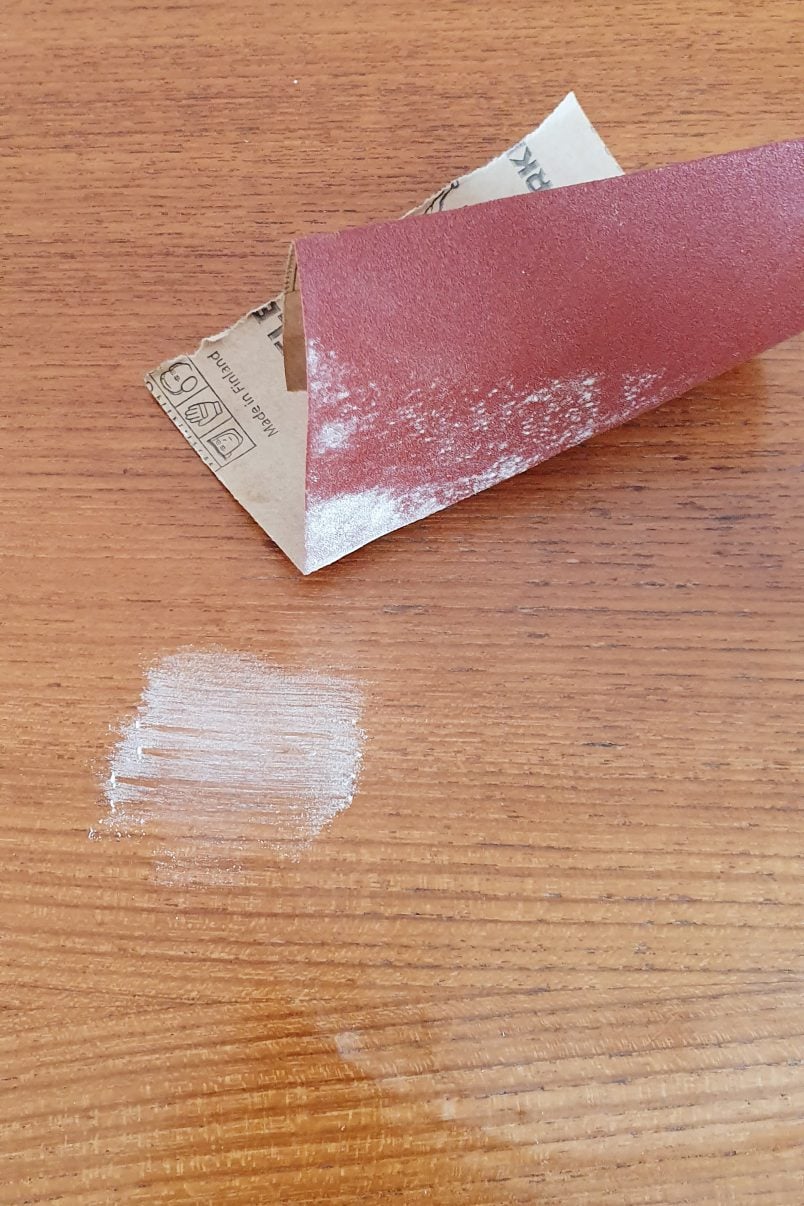
I was worried about damaging the sideboard which is why I sanded it by hand with 120 grit paper (always sand in direction of the wood grain. This way I had more control over the sanding process.
If you have any questions about how to sand wood, check out our full guide on how to sand wood which includes lots of information on which grit sandpaper to use for your project along with a helpful free cheat sheet for you to print.
It was a fair amount of work to remove all of the varnish but removing the watermark took no time at all! It was just a matter of lightly sanding the stained area and it completely disappeared.
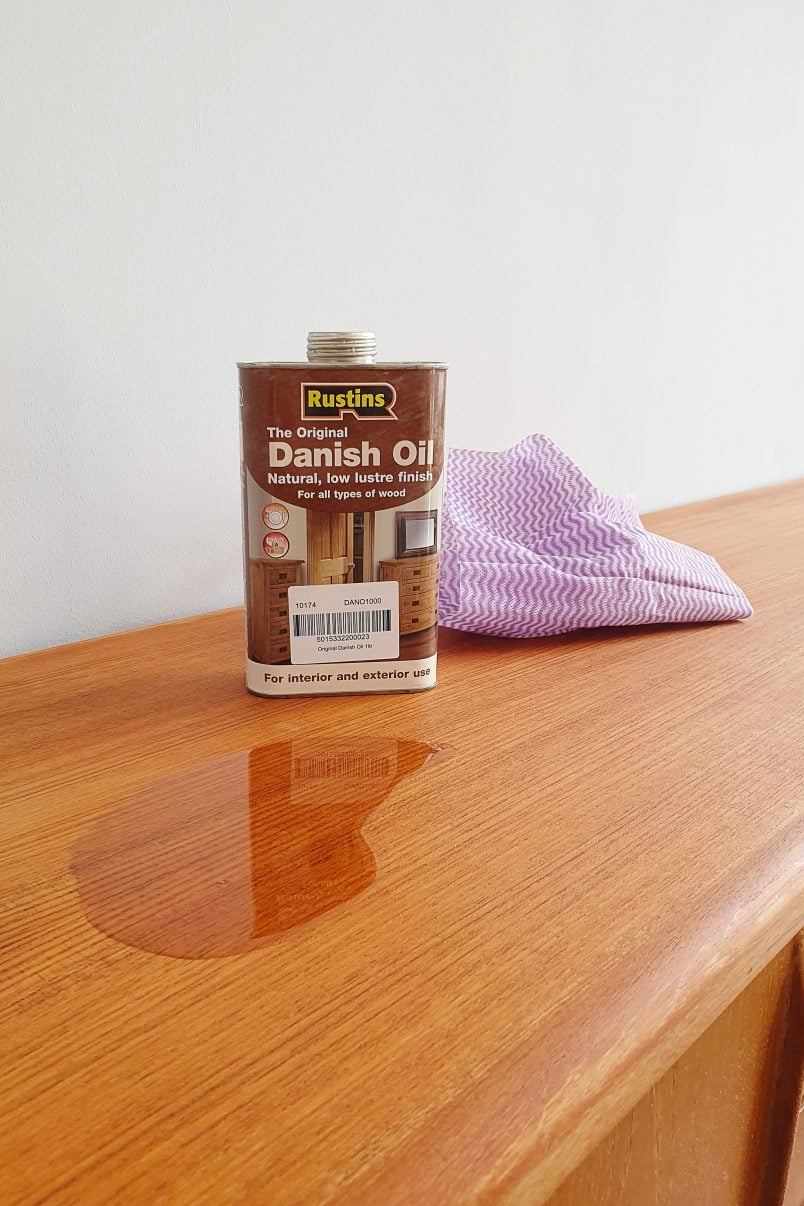
Then it was time to reseal the surface. First I cleaned the sanded surface with white spirit before applying a couple of coats of Danish oil. We love using Danish oil to protect and finish our furniture as it always gives fantastic results. You can read our full guide on how to apply Danish oil here.
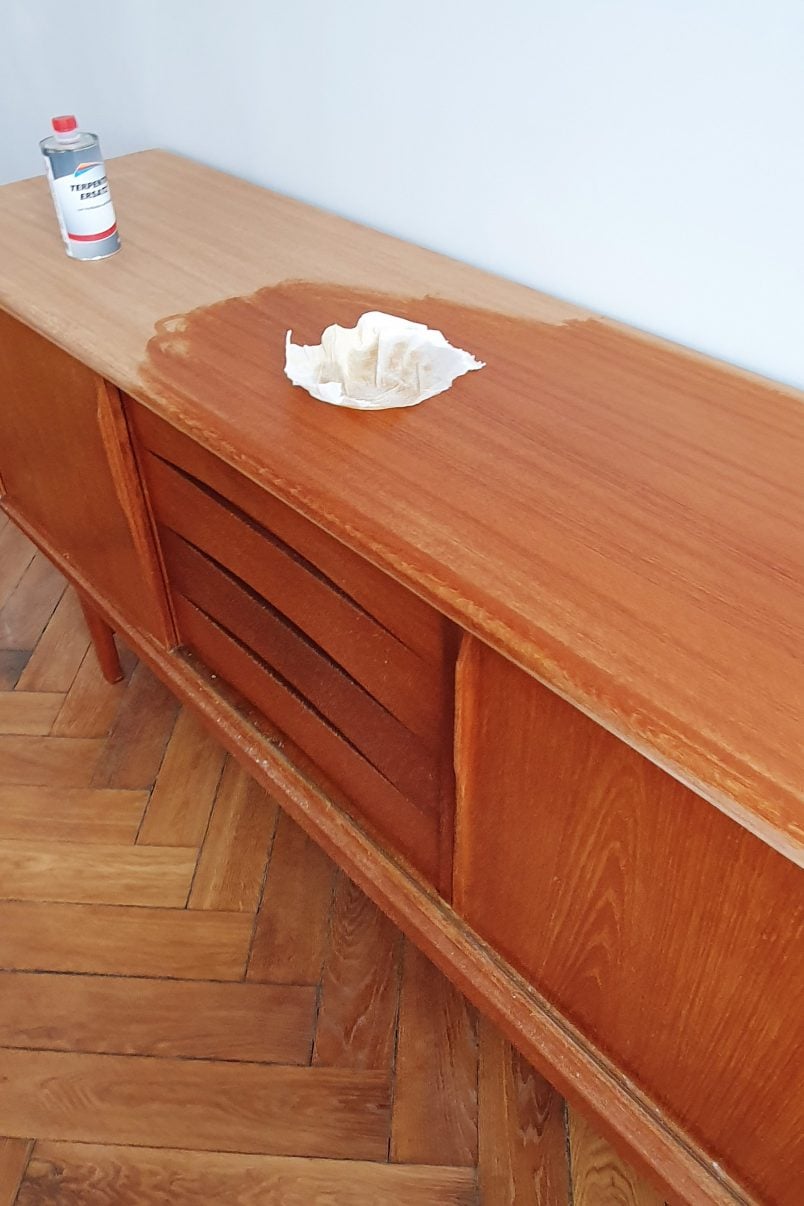
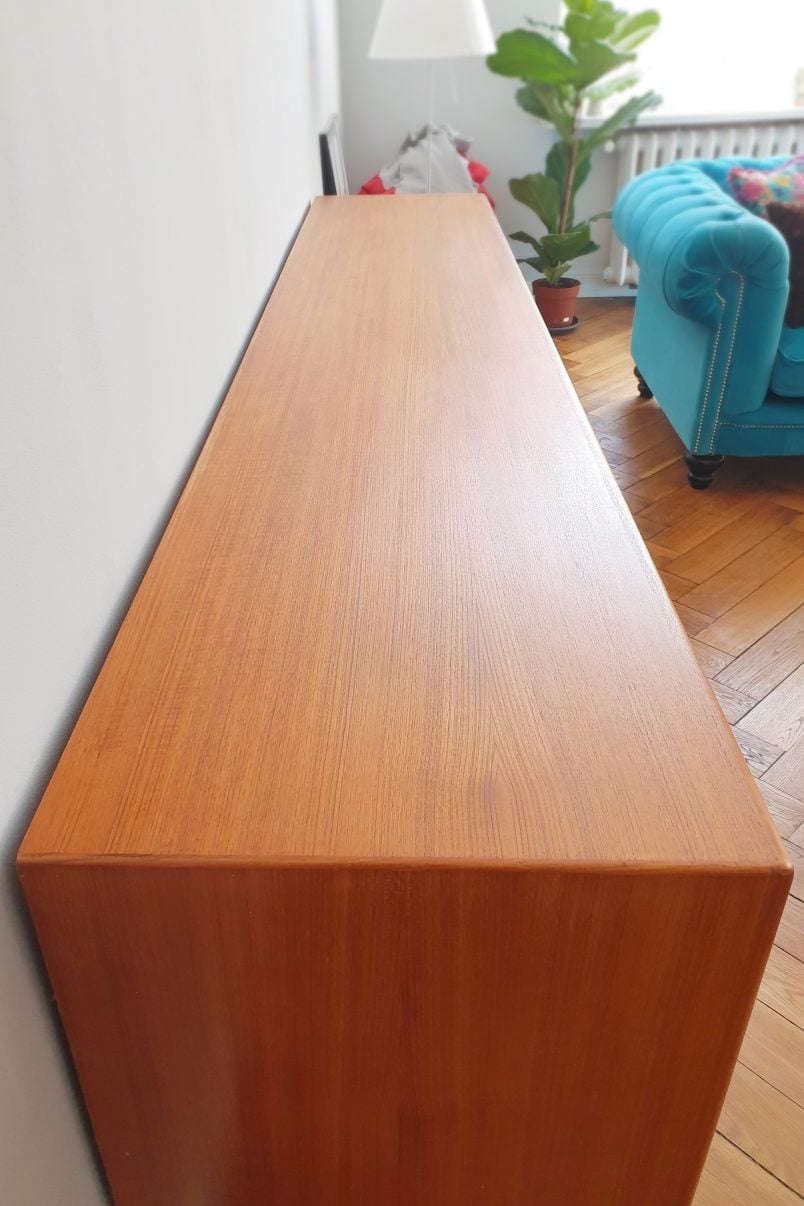
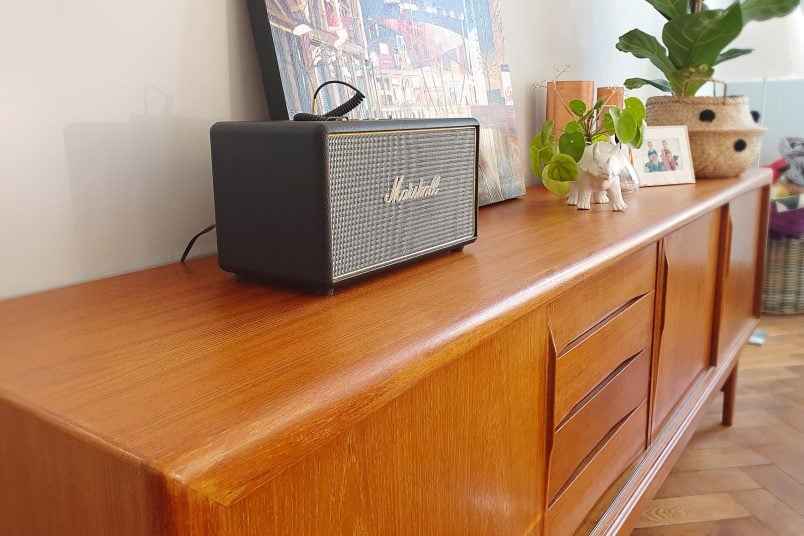
I can’t even begin to tell you how happy I am with the finish. I’d been so focused on removing the watermark that I’d not even thought about how sanding it would affect the overall finish of the sideboard. It looks spectacular!
It’s so silky smooth and I can’t stop stroking it. All of the little scratches and dents completely disappeared and the whole surface has a lovely soft sheen which is so much nicer than the plastic-y glossy finish it had before.
So, which was our favourite method to remove a watermark from wooden furniture?
Out of all the methods we tried, I’d say that sanding was the only one that really worked for us. Having said that, ironing the mark worked really well, too. I honestly think that it would work if your watermark isn’t as severe.
We’d also totally recommend using Danish oil to refresh your wooden furniture. It’s really helped us transform this sideboard and the finish is absolutely amazing. We’re not big fans of furniture polish as it always leaves a residue that builds up over time but the Danish oil really soaks into the wood and protects it.

As always, these are the methods that worked (or in some cases didn’t) for us. It’s always a good idea to test anything you do on an inconspicuous area of your furniture first!
We tested these methods on our wooden sideboard but they would work just as well (or not) if you were trying to remove a watermark from a wood table, too.
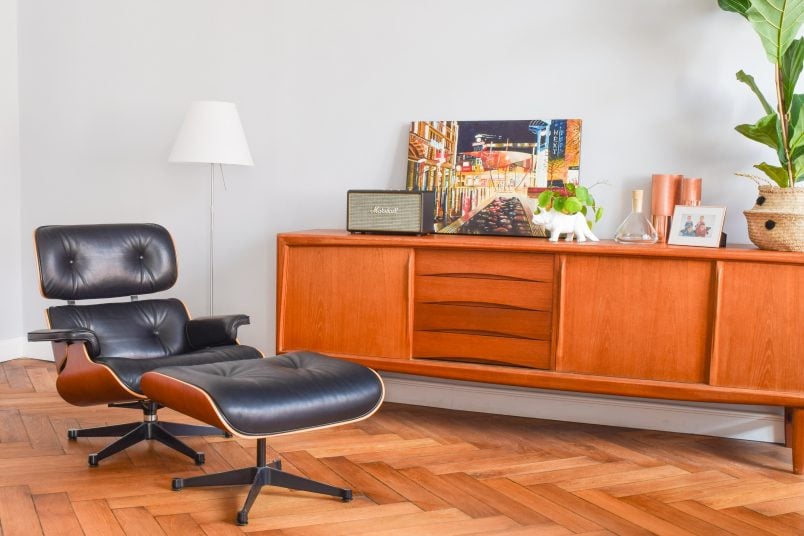
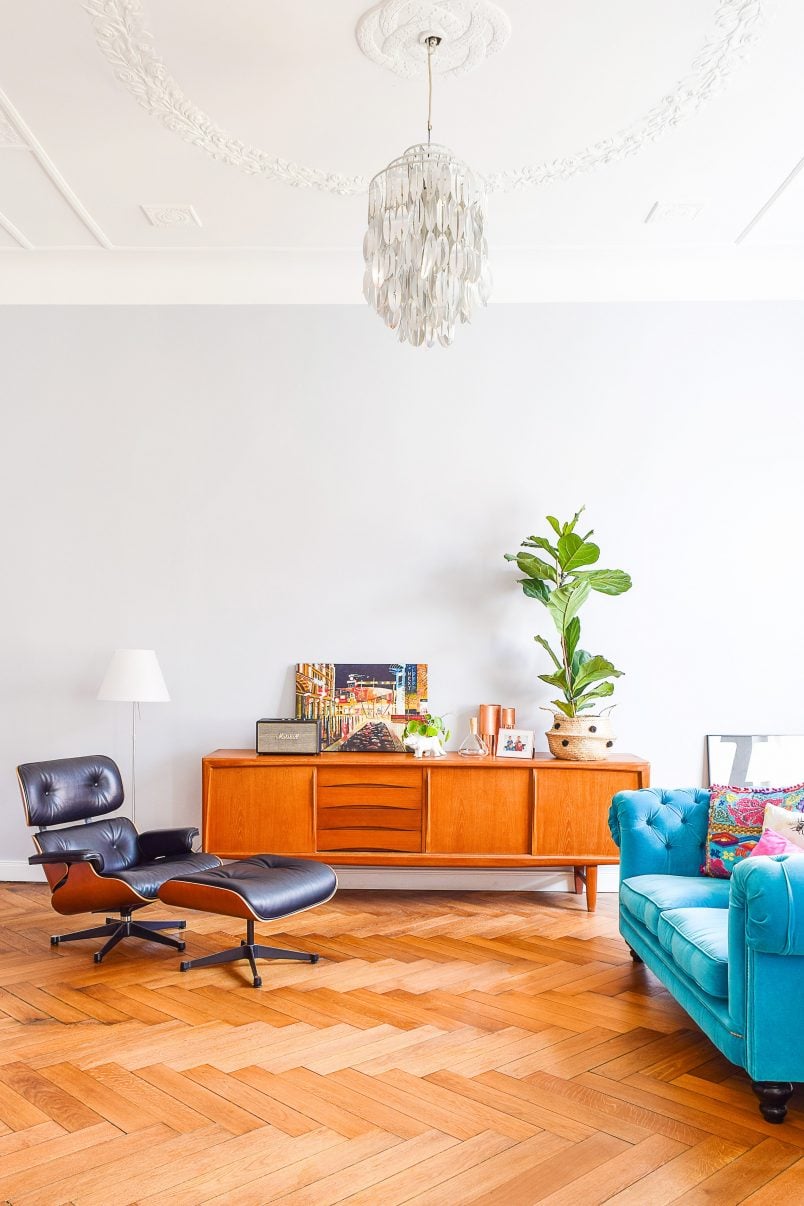
Now all I need to do is repaint the walls (still don’t like the colour), find some art for the wall over the sideboard, find a rug I like and can afford, add more lighting,… you get the idea but at least the sideboard now looks amazing.
Have you used one of these methods to successfully remove a watermark? Do you have any cleaning tips for us? Does anyone fancy repainting our living room for us ;)?

Sheryl says
I have had success with using an iron on medium, dry, and using a piece of brown paper (rather than fabric.) This also works on a heat ring left by a hot coffee mug. Enjoy your experiments with different methods. Thanks!
Christine says
Thanks for the tip, Sheryl! Yes, that’s exactly how we managed to remove a watermark, too!
Cx
Sharon Coles says
Followed your advise after causing a water mark with a Christmas wreath; you saved my unit. Totally thrilled with the result, thank you.
Christine says
Thank you so much for sharing your result with us, Sharon! I’m so glad it worked for you, too.
Cx
Jeanie says
Does the Danish oil protect against future water marks?
Christine says
Yes and no, Jeanie. Danish oil will protect your wood from spills but you will still have to wipe them up fairly quickly to avoid any watermarks. No oil will ever protect completely against watermarks but it will help. We actually just oiled our dining room table with Danish Oil to protect it and it’s holding up really well so far.
Cx
Vanessa says
I just came across your FB and site-LOVE! I’m curious about the danish oil, is that all you put on it to get the color to come back out after sanding?
Christine says
Thank you so much, Vanessa! Yes, it’s just the danish oil that gives it the colour – the stuff is amazing!
Cx
Diane says
Christine, was the iron on the dry setting? No steam, right?
Christine says
Yes, it was on a medium setting with no steam. The tea towel between the iron and the wooden surface was completely dry, too.
Cx
Ashley says
I had no idea there were so many methods to remove watermarks! I have a few watermarks on my old nest of tables. Some of them aren’t too bad so I’ll definitely be trying the ironing method you have suggested. For the more extreme cases, I think I’ll just have to ignore them, I’m honestly no dab hand at DIY and don’t think I would have the patience (or skill) to sand down the tables. This was a really helpful post, thank you! xxx
Christine says
Not all of the methods we tested worked for us but ironing the mark worked really well, Ashley! We’d love to know if it works for you, too!
Cx