It’s no big secret that we love using Danish oil to finish and protect our furniture. It’s so easy to use and always gives a fantastic finish.
It’s something we get lots of questions about, which is why we’re sharing our full guide on how to apply Danish oil and why we think it’s the best protective finish for (almost) all of your wooden furniture and woodworking projects.
What is Danish Oil?
Danish oil is a blend of oils, including tung oil and linseed oil, along with a mixture of mineral spirits and resins.
It’s suitable to apply on all types of wood and can be used on wooden furniture, tables and worktops. It’s easy to apply and maintain, protects the wood and gives it a soft satin finish.
Where should you use Danish oil?
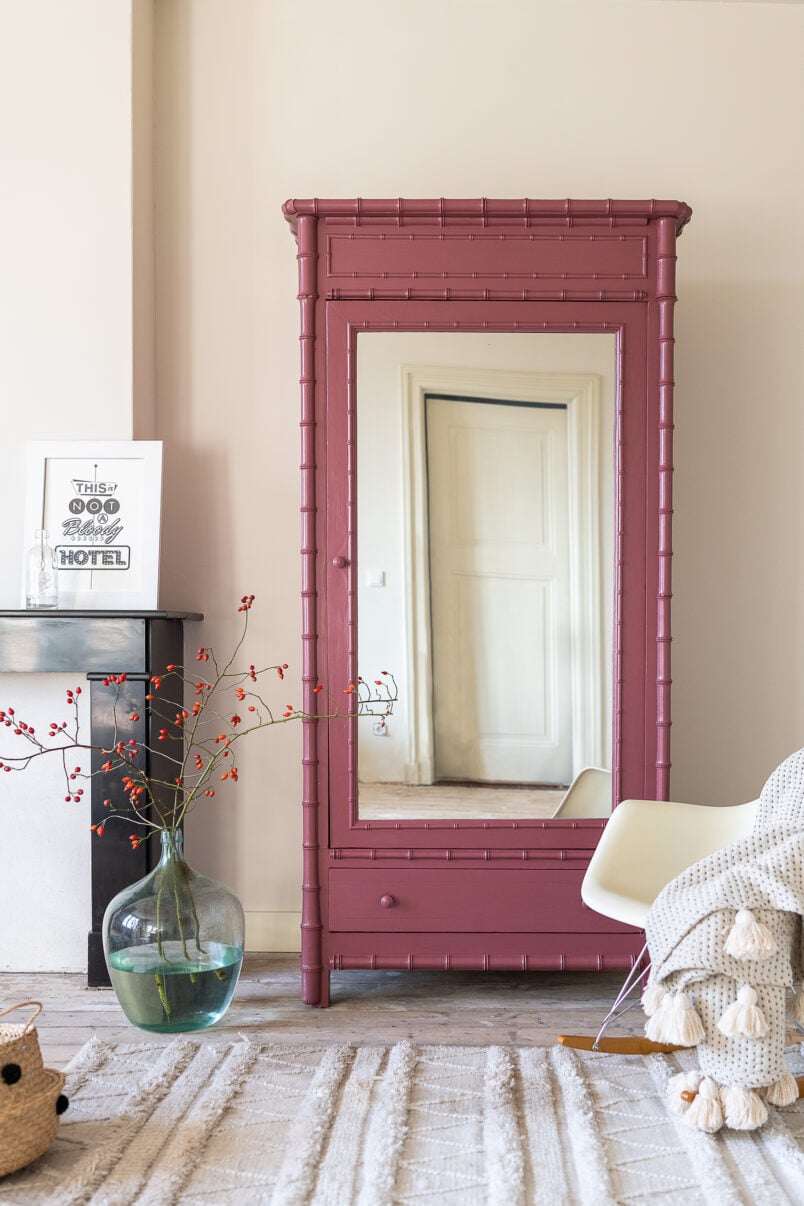
Danish oil is perfect for protecting any kind of wood surface, including oak, teak, pine, beech and even veneered surfaces. It can be used on interior and exterior bare wood, doors, and furniture.
Danish oil is non-toxic, but depending on the brand of Danish oil you’re using, the ingredients vary, so we don’t recommend using it for children’s toys.
The benefits of using Danish oil
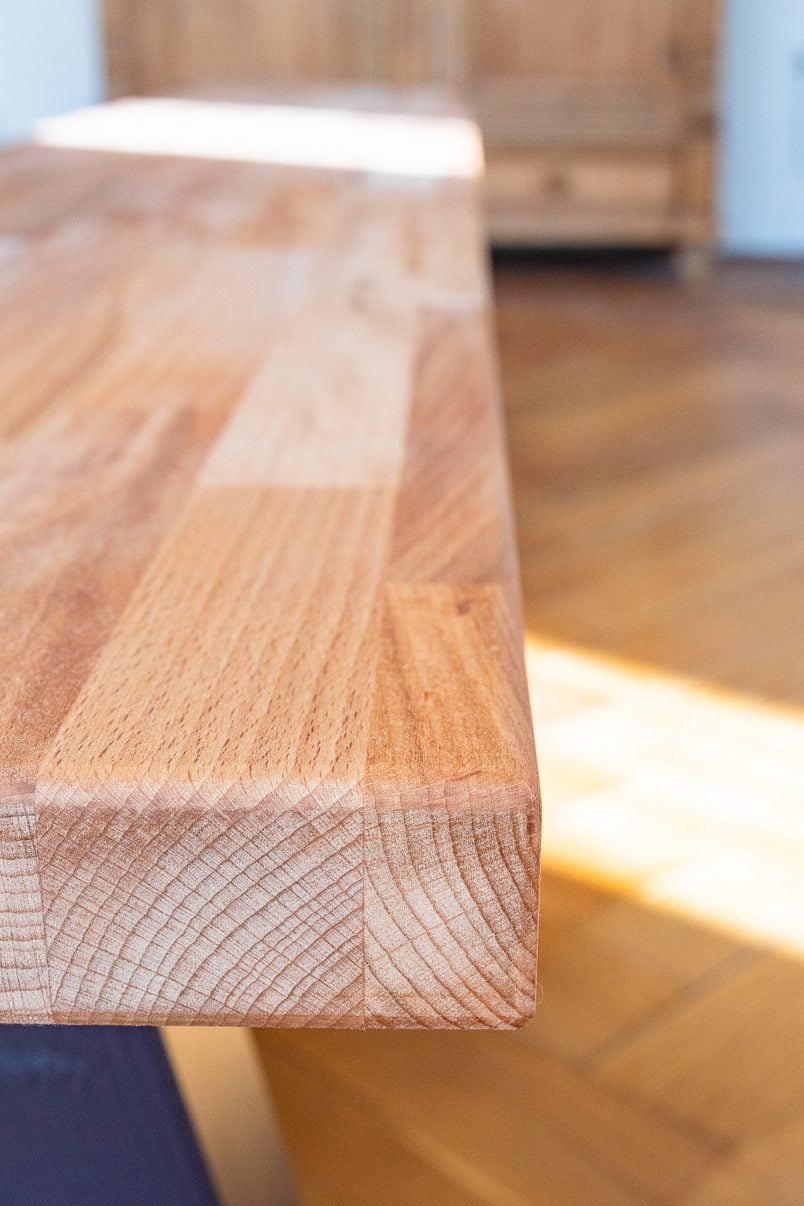
When you apply Danish oil, it soaks into the bare wood and, when it’s dry, gives you a hard and durable finish that has a lovely soft sheen. Because the finish is so hard-wearing, It’s ideal for surfaces that get a lot of use, like tabletops and worktops.
Danish oil enhances the natural beauty of wood and veneered surfaces and doesn’t yellow or change the colour of the wood, although it will make the surface look slightly darker.
Danish oil protects against scratches, marks and stains. The finish is also water-resistant (not water-proof), making it easy to keep the surfaces clean and reducing the chance of stains. And, if you do have a small scratch, you can easily apply another coat of Danish oil to make it disappear.
This post contains affiliate links. We only recommend products we love and think that you will, too! Read our full disclaimer here.
How To Apply Danish Oil On Wood
Preparation
Any finish is only ever going to be as good as the surface beneath, so a bit of prep work is almost always going to be necessary to get the best results.
It doesn’t matter if you’re oiling new bare wood or old timber. The surface will always have to be completely smooth, dry and clean.
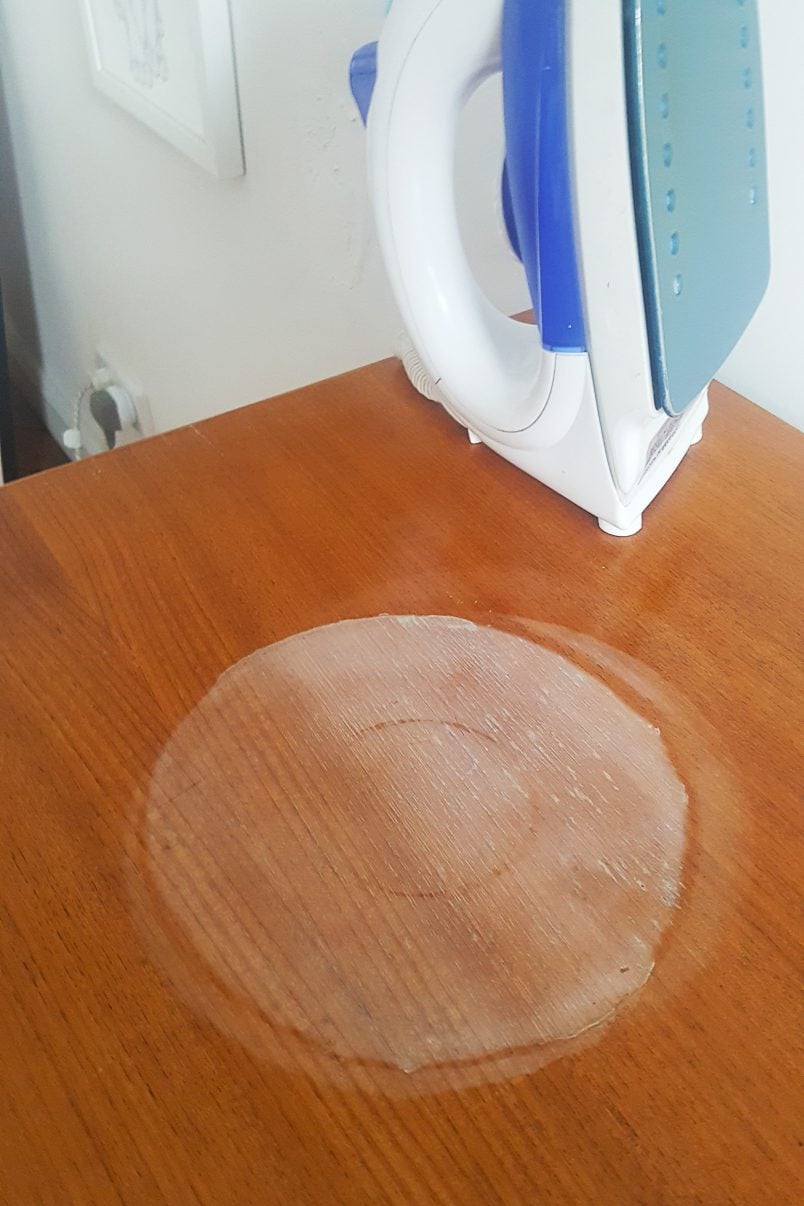
If the wood has been painted or waxed, you’ll have to remove that finish before you can oil the surface. If you want to stain your wood, we also recommend doing that before applying the oil.
You can mix certain stains and pigments with Danish oil (check the manufacturer’s guidelines to see which ones work with the Danish oil you’re using), but we recommend staining it before you apply the oil to give you greater control over the stain.
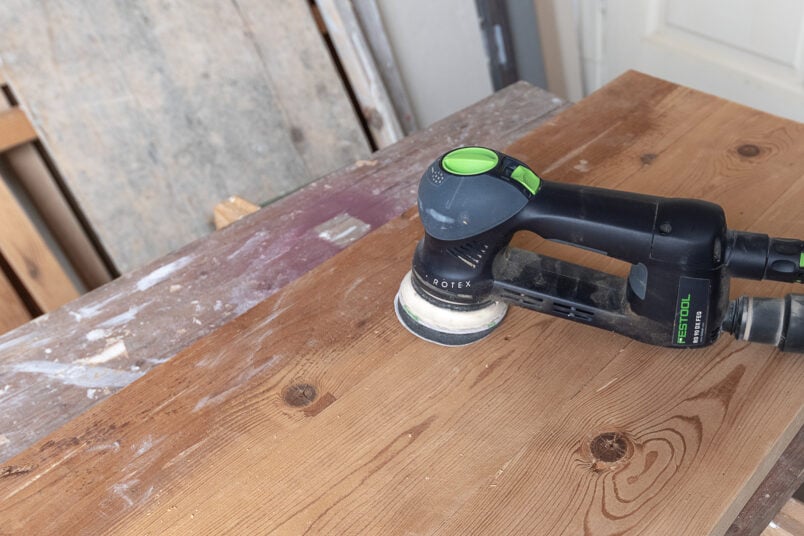
We highly recommend giving your furniture a light sand before applying Danish oil (or any other finish for that matter) to remove any imperfections and raised grain.
When sanding wooden furniture, we always recommend finishing on a minimum of 240 grit sandpaper (even better would be 320 grit paper) for a super smooth finish.
DIY TIP
Read our full guide on how to sand wood here. It shares everything you need to know about sanding before painting and includes a helpful cheat sheet so you know exactly which sandpaper to use for which project.
What you will need to apply Danish Oil
You don’t need special tools or supplies to apply Danish oil.
- Danish oil
- A couple of lint-free cloths (the kind that doesn’t fuzz), we use the cheap all-purpose kitchen cloths that you can buy in packs at any supermarket
- Gloves
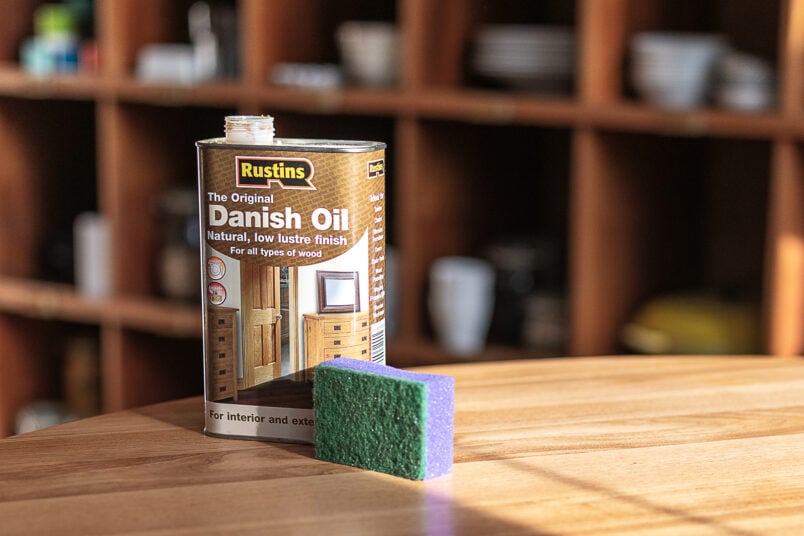
- Depending on the surface you’re oiling, you may also need some super fine steel wool or a scouring pad.
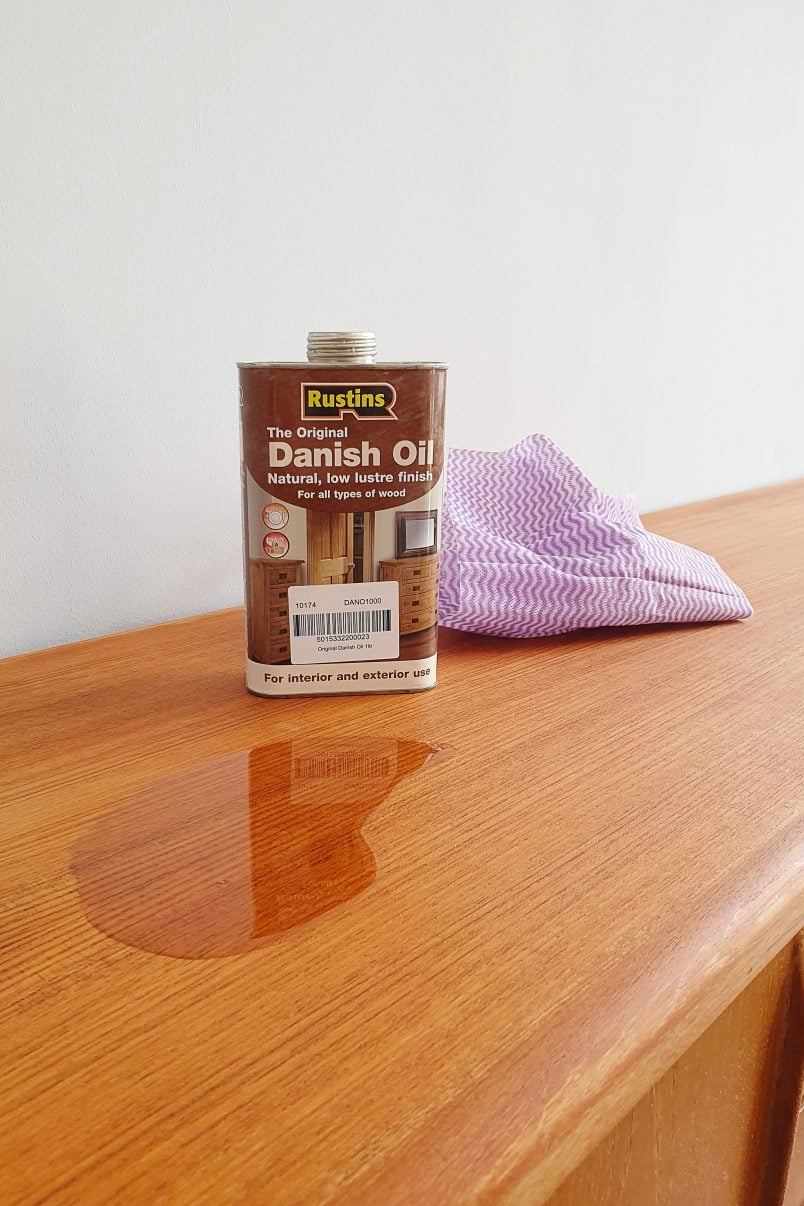
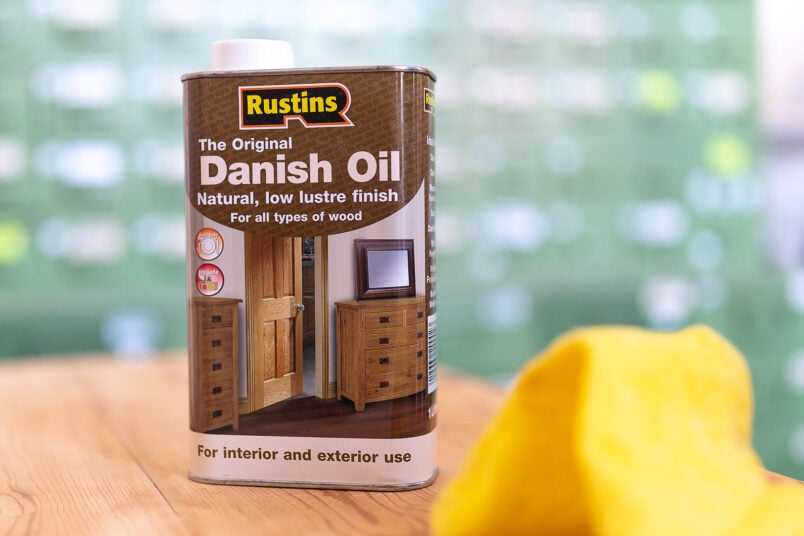
What is the best Danish oil?
We absolutely love this Danish oil. We’ve been using it for years, and it always gives perfect results.
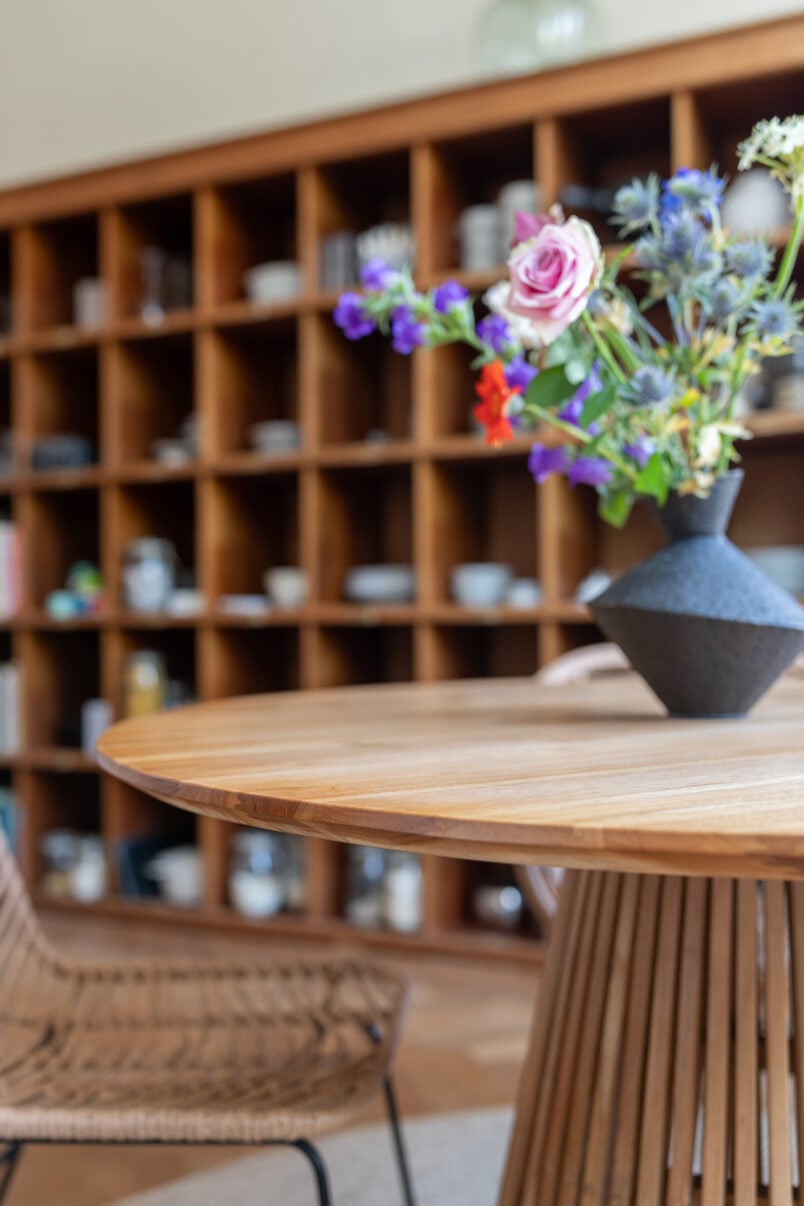
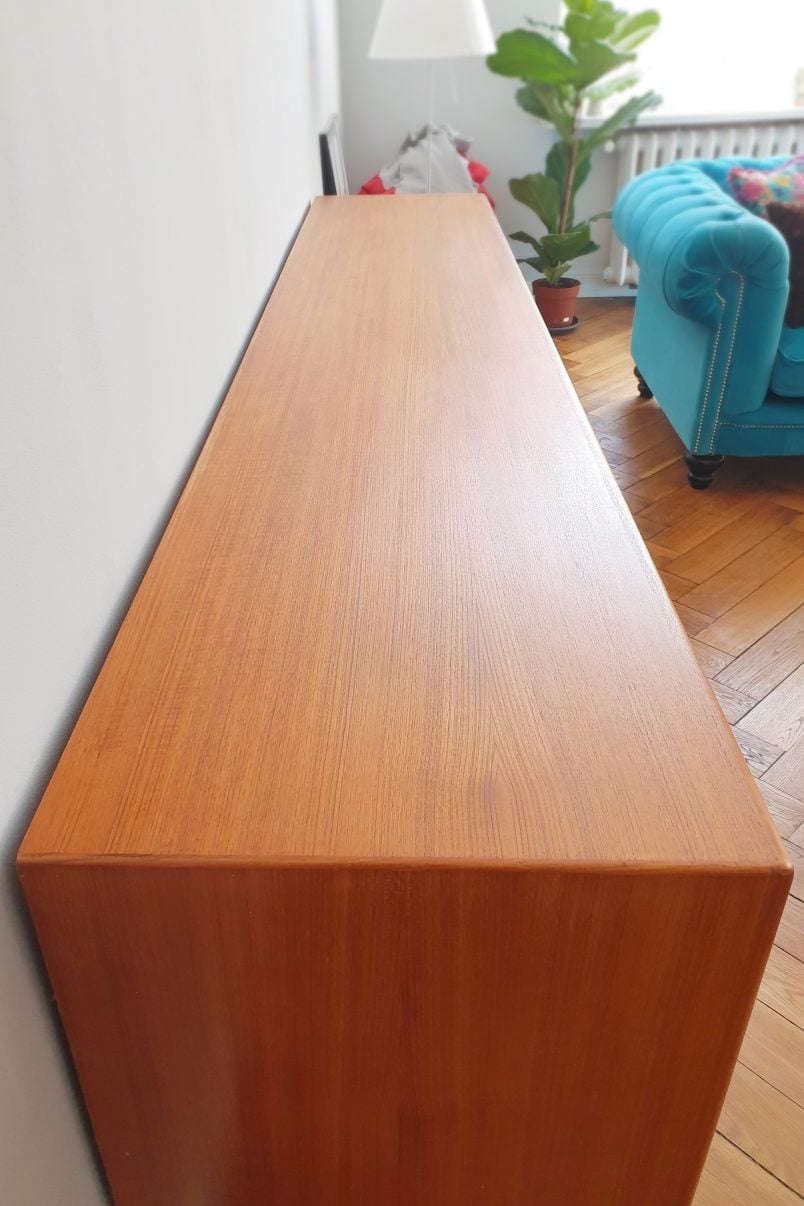
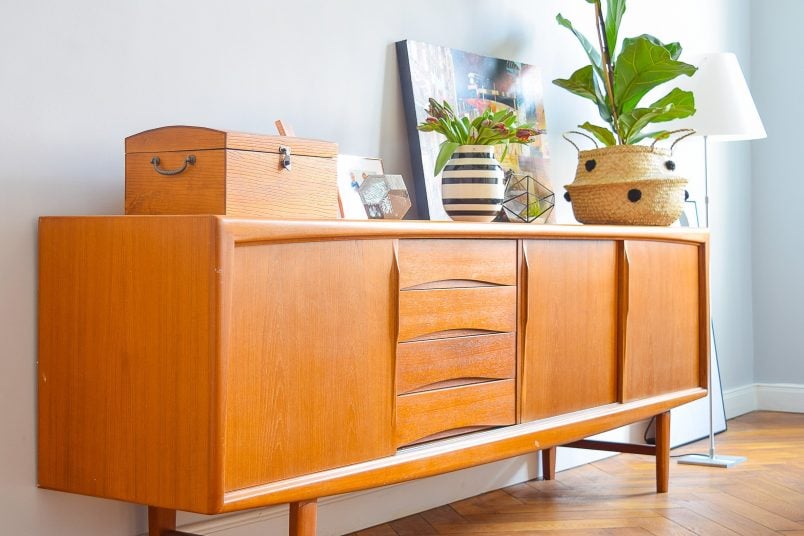
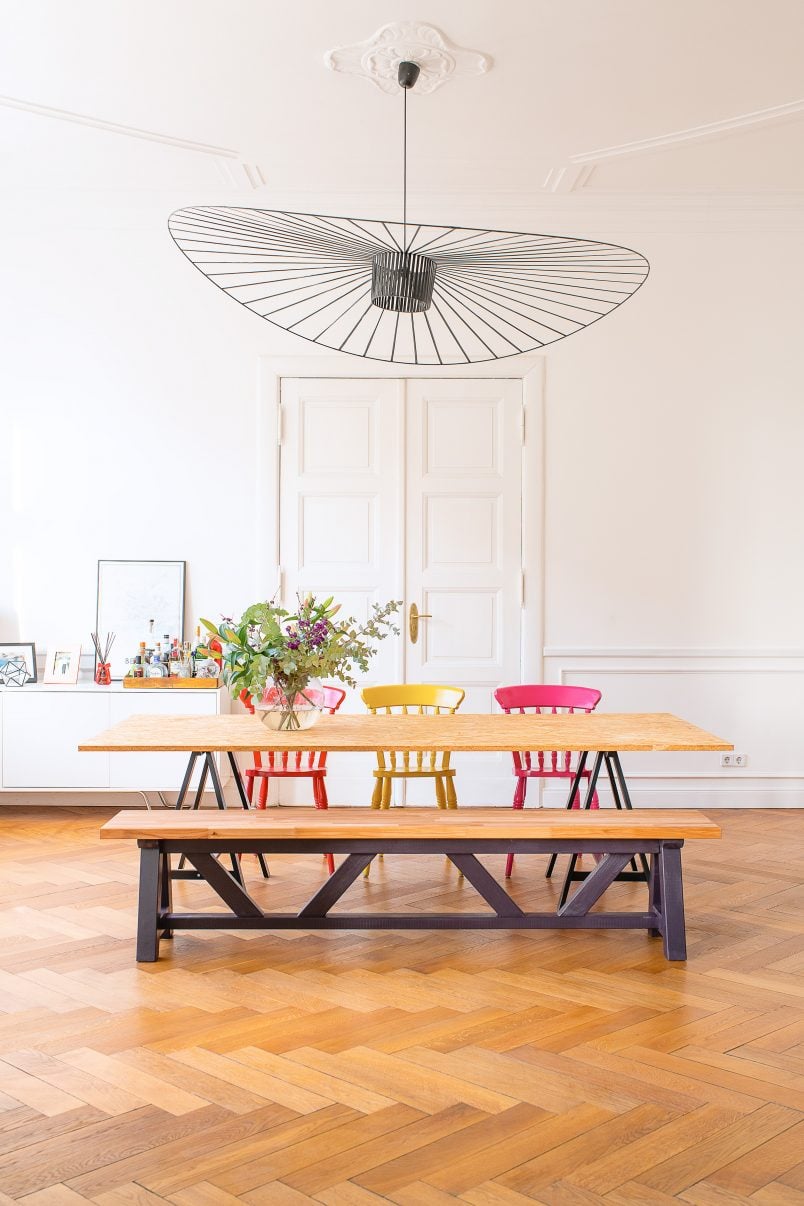
We’ve used it to oil countless pieces of furniture, including our teak sideboard, DIY beech dining bench, and new DIY console table made of reclaimed wood. It’s so easy to use and never lets us down. We highly recommend it.
Applying Danish Oil On Wood Surfaces
One of the best things about Danish oil is its easy application. Anyone can do it and achieve great results.
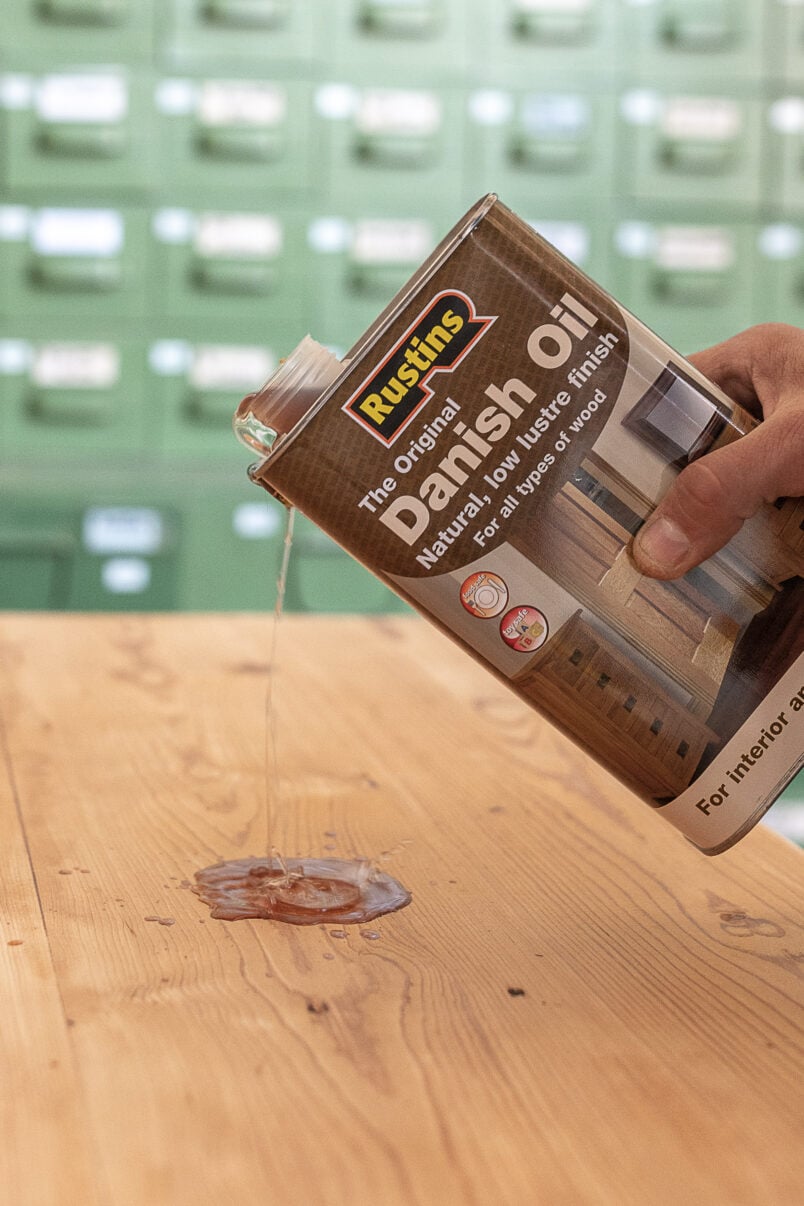
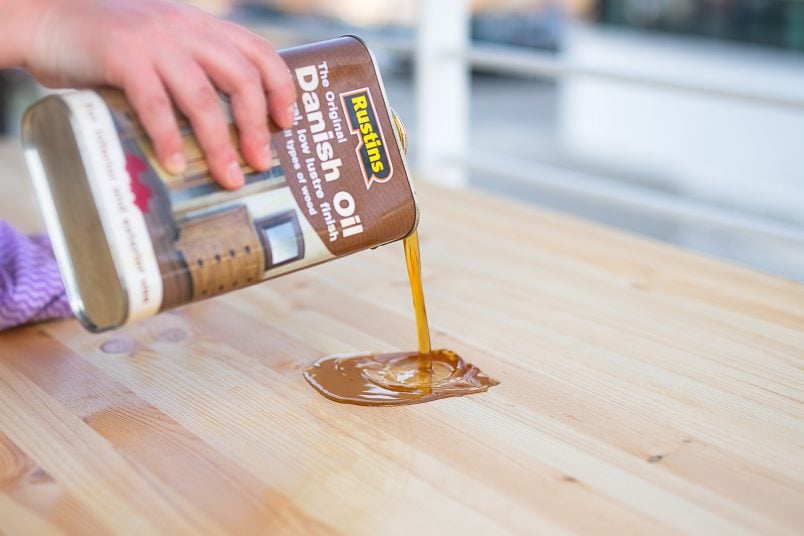
Step 1
Apply The Danish Oil
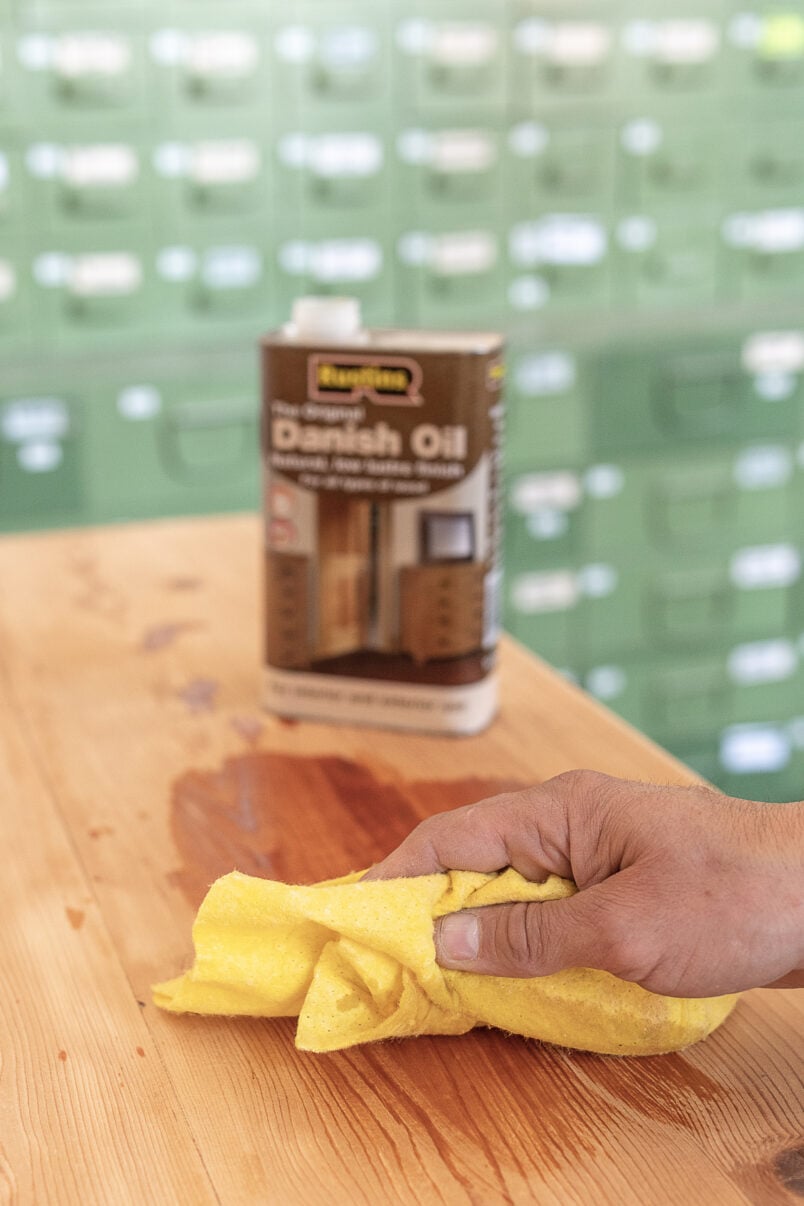
Pour a small amount of Danish oil straight out of the tin onto the surface you want to protect and evenly rub it all over the surface with a clean rag. You want the surface to be completely saturated, so use the oil liberally.
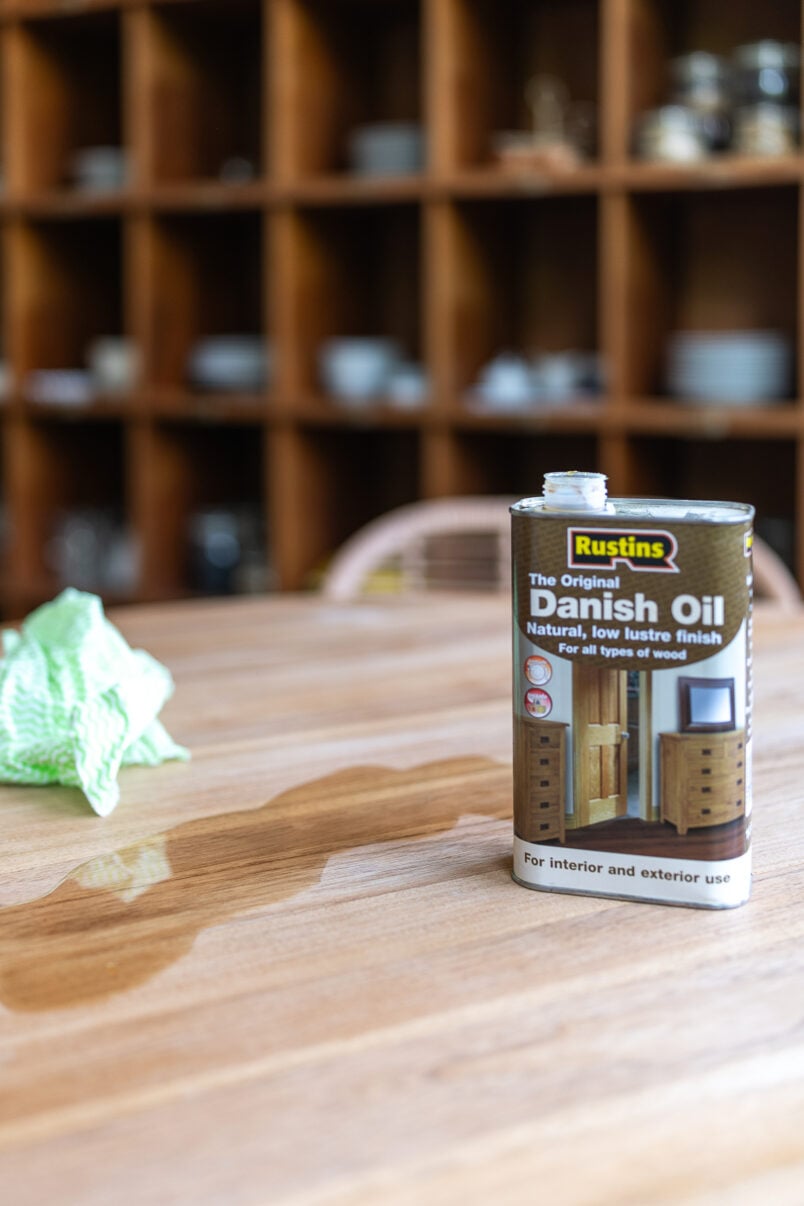
Wait about 5 minutes for the oil to soak into the wood, then wipe off any excess oil with a clean, lint-free cloth. You want to rub it until no more oil is on your cloth, and the surface feels dry.
Step 2
Let The Oil Dry & Apply More Coats
It should take about 4-6 hours for the first coat of oil to dry. Then, apply a second coat of oil. You’ll find that you need much less oil for the second coat as the wood is already saturated.
As before, rub a coat of oil over the surface and distribute it evenly with a cloth. Then, wait for the second layer to dry before applying a 3rd coat of Danish oil for the best protection.
Unlike when varnishing or painting wood, there’s no need to sand between the layers of oil. You can definitely do it if you find that the surface isn’t as smooth after applying the oil.
We sanded between the layers of oil on our DIY console table because the surface wasn’t as smooth as before. If you want to sand between the layers of oil, just lightly rub over the surface with some 320 or 400-grit sandpaper to remove any raised grain and then wipe away the dust before applying the next coat of oil.
Step 3
Buff & Finish The Surface
If the surface is a bit rough after the last coat of oil, you can also sand it with some super fine 0000 steel wool or a scourer. Use the rough side to really rub the Danish oil into the surface of the wood until it feels dry.
If you want a shinier finish, wait for for the Danish oil to harden, then buff it with a clean rag between every coat of oil. The more you rub the surface, the shinier it will get. The natural finish of Danish oil is satin, and buffing it will make it a bit shinier, but it will not become glossy.
Why should you use Danish Oil?
There are almost endless choices when it comes to treating and protecting wood. You can paint, oil, wax, varnish and even burn wood to protect it.
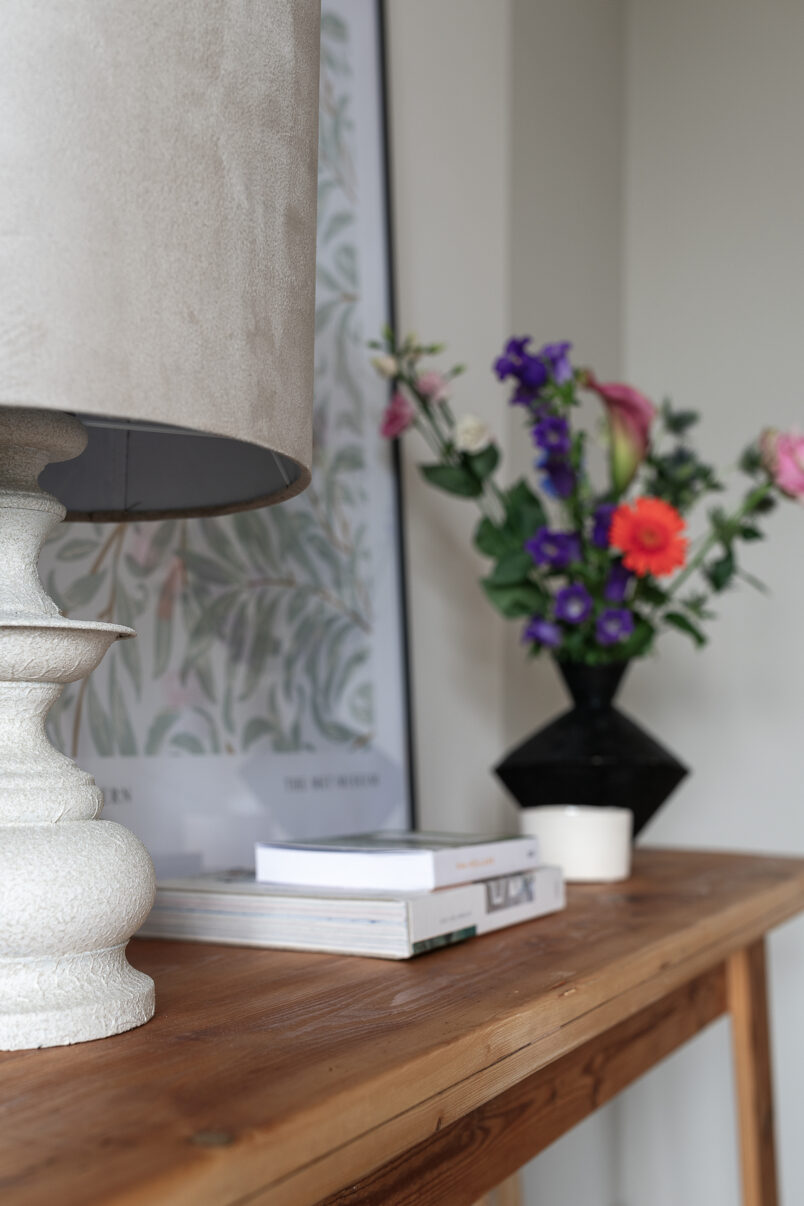
When keeping the natural look of wood, we love using Danish oil as it brings out the grain pattern and adds depth while keeping a natural, open-grained finish.
Danish oil dries hard and protects the wooden surface really well. It is easy to keep clean and makes your furniture feel amazing. Best of all, when the finish starts to wear away after a few years or lots of use, you can reapply a coat of Danish oil, and it will look as good as new again.
The only drawback of Danish oil is that it stinks when applying it. The smell completely disappears after about a day, so it’s nothing to worry about, but it is a good idea to work in an area where you can ventilate well.
Where best to use Danish oil?
Danish oil is ideal to use on all kinds of wooden surfaces like furniture, doors and handrails.
We use it on our teak dining table, our teak sideboard, and our new pine console table, and we even used it to patch our oiled floors (although I recommend using a specific floor oil if you’ll be oiling your whole floor).
Can you use Danish oil outside?
Yes, you can use Danish oil to protect things like your outdoor furniture, but the finish will wear away quickly, and it won’t offer long-term protection.
Depending on how exposed your furniture is, you’ll have to reapply the oil yearly or even more often to ensure the wood stays protected. An oiled surface is a higher-maintenance option, so we don’t recommend using Danish oil outside.
What’s the difference between Tung oil and Danish oil?
Danish oil is a blend of different oils, usually including tung oil, thinners and resins. Tung oil, on the other hand, is a pure natural oil.
Both oils will darken the wood, but Tung oil tends to darken it slightly more than Danish oil. Because Tung oil is 100% natural, it also takes longer to dry than Danish oil.
Because of the mix of ingredients, Danish oil is slightly more durable than Tung oil and is also easier to apply.
Safety When Using Danish Oil
One thing to remember when using any kind of oil is that used rags should never be scrunched up and thrown in the bin.
Oily rags can spontaneously combust, so it’s vital to spread them out flat and let them completely dry (ideally somewhere outside) before throwing them away.
Why Does Danish Oil Go Sticky?
As I already mentioned, Danish oil is extremely easy to use, and the only problem you may encounter is sticky oil that isn’t drying. This is almost certainly because you’ve applied too much oil.
Whilst you do need to apply the oil liberally, it’s also important not to let it puddle and wipe away any excess after it’s soaked into the surface for a few minutes.
If you have a sticky surface, wipe it down with some white spirit (or mineral spirit as it’s called in the US) to remove the stickiness. Let the surface dry, and then repeat the oil application, making sure not to use too much oil.


Leave a Reply