You can never have enough magnets! They help keep random bits of paper and notes together, they’re great for attaching photos and other memorabilia to the fridge and most importantly they help us stay organized.

Inevitably, it was only a matter of time till we made our own. As they’re for our fridge, we thought it would be fun to stick with a foodie theme and made these DIY liquorice allsorts magnets.
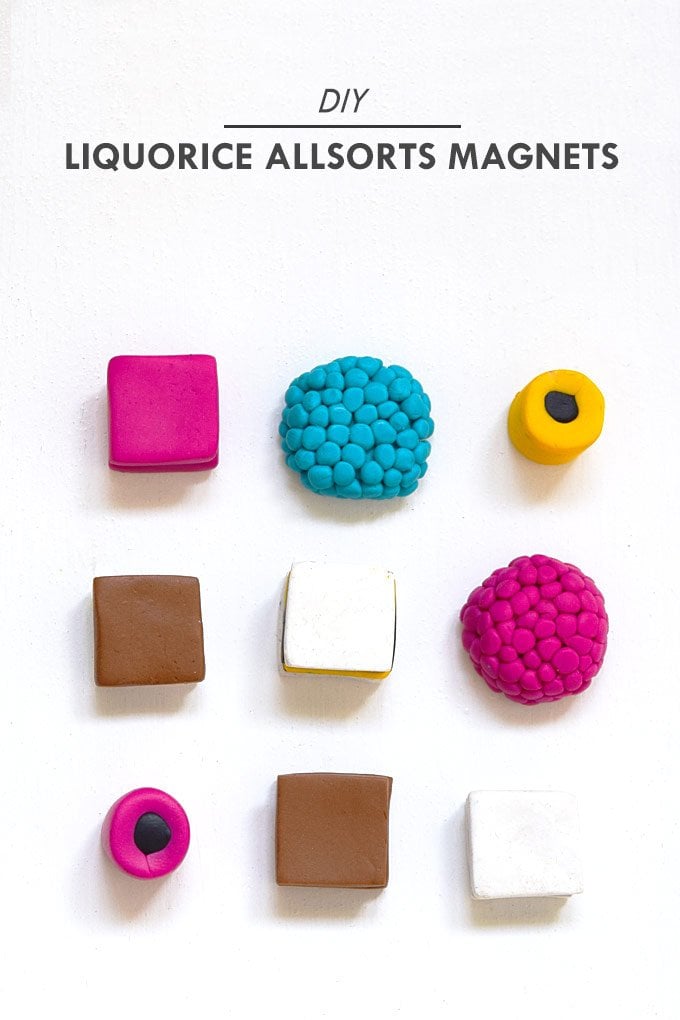
They were really easy to make and you could make hundreds out of just a few packets of different coloured clay.
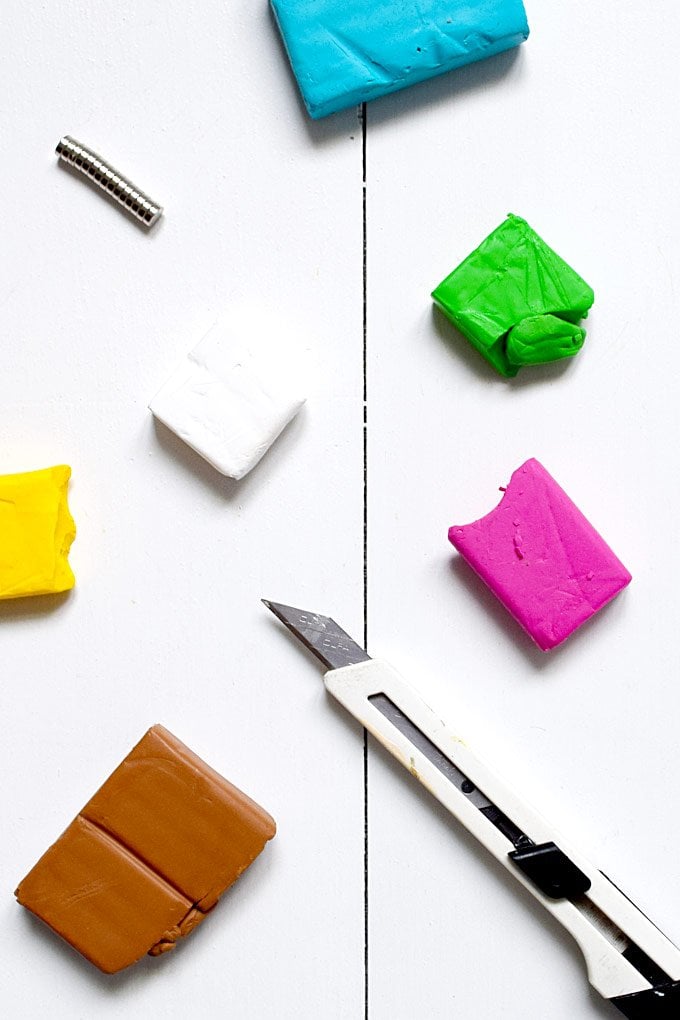
This is what you’ll need to make your own liquorice allsorts magnets:
This post contains affiliate links. As always, we only recommend products we love and think that you will, too! Read our full disclaimer here.
- Polymer clay (we used Fimo)
- Craft knife
- Rolling pin (we just used a smooth pen instead)
- Magnets (these are the magnets that we used)
- Oven
This is how to make these liquorice allsorts magnets:
1. Knead your clay to make it soft and pliable. Then use a rolling pin to roll it out to a smooth and flat disk which is about 3 mm thick.
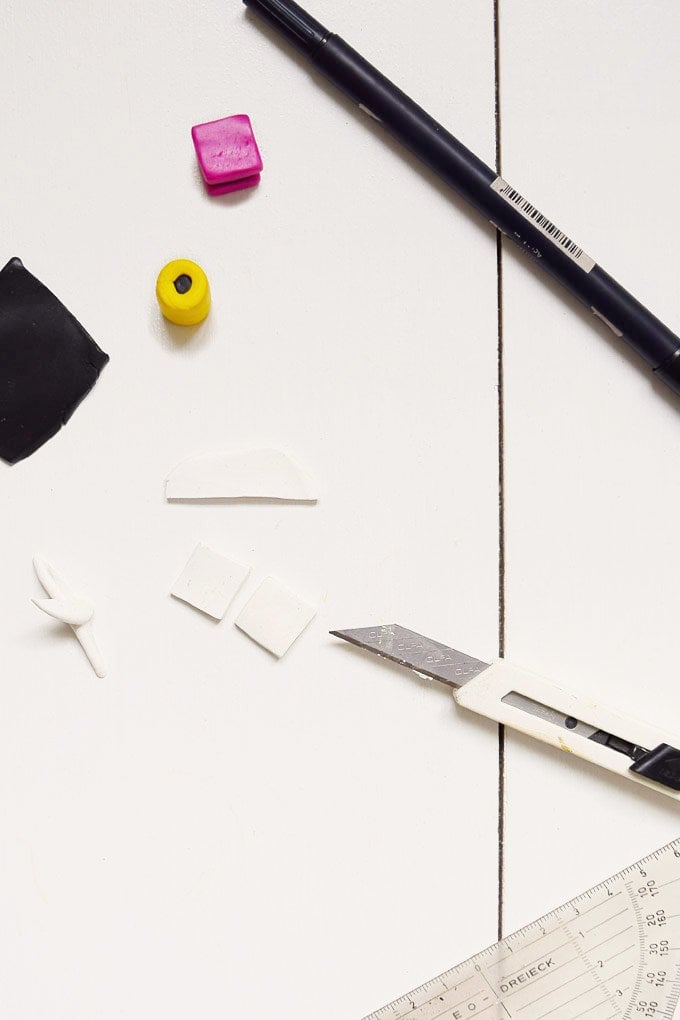
Then cut out some squares using a craft knife and a ruler. All squares should be roughly the same size – ours are about 1.5 cm.
2. To assemble your piece of liquorice it’s just a matter of laying the small squares on top of each other in the order you want and slightly squishing them together.
3. Next, insert the magnet at the back of the piece liquorice. Use a craft knife to remove a tiny bit of the clay to make an indent for the magnet to fit into.
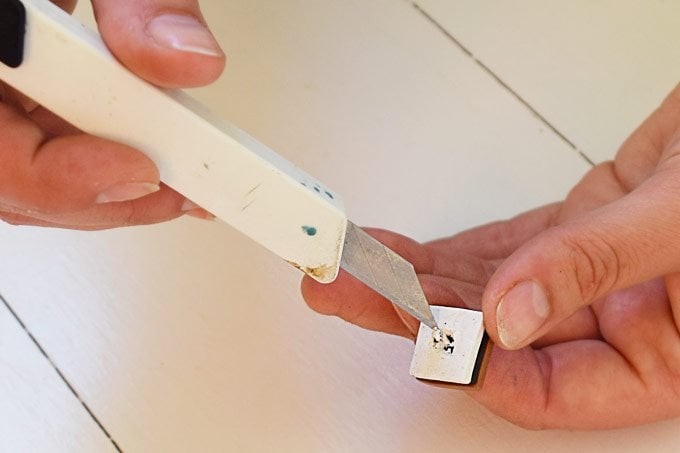
It doesn’t have to be the exact size of the magnet, but removing just a bit of the clay makes it easier to push the magnet into the piece of liquorice.
4. For the round liquorice allsorts cut out a rectangle of clay. Roll another piece of clay into a small sausage shape which is a bit shorter than the width of your rectangle.
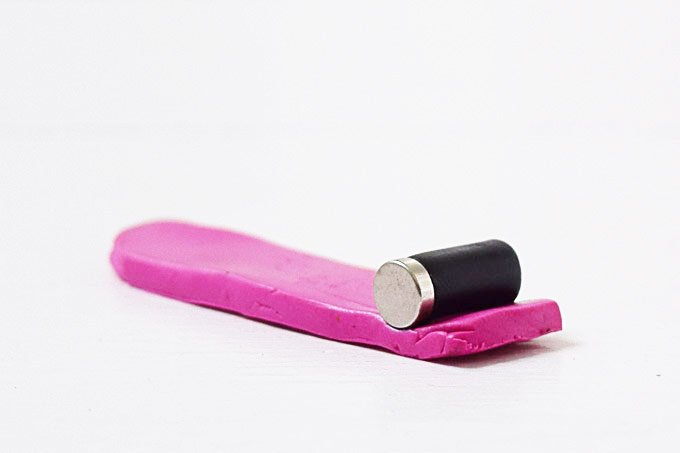
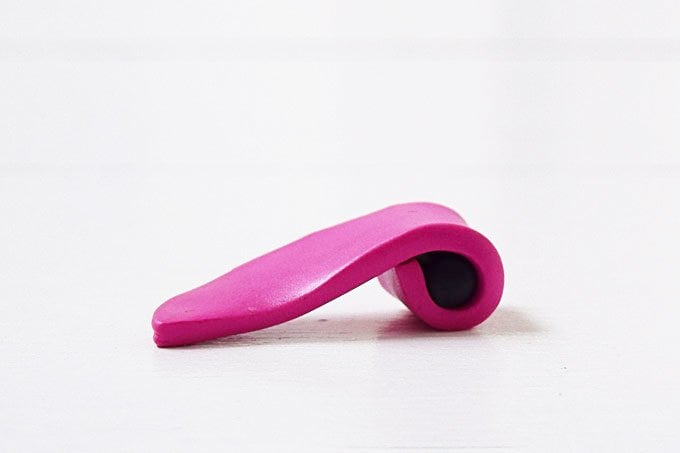
Insert the magnet at the bottom of the sausage and then wrap the clay rectangle around it.
5. When you’ve made all of your liquorice shapes place them on some aluminium foil and bake them according to the instructions. Ours took half an hour at 110°C. As soon as they’ve cooled down your magnets are ready to use!
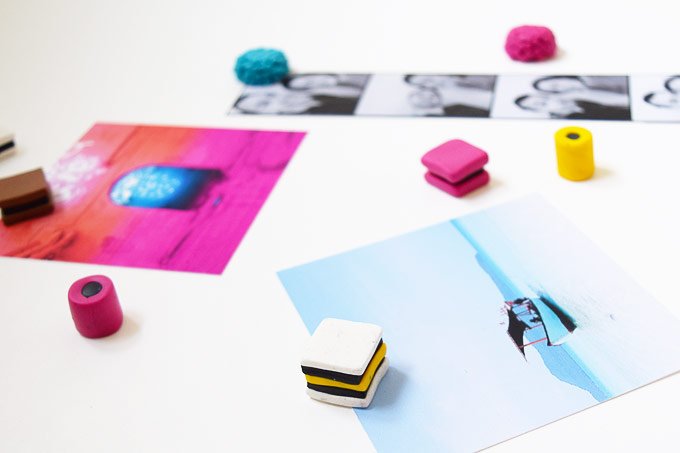
6. Depending on how securely the magnet is fitted and baked into the polymer clay it may pop out when you stick it to your fridge (or any other metal surface). If it does just use a small dot of super glue to secure the magnet back in the indent of the clay.
It would be fun to add some more food themed magnets to the fridge – maybe some donuts or ice cream cones? Or maybe we’ll add some fruit – you know, as a healthy alternative!
How do you stay organized? What do you display on your fridge?
Kezzabeth says
What a great idea! They even look yummy enough to eat. ;) Our fridge is full of letters and things I don’t want to misplace.. Only problem is we only have a couple of magnets and everything constantly falls of! I think I need more magnets like these ;) x
Christine says
Thank you so much! You can never have enough magnets! They’re the only thing that keeps the chaos on our fridge, well, stuck to the fridge! ;)
Cx
Life Loving says
These are so cute. I can’t believe you made them. I thought they were real allsorts when I first saw them.
Sally @ Life Loving
Christine says
Aww, thanks Sally!
Cx