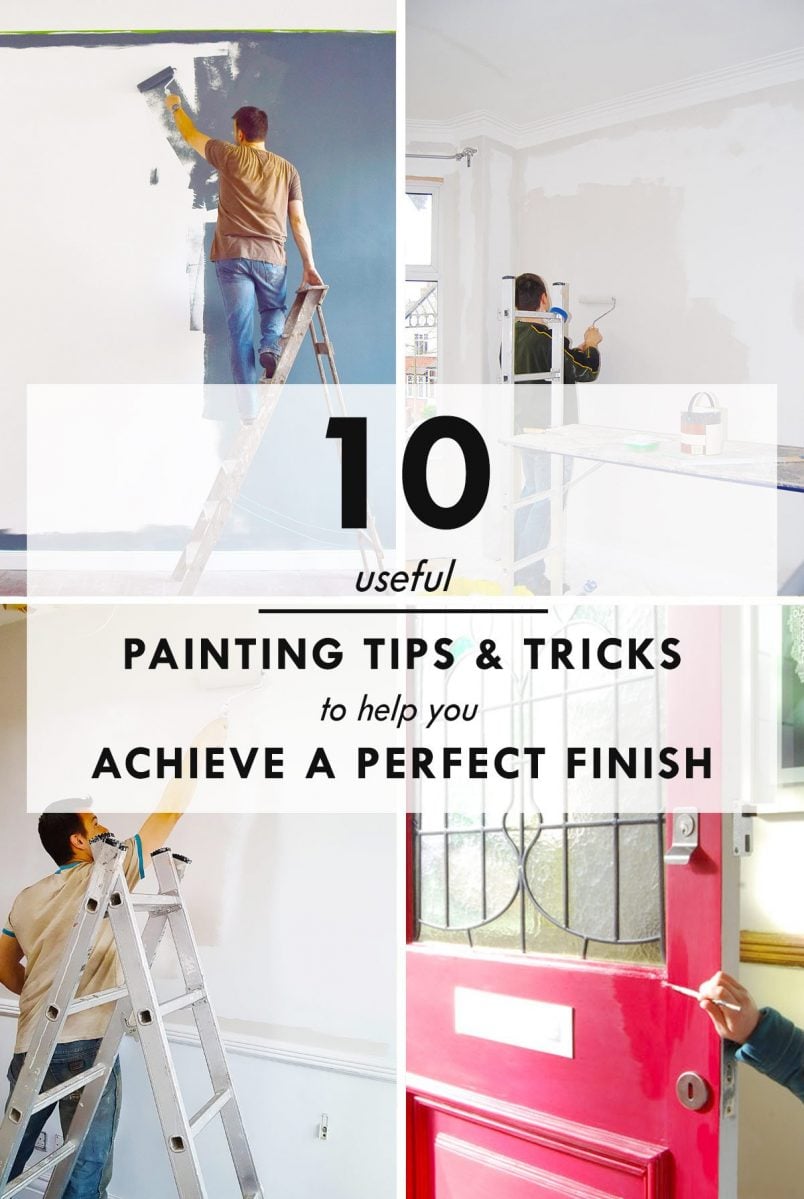
All of this week we’re sharing some of our favourite painting tips & tricks with you!
On Monday we shared our top 3 practical reasons why painting your walls a dark colour is a good idea and today we’re sharing our favourite painting tips & tricks to help save time and achieve a perfect finish.
Painting is easily our favourite way to transform a room on a super limited budget.
With a full house renovation behind us, we’ve definitely had more than our fair share of painting experience. We’ve learned so much over the last 7 years of DIYing. We’ve definitely improved our painting technique over the years so it only seems fair to share some of our best advice with you, too!
Here are our Top 10 Painting Tips & Tricks
1. Use The Right Type Of Paint
There are so many different types of paint that it can feel like an impossible task choosing the right one.
There are primers, emulsions, specialist paints for covering mould, damp, rust and all sorts of other things, acrylics, solvent-based, water-based – it’s an almost endless list. Choosing the right type of paint is vital as you’ll only ever achieve a perfect finish if you use the right product for the job.
We love water-based paints even for our woodwork but if you’re painting anything outdoors we would always recommend opting for solvent-based paint.
Yes, it involves more pfaffing when cleaning your brushes (that’s because any solvent-based paint has to be cleaned with specialist brush cleaner or turpentine substitute) but it’s more durable than anything water-based. And, if you’re anything like us, you probably don’t want to have to spend time repainting again anytime soon.
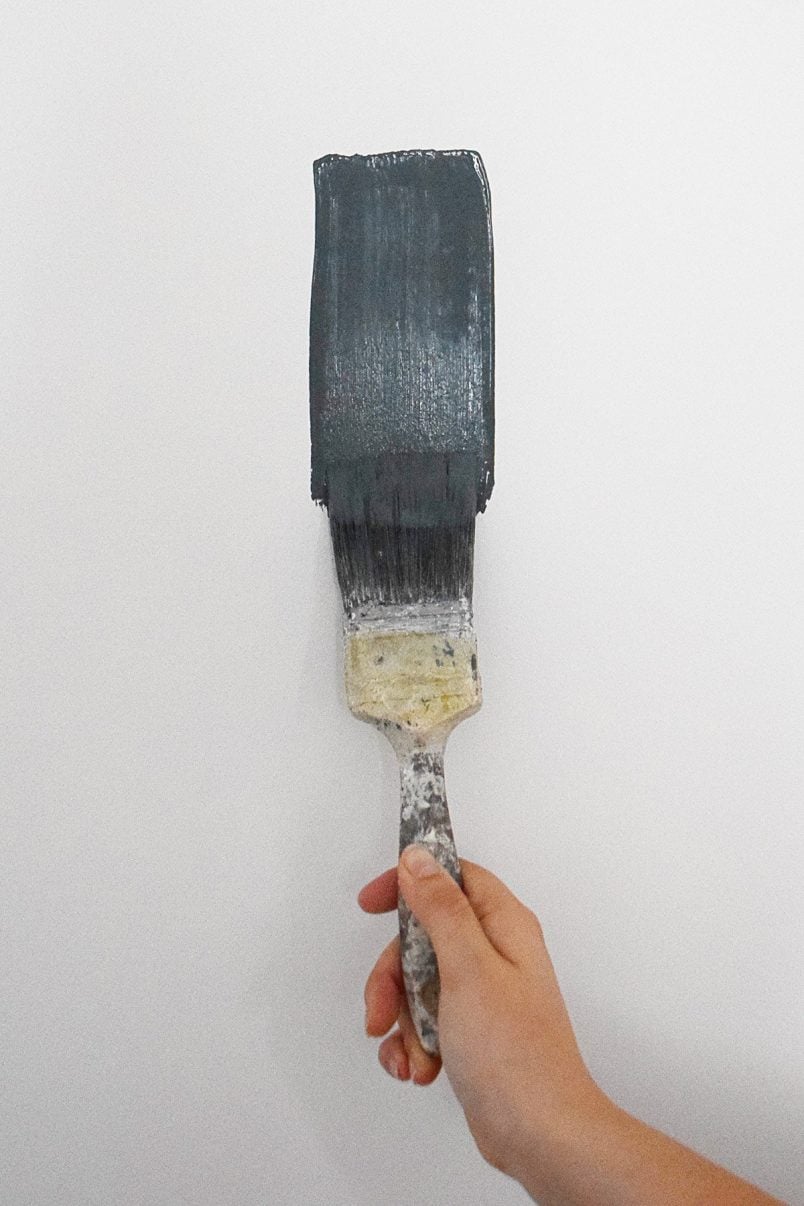
Something else that can help you achieve a great finish is to always finish on an upward stroke with your paintbrush (especially when using solvent-based paint) as the brush strokes will disappear (or at least become much less visible).
2. Use The Right Tools
Using good quality brushes makes a huge difference and is an investment worth making. I can’t stress how important they are to achieve that elusive perfect finish.
This post contains affiliate links. We only recommend products we love and think that you will, too! Read our full disclaimer here.
We still have the same set we bought (this is the set of Purdy paintbrushes we have and recommend) just after purchasing our first home (over 7 years ago now!) and we’ve used them to paint everything from walls, floors and our exterior plaster & brickwork, right through to varnishing and oiling floors and furniture. They’re the only brushes we use and even after some serious use they’re still in a perfect condition.
Even if you neglect cleaning them for a bit (which you shouldn’t do but we’re totally guilty of) they still clean up really well. Although I admit that we forgot about one once and it was sadly unsalvageable.
These Are Our Top 3 Painting Essentials

3. Stir It!
Stir your paint more than you think! It tends to separate so the longer it’s been stood around the more you’ll have to mix it.
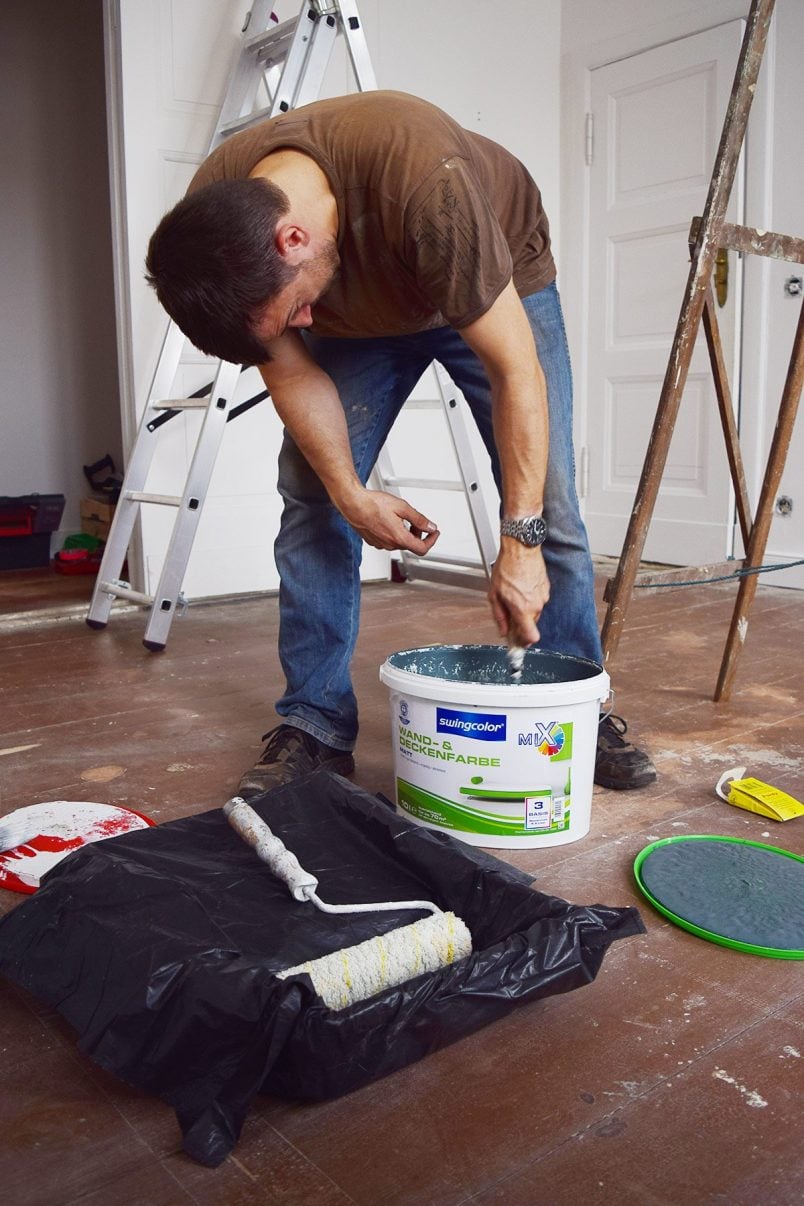
This is especially true when you’ve had your paint mixed in store. Mix for a good 5 minutes but don’t be too vigorous. You don’t want too many air bubbles in the paint.
If you’re using paint from two different pots it’s also a good idea to mix them together. There can be subtle differences in mixed colours so combining them before you paint will ensure that the paint is evenly mixed.
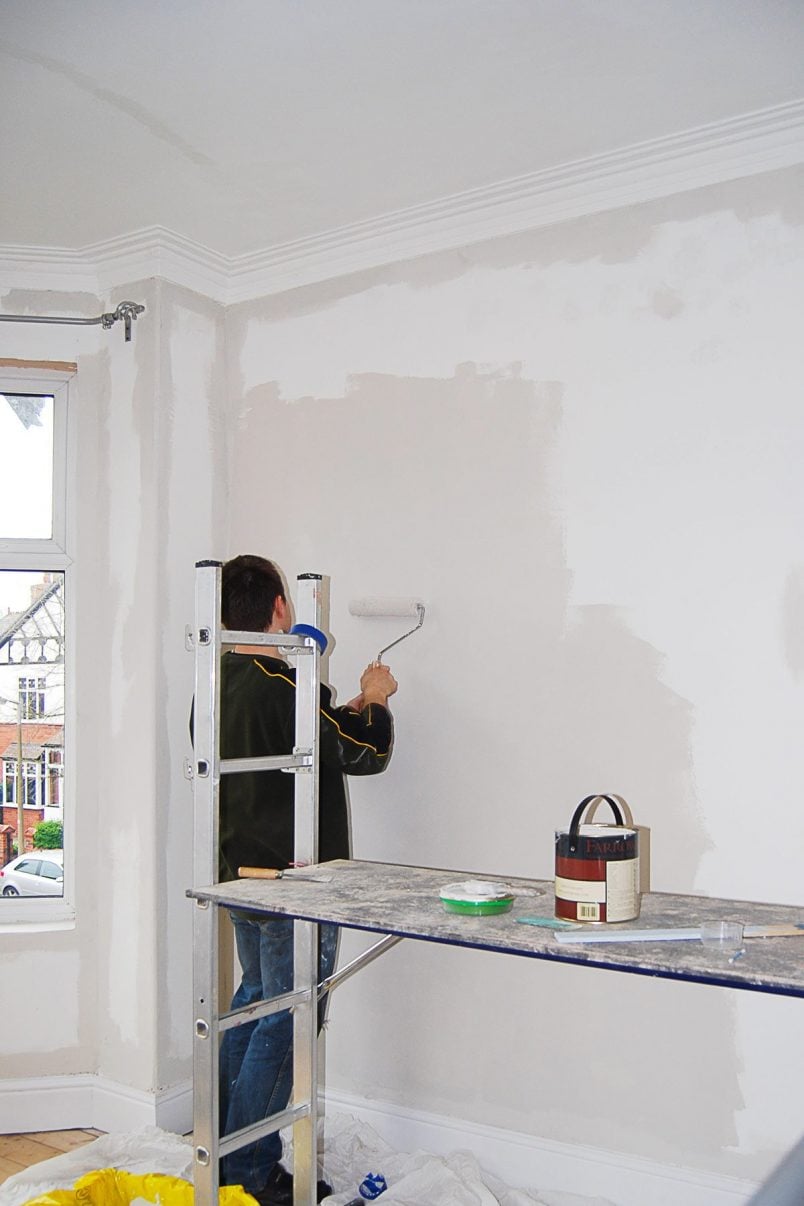
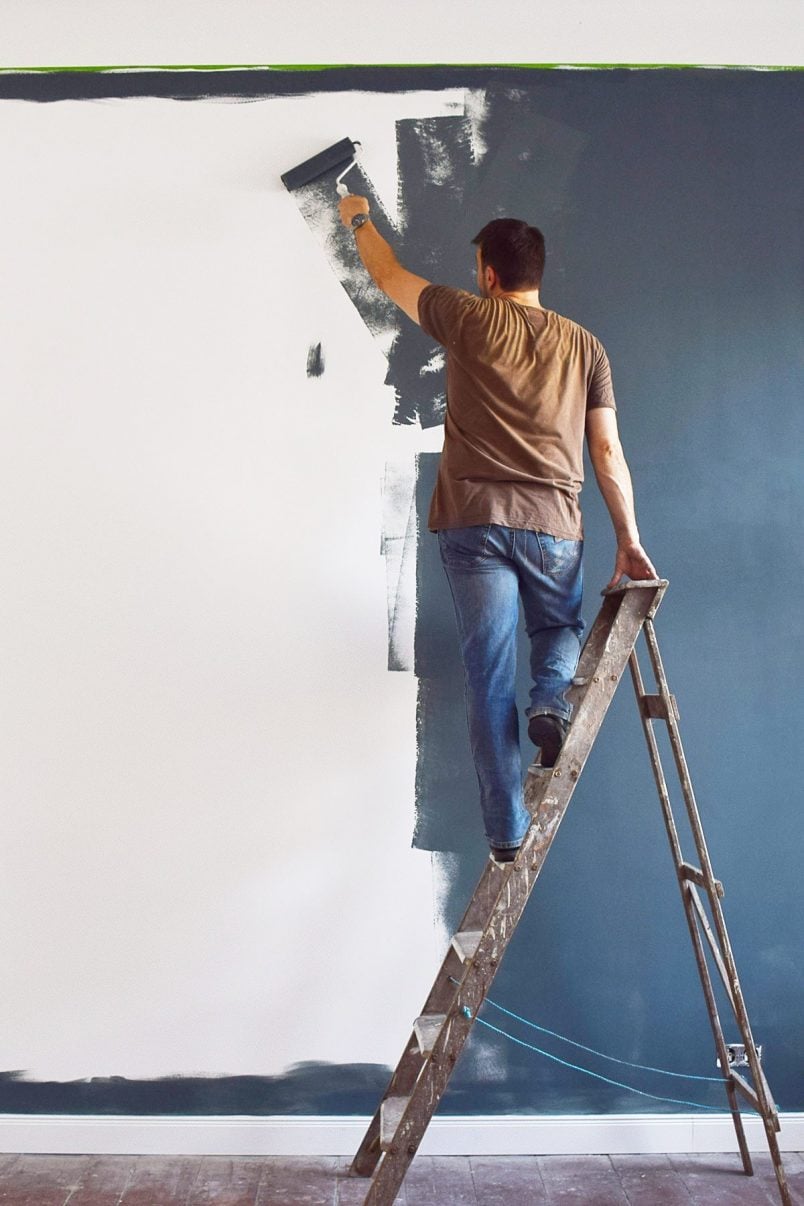
4. Keep It Wet!
Achieving a perfectly even finish can sometimes be difficult but the best way to ensure that your wall doesn’t end up patchy is by painting your wall in one go without letting the paint dry.
Always paint full walls at a time and work from one side of the wall to the other making sure that the edge of the last paint you’ve applied doesn’t dry before you have a chance to roll on more paint.
Ideally, you’ll even do the cutting in at the same time as using the roller!
5. Tape it!
I always use as little masking tape as possible and I totally admit that it’s because I’m too lazy.
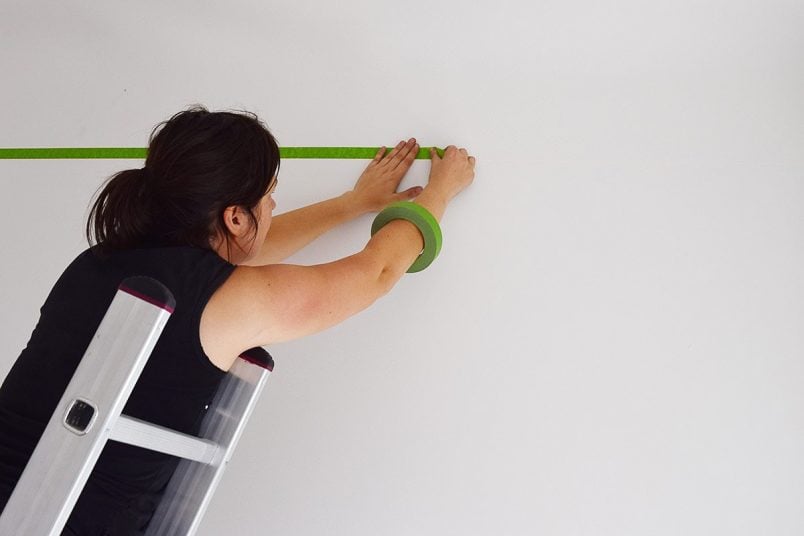
Whilst it does make sense to use masking tape every now and then, I do also think that it’s often quicker to remove things like switches and sockets for painting and then reattaching them when you’ve finished. And, even if it’s not quicker, it definitely results in a better finish.
6. Remove It!
If you do use masking tape, try to remove it as soon as possible as over time it can stick to the walls too much and rip off the paint below.
To ensure you’re left with a perfectly crisp and clean line without any paint bleeding through, paint the edge of the masking tape the colour you’re bordering on first. The paint will seal the edge of the tape and stop any other paint from seeping under it.
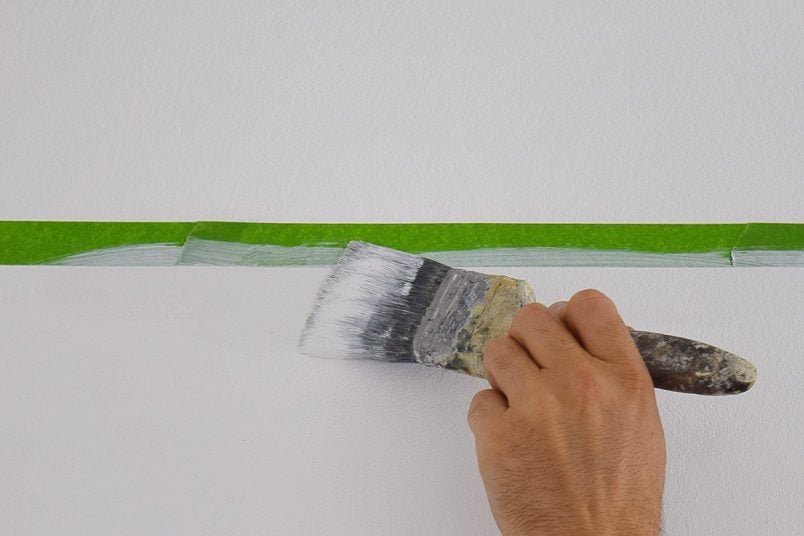
It may not exactly be a secret anymore but it’s still surprising just how many people haven’t heard of this trick which is especially useful if you’re painting a drastically different colour.
7. Order It!
If you’re painting the ceiling, paint it before you paint your walls. Blobs of paint will inevitably end up on the walls – it just can’t be avoided!
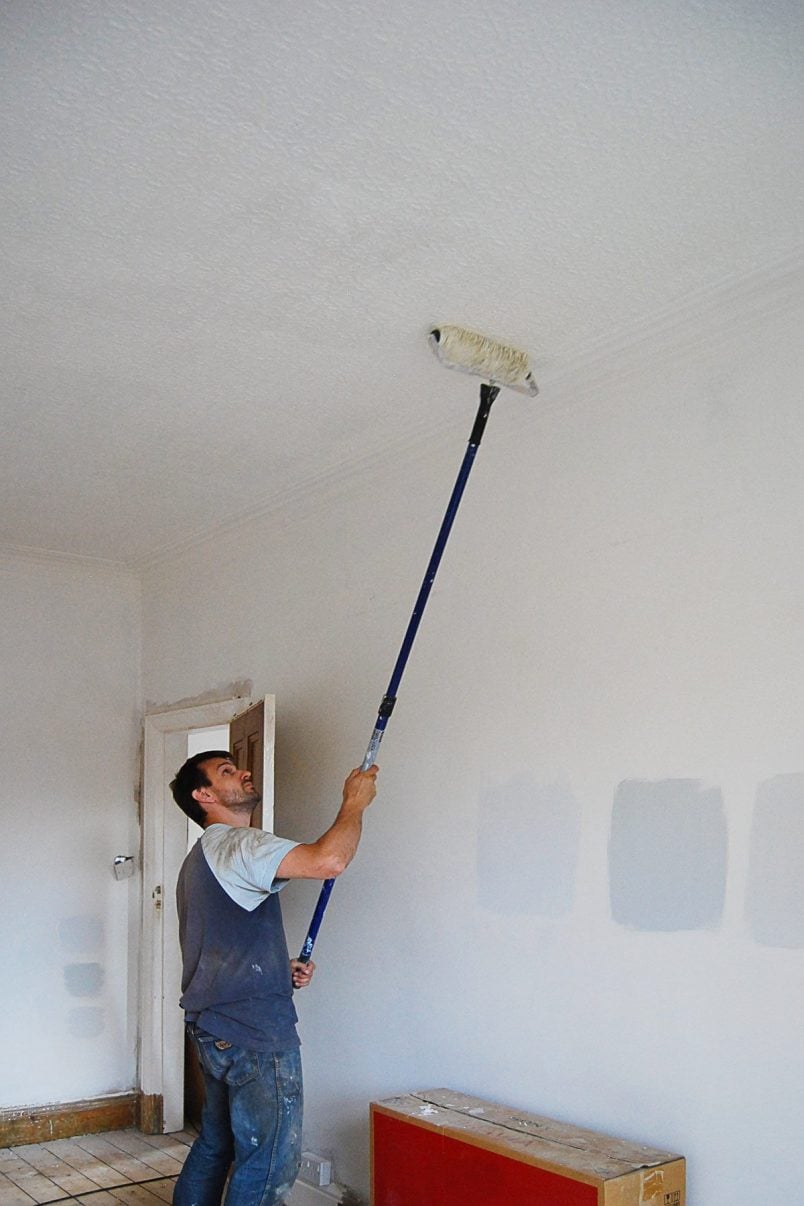
You really don’t want to finish your walls and end up with paint splashes all over them!
8. Prime It!
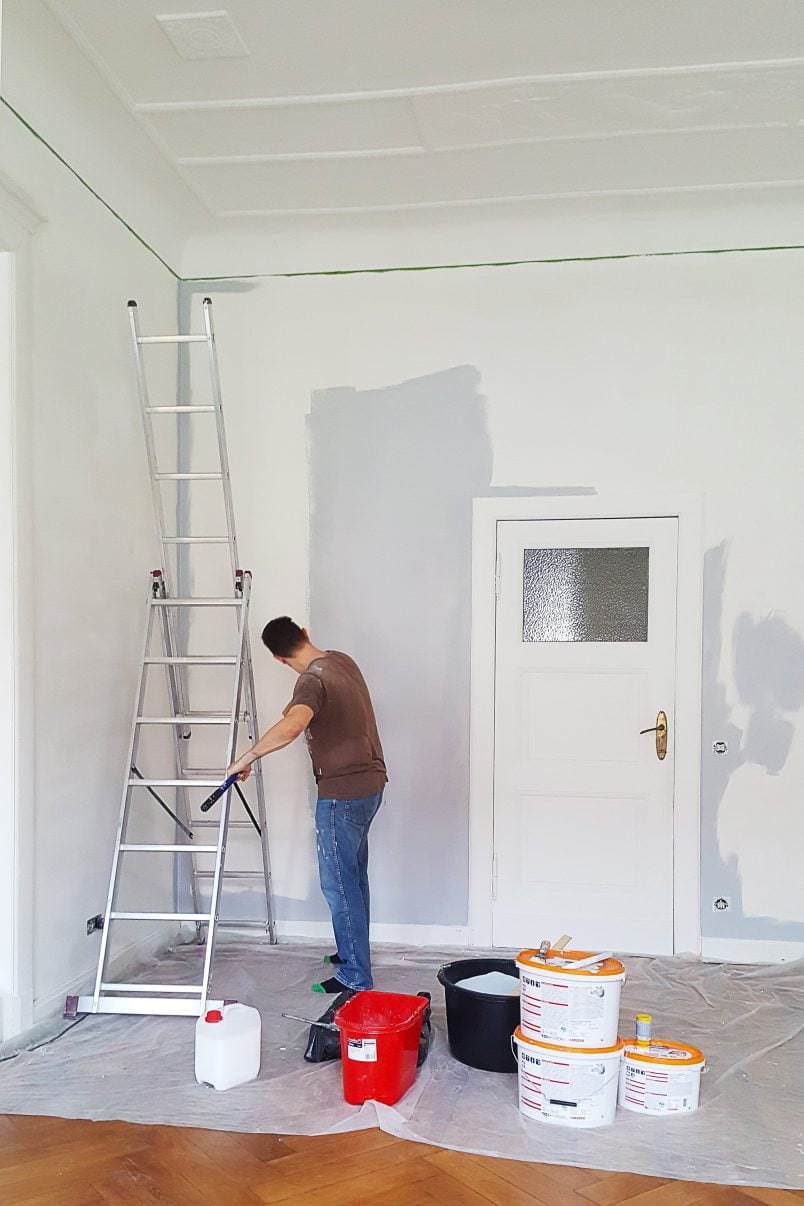
If you’re painting newly plastered walls or untreated woodwork it’s really important to prepare your surface first.

Here are some of our favourite posts about how to prepare your surfaces.
How To Paint Over Gloss – If you want to paint over a gloss painted surface with emulsion this post is for you!
Priming & Painting Walls – Here’s where we share our go-to method for painting freshly plastered walls.
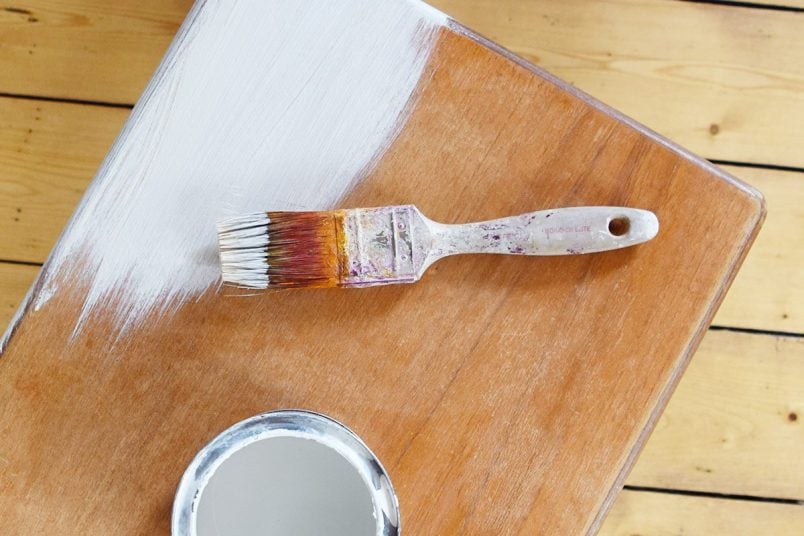
9. Sand It!
Sanding is the secret to achieving a perfect paint finish. It doesn’t matter if it’s plaster or timber that you’re painting. Any paint finish is only ever going to be as good as the preparation you’ve done beforehand.

When painting woodwork, sanding is particularly important which is why we shared a full in-depth post on How To Paint Wood here.
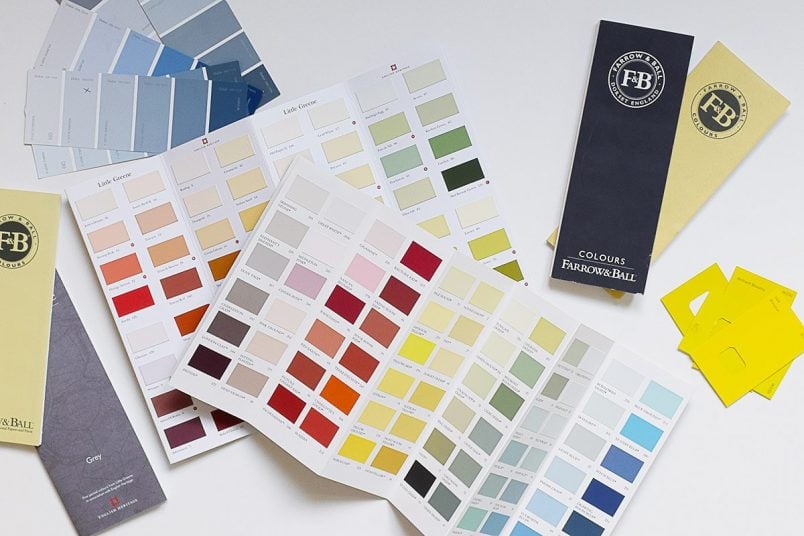
10. Sample It!
Paint your samples onto large pieces of paper and not on the walls. There are loads of benefits of testing your samples this way.
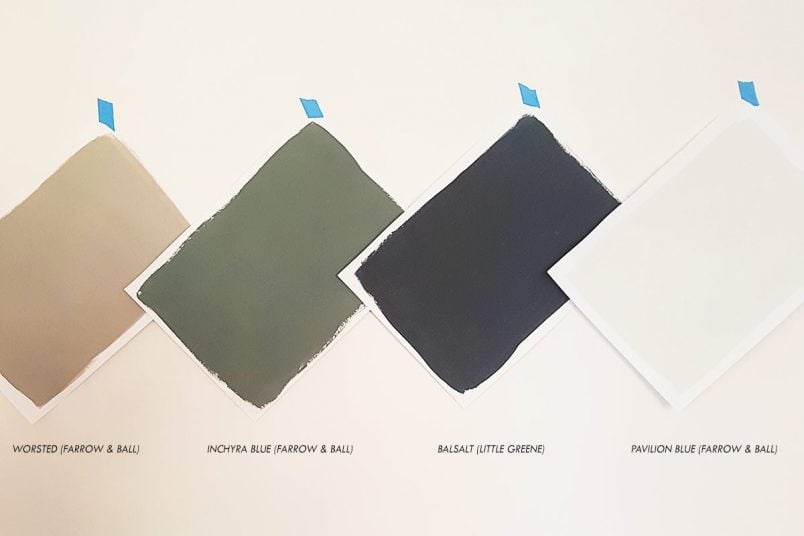
First of all, you can keep them! That means that if you ever move house you’ll still have loads of samples to take with you and don’t have to buy new sample pots.
Most importantly though, you can move your samples around both within a room and from one room to the next and you can compare them with each other. Basically, it allows you a huge amount of flexibility which has got to be a good thing!
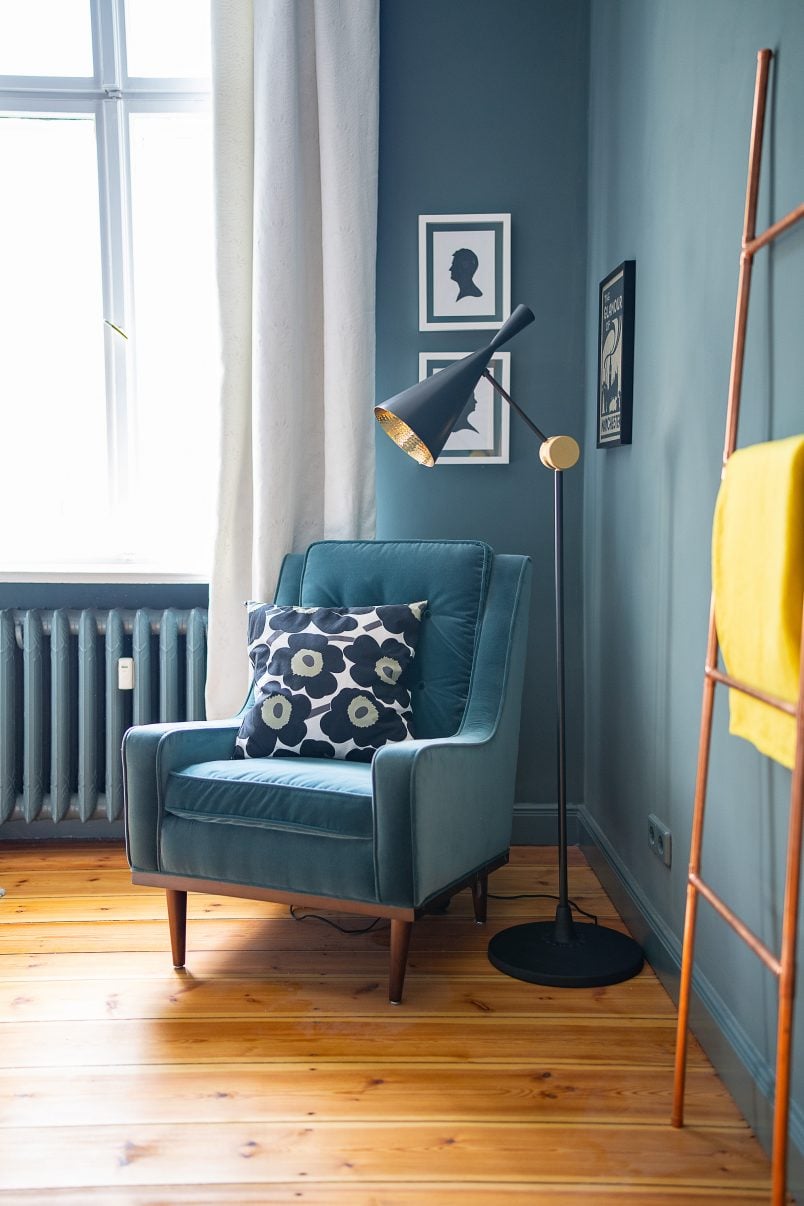
What’s your favourite painting trick? Do you love to paint as much as we do? We’ve recently crossed over to the dark side (you can see our newly painted bedroom here). Do you prefer light and bright interiors or dark and moody ones?
keith thompson says
Hi again,
I was thinking of how lucky i’ve been to find your site. I was going to sand my own floors and looked for best advice on how to do this – i stumbled upnon your page. I had a great read, but chose instead because of work pressure to have it done professionally. They did my one room two guys in 2 days and the boss came in for the third day to finish last coat. less than a week later i had a brain hemorrhage ! I would have been in strife but the finish is great and i continue to look at your blog for inspiration -= well done you guys deserve the results of your hard work!
btw – what switches and plugs sockets did you get (silver with white insert ) please?
Best,
Keith
Christine says
That’s so kind of you, Keith! It always makes us so happy to hear that we were able to help in a small way, even if it means that you decide to have something done professionally because you know that it would be too much work for you to do yourself.
The switches and sockets are these ones http://www.gil-lec.co.uk/switches-sockets/screwless-flatplates/hamilton-sheer-cfx/. Ours are stainless steel with white inserts.
Cx
Lucy, Kent ~ England says
I paint lining paper samples (A3) with tester pots and hang them in different areas of the room I then photograph them throughout the day and when I turn on the lights. This then gives me a real idea of how the room will look as I see the changes in light through the day.
I also (when cats permit) put my `painted samples’ close to my furniture, curtains, lamps, rugs and cushions and again photographing. This means I can `see’ how the completed room will work or not.
I use a book that has clear polythene pockets to store my samples and measurements. Slightly off topic but a nice thing to do is that I leave a copy of all my home measurements for the next occupier.
Christine says
Great minds, Lucy! We have a small stack of A3 paint samples now and I wish I’d started trying different paint colours this way so much sooner!
I like the idea of painting samples next to your furniture and other items, too.
When we moved, we created a little album for our buyers. It had lots of useful things in it like appliance manuals but I also included a list of all colours we’d used, which brand of light switches and sockets we’d used (in case they wanted to add more that matched) and a map of our road with the names of all neighbours. Anything that makes life easier when moving home has got to be a good thing!
Cx