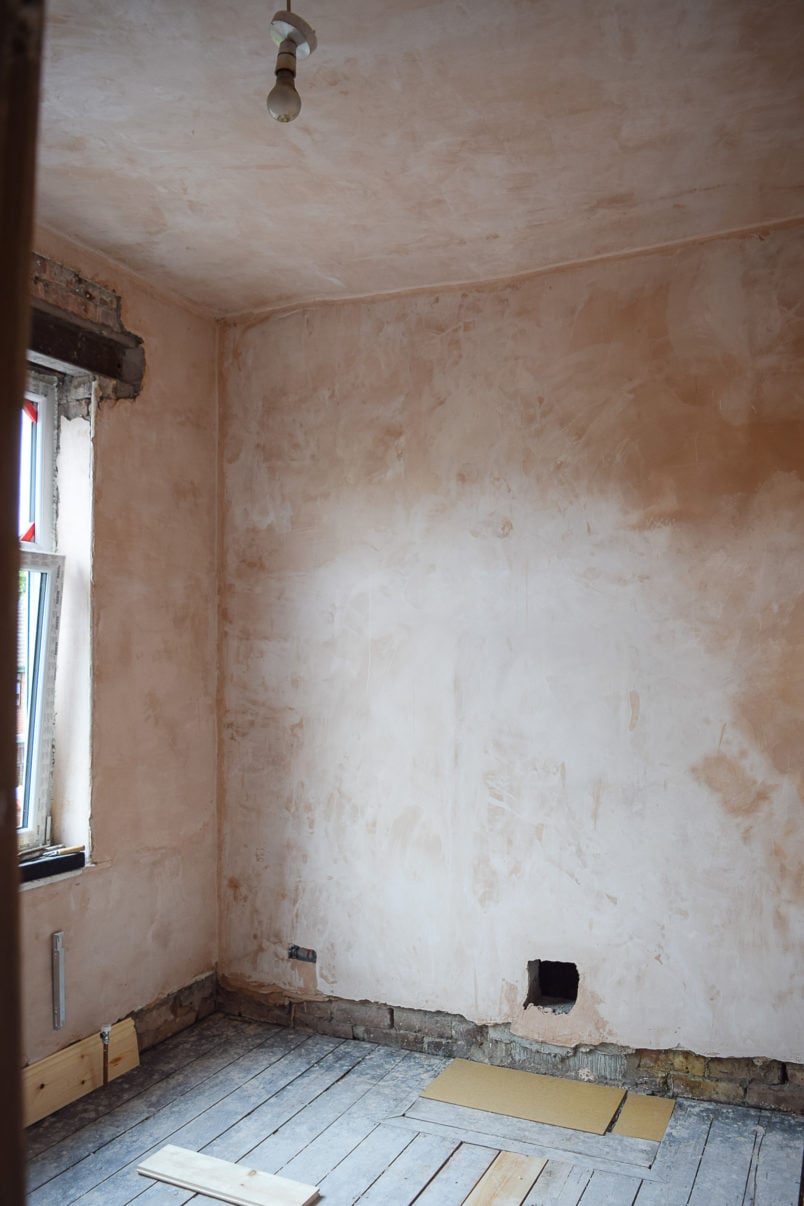
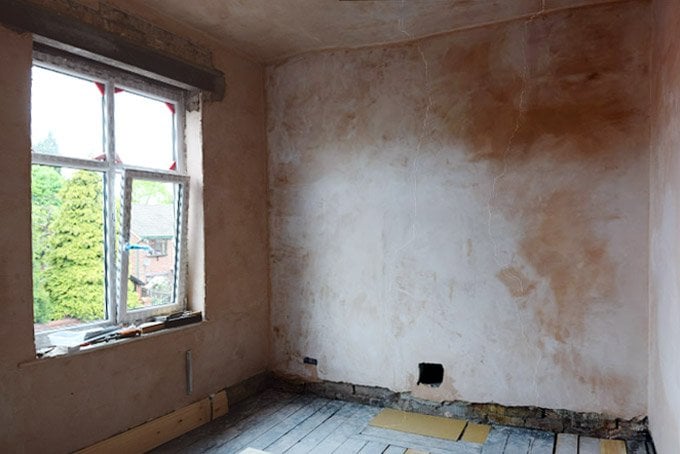
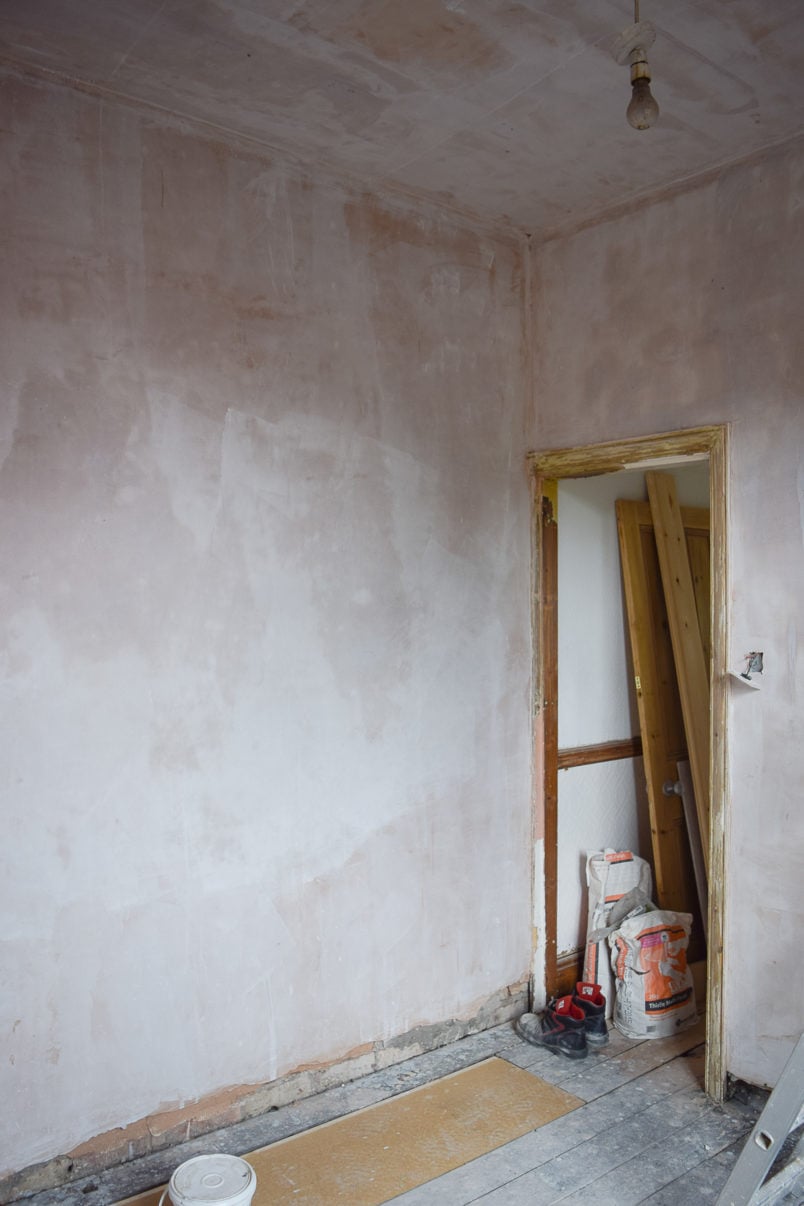
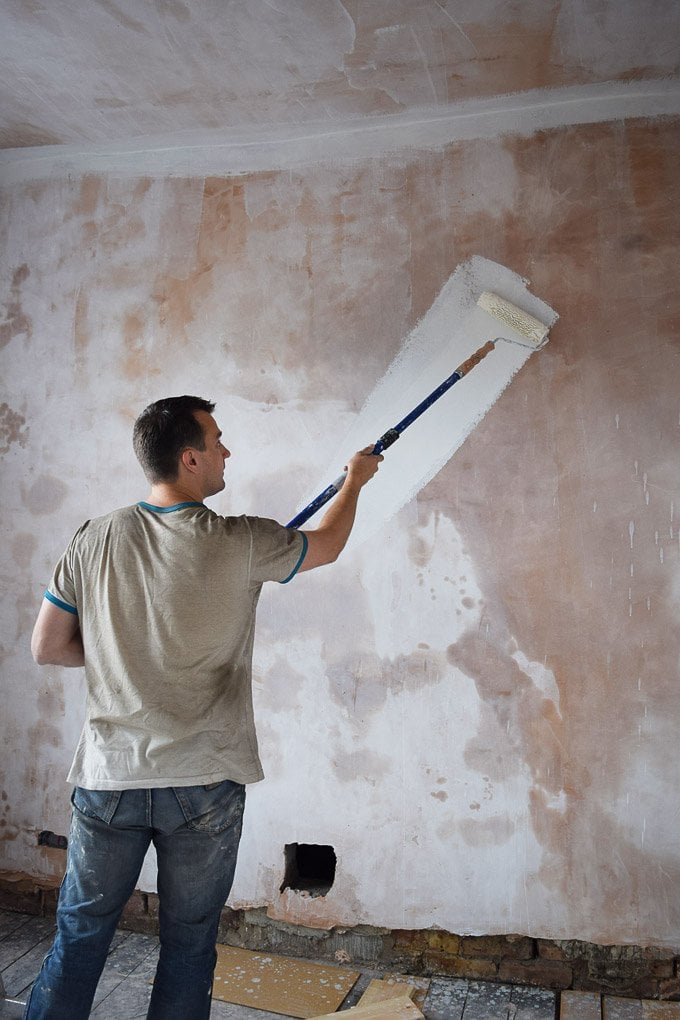
Now we’ve completed plastering our fourth bedroom, we’re super excited to be able to move on to the more fun part of getting this room finished and we’re starting with painting everything including painting our newly plastered walls.
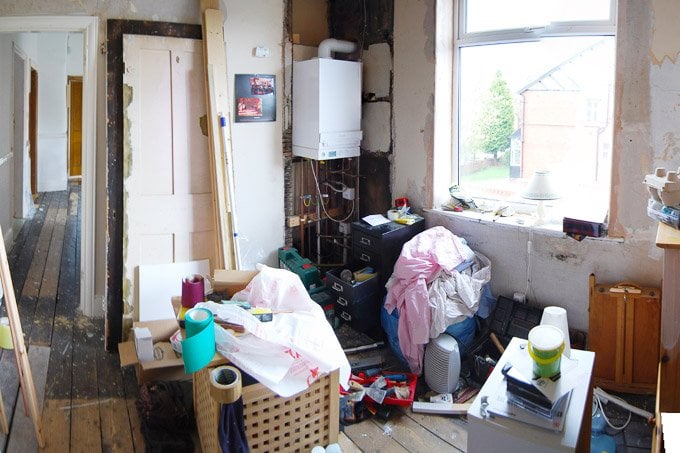
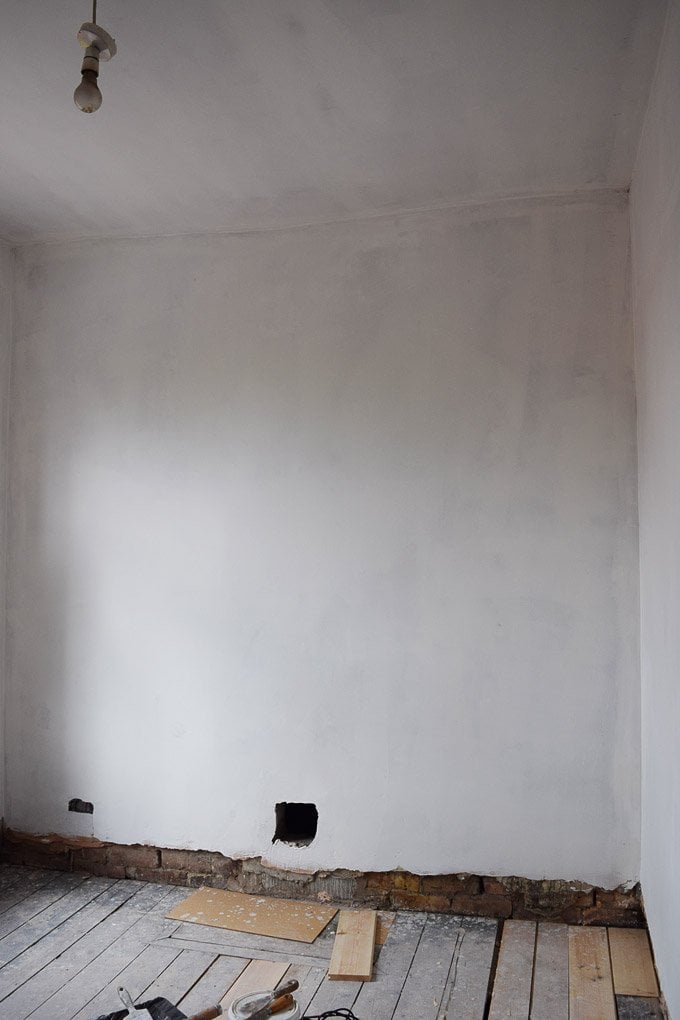
The room has already come a long and definitely doesn’t look like this anymore but there’s still a lot to do to get it finished.
First up on our long list of jobs to complete is priming the new plaster walls for painting. As much as we’d love to start painting our freshly plastered walls straight away, the bare plaster walls will have to be primed first.
Fresh plaster is really dry and porous which is why you have to seal the surface so that it doesn’t suck all of the liquid out of your paint and leave you with a gloopy and flaky mess.
Painting new plaster is a very easy DIY job and you don’t need any special primers or products to paint fresh plaster. There are a few things you do need to consider before painting your newly plastered walls though.
Here’s our step by step guide with everything you need to know about how to paint newly plastered walls or ceilings:
This post contains affiliate links. We only recommend products we love and think that you will, too! Read our full disclaimer here.
Step 1
Let The Plaster Dry Completely
It’s important to wait for the plaster to completely dry before you start painting plaster walls for the first time as any residual moisture in the plaster will get trapped under the paint and will cause the paint to flake when the moisture tries to escape.
How long you have to wait before painting your newly plastered walls or ceiling will depend on a few different factors like the weather, how thick the plaster has been applied, what’s behind the plaster (is it a brick wall or plasterboard) and the type of plaster you’ve used, too.
We always recommend waiting for at least a week before even thinking about painting newly skimmed walls but ideally, you’ll wait 3-4 weeks (or even longer if it’s really thick plaster) for it to fully dry.
Step 2
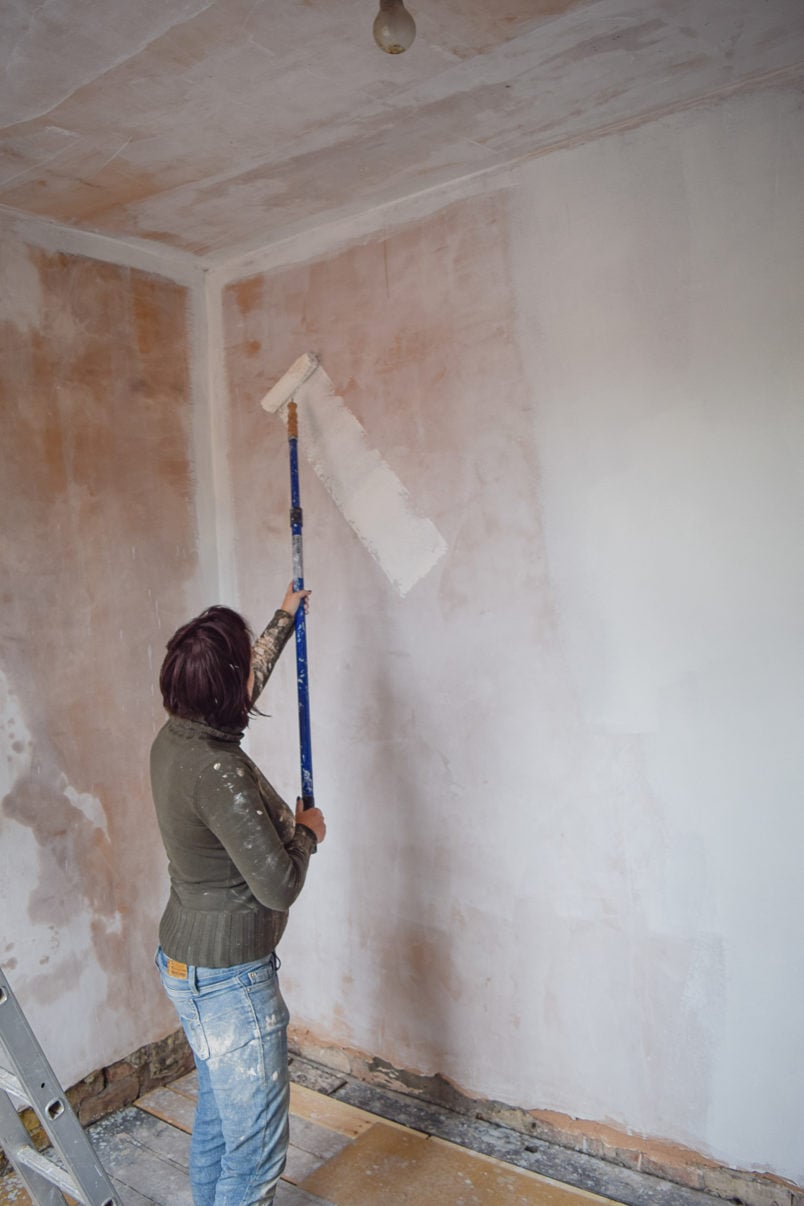
Prime The Walls With A Mist Coat
The first coat of paint on newly plastered walls should be a mist coat. This is the best way to seal new plaster before painting it.
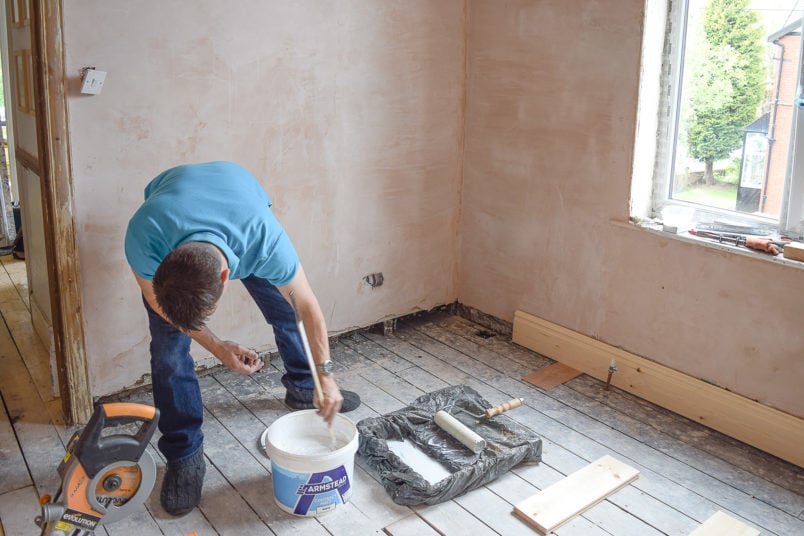
Applying a mist coat may sound fancy but it’s just watered down emulsion that you slosh all over your walls to seal them before painting. To make a mist coat, mix some emulsion with a bit of water until it’s quite thin and looks a bit like milk.
Newly plastered walls are very dry and dusty. A mist coat is very liquid and will soak into the freshly plastered wall and seal them ready for painting.
You only need to use a basic white emulsion to make your mist coat and definitely don’t have to use any fancy or expensive paints. We love this white emulsion which is a total bargain and covers really well. We use it for both mist coats, base coats and any walls or ceilings we want to keep white in our home.
Step 3
Prime The Walls With A Base Coat
After applying a mist coat to your freshly plastered walls, you will notice that the walls still look very patchy. Because the mist coat is so thin, it won’t cover the fresh plaster very well but it’s only there to seal the surface so it doesn’t matter that it looks patchy.
After applying a mist coat, we always prime the walls again with a plain basecoat of unwatered down emulsion to give us a lovely bright, clean and even surface to work on.
Giving the walls a coat of white paint also lets you spot any imperfections that you can fix now before painting the walls with your chosen paint finish.
Step 4
Paint The Walls
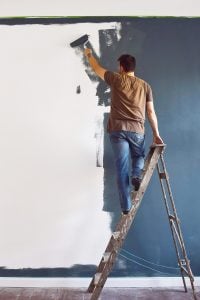
Now that you’ve primed the new plaster walls it’s time to paint the top coats with whatever colour you’ve chosen.
Apply one coat of paint and let it dry before applying a second coat of your chosen emulsion. No matter what brand of paint you’re using, applying more than one coat of paint will give you a much more even finish, even if you’re using high-end designer paints that already look great after just one coat.
And that’s all there is to it. Applying a mist coat to a freshly plastered ceiling or walls will ensure that your paint stays stuck to the wall and doesn’t start to flake off in the future.
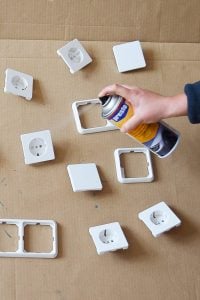
Tools & Supplies To Paint New Plaster Walls
I know that many people recommend fancy primers and tools but you really don’t need much to paint newly plastered walls.
Here are our favourite supplies that we use for every painting project(just click on the image to take you straight to them).

Our Favourite Paintbrush
Roller Cage For Painting Walls
Roller Sleeve For Painting Walls
Sandpaper

Best Paint For Newly Plastered Walls
One of the things we get asked about most is how to paint freshly plastered walls. That’s why we’ve put together a list of the most frequently asked questions we get asked again and again.
We’re here to help, so let us know if there’s anything else you’d like to know about painting new plaster walls!
How To Paint New Plaster FAQs
How long do I have to wait before I can paint new plaster?
It’s important to wait for the new plaster to be completely dry before painting it. If the plaster hasn’t fully dried, it can cause all sorts of problems like flaky paint or even damp issues later on.
Wait a couple of weeks for the plaster to dry before painting it but, if you’re in a rush, do a test patch first to see if you have any issues.
Can you paint directly on new plaster?
You have to prime new plaster before painting it. Freshly plastered walls are very dry and such the moisture out of your paint. Priming the walls with a mist coat first will ensure you end up with a great paint finish that doesn’t flake or peel off.
What is the best primer for new plaster?
You don’t need any special or expensive products to paint new plaster. The best primer for new plaster is a mist coat that you can easily mix yourself. We’re sharing exactly how to mix a mist coat below.
Don’t use PVA to prime your freshly plastered walls. It’ll be much too smooth when it’s dried and your next coat of paint won’t stick to it! It’s good practice to apply PVA to your walls before plastering (you just let it get tacky before applying the paster) but definitely do not apply PVA after plastering!

What is a mist coat and does a new plaster need a mist coat?
A mist coat is thinned down emulsion that you use to prime newly plastered walls. To make a mist coat, you just mix some emulsion paint with water. We mix about one part water to one part paint until we end up with a liquid that resembles thickish milk or cream.
If your mist coat is too thick, you’ll notice it drying almost as soon as it touches the wall which makes it very difficult to apply. If you find the paint dragging along the surface, just add a bit more water to the mist coat mixture until it’s easier to apply.
You only need to apply one layer of mist coat to seal the new plaster and make the new plaster less porous and easy to paint. The colour of emulsion you use to make the mist coat doesn’t matter either.
Any light-coloured emulsion will work well. It’s just there to seal the surface of the new plaster so don’t waste any expensive paints of your mist coat.
What do you do if you’ve chosen the wrong paint colour?
It’s so annoying when you’ve spent a lot of money on some paint for your walls only to realise that it’s not what you expected. There’s no miracle cure to make the paint completely change colour but we shared a full post with tips on what to do if you’ve chosen the wrong paint colour and how to fix it.
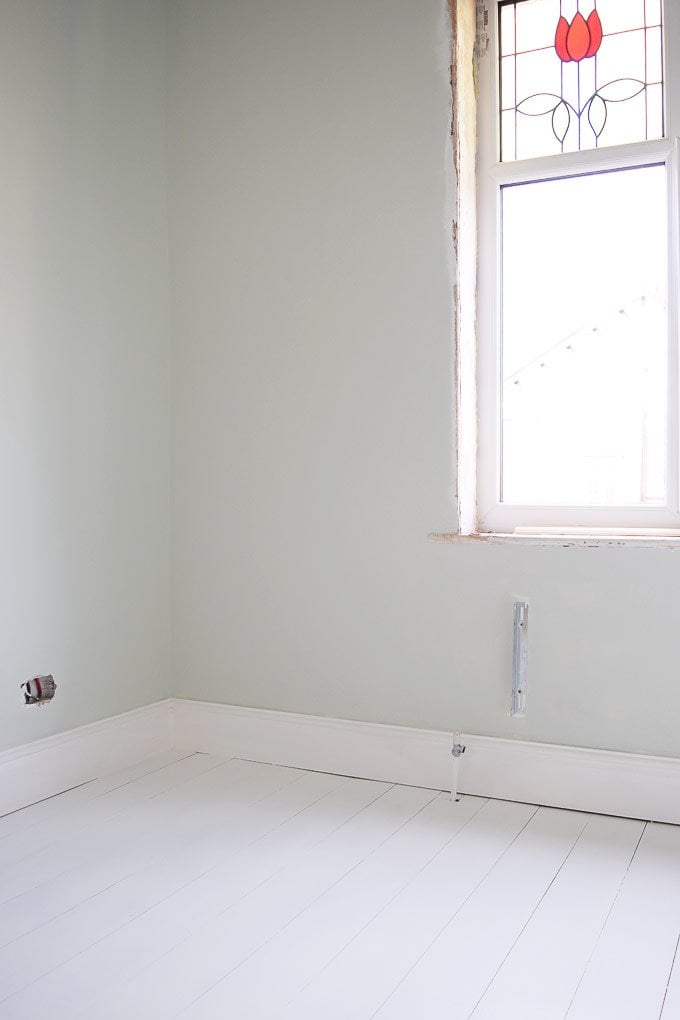
Our guest bedroom will be a multipurpose space which is why we wanted to create a room that’s fairly neutral. We absolutely love the plywood floor that we laid in this room. It was such an easy budget-friendly project and has completely transformed the broken floor in this room. We’d always planned on painting our wooden floor white and we couldn’t be happier with the colour choice we made to go with it.
We love soft blue-grey and green colours so narrowed down our choices to a selection of Farrow and Ball colours including Borrowed Light, Pale Powder, Pavilion Blue and Theresa’s Green.
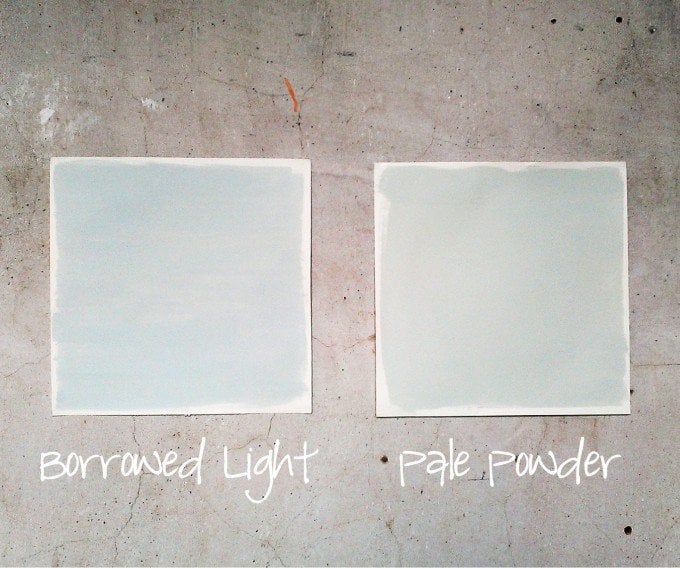
We love them all but Borrowed Light is a bit too similar to the paint colour in our guest bedroom and Pavillon Blue is just too light and wouldn’t contrast enough with the white floor.
So, the winning colour is (insert drumroll here) Pale Powder by Farrow and Ball.
It’s a lovely soft green with grey undertones. It has a really calm feel and is lovely and fresh without feeling cold. As you can see, we painted the plywood floor, too.
Painting the ceiling and walls the same colour has the advantage that you save time as there’s no need to do any detailed cutting in which, considering I finished painting the room the day our guests arrived, had to be a good thing.
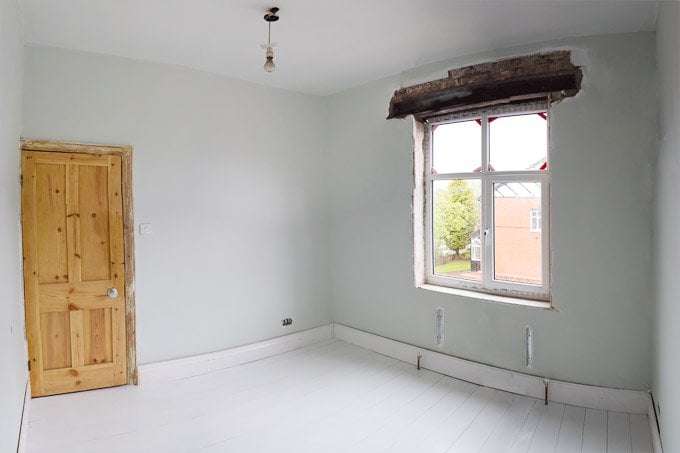
As we’d hoped, the slight bow where we had to repair the ceiling is much less noticeable now, too. Painting the ceiling and the walls in the same colour has definitely helped disguise it a bit.
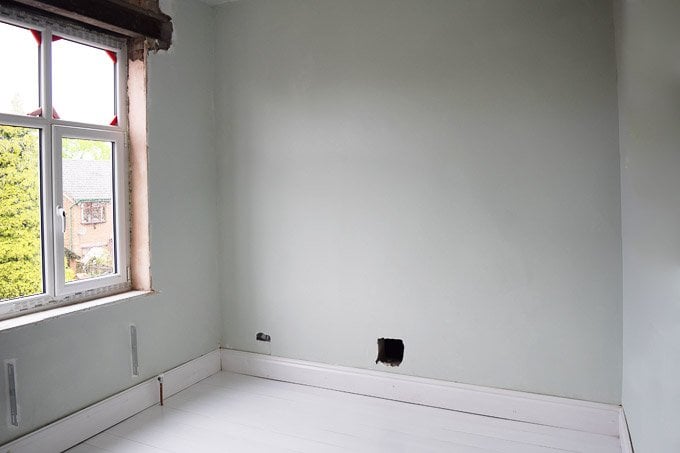
It’s super annoying to not be able to hide the steel over the window yet. We’re still waiting for it to be signed off, which should really be happening any day now.
Have you ever painted your ceiling the same colour as your walls? What do you think of our colour choices? Do you think a white floor will stand the test of time?


Stacey Kerry says
I am confused, you said in the post that you painted the ceilings and walls the same colour but the ceiling is white? I was hoping to see this as part of the finished result to see if it looks good to do myself.
Christine says
The ceiling is the same colour as the walls, the light just reflects differently so it looks lighter on the pictures. You can see a bit more of the finished room in the house tour we shared. The ceiling looks a lot lighter on the image there, too but it is the same colour.
Hope that helps.
Cx
PS. You can also see more of the ceiling in this post where we shared how we attached a picture rail in this room.
Jen Rowley says
Hi Christine, love this post! I REALLY love that colour, just a hint of green and grey, it’s warm and yet fresh at the same time. I’m currently looking at having my bedroom, kids bedrooms and lounge all re-painted, as they’ve not been done since we moved in – 8 years ago! I found this site, which seems to give decent prices for hiring a decorator to do the work, but after reading this article I’m going to have a go myself. I’m definitely going to be looking into some greeny/grey blends!
Thanks,
Jen
Christine says
Thank you so much, Jen! We love the colour, too and have actually just painted our bathroom a similar shade of green! Painting is easy to do and we always say that the most important part is the prep work. I totally understand why people will use decorators but we’d always recommend giving it a go yourself!
Happy painting!
Cx
decorator says
i like the way you have done this with the room, and share it with all of us, & thank you dear for sharing your experience with us, i’m going to paint my room next weekend & will follow you given method & i think i’ll make one to-list too
Izzy says
Hi Christine, love the blog have been following your home progress for a while now. I’m doing my first ever decorating in the house I bought last year. I’ve already managed to make a bump in my ceiling by incorrect use of pollyfiller…sigh. I was just wondering, what brand of paint do you use for the undercoat before you put on your desired colour? Thanks :)
Christine says
Thanks Izzy! We always use the same paint for all undercoating (although some brands do have recommended undercoats, especially for dark colours). We use this white paint as an undercoat and also as a white finish for ceilings, etc. It’s cheap and we think it covers well. Depending on the surface you’re painting it’s probably a good idea to dilute it a bit with water. We recently painted our newly plastered fourth bedroom and new plaster always needs a bit of extra prep. You can read about what we did here.
Hope that’s some help & thanks for following our DIY adventures.
Cx
lorraine says
I was just wondering what you think about Farrow and Ball paint. I’ve heard mixed reviews. Consequently have used Little Green, and been pleased with the results. The room looks good. I enjoy reading your blog and have picked up a few useful tips. I’ve painted three floors in our house ( using Little Green floor paint) so will be interested in hearing your experience.
Christine says
We love Little Green paint, too and we’ve always been happy with the result. We’re really happy with the F&B paint finish on our bedroom floor, too. When painting walls with Farrow and Ball paint, we tend to find that it always needs two coats to give you a good coverage. We painted our front door in F&B Rectory Red about 4 years ago and the colour has definitely faded (although there is a porch infront of it). At the end of the day, we always choose our paints by the colour we would like and aren’t really bothered about brands.
Cx
Saskia says
Hi Christine, Looks like the room is coming together quite nicely! And I also love the colour nice and crisp. Was just wondering what your reasoning was for deciding not to put any coving into the room? Did you guys think about adding it or was that never something you considered? Just curious really :-)
Christine says
Thanks Saskia! We have coving in most other rooms and love it. The only reason that we haven’t added it here, is because the ceiling is so uneven. We painted the ceiling the same colour as the walls to “hide” the bump and thought that coving would probably make the unevenness more visible.
In general, we’re trying to reinstate as many period features as we can, but this room would never of actually had coving as it’s “just” a back bedroom. We’re still trying to decide on adding a picture rail though!
Cx
Saskia says
Ok cool!
Picture rail yes that is something I am always umming and arring about. Darrell loves picture rail. I am looking at it from the cleaning squad point of view and all I see is strips collecting dust, hahaha.
Christine says
Haha, you’re right about the dust – ours are always covered in it (don’t tell anyone ;)) but they are pretty and as our ceilings are so high they really tend to finish the room off.
Cx
Lins @Boo & Maddie says
What a pretty colour, I agree it looks warm but calm and peaceful at the same time. I remember the first time I painted onto new plaster I just slapped the paint on, I knew so little back then X
Christine says
Thanks! I always find it hard to tell from small tester patches if a colour will work and am always relieved when it does!
Cx
Magali@TheLittleWhiteHouse says
I love that colour!
Christine says
Thanks! It’s definitely the most cottage-y colour we’ve used so far in our home and we love it!
Cx
Lucy says
Love the pictures of your newly done room.
I’ve been thinking of painting my bedroom ceiling the same colour as the walls but wasn’t sure how it would look. Your pictures have convinced me to go ahead so thank you.
I don’t do facebook so could you please tell me what make of paint you used? I’m in UK so will be able to get a chart ~ thanks
Christine says
Thanks Lucy. I like the ceiling in the same colour and think it works well. The paint we used is Pale Powder by Farrow and Ball. (Sorry, should have included a link!).
Good luck with your painting!
Cx
Lucy says
Thanks Christine for reply and link :~)
Having my walls insulated & dried out so will be awhile
before painting but at least I can plan :~)
Christine says
You’re welcome!
Cx