I can’t believe that the last update we shared of our small guest bedroom was back in September. It’s not because we wouldn’t have liked to share something new, it’s because absolutely nothing has happened.
Prioritising is an inevitable part of planning and scheduling our home improvement and sometimes we just can’t work fast enough to get the projects that we’d like to do done.
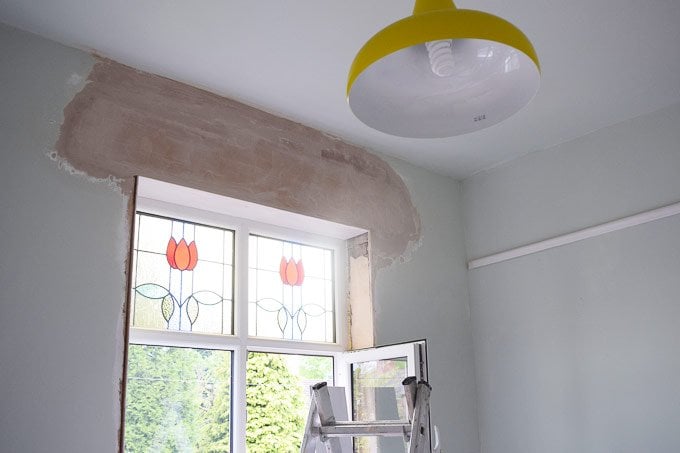
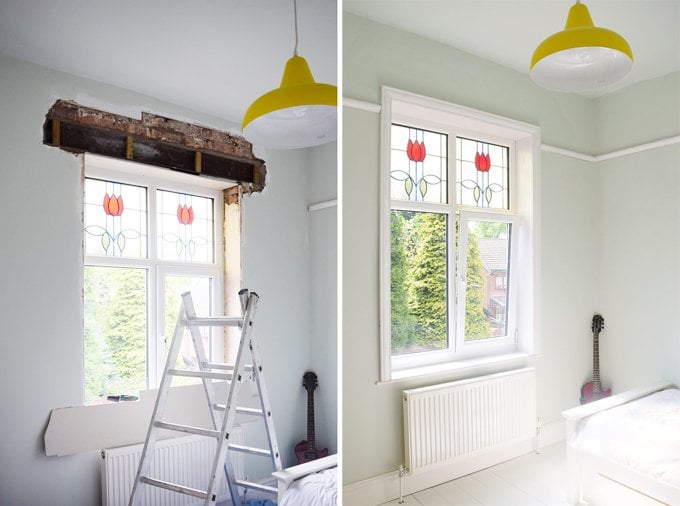
When the rest of the house still needs so much work doing, improving our small guest bedroom (which is more often than not used as a dumping ground) is never a real priority, but after doing a lot of work there last year (we no longer have a ceiling that’s falling down and the boiler has been moved to the cellar) it’s probably about time that we finally got the room finished and first up is boxing in the new steel lintel over the window.
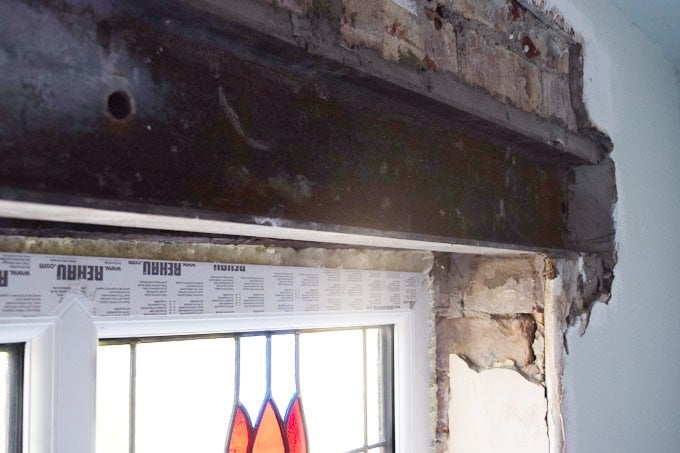
We had it installed last year as part of the first steps for our loft conversion, but as we hadn’t had it signed off by building control before we did the plastering (bad organisation, I know) we still have it on show.

Now though the building work in this room is finally done (the steel was signed off a while ago) – the steel lintel is hidden and the plastering and painting are done!
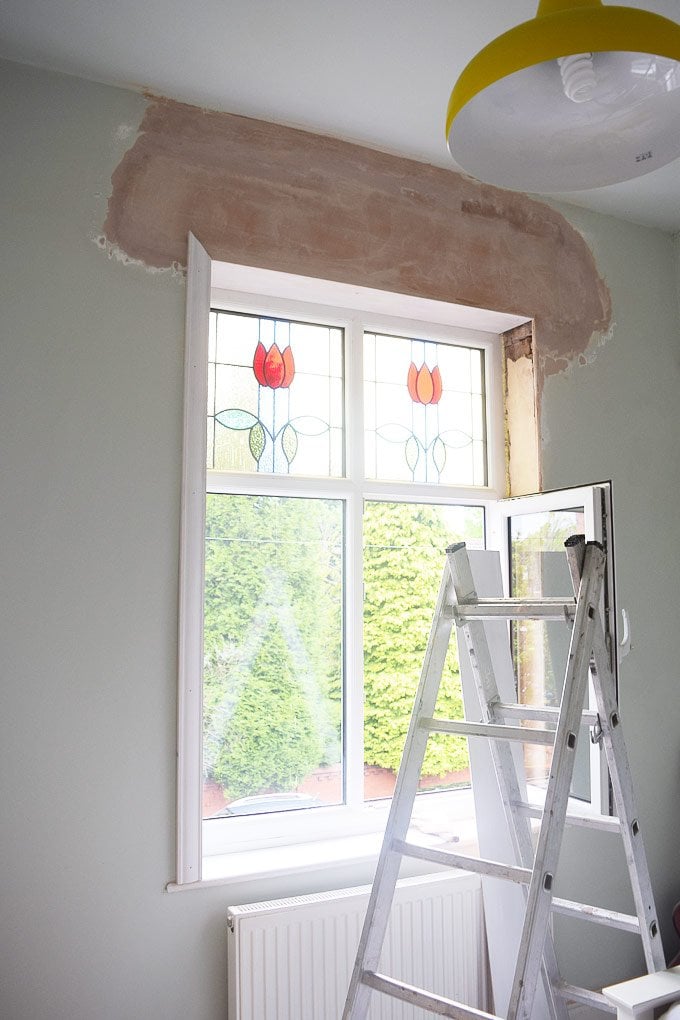
Although boxing in the steel is one of the projects we never seemed to get round to doing it actually turned out to be really straight forward.
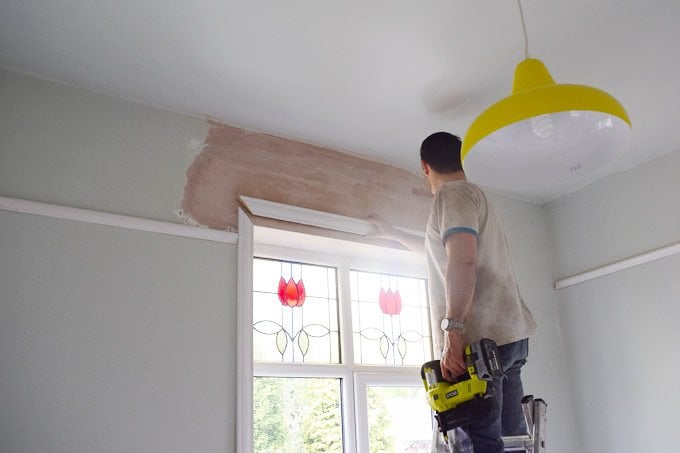
All we had to do was add some noggins to the steel (we just used off cuts of timber that we had lying around) and screw the plasterboard to it.
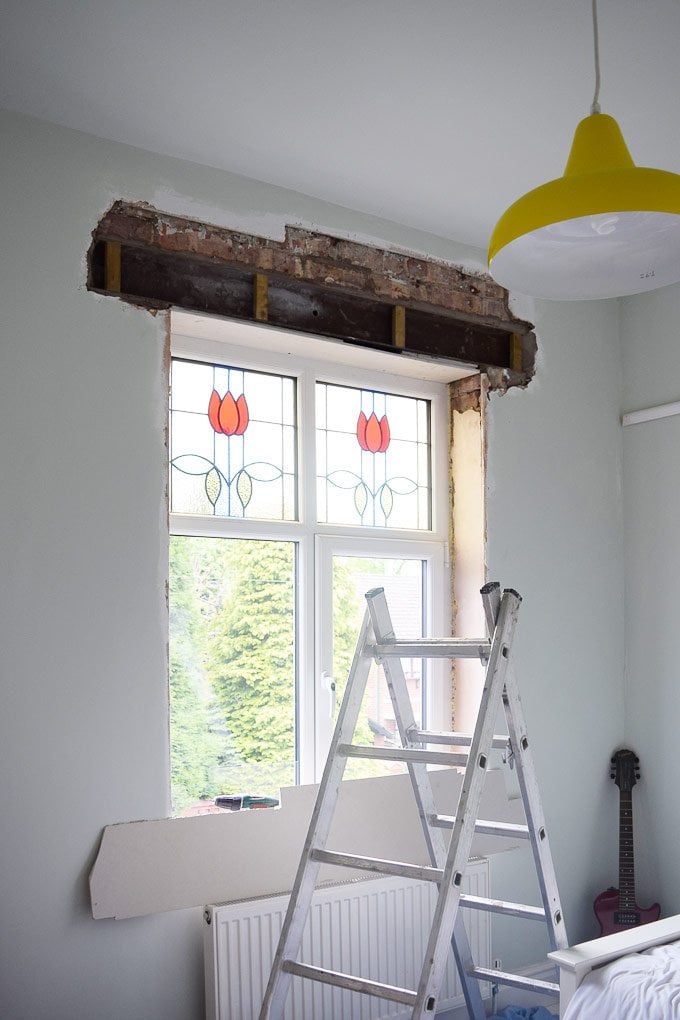
As usual getting everything straight and level was the most difficult part (yep, you can call us impatient) but if there’s one thing we’ve learned in the last few years of improving our home is that prep work is the most important part of any project.
For fire safety reasons and to comply with building regulations it’s important to double board the steel with plasterboard (or you could use fireboard). Then there was just a plastering to get out of the way. It’s no secret that plastering isn’t my favourite of jobs, but it is totally doable and the more practice I can get the better. It was only a small area, so for once it turned out to be a straightforward job.
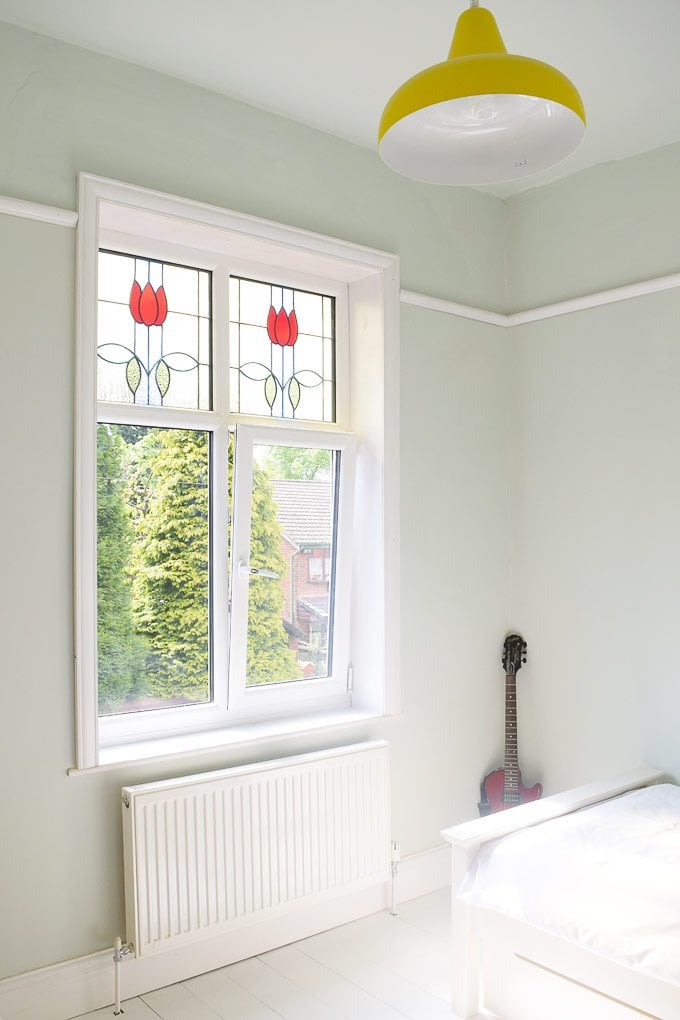
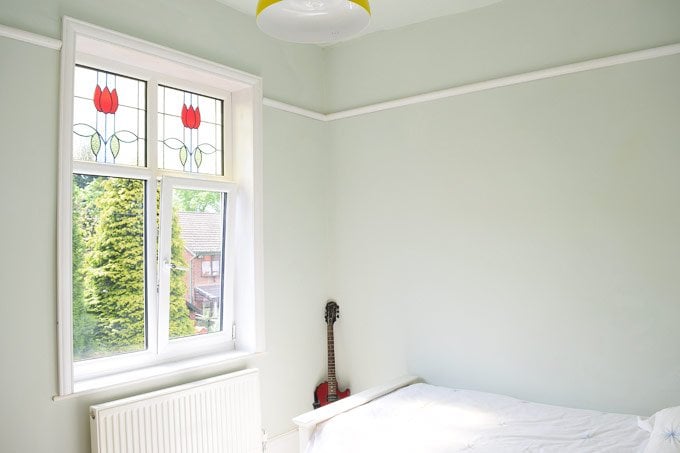
Then, after a bit of waiting for the plaster to dry, it was time to finally finish the painting. Honestly after sanding the plaster in our hallway and after what seemed like weeks of painting the hallway the last thing I wanted was to get out the paintbrush again so soon, but I guess that’s all part of the home improvement process.
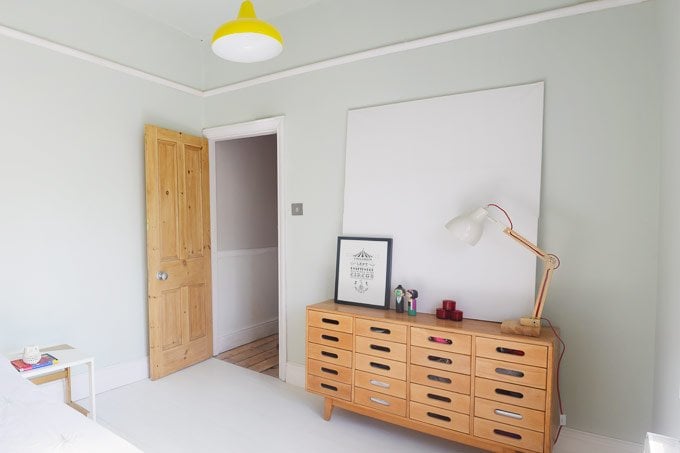
And now, it’s like nothing ever happened!
With all of the messy work out of the way, we can now finally move on to adding the finishing touches to the room. It’s all a bit, okay very bland at the moment and definitely needs a big dose of personality injecting into it.
Next on our to-do list (as well as finding some artwork) is adding some shelving which we’ve already started to make – buying stuff would just be too easy now wouldn’t it! Hopefully, we’ll be able to share our new shelving (we need to actually get it attached to the wall) at the beginning of next week!
Do you have DIY jobs that you put off? Do you have rooms that you should use but tend to end up as a dumping ground? Do your home improvements also tend to take much longer than anticipated?
Gail Arlidge says
Wow! This year’s transformation is cooler than the previous one. I have seen the progress of your guest bedroom which amazed me. I do really love the way you organize things up. From the selection of wall and ceiling colors, to windows and the lighting. It looks great to me. I’ll certainly follow this for future home improvement projects.
Christine says
Thank you, Gail! It’s a great feeling to finally be seeing some real progress.
Cx
Lins @ Boo & Maddie says
Wow it looks gorgeous, such a transformation! Do you mind me being cheeky and asking what colour you went for on the walls? We’re looking for inspiration for our third bedroom at the moment and our sofa bed in there is a kind of duckegg/minty green X
Christine says
It’s amazing how such a relatively small job can make such a huge difference. You’re not cheeky at all, Lins – happy to share what we used. The colour on the walls is Pale Powder by Farrow and Ball.
Cx
Jessica@CapeofDreams says
Your little room looks adorable. What a nice transformation!
Christine says
Thank you, Jessica! It’s hard to believe that ceiling used to be caving in and the boiler was in the corner.
Cx
Sarah Pedersen says
Really love how this room has come together. It’s so bright and warm and welcoming. Can you tell me more about that amazing sideboard/chest of drawers though? It looks vintage and like something I’d be after for our guest room too!
Christine says
Thanks, Sarah! Yes, the sideboard is vintage. We found it at a local antique/ secondhand shop and got a great deal. It’s made by a company called Esavian who used to make school furniture.
Hope that helps!
Cx
Sarah Pedersen says
What a score! I shall be on the hunt. :) Thank you! x
Anna International says
Oh god, yes, yes and yes!! Our spare room was the first room we started with when renovating, because we weren’t using it. It is now beautiful, but stuffed to the gills with power tools, lumber, things from the rooms we’re doing now, and who knows what else! Can just about climb into the room. The second spare room which we still haven’t actually put the finishing touches to (i.e. decor – all the painting and decorating is finished!) is the same, except it also houses the bath for the future new bathroom. And my office which IS one of the rooms we are supposed to be doing has also become a store room as it became clear finishing our bedroom was the priority, and we wont have the spare money to do the built-in office shelves until after our wedding in the summer. So for now, I’m still in the corner of the dining room, but the bedroom is almost done – wahey! But we’re away for 10 days now, so we won’t get it finished quite yet. And that bathroom reno we started on kind of back in October? Well, it will happen after the wedding, probably after Christmas even by now! :D But we love it, mostly! Your blog is fast turning out to be my fave – everything you say resonates so perfectly! x
Christine says
Ohhhh thanks, Anna! This bedroom used to be the room we used as a dumping ground/tool storage. I’m so glad that it’s finished and clean and empty now! It’s tough when you’re working on so many projects (and a wedding!) at the same time and it’s great to hear that you’re still enjoying the process, even if progress isn’t as fast as you’d like. It totally feels like we’re leading double lives!
Hope you have a lovely time away!
Cx