It’s exactly a week to go before our visitors arrive and our fourth bedroom is still a complete mess.
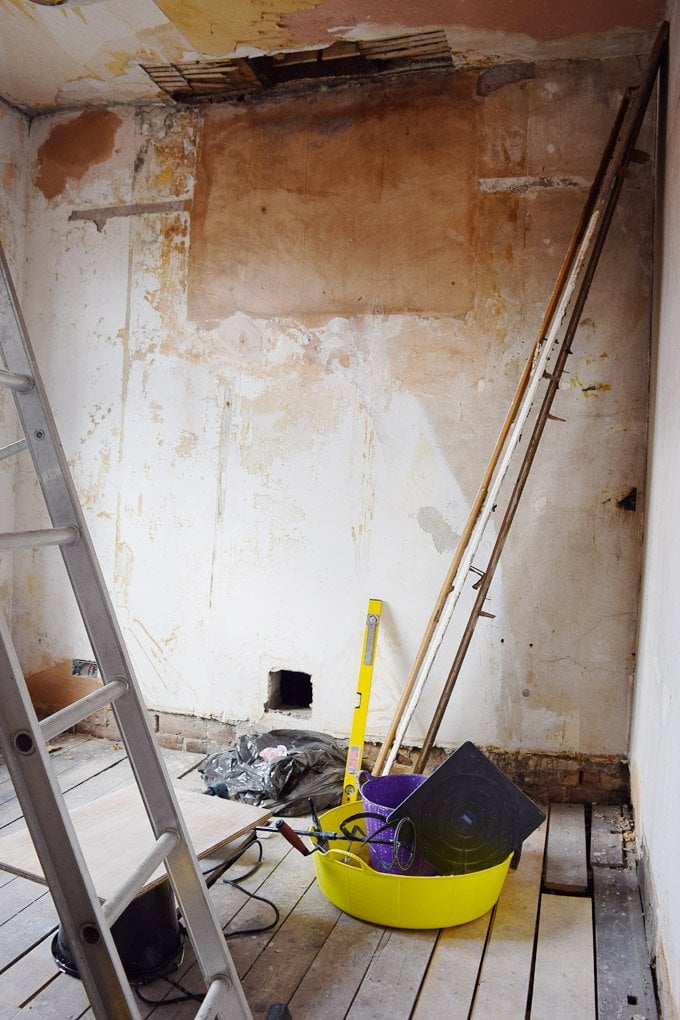
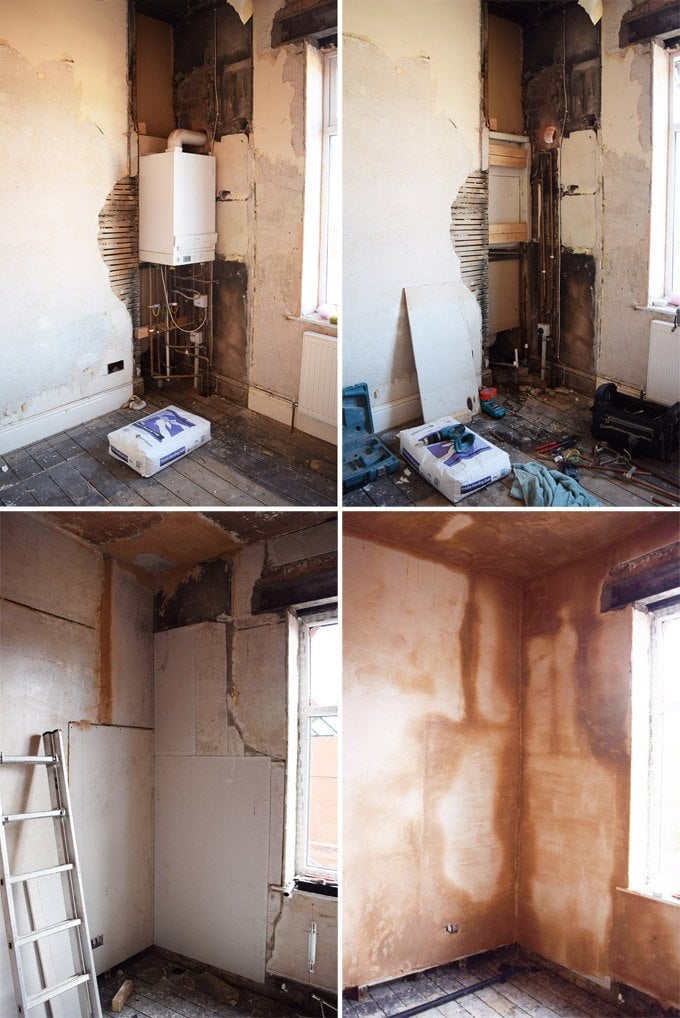
Having finally had the boiler moved into the cellar and a new window installed (more on that soon) things are definitely moving on, however, it’s definitely one of those situations where things tend to look worse before they get better.
We need a new floor, the 2nd fix of the electrics and the room needs plastering & painting. Oh, and of course it needs furnishing, too. Over the course of the last week, we have however managed to tick one huge box on the list and have just finished plastering the room!
I totally admit that I was apprehensive about plastering the fourth bedroom. Yes, I had loads of fun on the plastering course I went on and yes, after doing the course at the DIY School plastering seemed much more doable than I’d ever thought, but actually plastering a whole room still seemed a bit daunting.
Learning how to plaster in a booth with people on hand to give you help and advice when you need it is one thing, plastering a real-life room is of course another.
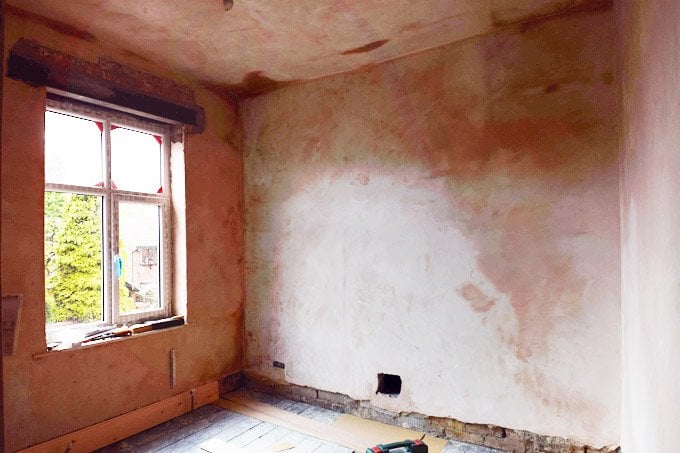
As anxious I was about plastering the room, I shouldn’t have worried too much. Yes, it was hard work and yes, it probably took twice as long as it would have taken a professional, but all in all, I’m super proud of what I’ve achieved and am really pleased with the results.
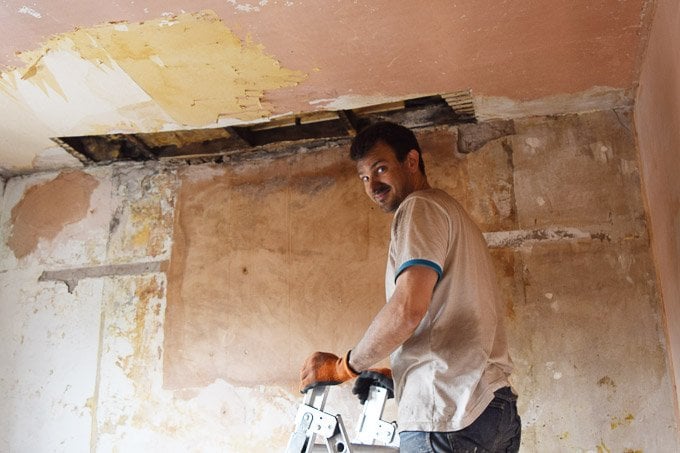
Before we could actually start to plaster, we had to repair the huge holes in the walls and repair the ceiling where it had rained in through our broken roof. Adding plasterboard to the wall was fairly straightforward and easy to do, but the hole in the ceiling was a complete pain and the amount of dirt that fell on top of us was ridiculous!
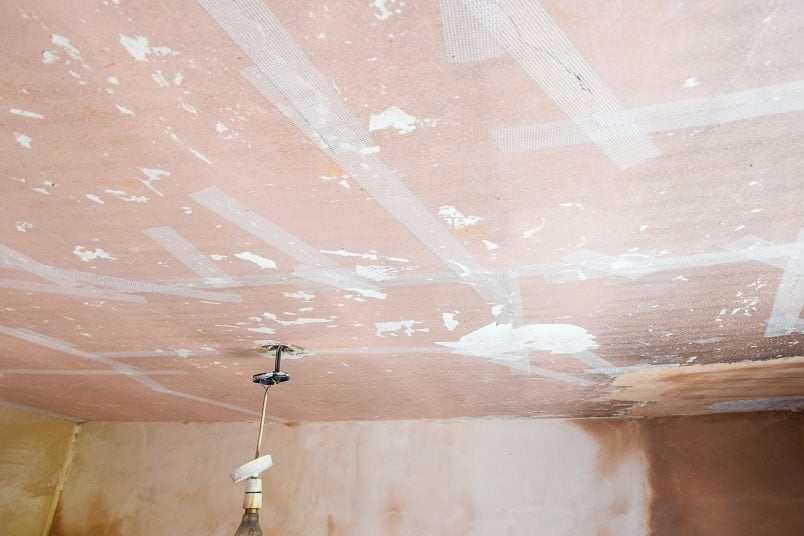
At some point in the past, the ceiling had obviously already been repaired and the structure of the ceiling had been reinforced. Whilst it’s great that this had already been done, it does mean that there is an inevitable bow in the ceiling where it’s been repaired. We’re hoping that it won’t be too noticeable when the room is painted and finished though.
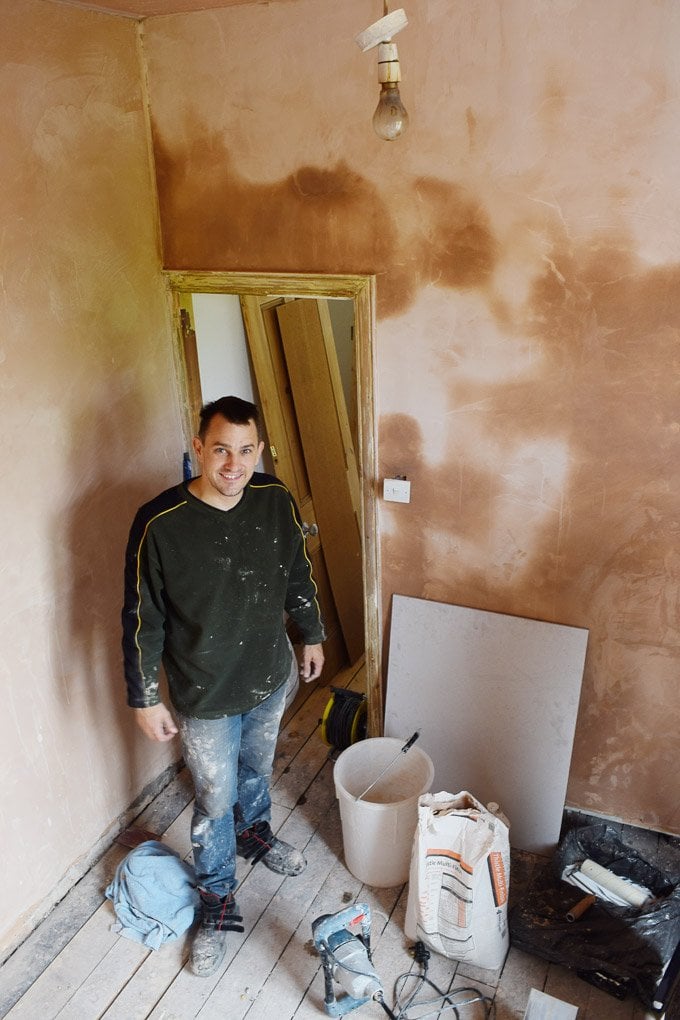
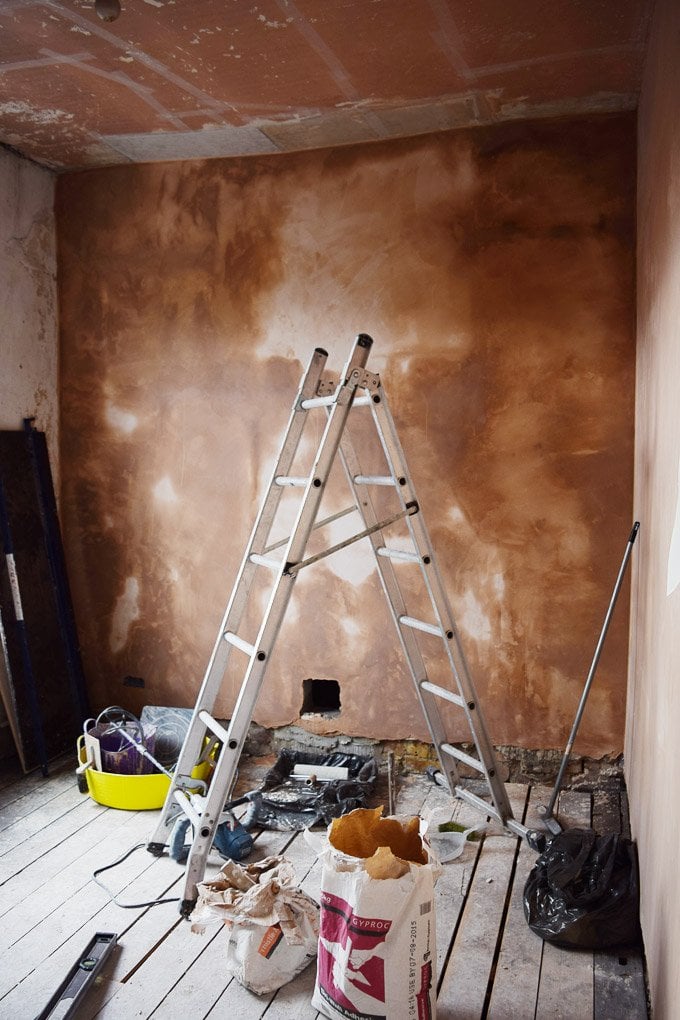
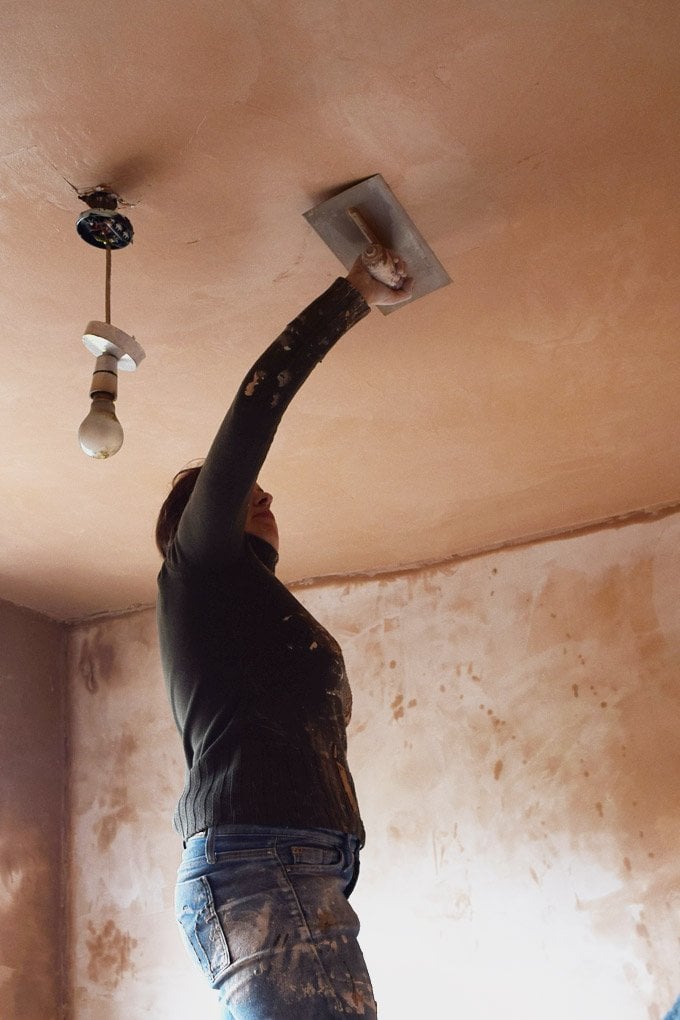
We slowly worked our way around the room, tackling a wall a day and last of all the ceiling until I thought my arm might drop off. If you’re a professional, you apparently start with the ceiling, but I figured that the more practice I could get on the walls first the better.
As expected the ceiling was particularly tough to plaster. It was much more difficult to do than the walls and was really hard work, but after a lot more smoothing we eventually got there in the end.
There are a few small imperfections (nothing that a quick sand won’t solve), but overall the finish is really good and actually better than some of the rooms that we’d paid to have the plastering done in!
Plastering is definitely something that you get better at the more you do it and even in this small room, there’s a noticeable difference from the first wall to the last. Not only does the last wall we plastered look best, actually doing the work became easier, too.
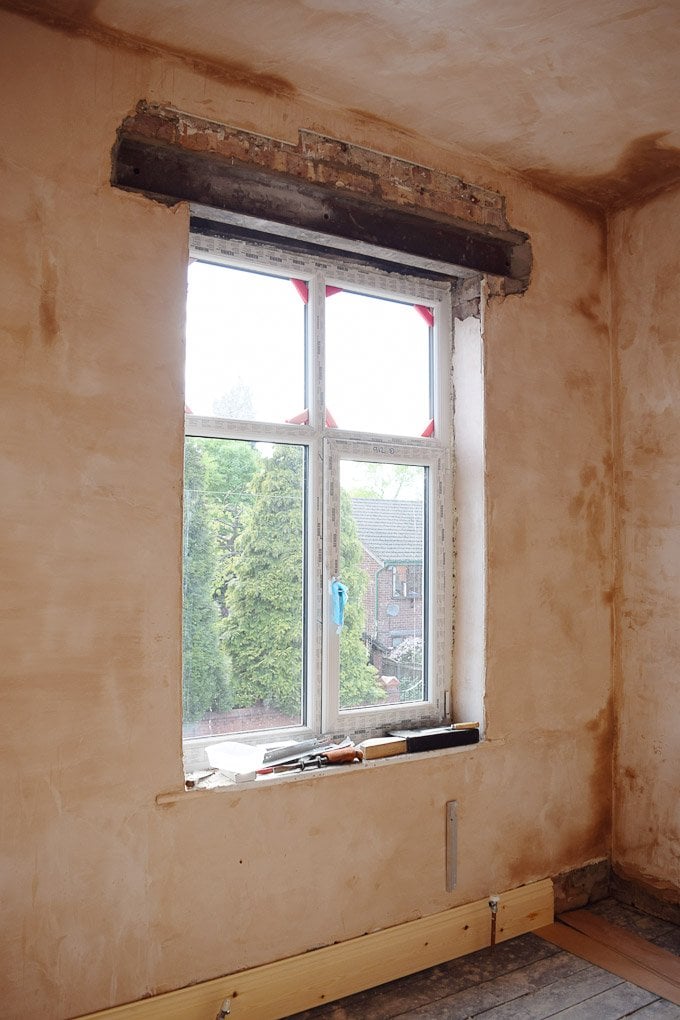
Now, if you’re wondering what on earth is going on with the steel beam over the window, we’ve been having a few problems with the signing off by building control. It’s in progress, but they have to see it before we can board up the steel and plaster over it. To say that it’s annoying is a bit of an understatement, but these things happen – especially when you rush a project.
Here are our beginners’ tips for plastering:
- Take a class. Seriously, there’s no way we would have even attempted this if we’d not learned the basics. As much as you can read about things are done, plastering is definitely a trade where you have to see and more importantly what you’re doing (I’d totally recommend the course I did at The DIY School).
- Make sure that every tiny last piece of wallpaper is removed. It’ll drive you mad while plastering!
- Have help. If you’re a beginner, you’ll be slow and whilst only one person can actually plaster, it’s really helpful to have someone there to help mixing, cleaning and basically holding your hand.
- Do opposite walls and wet your corners. To get neat edges and corners, it’s easiest to plaster against walls that are dry. Wetting all edges and corners before and especially between coats removes any lumps & bumps and gives you really tidy corners.
It’s definitely one of the projects in our home that I’m most proud of achieving (replacing the garage roof is another) and I almost can’t believe it’s something we managed to achieve ourselves. Now, all we have to do is plaster the hallway, the bathroom, the dining room, the kitchen and eventually the loft. I guess we have our work cut out!
Now we’re just waiting for the plaster to dry so that we can get on with painting!
What project are you most proud of completing? Have you ever been tempted plastering? Are there any DIY courses that you’d recommend?
KarenAnita says
Cannot BELIEVE you did this yourself. It’s absolutely MEGA! Well done :)
Also, I reckon as soon as you have some sort of moulding or a picture rail, you won’t notice the uneven ceiling x
Christine says
Haha thanks, I can hardly believe it either!
Cx
Saskia says
I take my hat off to you. That is one serious accomplishment. We plastered only one wall (albeit a very large one) in our master bedroom, so I understand how hard it is. But the ceiling… that is just of a completely different level. Enjoy the feeling of success you got from completing this project :-)
Christine says
Thanks Saskia! We are super proud – not in a hurry to plaster a ceiling again though! ;)
Cx
Lucy says
Bloody hell that’s awesome!! Huge congrats/well done. I’m not surprised you’re pleased with the results it’s really impressive. We’re starting to get quotes for some plastering work atm but now I’m sorely tempted to twist the other half’s arm and do a course! X
Christine says
Thanks! Still amazed that we managed it, but also so proud! I’d definitely give a course a go – what’s the worst that can happen except that you could save loads of cash!
Cx
Jessica@CapeofDreams says
My arm aches just looking at those pictures. You did a great job!
Christine says
Thanks! Still can’t believe we did it, I guess my aching arm is a good reminder. ;-)
Cx
Carin says
Oh my word. Kudos to you for doing the plastering yourselves, especially the ceiling. My arms ache just thinking about it. I definitely think it’s something you get better and faster at the more you do it. We have finally found someone who does a good job of ours whenever we need it, we’ve been through some bad ones, but I have never attempted to tackle it myself. So kudos!
Christine says
Thank you so much Carin! I still can’t believe that it’s something we managed to do ourselves, but are super proud of what we’ve achieved. If we’d found a good plasterer at the beginning, we may not have tried to do this ourselves, so actually having a bad plasterer has kind of helped us in a weird way. ;)
Cx
Lins @Boo & Maddie says
Oh my goodness I am so completely amazed and totally proud of you for doing this!! What a feat. Similarly to you most of our rooms will need replastering as we go around taking off decades of wallpaper but I really think as happy as I am to tackler smaller DIY bits and bobs I’d leave it up to the professionals or my husband if he ever fancied it (he keeps telling me he wants to learn how to plaster!)
So far our DIY skills are limited to painting (me) and small scale electrics (him) but I’m sure as we go we’ll add to the repertoire. I hope you had a big glass of something to celebrate once you’d finished the plastering, very well deserved! X
Christine says
Thank you so much Lins! I still can’t quite believe that it’s something I managed to achieve! I can’t wait for the plaster to dry so that I can get painting.
I’d totally recommend doing a course. It was a surprising amount of fun and the amound of money you could save by plastering yourself definitely makes it worth thinking about. Glad it’s done though!
Cx