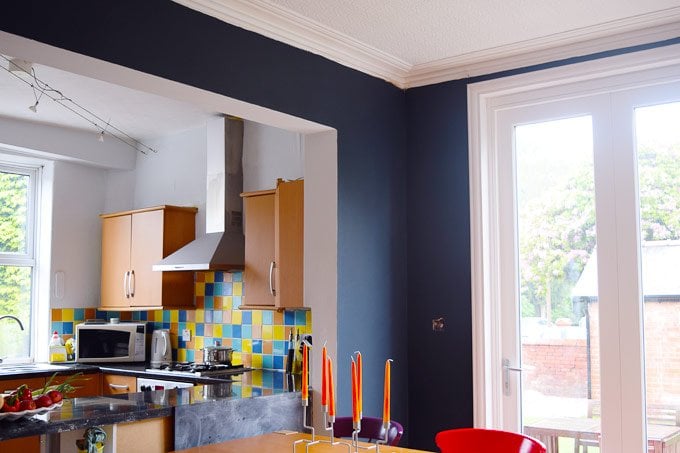
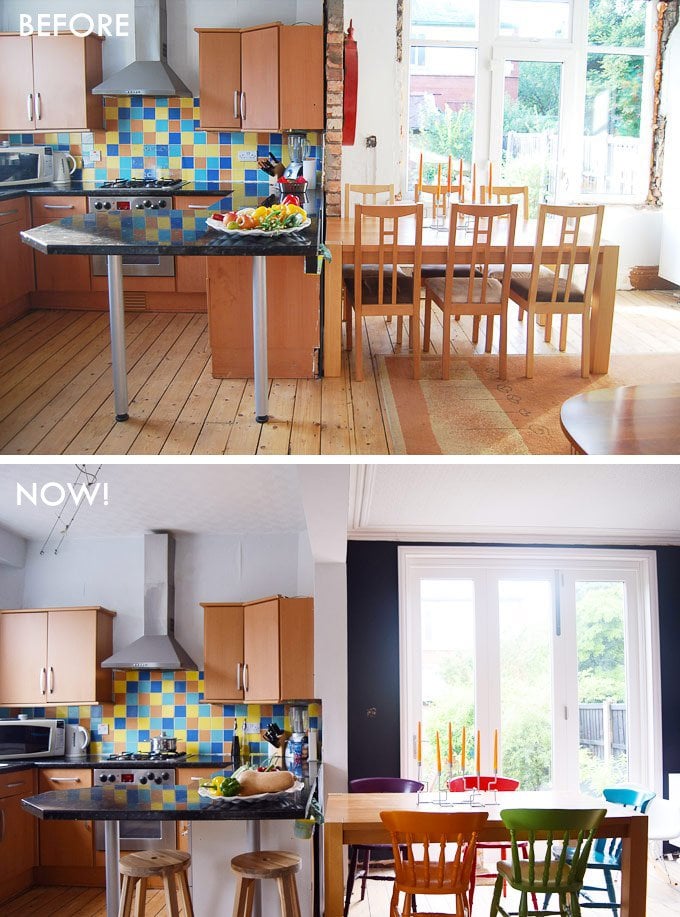
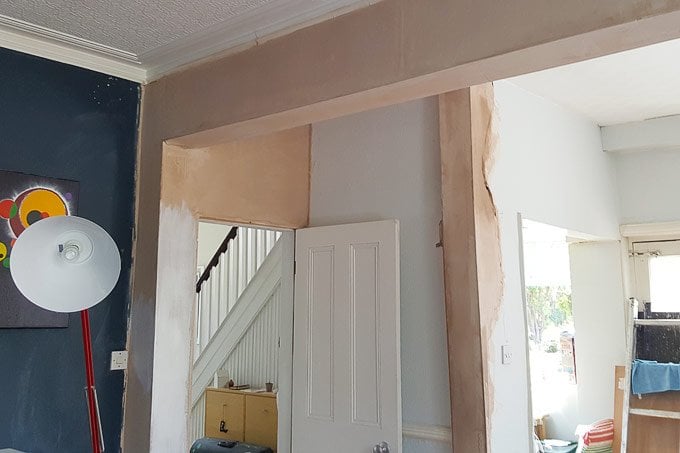
It may have taken us a while, but we’ve finally boxed in the steel beam between our kitchen and dining room.
It’s a job that’s been on our to-do list ever since removing the load-bearing walls between the two rooms but with so many projects around here, boxing in the steel beam never seemed to be much of a priority.
Luckily, covering steel beams with plasterboard turns out to be a very easy project and it’s a project that you can definitely do yourself to save some money on your home renovations. If we’d had known just how easy it was to do, we’d definitely boxed in the RSJ much sooner.
Although covering a steel beam with plasterboard is easy, it is a project that takes a bit of time to complete. In total, I spent about three full days preparing the beam, covering it with plasterboard and plastering the beam as well as some of the surrounding walls.
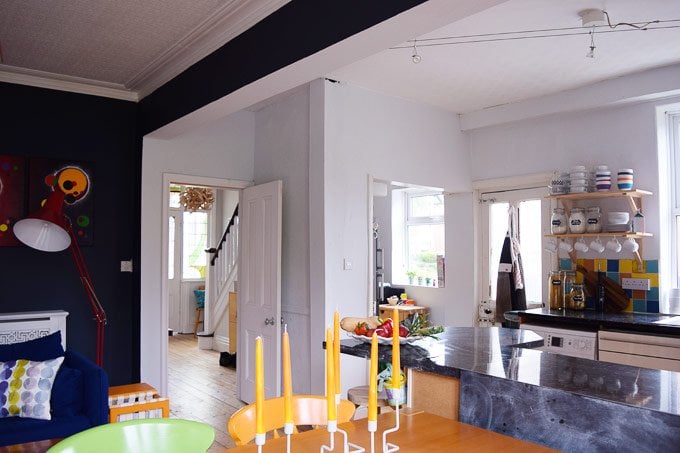
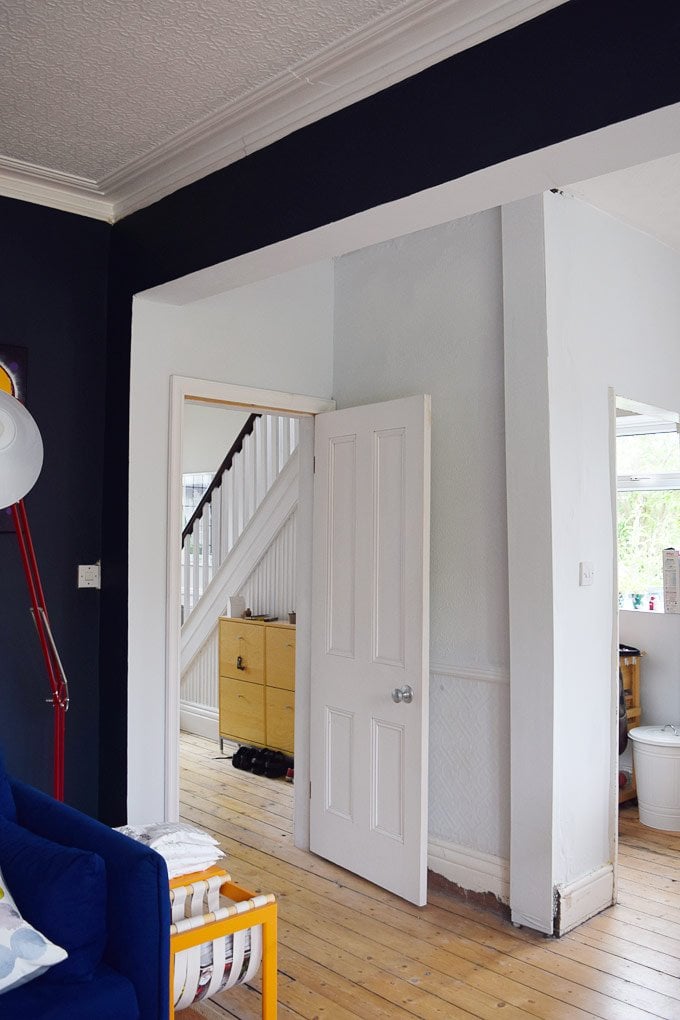
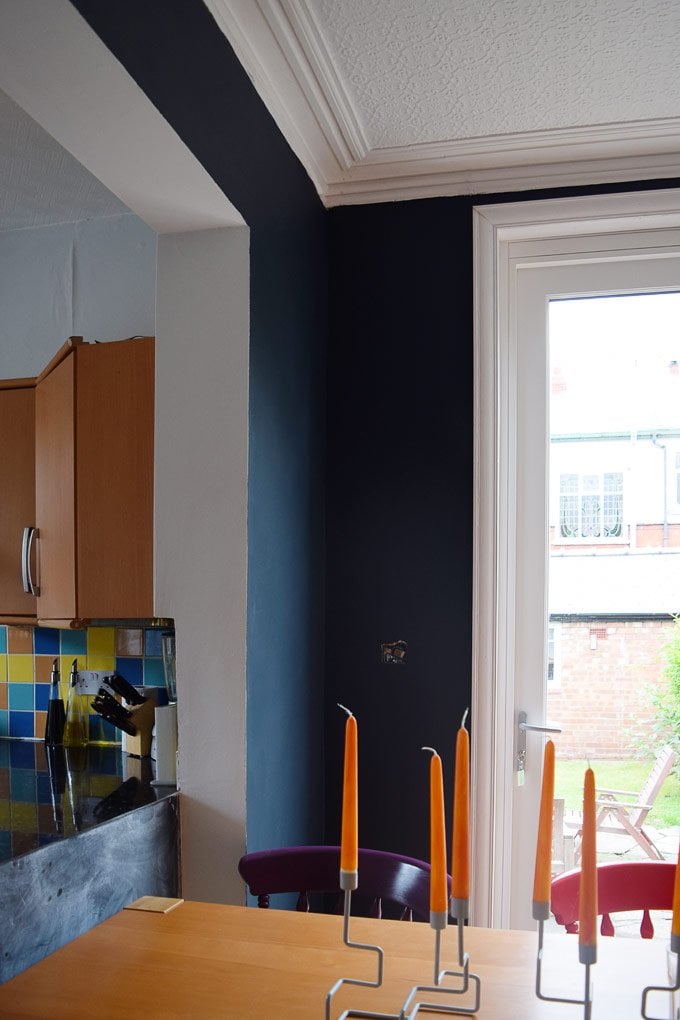
The whole room feels completely different now that the steel beam is boxed in, plastered and painted and yet again it’s a project where we can’t help saying “why didn’t we do it much sooner”.
How do you box in a steel beam?
Before you start any work, it’s important to have the structural work like the steal beam signed off before you carry out any work that will hide it. Otherwise, you may have to undo all of the work you’ve already done.
Any structural work has to comply with building regulations no matter where in the world you live and it’s important to get all of the necessary paperwork in order.
So, how do you cover a steel beam with plasterboard?
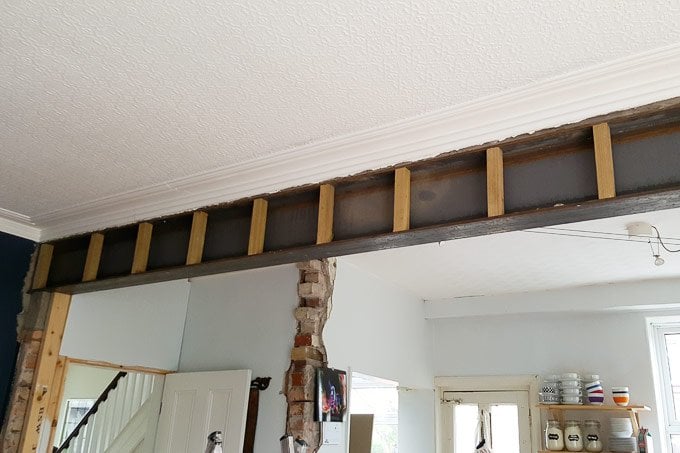
Drilling into structural steel can weaken it so because you can’t screw plasterboard straight onto the steel beam, the first thing you have to do is add lots of noggings that you can then attach the plasterboard to.
This post contains affiliate links. We only recommend products we love and think that you will, too! Read our full disclaimer here.
What are noggings and how do you add them to a steal beam?
Noggings are timber pieces that are inserted between the flanges of the steel beams. These timber noggings provide the surface for you to screw the plasterboard to.
To make the noggins, cut pieces of timer to the size of the distance between the two flanges (the top and bottom parts of the I-beam) with a mitre saw. Make sure that you cut precisely, or a tiny bit larger so that you can firmly wedge the pieces of timber into the steel beam.
What kind of wood should you use for noggins?
You don’t have to use any special timber to create the noggings. Studwork timber would be perfect but rough-sawn timber battens would be fine, too. Just make sure to use timber that’s chunky to give you enough space to screw the plasterboard to. We recommend using a minimum of 75 x 47mm thick timber.
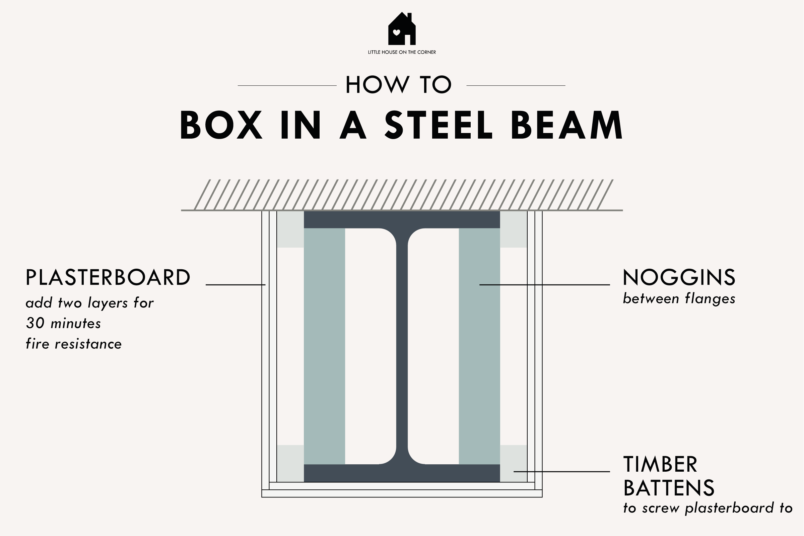
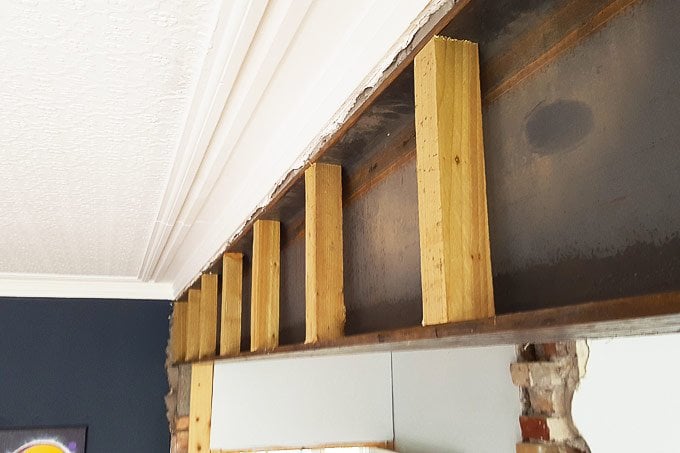
After adding the noggins between the flanges of the steel beam screw two more timber battens to the top and bottom of each side of the steel beam using the noggings between the flanges to secure them.
These additional pieces of timber will give you a surface to be able to screw the plasterboard to the underside of the beam.
How do you fix plasterboard to a steel beam?
To attach the plasterboard to the steel beam, cut the plasterboard to the size you need and screw it to the timber battens with some drywall screws.
DIY TIP
Do you want to know how to cut plasterboard? Check out this post where we share the easiest way to cut plasterboard.
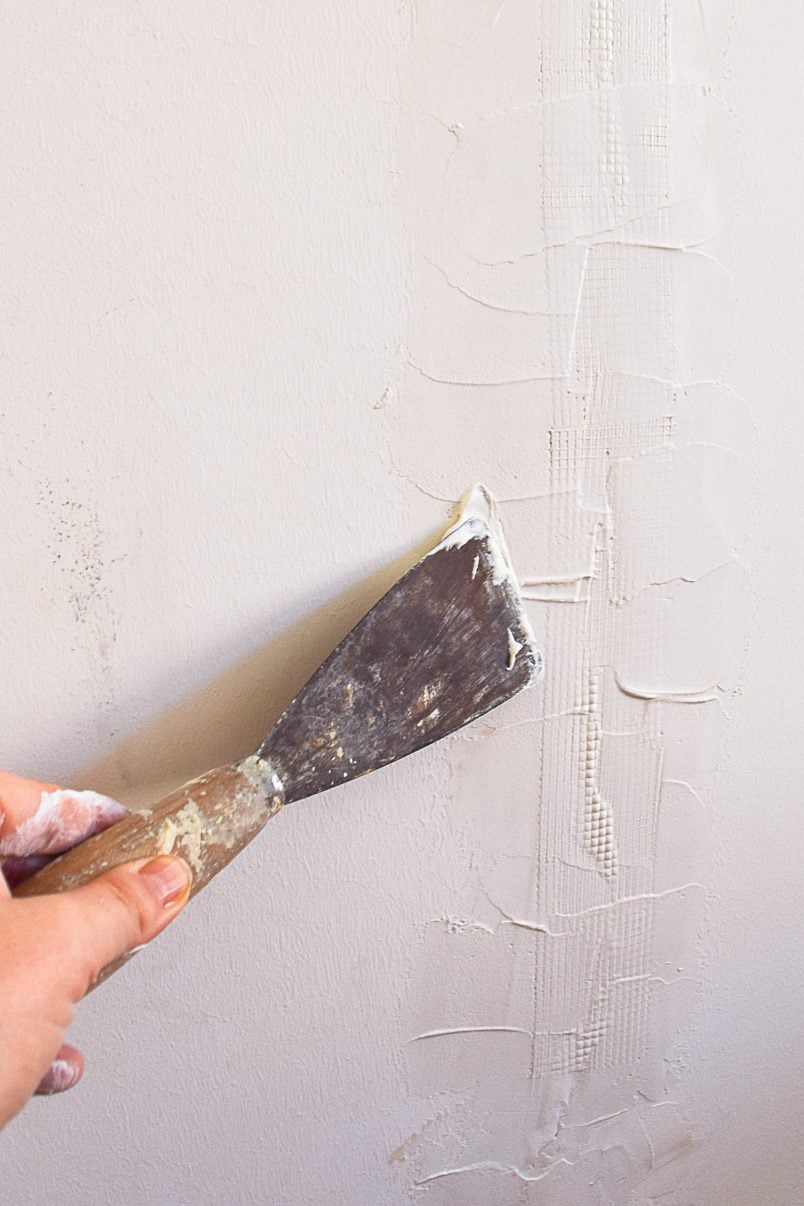
When boxing in a steel beam it’s important to add two layers of plasterboard to provide adequate fire protection and to comply with building regulations. So, after adding the first layer of plasterboard, add a second layer staggering the joints so that they are in different positions from the joints of the first layer.
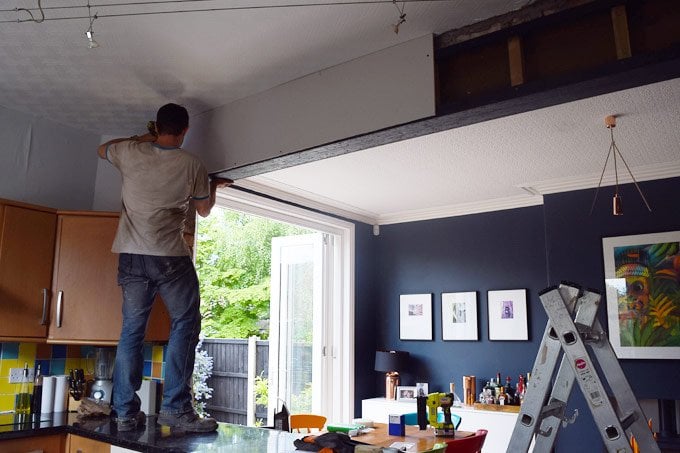
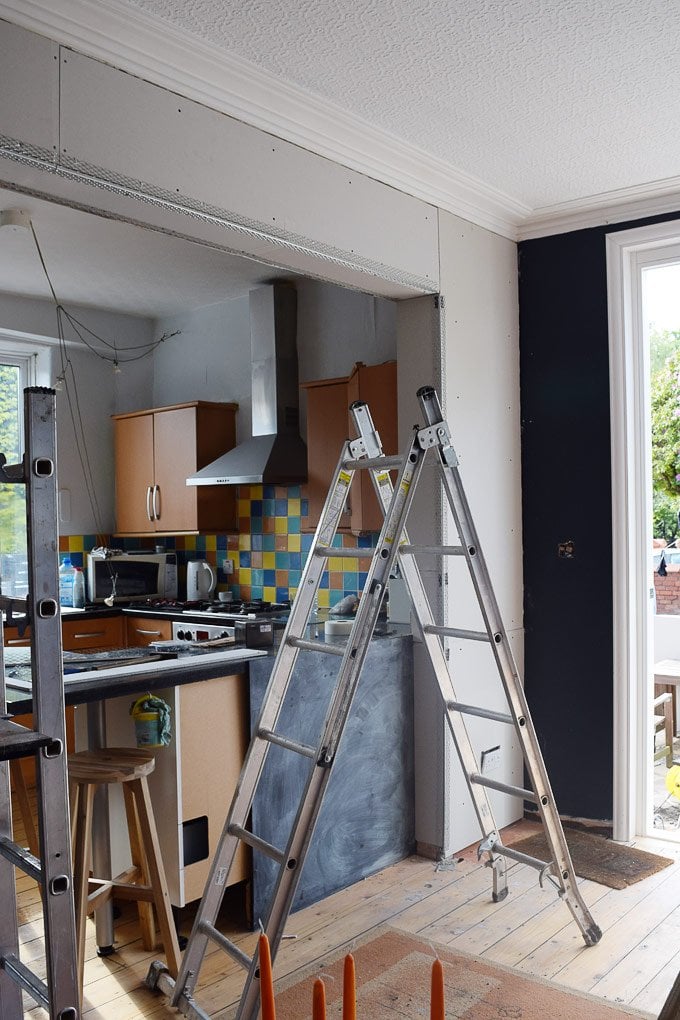
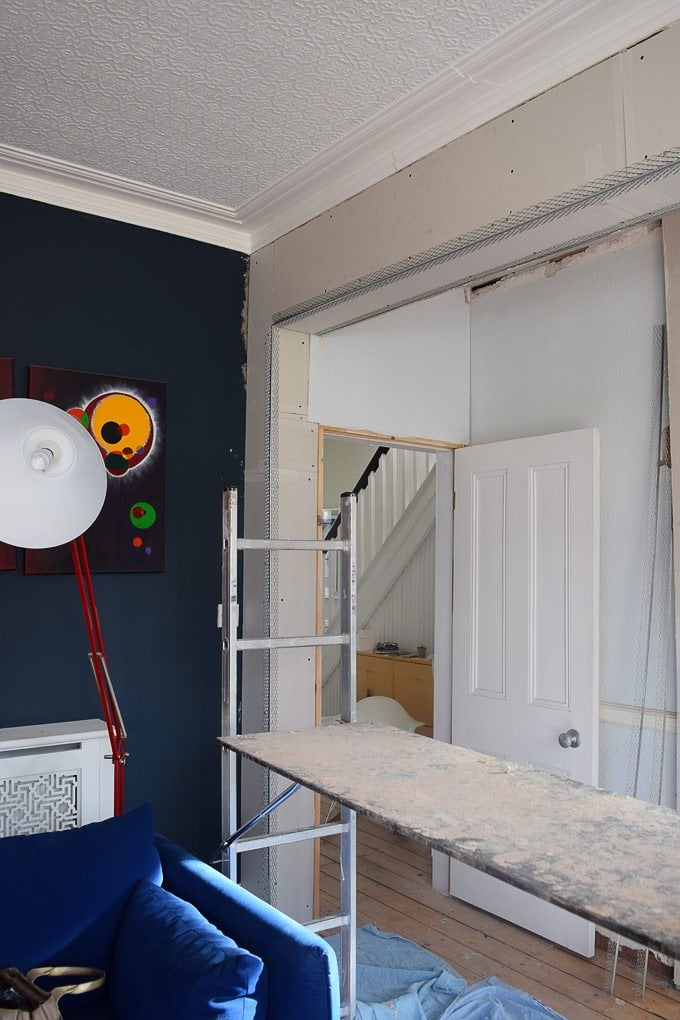
Along with hiding the RSJ under the plasterboard, we also added plasterboard to the brick walls around the door and we also decided to temporarily tidy up the wall in the kitchen (it’ll be removed as part of the extension).
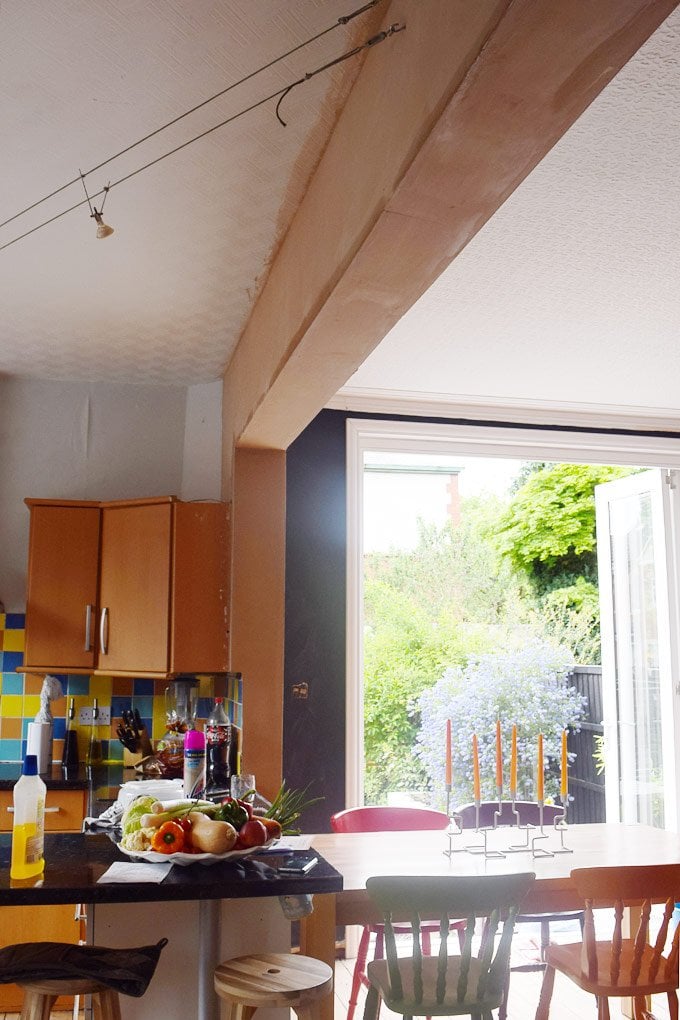
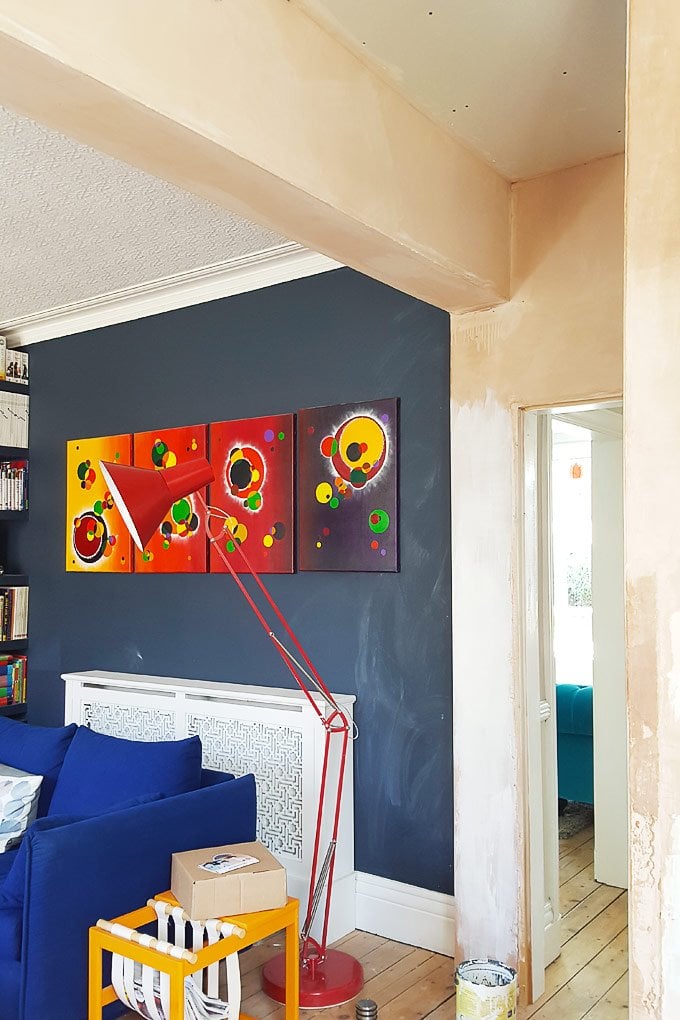
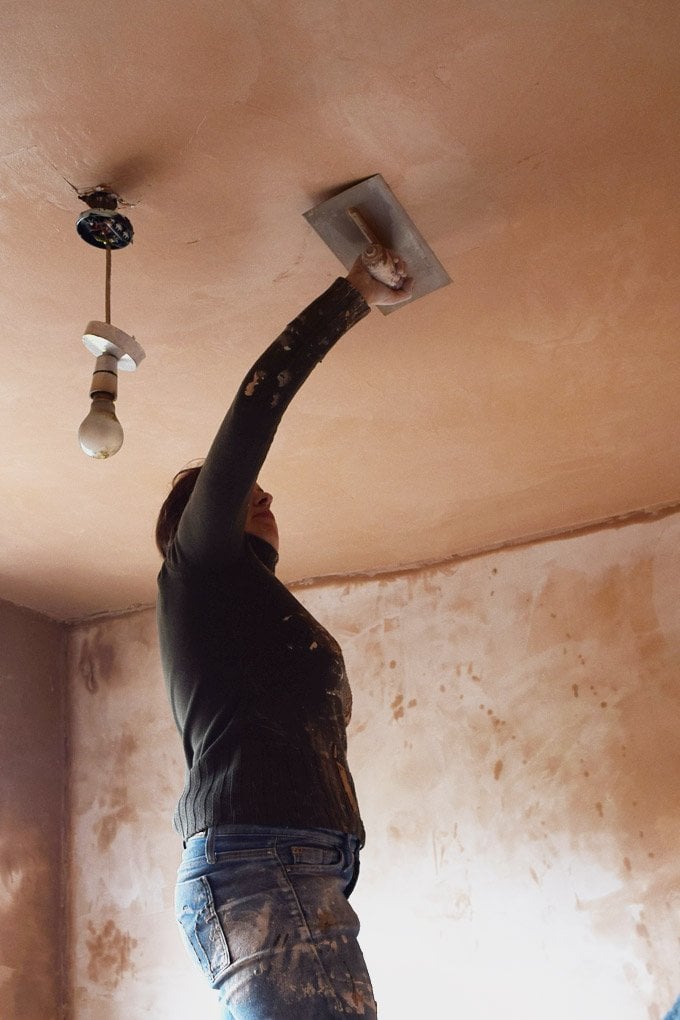
After spending almost two days attaching plasterboard to the steel beam and walls it was time to start plastering. Plastering really isn’t one of my favourite home improvement jobs, but it is a great feeling when it is done.
It always feels like a huge jump in progress and everywhere instantly looks more finished after applying a fresh coat of plaster.
When the plaster was dry we could finally get out our paintbrushes. We always use the same method for painting newly plastered walls which works perfectly every time.
Then, just 7 short days (okay, 7 very long and tiring days) later, we finally had our finished dining room!
Plasterboarding A Steel Beam Building Regulations
Any structural work will have to comply with building regulations and will have to be signed off. A steel beam will have to be protected against fire for a minimum of 30 minutes.
There are specialist paints you can use to paint a steel beam to give it the necessary fire protection or you can fireproof a steel beam with a minimum of two layers of plasterboard as we did.
Don’t forget to have the plasterboard signed off by building control before you plaster it so that they can see that the work has been carried out correctly.
Although we generally enjoy tackling DIY projects I have to admit that this was a job that I really didn’t like doing. It seemed never-ending, it was messy and the sun was shining which inevitably meant that we would have much rather spent time lounging around in the garden.
I guess not all home improvement projects can be fun and even if we don’t always enjoy them while we’re doing them it’s always a great feeling when we complete them and can stand back and see something that’s not only finished but also something that we achieved ourselves.
What home improvement jobs do you enjoy most? Do you have any DIY jobs that you hate? Have you ever boxed in a steel beam?
If you like this post, you’ll love these ones, too!


Vincent Capobianco says
We are in the process of removing a 18′ section of a bearing wall, we need to install a drop beam but engineered lumber won’t work due to the depth, so we are looking into a steel beam option, how deep was that beam and what was the length of the finished opening, and how did you attach the 2×2 on the beam for the gypsum board
Thank you
Vince
Christine says
We tackled this project a while ago and I’m not 100% sure what the exact measurements were, Vincent. As a very rough guide, the opening was about 4.5m long but I can’t remember the dimensions of the steel. We obviously had it all calculated by a structural engineer and it all had to be signed off by building control before and after installation. Our steel was particularly big as we planned on converting the loft, so it had to be large enough to take the additional weight of the conversion.
The noggings are just wedged into the flanges of the beam. They were cut very precisely and then hammered in place.
Cx
Jonathan says
Thanks for posting – I’m in the same process. At what stage did building control get involved to verify you boxed the beam in compliance with the regulations?
Christine says
We had building control come in directly after the beam was installed and then again after the plasterboard was up (before any plastering and decorating).
Cx
Louise says
I love your dark walls, they make such an impact. Good that you did the wall that is coming down as well, these things do drag on and it is nice to have it nice for a while =) Less eyesores mean more presence of mind and more energy I think. What are you thinking about the trim work for the extension? Have you found someone that makes the same dimensions or will you have different in the kitchen and the dining? I have a lot of “gaps” but we just buy a different type of the same height, our house is very added on over the years so it does not really show when it is painted the same. Some people do get replicas made which is really nice I think but it takes more planning.
Christine says
Thank you, Louise! You’re totally right, home improvements do seem to drag on a lot and we just got so sick of seeing the wall that we figured it make sense to get it done, too.
We have actually already found a joiner that has made us a cutter to make exact replicas of the original architraves in our house. I know I’m being super pedantic and could have just bought ready made timber, but a lot of new and old frames will be directly next to each other and I think it would have driven me mad if they’d not been the same! ;)
Cx
Jessica @ CapeofDreams says
It’s nice to know we aren’t the only ones that shout in the midst of projects. They often bring out the worst in us. The kitchen and dining room look so much better now that this is done. Well done, as always!
Christine says
Thanks, Jessica! Yep, DIY has a way of bringing out the worst in us, too. Always a relief to know we’re not the only ones.
Cx
Susan says
Heard you on R 4 at lunchtime today. Great to hear you. You came over well.
Christine says
Thank you so much, Susan! It was so weird to hear myself on the radio. Glad to hear that I sounded okay! ?
Cx