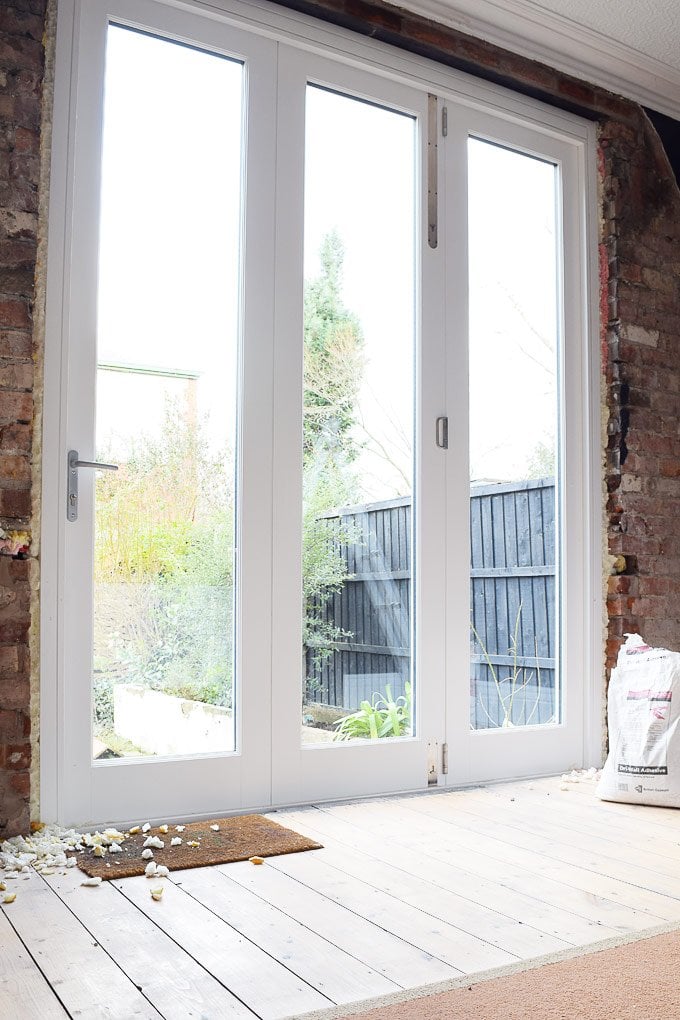
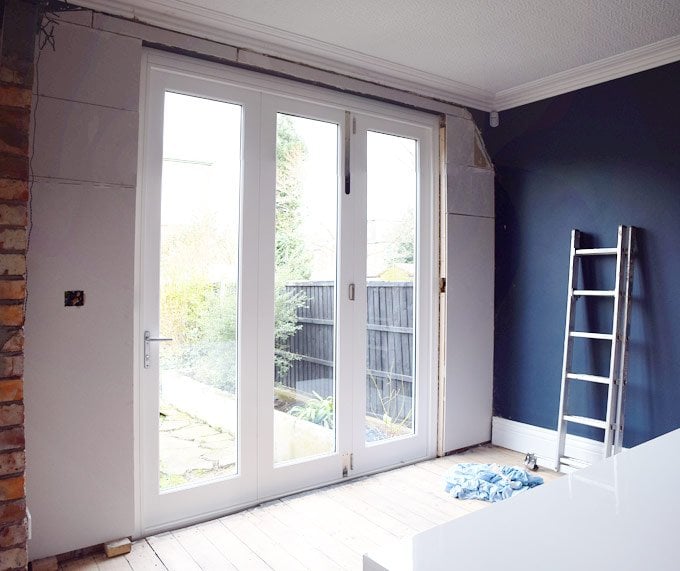
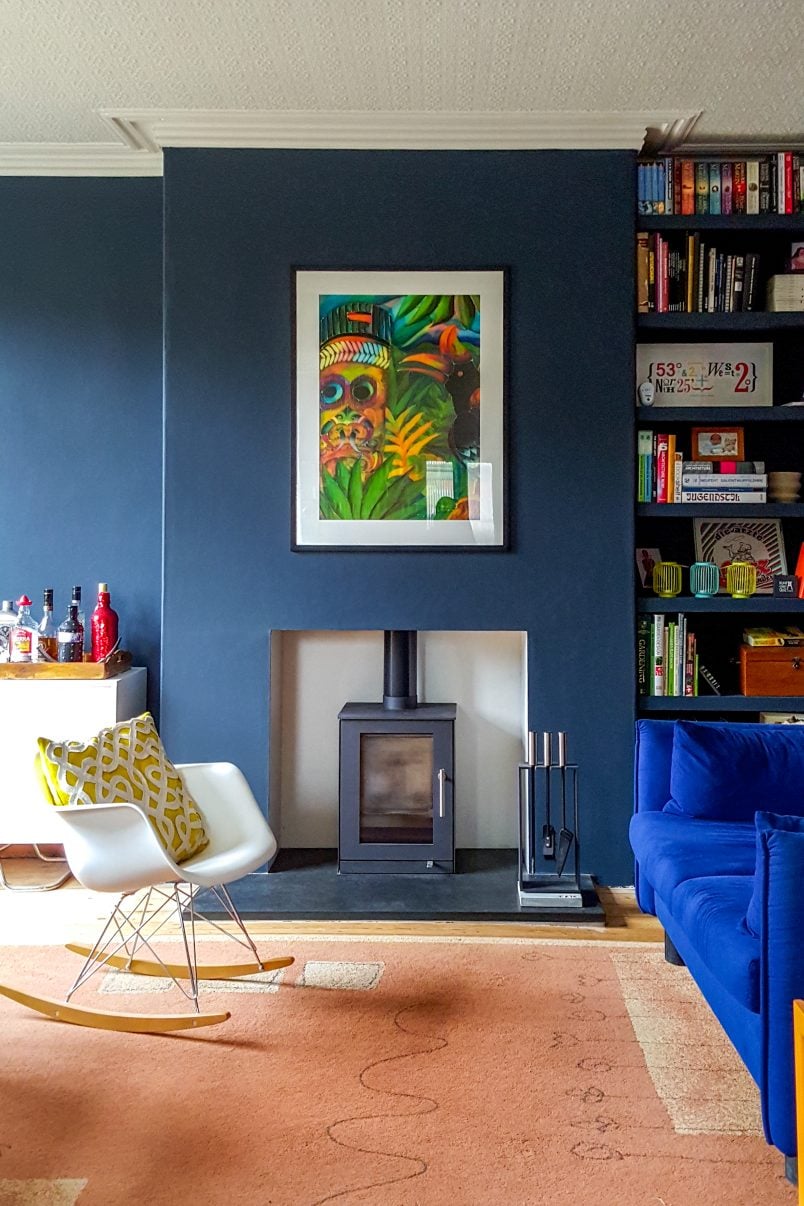
As you can imagine, we’re still really excited about our new bi-fold doors in the dining room.
They look fab, work really well and are a huge tick off our to-do list. The only downside so far (except that it’s much too cold to actually have them open) is that there’s still a lot of finishing off to do.
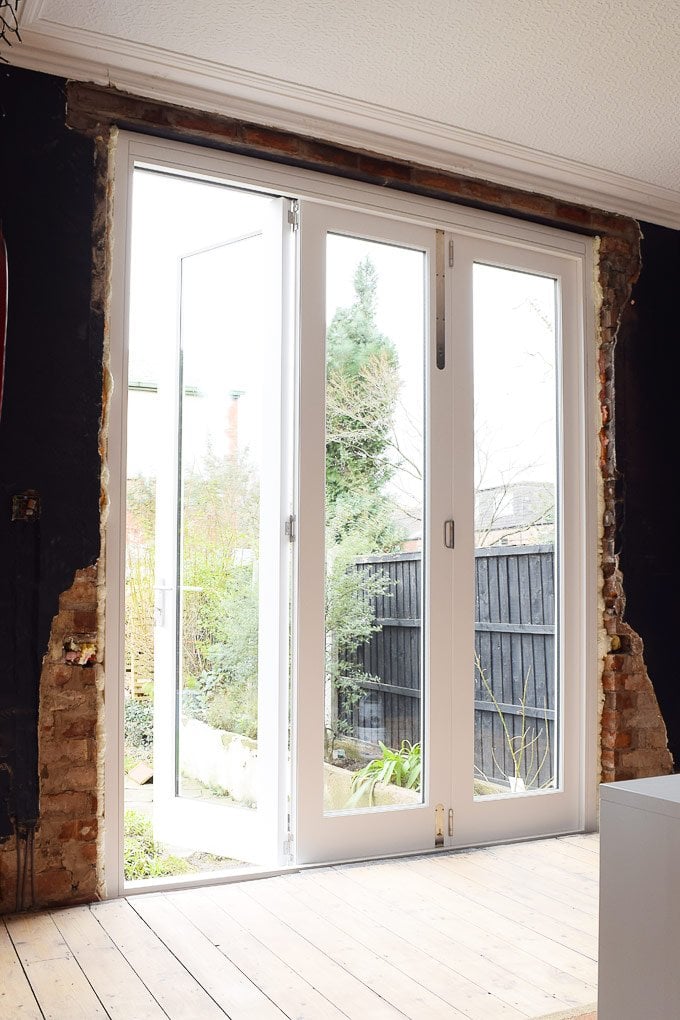
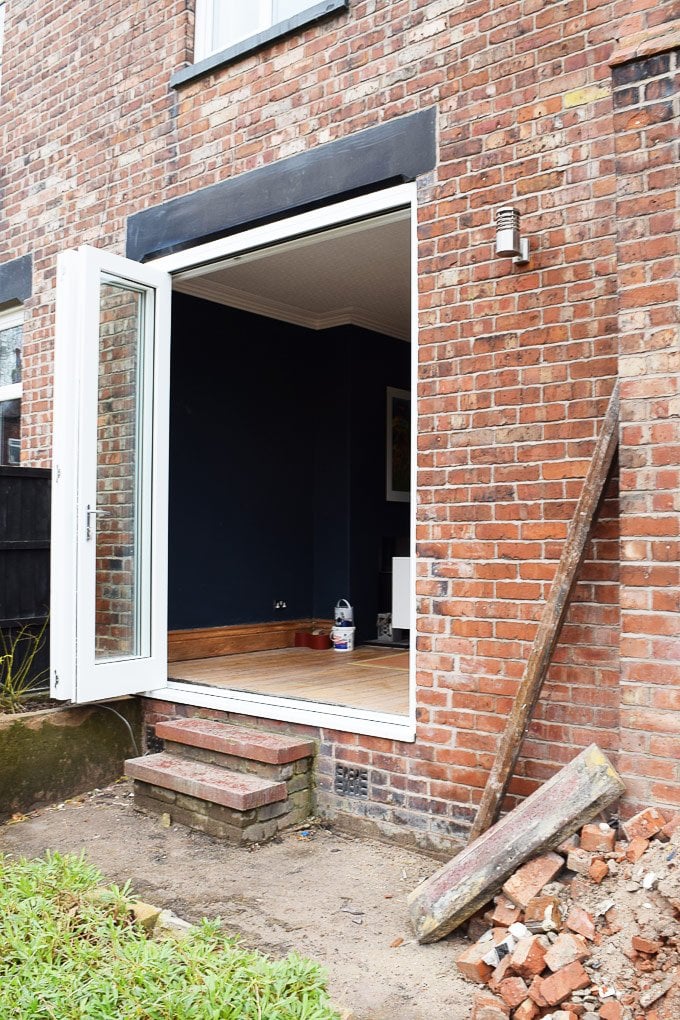
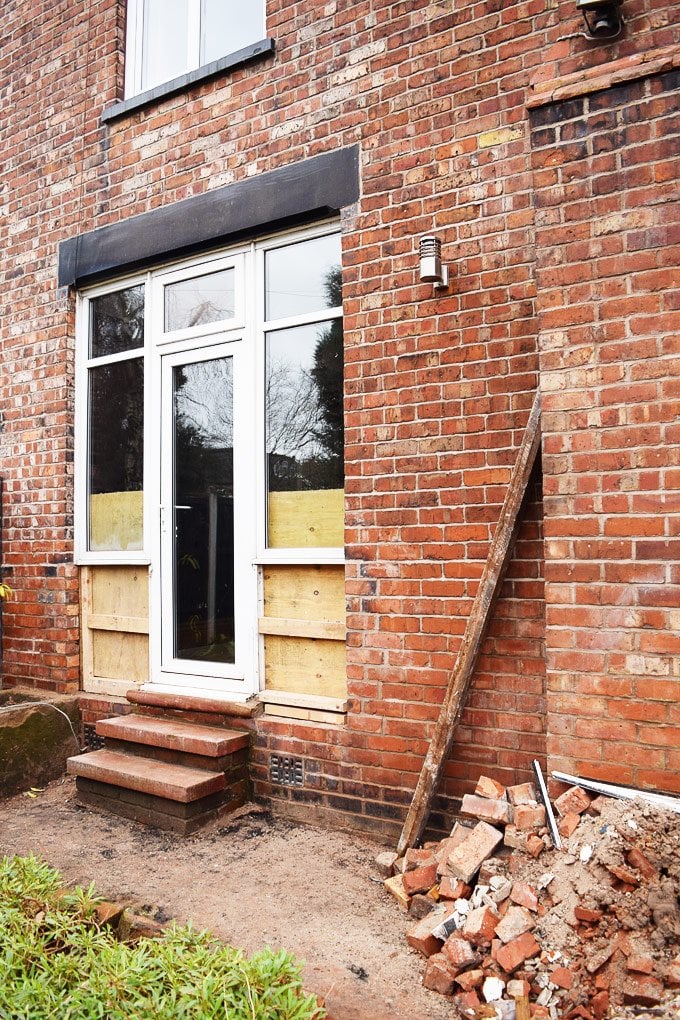
Yes, the doors are done and the outside of our house looks great, but the inside is another matter. There’s not much plaster left on the wall and what little there is crumbling away as I type, we have no skirting, no architrave and there’s a big hole between the floor and the door.
Oh, and we should probably add a step on the outside, too!
Now, we could of course have paid the window company that made and installed the door to do finish all of the internal works, but we decided that we’d save a few £££ and do it ourselves.
As so often around here “we’ll just finish things off” has turned into something a bit more involved.
To do the work properly – let’s face it, there’s probably not much point in spending thousands on a new door if you’re not going to finish it off – we’ll have to remove the old plaster, dryline the wall, plaster the wall, fill the gap in the floor, line the inner reveal, add an architrave and install the skirting. Oh, and then everything will need decorating again, too.
We should really stop using the word “just”!
Given that our dining room and kitchen were already completely covered in dust and dirt from removing the part of the wall to enlarge the opening for the new doors, it really only made sense to get more of the really messy work out of the way before we started to completely clean the house and it doesn’t get much dirtier than knocking down 100-year-old plaster!
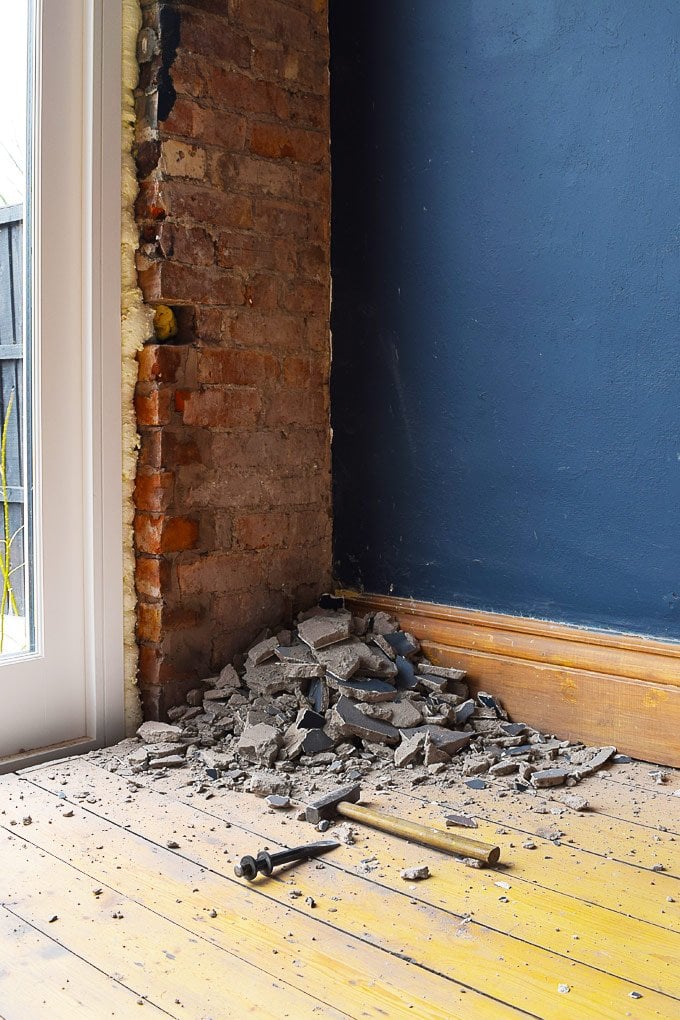
Even if you cover everything and try to minimise dust, it still has a way of getting everywhere. Worst of all, it seems to linger in the air for days (if not weeks) and makes such a mess, no matter how much you try to keep your house clean.
Putting up with dust and dirt is an inevitable part of renovating your home, but it is definitely something I could do without!
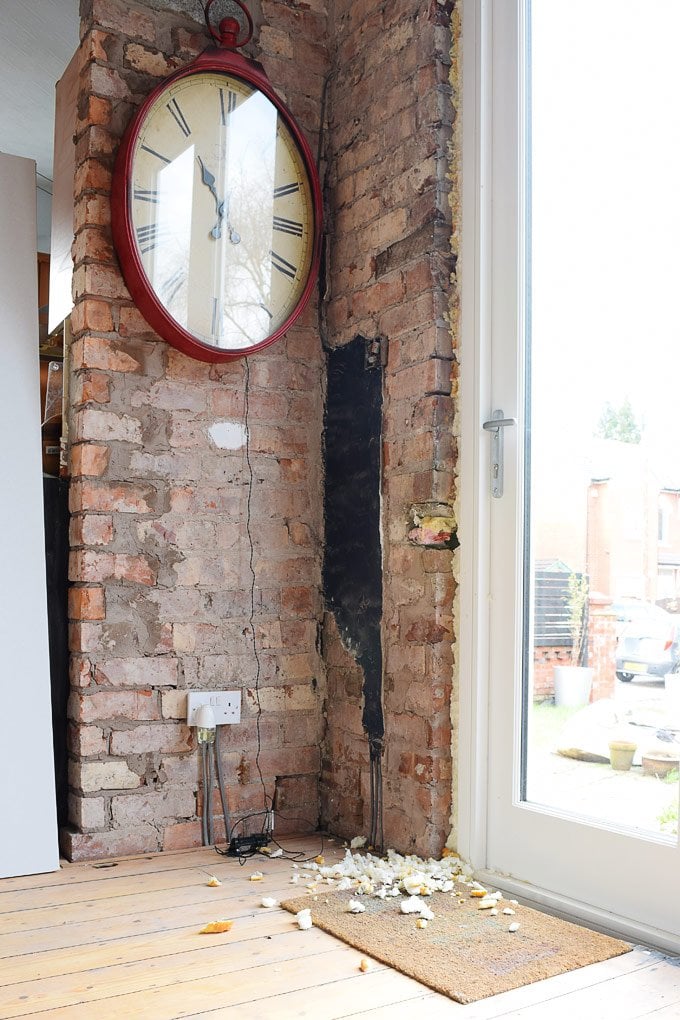
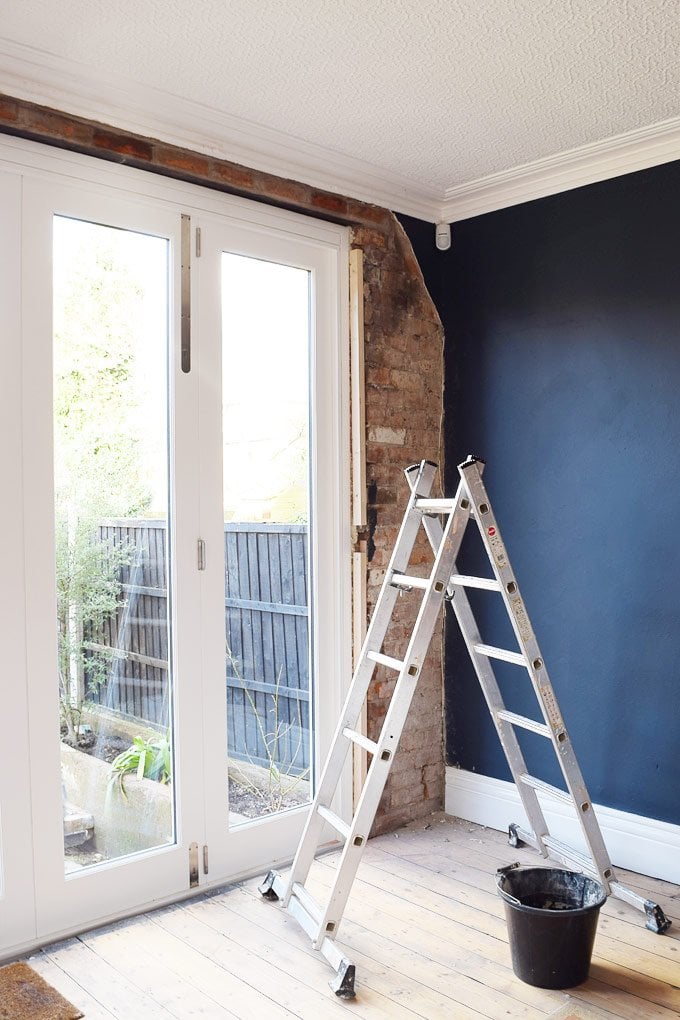
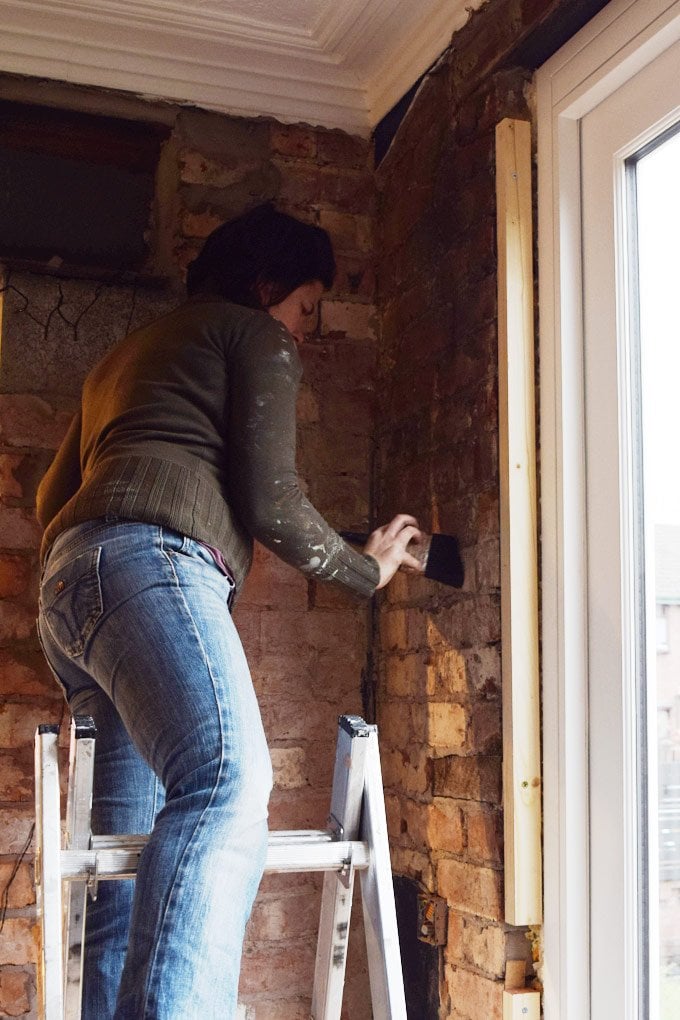
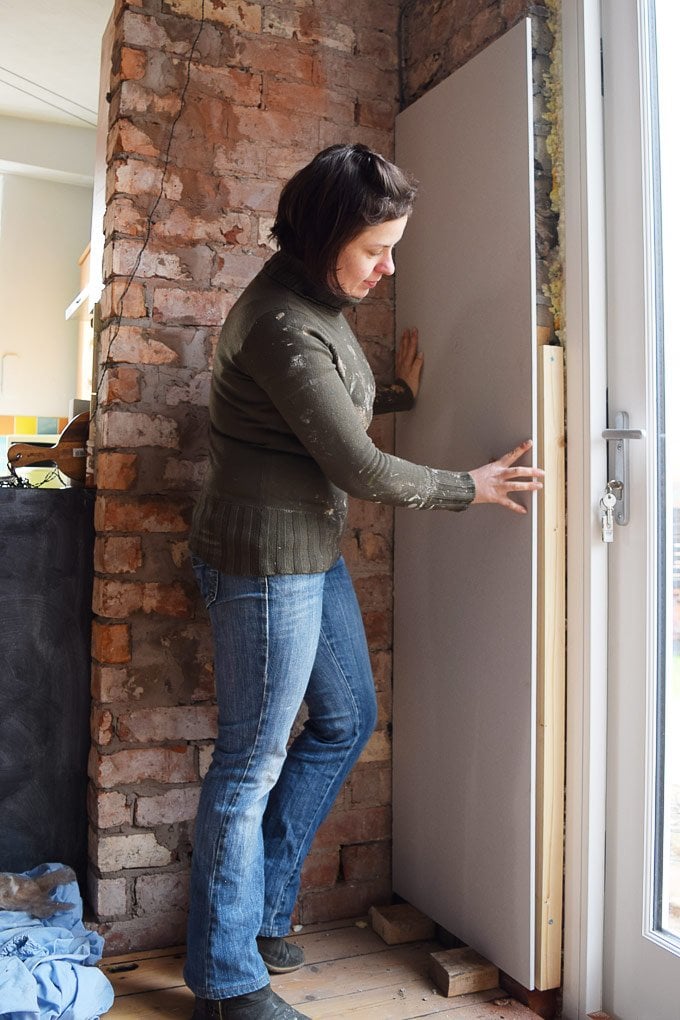
After knocking off the remaining bits of plaster (it was actually weirdly therapeutic) and spending yet more time cleaning, it was time to start putting our house back together again.
Adding drywall may not be the most exciting of DIY jobs, but I find it weirdly enjoyable – it’s pretty easy, you don’t have to think too much and best of all it’s quick!
We think that it’s definitely a job that falls into the “totally doable DIY” category.
You don’t need a huge amount of tools and it has an almost instant gratification factor. If you think it’s something that you’d like to try, here’s how we did it and what we used.
This post contains affiliate links. We only recommend products we love and think that you will, too! Read our full disclaimer here.
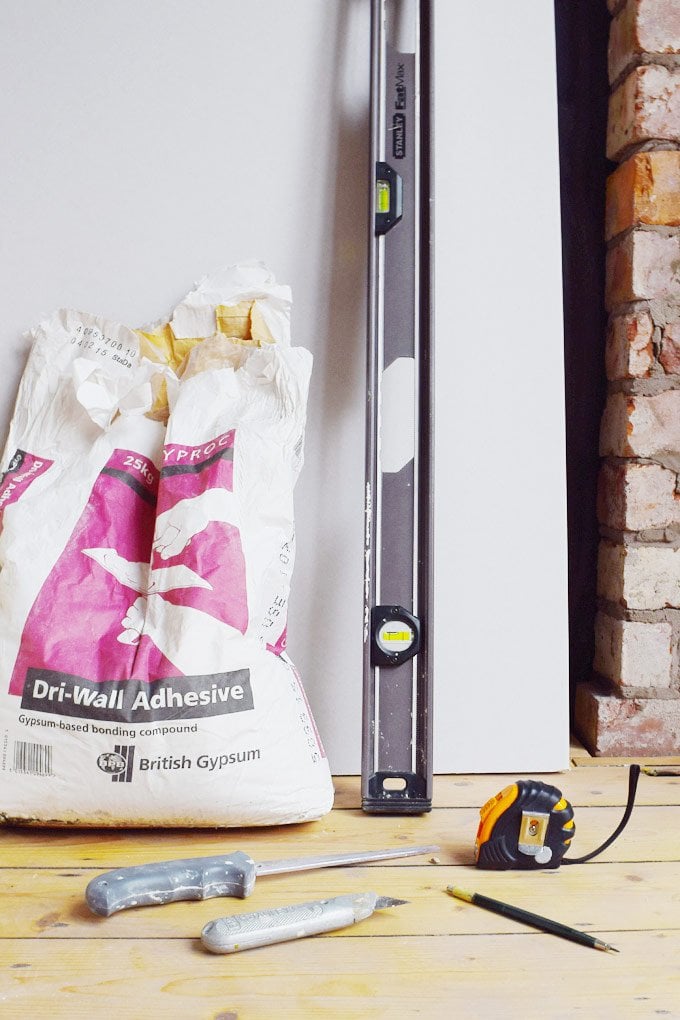
These are the tools you’ll need:
- Drywall adhesive
- Plasterboard
- Trowel & Hawk
- Utility knife
- Spirit level
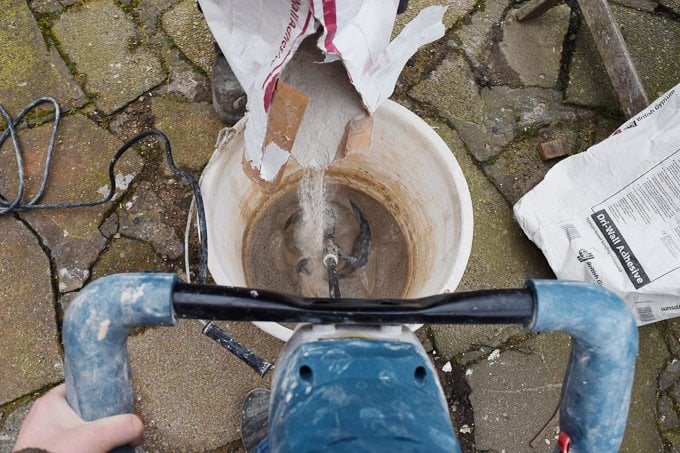
- Mixer – You can get attachments for your power drill, but if you’re planning on plastering more than just an occasional hole, it makes sense to invest in a mixer. We bought the cheapest one we could find (this is the mixer that we have) and it does the job really well.
- Bucket & water
- Plasterboard Joint Tape
- Dry Wall Rasp (optional, but helpful)
- Drywall saw
How to dryline a wall:
#1 Clean your wall and dampen it to remove any dust and dirt.
#2 Measure and cut your plasterboard to size. If you’ve never cut plasterboard before, it really couldn’t be easier!
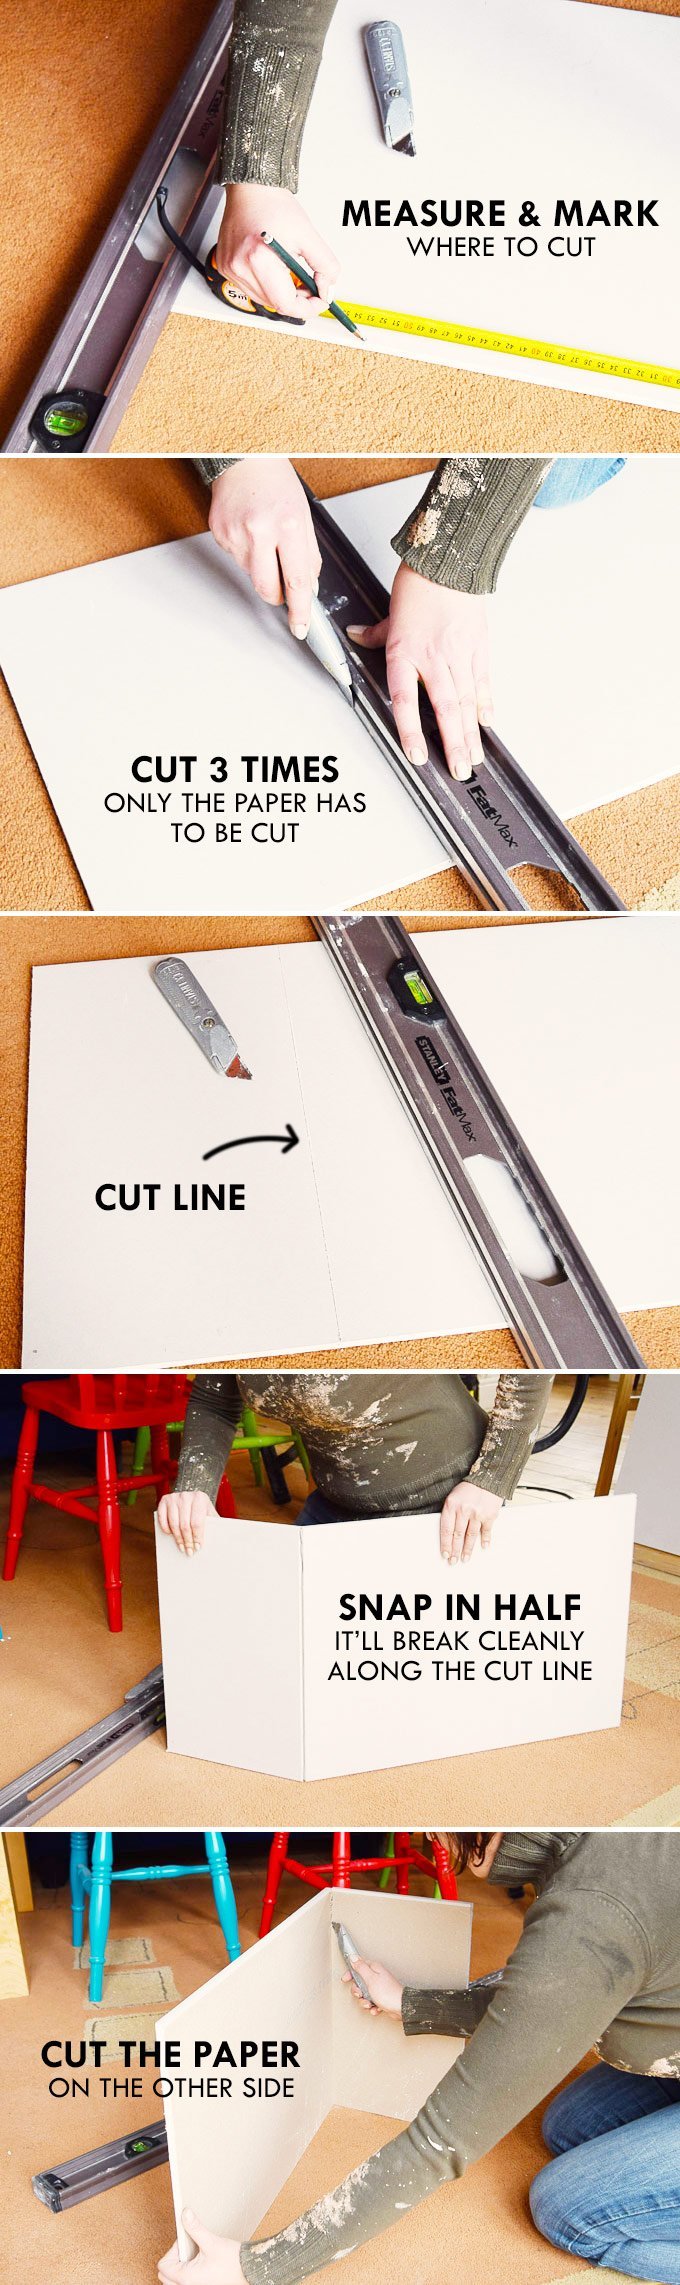
How to cut plasterboard:
- Lay it flat, measure and mark your dimensions.
- Next, use a sharp utility knife and a guide (we used the side of our spirit level) to cut a line. Don’t try to go all the way through, just cut along your edge and go over the cut two more times to make sure that you’ve completely cut through the top paper layer of the plasterboard.
- Now stand the board up and give it a push along either side of the cut line – it should easily snap in half with a clean cut line. If you do have any rough edges you can tidy them with a drywall rasp.
- You should always start by cutting the larger pieces and then using the offcuts to fill any gaps.
#3 Measure, cut and prepare all of your pieces of plasterboard before moving on to the next step.
#4 Mix your drywall adhesive according to the manufacturer’s instructions. It dries fairly fast, so only mix enough for one board.
#5 Dampen the wall again.
#6 Now it’s time to attach your plasterboard to the wall.
Dab generous amounts of the drywall adhesive to the wall. The easiest way to do this is by scooping up some of the adhesive with your trowel and then with a quick and firm motion splatting it against the wall.
The dabs should be spaced out evenly about 20 cm apart. The dabs of adhesive should be about 250mm x 50mm and no thicker than 25mm. For extra stability and to avoid insects getting into the space between the plasterboard and wall, the edges of the adhesive should be applied in a continuous line along the edges of the boards.
Doing this is easier said than done and about halfway through applying the adhesive our dabbing is definitely looking less than perfect. We definitely need more practice!

#7 Once you’ve applied the drywall adhesive, stick your plasterboard to the wall and push it firmly against the adhesive. Then use a spirit level to make sure that the plasterboard is level and even – adjust as necessary and tap it into place.
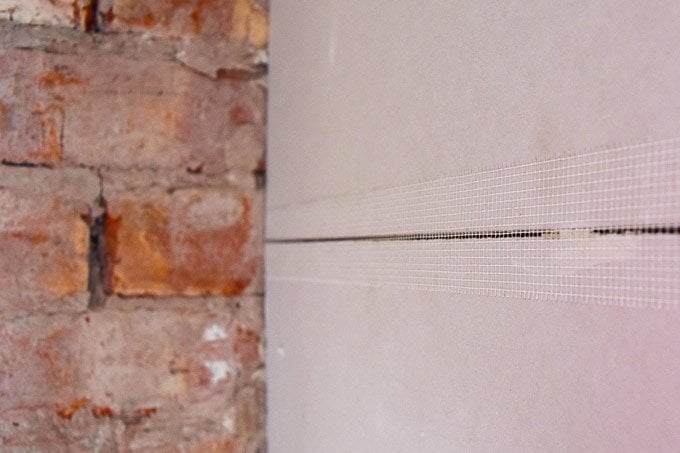
#8 When the adhesive has dried, it’s important to tape over all of the joints between the boards and the wall with some plasterboard joint tape before you plaster the wall. There will always be a tiny bit of movement in any house and wall and the tape will stop the plaster from cracking.
We found it easiest to start at the bottom and work our way up. The boards do tend to slip around a bit (especially if you’re adhesive is slightly too runny), so wedge a couple of pieces of timber between the plasterboard and floor to keep it suspended – there should always be a gap between the plasterboard and floor.
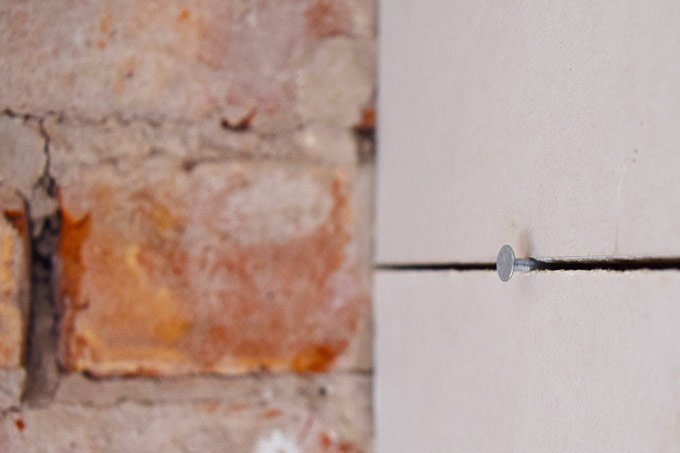
We also stuck a couple of nails between each piece of plasterboard to keep a small gap between each of the pieces while the adhesive was drying.
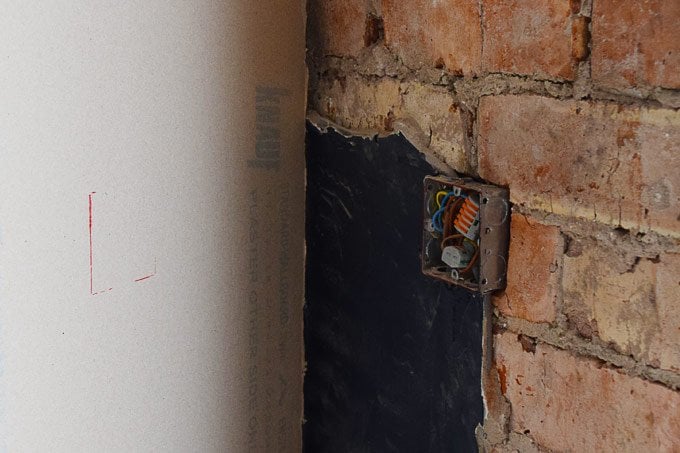
We had the added bonus problem of having a socket that we had to work around. When you dryline a wall, you’re meant to minimise joints, so instead of cutting up our plasterboard sheet to fit around the socket, we decided that it would be best to cut a hole for the socket out of a large board.
We found that the easiest way to do this was by cutting the board to the size we needed to cover the wall (ignoring the socket at this point).
When we knew that the board was the correct size, we then coloured the edge of the socket with a marker before repositioning the board and pressing it against the coloured edge of the socket.
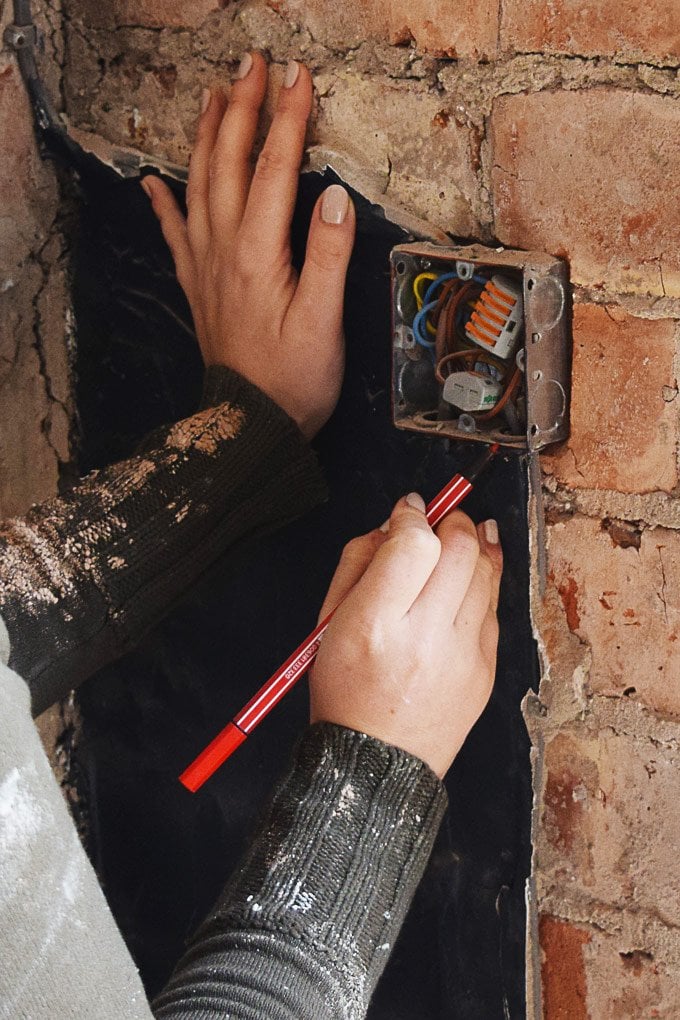
By doing this, the marker left an impression on the back of the plasterboard which we could then easily cut out with our drywall saw.
It took us about 4 hours to dryline the wall, but probably about half of that time was spent with getting the supplies together and preparing and cleaning the tools.
Now that the wall is lined we can move on to plastering – hopefully it’ll start to look more like a room than a building site again soon!
Have you ever attempted to dryline a wall? What kind of DIY jobs do you enjoy most? Where are your DIY limits? Is there a skill you wish you had (I wish I knew something about plumbing)?
Gerry says
Did this not obscure part of the existing coving? Or did you manage to keep the dry lining the same thickness as the original plaster?
Christine says
The existing plaster was really thick so it was easy to dryline and plaster the wall to achieve the same thickness as before.
Cx
Enc says
Nice work … Just had French doors fitted and similar kind of work. Left it to my plasterer though !!
Christine says
Thank you! It was our first attempt and we’ve definitely learned a lot. Dryling is more difficult than it look and we could definitely do with some more practice! ;)
Cx
Karen says
we had our 100 odd year old plaster knocked off the walls in our living room and bedroom back in January – the original stone & bricks were exposed and we had them rendered and plastered. However, because the stone was naturally uneven, the chap who did the render said he had to put it on so thick to even out the walls , that there is up to 2 inches of render in places ! it took about 3 weeks before it even started to dry out enough to plaster, and although it’s all looking good and plastered now, the builder said not to wallpaper for 4-6 months – I was gutted ! He did say we can emulsion the walls tho if we’re fed up of seeing bare plaster, which is what we intend doing.
so plaster boards may have been a better option !
Christine says
Oh wow! That’s epic. I knew that thick plaster would take a while to dry out, but 4-6 months is sooo long! Now I know why builders tend to use plasterboard to speed things up! Plasterboard probably isn’t a perfect solution either, but for a novice plasterer like me it definitely makes life easier.
Hope your rooms dry soon!
Cx
Elizabeth Smith says
Just finished the lounge ceiling. Hard work and messy but looks fantastic now, it was worth the pain.
Christine says
It’s usually worth it in the end, just sometimes doesn’t feel like it when you’re stuck in the middle of a project!
Cx
Jessica@CapeofDreams says
1000% better already!
Christine says
Thanks Jessica! Can’t wait till it’s finished – all furniture is squashed in the corner of the room and in the hallway.
Why does DIY always have to involve chaos?! ;)
Cx
Arati Devasher says
Oh wow! I never realised bifolds could be opened one at a time as well as the whole lot together!
Christine says
Yep – can’t wait till it’s summer! Now all we need to do is sort the messy garden…
Cx
Sarah says
That looks fab
Christine says
Thanks Sarah! It’s slowly starting to get there. We actually managed to get the plastering done over the weekend and it’s completely changed the look again. Can’t wait for it to dry so I can get out my paintbrush!
Cx
Lins @ Boo & Maddie says
Ugh the dust and dirt, I think that’s what puts so many people off any kind of home improvements! I remember when we’d bought the house and they were damp-proofing the ground floor, I decided to pop round one evening after work to do some tidying and had NO idea at that point what a messy job anything to do with plaster is so I left and went home :)
Now can I ask about the dry wall – do you need to do this before you can plaster or can you plaster directly onto the brick? Sorry if that sounds such a novice question!! X
Christine says
I know – why does DIY always have to come with so much dirt?!
You don’t have to dryline the wall and essentially you could plaster straight onto the brick. Most builders will use plasterboard and skim because it’s quicker and there’s less drying time, but we used it because it will give us a clean and flat surface to plaster on. I’m still very much a beginner when it comes to plastering, so the better the surface is, the easier it is for me to achieve a good finish.
Cx