Things in Blogland may always look rosy and perfect, but reality can often be very different. We’ve definitely learned a lot over the last 5 years of improving our home and all in all we’ve been fortunate to not have made any huge home improvement mistakes or had any major disasters.
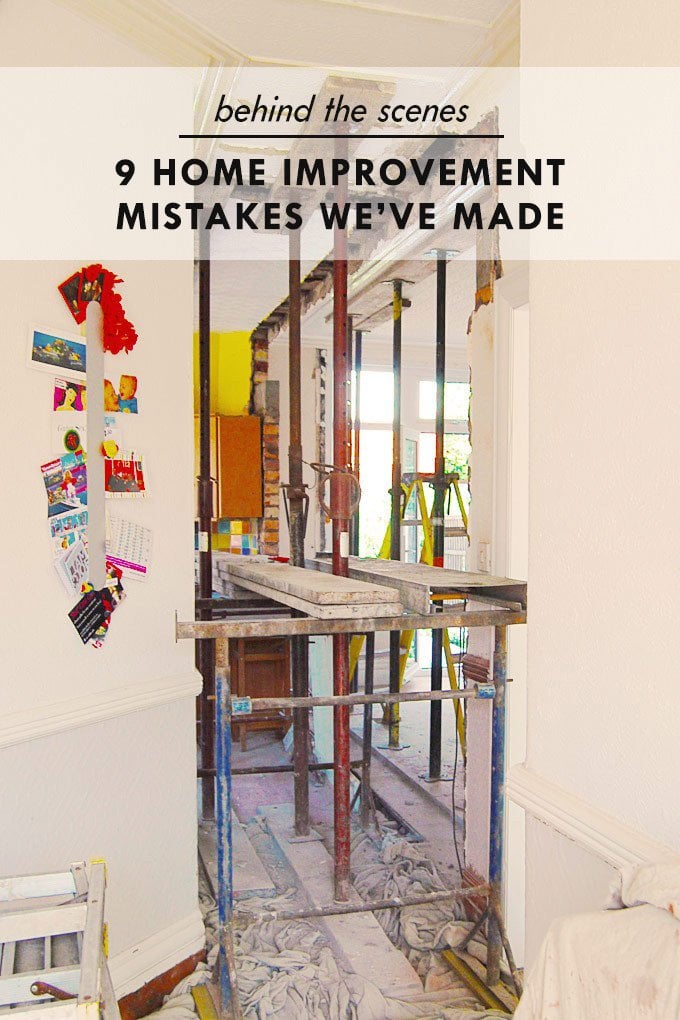
Whilst we’ve not had anything go drastically wrong, we have of course made our fair share of home improvement mistakes.
This post contains affiliate links. We only recommend products we love and think that you will, too! Read our full disclaimer here.
1. Don’t believe everything you read in magazines and on Pinterest
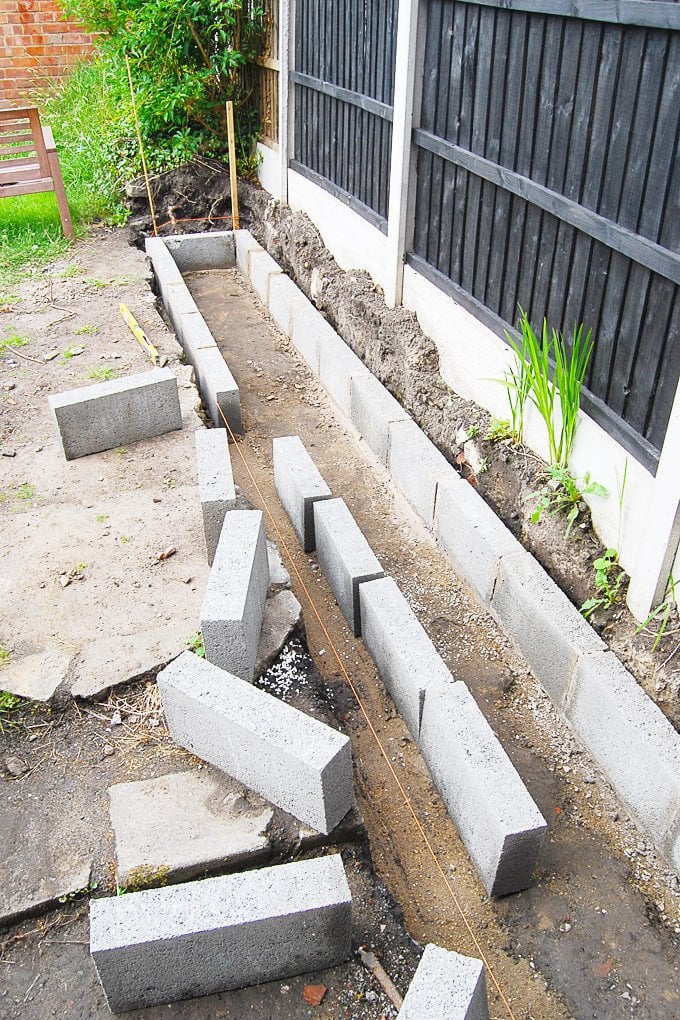
The wall we built in our garden (which still isn’t finished) later found out it should ideally have been done differently (we’ll share the details if we ever manage to get it finished!) It’ll work fine as it is, but it could be better.
Another one of those projects that just didn’t quite live up to expectations is the lamp in our guest bedroom. It’s a big ugly blob.
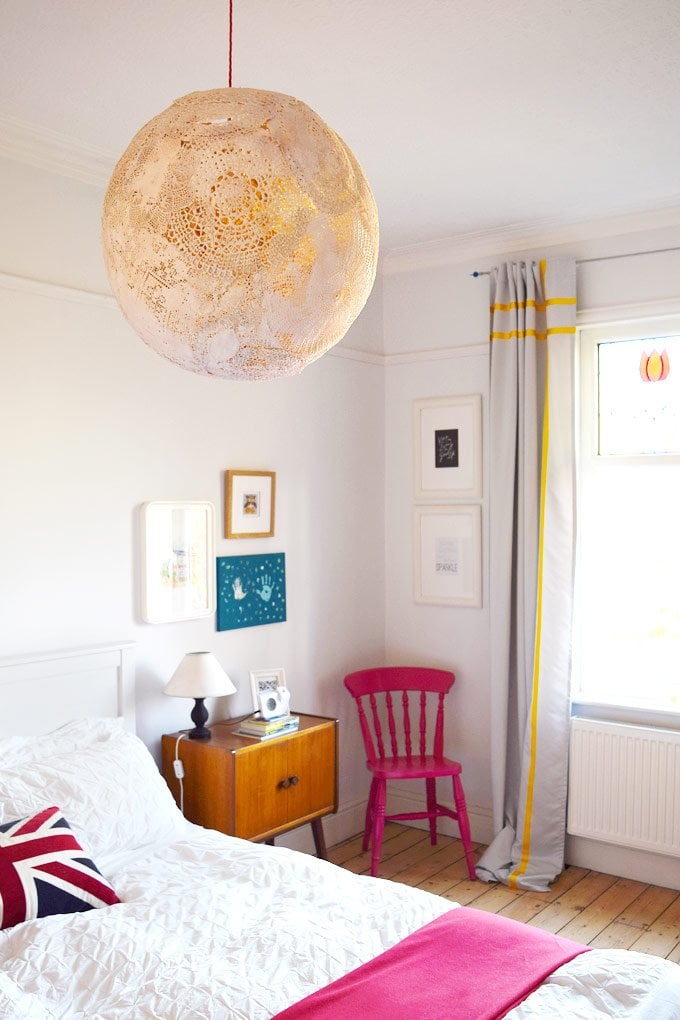
Okay, so it’s not all that bad, but I have no idea what kind of superpower wallpaper paste the people on Pinterest used to stick the dozens of doilies together. Ours collapsed into one big heap. In the end we used resin which was definitely strong enough, but coloured the ball a weird shade of pink and filled all of the holes in the doilies turning it into a much more solid ball than we’d imagined.
2. Our Sofa
Don’t panic, we’re not talking about our fab new turquoise one! The mistake we made was buying the black leather one that we had there before.
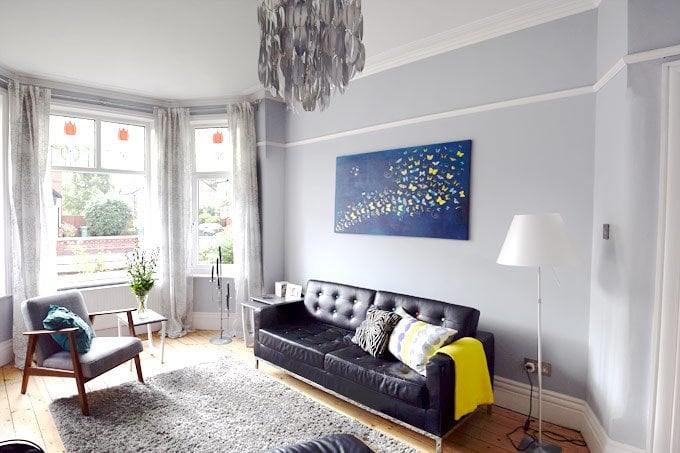
We rushed to buy it because we need somewhere to sit. We knew it wasn’t ideal but it was okay. It wasn’t what we’d ever imagined for the room (I’d originally been thinking grey suede or velvet). Basically, don’t settle for okay. Of course there will always be areas where you’ll have to compromise, but try not to rush decisions – especially with self imposed deadlines.
3. Trusting measurements
I’m not sure why, but there are so many measurements that seem to be off. Always double-check yourself. When we built our slatted garden fence we assumed that the pieces of 100 x 25mm timber that we bought were that size and planned our fence accordingly.
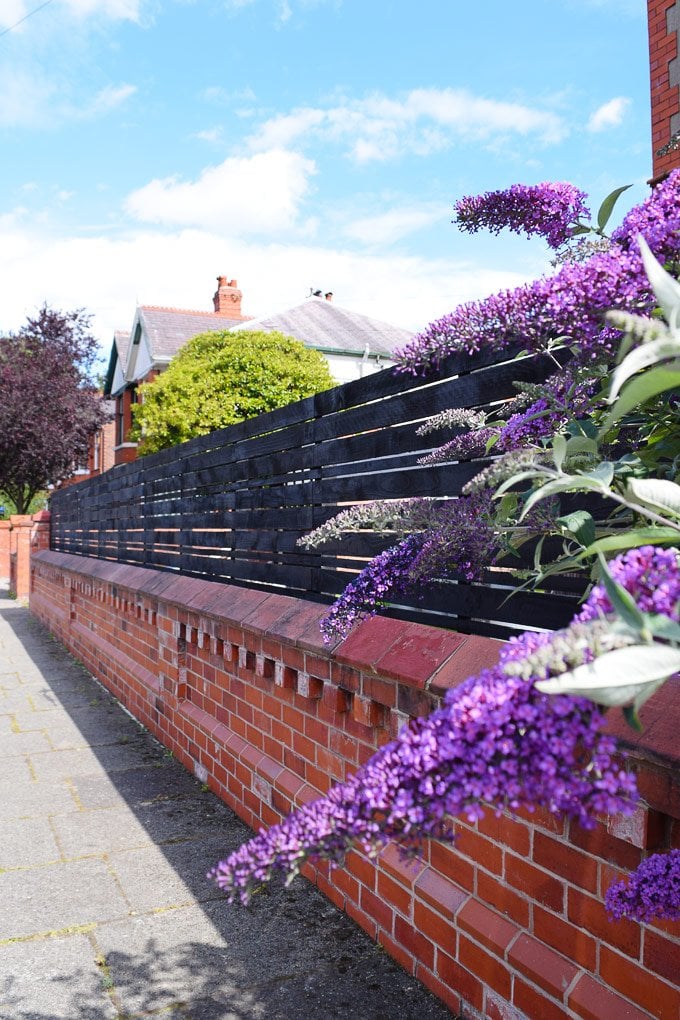
When we’d worked our way about ¾ of the way up the fence and had used hundreds of nails, we realised that something was off. Only then did we measure the timber and not only was the wider panel off by about 5 mm, the smaller panels and even the posts were different measurements, too!
In the end, we were really lucky though and although we were now not as high as we’d expected to be the bit missing turned out to be exactly the width of one extra timber slat. So lucky!
4. Using bad tradespeople instead of doing it yourself and not trusting your own abilities
I’ve lost count of the number of times we’ve been let down by bad tradesmen. We ended up having to pay for our alcove cupboards twice because the first joiner did such a terrible job (now we’d build them ourselves), we had a plasterer text on the day he was due to start that he got too drunk the night before and wouldn’t be coming (I did a plastering course after that!) and the amount of tradespeople that don’t turn up to give you quotes when they’ve said they would or make the effort to turn up but then never get back to you is ridiculous.
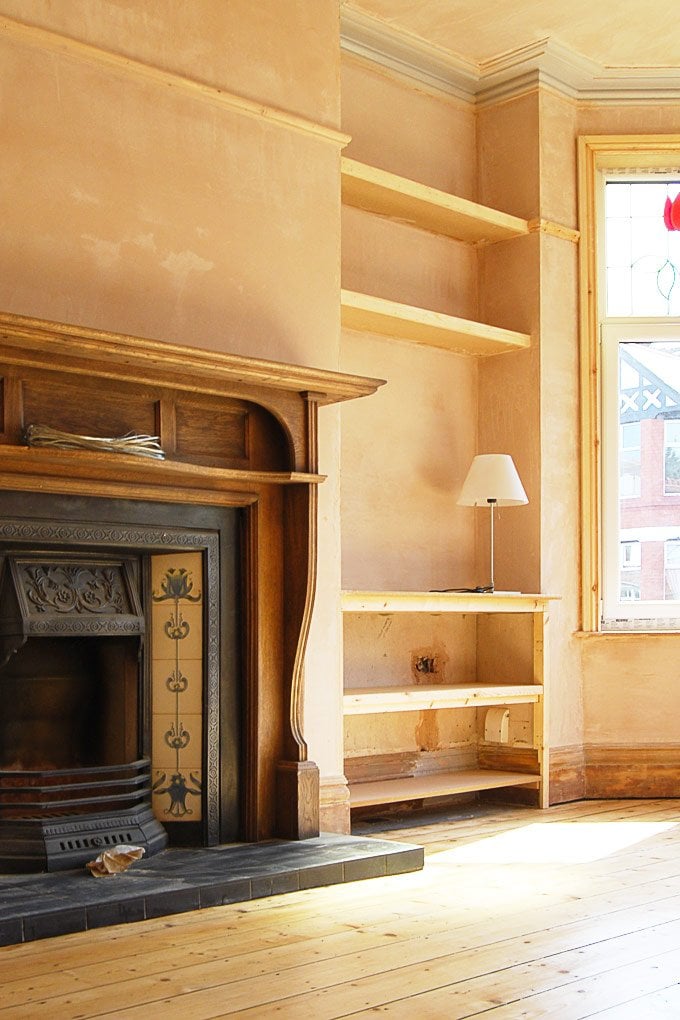
It’s really no wonder that we like to do as much as we can ourselves. At least then you know what you’re getting and if you do go on a bender the night before you’re going to plaster your dining room you’ve only got yourself to blaim.
5. Stripping paint without safety precautions & not using the right paint stripper
If like us you live in an old house, you’re probably going to encounter the fun of lead paint. (You can read about how to deal with lead paint here.) If it’s in a good condition you should really only paint over it and therefore seal it in as removing it is more dangerous than leaving it in place.
With the excitement of a new home I definitely stripped some areas of the house without wearing as much safety gear as I should have. I learned my lesson quickly and other than being a bit queasy for a few hours have not had any side effects, but taking the necessary safety precautions is probably the most important thing to remember when renovating a home.
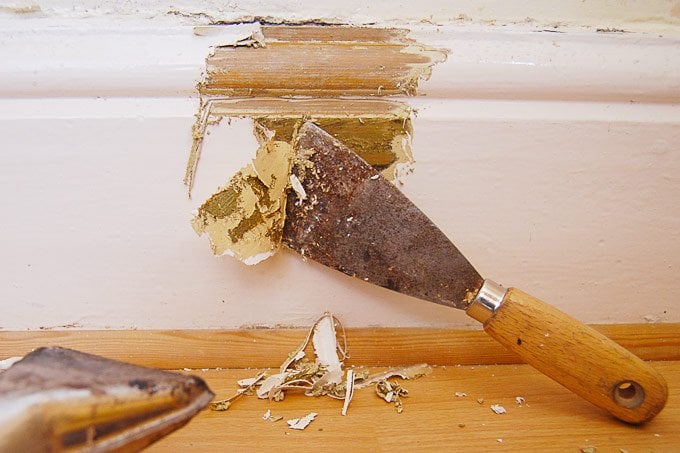
Paint stripping (even when wearing the right safety precautions) is one of my most hated jobs and we quickly learned that there are huge differences in the quality of paint strippers that are available. We’ve of course not tested all of them, but we have used about 5 different products which have all worked, but with varying degrees of success. Our by far favourite paint stripper is PeelAway 1. We’ve used it both on woodwork and on our cast iron fireplaces (& we recommended it to our neighbour who used it on here exterior stone windowsills) and it worked amazingly well – so much better than all others we’ve used.
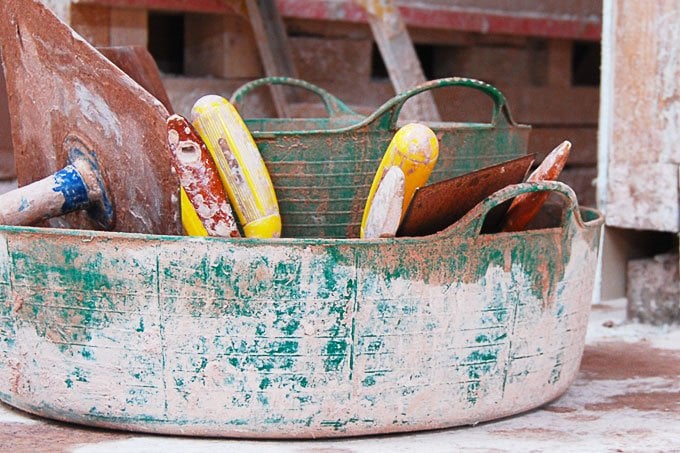
6. Not investing in the right tools and products
Although doing home improvements yourself is a great way of saving money, it can still be expensive. The cost of materials and tools really does add up, especially when you’re just starting out and don’t have a tool collection that could rival a small DIY store.
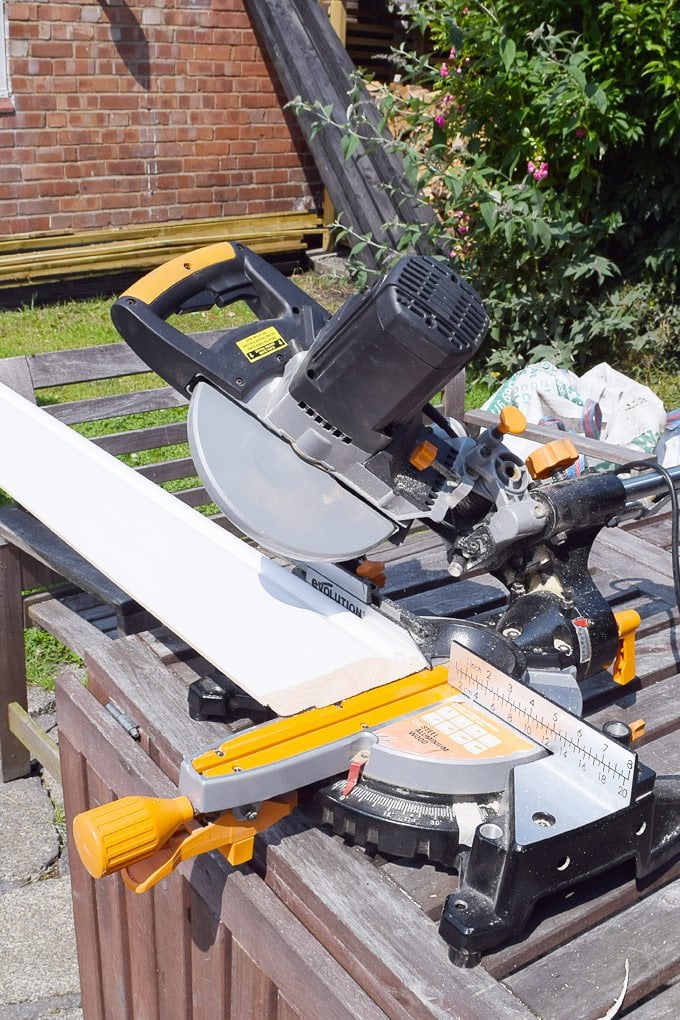
We waited for years before we purchasing our mitre saw. Waiting for such a long time was definitely a huge mistake. We’d cut countless battens, picture rails and skirting boards before we even considered buying a mitre saw and wasted dozens of hours sawing by hand. Definitely, a well worth (ours is only a basic mitre saw, but it works really well and wasn’t even too expensive) an investment even if you’re only planning very basic DIY.
The same obviously goes for the paint stripper that we already mentioned above. If we’d invested in the right product from the start it would not only have saved us time, it would have actually saved money as the poor quality strippers were so useless that we ended up buying another product anyway.
7. Don’t go on holiday while having building work done
I know that this sounds like a ridiculous thing to do, but it is something that we have done. Of course this is only something you’d ever consider if you really trust your builder (which we did & do), but don’t expect to be able to relax!

Unless you’re a super chilled and laid back kind of person, you’ll probably end up stressing and constantly wondering how things are going.
Another reason to not go away while you’re having building work done is that you have little (or no) control over what’s happening. There are always decisions to be made and the only way to guarantee that you get exactly what you want is by being there to be able to tell your builder exactly what you want (and make sure that they don’t cut any corners!).
8. Stripping wallpaper before plastering and not getting every last bit of paper
It’s impossible to plaster if you keep dragging little bits of paper through your fresh plaster. Admittedly I’m more of a plastering novice, but even a professional would not be happy about having to pick bits of paper out of the wet plaster.
It takes time which you just don’t have while plastering, so double check and then check again that you have really removed every last little bit of paper.
9. Don’t try to strip paint off your cornice
When we first moved into our home we were so excited and motivated. We wanted a perfect finish on everything and thought that it would be a good idea to strip the thick layer of gloss paint off our original plaster coving.
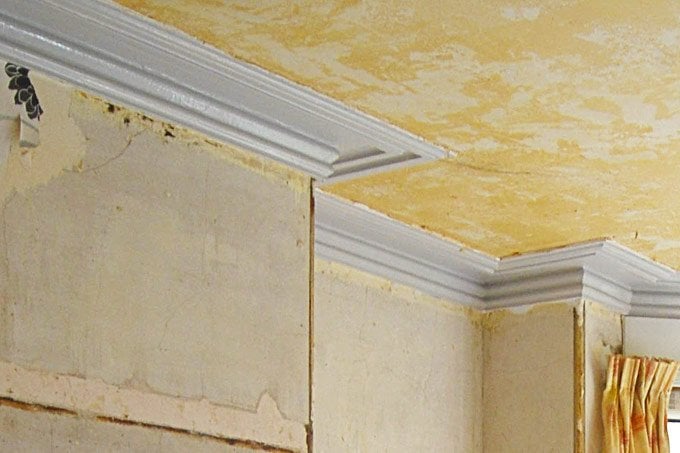
We used Nitromors to try to soften the layers, but it didn’t work well at all and we actually ended up damaging the cornice as bits of the paint were so solid that bits of the plaster came off with the paint.
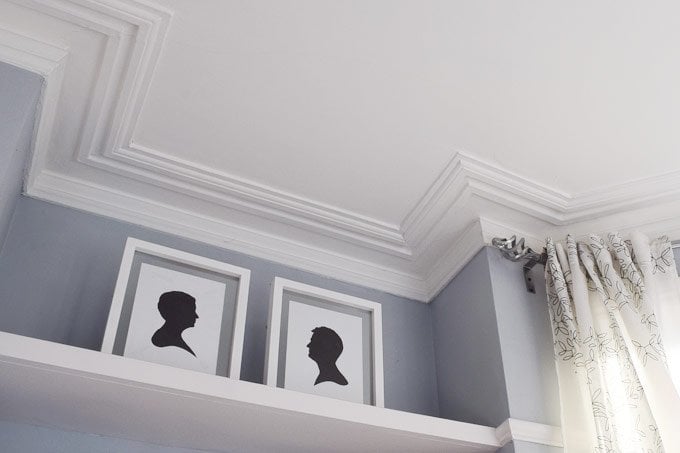
It took a lot of filler and hours of sanding to repair it. If only we’d known then that it is possible to paint over gloss paint with emulsion. (You’ll need to apply a Super Grip Primer first – this is the one that we used.)
I’d only really planned on sharing 5 home improvement mistakes we’ve made, but once I started thinking about things we should have done differently, more and more things came up! Luckily none of our mistakes have been too dramatic or major. Renovating a house is definitely a learning curve!
Do any of our mistakes sound familiar to you? Have you made any home improvement mistakes? What’s the biggest home improvement lesson that you’ve learned?
clare baumfield says
Hi Christine
do you have a how to of how to make the alcove cupboards? love the blog very inspiring :)
Clare
Christine says
Thanks, Clare! Sorry, we don’t have a tutorial for the cupboards. We actually paid to have them done just after moving in. Looking back, I wish we’d DIYed them as they weren’t complicated to make (and we would have done a better job than our dodgy first joiner).
Essentially, they’ve been built like our floating shelves just with a front screwed to them.
Sorry we can’t be more help!
Cx
Karen says
Our biggest mistake was staining our floorboards with a dark wood stain (we sanded them 1st) – not normally a problem, but some of our floor boards weren’t in a good state, some had old woodworm marks in them. – I’d checked online and the advice was that so long as you don’t mind imperfections (which we don’t) and the woodworm is old (which is was) , then there was no need to replace the boards.
the photo I saw online was the almost the same as my own boards , & I thought that’s fine. However, we stained them a darker oak colour & as it dried out, it didn’t permeate into the holes – we put a couple of coats on and a varnish – we like the dark colour, but we’ve been left with a messy looking floor which has shown up more imperfections than if we’d just stained it the same colour :( – lesson learnt – we have decided not to sand our bedroom floor but to clean it up and paint it white !
Christine says
Ohh, that sounds so annoying Karen! It’s never great when something doesn’t turn out as expected.
We painted the floor in one of our guest bedrooms white and we love it. It still looks the same as the day we painted it and is really easy to keep clean.
Cx
Jessica@CapeofDreams says
Your house looks great despite the mistakes. Life would be boring if everything’s always went perfectly. Although, we would probably live longer with so much less stress!
Christine says
Oh, thanks Jessica! I supppose that all of the little things that go wrong make it more worth while in the end. It just sometimes doesn’t feel like it when you’re faced with fixing something you’d not expected.
Cx
Akos Rajnai says
haha, timing is key when you ask questions!
good to hear that you found everything ok under the floor boards! I insulated my floor exactly the same way a year ago but was a bit worried about condensation, until now…
thanks!
Christine says
I wouldn’t worry too much, but every house is different. I don’t think you’ll have any problems, but it’s probably not the worst idea to check if everything is okay after a couple of years.
Cx
Akos Rajnai says
even with these mistakes you still have a really good success rate ;) (mistake no 4 is the most annoying if you ask me..)
quick question in regards to the floor insulation you did few years ago. I wonder if you have got a chance to check it in terms of condensation?
many thanks,
akos
Christine says
Thanks Akos! Yep, paying for something twice was really not ideal, but overall it’s not been too bad.
Funnyly enough we checked under the floor at the weekend! All is good and no condensation in sight!
Cx