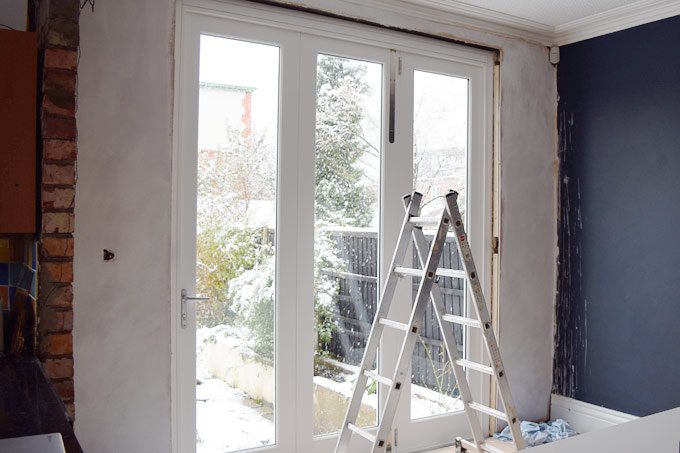
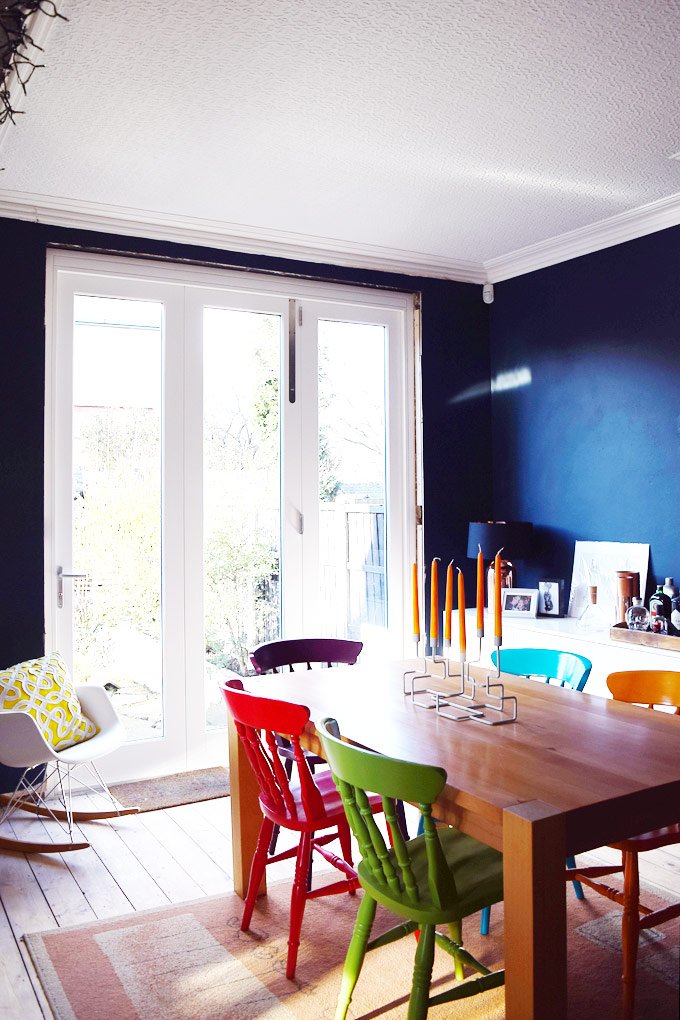
A couple of weeks ago we finally started to do some of the plastering prep work around our recently installed bifold doors and with the occasional glimpse of sunshine we’re starting to get really excited about being able to use them.
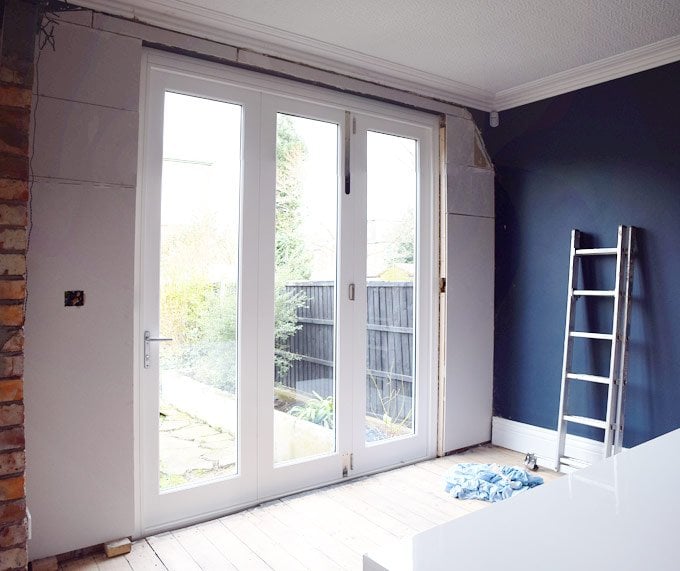
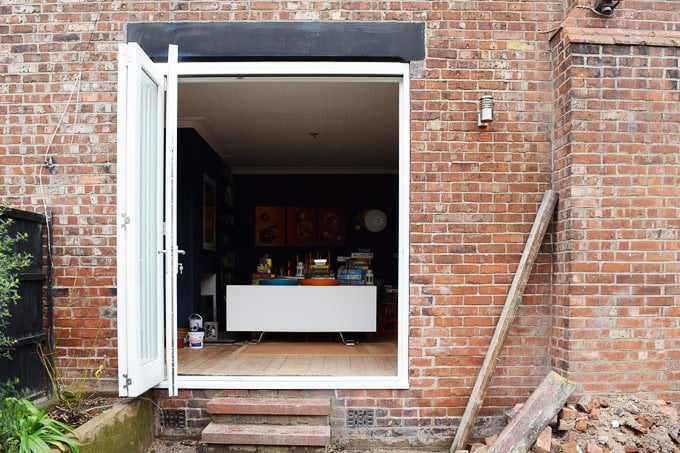
We’re so happy with how the door looks, but it’s definitely let down by the unfinished wall and the fact that there’s a 60 cm drop when you open them! I think we’d better get our decking built as soon as possible!
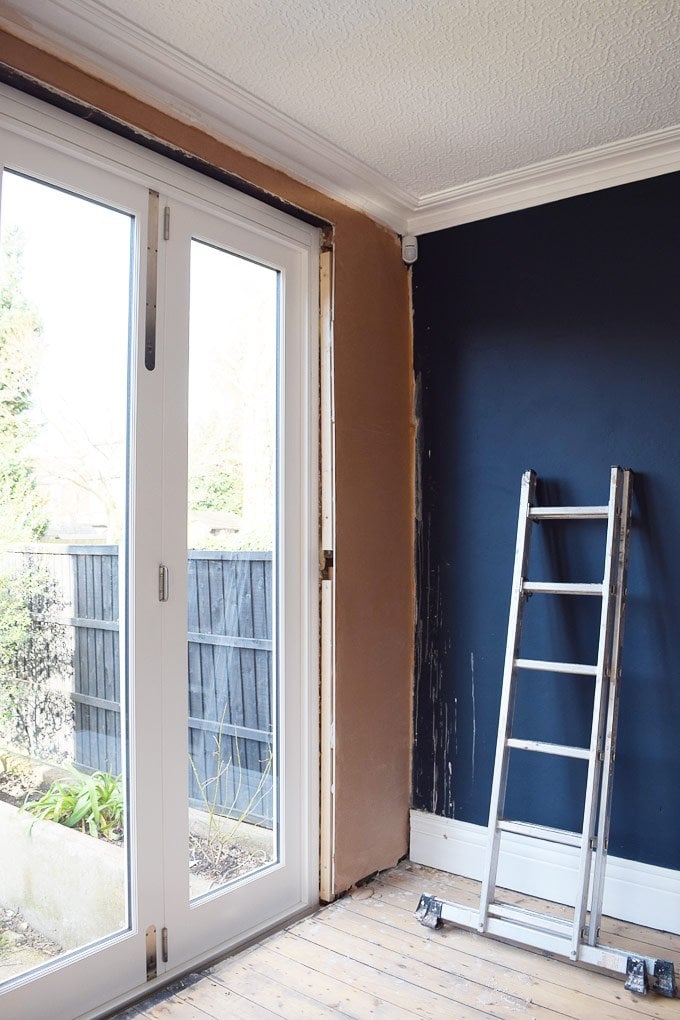
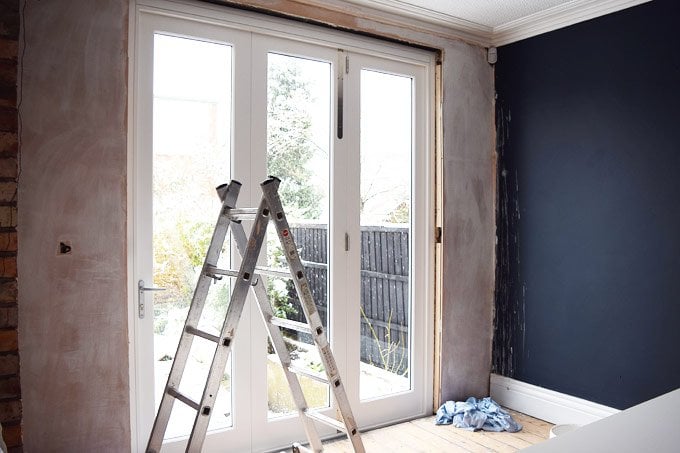
Having already dry lined the wall with plasterboard (you can read more about how we did it here) the next step was to plaster the wall.
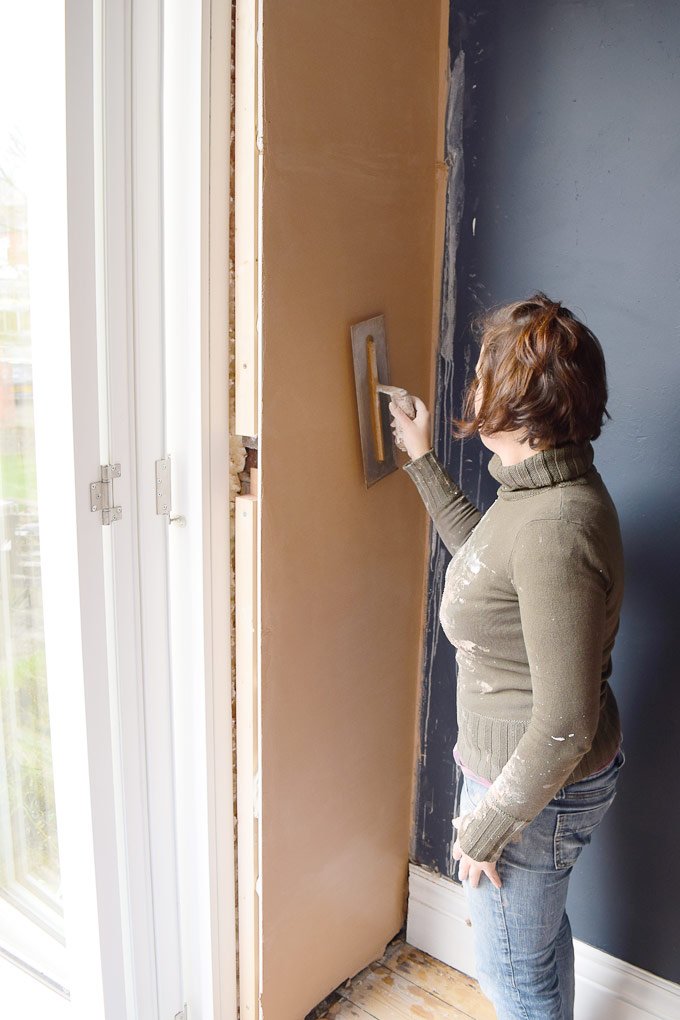
Plastering isn’t one of my favourite things to do, but small walls like this one are so much more doable than larger ones where I find myself rushing so much to get everything on and smooth before it dries.
With each wall I plaster it does get easier and the results are better (not that they were ever bad), but there’s no way I’m ever going to plaster a ceiling again. Jan and I almost killed each other when I plastered the ceiling of the small bedroom at the back of our house!
When you see people plastering it always looks so calm and artful, but when I plaster I couldn’t feel more stressed and rushed. We still have the whole kitchen to plaster later this year and I’m guessing that I’m either going to be pretty good by the time I’ve finished or will have a complete fit and throw my tools out of the window!
Although I moan about having to plaster, it actually doesn’t feel that difficult. I’m still really glad I went on a plastering course (you can read about it here) as it’s something I wouldn’t have attempted otherwise and by plastering ourselves we’ve already managed to save a lot of money.

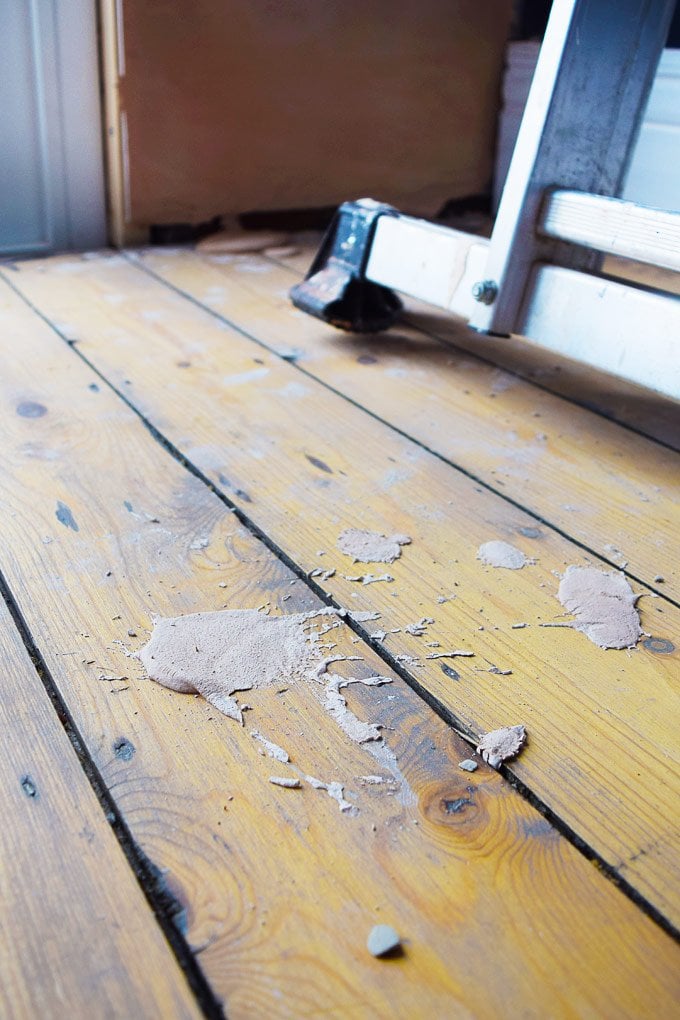
I always need my little helper aka. Jan to help mixing and cleaning tools while I’m already trying to apply plaster to the wall (and of course have someone to moan at when I drop a huge lump of plaster which splats on the floor).
As usual the worst part of any project for me is waiting and as much as I’m glad the wall is finally done, watching plaster dry really isn’t the most exciting of things to do! On the morning of the second day after plastering you can already see that it’s starting to dry out nicely, so we knew that we wouldn’t have to wait too long.
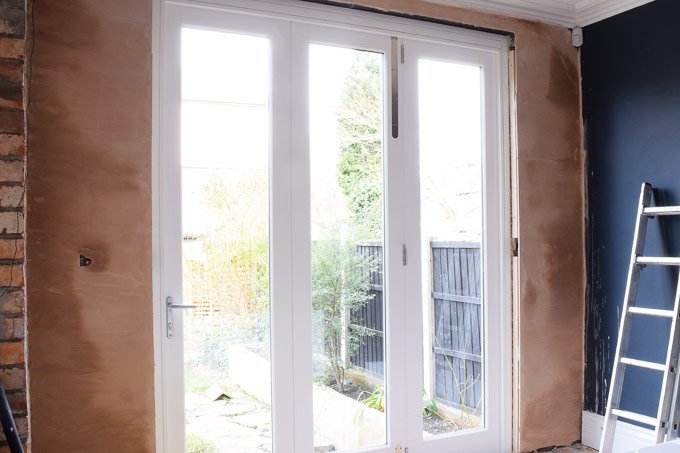
After waiting another few days we could finally get out our paintbrushes. As always when we paint new plaster we applied a base coat first.
We already shared a post on how to paint newly plastered walls but basically we apply a couple of coats of watered down emulsion before applying the finishing coat. New plaster is really dry so it’s important not to skip this step.
It’s always amazing what a difference a bit of paint can make and the room definitely feels much more habitable again. We still need to add the architrave (we’re having it made to match the original), repair the floor and add the skirting, so we’re not quite done yet, but any job no matter how small ticked off our list is always a good feeling.
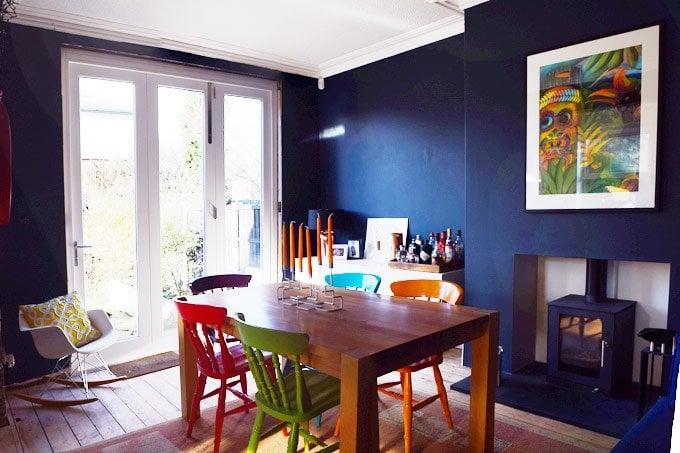
We still need to plan and build a decked area outside before summer to make this space really work, but it’s come a long way since the days of a dog pee stained carpet and dangerous gas fireplace!
At the moment some of the edges are still rough. Like on all other windows in the house we’ll be adding an architrave, so it didn’t make sense to spend time making the edges tidy if they’re going to be hidden anyway.
Have you ever attempted any plastering? What DIY job do you hate most? If you have any tips and advice on planning a decked area we’d love to hear them (we currently have no idea what we*re doing or where to start)!
Sam says
Impressive plastering from someone who isn’t a professional. Well done !
Christine says
Thank you, Sam! Fingers crossed I get better over time…
Cx
Martin says
Funnily enough, the professionals argue too. And we get paid for it. Loved this post !
Christine says
Thanks, Martin! Plastering is harder than it looks – hopefully, I’ll get more relaxed (and better) with more experience.
Cx
Sophie says
Hi guys
We’re about to embark on our own Edwardian house renovation (1905 build) and are in the process of getting quotes for a full rewire. Now, the quotes don’t come with any plastering and, having looked at the cost of getting the house (11 rooms) all smooth, as well as 3 ceilings, I feel sick at the cost of it all! Now, I don’t want to go near ceilings (will leave that to a professional as they’re 9ft high!), but was wondering how you found walls? I’ve researced the DIY school in Stockport and am contemplating going on their 4-day course that you have recommended in other posts, but have a few questions:
1. Does the course include patch-plastering?
2. Is patch-plastering sufficient or will we need to reskim every room fully?
3. How long does it take to reskim a room after a plastering course?
4. Would you sand the floors before or after the plastering?
5. Am I just being stingy and should I just get a professional team in to do it?
Thanks – your blog is SO helpful with all of the renovating!!!
Sophie
Christine says
How exciting, Sophie! I have to admit that I’m weirdly envious of your upcoming renovation! ;)
I would definitely still recommend the course. It has helped us on so many occasions even for small areas where we were just able to repair things ourselves. In terms of patch-plastering, I don’t think that we specifically went into detail (although we did patch a hole in plasterboard) but if you have learned to plaster then you’ll also be able to patch areas. The guys at the DIY School were really helpful though and were always there to answer and help with any specific questions.
I would say, that you’ll probably get a better finish if you skim the whole walls. This obviously depends on the condition of your walls and how many holes there are, though. After completing the course, I plastered the small guest bedroom and it took me about 2 days (I did two walls a day + the ceiling). You only have a set amount of time till the plaster dries so that’s basically how long you have to do a wall. I’d say it took about 3 hours per wall (about 3 x 3 m) but you will notice that your skills and speed improve quite rapidly. The wall around our new dining room door was already much quicker to do!
Definitely sand the floors after plastering! It’s messy business (especially for a beginner!) but sanding your floors should always be one of the very last things you do.
I’d say go for it. What’s the worst that can happen? If you just plaster one room, you would already have recovered the cost of the course. My plastering skills aren’t perfect but the rooms I’ve done so far don’t look any different than the ones we paid for. I wouldn’t ever do a ceiling again (or at least until I have a lot more experience), though! I’d also recommend starting on smaller walls first until you’re speed improves. And for really large surfaces like a hallway wall leading up the stairs, I’d still get a professional in. Let me know if do the course, I’d love to know how you get on! Oh, and let them know you found them through the blog ;)
Good luck with whatever you decide!
Cx
Kerrie says
This is going to be such a wonderfully shaped room/s once you are done. I love all the angles you have already got and can’t wait to see it all once the kitchen is configured. Do you think the dining table will need to be moved around once the kitchen is done? It can be tricky putting tables in areas where there is access needed including to the outside
Christine says
Thanks Kerrie! We’ll definitely be moving the table. We have a few more plans for the room and are currently waiting for a few permissions to come through. Hopefully we’ll be able to share what our plans are soon!
Cx
Lo Kent says
Sanding floors – I swear my partner and I almost broke up about 64 times sanding our lounge floor. Needless to say, although we were eventually happy with the finish – he ordered me to book professionals for the other two rooms…
Christine says
We argue so much when doing DIY. I guess it’s part of the process and luckily it’s always forgotten when the jobs done.
Glad to know we’re not the only ones, Lo!
Cx
Gillian says
This made me LOL. Me and my partner just agreed that any further floor sanding is done by professionals. We’d so many arguments about it that it’s not worth it. It’s also a horrible job and think half the arguments were just misery related.
Christine says
Haha, I love that we’re not the only ones who argue while doing diy! Luckily everything is always forgotten as soon as the project is finished. I totally agree with you about floorsanding, too, Gillian! It was a totally miserable job (although well worth the result).
Cx