You’d be forgiven for thinking that all is well in our new apartment. There’s no ancient wallpaper, no yucky carpet and no smelly floorboards. But, as so often on the internet, the reality is a bit different.

Don’t get me wrong, we aren’t a creepy 80-year-old man just pretending to renovate his home while in fact sitting in his underpants in a caravan in Timbuktoo, and we are who we say we are and we really do live in an apartment in Berlin. Promise.
Appearances can be deceptive though. It’s not that our home is in an awful condition but so much of the previous renovation work has been done cheaply and often poorly.
The skirting boards are badly installed (no idea why they would have ripped out the originals), most woodwork has been painted with emulsion and according to one of our neighbours, the builders even wanted to lay laminate flooring over the parquet floor!
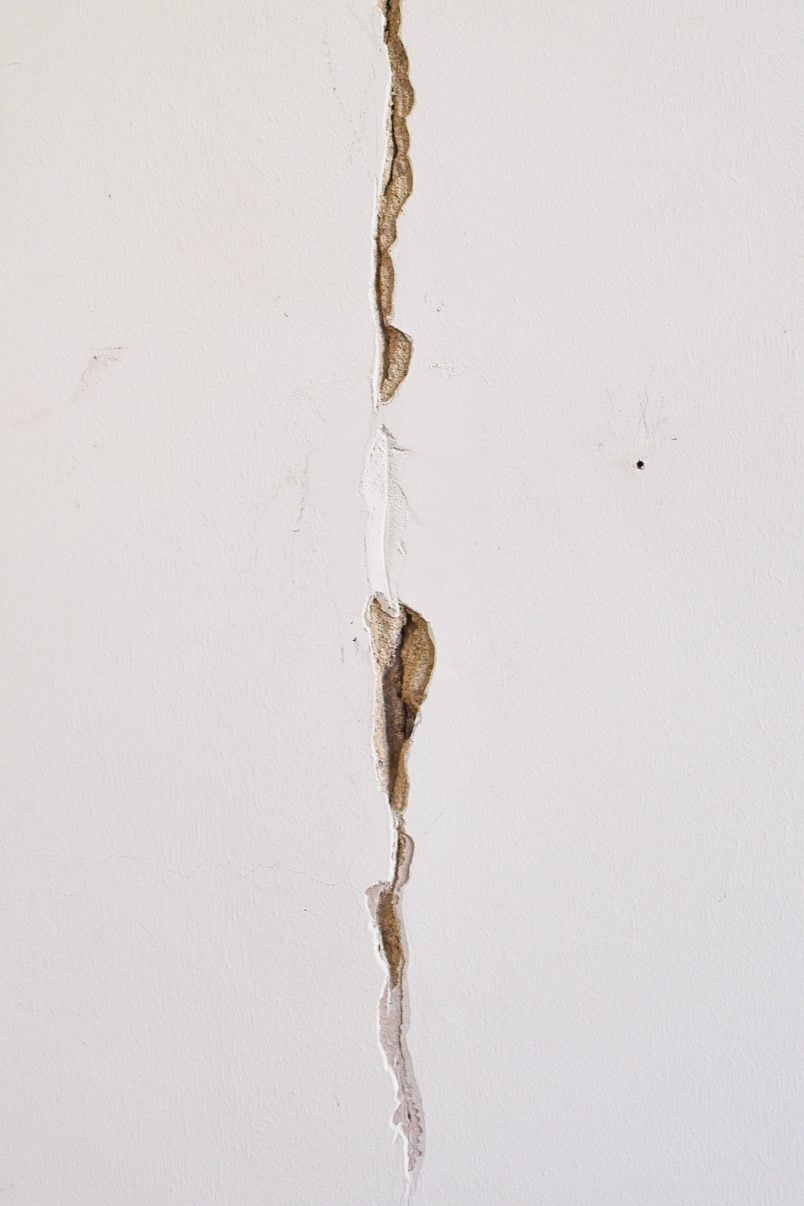
There are dozens of problems that we’re slowly starting to tackle and one of them that I’m sure almost everyone is familiar with, especially if you live in an older house, are cracks in your plaster walls!
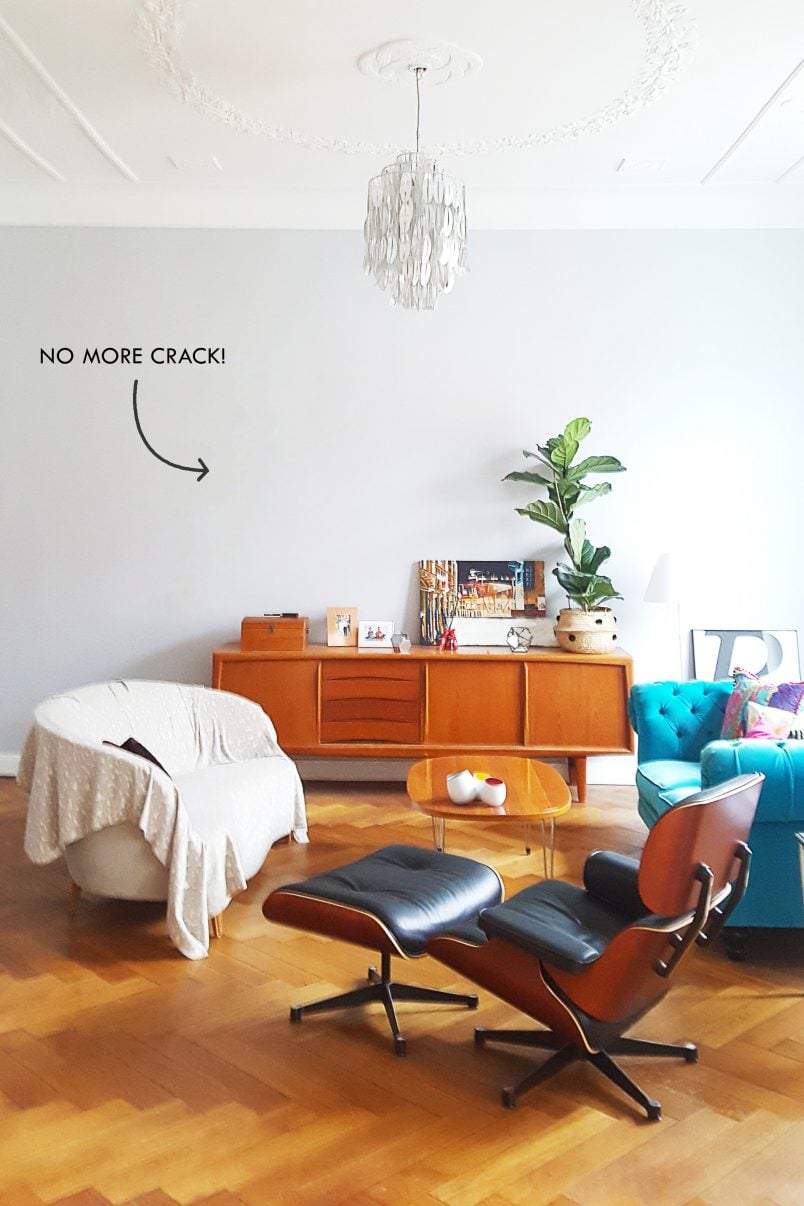
Let’s just say the pictures hung on our living room wall were hung that way for a reason!

Inevitably, there’s always going to be some movement in any building. The problem, however, is that cracks will almost always appear again when cracks in walls or ceilings have just been filled and painted over.
As I’m sure that no one wants to end up with a big crack in their newly plastered or painted walls, we’re sharing a quick and easy way to repair cracks.
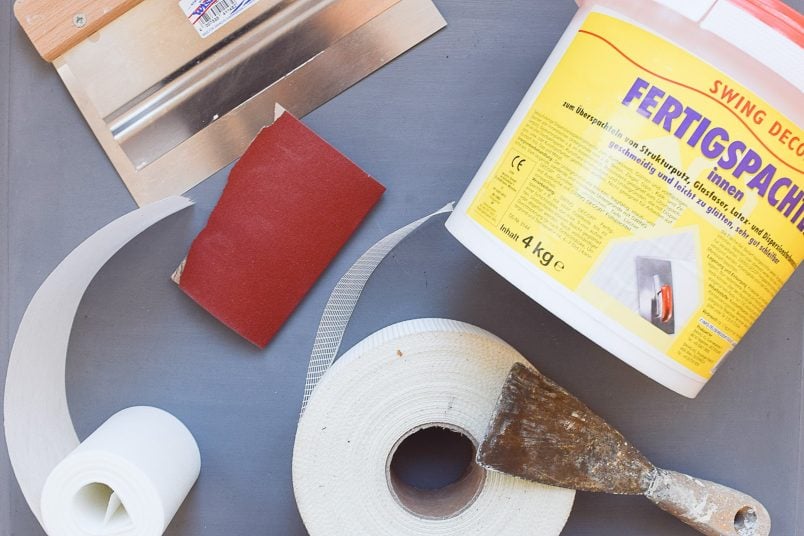
This is what you will need to patch a crack:
This post contains affiliate links. As always, we only recommend products we love and think that you will, too!
- Stripping knife
- Filler
- Jointing Tape
- Taping knife (ideally)
- Paintbrush & Water
- Utility Knife
- Sandpaper (about 150 grit)
This is how to patch a crack so it doesn’t come back:
1. Scrape & tidy the crack
Start by scraping out the crack and remove anything that’s even remotely loose. Apply some pressure and really give it a proper scrape, especially along the edges.
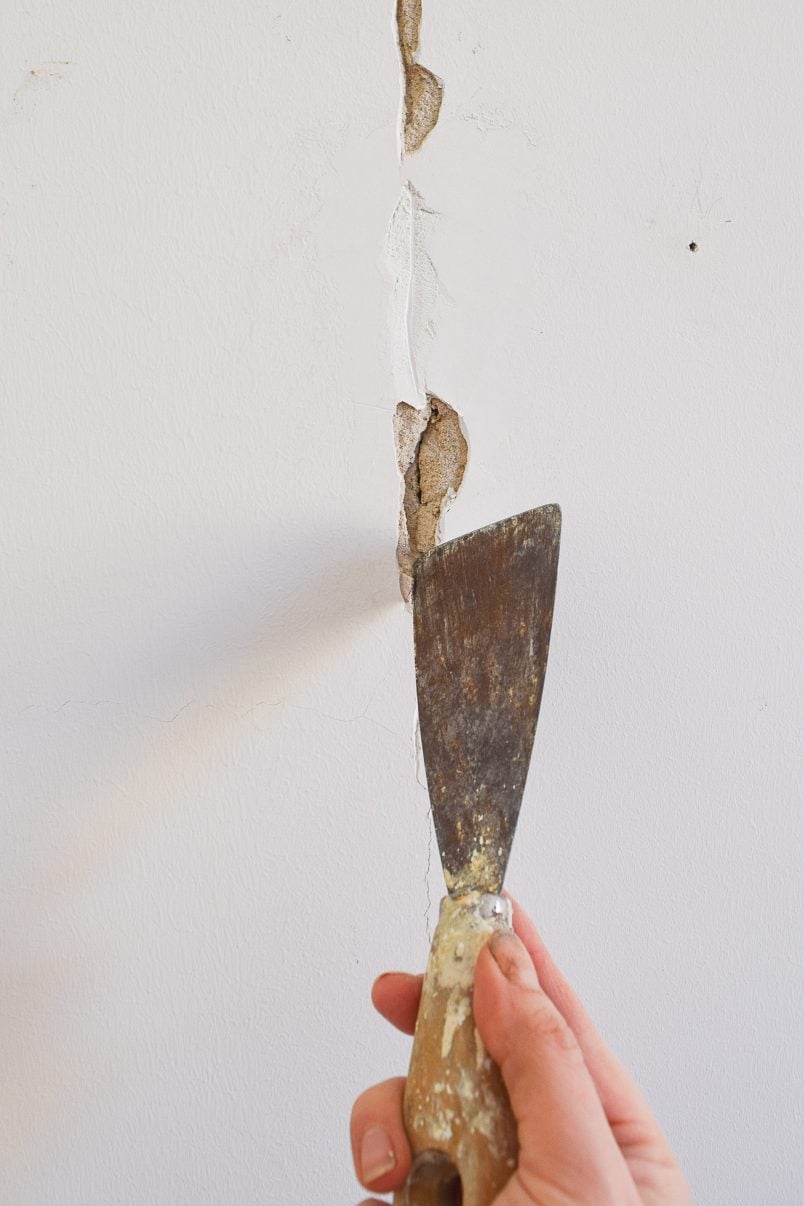
You’re actually making the crack larger but don’t worry – that’s a good thing! There will be enough space for the filler to actually get into the crack and secure it.
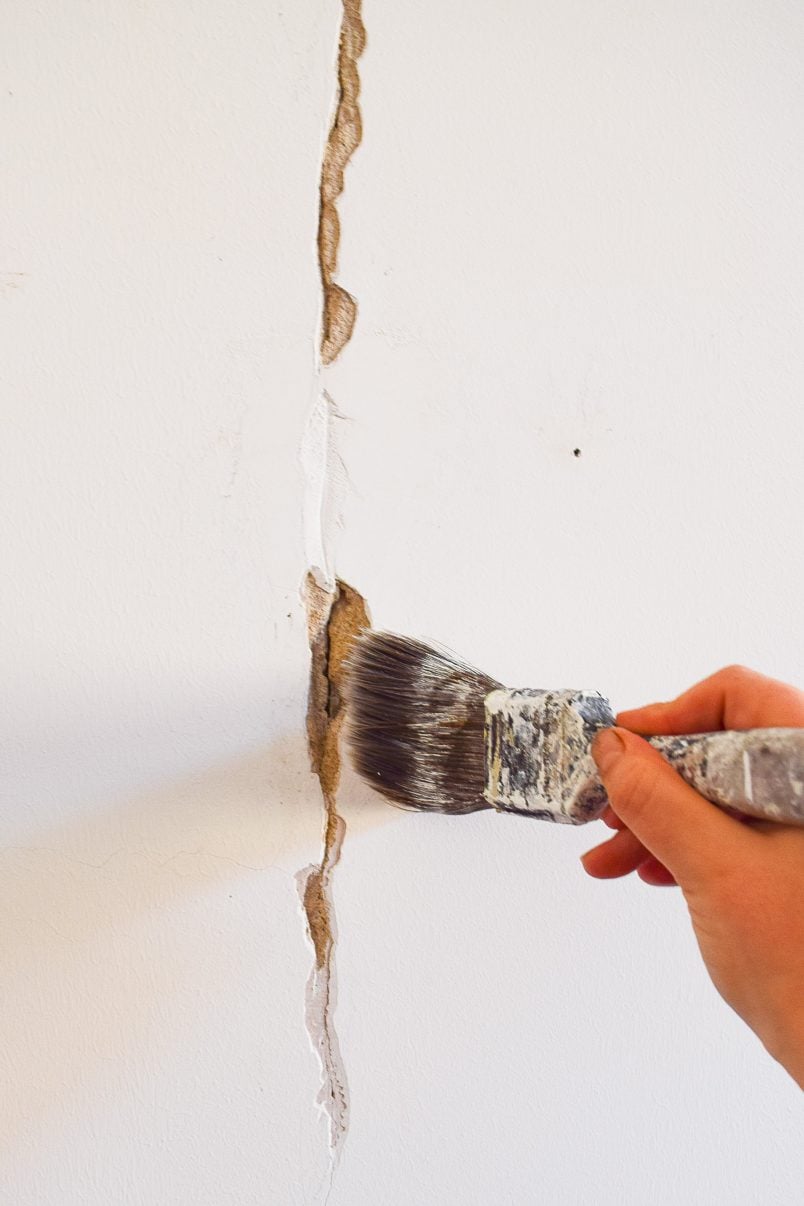
2. Clean it
After you’ve scraped out the crack sweep away all of the dust & dirt and then wipe it with some water to remove any last bits of dust. It’s really important to make sure that there’s no dirt or dust in the crack because the filler won’t adhere properly.
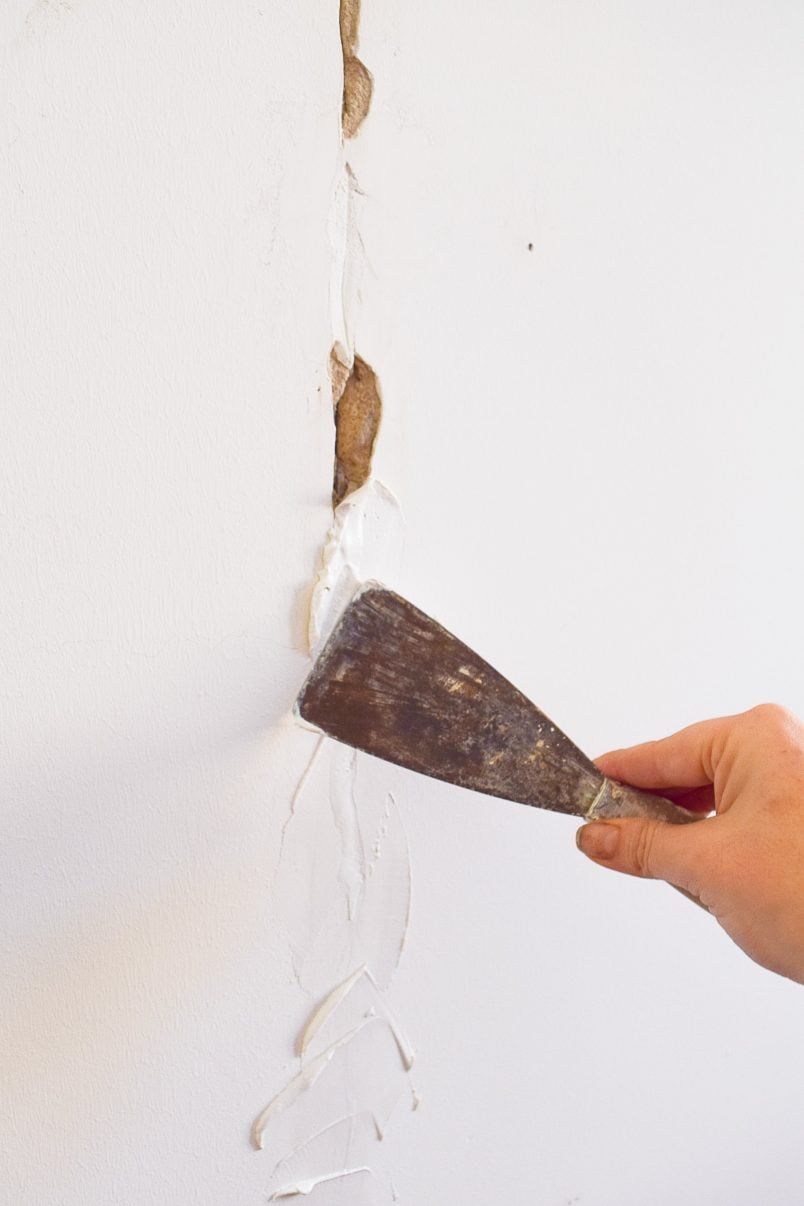
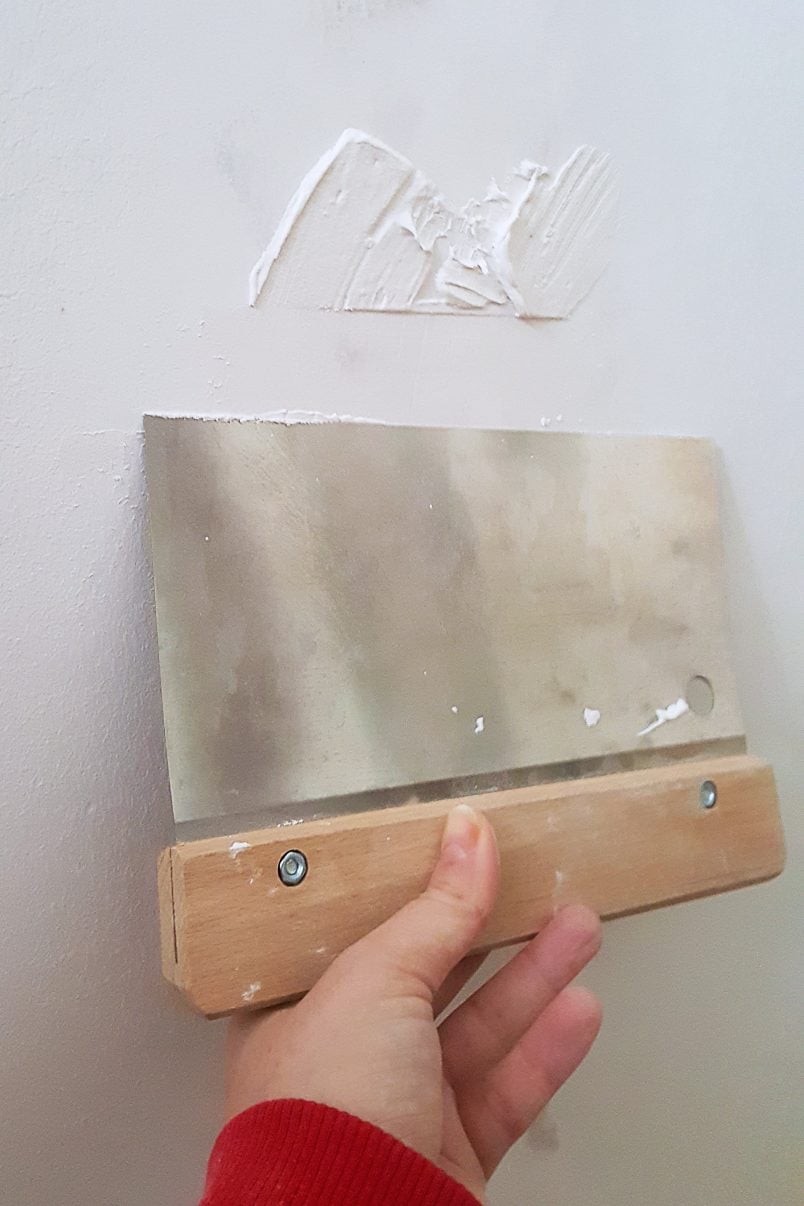
3. Fill it
Now you can start to fill the gap. Use the stripping knife to really squash the filler into the gap. Work in both directions from left to right and right to left to make sure the crack is properly filled. Be generous and make sure to apply the filler to the area around the crack, too. The filler should be slightly wider than the jointing tape.
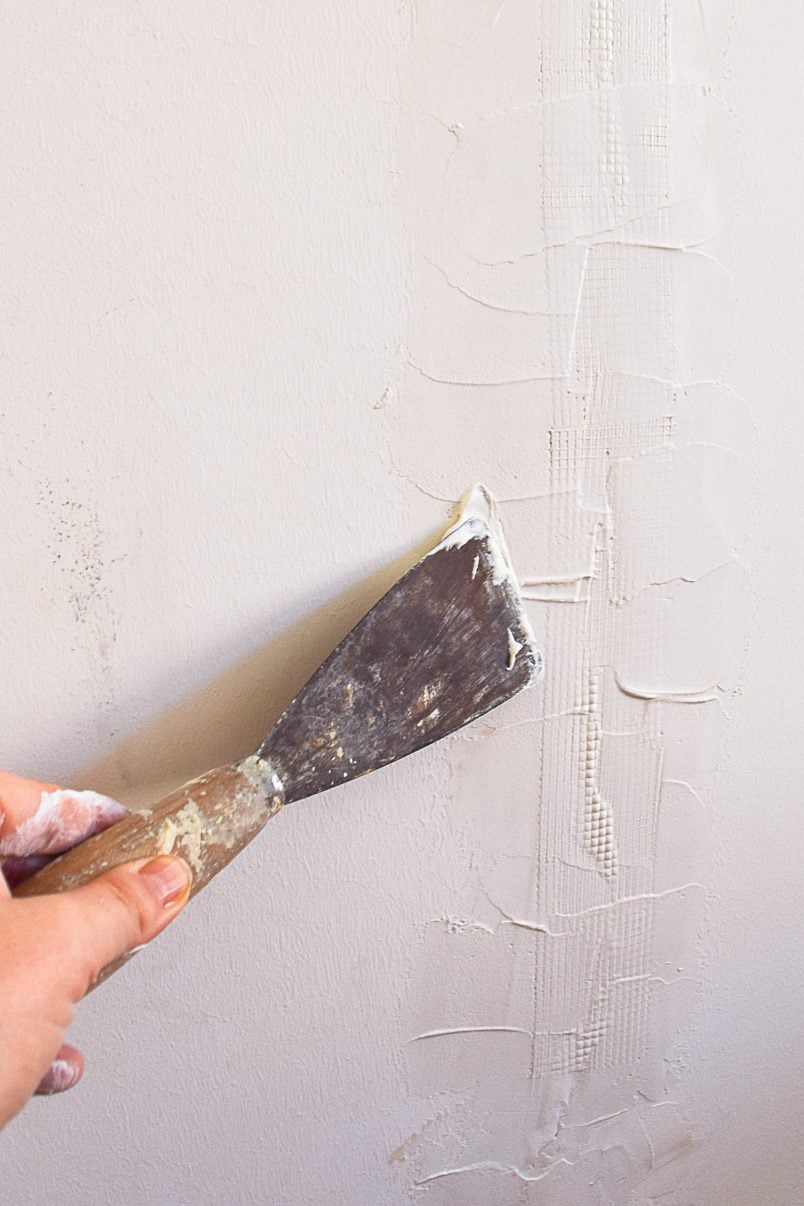
4. Add Jointing Tape
Cut a piece of jointing tape the length of the crack and place it onto the wet filler before firmly squashing it into the filler with the stripping knife. The jointing tape should be completely embedded in the filler. Also, make sure there are no bumps or wrinkles in the tape.

The jointing tape bridges the crack and tolerates slight movement, which is why the tape will ensure that the crack won’t return.
5. Wait
Let the filler dry completely before moving on to the next step. Don’t worry if the filler raises up through the tape and the crack. It’ll level out a bit when it dries, and you’ll still have to apply more filler and sand everything anyway.
6. Sand
When the filler has dried, give it a quick sand to remove any raised bits before cleaning away and dust and giving the area a quick wipe with your damp paintbrush.
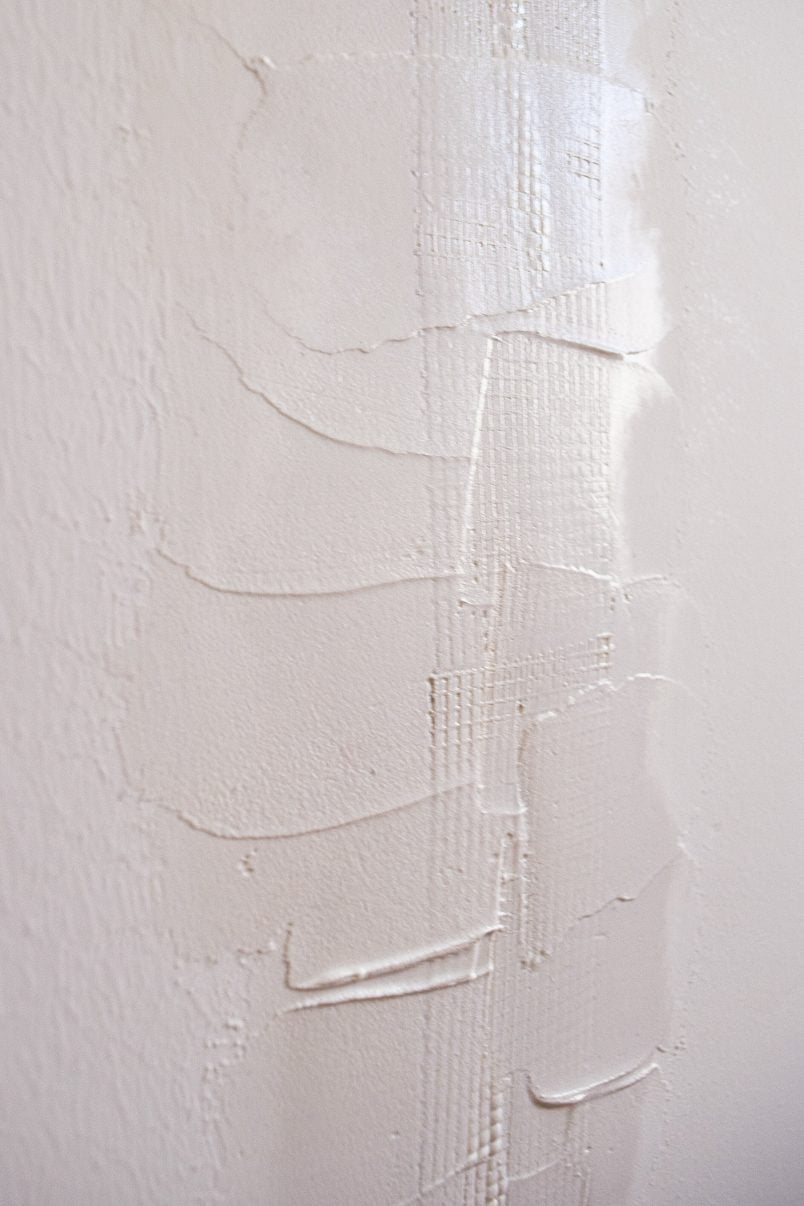
7. Smooth
Next, add a second thin coat of the filler over the taped area with a taping knife (you could use your stripping knife for this, but it’s easier with a taping knife) and feather the filler onto the surrounding wall surface.
Don’t be tempted to apply a really thick layer of filler because it’ll be much harder to smooth out.
8. Sand & Finish
Keep repeating the filling and blending steps until the wall is as even and flat as possible. Finally, sand the filled wall area until it’s completely smooth. Then, all that’s left to do is prime and paint! Now, I would show you a picture of the filled crack but as it’s now properly filled there’s not actually anything to see!
I’ve probably made this sound way more complicated than it is. It’s a very easy home improvement that you can do yourself. The secret to making sure that the crack doesn’t reappear is really just down to using jointing tape.
DIY TIP
Do you have a cracked ceiling? You can read the full guide on how to repair a cracked ceiling here.
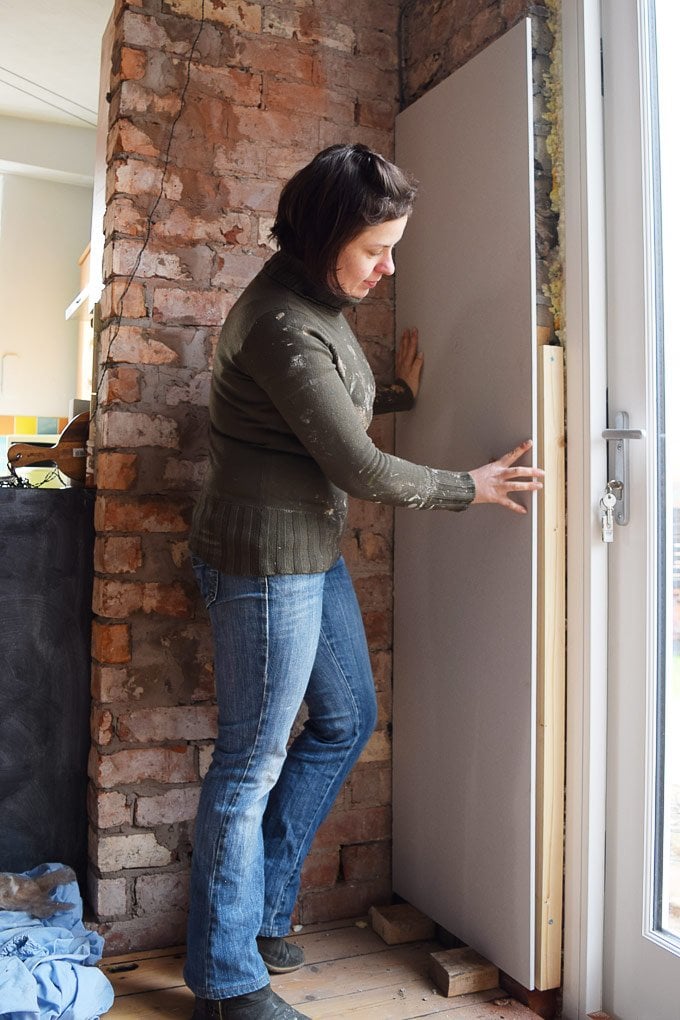
This method works every time, and it doesn’t matter if you’re plastering over it, using a filler like we did here or even if you’re installing plasterboards (where you have to tape the join to ensure it doesn’t crack).

If you have any large cracks, it’s obviously worth checking if there are any more major issues going on that could be causing them. As always, it’s best to consult a professional or, in this case, a structural engineer if you’re unsure about anything!
Oh, and yes, I’m still not sure I like the colour we painted our living room, and yes, we desperately need to get our new sofa covered in something prettier than the throw that’s over it at the moment!
Now, you’ll have to excuse me; I’m off to fill another 10 or so of these cracks.
Do you have any cracks that keep reappearing in your home? Do you have any home secrets? – We’d love to hear them!
How To Repair Cracks In Walls FAQ & Tips
Our favourite product to fill cracks, holes and even to plaster whole walls is this dry pastering compound which we highly recommend. It’s super easy to work with and you can mix large or small quantities depending on how much you’re filling. It’s also super easy to sand which makes it perfect to use as a DIYer.
You can use exactly the same method to repair cracks in your ceiling, too. Just follow the steps above to fix cracks in your ceiling and stop them from coming back. 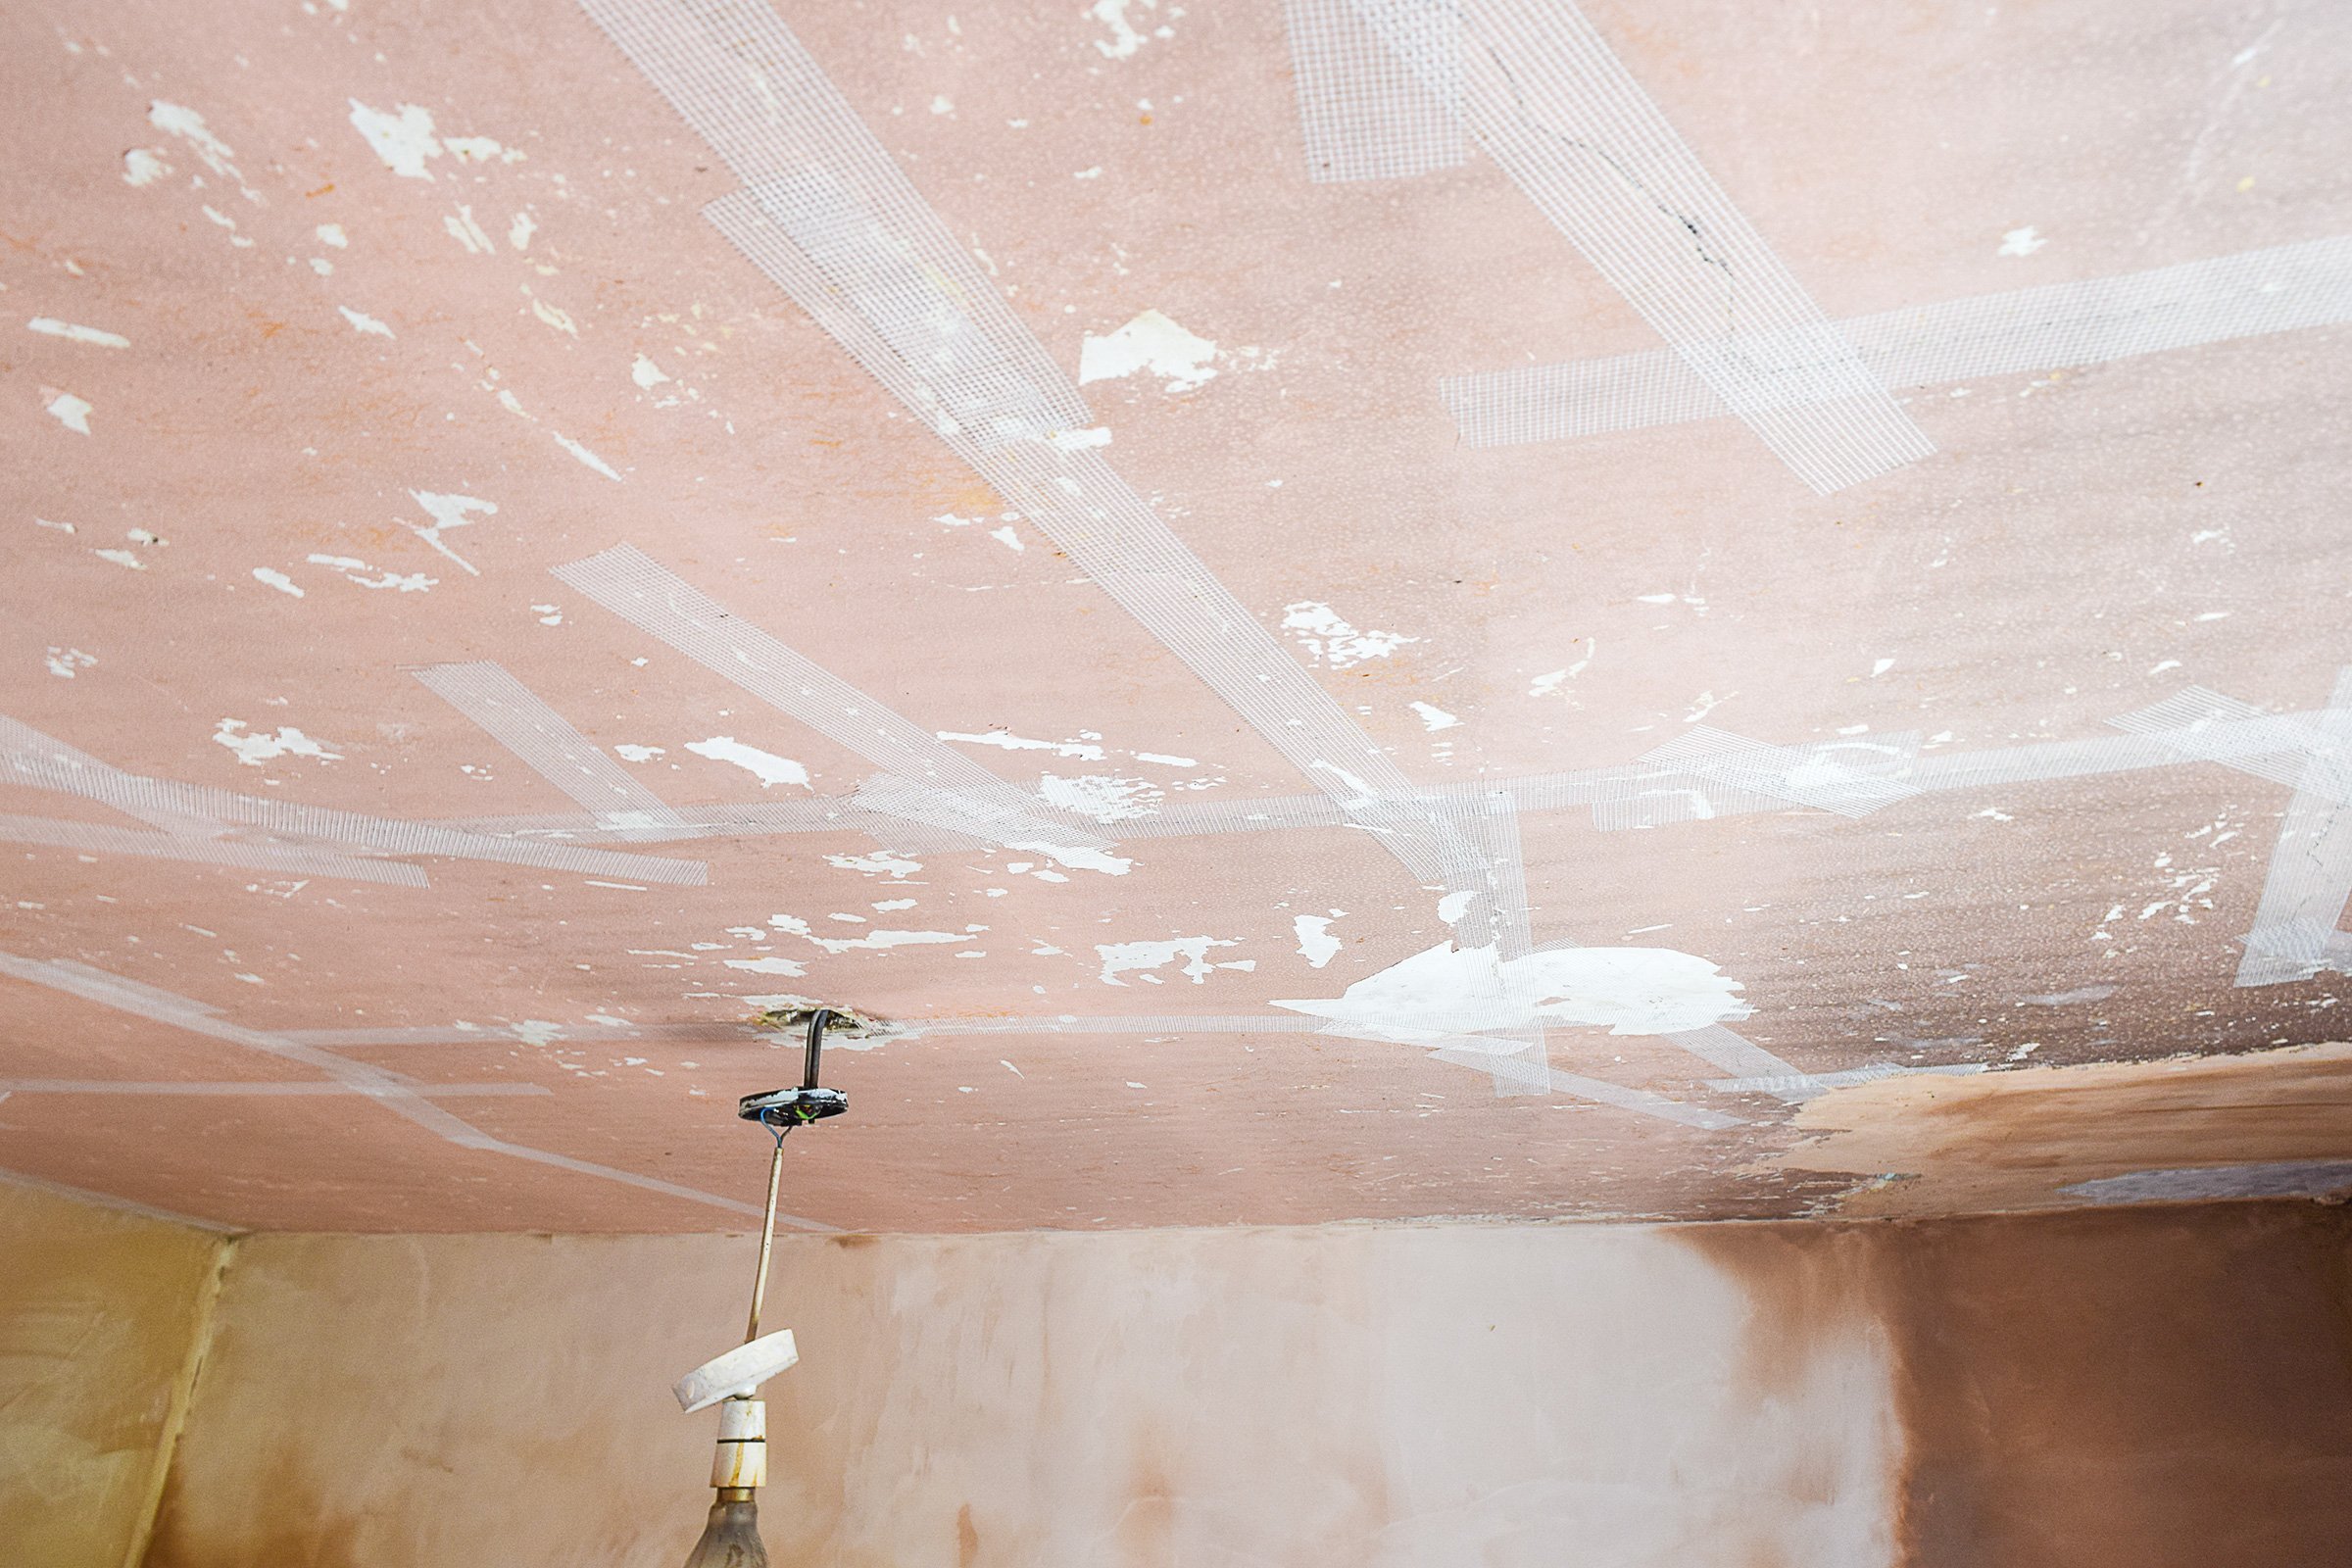
Little hairline cracks are usually nothing to worry about but if you have bigger cracks you should definitely have them checked by a professional. A very rough rule that we use is that if I can’t stick a small finger in the crack I don’t worry about it.
Obviously, this isn’t the most professional way to judge if a crack is something to worry about so always consult a professional if you have a crack you’re unsure of.


Sam says
Hi, just done the firsts steps and waiting but it feels like there is just going to be a raised hit where the filler and tape is, should I trust the process or have I used too much filler?
Sam Dawes says
raised bit/lump
Christine says
Yes and no, Sam. ;) The filler shrinks when it dries but it’s also important to feather out the filler so that you don’t end up with a visible bumb. The whole strip should end up about 50cm wide so you don’t see a bump.
It sounds like you may have applied a bit too much filler but don’t worry as you can sand everything smooth and blend it into the existing wall so you don’t see where you’ve filled the crack.
Hope that helps!
Cx
Christine says
Yes and no, Sam. ;) The filler shrinks when it dries but it’s also important to feather out the filler so that you don’t end up with a visible bump. The whole strip should end up about 30-50cm wide so you don’t see a bump.
It sounds like you may have applied a bit too much filler but don’t worry as you can sand everything smooth and blend it into the existing wall so you don’t see where you’ve filled the crack.
Hope that helps!
Cx
Donna says
Is this ok to do for hairline cracks? And if so, do I need to widen it before filling and taping?
Christine says
I probably wouldn’t worry too much about hairline cracks, Donna. Definitely make sure that nothing is loose and dampen the crack before filling but it will probably be fine just to fill it. The method we shared here works but it’s obviously a lot more work and I’d just fill the crack before you go to more work than necessary. If it does come back, that’s when I’d use the method we shared here.
Hope that helps.
Cx
Aimee says
Such a great tip! Thank you. What brand of jointing tape do you use?
Also do you have any caulking tips? I’ve just caulked the new skirting board, primed, undercoat and painted and its all cracking!!!! Thanks
Christine says
You can get jointing tape at any DIY store, it doesn’t have to be anything fancy. I think we got ours at Wickes.
Cracked caulk is super annoying! We’ve had the same problem occasionally, too, Aimee. I’d suggest using a super flexible caulk. Generally, we always use the cheapest caulk we can find, but in areas where you need more flexibility, there are caulks available that are extra flexible and, more importantly, stay flexible, too.
Hope that helps!
Cx
Dan Adams says
Great write up! Have you ever tried paper tape? I’m fixing some cracks on my smooth kitchen ceiling and I want to keep the skim as thin as I possibly can. As far as secrets and tricks go, I really like to use setting compound aka “hot mud”. It comes dry so it can store for years and always have it on the ready. Also it comes in various setting times from 5 min to 90 min., The 5 min stuff is great for filling bigger holes and it doesn’t shrink. Mixing it can be tricky but I’ve come to prefer it.
Christine says
Thanks, Dan! I have tried tape before but I personally prefer this method. Having said that, I’m sure it’s purely down to personal preference and both methods work well. I’m not sure that I’ve dried hot mud yet but I do often use powdered fillers for the exact same reason you mentioned. I’ll definitely have a look into the hot mud though as it sounds like a great product – thanks for the recommendation!
Cx
Dominique says
Aha! I have been missing jointing tape in my life. Thanks for the tip!
Christine says
Haha, no home is complete without a bit of jointing tape somewhere ;)
Cx