Sometimes it’s the easiest projects turn out to be the ones that end up causing you the biggest headaches and our hallway update is definitely turning into one of those projects.
Really it’s (or should be) a simple makeover. Most of the hard work like sanding the floor, sorting the electrics and heating and restoring the staircase have already been completed, so all that’s left is a bit of plastering and some simple painting.
Easy, right?
We’ll nope.
Usually, painting is the easiest of all DIY projects and although actually painting the hallway was as straightforward, getting to the point where we could crack open the tins of paint and swing our paintbrush was a different matter as the plasterer had made a complete mess.
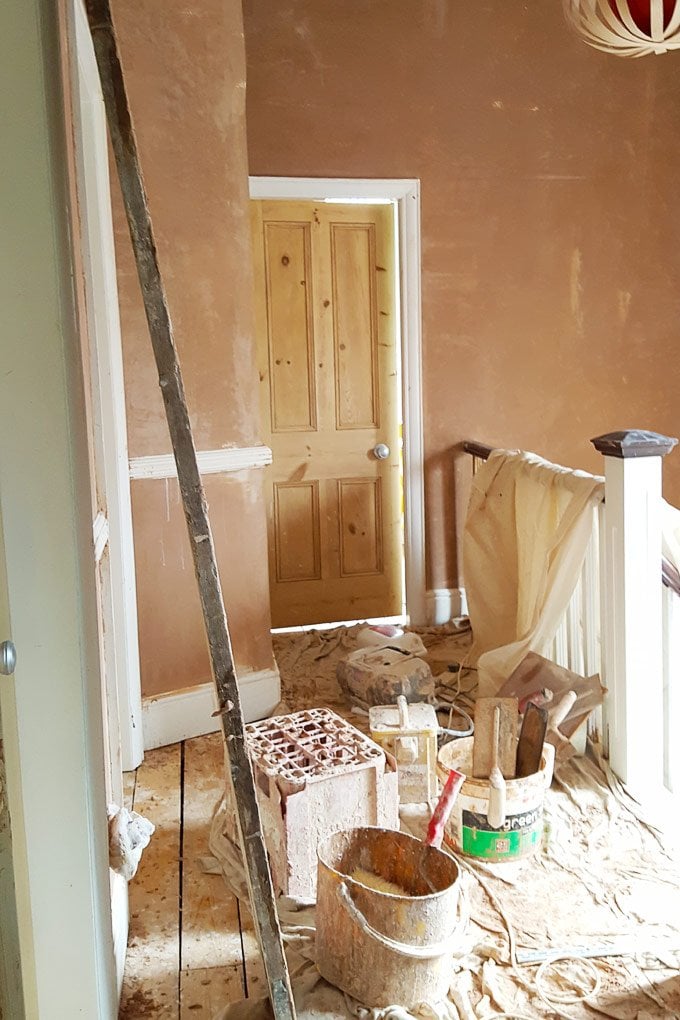
Initially, when he’d first finished and the plaster was still wet things looks okay, but as it started to dry all was not well as the plasterer had not only made a huge dirty mess but it turned out that the new plaster was also less than perfect.
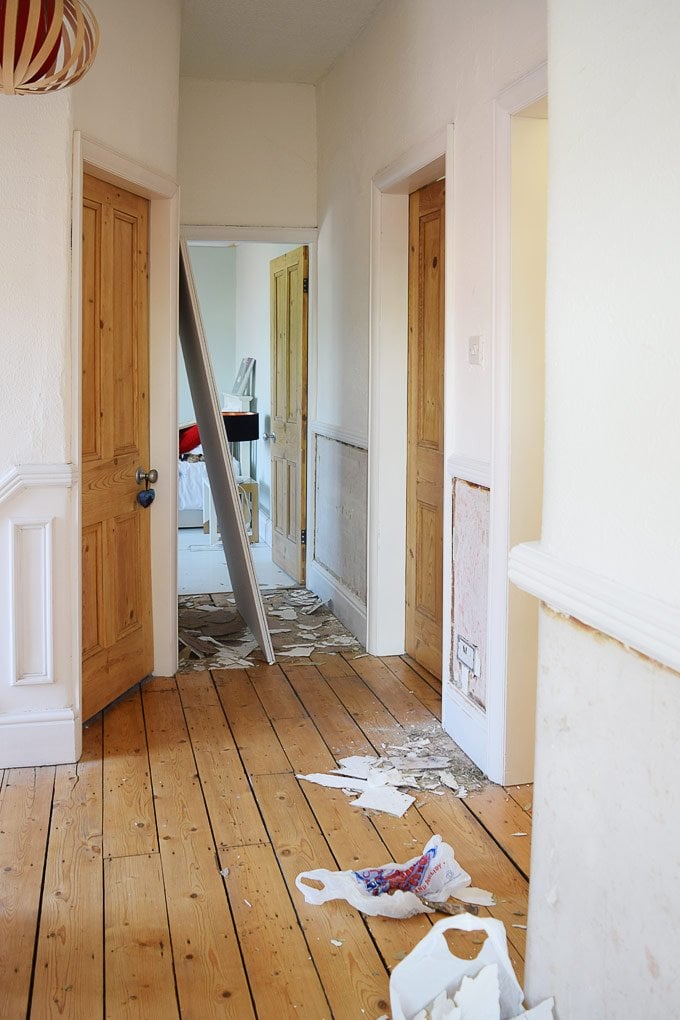
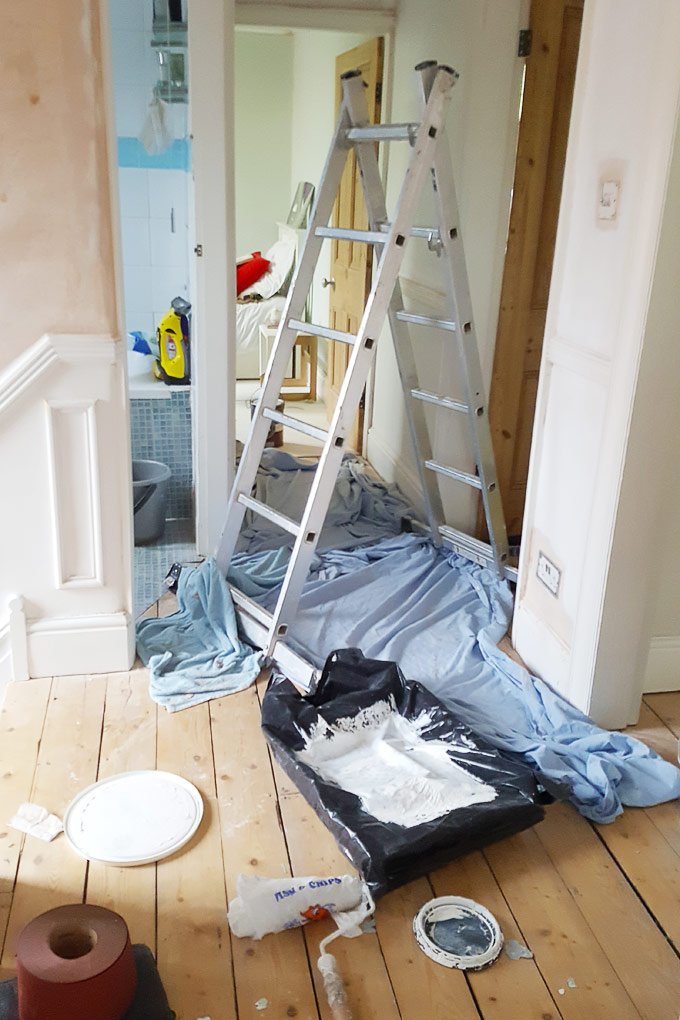
Although we’d already seen that he’d not been the cleanest of workers, I totally underestimated how much dirt there was to clean up.
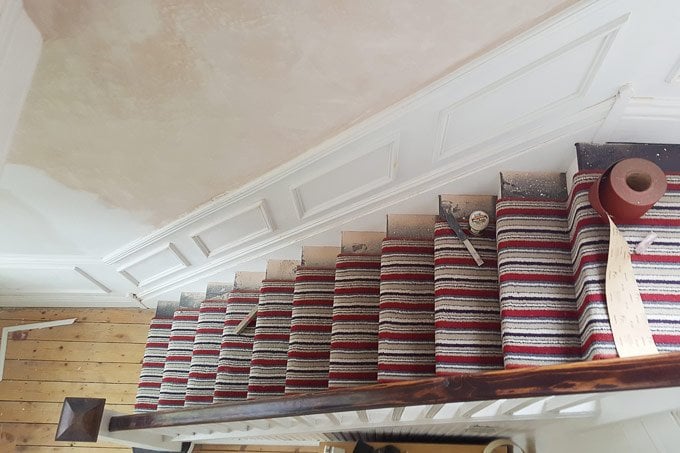
I spent almost 2 full days scrubbing the floors (which had of course been covered, but obviously not well enough), cleaning the door frames, doors, skirting and dado rail. It seemed to take forever and progress was unbelievably slow.
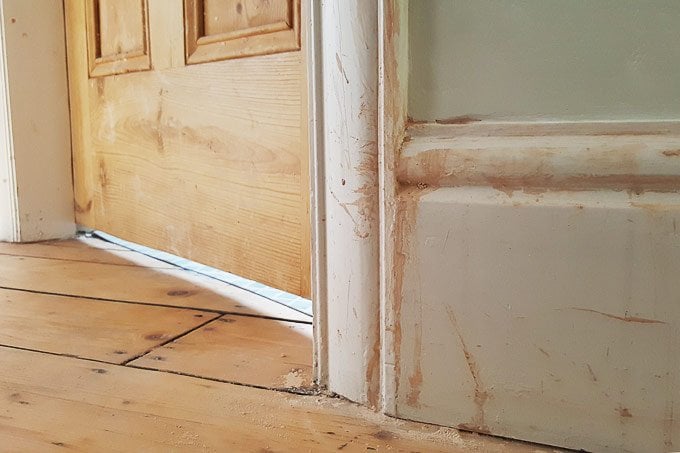
All of our woodwork is fairly detailed, so getting all of the bits of plaster and PVA (which had been used to prime the walls before plastering) out of the grooves and corners was a complete nightmare.
Even when I thought I’d managed to remove most of the dirt it often looked just as bad as before after drying.
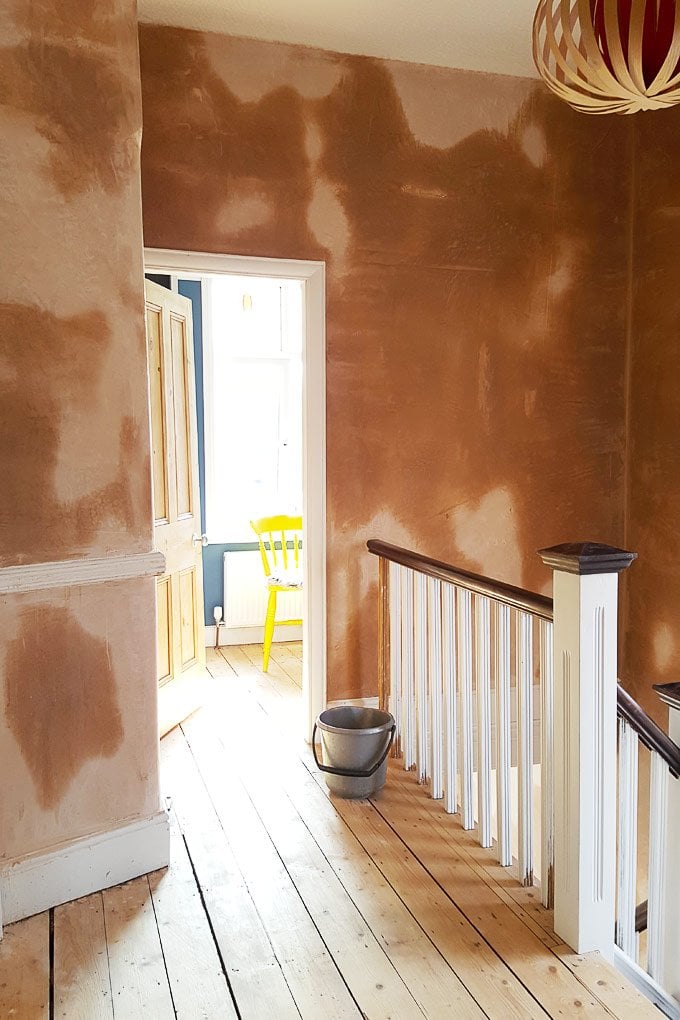
And then came the sanding. Oh, the sanding – it was never-ending! It turned out that the new plaster wasn’t only uneven, but there were also a lot of imperfections.
There were countless blobs and ridges, there were lumps, some of the corners were uneven, there were holes and grooves that needed filling and in parts, even the scrim tape hadn’t been properly skimmed over so that it was still visible and we needed to fill and patch up the edges before we could even think about painting.
The amount of dust was unbelievable and inevitably it got everywhere (which then involved yet more cleaning). Admittedly I may be a bit of a perfectionist, but if I’d wanted lumpy walls I could have just left the Artex!
After scrubbing and sanding everything for hours on end we then also had to repaint all of the woodwork before we could even think about moving on to painting the walls.
Basically, we spent two days cleaning which we’d not expected, we spent 2 more days sanding which we’d not expected and we spent almost another day repainting the woodwork which we’d also not expected. Oh, the joys of DIY and messy tradesmen.
I actually spent so much time scrubbing and sanding that I ended up not being able to unlock my phone as I seemed to have sanded off my fingerprint!
Overall I wish I’d done the plastering myself. As daunting as the large wall in our hallway seemed it really couldn’t have been much harder to do than the other walls and seeing the plastering that we paid for has confirmed that I’m actually really not a bad plasterer (actually it turns out that I’m pretty good!)
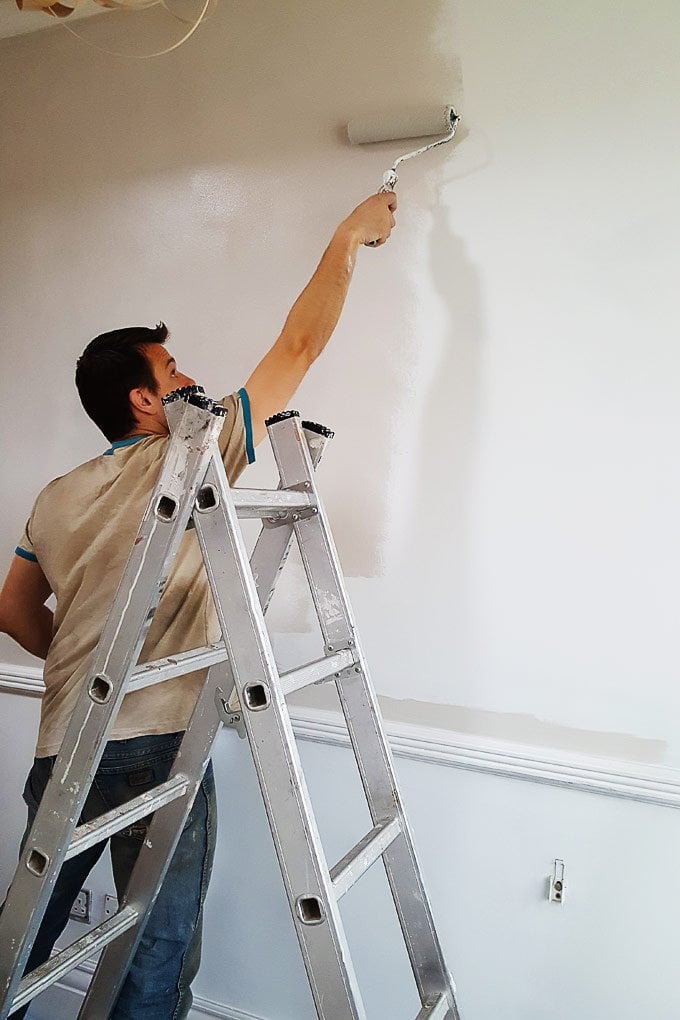
After a week of cleaning, we were finally ready to start on the painting, which luckily turned out to be much more straightforward.
If you follow us on Instagram you’ll already know that we had a bit of a colour panic after applying the first few patches of colour (we’re using Cornforth White over the dado rail and Strong White under the dado rail).
But, after some reassurance from some lovely fellow Instagrammers, we stuck with it and after applying the second coat of paint the colour started to look much more solid, chalky and a lot more like we wanted it to.
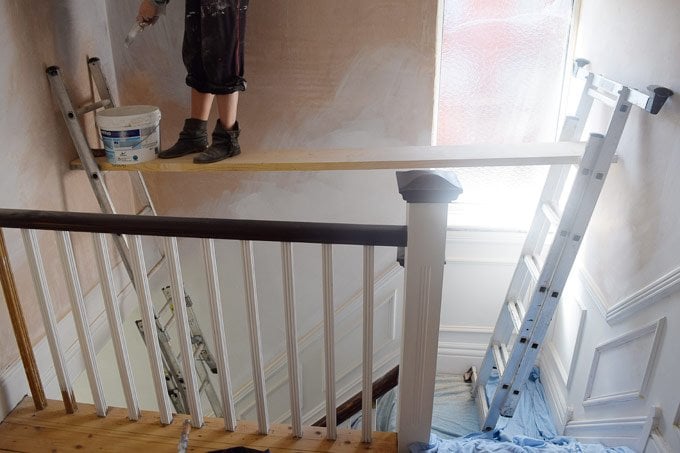
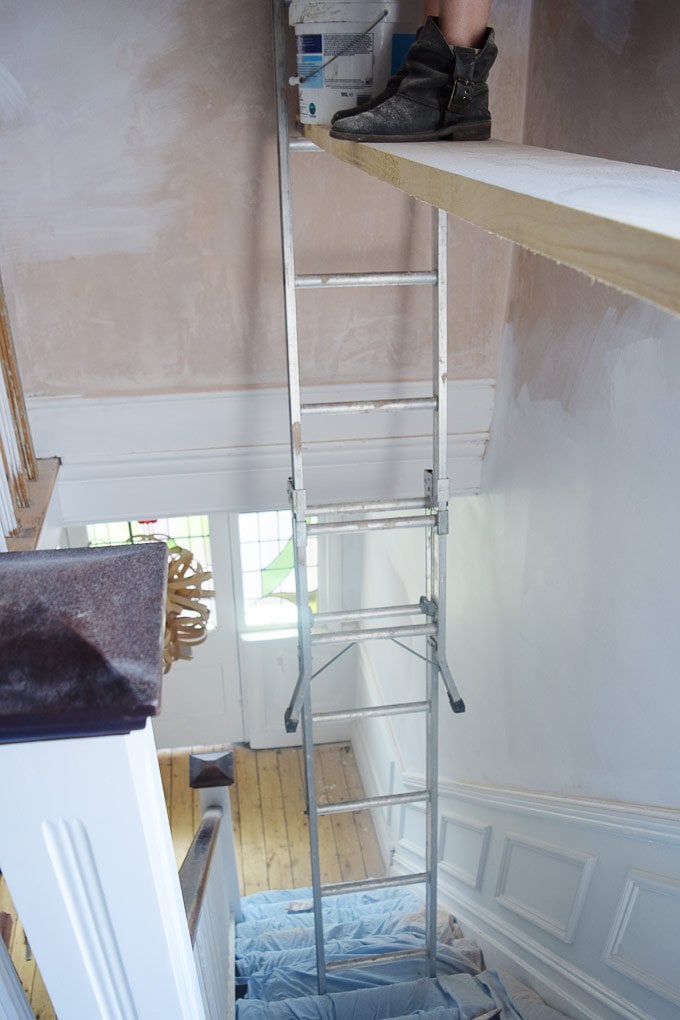
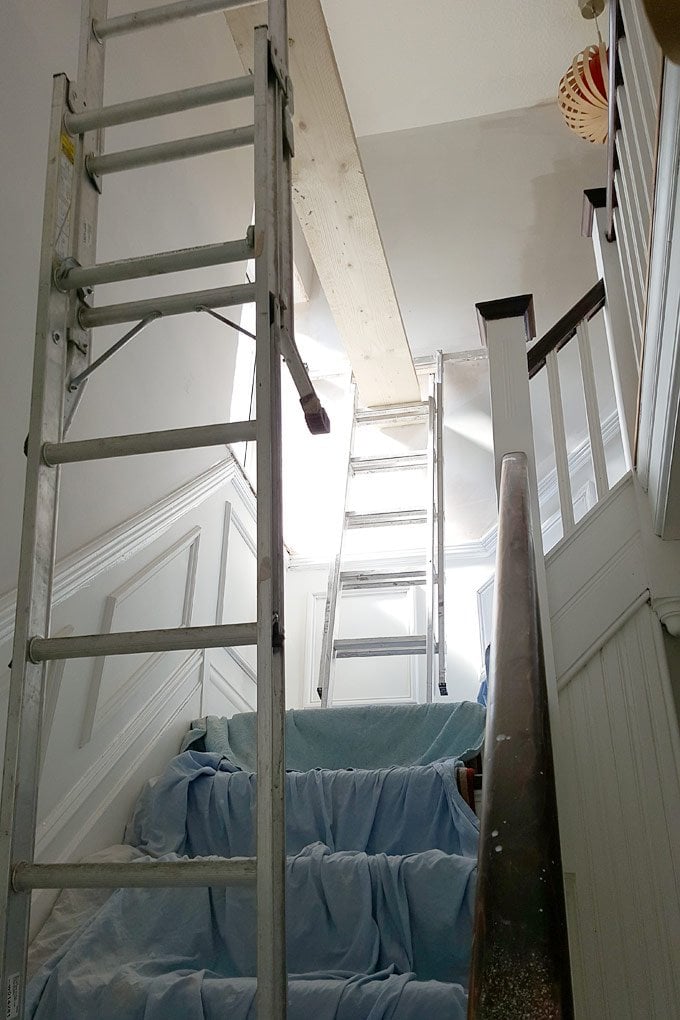
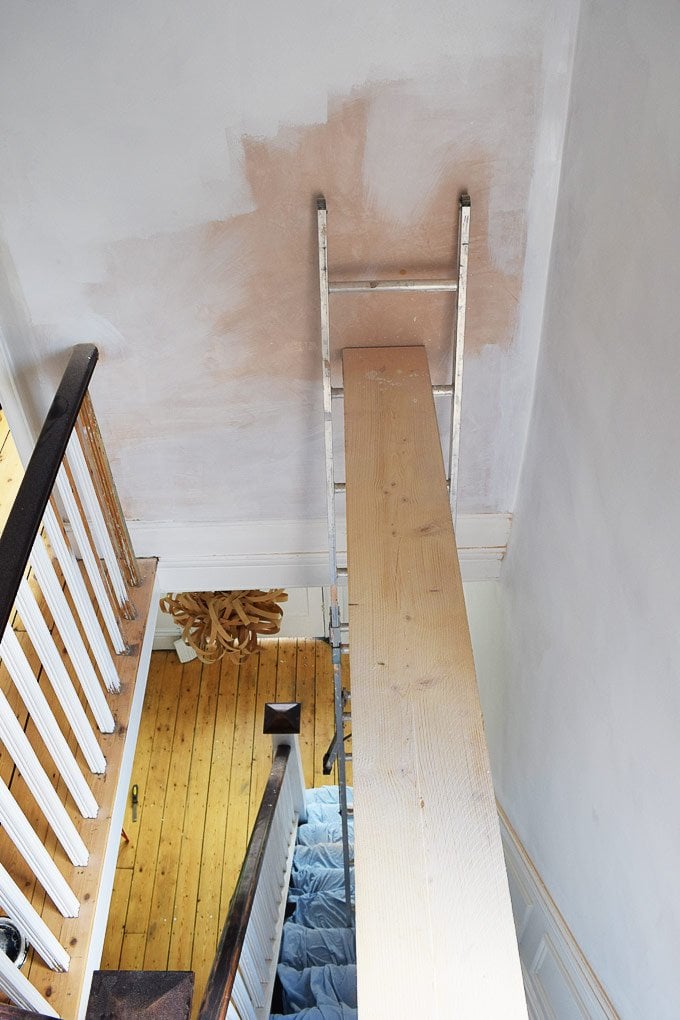
As easy as painting usually is, tackling the large wall over our staircase was definitely a bit more of a challenge.
It’s such a high wall (from the bottom to the top it’s just under 6 metres) and balancing on a construction of ladders and scaffolding planks was definitely challenging.
We still have a few finishing touches like installing the architrave around our kitchen door to complete but we’re almost, almost there and are already so excited about getting this project finished and sharing not only the transformed hallway but most importantly our new magnetic wall with you (spoiler: it’s amazing!).
I’d better get back to painting so that we can share our new magnetic hallway wall at the end of the week!
Do you second guess your colour choice when it goes up on your walls? Have you ever had to deal with messy or unreliable tradesmen?
B. Dolan says
I can feel how disappointed you were with the work of the plasterer. As perfectionist as I am, I’d love to do things on my own if I can so I’d be satisfied with the outcome. :)
Christine says
Being a perfectionist is can be hard work! ;) In the end, everything looked really good even if it meant a lot more sanding and cleaning than I’d anticipated.
Cx
Mark says
Did you make your feelings known to the plasterer?
Christine says
No, we didn’t Mark. We asked a few questions about things that didn’t seem 100% right (like the scrim tape showing) while he was here but didn’t realise that things were uneven and lumpy until the plaster had started to dry. By that point, he’d obviously moved on to the next job and as there wasn’t anything that could be done about the uneven plaster other than sanding, we didn’t see the point in calling him just to have a moan.
In general, we will make our feelings know to the tradespeople (both good and bad), but sometimes it’s just not worth the stress and wouldn’t have made a difference anyway. After the sanding, cleaning (yes, I know plastering is always messy) and painting it all looks fine, so overall we’re happy. Sometimes a good rant just helps blow off steam!
Cx
Mark says
Thanks for your reply. I always wonder what the line is to draw with tradesmen if you’re not happy with their work, you don’t exactly want them to make good because they are not capable, but withholding payment can get messy! Glad you got it sorted in the end, it looks great.
Christine says
Thanks, Mark. If it’s something that can be repaired or improved, I guess it’s worth trying to get them to make good their work. Depending on how bad the work was you may be better off doing it yourself!
Cx
Jessica @CapeofDreams says
Should be easy… famous last words. What a shame that the work of your tradesman turned out to be so unsatisfactory. That is why it is so hard to trust other people to work on our house. I wish we could do it all ourselves, but we just do not have the time.
Christine says
Yep, we should really stop using the words ‘just’ and ‘how hard can it be’. It was annoying that our plasterer turned out not to be very good, but at least it was something that we could easily fix. Trusting people in your home is always tough, but I guess it’s an inevitable of improving your home.
Cx
Marion says
It looks fantastic so far! You have inspired me to continue with my own projects which have been stagnating for a while.
I have had some panics about colours before, as some paint really changes when it dries, so while you are putting it on it can seem remarkably different from the finished effect. I now try to remind myself to step back a little and way for it – waking up to a fresh coat of paint the following day is great!
Keep up the good work.
Christine says
Thank you, Marion! We also go through phases where we struggle to motivate ourselves to finish projects. Colours are so difficult to choose, but I completely agree with you about taking a step back – paint always looks different when it’s dry and the second coat can also make a huge difference.
Cx
Anna International says
We have been so lucky with our plasterers – we will never use another firm again, they are the best! But even being as clean as possible, inevitably we’re having to deal with the same issues of needing to scrub the woodwork (which was pretty grim before anyway) and sand before re-painting.
Basically, this post right here feels exactly like my life at the moment too! We did the entire upstairs hallways and staircase, my home office, the newly built landing and our bedroom all at the same time. It’s a game of tetris moving furniture around to paint the various bits, and we’ve got to add new skirting to most of it (as we’ve built new walls), as well as doors and doorframes. So much to do!!! But it is starting to feel like a home now…lovely smooth walls make all the difference compared to awful textured wallpaper! :-) Best of luck with the rest of it! x
Christine says
It’s always great to know that we’re not the only ones who are going through messy home improvement projects. I guess there’s always dirt and a bit of chaos involved, but it’s always annoying when you have to clean it! I totally agree with you about the smooth walls – having an Artex-free hallway is amazing!
Good luck with the rest of your newly plastered rooms!
Cx
Lins @ Boo & Maddie says
Oh my goodness. I’ve been reading this and shaking my head in solidarity. It’s SO hard to find people who are as good at the jobs as we want them to be, or even could be ourselves. I know I’m as much of a perfectionist as you are so I can only imagine how dismayed you must have felt but bloody well done on carrying on regardless. I can’t wait to see the finished result! Xx
Christine says
We’ve been lucky and had a few really good tradesmen, but there are so many bad ones out there, too. It’s definitely worth learning to do projects yourself – if only to avoid messy builders!
I can’t wait to see the result either – hope to finish the painting today!
Cx
Kerrie says
I had a similar experience a few years ago when I hired painters to do all the glossy doors as I just didn’t think I could do it well enough. After seeing their work I knew I was just unconfident as there was no way I would have left some of the doors as lumpy, bumpy and paint runny as the ‘professionals’ did. Needless to say i do all the doors myself now.
Christine says
Wow, that’s really annoying! I think that bad tradespeople are part of the reason that we do so much DIY – at least you know what you’re getting then! Just because people call themselves ‘professionals’ really doesn’t mean that they are! I know that a lot of people think that DIY is too complicated, but I think that if you do things yourself you’re more likely to get the result you want because you take more care in your own home.
Cx