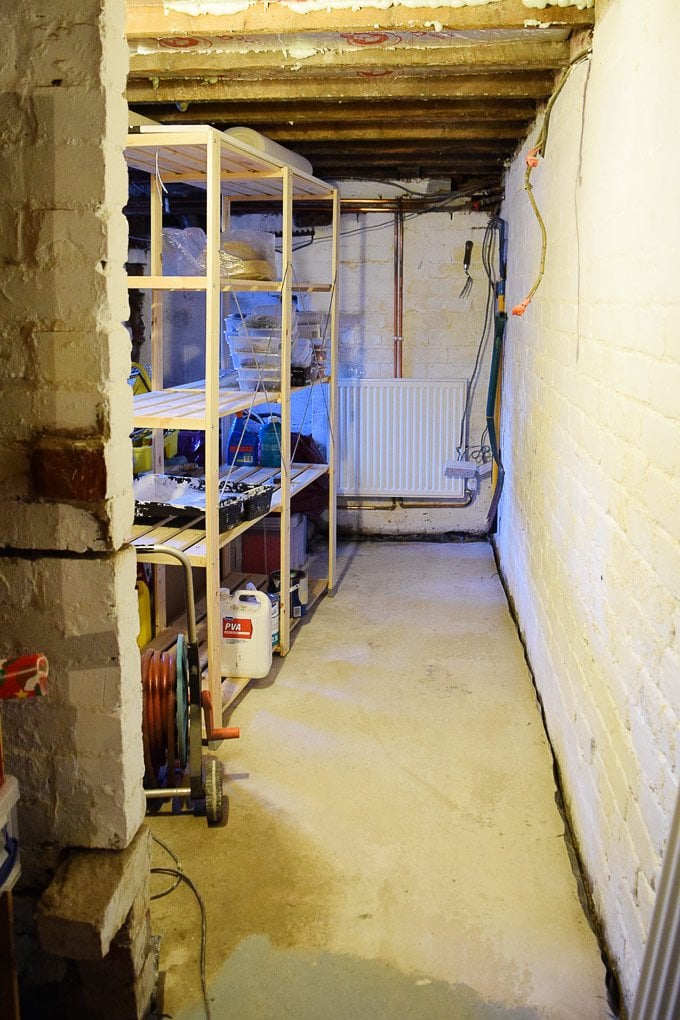
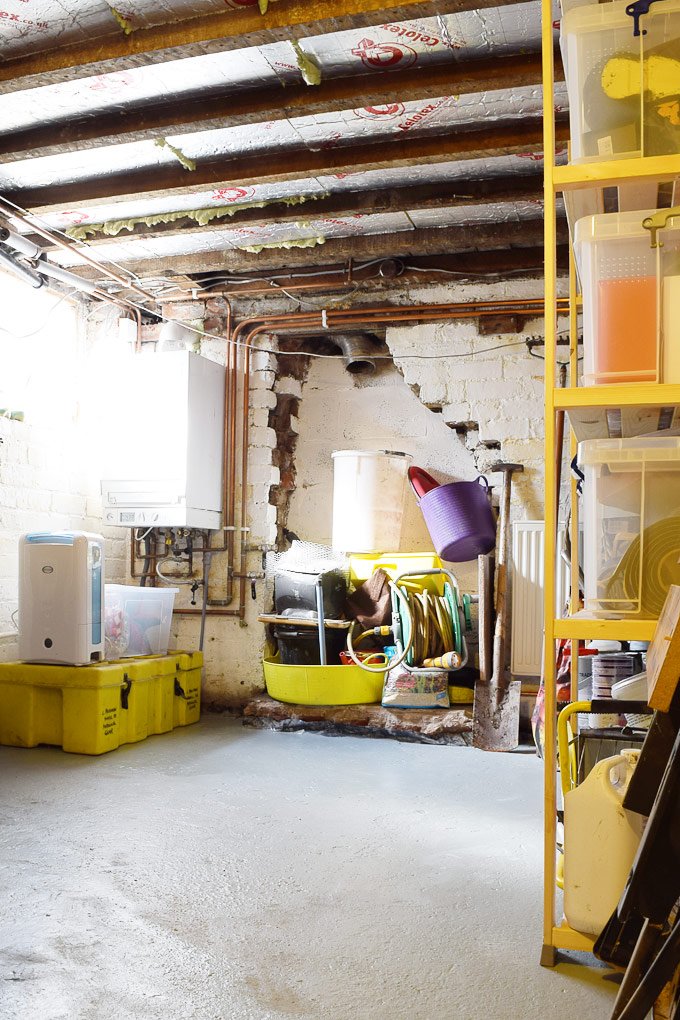
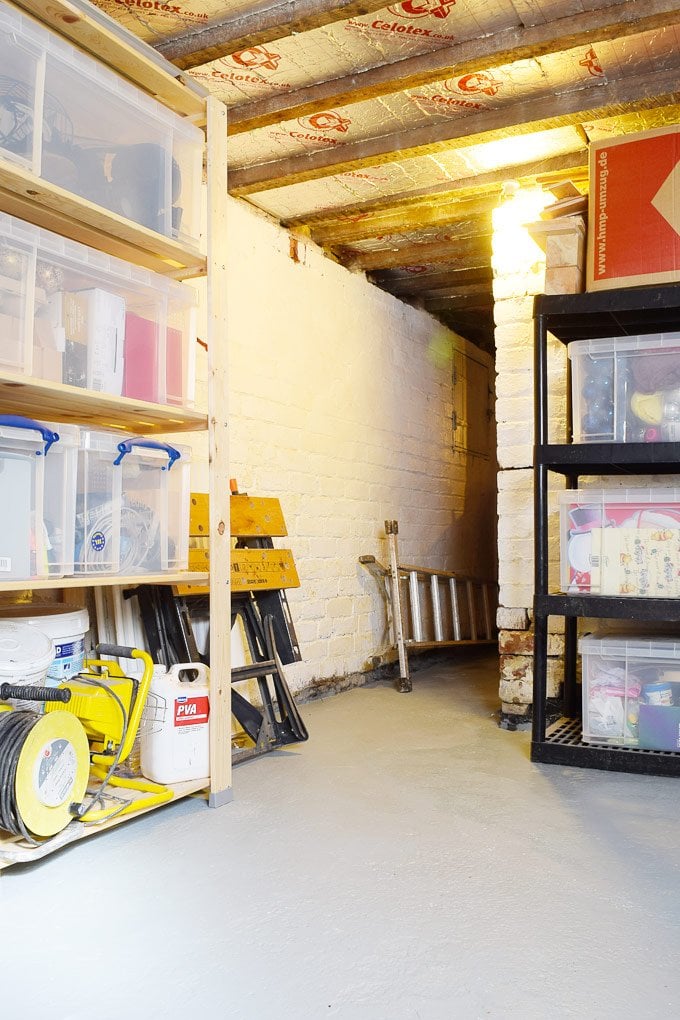
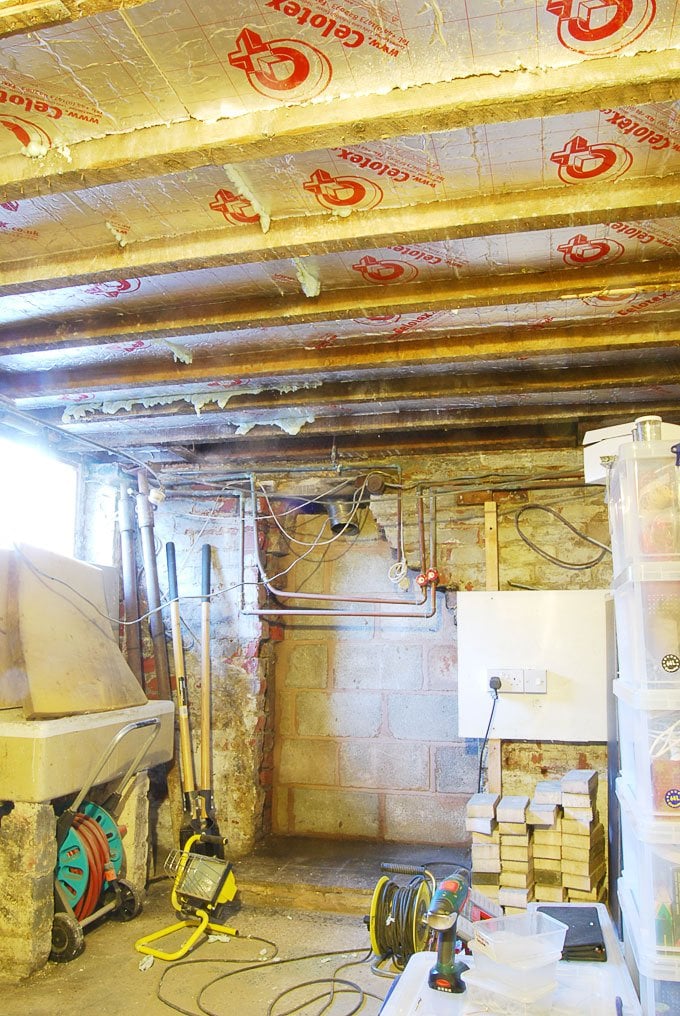
Last week we revealed what our cellar now looks like! It’s changed so much since we first moved in that it’s almost unrecognisable. It’s gone from an almost unusable damp space to a much cleaner and brighter space that we can now actually use!
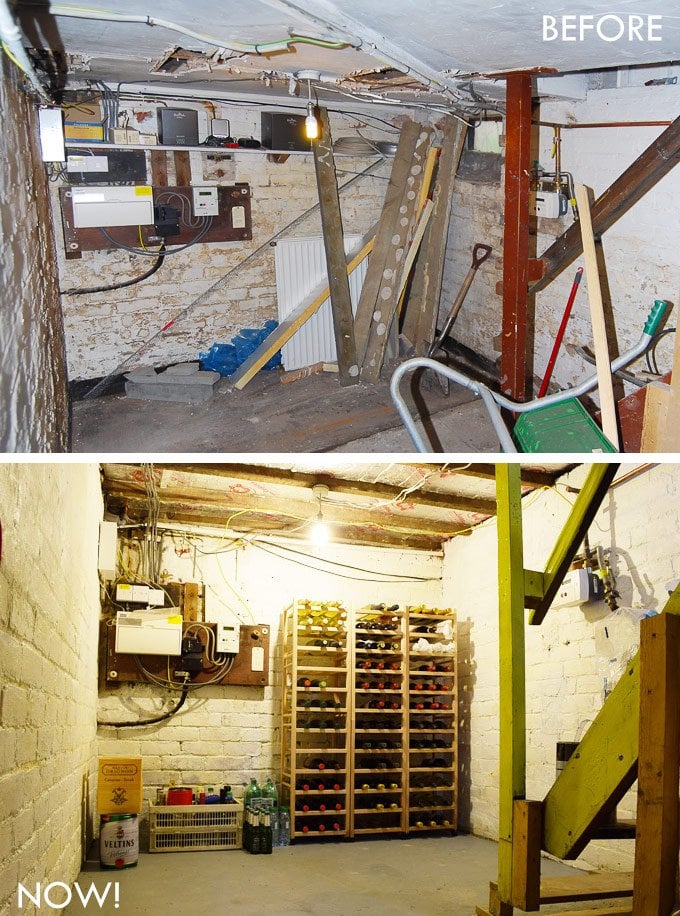
We’ve knocked down walls, insulated the ceiling, damp-proofed and replaced the floor and painted everywhere.
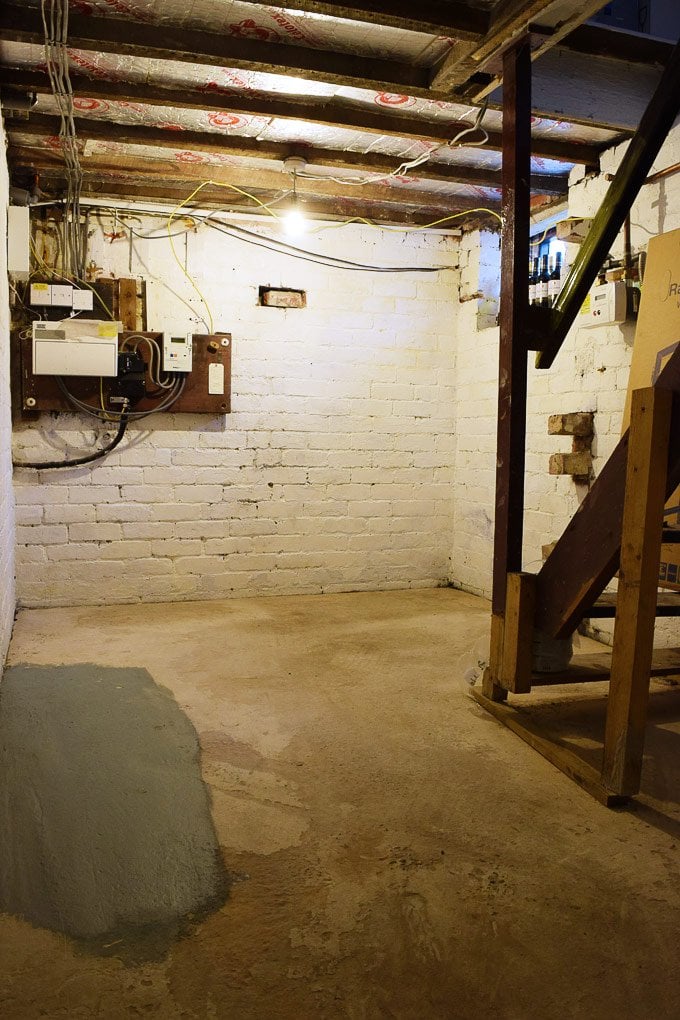
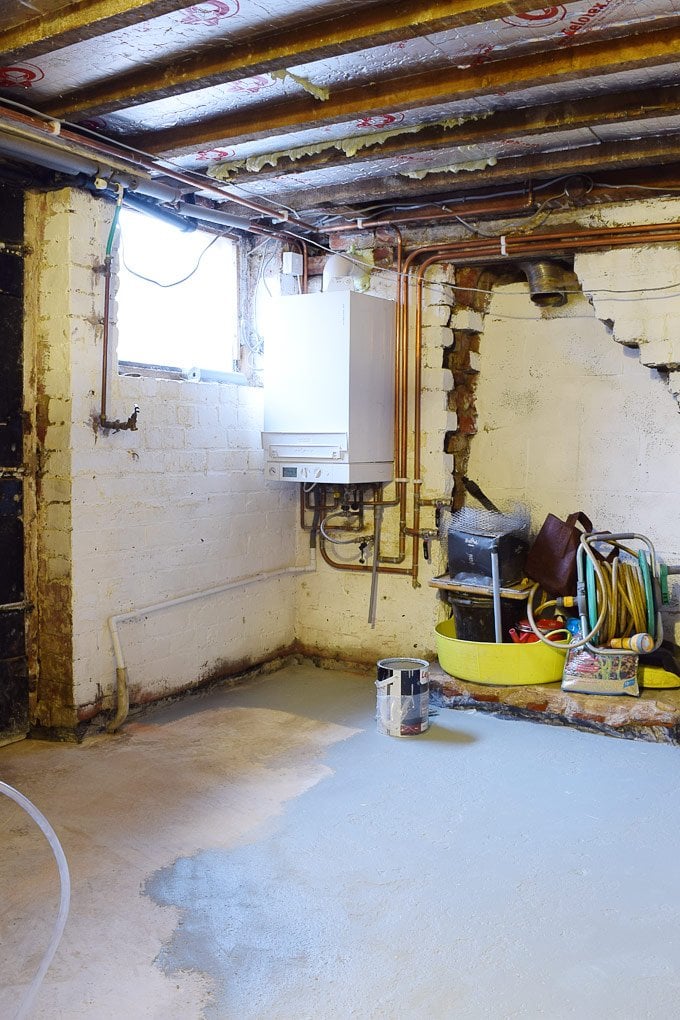
One of the biggest changes has to be the new concrete floor. It really ties the space together, which used to be made up of smaller rooms and had about five different floor levels.
It’s great to have a new and level floor, but unfinished concrete floors are dusty and always have to be sealed or painted to keep them looking good.
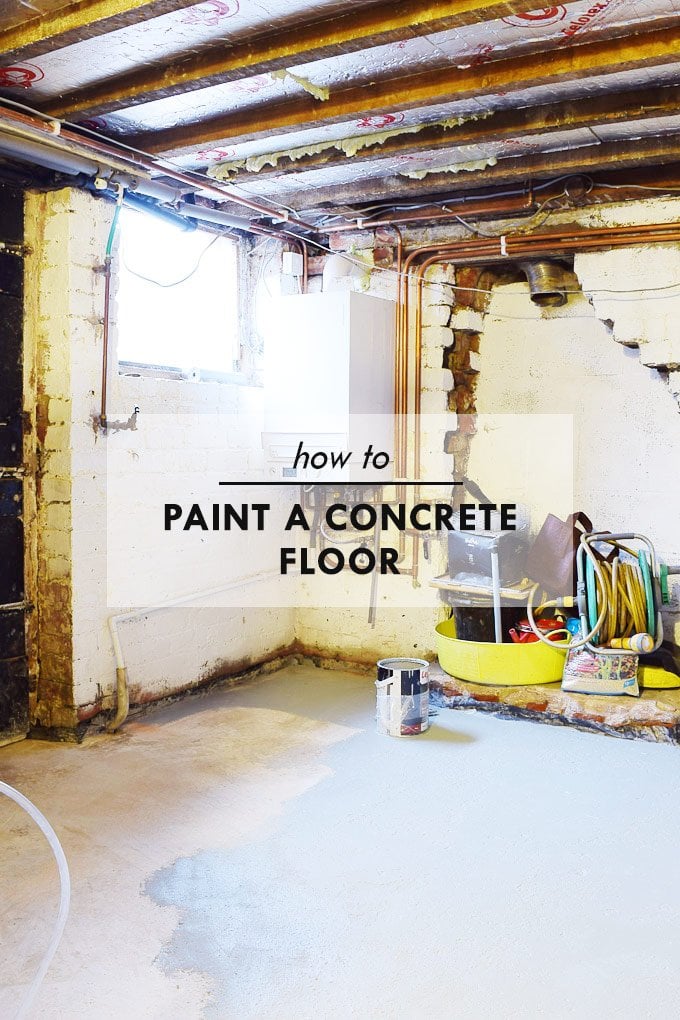
With our cellar just being used for storage, we didn’t need anything fancy, so we decided that painting it with a hard-wearing concrete paint would be the best option for us.
When painting any surface, preparation is key to achieving a good and long-lasting result, and concrete floors are no different.
If you’re wondering about how to paint a concrete floor, here’s how we did it:
This post contains affiliate links. We only recommend products we love and think that you will, too! Read our full disclaimer here.
1. Make sure it’s dry.
It takes about 28 days for concrete to cure, but that doesn’t mean that it’ll be dry. The actual time it takes to dry will, of course, depend on your circumstances, but it takes at least seven weeks for a concrete floor to be dry enough to paint!
Initially, we were in a huge rush to get the floor painted because we had everything that we were storing in the cellar stood all over the ground floor. Needless to say, living in such a mess was tough, and I was desperate to get it all stored and hidden away again.
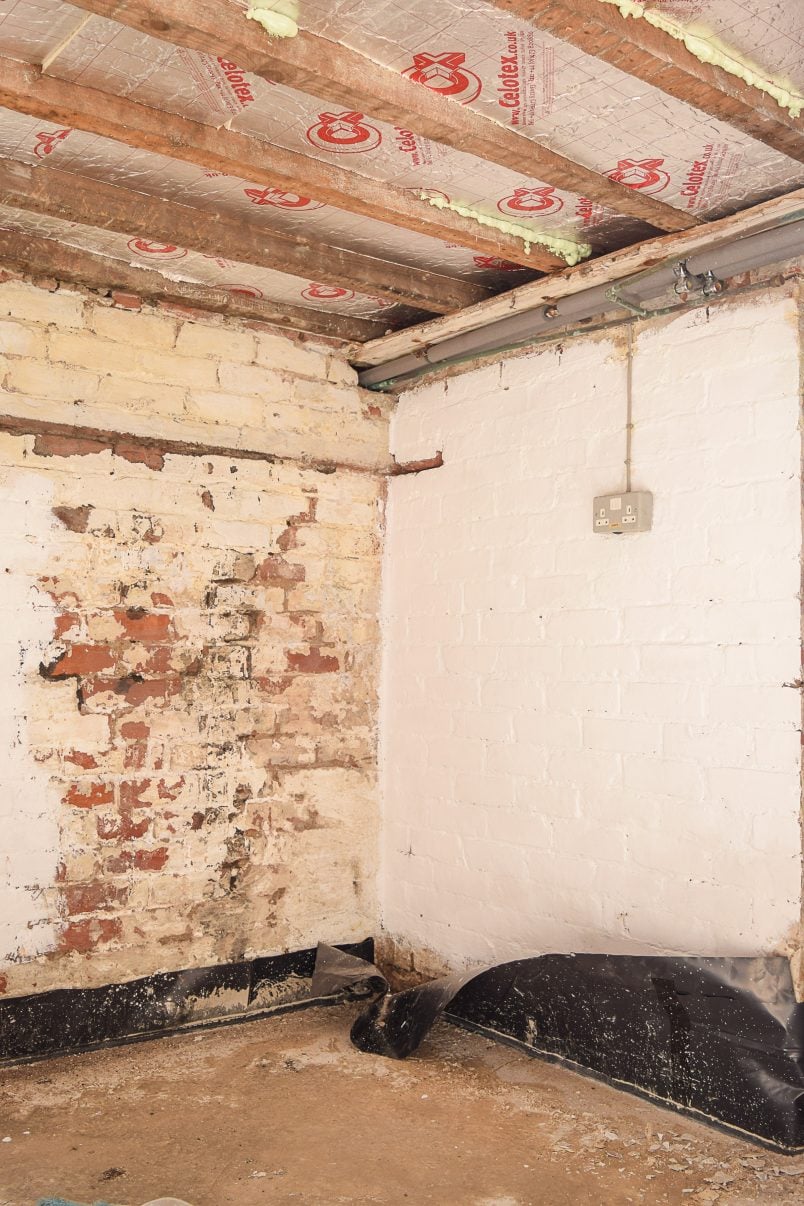
We obviously don’t own any fancy moisture-measuring gadgets, so we used a super simple DIY method instead.
Cut a piece of the leftover damp proofing membrane into about a 10 x 10 cm square and stick it to the floor with duck tape, making sure to seal the edges completely. Then, wait for about two days before checking if any condensation has developed between the plastic and the concrete. If you have no condensation, your floor is probably okay for painting, if you do you’ll have to let it dry a bit longer.
2. Clean it.
Depending on how the surface of the concrete floor is, you may have to remove any residue before you can paint it.

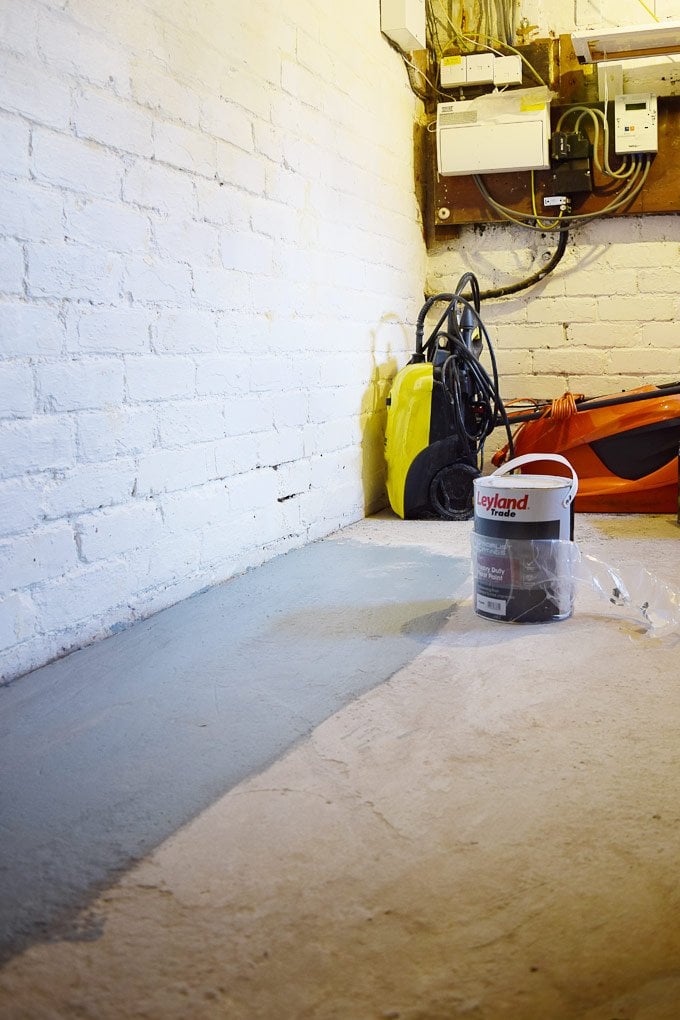
We used watered-down acid etch for concrete floors (obviously following the manufacturer’s instructions and wearing the necessary protection) to clean the floor before rinsing it with water.
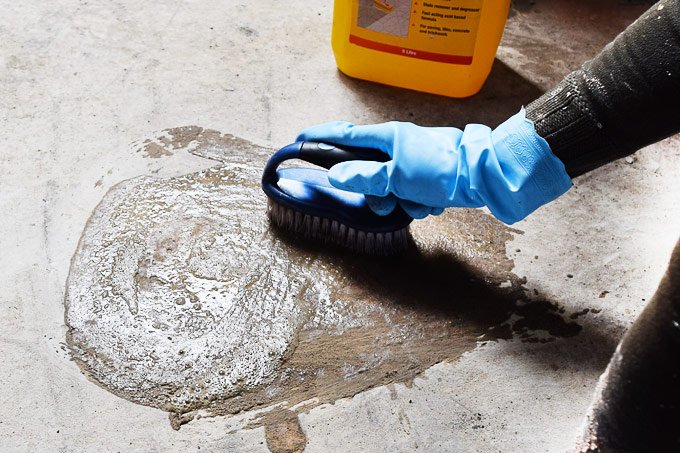
It really wasn’t the nicest of jobs, but it did leave the floor much cleaner, removed grease (that can be leftover from installing the floor) and removed a load of loose bits that would have made painting difficult.
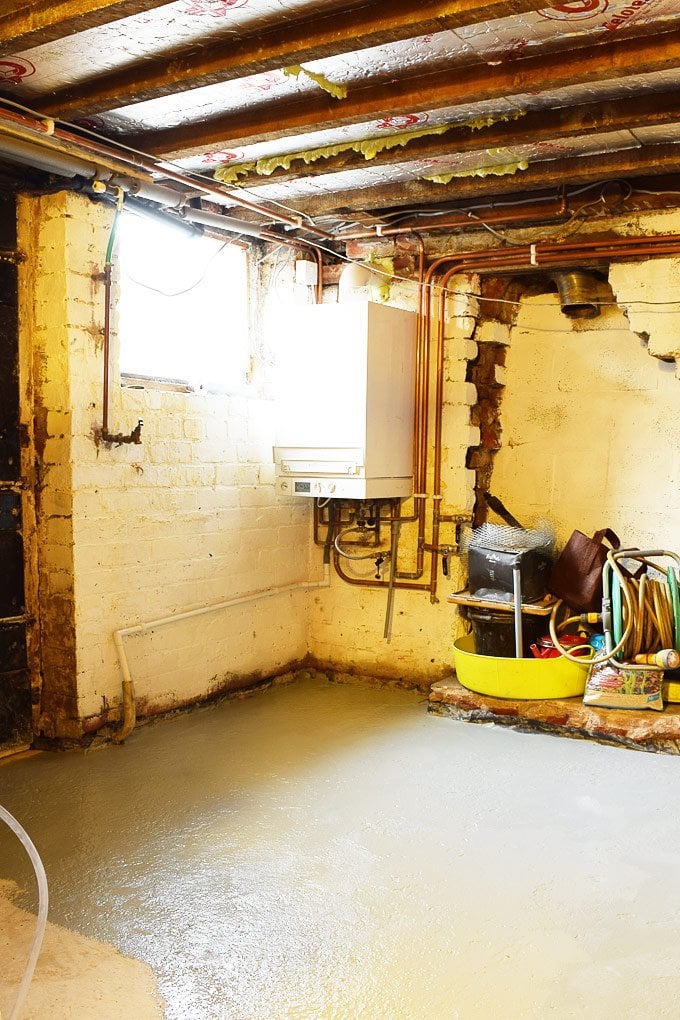
3. Paint it.
When the floor has completely dried again (it’ll take a few days at least), it’s finally time to paint!
As well as always making sure the surface you’re painting is clean & dust-free, it’s also important to use the correct products. We used this concrete floor paint) which worked really well.
These are the products we use & recommend!

The painting process itself is straightforward and no different to painting any other surface.
We used a paintbrush for the whole floor, but a roller would work just as well. Because the concrete surface was fairly rough we used a lot more paint for the first coat than expected.
After letting the painted floor dry overnight, we gave the floor a second coat of paint (which was much easier to apply than the first), to make sure that it was properly sealed and covered.
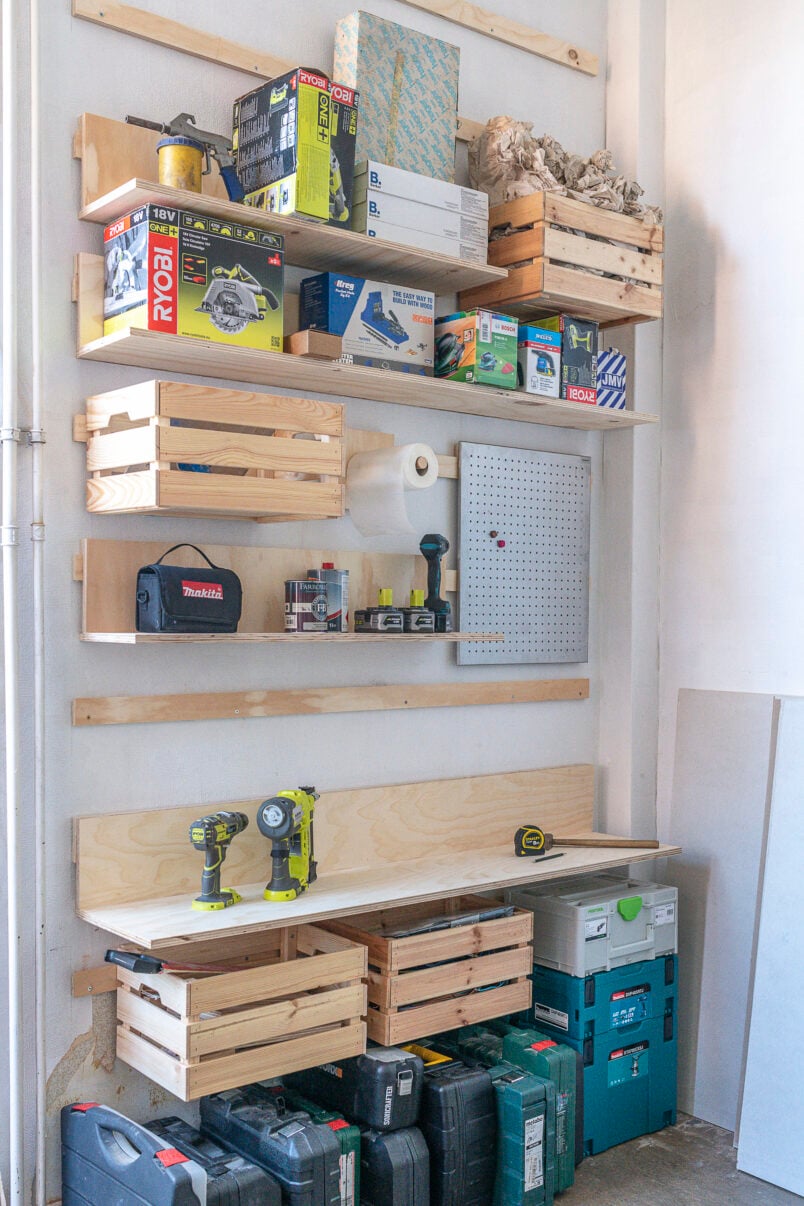
Whilst we love DIY, it really has a way of taking over, especially when you’re tackling your storage spaces!
Having said that, the cellar is looking so much better than before (and, of course, is much dryer, too) that putting up with the awful mess for a few months was definitely worth it.
There’s still some finishing off to do. We still have a few small storage issues to improve upon. We also still have some of the damp-proof membrane left to trim away and paint around the edges where the walls meet the floor, which we didn’t want to do until the floor had completely dried.
We also had a bit of a blocked drain situation (it’s now sorted), which is why we’ve decided to leave the membrane just a bit longer in case something goes wrong before we have our gullies replaced.
What colour would you have painted the cellar? Is it just me that hates waiting so much? Do you find that projects take sooo much longer than you think they will?
If you enjoyed this post, you will love these, too!
tonytwomey says
Damn Awesome. You explained well enough.
Actually, I was looking for a blog which explain how to paint concrete floor so that I can share it with my customers and explain the services like you explained it on this blog . If you don’t mind can I share your blog on my website.
Your blog give words to my services. Thanks for this share.
Hisham says
This is a well-produced thread for concrete floor painting. Each stage is clearly shown, explained and followed up.
Kevin says
Great job with the floor! Looks soo much better! I liked the article and pics! Thanks for posting.
Anthony Fairweather says
Hi, where did you get your wine racks from? or did you make them?
Christine says
They’re from Ikea, Anthony. They’re called Hutten and only cost £7 each.
Cx