French cleats are the easiest and most affordable way to hang heavy items on your walls. We love using them and are sharing exactly how to make French cleats so that you can make the most of your space.
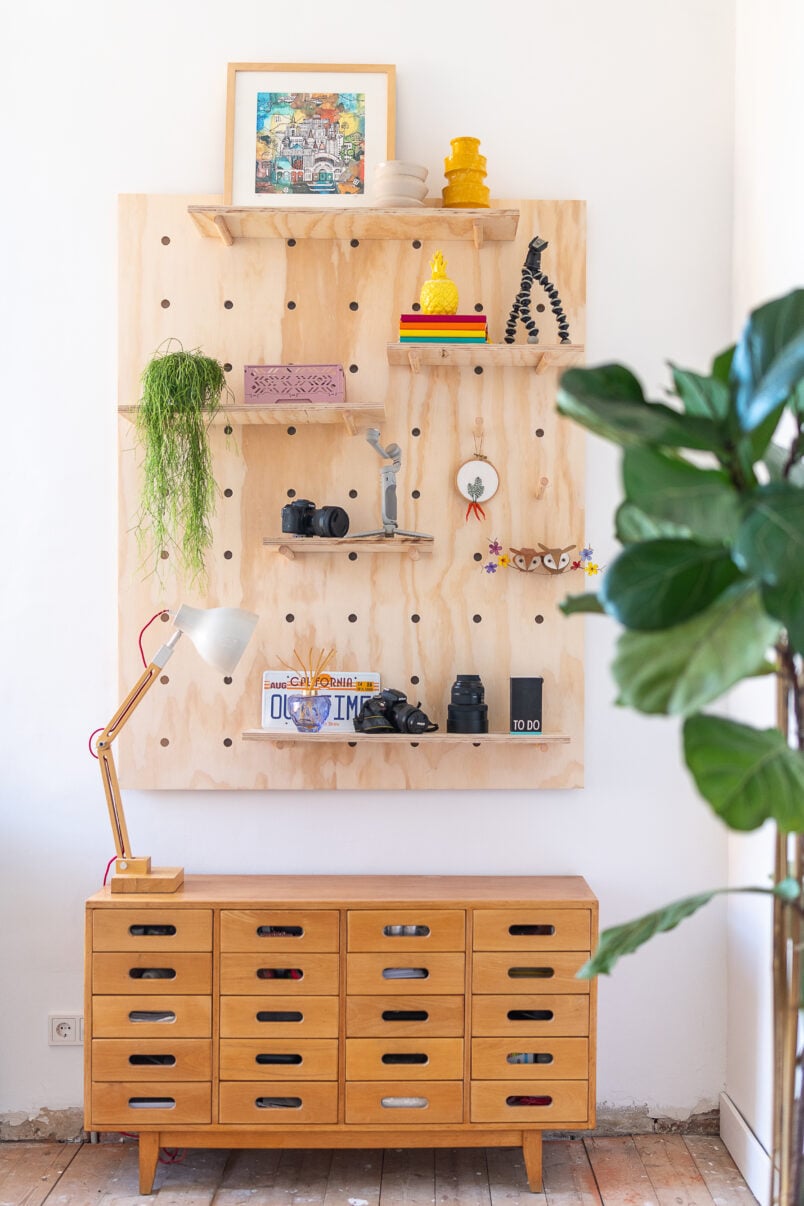
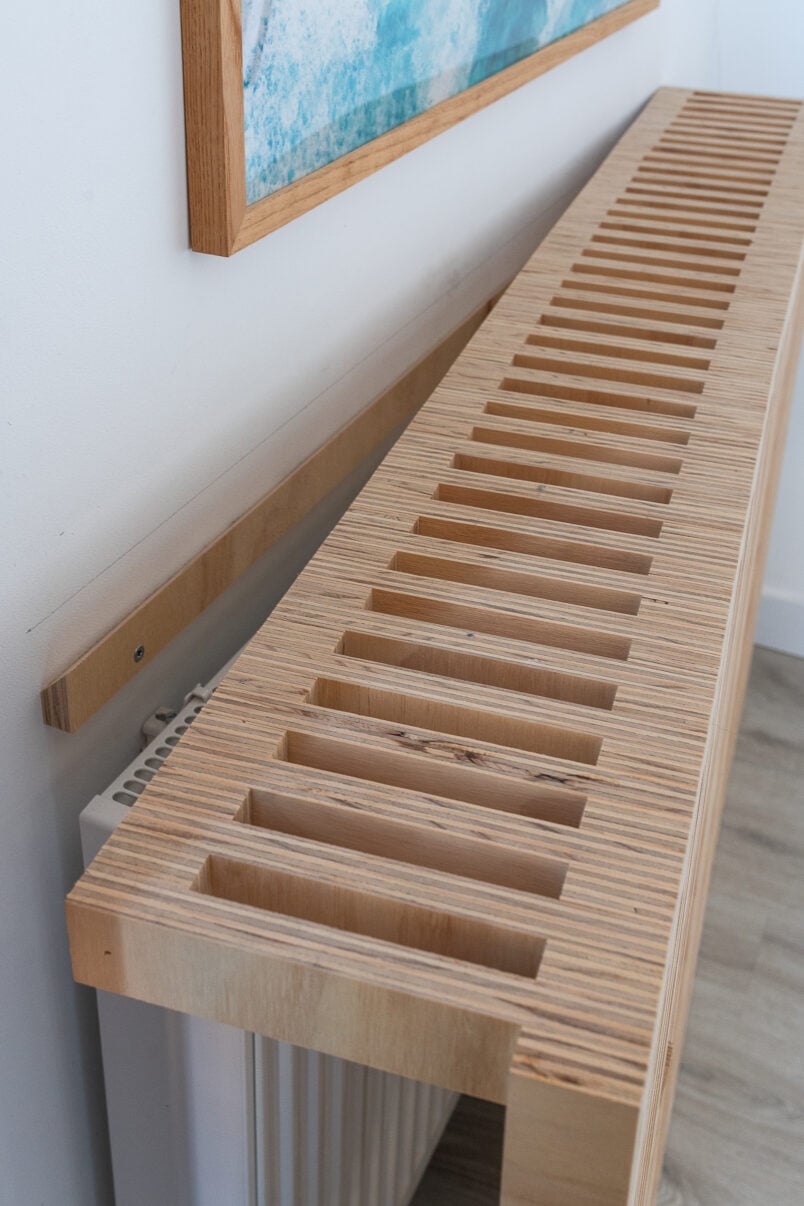
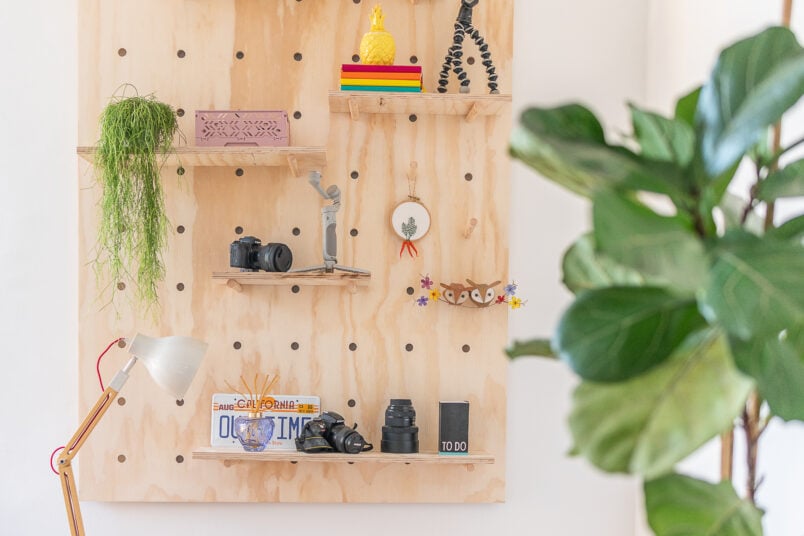
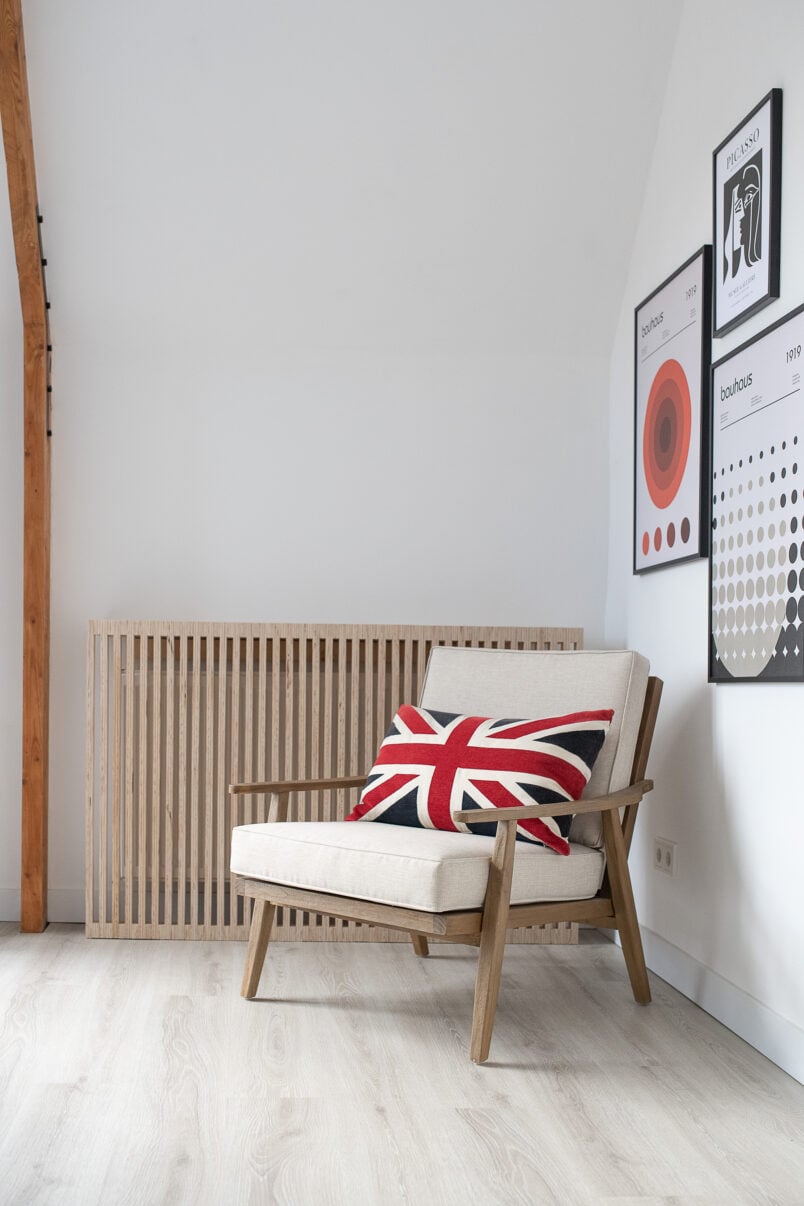
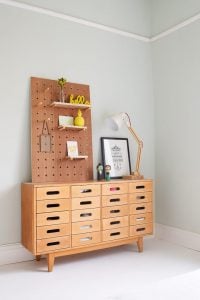
We use them for everything from hanging heavy items like our giant pegboard in my office to attaching our modern slatted radiator cover to the wall, and we even use them to keep all of our tools organised.
What is a French Cleat?
A French cleat is a simple bracket that you can use to hang heavy items like shelves, tools, art, and even cabinets easily. They are made of two bevelled pieces of wood or metal that interlock to create a secure and adjustable mounting system. One piece is attached to the wall, and the other to the item you want to hang.
What you need to make a French cleat:
This post contains affiliate links. We only recommend products we love and think that you will, too! Read our full disclaimer here.
- Wood
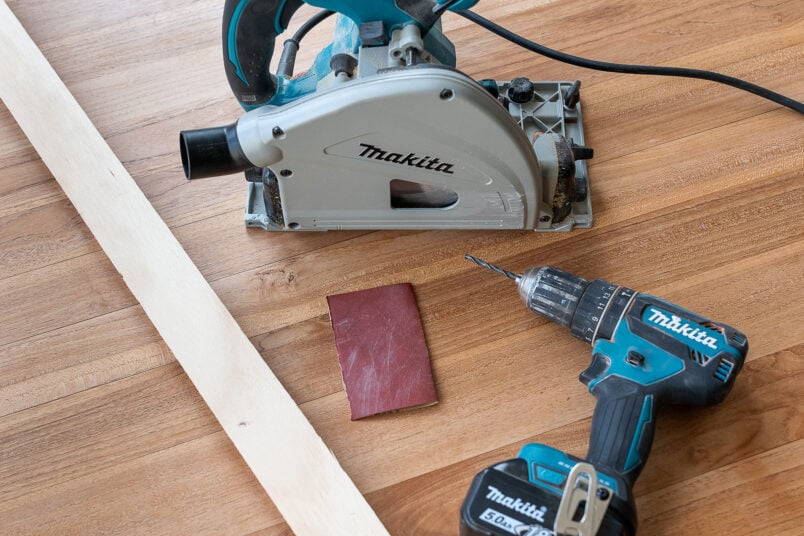
- Saw (see below for the best saw to use to make French cleats)
- Sandpaper
- Cordless drill & drill bits
- Countersink drill bit
- Screws & wall plugs to attach them
- Spirit level or laser level
What kind of wood can you use to make French cleats?
We use 18mm plywood for most projects as it is affordable and strong enough to hang heavier items. You can use any wood you have, though. Just make sure that it’s completely straight and wide enough for you to comfortably screw through it to be able to attach it to the wall.
What kind of saw can you use to make a French cleat?
The most important thing when making French cleats is to cut straight lines so that the pieces slot together perfectly for a strong and secure connection.
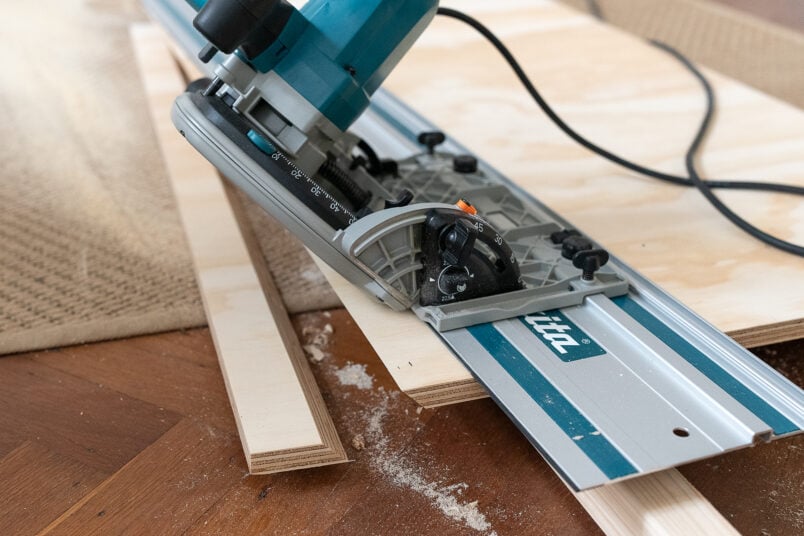
You can use any kind of saw as long as you can adjust the angle of the blade to 45° to make French cleats. We find using a plunge saw or a table saw to be easiest, but you could use a circular saw, too.
Some jigsaws allow the angle of the blade to be adjusted, but we only recommend using one if you have no other options, as they’re not meant to be used for long, straight cuts. If you use a circular saw or jigsaw, clamp an extra board as an edge guide to the piece of wood you’re cutting to guide your saw and cut a straight line.
How to make a French cleat
French cleats are very easy to make. You just cut a piece of wood in half at an angle and attach one piece to the wall and the other to whatever you want to hang.
Step 1
Measure & Mark Your Cuts
Cut a 10cm wide strip of 18mm thick plywood in the length you need for your wall.
You need to cut the wood into two equal-sized pieces at a 45° angle to make the cleats.
To ensure the pieces are both the same size when cutting the 45° angle, mark the centre of the board and add half of the thickness of the plywood to the measurement.
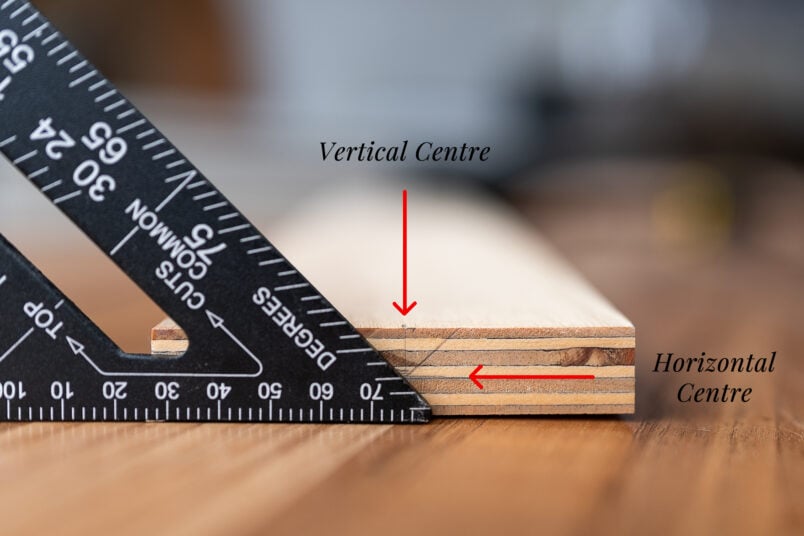
In this case, that means the centre mark is at 5cm plus 9mm to account for the thickness of the board.
Alternatively, you can mark the centre of the board vertically and horizontally and use a speed square to mark the diagonal you’ll be cutting.
Step 2
Cut The French Cleat
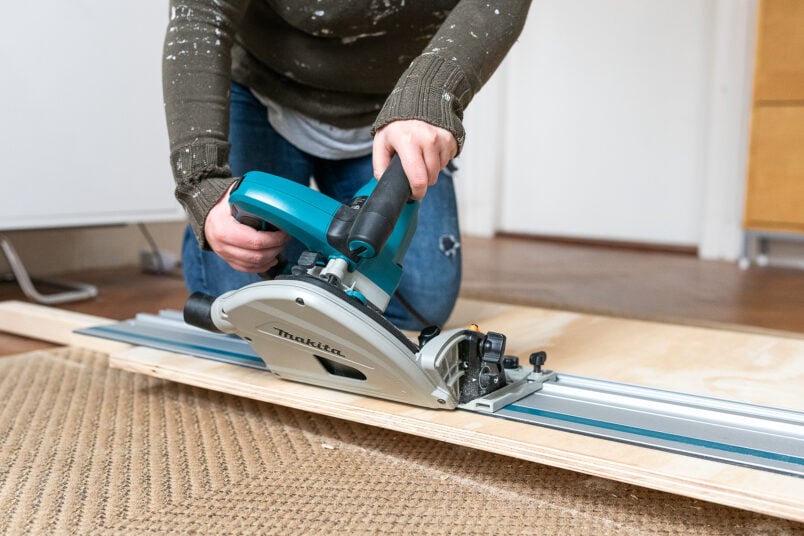
Rotate the angle of your blade to a 45 degree angle. Then, carefully cut the wood along the line you marked earlier.
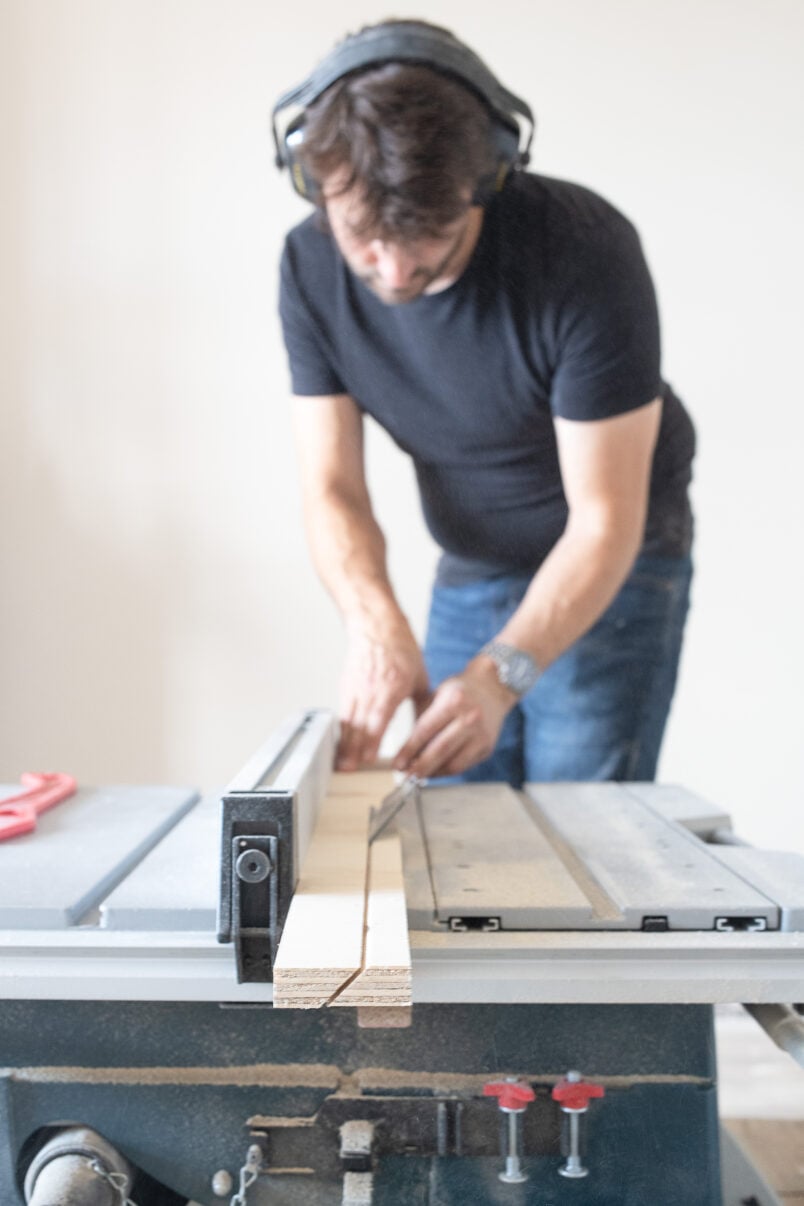
I prefer to use a plunge saw to cut the French cleats. Jan likes the table saw. It’s personal preference, and there’s no right or wrong way. Use what you feel most comfortable with.
Step 3
Sand Everything
Sand the edges of the cleats and make sure everything is smooth.
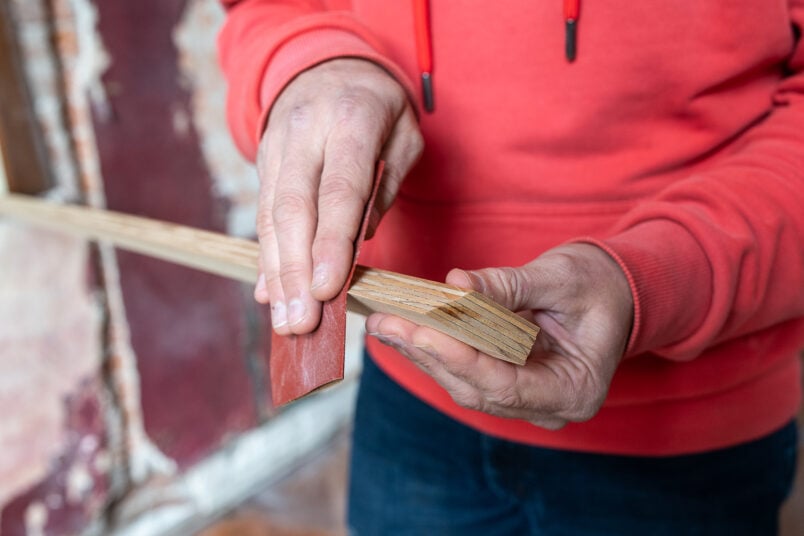
You’ll probably find that the pointy edges of the cleats are very sharp, so round them off slightly when sanding to make them smooth and safe.
DIY TIP
If you hate sanding but still want great results, you won’t want to miss our full guide on how to sand wood. It includes a helpful cheat sheet so that you always know which sandpaper grit to use for which project.
Step 4
Attach The French Cleats
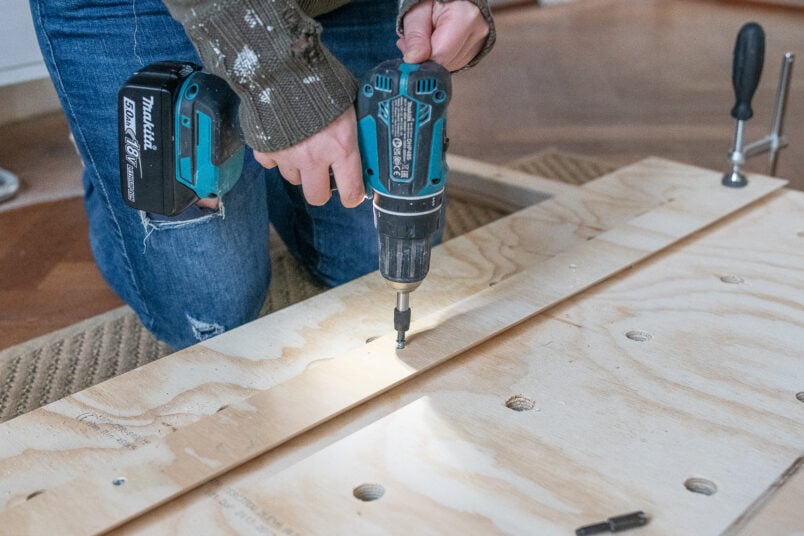
Predrill holes for your screws and use a countersink bit to create a groove for the head of the screw to sink into. This is important so the cleats slot together without anything in the way.
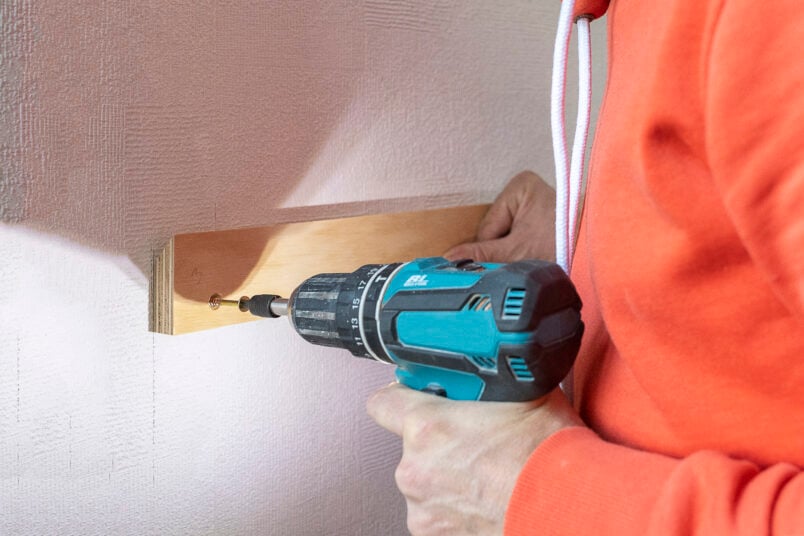
Attach one half of the cleat to the wall and the other half to the item you want to hang. Check that it’s level and screw it in place. If you have stud walls, make sure to screw the cleat into the studs so that they’re firmly attached.
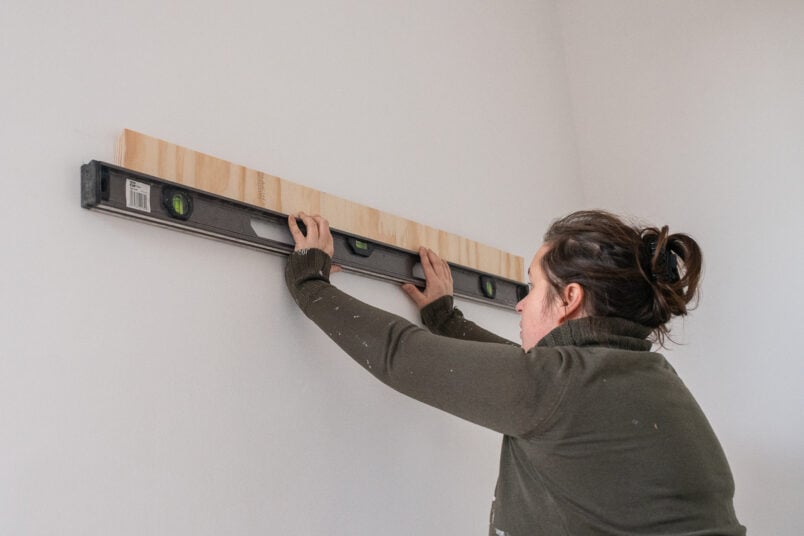
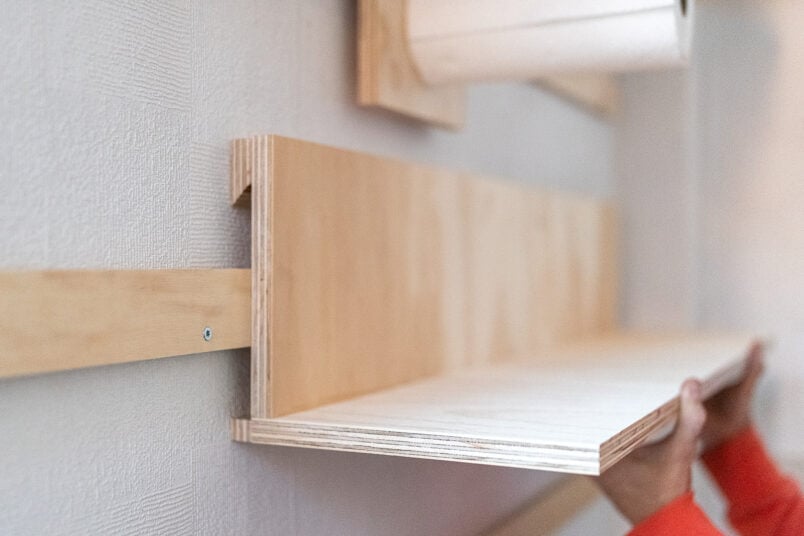
The cleat on the wall must be mounted so the 45° angle faces upwards and slopes towards the wall.
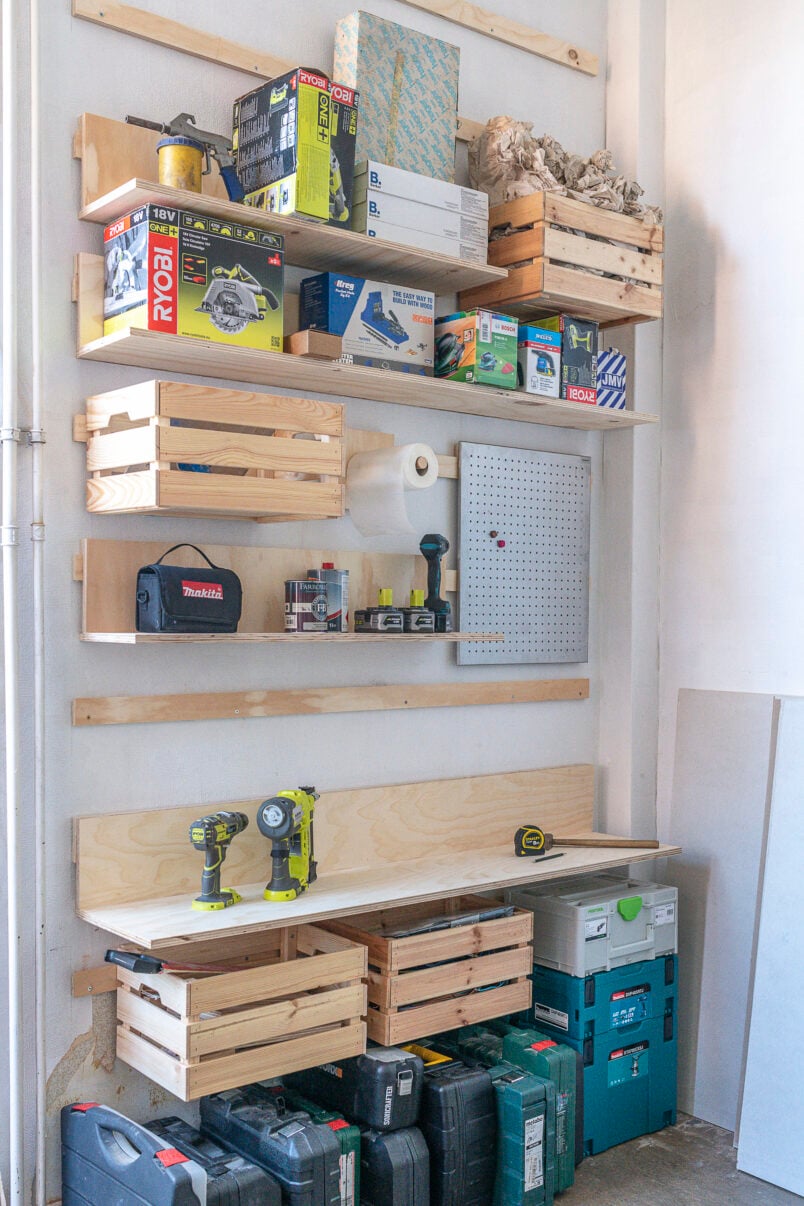
We built a whole tool storage wall using the French cleat system and added long cleats over the entire wall. This gives us endless flexibility to move things around and reconfigure our storage whenever we need to change anything.
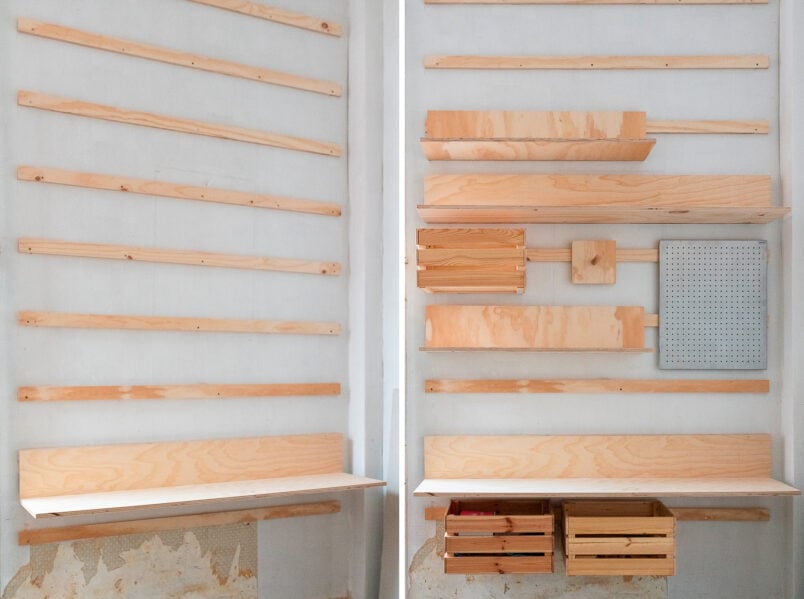
Everything on the wall is hung with French cleats. As well as building some simple shelves, we also added cleats to other items like our notice board and some IKEA storage boxes.
DIY Tip: If you’re hanging something large, you may want to add a small distance holder that’s the same width as your cleat at the bottom so it hangs straight, and the bottom doesn’t tilt towards the wall.
Step 5
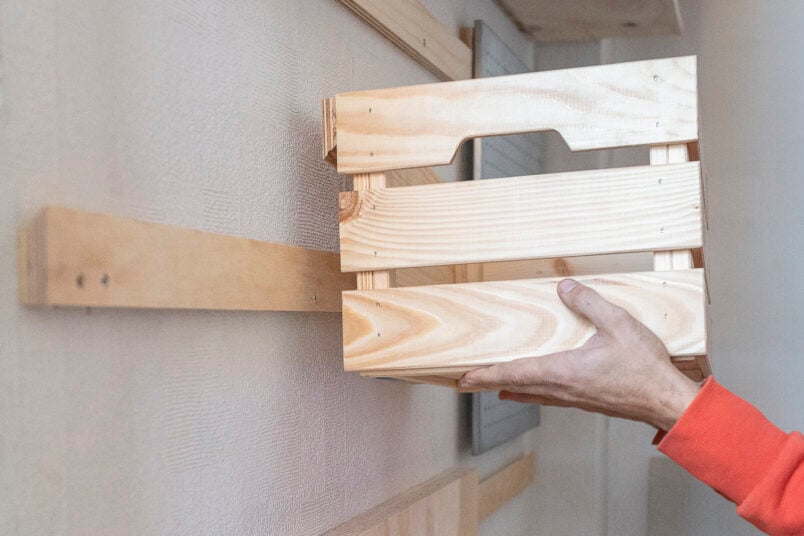
Hang Your Items
All that’s left to do is hang your items on your cleat. Lift your picture, shelf, box, or whatever it is you’re hanging over the cleat on the wall and slot it in place. The cleats wedge together and hold it firmly in place.
What is the best size to make a French cleat?
The Fench cleat dimensions will depend on what you want to hang on your wall. The larger and heavier the items you want to hang on your wall, the larger and sturdier the French cleats have to be.
For large items, we recommend using at least 18mm thick and 10cm wide (each cleat will be about 5cm wide) to make your French cleats. This will give you enough space to attach the screws and ensure that the cleats are sturdy enough to carry a heavier weight.
5 Benefits of using French cleats
As you can see, French cleats are an affordable and easy way to hang heavy items on your walls. They only take minutes to make and install and are also perfect for creating flexible storage for your workshop, garage or cellar.
They’ve become our go-to method for hanging heavy items and securing things like our slatted radiator cover or headboards to the wall.


Virgo says
I love raw wood, it is so universal and fits everywhere. I think that a shelf/organizer made in this way will work well in any room.
Christine says
So do I, Virgo. The shelves we built are super practical, too.
Cx