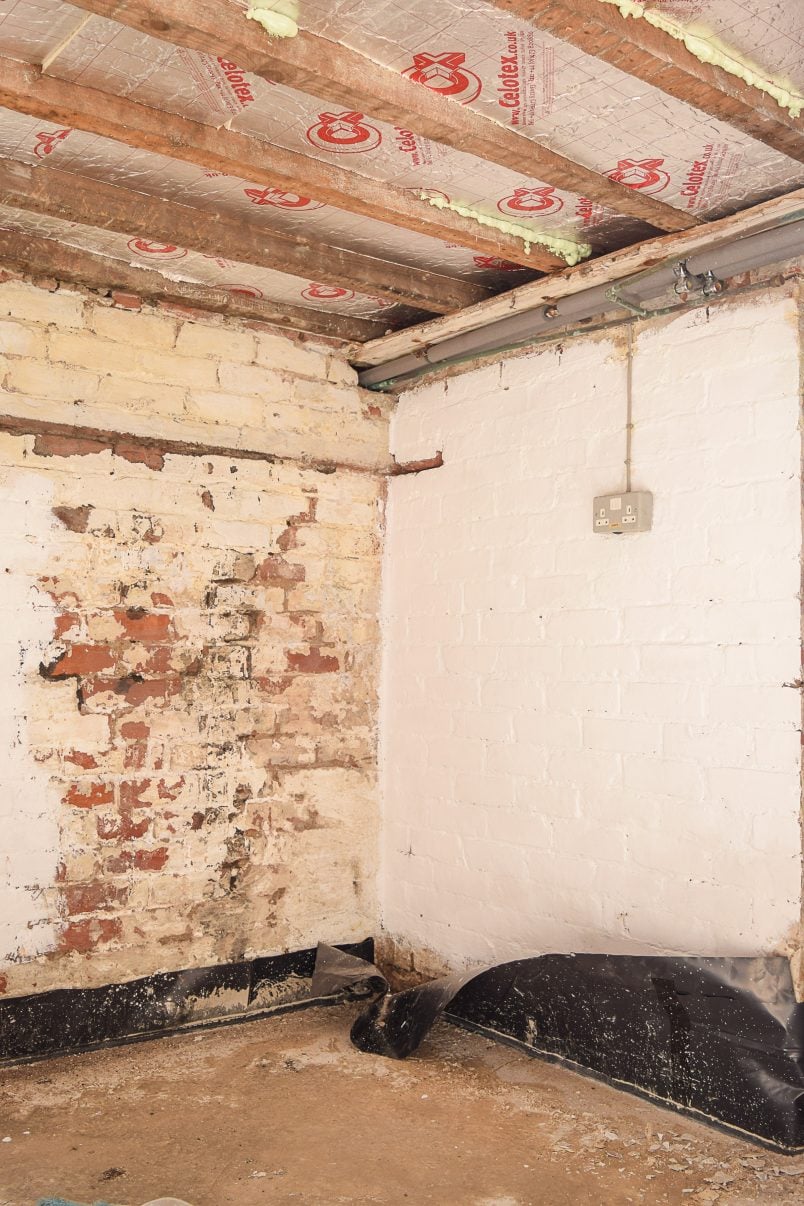
It’s always amazing what a big difference a simple and cheap coat of paint can make to any space and having just finished painting the brick walls in our cellar, I still can’t help being surprised.
The walls were in a bad condition. They’d turned a yellowish colour – I assume they were white at some point – they were dirty, mouldy and covered in flaky paint. But now, thanks to a fresh coat of paint, our brick walls are sparkly clean and bright white.
Painting brick walls is a really easy project and even the most inexperienced DIYer can achieve great results. Having said that, there are a few important things you should consider before painting bricks and we’re sharing exactly how to paint brick walls and achieve a great a result that will last.
Here’s what you will need to paint your brick walls:
This post contains affiliate links. We only recommend products we love and think that you will, too! Read our full disclaimer here.
- Paintbrush – We always recommend these paintbrushes which we love but if the brick you are painting is really rough, it can damage the bristles so you may want to opt for a cheap paintbrush instead.
- Optional: Roller
- Masonry paint – it’s important to choose the right kind of paint for this project!
- Primer – This is especially important if the brick hasn’t been painted before
- Bucket & Sponge
- Detergent
How to paint a brick wall:
1. Prepare the brick for painting
No matter what you’re painting, it’s always important to start with a clean, dry and dust-free surface so that the paint has a good base to stick to.
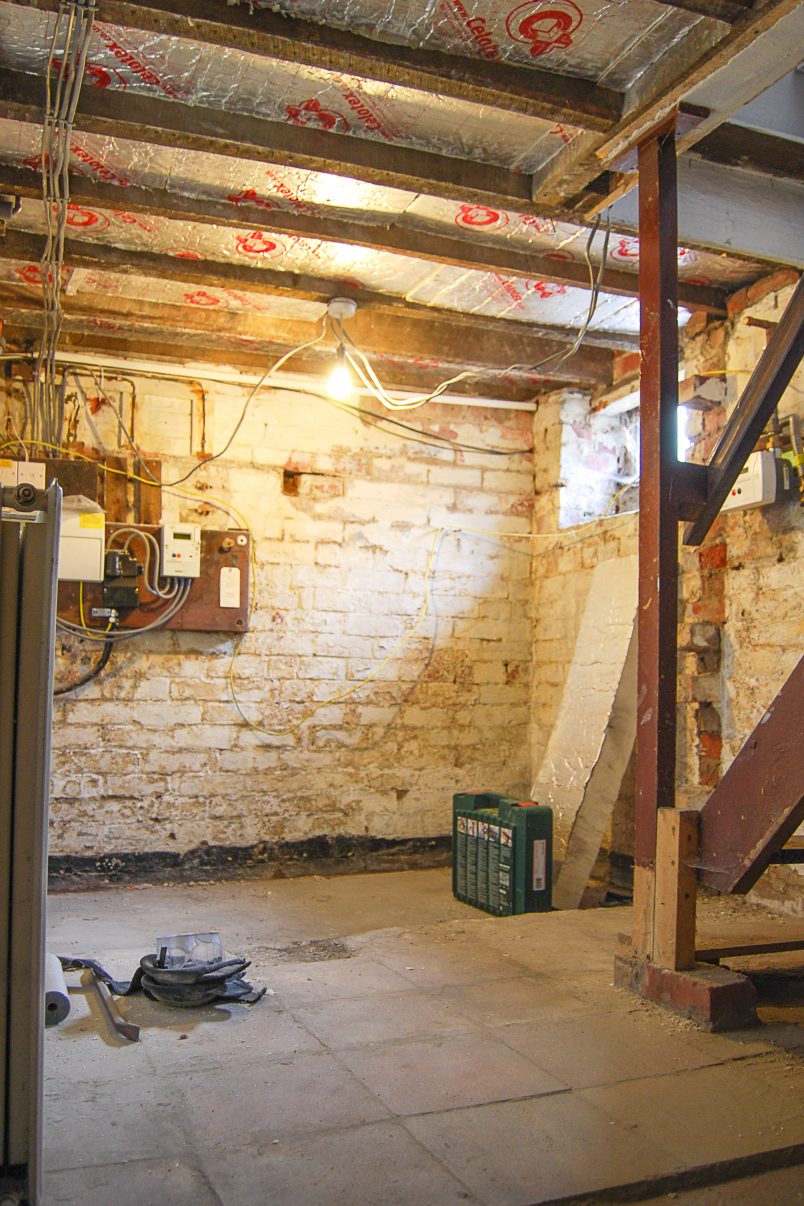
Our cellar walls weren’t in the greatest condition so the prep work we had to do to be able to paint our brick walls took much longer than we would have liked.
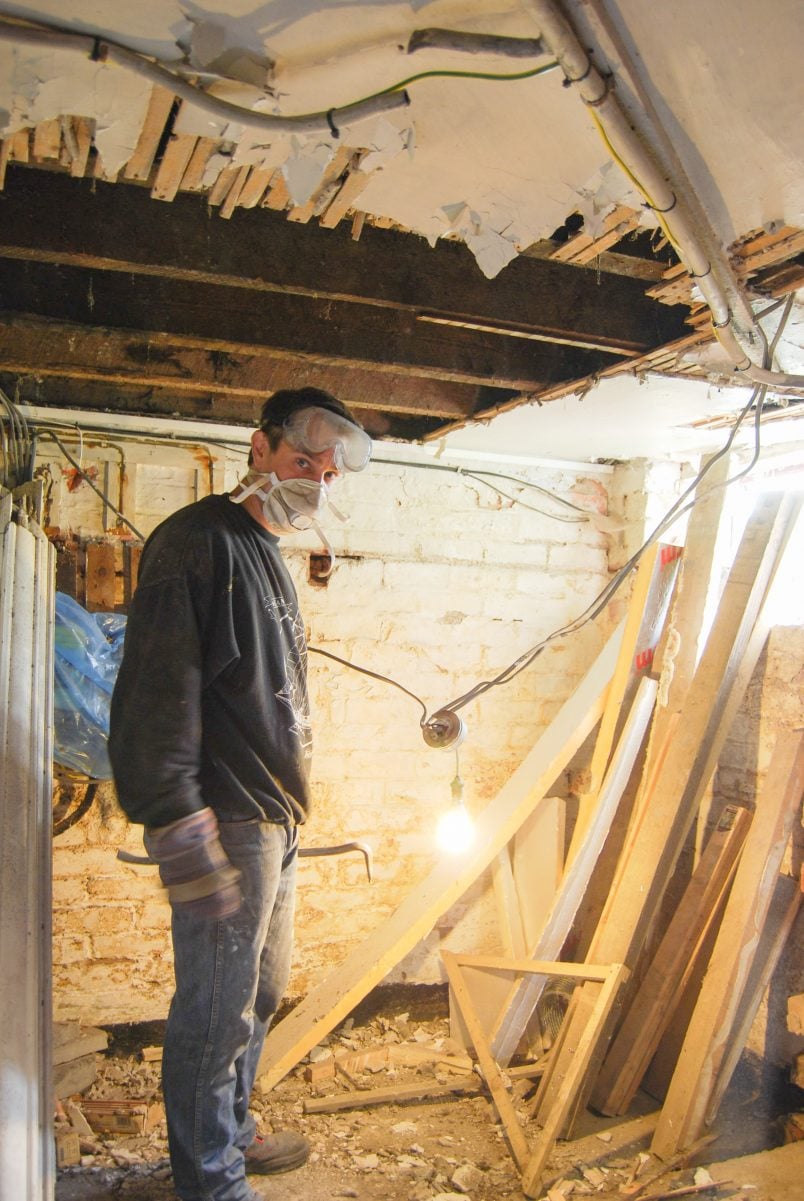
We spent hours and hours of scrubbing the walls and removing any loose bits that we possibly could with a paint scraper and wire brush, then giving the walls and ceiling a sweep to remove any loose bits, dust and a lot of cobwebs,
Then it was time to get out the paintbrush – well, kind of.
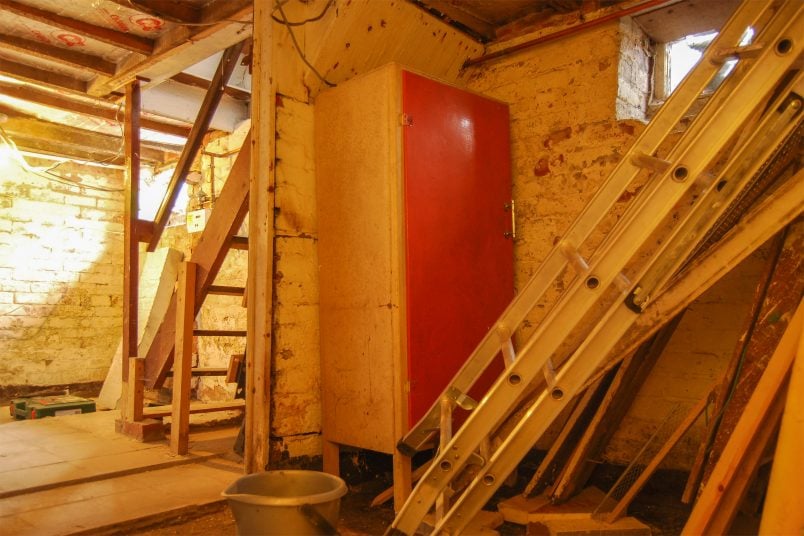
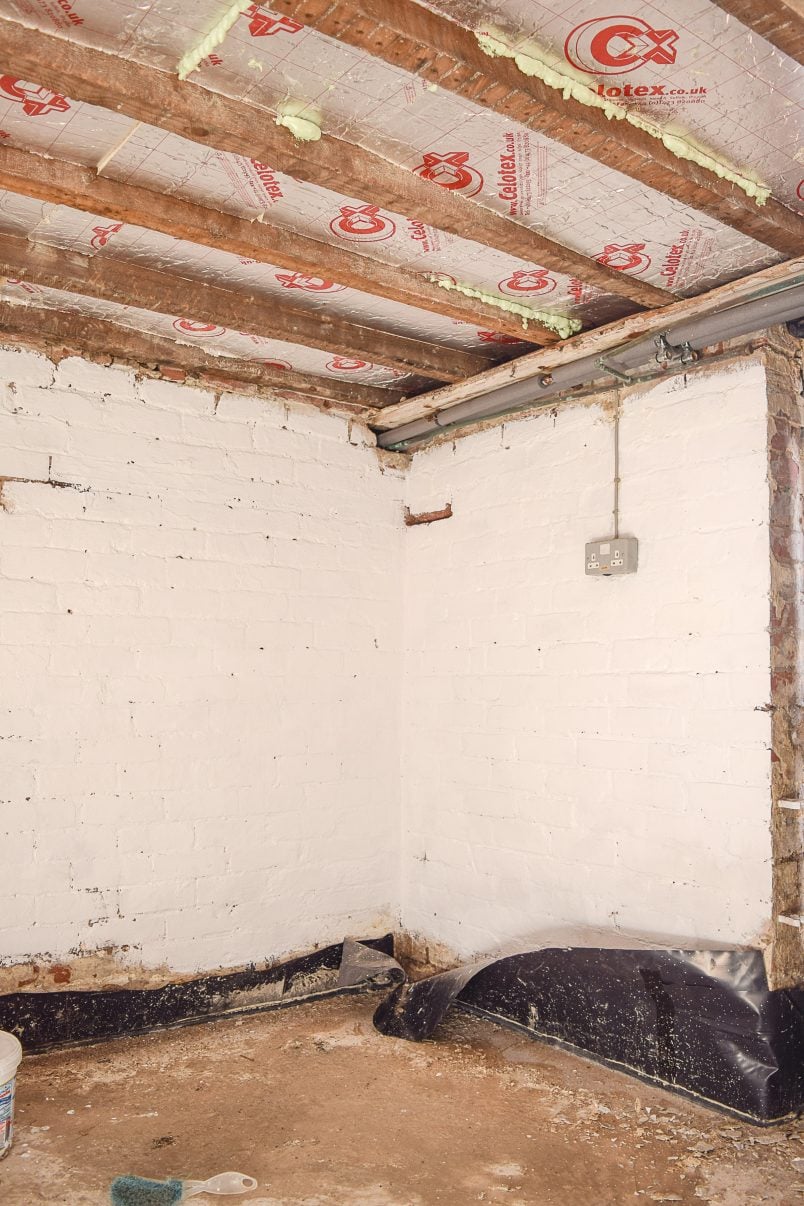
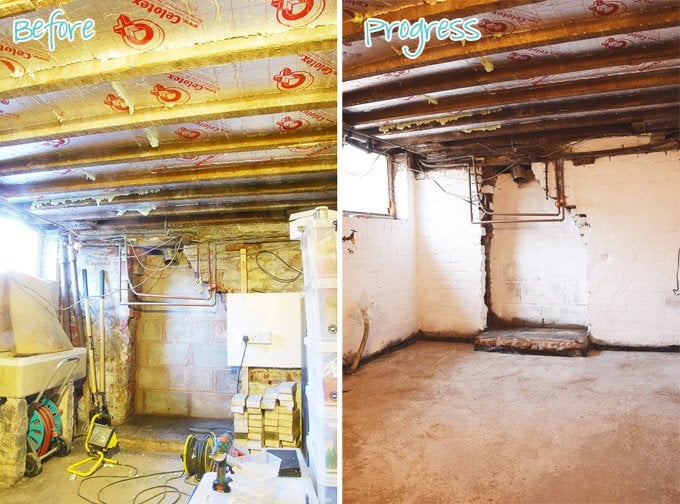
Our middle cellar room (it’s not really a room anymore, as we’ve removed one of the walls) was by far the area with the biggest damp problem. Luckily the walls weren’t too bad, but we discovered a few small mouldy areas behind an old cupboard which had to be taken care of.
With our cellar starting to resemble a fungi farm, okay, that might be a slight exaggeration, but even just a few black spots of mould are not the nicest of things to have in your cellar, we had to take action before we could even start to think about painting the walls.
Most of the mould came straight off with the loose bits of paint, but to be extra sure that the area was clean, we decided to give the walls a quick wipe down with watered down bleach (we used about 1 part bleach to 7 parts water) first.

The bleach will kill off any bits of remaining mould and leave the brick walls completely clean and ready for the new coat of paint.
Yep, I live a totally glamorous existence….
2. Prime the brick wall
After letting the walls dry, it was finally time to start painting.
We didn’t bother priming the walls, as the brickwork had already been painted and, other than the flaky paint, the walls and mortar were sound. If the brick has any cracks, the mortar is loose or there is any other damage, you’ll have to repair it before you can start priming and painting.
Our bricks are also not very porous, which means that the paint adheres to them quite easily. If you have a more porous or powdery surface or bricks that haven’t been painted before you should definitely prime the walls with a stabilising solution first. A stabilising solution will bind any particles giving you a sound surface to paint.
3. Paint the brick wall
Painting bricks takes much longer than painting smooth plastered walls. I only used a paintbrush for all the painting which didn’t exactly help speed things up either.
So, what is the easiest way to paint a brick wall?
As the brickwork is uneven, it takes quite a bit more effort to get the paint into every last dent and crack. If you are painting brick walls that are flatter, you could definitely use a roller to apply the paint which will make the process much quicker.
If your brick walls are as uneven as ours, you won’t be able to get around using a paintbrush to paint the bricks as you can then push the paint into all grooves. Because of all of the unevenness, you will also find that you end up using more paint than you anticipated, so don’t forget to allow for the additional paint quantities in your calculations.
The colour you paint your bricks is totally up to you. As our cellar isn’t the lightest of rooms and it’s just going to be used for storage, we decided to paint everything white. It’s bright and most importantly has a nice clean feel to it.
Before we started painting the whole cellar, we tested a few areas to see how well the paint would hold up and cover the brickwork. It would be pretty annoying to paint everything only to find that the paint ends up falling off the walls again, but having left the test area for about 4 weeks, we had no sign of yellowing, damp or flaking.
What’s the best paint to paint brick walls?
We used exterior brick paint to paint our brick walls. We had considered using damp proofing paint but decided that as the floor seemed to be the main source of the damp our best option would be to paint the walls in a breathable paint, which means that if there is any moisture in the brickwork it won’t be trapped and can still escape into the room. Exterior masonry paint is also durable and easy to wipe clean.
How to paint brick FAQs
Bricks are very porous and you will often have to use a stabilising solution to prime your bricks before painting them. A stabilising solution will bind the surface together and give you a stable and paintable surface. Just remember that most stabilising solutions aren’t breathable, so make sure to use one that’s right for your bricks.
It’s important to consider the pros and cons of painting bricks before you start any work. Once you’ve painted bricks there’s no going back as it’s almost impossible to remove all paint from bricks. Be sure that you really want to paint your bricks as there’s no going back!
Yes, painting your brick walls is very easy and even first time DIYers can easily achieve great results. Just remember to do the necessary preparations and make sure the surface you’re painting is clean and dust-free for the best possible results.
Painted brick is very easy to maintain as brick paint is very durable. If your brick walls are uneven, it’s likely that a lot of dust will gather on the bricks. Dust and dirt can easily be removed with a feather duster or vacuumed away. If the painted brick wall is really dirty it can also easily be wiped down with a damp cloth.
You can paint brick whatever colour you want. There’s no right or wrong colour and it’s purely an interior design choice like when you’re painting any other wall. Choose what’s right for your home and style. If you change your mind about the colour you can easily paint over it but remember that it’s almost impossible to remove the paint from the bricks entirely.
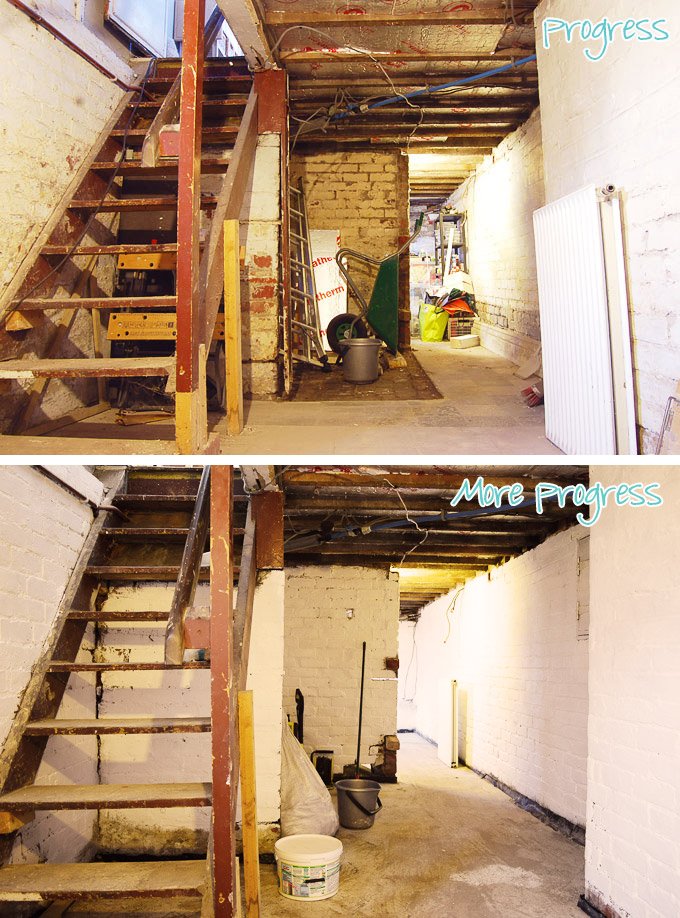
No solution in our cellar is ever going to be perfect (unless we sort the damp issue from the outside, which we are still planning to do) but either way, it is already a huge improvement and a step in the right direction.
We don’t know if the paint will stay in this condition, but we figured it would still be a better option than sealing the brick with damp proofing paint, even if it means we may have a bit more maintenance down the line.
Luckily the cellar is already much, much drier than before, so with a bit of luck, we shouldn’t have too many problems anyway. We’re also planning on installing a dehumidifier which should take care of any excess moisture that we may still have.
3 Tips When Painting Brick Walls
- Don’t paint damaged bricks. Repair any cracks and do any necessary repointing before painting. Bricks that are chipping or cracked shouldn’t be painted as they are susceptible to moisture and painting them can cause the problems to become worse over time.
- Make sure the surface is as clean and dry as possible before painting. The paint won’t stick to the bricks otherwise and will end up flaking.
- Not all bricks should be painted. New surfaces will still be a bit dustier and will still need to completely dry out. If you want to paint a new brick wall, wait at least 12 months for it to completely dry out.
I already love how much cleaner the cellar feels and am ridiculously excited about adding storage and finally being able to tick this whole project off our to-do list.
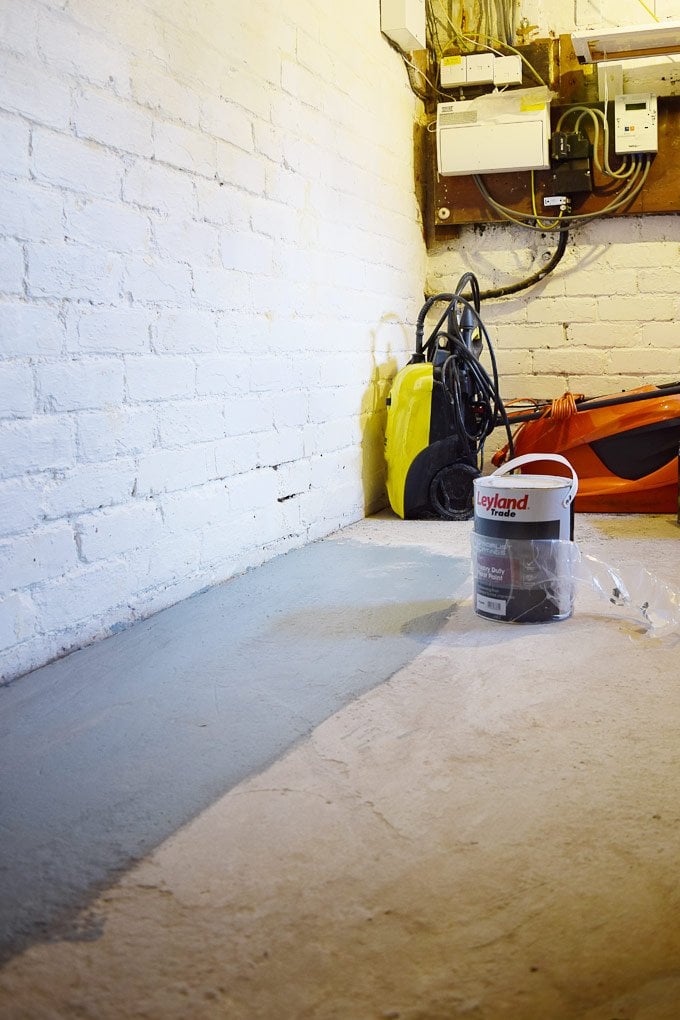
We obviously still need to finish off the painting, especially around the floor, but it’s already so much better than before. Now I can’t wait to start painting the concrete floor!
What job would you most like to tick off your list? Do you love ticking boxes off your to-do list as much as we do?
Matthew Taylor says
Hi,
What a great cellar project!
My wife and I are currently undertaking a very similar project on our Victorian terrace. We were using our cellar as storage but it was a bit damp (and smelly) down there and rather dusty and messy. We do not want to convert it to a new room rather make it a cleaner, drier usable storage space. We have a 2 year old and his old toys that we have been keeping down there need a better home. Overall the cellar inst that damp and we very rarely get standing water or wet walls down there so we are looking for the most cost effective solutions. I hope you don’t mind me asking a few questions.
The main issue we are having are the cellar walls. We have been scraping/cleaning/treating them for about a month now and still they are covered in paint in many areas. I see you have just painted your walls with masonry paint. Is this proving to be effective at keeping the damp out?
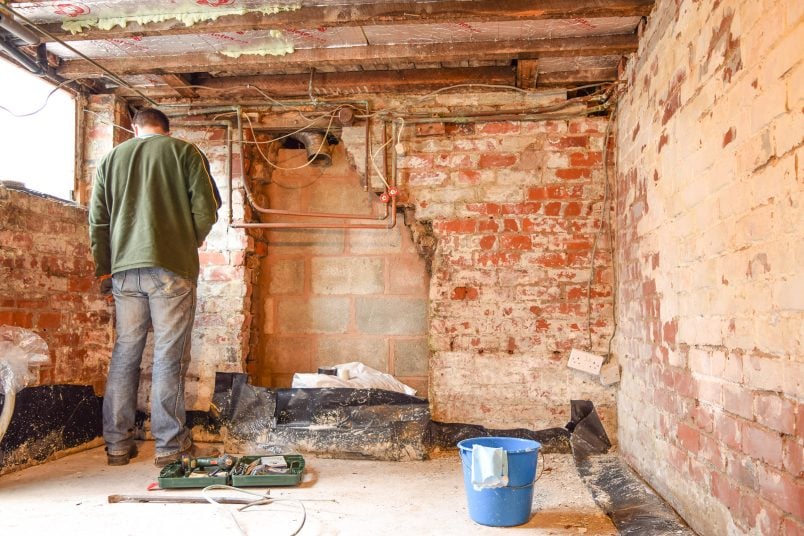
We have exposed the joists and are planning to insulate in between them. What products did you use?
We have bought tanking slurry for the floor which wer are aiming to cover and then use a self levelling screed with a cheap vinyl on top. Did you do anything with your floor?
Apologies for all the questions. Great project.
Regards
Matt Taylor
Christine says
Thank you, Matthew! Essentially it sounds like you want to use your cellar the same way that we did.
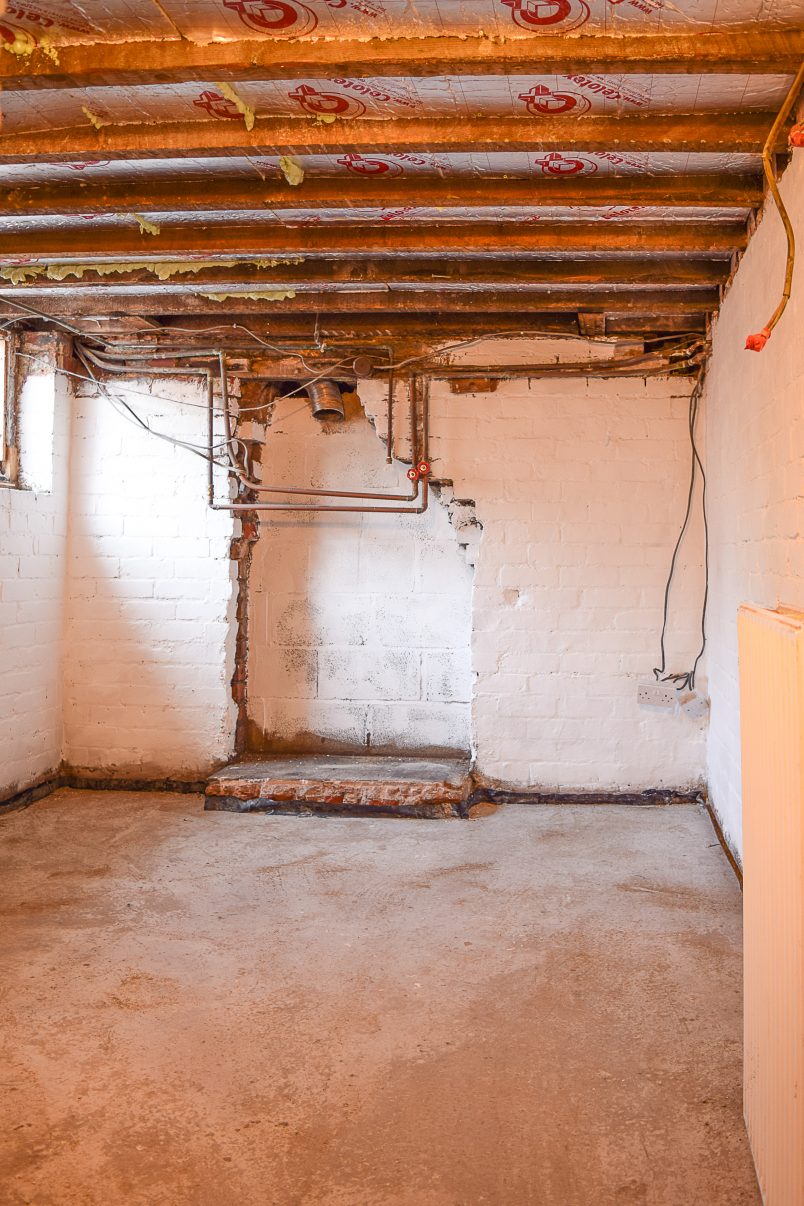
For us, the floor was the biggest problem which is why we completely replaced it.
Our walls weren’t too bad. We scraped and scrubbed them clean and then painted them. The paint won’t keep out any moisture – it’s purely decorative.
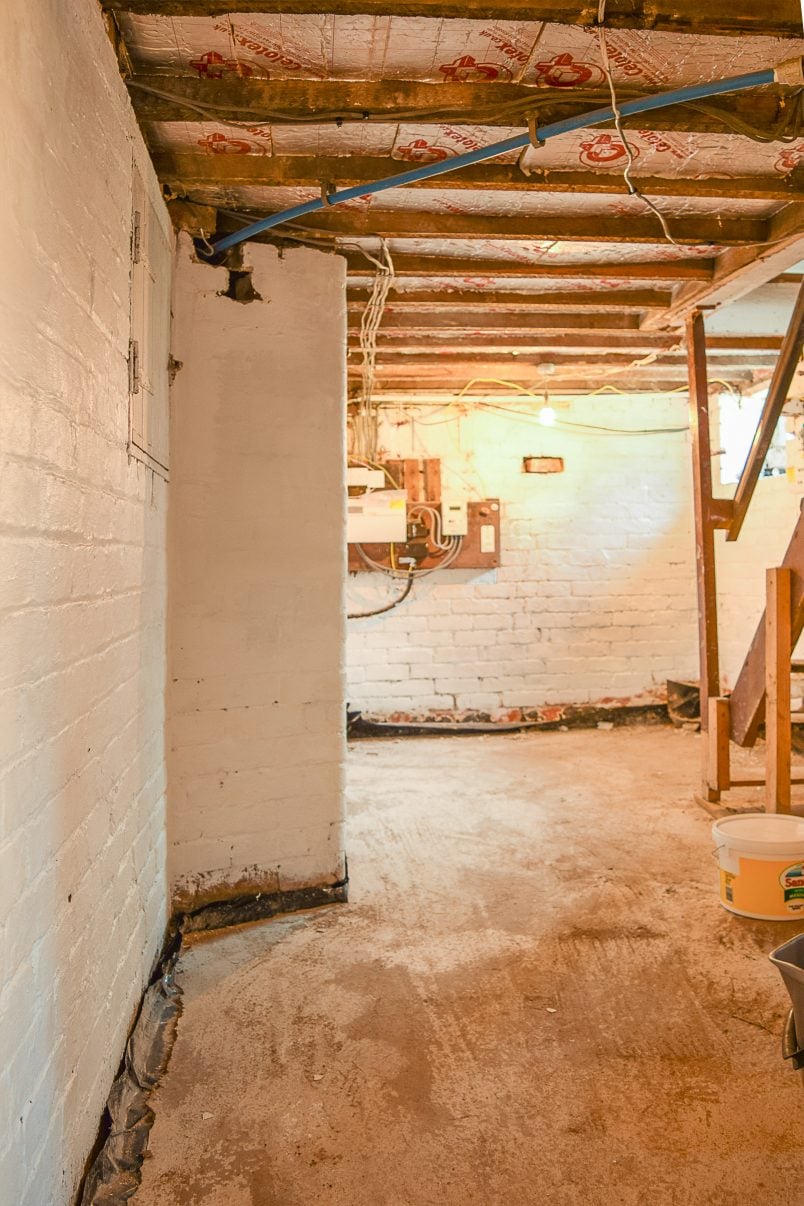
Yes, we insulated between the joists. You can see what we did here. Just remember that any insulating you do has to comply with building regs.
As I just mentioned, we completely replaced the floor. We took up all old tiles, laid a damp proofing membrane and had a new concrete floor installed. You can see the post about removing the floor here and the post about our new concrete floor here.
Hope that’s some help.
Cx
Angela says
I always forget you don’t have a brownstone in Brooklyn because we have all the same problems!
Christine says
I guess a lot of old houses have similar problems. It’s interesting that they’re so similar though Angela!
Cx
Lins @Boo & Maddie says
You’re doing such a great job, as always. I think white is a good idea too since it will help to make the space see brighter, and what amazing storage capacity!! I love ticking jobs off the to-do list but still often feel too overwhelmed by things. That said, the new windows for the front of the house are being fitted on Monday and Tuesday next week so finally progress!
Christine says
Thank you so much, Lins! So happy to hear you like it. Ticking the big things off a list is always particularly satisfying and new windows are definitely a big thing to invest in!
Cx
Louise says
It must feel so good getting to the paint bit. Aren’t basement a lot like supressed guilt, easy to ignore but dealt with it gives a lot of energy back… You were smart to go with the vapor open paint. Waterbased just makes the mortar disintegrate as vapor will always move to the warm dry side of the wall. A good drainage and some exterior insulation will have that wall dry and warm for another 30 years!
Christine says
You’re so right about the guilt and reward. I used to hate going into the dark and dirty cellar, but now it’s jsut like an extra room in the house. I can’t wait to get some shelves installed to get the junk back down there and rest of the house looking better again, too.
Cx