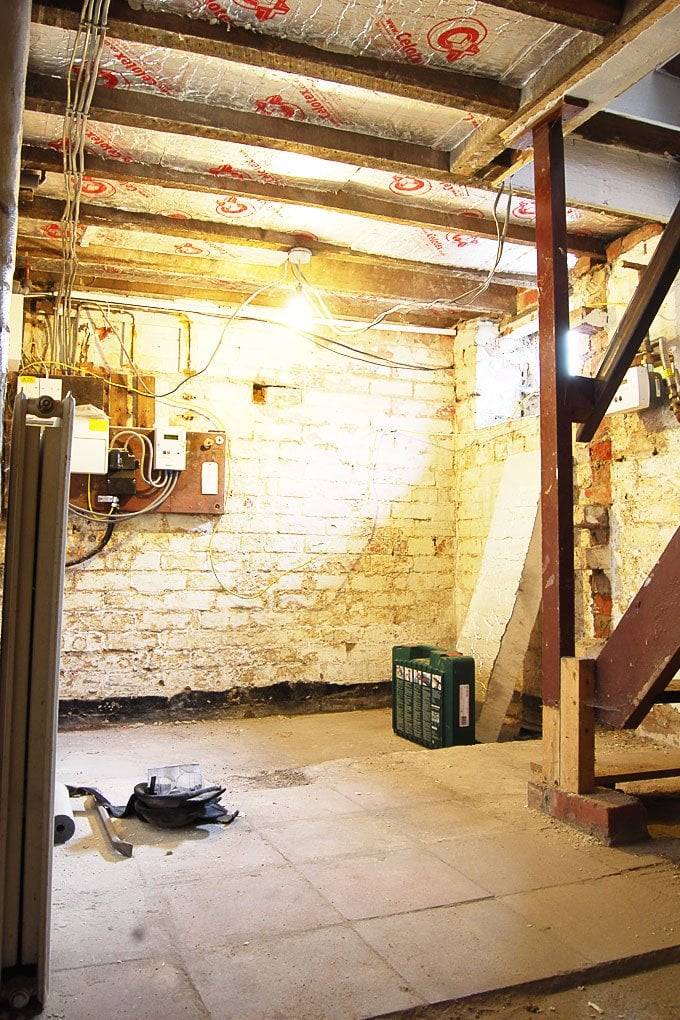
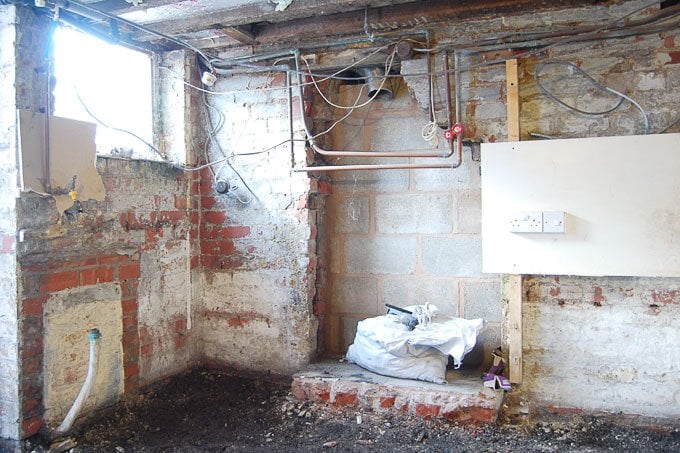
We’re finally making some progress on our cellar damp proofing project – well kind of. A few weeks ago when we shared how we knocked down a wall in the cellar, it looked like this:
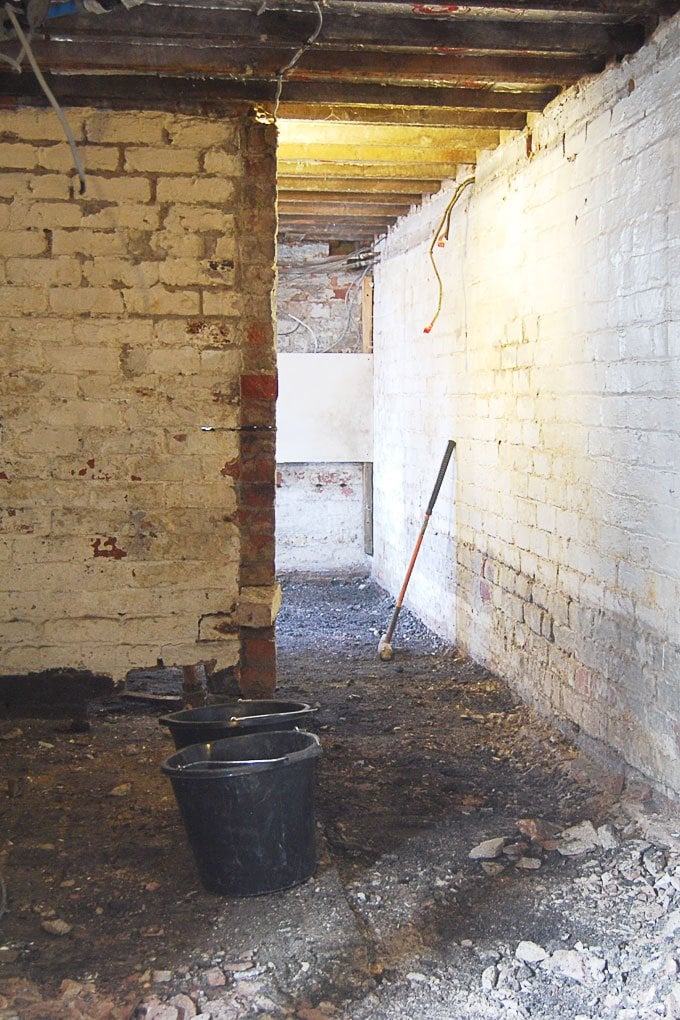
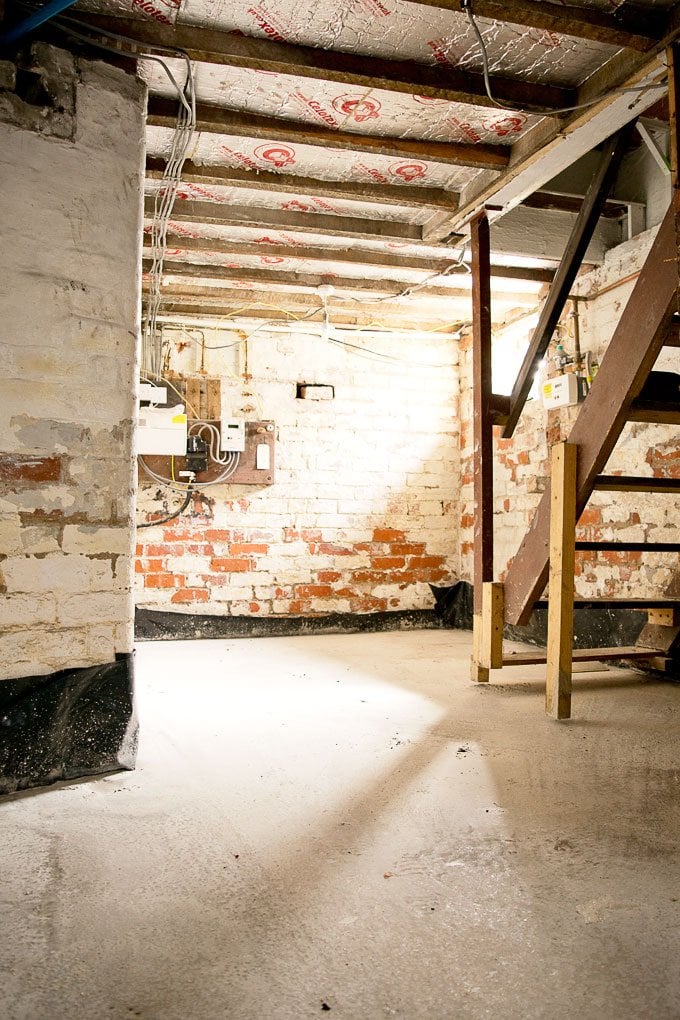
Well, now after a weekend of hard work it looks like this:
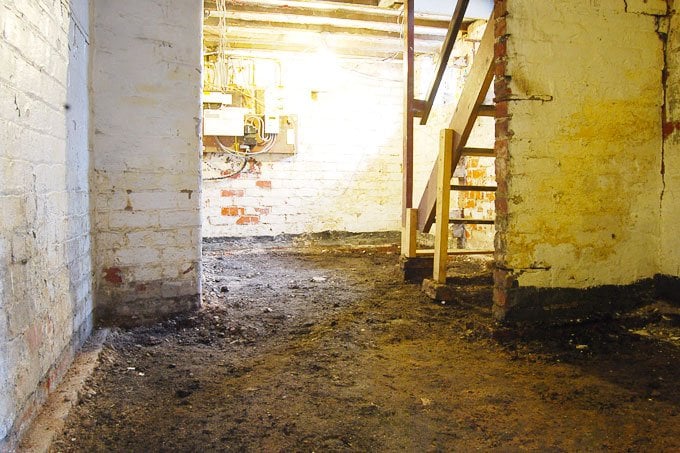
Not exactly an improvement is it? This is definitely one of those projects where things have a tendency to look worse before they look better (at least that’s what I keep telling myself).
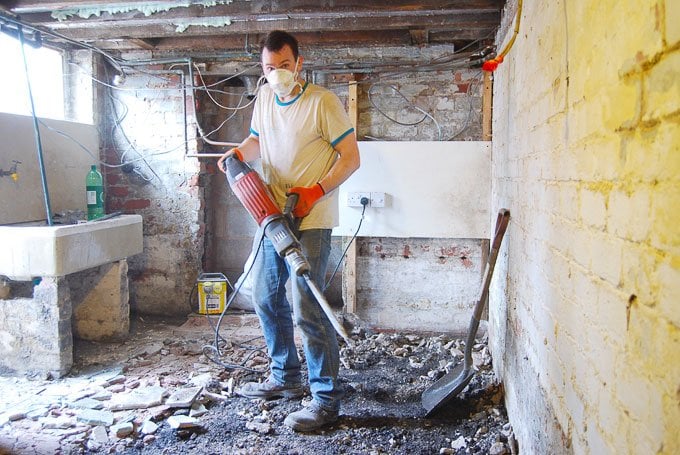
It was of course hard work removing the existing floor and then carrying bucket upon bucket load of rubble up the stairs and into the skip, but with the help of our amazing friends Claire and Terry, we made steady progress and after just a day of hard work, we already managed to remove most of the floor.
Weirdly, I think the guys actually enjoyed getting down and dirty with the huge Hilti breaker that we hired – it was enormous!
And within a few hours, the four of us already filled a whole large skip with building rubble.
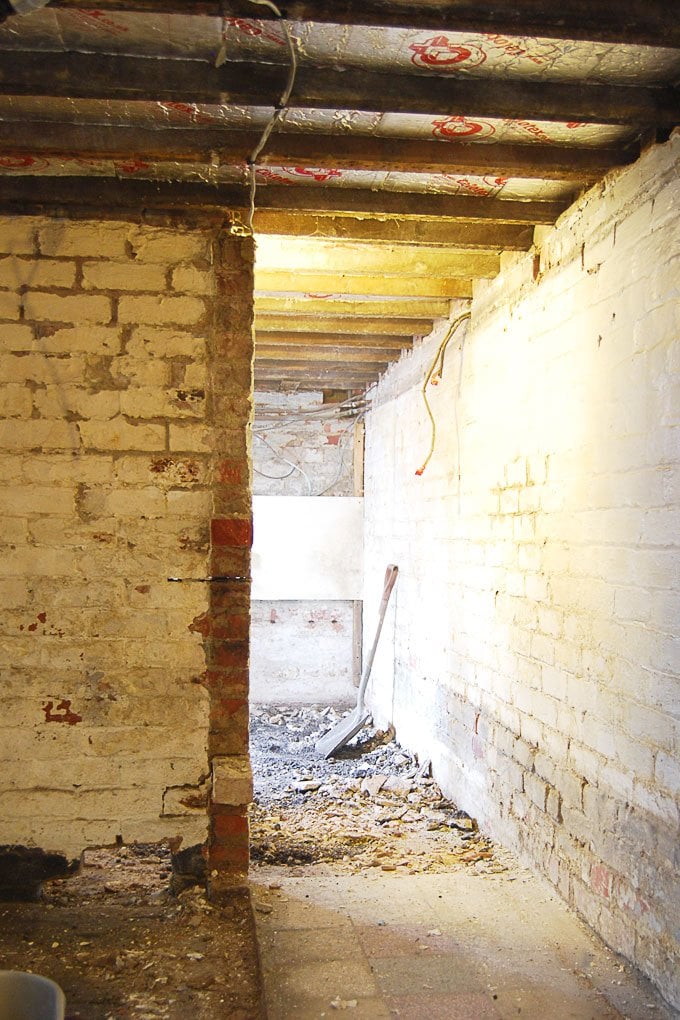
Having removed the existing floor it quickly became clear why our cellar was so damp. There was absolutely no kind of damp proofing!
Whilst the thick stone tiles obviously managed to stop some of the moisture from under the floor seeping into our cellar, the brick floor in the middle of our cellar (that was laid directly onto the clay ground!) let through everything and when we removed the bricks they were literally dripping!
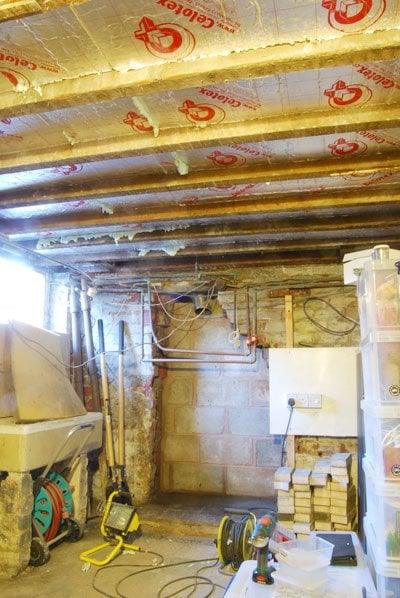
Now we’ve removed everything, we’re back to the clay ground our home was built on. Yes, it’s really not pretty, but we want to sort the damp issue properly and not just patch it up for a few month or years.
We still need to remove a bit more of the rubble on the surface and level out everything before we can add the damp proof membrane and new concrete floor, but as ugly as our cellar now looks, it is great to see some progress. If there’s one thing that we’ve learned so far, it’s that you’ll always need a bigger skip than you think… and then you’ll still need another one!
This coming weekend, we’ll hopefully be laying the damp proof membrane in preparation for the concrete.
Do you have a damp cellar? We already can’t wait to furnish and decorate our finished cellar – do you have any suggestions or clever storage solutions? We’d love to hear them!
Thank you so much to Claire and Terry who kindly helped us take up the floor and carry the tons of rubble out of the cellar – we couldn’t have done it without you!
Related Posts
Jessica@CapeofDreams says
This looks like back breaking work. It will be worth it for a dry basement!
Christine says
Well, that’s what I keep telling myself! It’s just so horrible down there at the moment that anything we do will be an improvement!
Cx
Paula Morrison says
Hi guys!
It’s amazing what you’ve achieved. We also have a big Victorian house, which needed work from scratch (stripping plaster off walls and back to brickwork, etc – upstairs and downstairs, etc). I can remember carrying some rubble buckets out of the house but nothing like bringing them from the cellar!
We also have a cellar, which is exactly like yours. What are you planning to do in there apart from damp proofing it? We need ideas… Over here, everything is a priority and everything is a project.
Yours will look amazing!
Good luck!
Christine says
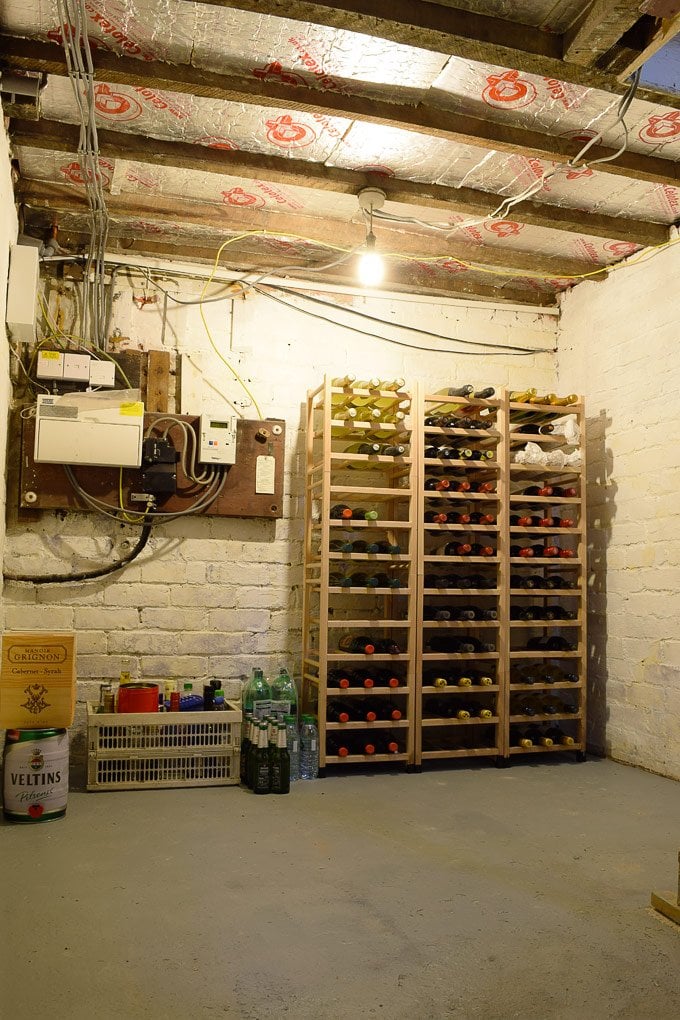
Thank you Paula! We aren’t planning anything fancy down there. Just some nice storage and possible an area to store some wine. Having spent all weekend down there again, I’ll just be happy when it’s finished!
Cx