*This post is in collaboration with Ryobi. All opinions are of course our own!
Having spent the best part of the last few weeks sorting out our cold and damp cellar, we decided to take a break from the dirty and smelly project and instead tackle a super quick and fun project instead – a DIY bench for our hallway.
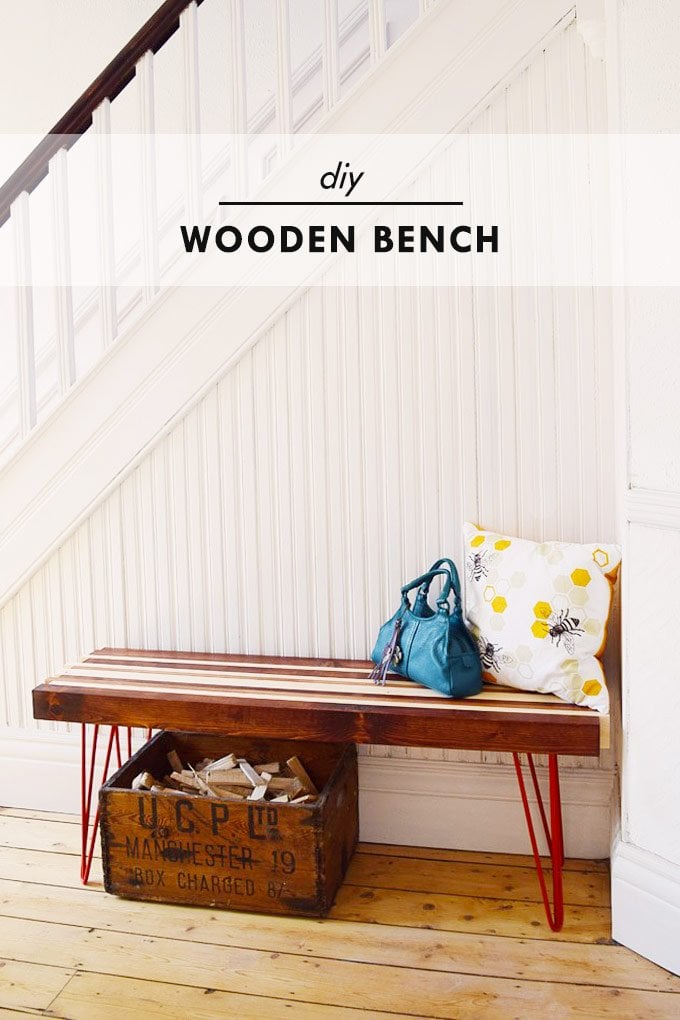
We always knew that we wanted some kind of seating in the hallway, but had struggled to find a bench that was the right size for the space. The only way we could get exactly what we wanted was by making our own – and it was super easy!
If you’d like to make your own DIY hallway bench, this is what you’ll need:
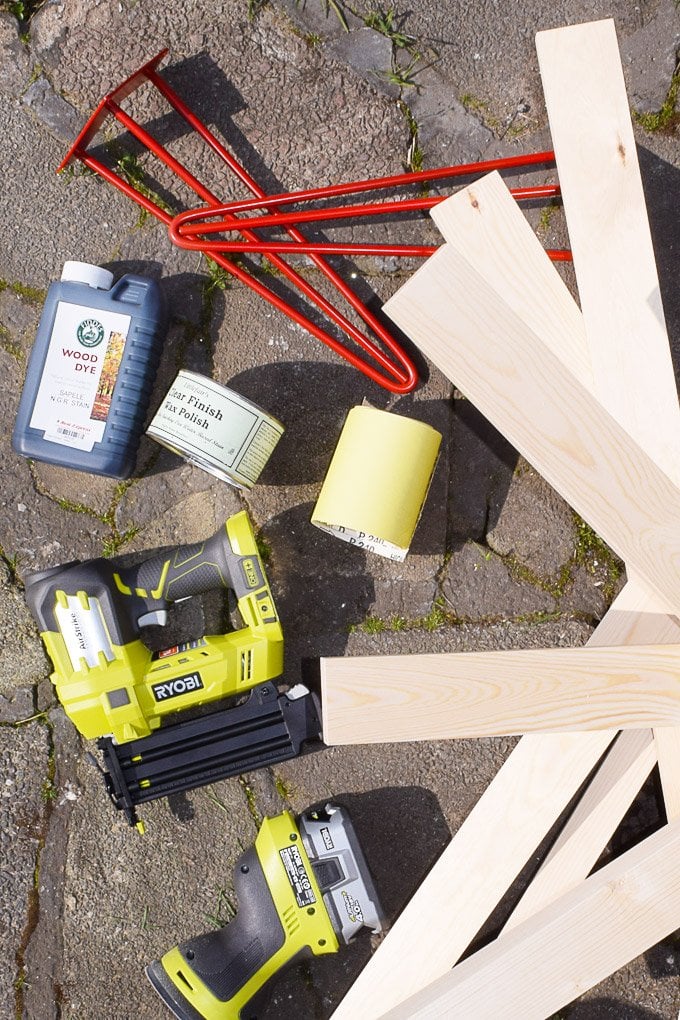
- Nailer
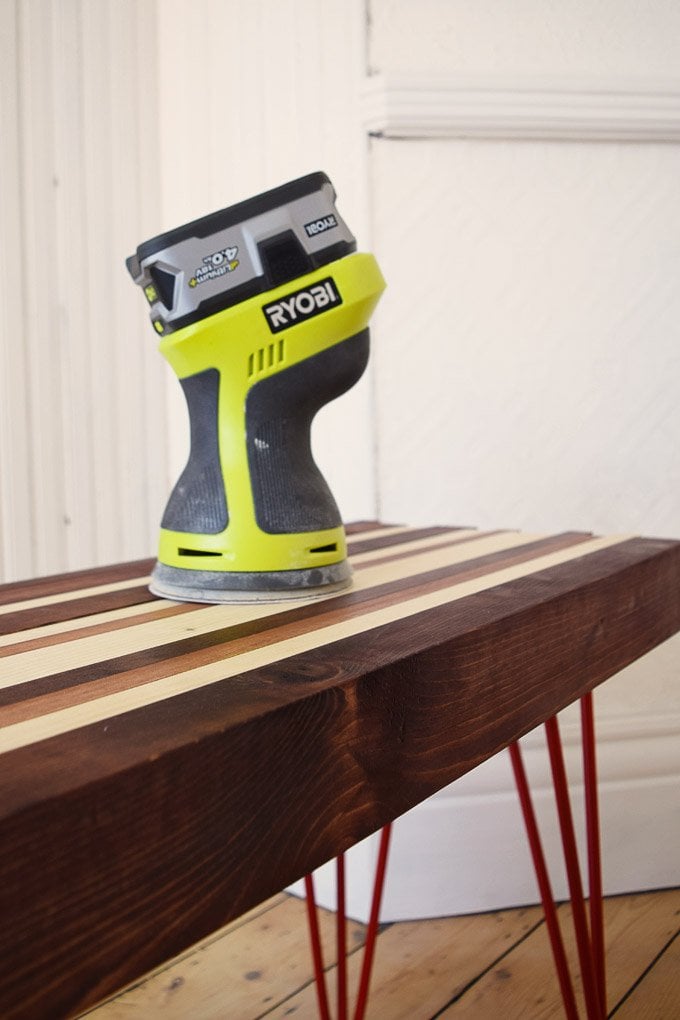
- Sander (we used this Orbit sander, but a palm sander would work, too)
- Planed timber in different thicknesses and lengths
- Woodstain
- Wax
- Clamps (optional)
- Legs – We opted for some fun bright red hairpin legs
This is how we built our hallway bench:
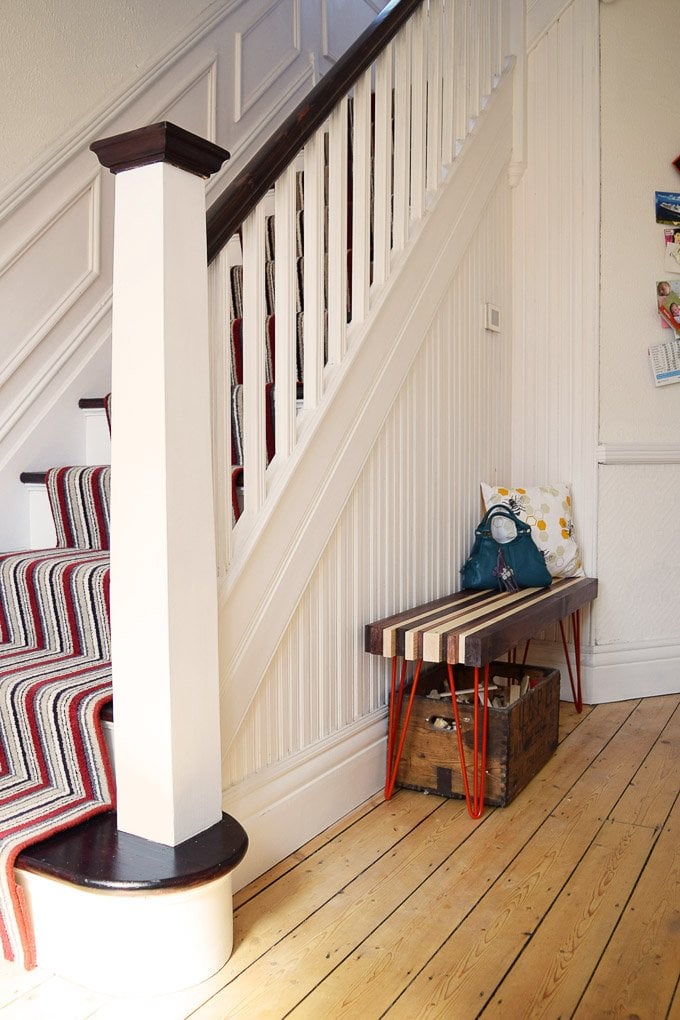
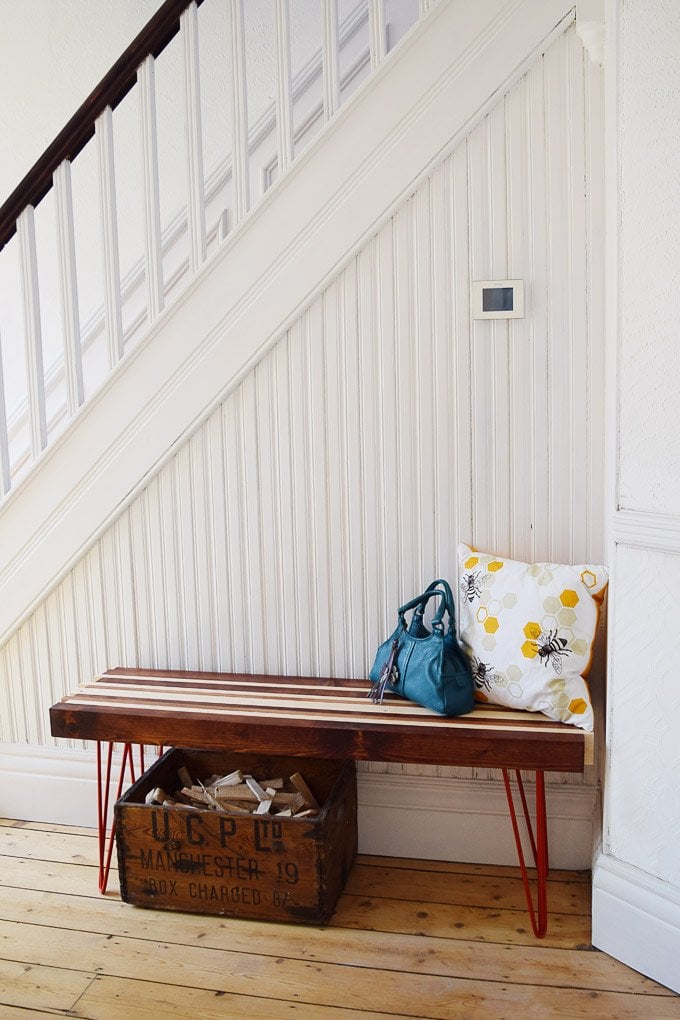
#1 Start by working out what size you’d like your bench to be. We wanted ours to be fairly narrow so it would fit in the small recess at the side of the stairs. (Our bench is 120cm long and the battens we used are 69mm high and 22mm/44mm wide.)
I think the poor guy at our local timber merchant thought I’d gone mad when I turned up with my little sketch explaining what I wanted to do. (It was a new guy, everyone else there already seems to be used to my seemingly crazy ideas).
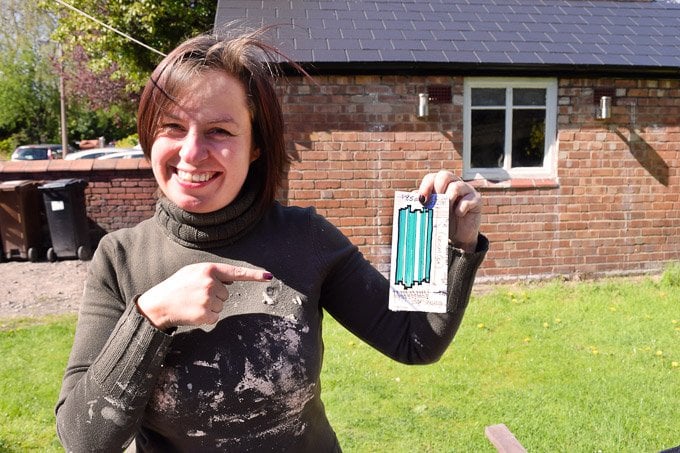
Showing him a sketch of blue lines was possibly a step too far. But I knew what I meant and we managed to get what we needed in the end. In case you’re wondering, the blue lines just represented the shades of wood (I didn’t have a brown marker).
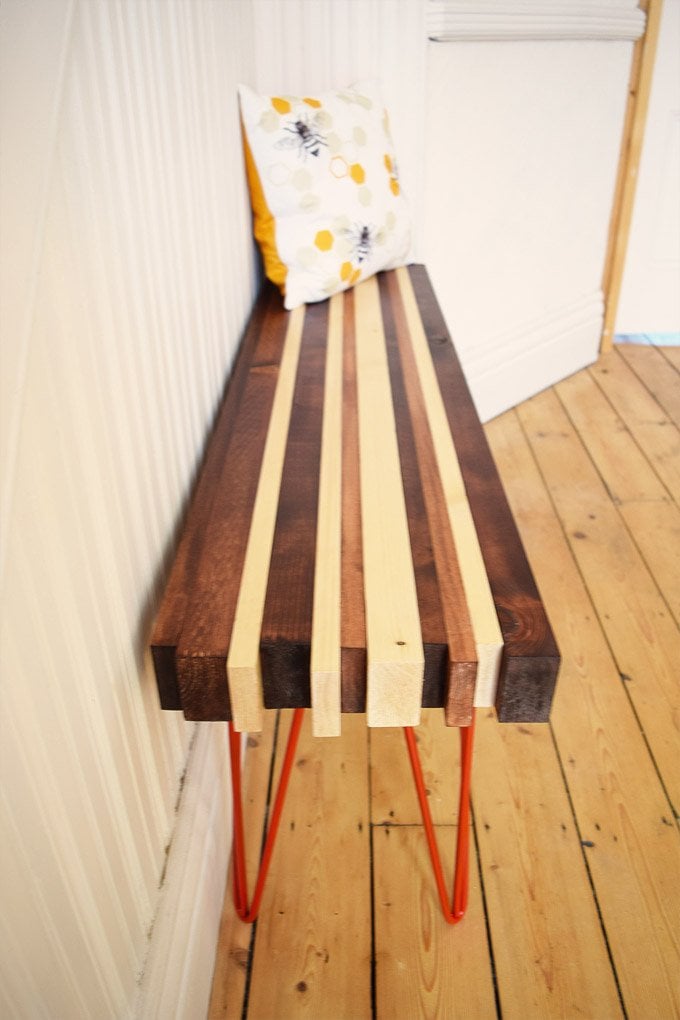
#2 Next, cut your timber battens to size. We wanted the bench to have a relaxed and almost organic feel, so decided to cut each piece of wood a slightly different length to give the ends of the bench a jagged edge. You could cut the wood by hand, with a mitre saw or, if you’re nice to the guys at your timber merchants, you could get them to cut them for you!
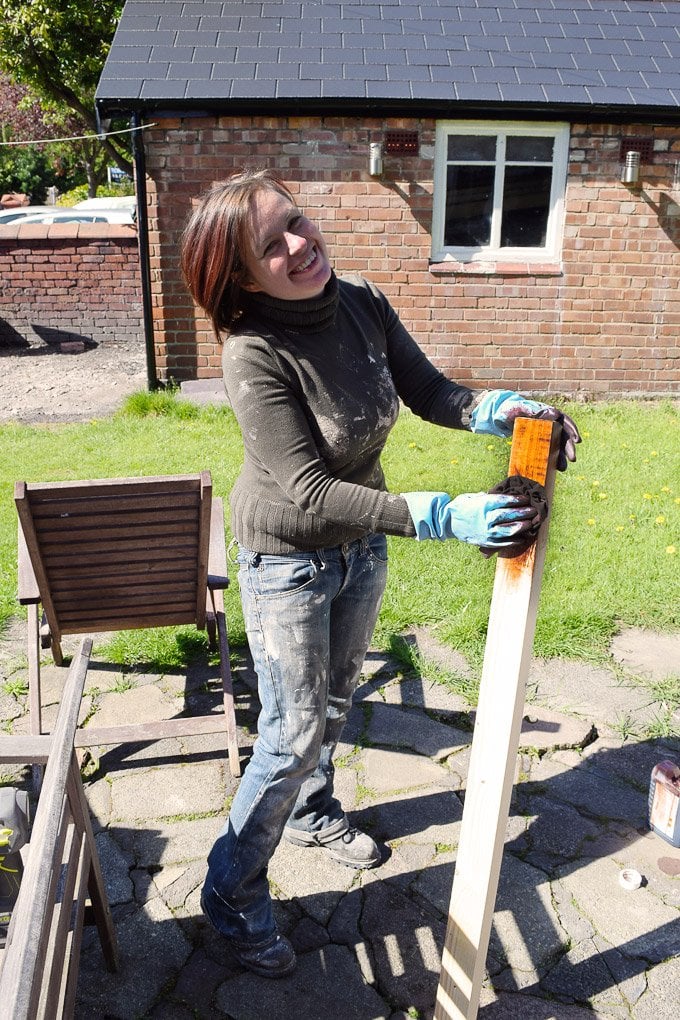
#3 Now it’s time to do a bit of sanding and staining. Start by sanding your battens and smoothing any harsh edges, then remove any dust before moving on to staining. We wanted varying colours in the timber, so we stained some of the wood once, some of the wood twice and some of it not at all. Wear gloves for this (I made the mistake of staining without once before and took be about a week to get my fingers looking normal again). Staining is really simple, dip a clean rag dip into the stain and rub it over the wood. Let if dry and if you’d like the colour to be darker, just repeat the process.
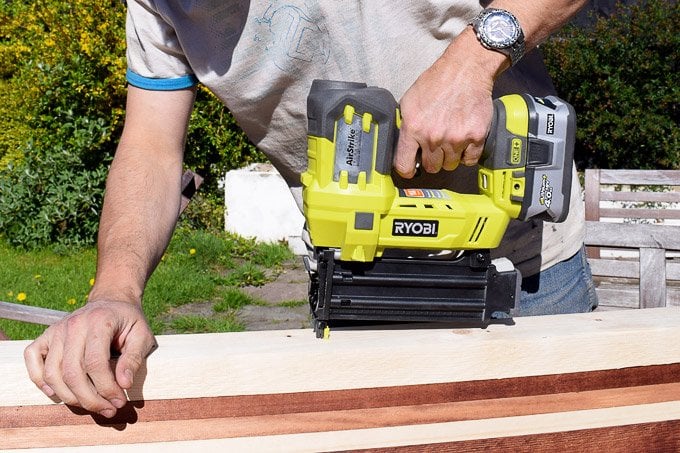
#4 Now it’s time for the fun bit – assembling the bench. Work out what order you’d like the pieces of wood to be in and then just nail them to each other using a nailer. I can’t tell you how much we love our new tool. It’s sooooo quick and easy to use and it’s definitely jumped up to the top of our list of all-time favourite tools.
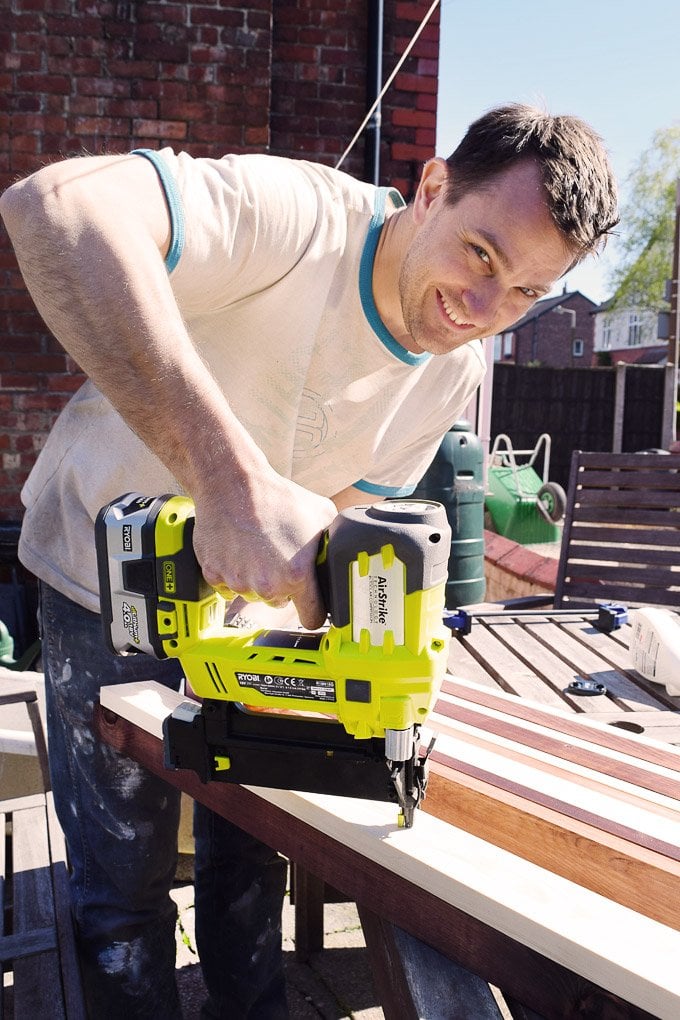
It’s literally just a matter of holding the pieces of wood over each other and nailing them together. We decided to use clamps to make sure the pieces aligned perfectly, but just holding them in place would probably have worked just as well.
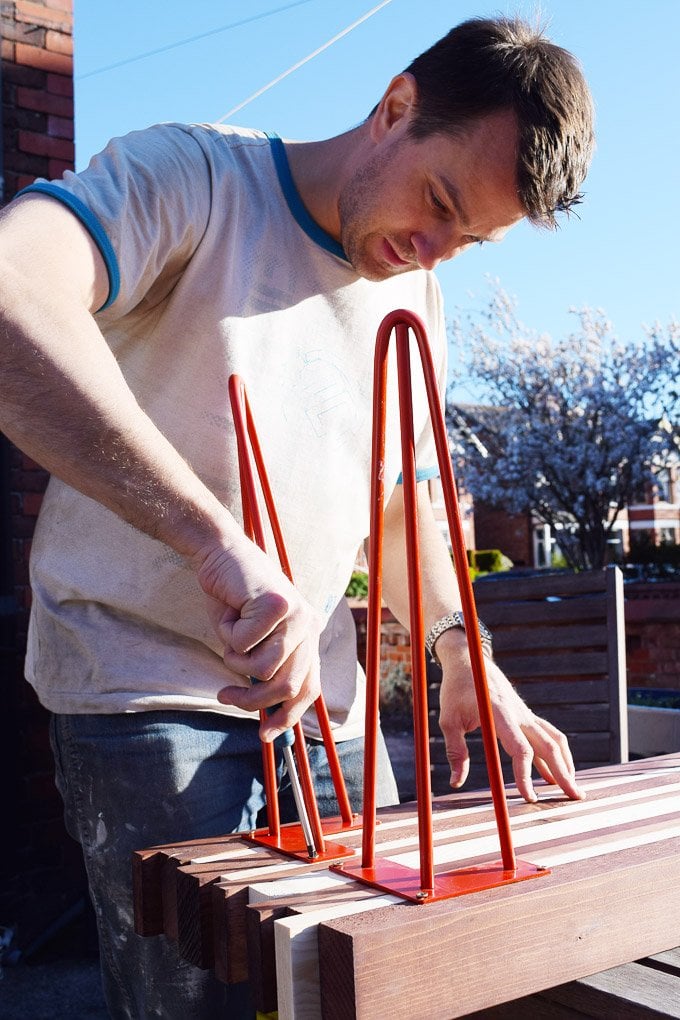
#5 Now that the top of the bench is complete, it’s time to attach the legs. We used some colourful hairpin legs, which we just screwed to the bottom of our seat. When you attach them, just make sure that you screw into a piece of wood and not into the join between two pieces.
#6 Give the surface of the bench another sand with an orbital sander to make sure that all pieces of wood are nice and flat and smooth.
Then it’s time to get out the wax. Make sure your bench is clean and dust free, then use a soft clean rag to apply a coat of wax to the bench. Really rub it into every little corner and let it dry before giving it a buff with another clean rag. Because the bench is going to get a lot of use, we applied a second coat of wax for extra durability.

That’s it! All that’s left to do is stand back and admire your work.
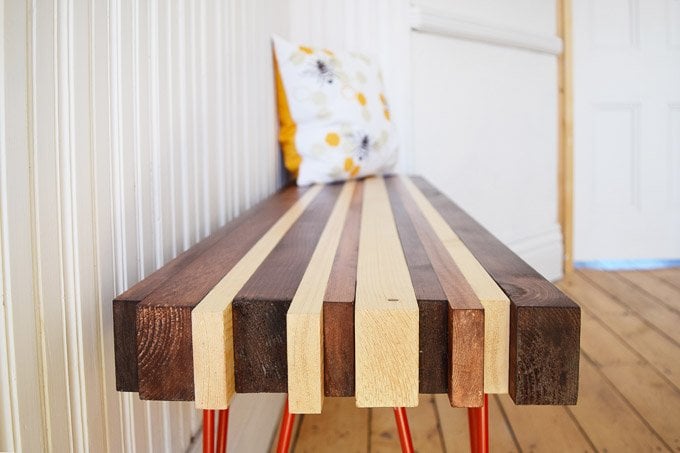
Our bench is obviously fairly narrow, but if you want the bench to be a bit wider, just add another piece of wood, if you want it to be narrower, just take one away. The beauty of this project is that you don’t have to be too exact as part of the charm is that each piece of wood is a slightly different size than the next.
By using our amazing new nailer, the whole project from start to finish only took about an hour to complete because it was soo fast to nail the wood together. We’ve already been walking around the house looking for more things to nail because it’s so much fun and so easy to use.
Don’t you think it would make a great coffee table, too!? Or as a bench at the end of a bed? Do you have somewhere to sit in your hallway? What’s your favourite power tool?
Tabitha says
Wow! Great project, with a really lovely finish. Like you say, there are so many different options to play with here, and loads of different opportunities to create unique furniture! Even a small shelf (not for heavy items) would be a great creation!
Christine says
Thank you so much, Tabitha! Finding furniture for awkward spaces can be really difficult and making you own is a great way to get exactly what you want. Making this bench is as easy as it gets! Love the idea of a shelf!
Cx
Gee says
Have you ever considered reusing wood? You could have made the bench from an unwanted pallet.
Better to recycle than spend money….
Christine says
Totally agree with you Gee. We always try to reuse as much as we can, but in this case didn’t have enough left over material to make a full bench.
Cx
Jessica@CapeofDreams says
This bench is adorable! You might want to avoid placing anything heavy on it though as nailing wood together does not create a very strong piece. Screws, dowels or biscuit joints are much stronger. Even sitting on it is going to risk having it fall apart eventually.
Christine says
Thanks Jessica! Up till now, the bemch is holding up really well and we have been using it a lot. We’ll keep an eye on it though and of course share if it doesn’t live up to expectations!
Cx
Stacey at Dohiy says
I love it! Never used wood dye before, have to try it. Do you lose any depth of colour when you do the finish sanding?
Christine says
Thanks Stacey! We really like wood dye (we used dye on our stairs, too) as it’s easy to apply and you don’t end up with any uneven patches. Yes, depending on how much you sand afterwards and depending on the type of wood you’ve used (it seems to soak into some better than others) you will use a bit of colour depth. We did most of our sanding before staining the wood, so the last sand was just a quick one to make sure that everything was completely smooth.
Cx
Brincyj says
This might not be something you can fix… But none of the photos load! I’ve tried in a few browsers so I think it’s the site. I’m supremely jealous of the others who get to read and see the finished products!
Thanks for all the great posts! I love following your blog, especially for all the major construction projects. Those are my favourite! You both have such skill :D
Christine says
We’re aware of the problem and are working on it (super annoying, I know).
Thanks for the kind compliments! The construction projects are our favourites, too – they just take sooo much time!
Cx
Christine says
All seems to be working fine now! Thanks again for the feedback!
Cx
Lucy says
I love it! Particularly the bright pop of colour in the legs. I’ve been toying with the idea of making a little console table using hairpin legs but hadn’t really known where to start with the top. This might be a daft question but how do you know/decide which type of wood best suits the project you’re working on at the time? I end up walking around places like Wickes and confusing myself!
Christine says
Thank you Lucy! Glad you like it. Choosing which wood to go for can be difficult, but it really depends on what type of project you’re tackling. For outdoor projects you’ll need something that’s exterior grade, for internal things it’s more about the look you’re aiming for. Then it’s of course down to price – soft woods tend to be cheaper but are usually softer and need more treatment, hardwood tends to be more durable, but is a lot more expensive.
Cx
Lins @Boo & Maddie says
The bench looks absolutely fantastic, love the contrasting colours! We don’t really have space in the hallway for a bench but I’m going to get a console table in due course just to go to the left of the front door as you come in. Currently it’s a dumping ground for shoes and “stuff” but would love a little table and a lamp to make it look welcoming. As for tools, I love a good tool. OH recently some kind of small electric saw that has lots of different attachments, ideal for cleanly sawing tiny pieces of wood.
Christine says
Thanks Lins! There’s nothing like a new power tool to get motivated. Your saw sounds pretty cool, too – might have to get myself one of those! ;)
Cx