AD – This post is in collaboration with Rooms Made For You and contains affiliate links.
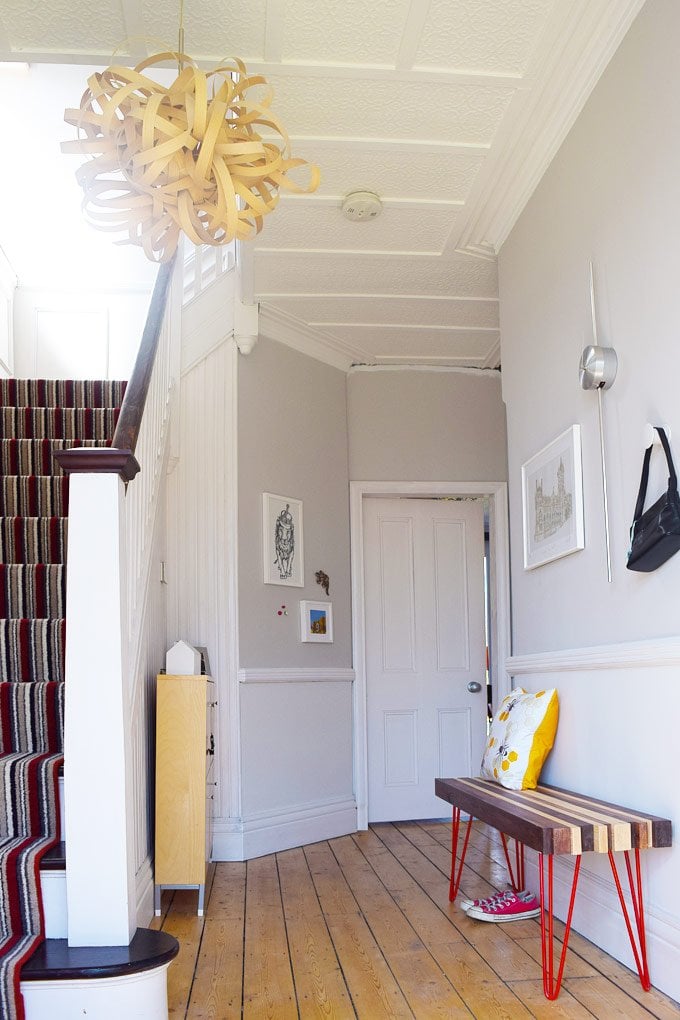
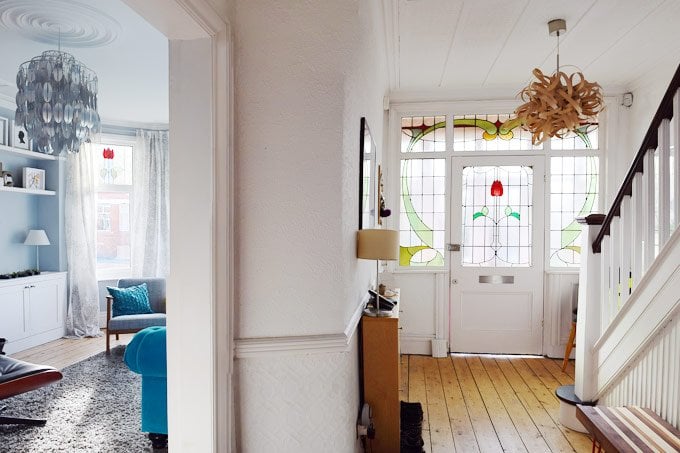
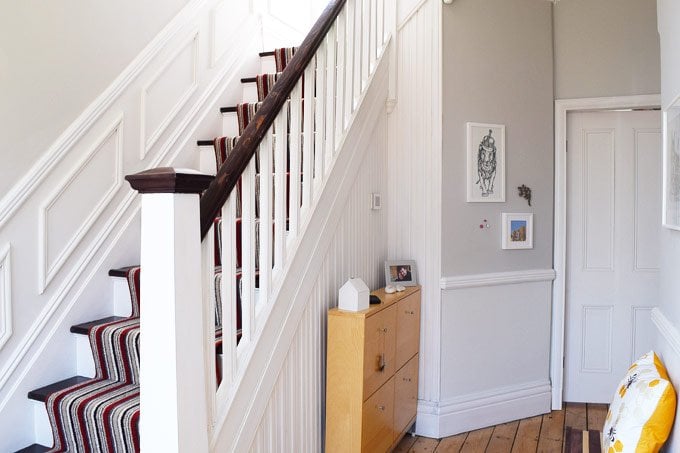
We’ve finished our hallway makeover! After having everywhere plastered and spending about 30 hours cleaning and painting it’s finally done!
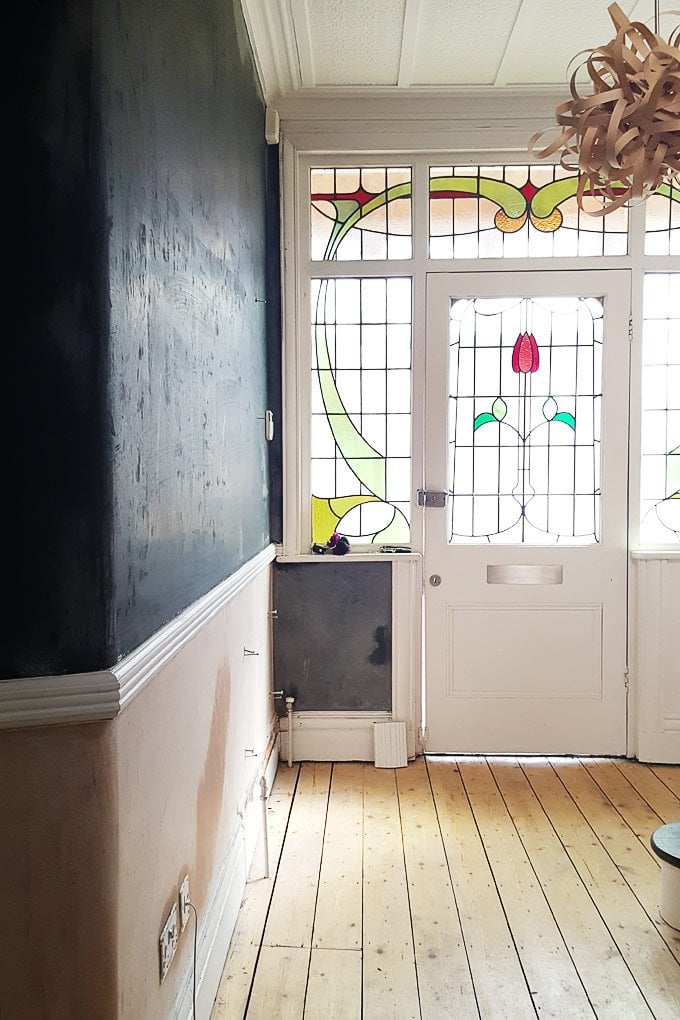
And, there’s a secret surprise! Although our newly plastered and painted walls look completely normal they’re actually plastered with magnetic plaster
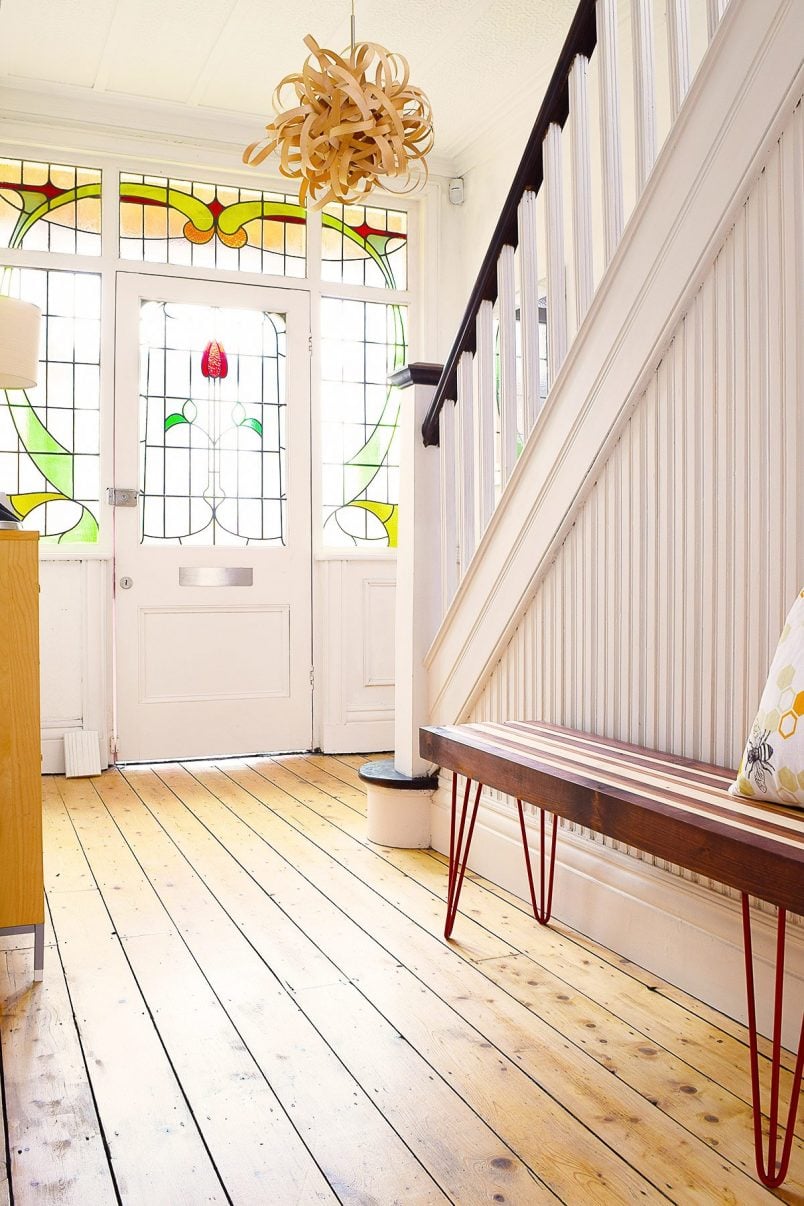
We’re so pleased with how the hallway turned out. There’s no more Artex, no more yellowed and chipped paint and no more peeling wallpaper!
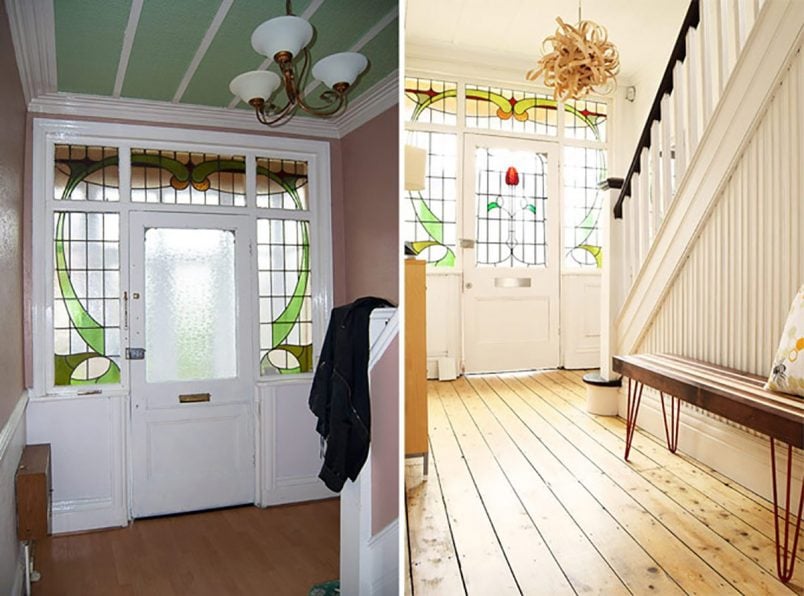
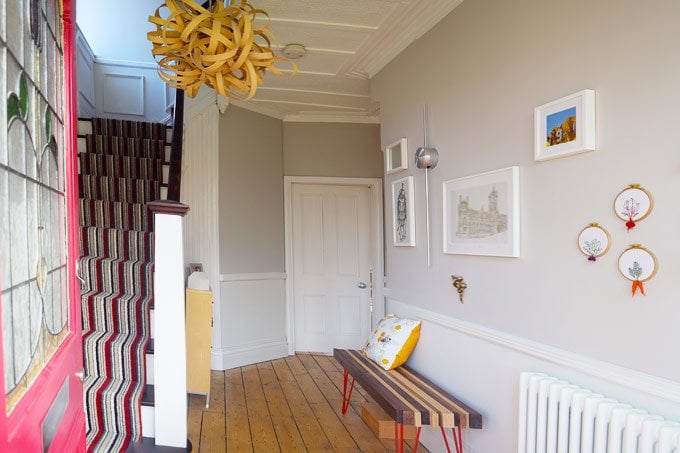
The freshly plastered and painted hallway has suddenly made the whole house feel much more finished and the magnetic plaster walls are so practical and a lot of fun. I admit that I was sceptical about using magnetic plaster but I shouldn’t have worried. Magnetic plaster really does work!
What is Magnetic Plaster?
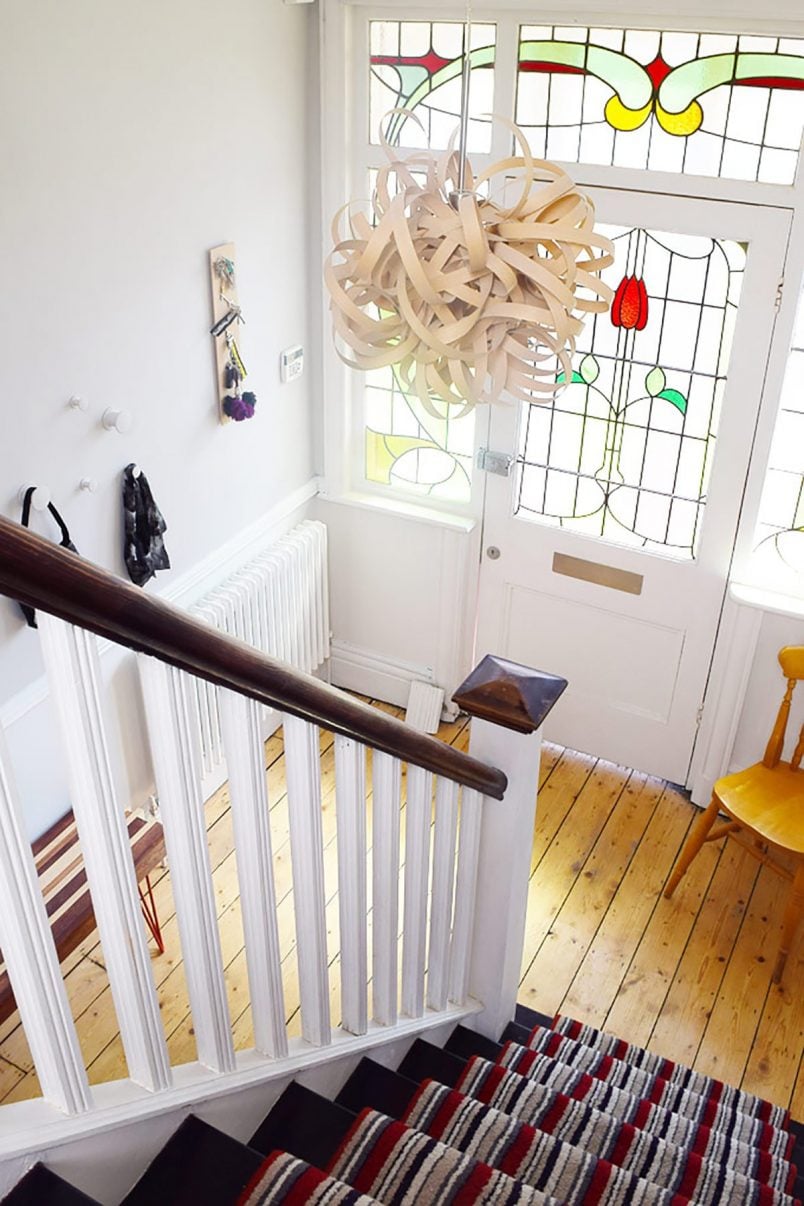
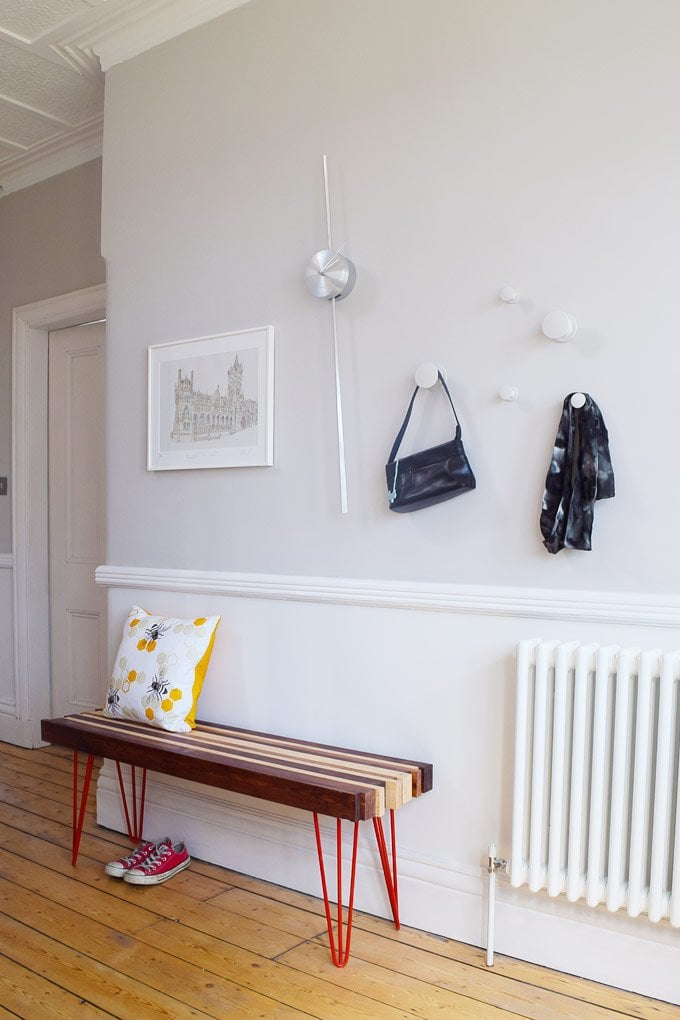
Magnetic plaster is a finishing plaster that has a strong magnetic attraction. It allows you to hang almost anything you want on the wall using magnets. We hung art, a clock, pictures and even hooks for bags and jackets on our wall. And, because you use magnets to attach your items, you can easily remove them when you want without leaving any damage.
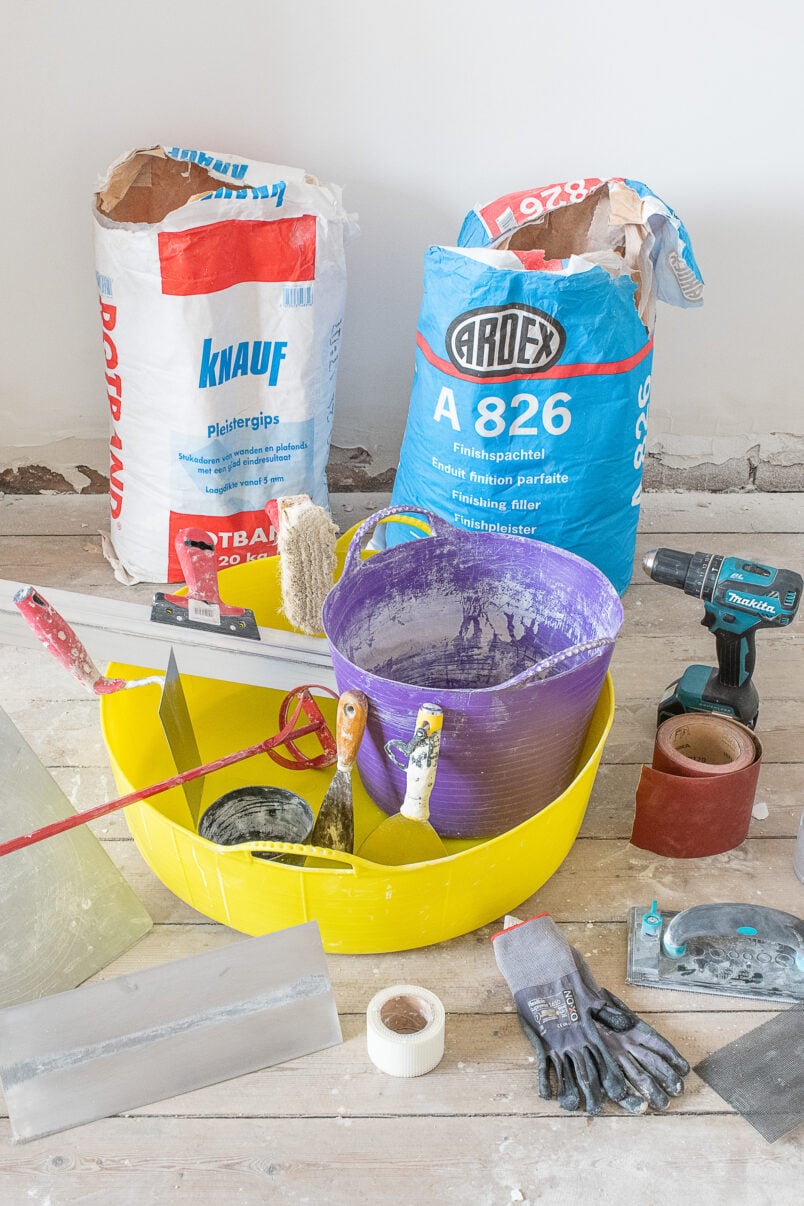
How To Apply Magnetic Plaster?
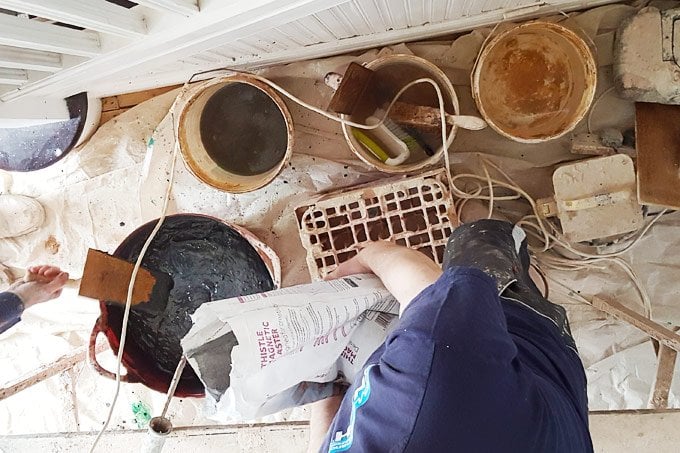
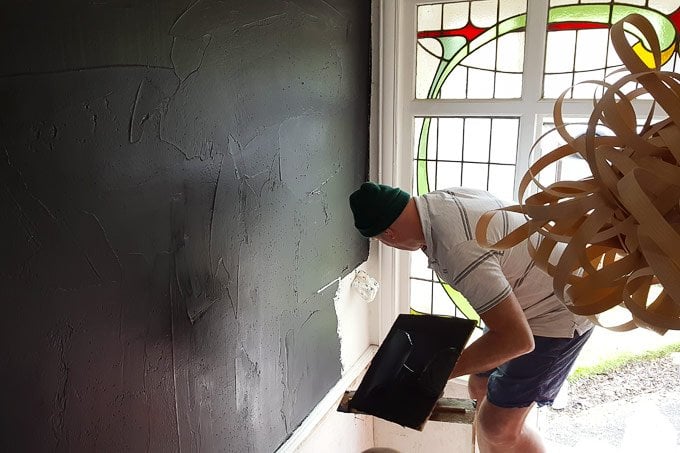
Magnetic plaster is applied in exactly the same way as multi-finish plaster that you would normally use for skimming walls. The only difference, except for the colour, is that it has to go on slightly thicker (around 3-5mm) than normal plaster.
In our experience, it is really important that it’s applied thickly, as the thickness dramatically affects the performance!
We have areas on our magnetic wall where the plaster has not been applied as thick as in other areas and the effectiveness of the magnetic wall is dramatically reduced where it’s thinner (although it does still work).
Ever since taking part in a plastering course, I do most plastering myself, but taking on a full hallway seemed a bit too daunting for a beginner like me. Parts of our hallway are very high (around 5 metres) and some of the walls are so large that I couldn’t imagine achieving a result I’d be happy with (yet), which is why we decided to have this room done professionally.

When I saw the balancing act the plasterer had to do over the staircase, I admit that I was relieved it wasn’t me doing the plastering. It’s also a huge surface area that I wouldn’t have been fast enough to tackle by myself.
For this project, we’d initially thought about plastering just the downstairs hallway, but because it’s almost impossible to separate it from the upstairs we figured that it would be best to get it all done in one go. (All of the upstairs has been plastered in normal multi-finish plaster).
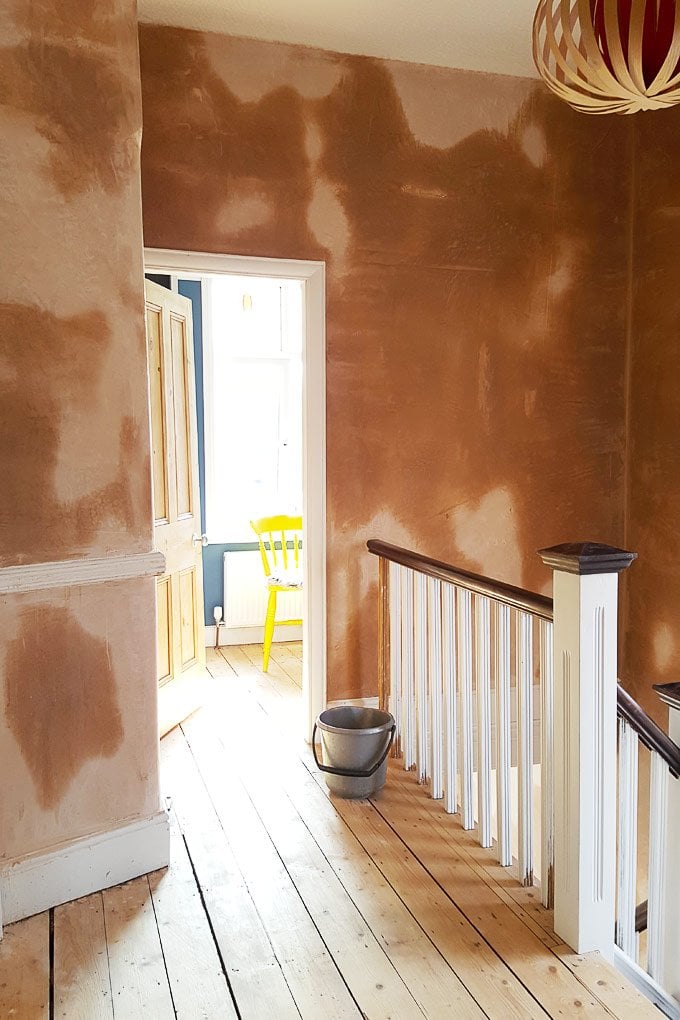
All together it took the plasterer two days to finish our hallway (I hate to think how long it would have taken me).
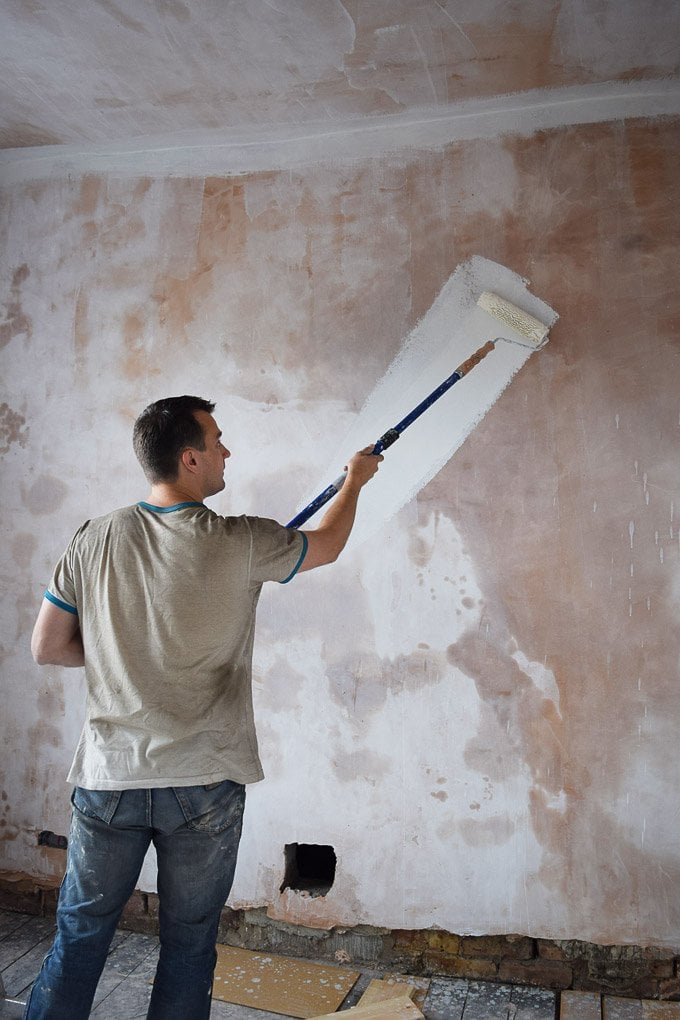
How To Paint Over Magnetic Plaster?
Both the magnetic plaster and the normal plaster have roughly the same drying time (magnetic plaster is applied slightly thicker, so will take a tiny bit longer to dry) so we had to wait a few days before we could get our paintbrushes out.
Although our house isn’t huge, we do have a fairly large hallway and high ceilings which meant that the size of the area we had to paint added up – especially considering that the whole room had to be painted 4 times!
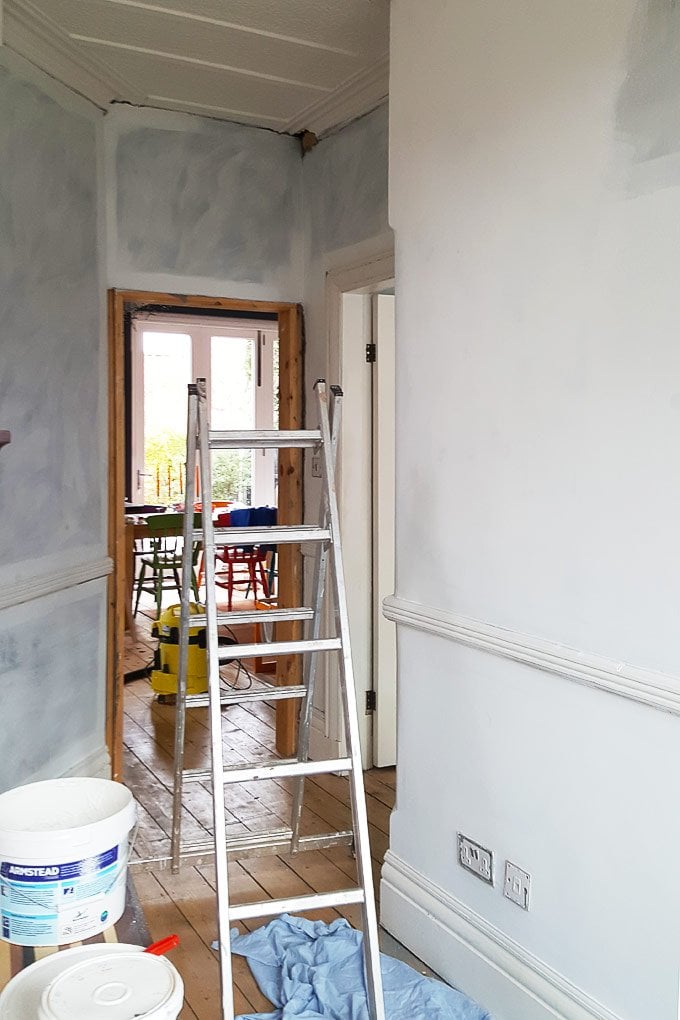
Because the walls are newly plastered they soak up any moisture almost immediately which means that you have to prime them before painting. It’s important to do the necessary prep work when painting new plaster and you can read our full guide on how to paint new plaster walls here.
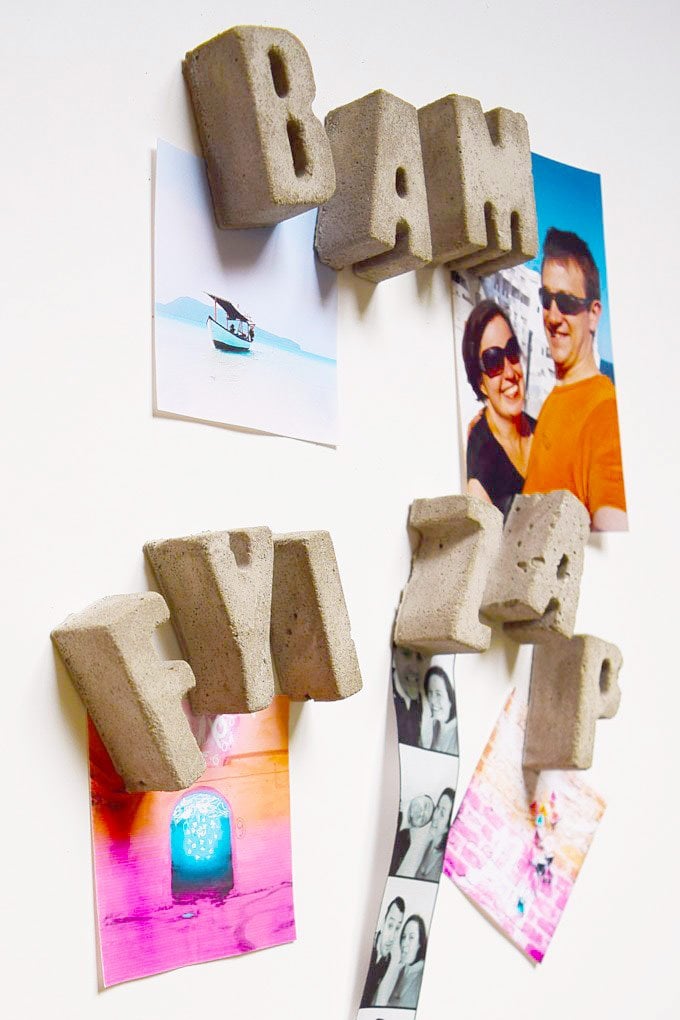
How To Attach Things To A Magnetic Plaster Wall
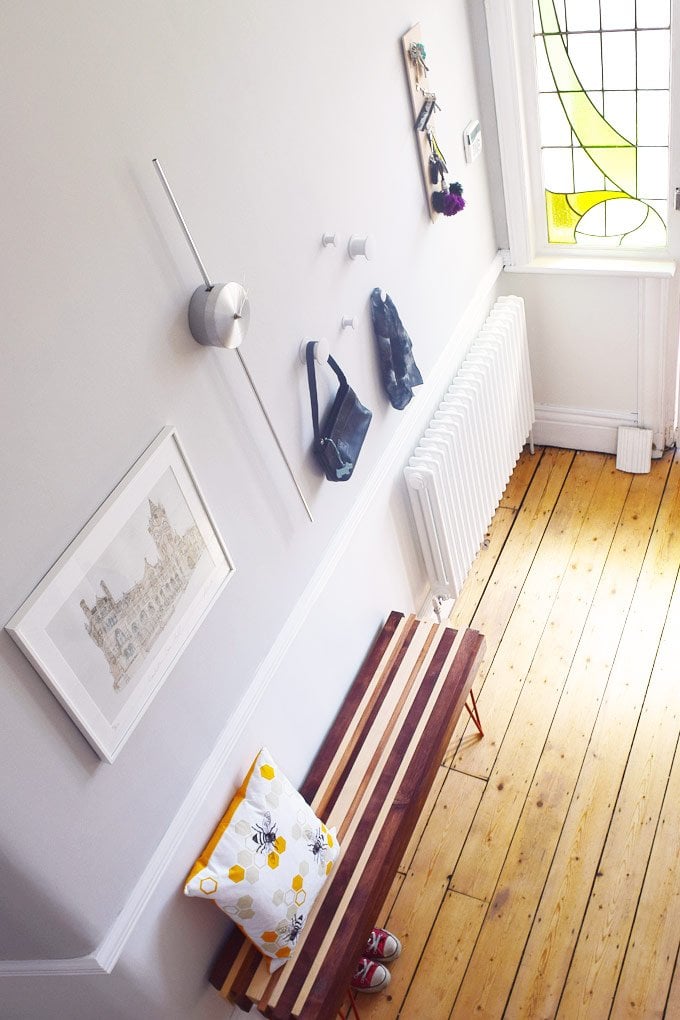
The magnetic wall is amazing and the possibilities are endless. It gives you so much flexibility to change things around without leaving hundreds of holes in the wall. No more need to plan out a gallery wall before you attach it – just ‘stick’ your art to the wall and move it around until you are happy. It’s just so easy.

We used magnetic sheets which come with a sticky back and all you have to do is cut them to the size you want with some scissors and then stick them to whatever you want to attach to the wall. They were the strongest sheet magnets we could find and worked perfectly on our new wall.
If you use strong magnets, you can even attach fairly heavy items to the wall (the Rooms Made For You website recommends not going over 5kg).
I love that we can easily change our pictures in the hallway around and that we can easily leave notes and reminders on our wall that we’ll (hopefully) see before leaving the house.
How much does magnetic plaster cost?
I would love to have magnetic walls everywhere, but the magnetic plaster is very expensive. We love it and are already thinking of having a magnetic wall in our new kitchen but it is something you’ll only use in small select areas.
A bag of magnetic plaster costs about £90 which compared to a bag of normal plaster (that costs less than £10) is a lot more. Having said that, it’s not comparable to normal plaster and is more like installing a feature wall in your home than plastering your walls. We have seen it on offer for as low as £50, so it’s worth checking for any discounts.
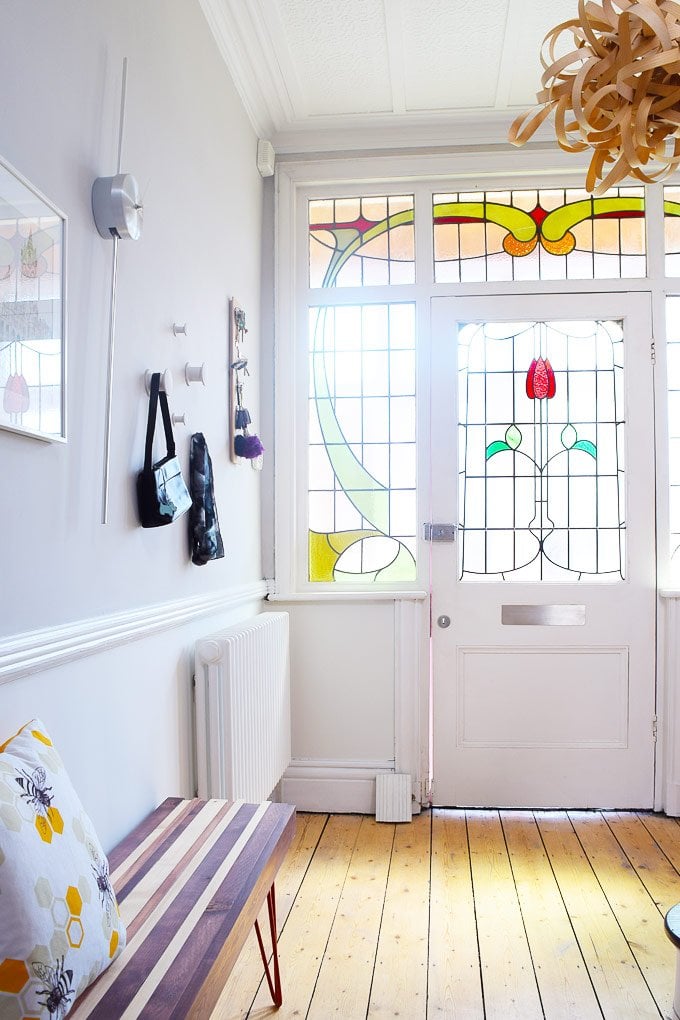
It’s taken a lot of hard work to get the hallway looking like this. We completely stripped, sanded and repainted the front door and frame, sanded the original floorboards and spent over 250 hours restoring the staircase. It was worth it though and we’re so happy with the result, especially our new magnetic plaster which works so much better than expected.
Magnetic Plaster Walls FAQ
As we already mentioned, we love how well the magnetic plaster wall works. We’ve received more than a few questions about the magnetic plaster so we’re sharing everything you need to know about magnetic plaster so that you can decide if it’s right for your home, too.
What can magnetic plaster be applied on?
Think of it as ‘normal’ plaster. Basically, if you can skim the surface with Multi Finish, you can skim it with magnetic plaster. You can find the technical details on the British Gypsum website. In our case, the magnetic plaster was applied over Artex.
Do I have to paint it or can I leave the magnetic plaster visible?
Really it’s up to you. The dried magnetic plaster has a lovely grey and concrete-y colour. Having said that it is very porous and dusty (like any other new plaster). If you brush along it with your clothes or touch it, it will leave a grey dust mark, so if you want to leave it, we’d recommend sealing it.
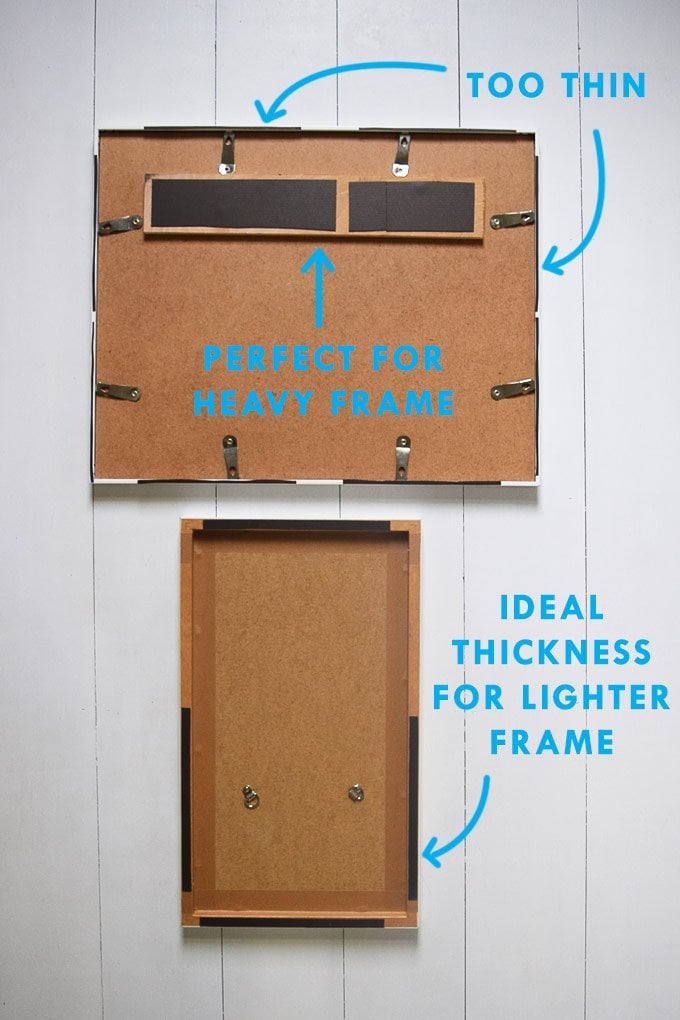
How many magnets will I need to attach a picture frame/art/random things?
It really depends on what you want to attach, how heavy it is and how strong your magnets are. We tried a few different frames with different weights and different thicknesses of magnets.
Some magnets worked, some didn’t. It’s all a question of balancing the amount of magnet with the weight of what you want to hang. The more magnetic surface area you have the better.
We also tried to hang some hooks for coats from the wall and thought that they’d be a perfect way to temporarily hang things from the wall, but although we purposely chose hooks with a fairly large surface area to apply the magnet to, it still wasn’t enough to hang a heavy coat or jacket from.
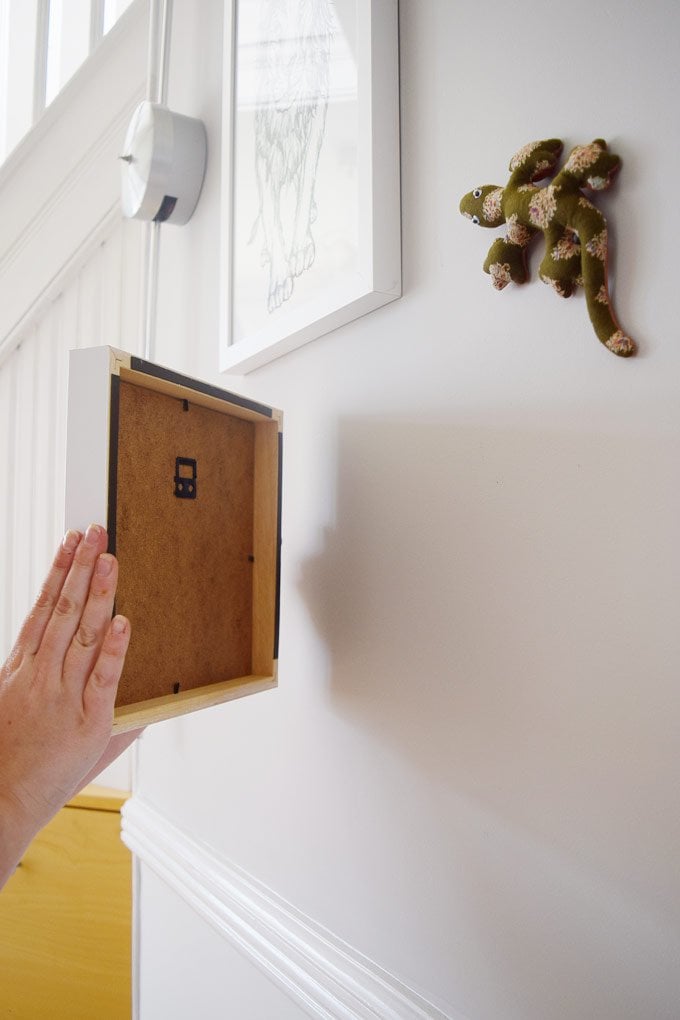
What can you attach to the wall?
Anything you want as long as you use strong magnets! Being easily able to attach almost anything to the wall is what we love most about the wall as you can easily attach things that would otherwise be difficult to hang on a wall.
We have our little fabric gecko that now wanders around the room – kind of like a real-life one. He would have been almost impossible to attach otherwise.
Do the magnets leave marks?
Yes and no. The plaster itself is as solid as normal plaster and won’t dent unless you really hit it.
Like anything else that you move along a wall, the magnets themselves can sometimes leave a mark if they slide down the wall. Just placing the magnets on the wall doesn’t mark the wall. If your wall is going to get a lot of use, we would recommend using durable paint and not a colour that’s as light as the one we used.
What kind of magnets should I use?
The Rooms Made For You website recommends using neodymium magnets. We used these neodymium sheets to hang all of our frames.
The magnetic sheets are really strong and can be cut really easily with a craft knife or scissors and the double-sided back is really strong, too.
Where can I buy magnetic plaster?
A lot of DIY stores stock magnetic plaster and you can, of course, order magnetic plaster online, too. It is expensive, so keep an eye out for offers as there are sometimes great discounts available.
What’s the difference between magnetic plaster and magnetic paint?
Even the strongest magnetic paint isn’t as strong as magnetic plaster. If you just want to hang your children’s artwork and thin pieces of paper, magnetic paint will probably be strong enough but to be able to attach anything heavier, we recommend using magnetic plaster.
Magnetic paint can hold things up to about 25g in weight. Magnetic plaster can hold up to 5kg. Magnetic plaster can also be painted over with any colour, so it’s completely invisible and looks like any other wall in your room.
Does the magnetic plaster attract metal?
No. The plaster acts like a ferrous plate. This means that you can stick magnets to it, but the wall itself isn’t magnetic.
Will you be safe if you’ve got fillings?
Yes! It really doesn’t matter if you have fillings, a metal plate in your hip or anything else metal in or on your body. The wall will only attract magnets.
Will my electrics/wifi/alarm be affected by the magnetic plaster?
No. It’s really just like using normal plaster and won’t change or influence your electricity, Wi-Fi or alarm system in any way.
Is it something in the plaster or is something behind it that makes it magnetic?
There’s nothing else on the wall, it’s really only the magnetic plaster that has to be applied. It’s like magic!
Does it wear off after a while/lose its magnetic ability?
No. Once it’s applied it stays the same for the lifetime it’s on the wall.
As you can tell, we’re really impressed with our magnetic plaster walls. They’re perfect for any space you want to keep organised or just have some fun like in a children’s bedroom or playroom.
Have you heard of magnetic plaster? Would or have you used it in your home? What do you think of our colour choice? Where would you have magnetic plaster walls in your home?

Sandy says
I genuinely don’t get the point and am gobsmacked at the price! All for home improvements, but magnetic plaster is definitely not going to to fly off the shelves!