
DIY & Home Improvement

IT'S FREE!
Join The DIY Club
Sign up for secret projects, behind-the-scenes fun, freebies, discount vouchers & DIY advice

TRACK YOUR RENOVATION & SAVE MONEY
Renovation Budget Tracker
Take the stress out of managing your renovation finances with this ultimate home improvement tracker.
Stick to your budget and easily keep on top of your renovation costs.
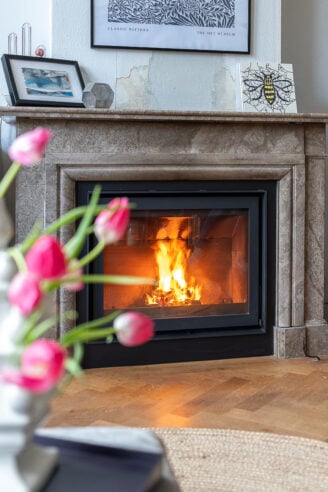
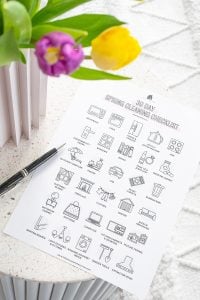
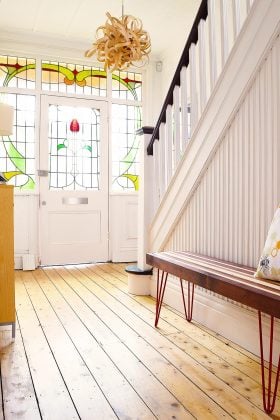
Get Ready For Spring
Get your home ready for spring with these fun ideas!


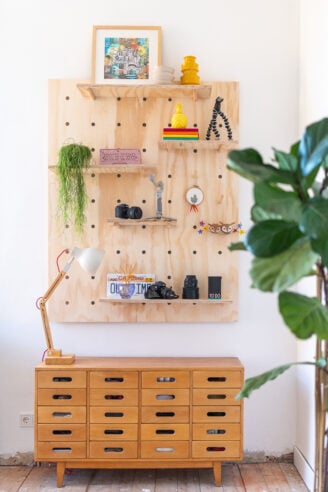
Our Most Loved DIY Essentials

INSTANT ACCESS
Get Our Favourite Freebies
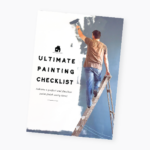
PAINTING
CHECKLIST
Transform your home with paint. This checklist includes helpful tips to get a great finish every time.
HOME ENERGY AUDIT CHECKLIST
See where you can save energy & money in your home with our free energy audit checklist.
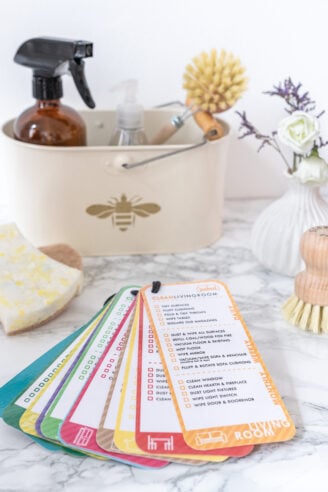
CLEANING CHECKLIST
Save time & keep on top of your cleaning tasks with this free cleaning cards checklist.