[Ad – This post is in collaboration with Photowall. As always, all words, opinions and images are our own. This post may contain affiliate links.]
Given that I’ve spent hours of my life, who am I kidding, months of my life removing wallpaper it was always going to take something very special for me to even consider putting up anything even remotely resembling wallpaper but as soon as I saw the stunning Photowall murals I knew I had to have one!
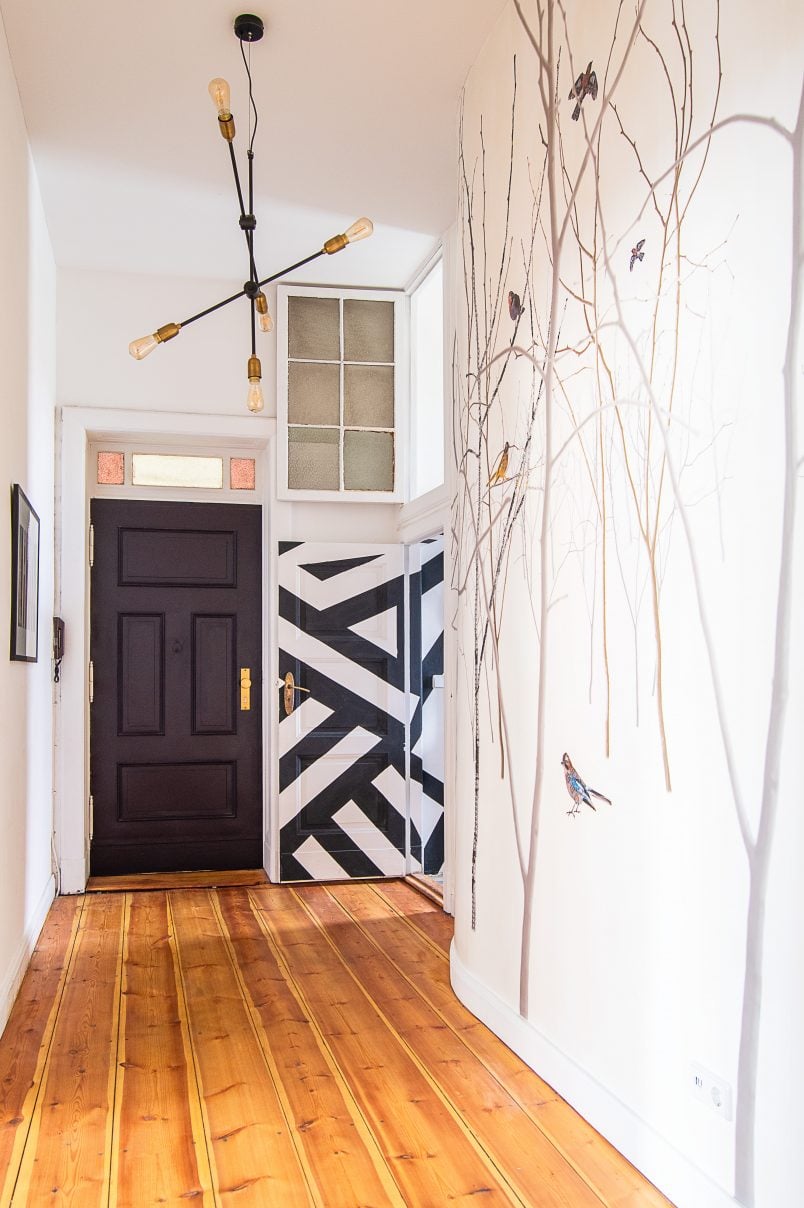
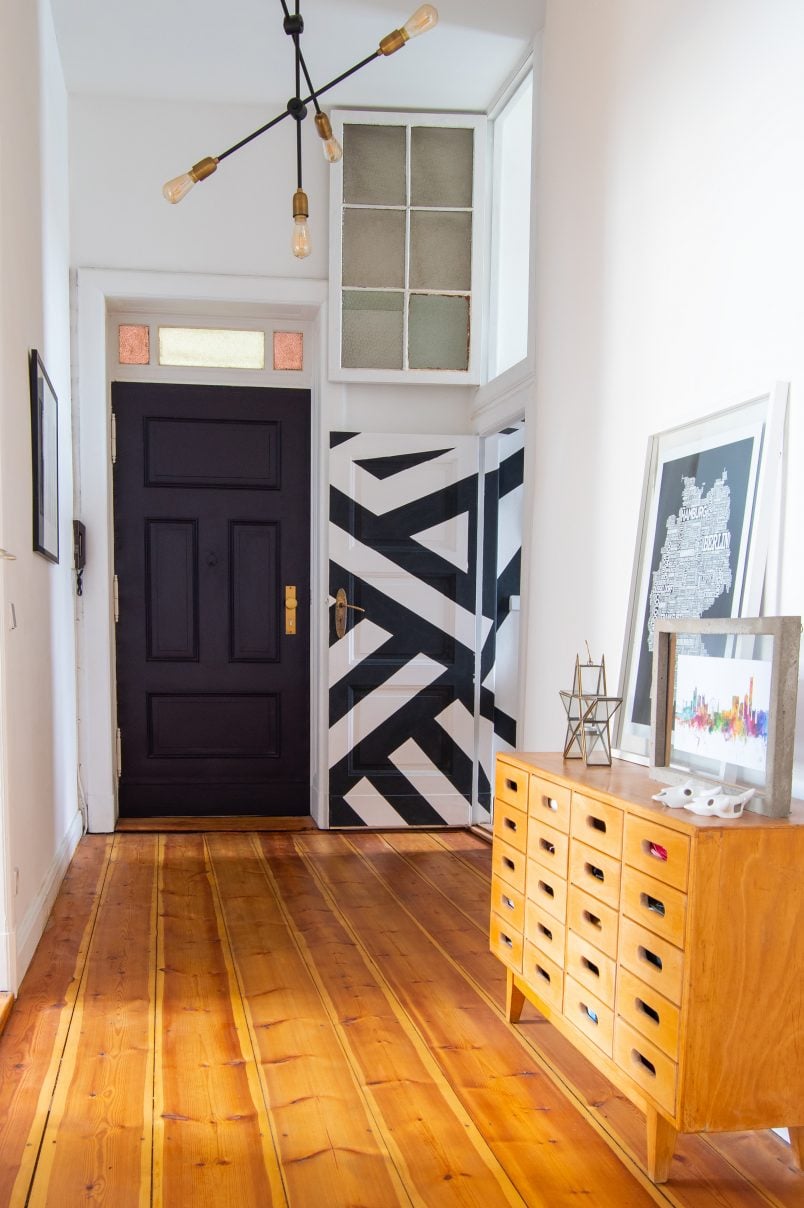
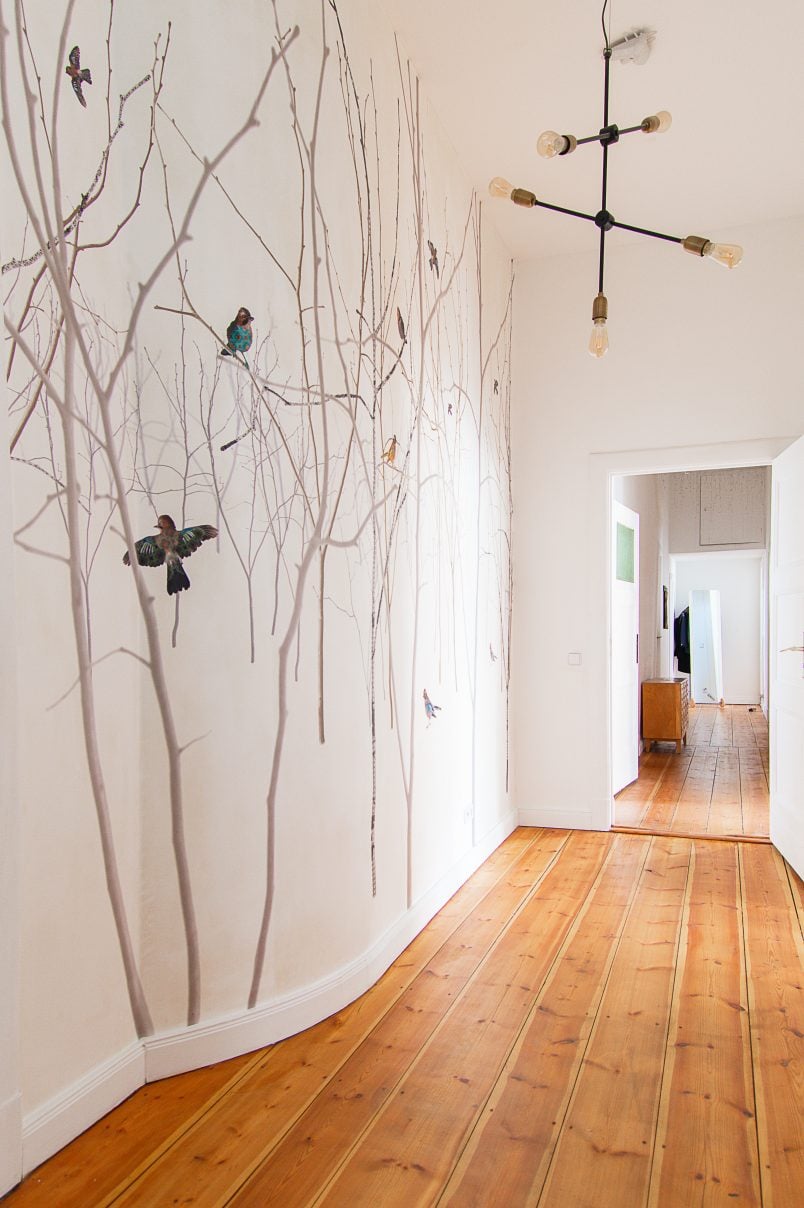
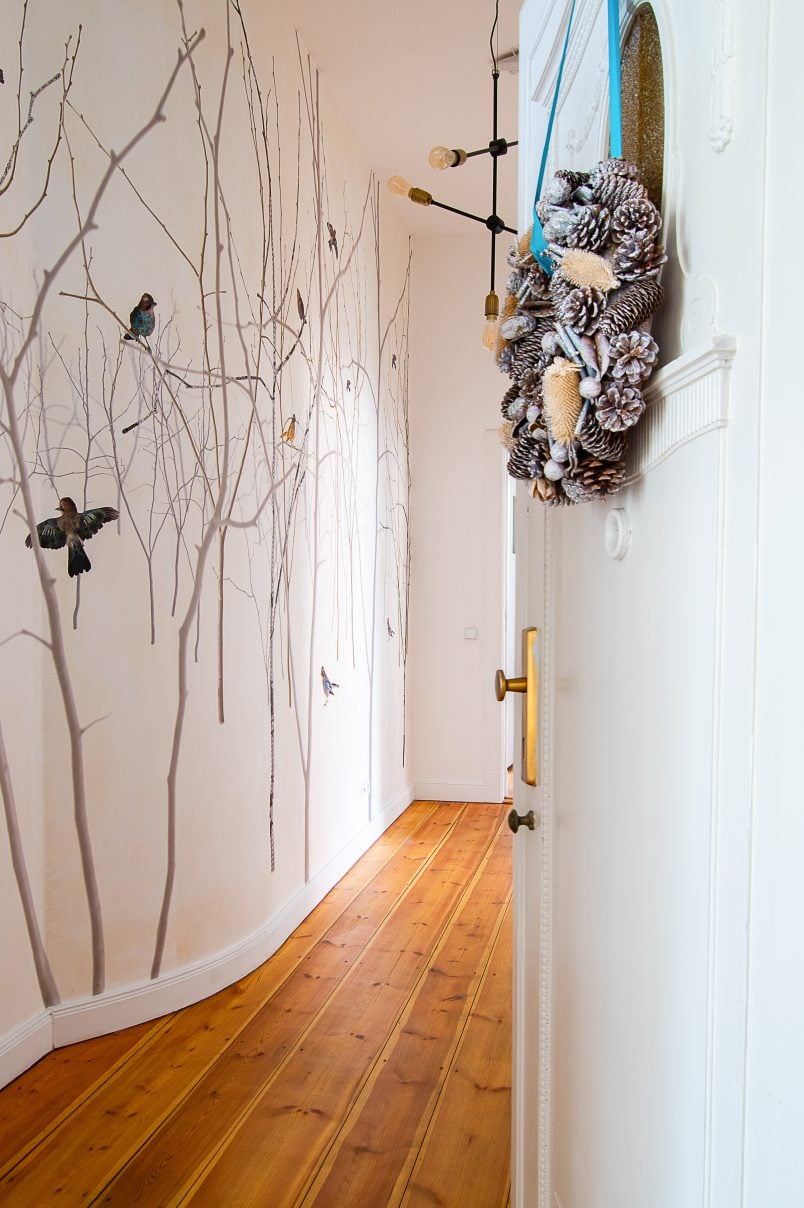
And, here’s another sentence I never thought I’d write….this wall mural has completely transformed our hallway and we love it!
I’m not going to lie, I was weirdly anxious about putting up wallpaper. High ceilings, a curved wall and the fact that we’d never wallpapered before weren’t exactly huge confidence boosters but you know what? Putting up wallpaper is way more fun than removing it!
Best of all, it was also much easier than we expected, too!
Here’s our DIY guide on how to hang a wall mural!
This is what you will need to hang a wall mural:
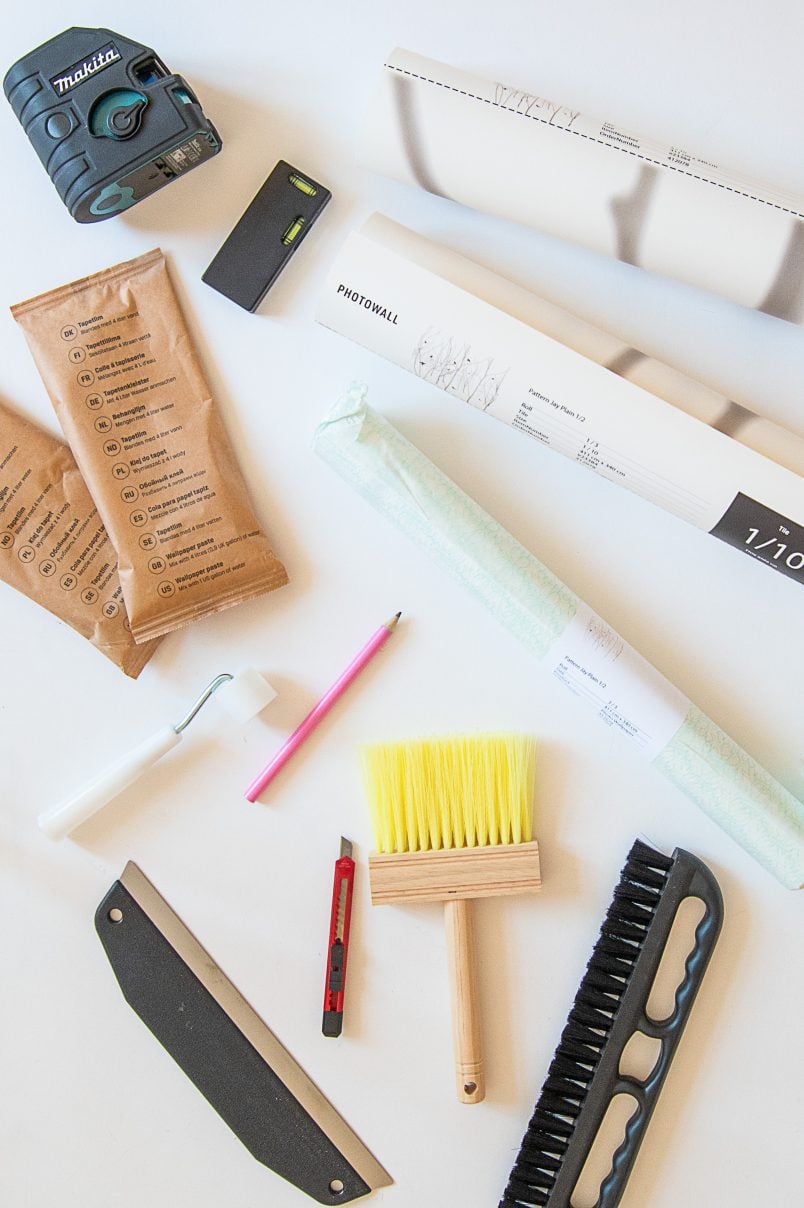
Wallpaper Mural & Paste::
- Mural Wallpaper – we’re using this gorgeous wall mural called Pattern Jay mural by Photowall (gifted)
- Wallpaper paste (the Photowall murals include paste)
Wallpapering tools (we used the Photowall wallpapering kit):
- Bucket
- Spirit Level, laser level or plumb line
- Pencil
- Wallpaper brush
- Seam roller
- Ruler
- Utility knife
- Trim Guide
- Spong or cloth
- Optional: You won’t need a wallpapering table for the Photowall murals as you paste the wall but you may need a wallpapering table if you have to apply the paste to your wallpaper.
This is how to hang a wallpaper mural on a wall:
Preparation
As with most home improvement projects, getting everything prepared before you start is the key to achieving a flawless finish. Not to mention, that good prep work also helps take the stress out of most projects, too!
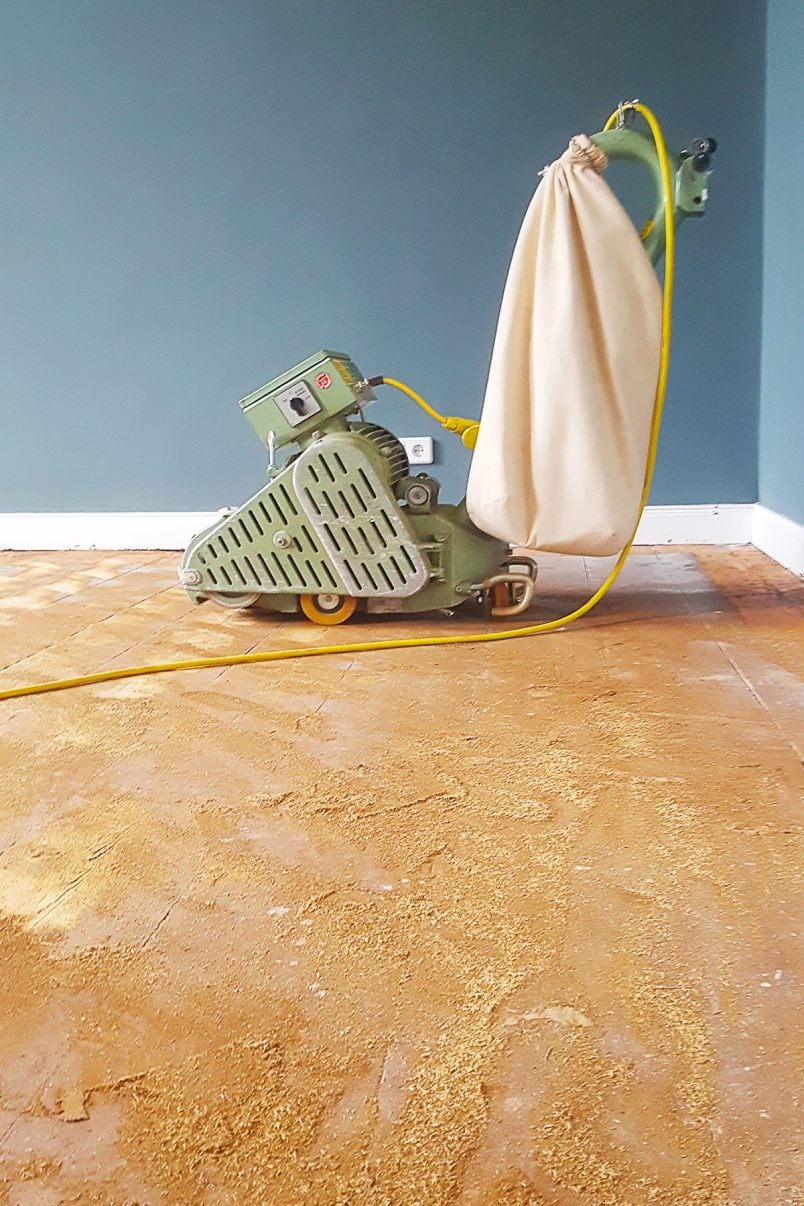
Treat the wall as you would if you were going to paint it (yes, you really want it to be prepared that well!). Make sure the surface is clean and smooth. If it’s been previously wallpapered, remove the old wallpaper first.
If it’s been painted a really dark or bold colour give it a coat of white paint first to neutralise the colour as it may shine through the paper otherwise. Give any newly plastered walls a mist coat before hanging wallpaper as the paste will dry much too quickly otherwise.
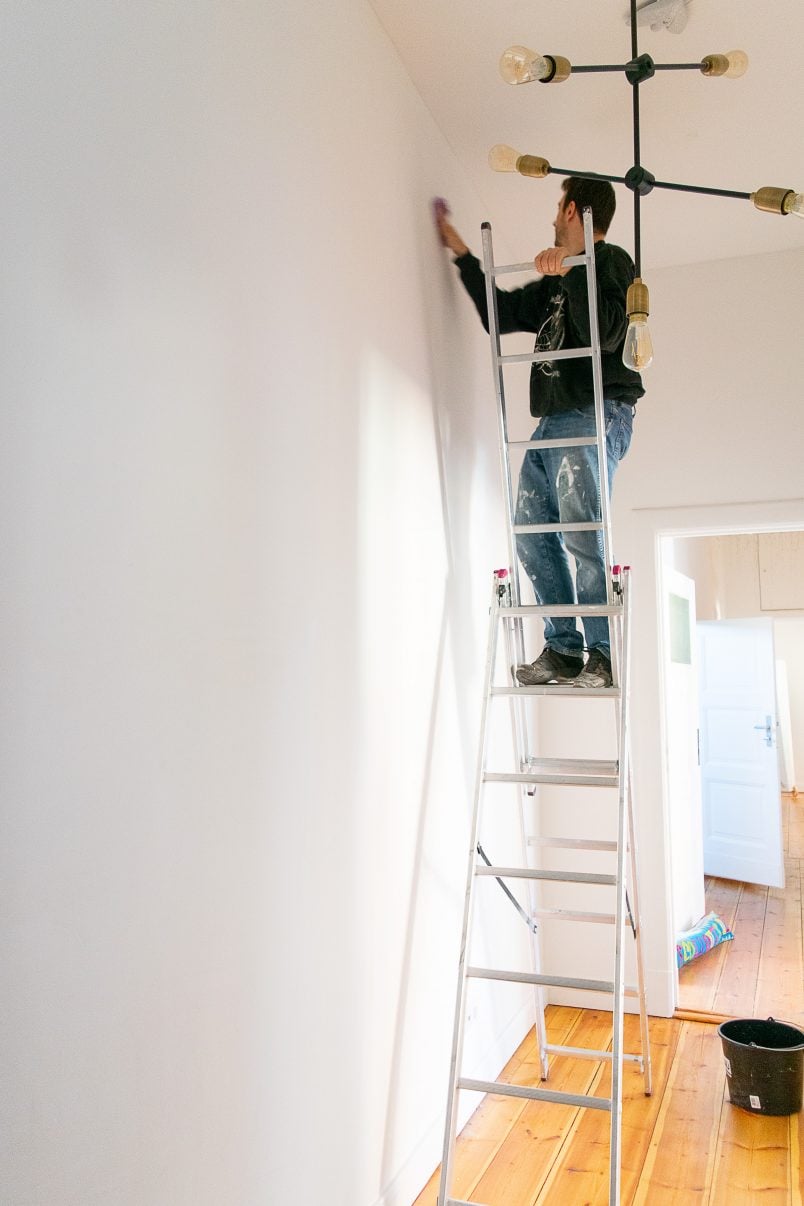
Luckily, our wall was already in a great condition so we just gave it a quick wipe with a damp cloth to remove any dust and dirt. Working in a super clean environment and keeping your tools clean will make wallpapering so much easier!
You can read about how to paint newly plastered walls here.
How To Put Up A Wall Mural
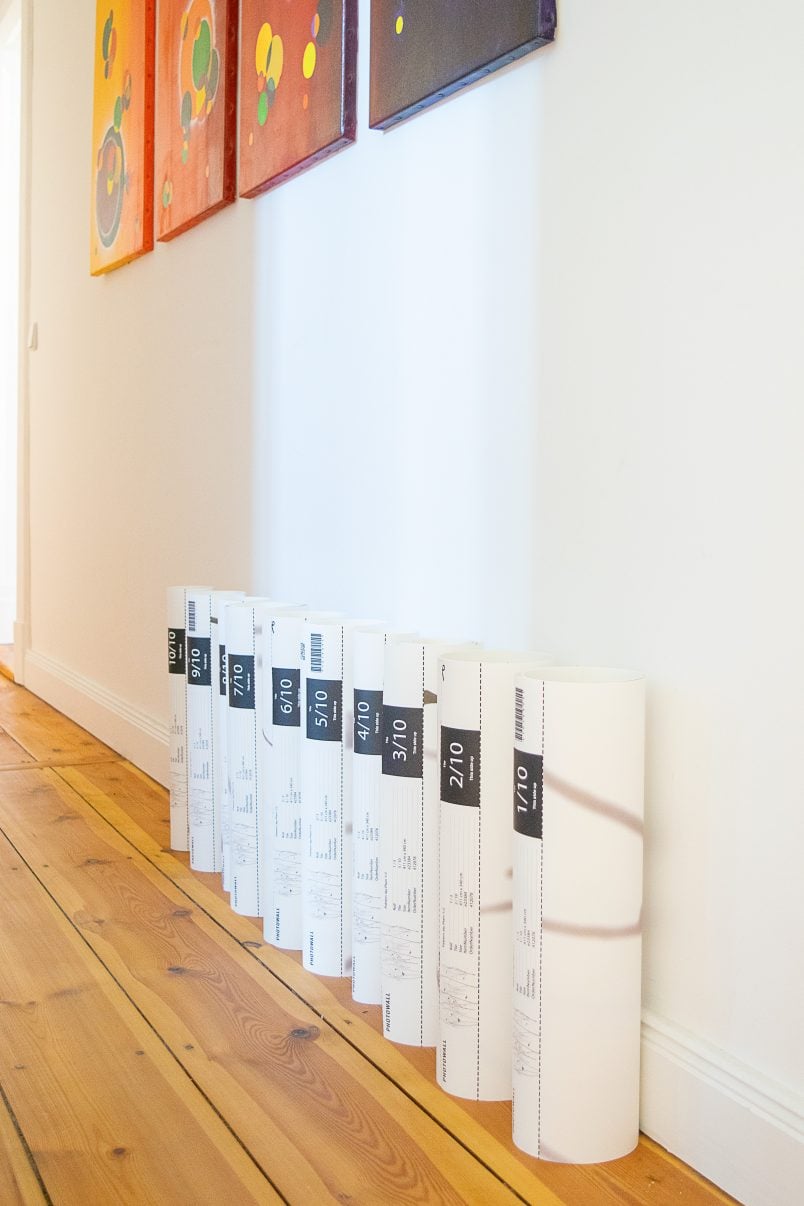
When you order a wall mural from Photowall you specify the size of your wall and the wallpaper mural arrives in rolls of numbered sheets ready to attach to the wall. This takes all of the hassle out of calculating how much paper you will need as it’s already done for you!
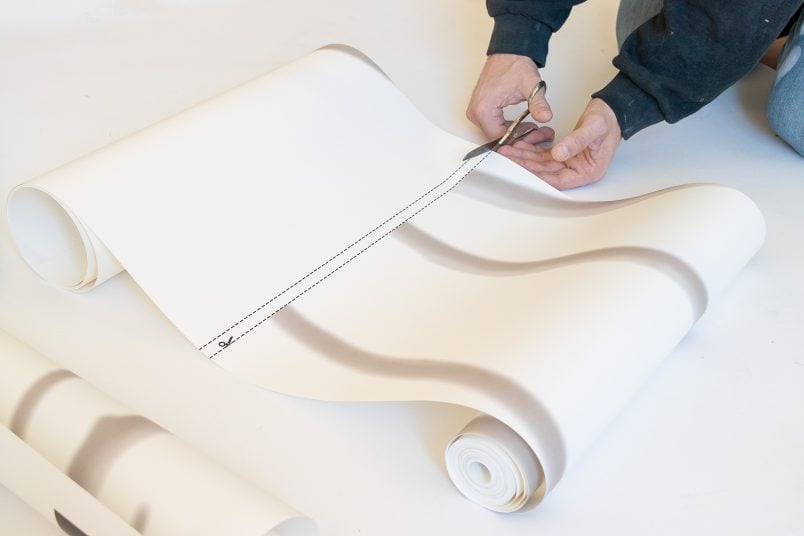
All you have to do is unroll the paper and then cut along the dashed line. The individual panels are all numbered at the top in the order you have to hang them from left to right. Our mural arrived in three rolls which we then cut into 10 panels with some scissors.
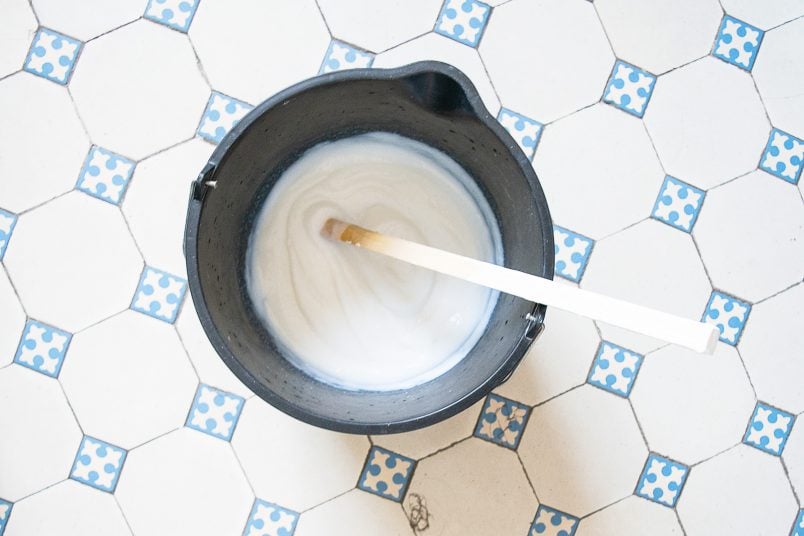
Next, mix your wallpaper paste according to the instructions. You want the paste to be fairly thick in order for it to be sticky enough to glue the paper to the wall.
Fill a bucket with 4 litres of lukewarm water, then add the paste powder while mixing it all together making sure that there are no lumps.
Then let the paste stand for 5 minutes and give it another mix before applying it to your wall (obviously, follow the instructions specific to the paste you are using!).
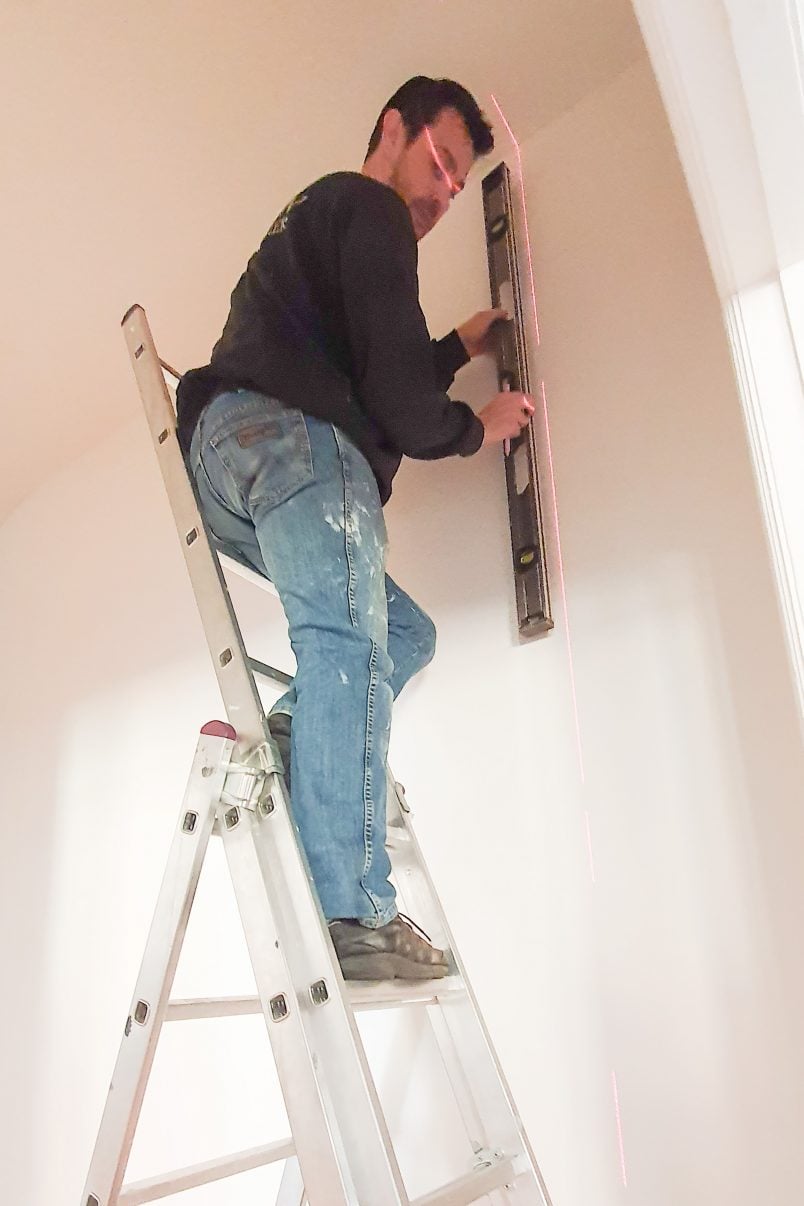
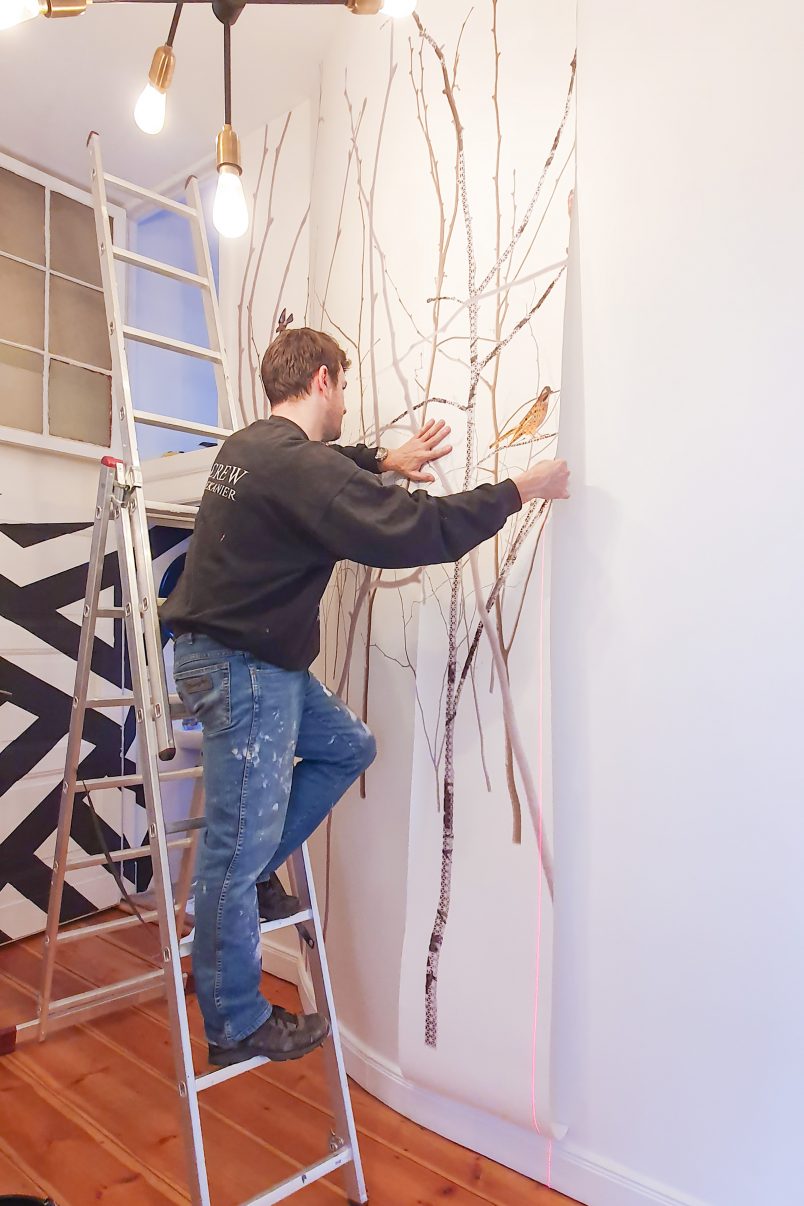
Before you glue the paper to the wall, draw a vertical line onto your wall with a pencil. We used our laser level for this but you could use a plumb line or spirit level (this is the laser level that we have) to make sure the line is perfectly vertical.
Our wall mural panels are all 45cm wide so the line we drew is 45cm from the corner of the room. Take your time with this as it’s essential that it’s perfectly straight!
This line will be the guide you align your first piece of paper with and subsequently all other pieces so it’s imperative that it’s straight.
Now it’s time to start hanging your wallpaper mural!
Use a wallpaper brush to apply an even coat of paste directly to the wall approximately the width of a single panel. Make sure it’s completely covered as any unpasted spots will create air bubbles when the paste dries!
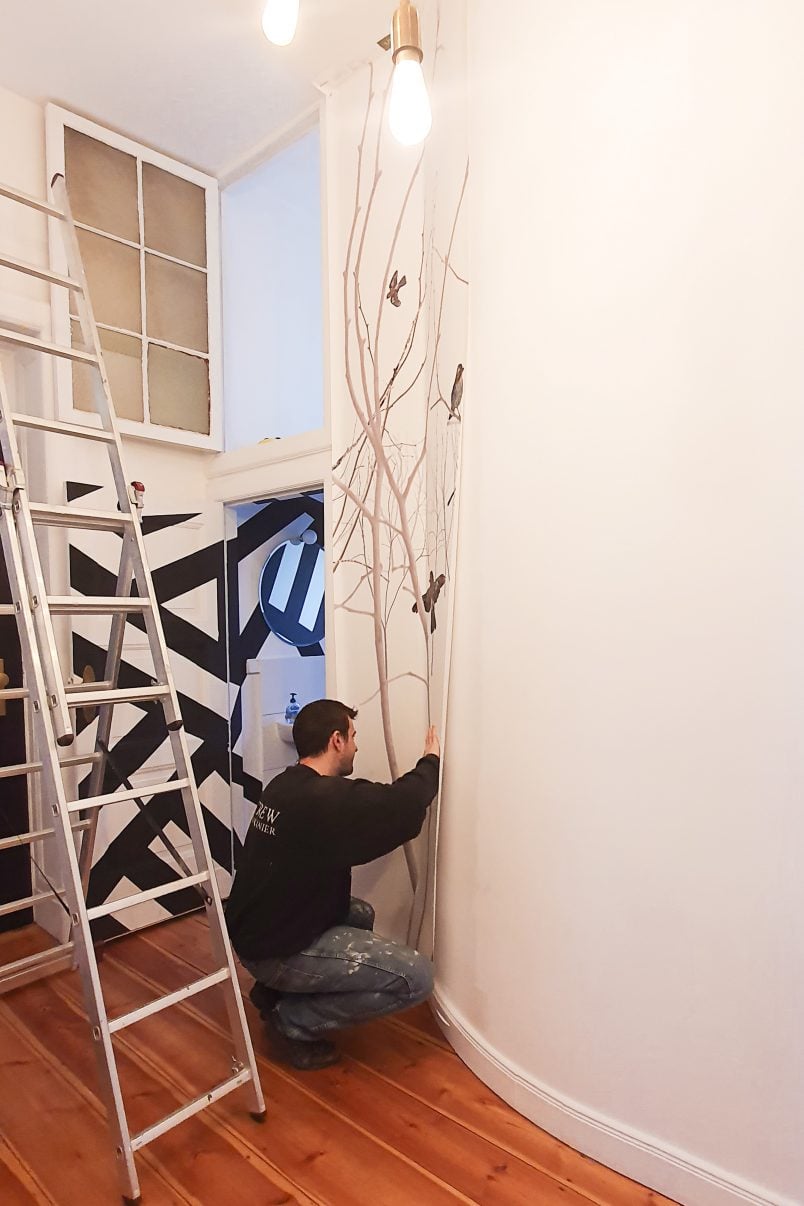
Starting at the top, attach the first mural wallpaper panel to the wall. Make sure that it lines up exactly with the vertical plumb line you drew earlier. When it’s in position, smooth it working from the middle outwards with the wallpaper brush.
If you get any paste on the front of the wallpaper, carefully wipe it off with a damp cloth while the paste is still wet.
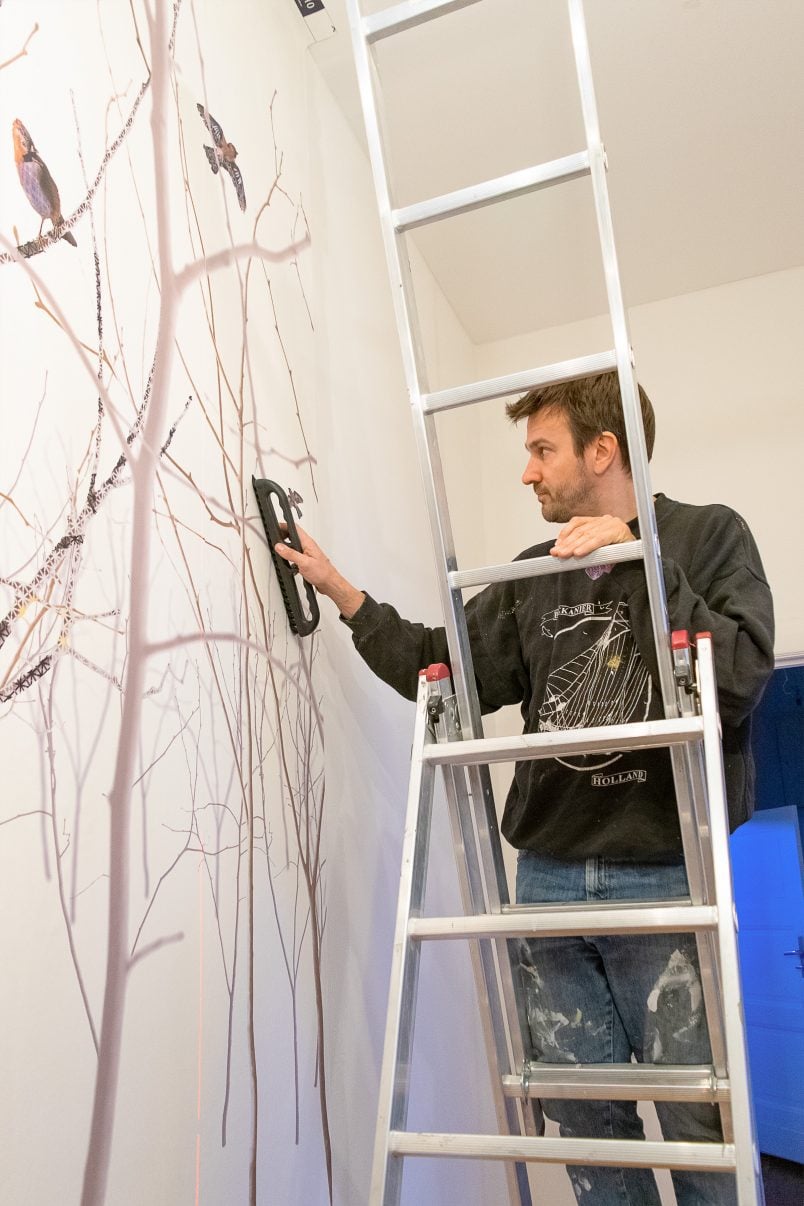
When your first panel is firmly attached to the wall you can move on to the next one using the same technique as before. Make sure to line up the edges of the wallpaper mural so that the pattern matches exactly and there is no gap or overlap between the two panels.
If you do make a mistake, you can just pull the paper off the wall and reposition it. When you’re happy that everything is perfectly aligned, make sure that the seams are really firmly pushed together and roll over them with a seam roller.
Tip: Whether you apply the paste directly to the wall or to the wallpaper will depend on the manufacturer of your wallpaper! Always read the instructions first.
If you do apply the paste to the wallpaper, lightly fold each piece of wallpaper so that the ends meet in the middle and the pasted side is sandwiched between the paper so that the paste doesn’t dry.
The Finishing Touches
When you’ve finished hanging all panels double check that you’ve not missed a spot of wallpaper paste and make sure the mural wall is completely clean. Then, trim off any excess paper with the help of a cutting guide and really sharp knife!
Bonus Tips For Hanging A Wallpaper Mural:
Wallpapering a curved wall
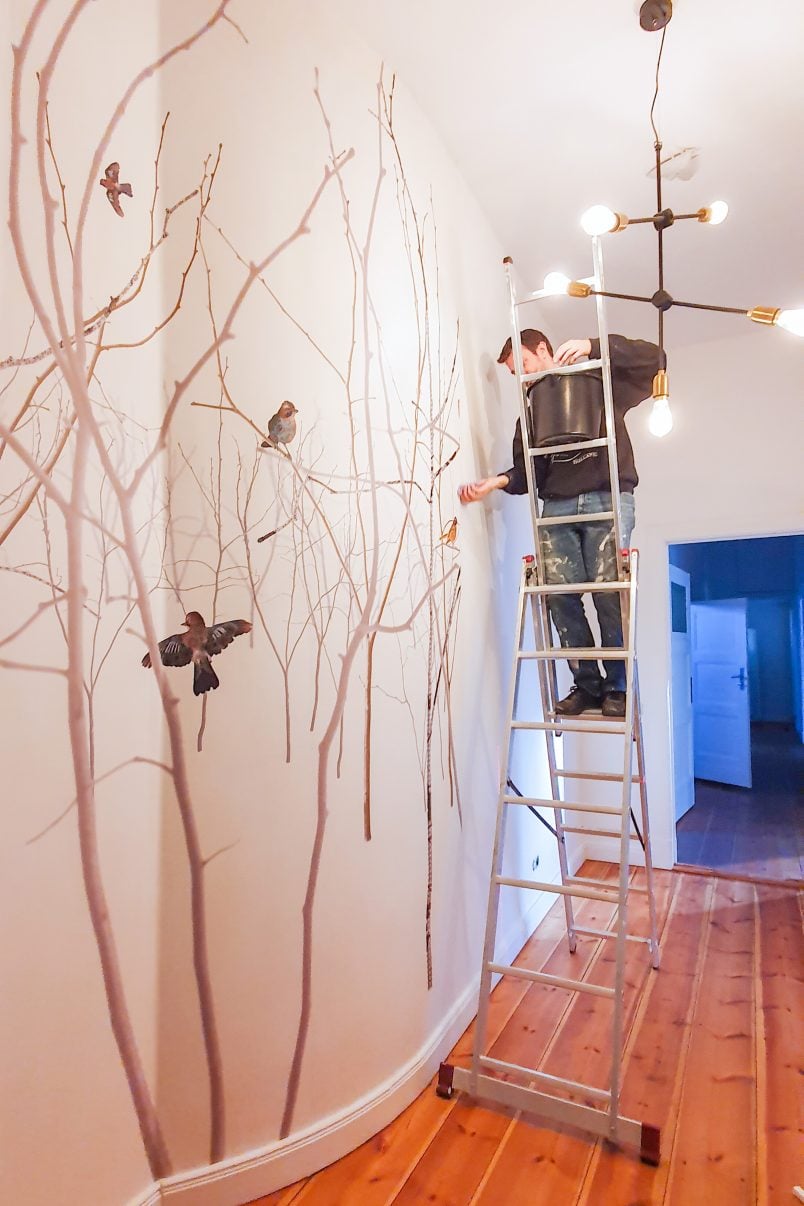
Our hallway has a curved section of wall which is lovely but wallpapering a curved wall is a lot more difficult than papering a flat one. Ultimately, papering a curved wall is exactly the same as wallpapering a straight wall but getting the pattern to line up is more difficult. If possible, we’d recommend papering the flat part of your wall first and wallpapering the curved wall last.
Wallpapering around light switches and sockets
Papering over sockets and switches is much easier than you probably expect!
Remove any socket covers or, depending on the type of socket/switch loosen it and carefully pull it away from the wall. (It goes without saying that you should always be safe and turn off the electricity first!)
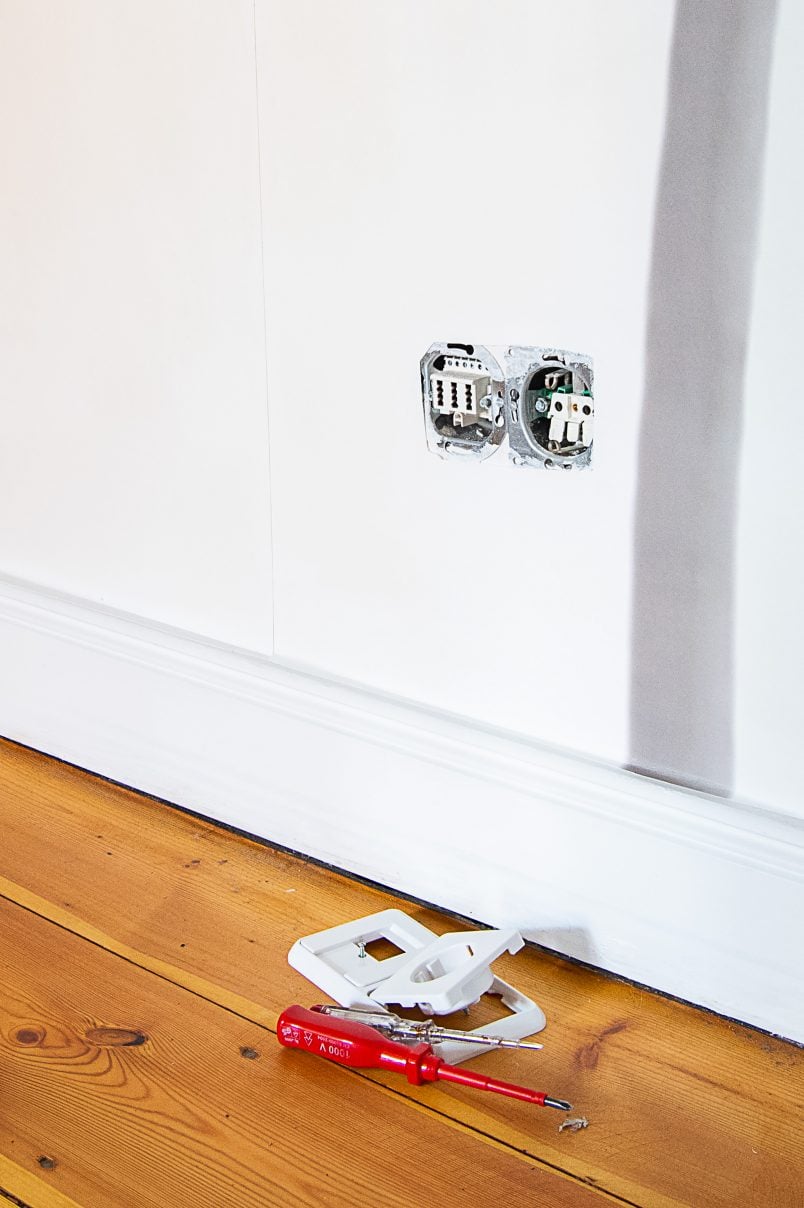
Glue your wallpaper to the wall as you would with any other panel. When you reach the switch or socket just feel for the exact position through the paper and carefully cut out a small square (you can always make it larger if you have to!) in the paper with a knife and push the paper over the socket.
When you’re finished wallpapering and attaching the sockets the switch plate will hide any rough edges of the wallpaper.
Ordering your Photowall mural
When you order your Photowall mural, you enter the measurements of your wall and the wallpaper design is scaled accordingly. This worked perfectly but we’d recommend clicking the button to blend in the individual panels to double-check your layout.
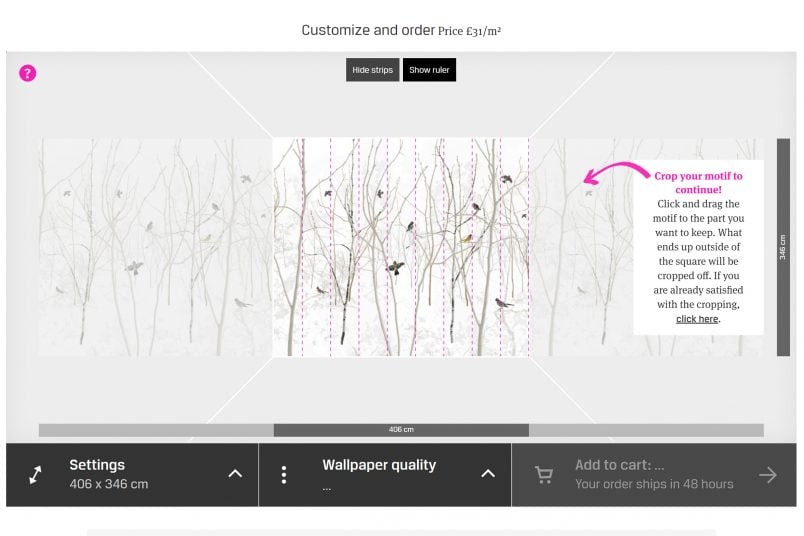
Seeing exactly where the individual panels will join will help you avoid the mistake that we made. We added 6cm to both the height and width of our wall to give us some tolerance but didn’t take into consideration that our wall happened to be an exact multiple of 45cm (the width of the paper) which meant that the bit extra we added on ended up being a 6cm wide piece of wallpaper.
Luckily, we didn’t need to use it as wallpapering a tiny sliver of paper into the corner of our room would have probably been impossible (or at least ended in divorce! ;) )
Here are our top wall mural installation tips:
- Work as cleanly as possible and keep a damp cloth or sponge handy to wipe up any paste immediately.
- If it’s your first time wallpapering don’t do it alone, especially if you have high ceilings as we do. The long sheets of paper tend to have a life of their own and you don’t want them to accidentally roll up and touch the pasted wall!
- We were really worried about a couple of small bubbles and waves that we just weren’t able to smooth. Don’t worry too much about them as they will disappear when the glue dries!
- Make sure to thoroughly paste the edges of the paper. We missed a couple of spots and ended up having to squash wallpaper paste under the edge with a small paintbrush. It worked but it’s definitely best avoided.
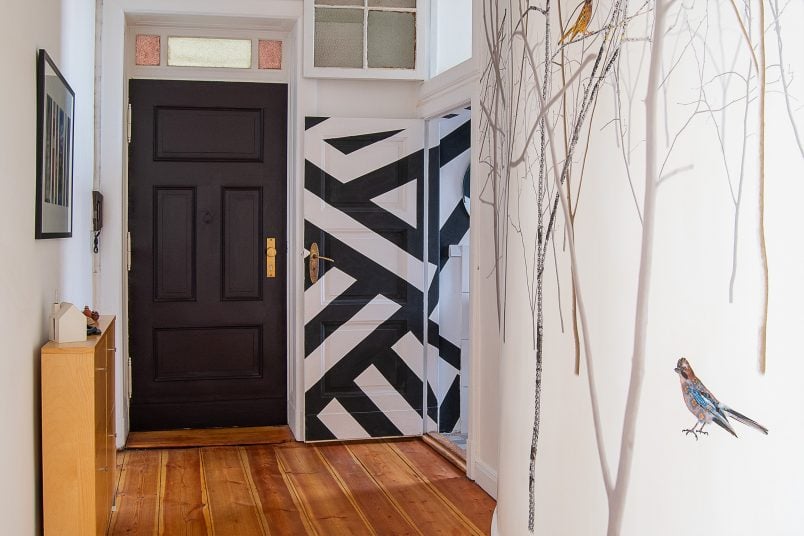
We absolutely love the view into our wall and it really adds some depth and interest to our hallway. The Photowall mural is super high quality and very forgiving when it comes to glueing it to the wall which makes hanging wall murals very easy! We peeled some of our panels off multiple times because we couldn’t get them to line up (I blame the pesky curve!) but the paper is really thick and held up beautifully.
I’m definitely a wallpaper and wall murals convert – not least because of the hundreds of gorgeous Photowall designs I’ve discovered and I’m already thinking of more places to wallpaper! Do you think my niece will let me wallpaper her bedroom with this gorgeous jungle friends paper?
Now for the bit you’ve all been waiting for – a Photowall discount code!
The lovely people over at Photowall have given me a discount code to share with you!
All you have to do is enter “littlehouseonthecorner2020” at checkout to receive a whopping 25% off your order!
The discount code is valid on all purchases until 14 March 2020!
Have you ever considered adding wallpaper to your home? Have you ever tackled a home improvement job that turned out to be easier than you thought? What do you think of our new wallpaper? Which Photowall paper would you choose for your home?
Eina says
Stunning! It works so well with the light, the space, and the high ceilings. And the design gives a dimension that makes your flat look even more connected to nature. and somewhere up high.
I just noticed you really have two halls, aa ‘public; and a ‘private’ nd it looks like an very high wall closet at the end, or is it something else?
Christine says
Thank you so much, Eina! The paper really makes the space come alive and you’re completely right about the connection to nature! I’d not thought about it before!
Yes, we have two hallways and yes, there’s a closet at the end. We leave the door open as there’s a window in it and it lets in some light (our hallway is quite dark most of the time) but originally it would have been where the maid slept! It would have looked something like this
Cx
Eina says
oh, wow, I am shocked about the use of that space. I’ve seen it before and assumed it was for storage like an apartment loft space, but never expected that. Do you also have a high storage space at the other end of the corridor?
About the marvellous wallpaper: the company custom prints each order so it fits the exact height of the space? If so, I just love this use of modern technology.
Christine says
Yes and yes! I was super shocked when I found out what the space was used for, too! Can you imagine? You work a 16 hour day as a maid and that’s where you have to sleep? I’m glad times have changed! Yes, we also have a second storage space at the other end of the corridor – it’s full to the top with tools, supplies and random junk!
The wallpaper is amazing, isn’t it? You’re completely right about how it works. When you order it you put in the measurements of your wall and you can see exactly what it will look like before it’s printed for you. So clever, isn’t it?
Cx
Wendy says
Looks great. And that flooring is incredible!
Christine says
Thanks, Wendy! We’re so happy with how it turned out!
Cx
Karen Kurti says
Looks gorgeous – job well done!
Christine says
Thank you so much, Karen! We’re super happy with it!
Cx