MENUMENU
  • Home
  • About Us
  • Our Favourite Tools
  • Get In Touch

Little House On The Corner

DIY & Home Improvement

MENUMENU
  • Blog
  • Projects
    • Our Favourite Projects
          • Favourite Projects
          • DIY Slatted Garden Fence | Little House On The Corner
          • DIY Slatted Garden Fence

          • Floorsanding In Progress - 16 Grit Paper | Little House On The Corner
          • What No One Will Tell You About Sanding Your Floors (+ How We Did It!)

          • How To Plan And Install Panelling | Ultimate DIY Guide On How To Install Panelling Yourself | Little House On The Corner
          • How To Plan & Install Panelling

    • Home Improvement & DIY
          • Home Improvement Projects
          • DIY Thin Floating Shelves | Little House On The Corner
          • How To Build Super Thin Floating Shelves

          • DIY Log Store | DIY Guide: How To Build A Log Store | Little House On The Corner
          • How To Build A Log Store

          • HOW TO LAY A PLYWOOD FLOOR

    • Craft & Art
          • Art & Craft Projects
          • DIY Pegboard
          • DIY Pegboard

          • DIY Framed Instagram Photo Display | Little House On The Corner
          • DIY Frames Instagram Photo Display

          • DIY Guess Who Game - Setting Out Board | Little House On The Corner
          • DIY Guess Who Game

    • Painting & Decorating
          • Painting & Decorating Projects
          • What To Do When You've Chosen The Wrong Paint Colour (& How To Fix It!) | Little House On The Corner
          • What to do when you’ve chosen the wrong paint colour (& how to fix it!)

          • Kitchen Makeover | Little House On The Corner
          • How To Paint Laminate Kitchen Cabinets

          • DIY Geometric Painted Walls | Little House On The Corner
          • DIY Geometric Painted Wall

    • Free Printables
          • Free Printables
          • House Cleaning Checklist | Free Printable | Little House On The Corner
          • Cleaning Checklist – Free Printable

          • Halloween Book Covers - F0ree Printable | Little House On The Corner
          • Halloween Book Covers – Free Printable

          • DIY Halloween Treat Boxes | Free Printable | Little House On The Corner
          • Halloween Treat Boxes – Free Printable

    • Furniture Upgrades
          • Furniture Projects
          • DIY Herringbone Desk | Little House On The Corner
          • DIY Herringbone Desk

          • DIY Wooden Bench
          • DIY Wooden Hallway Bench

          • DIY Copper Towel Ladder | Little House On The Corner
          • DIY Copper Ladder

    • Outdoor & Garden
          • Outdoor & Garden
          • DIY Slatted Garden Fence | Little House On The Corner
          • How To Build A Slatted Fence

          • How To Lay A Gravel Driveway

          • DIY Logstore
          • How To Build A Log Store

    • Cleaning & Organizing
          • Cleaning
          • Cleaning Checklist - Free Printable
          • Cleaning Checklist + A Free Printable!

          • Ultimate Guide: How To Clean Brass - Ketchup | Little House On The Corner
          • How To Clean Brass

          • DIY Floating Spice Rack | Little House On The Corner
          • DIY Floating Spice Rack

    • Holidays & Festivities
          • Holidays
          • The best mulled wine! (click through for the recipe)
          • The Best Mulled Wine Recipe Ever!

          • DIY Christmas Napkin Rings - Free Printable | Little House On The Corner
          • DIY Christmas Napkin Rings

          • DIY Dowel Tree Advent Calendar | Little House On The Corner
          • DIY Wooden Dowel Advent Calendar

    • Travel
          • Travel Posts
          • Szechenyi Bridge
          • A Weekend In Budapest

          • Riesenrad im Prater Wien | Little House On The Corner
          • A Long Weekend In Vienna

          • Lake Bled
          • 72 Hours In Ljubljana

  • House Tour
        • Our Edwardian House
        • Our Edwardian House (1st Home)
        • Our Berlin City Centre Apartment
        • Our Berlin City Centre Apartment (2nd Home)
        • Take The Tour | Our Art Nouveau Apartment | Little House On The Corner
        • Our Berlin Art Nouveau Apartment (3rd Home)
        • berlin riverside apartment house tour
        • Our Berlin Riverside Apartment (4th Home)
  • Shop
    • The Little Corner Shop
    • Shop Our First Home
    • Shop Our Current Home

How To Remove A Radiator in 8 Simple Steps | Full DIY Guide

  • Facebook
  • Twitter

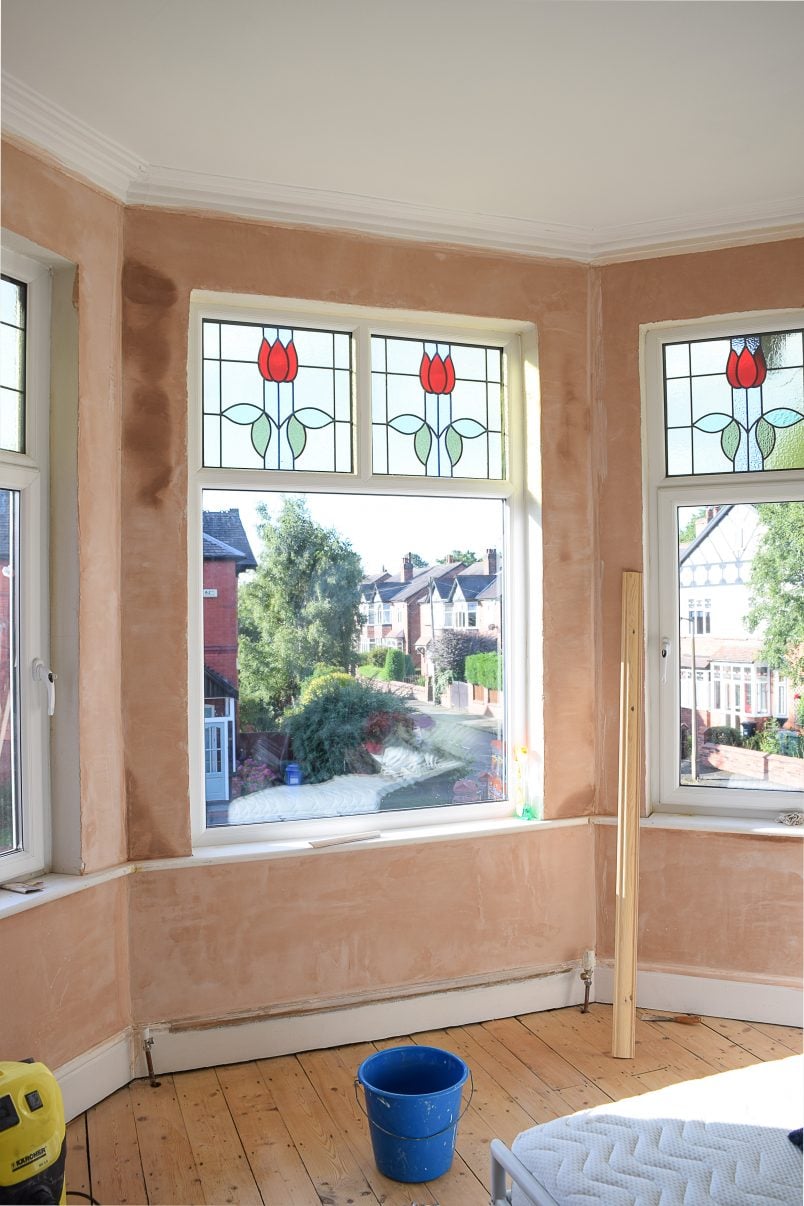
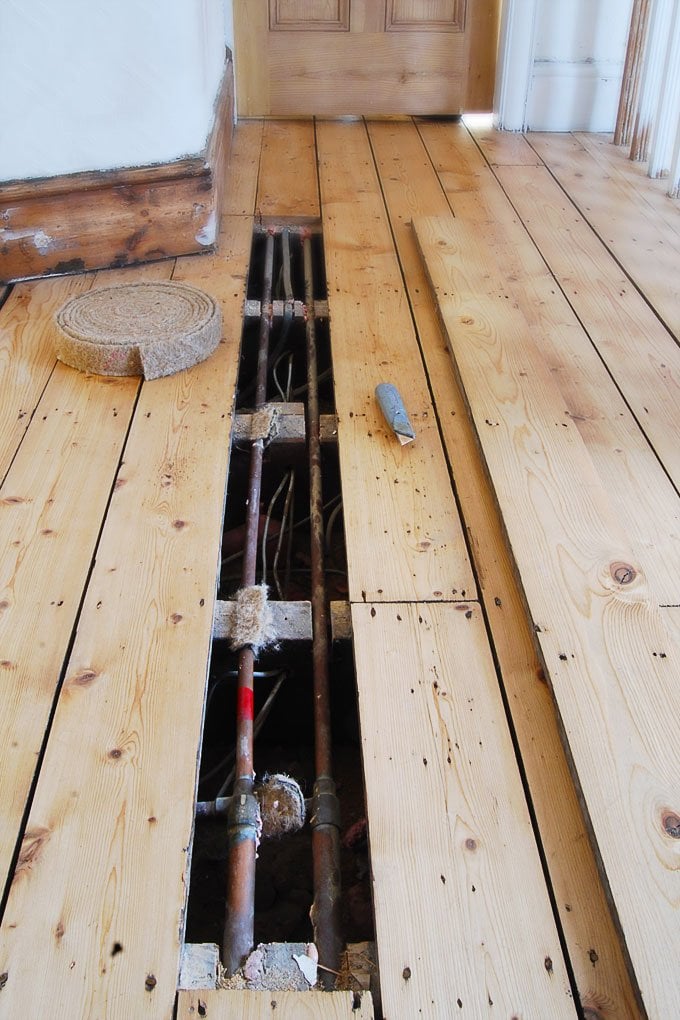
In preparation for having some of our rooms plastered, one of the things we’ve had to do is remove some of our radiators. Surprisingly removing a radiator is actually a really easy and quick thing to do – if you know how to remove a radiator.

Diy Guide - remove a radiator for painting and decorating

These are the tools you’ll need to remove a radiator:

This post contains affiliate links. We only recommend products we love and think that you will, too! Read our full disclaimer here.
  • 2 pipe wrenches or adjustable spanners
  • Compression cap
  • Bowl & bucket
  • Towels or cloths – just in case
  • Radiator key

This is how to remove a radiator:

It doesn’t matter if you’re removing a radiator for painting, plastering or if you’re removing a radiator because you want to switch it out. The steps to remove a radiator from the wall are always the same.

1. Get prepared

Start by turning off your heating and the water cool down. Then get your tools prepared so they’re all within easy reach.

2. The thermostatic valve

Start by turning the thermostatic valve off.

How To Remove A Radiator - DIY Guide

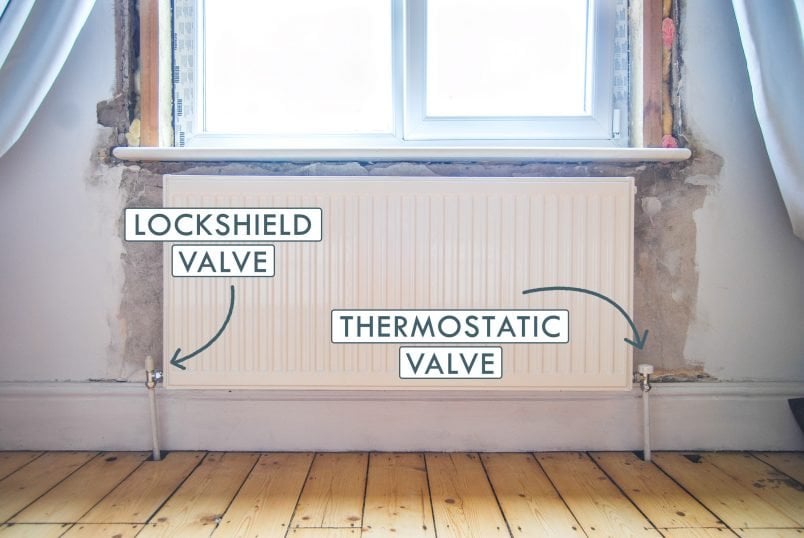
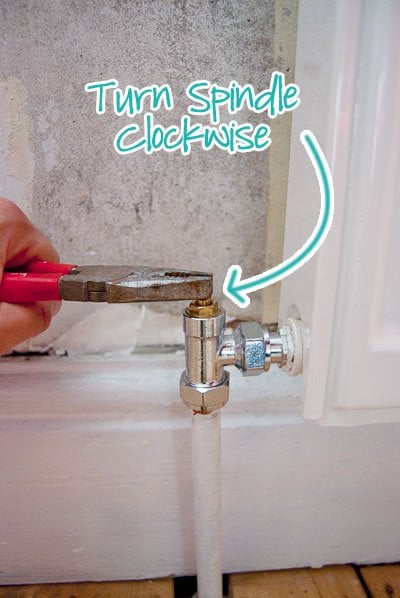
3. The lockshield valve

Now remove the plastic cap off the lockshield valve and turn the little spindle inside it clockwise.

How To Remove A Radiator

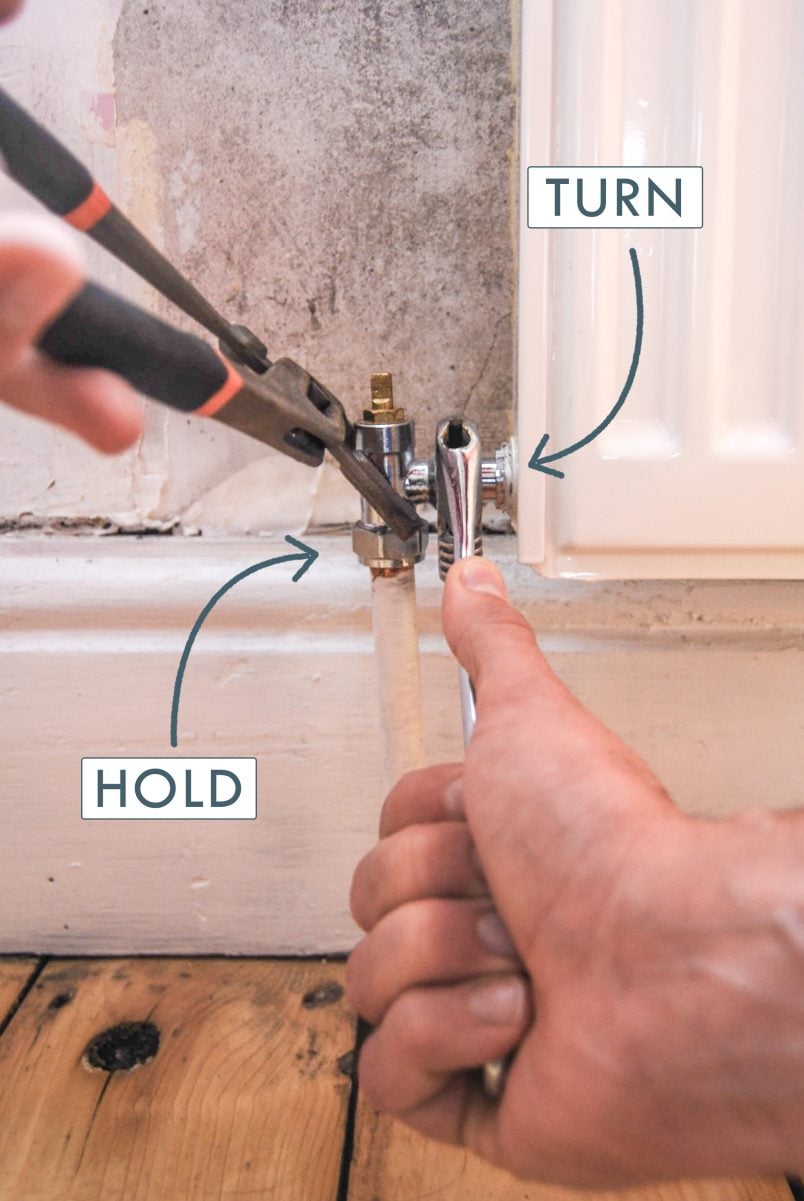
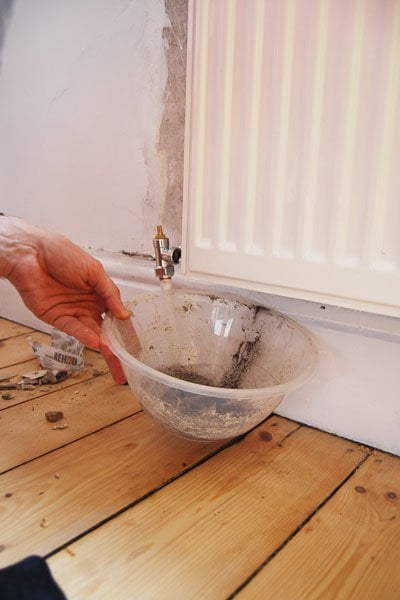
4. Unscrew the nuts & bolts

Using one of the spanners, hold the thermostatic valve in place and use the second spanner to loosen the nut that holds the valve onto the radiator. Have your bowl ready – water will start pouring out of the radiator as soon as it’s loose.

How To Remove A Radiator - Unscrewing Valve

5. Empty the water

Now it’s just a matter of waiting till all of the water has run out of the radiator.

The amount of water in the radiator will be much too much for your little bowl, so this is where the larger bucket comes in handy. Just keep emptying the bowl into the bucket until there’s no more water coming out of the radiator. You’ll obviously have to pop your finger on the opening that the water is coming out of before moving your bowl!

When the flow of water starts to slow, use the radiator key to let some more air into the radiator. Adding air will help the water in the radiator flow out faster.

How To Remove A Radiator

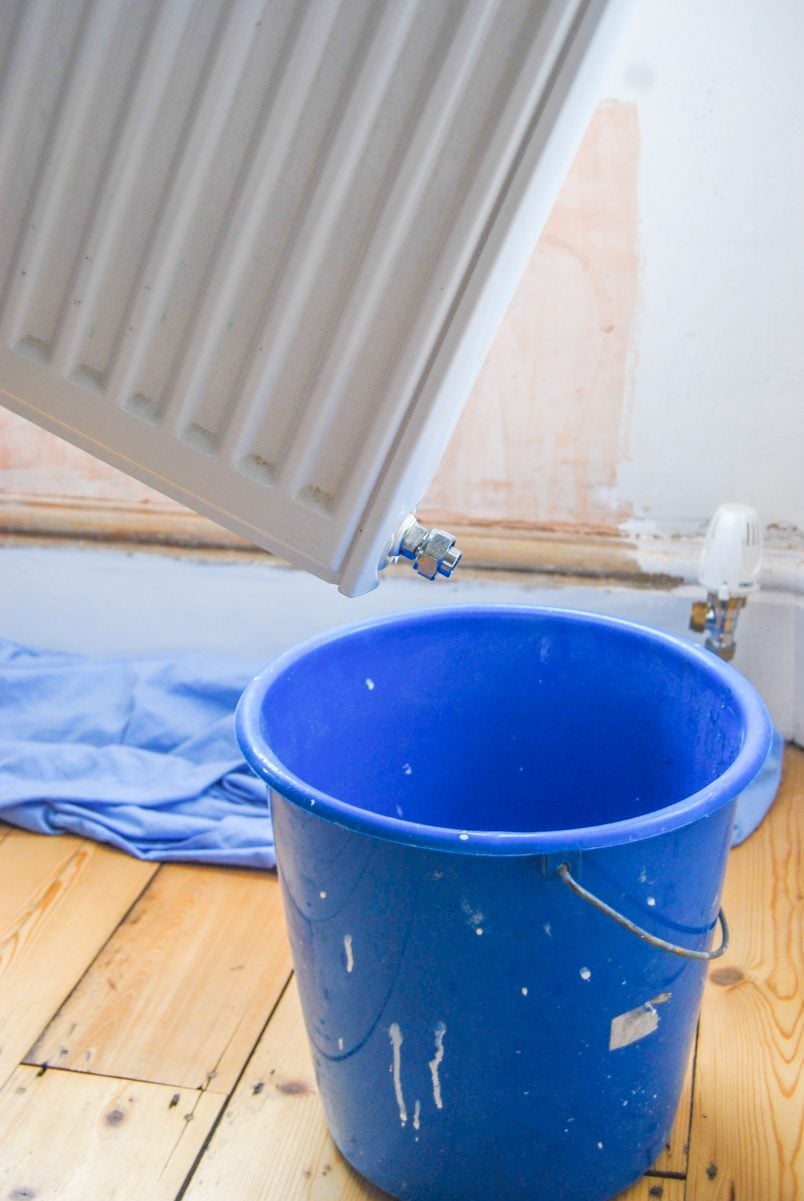
6. Unscrew the other side of the radiator

When the water has finally stopped flowing you can loosen the radiator on the other side. Use the same method as before – hold the lockshield valve in place with one spanner and loosen the nut with the other. Be careful, as there will still be some water in the radiator. Always have your bowl and towel to hand!

7. Remove the radiator

All that’s left to do is to carefully lift the radiator of the wall and empty the remaining water into the bucket.

Emptying Radiator

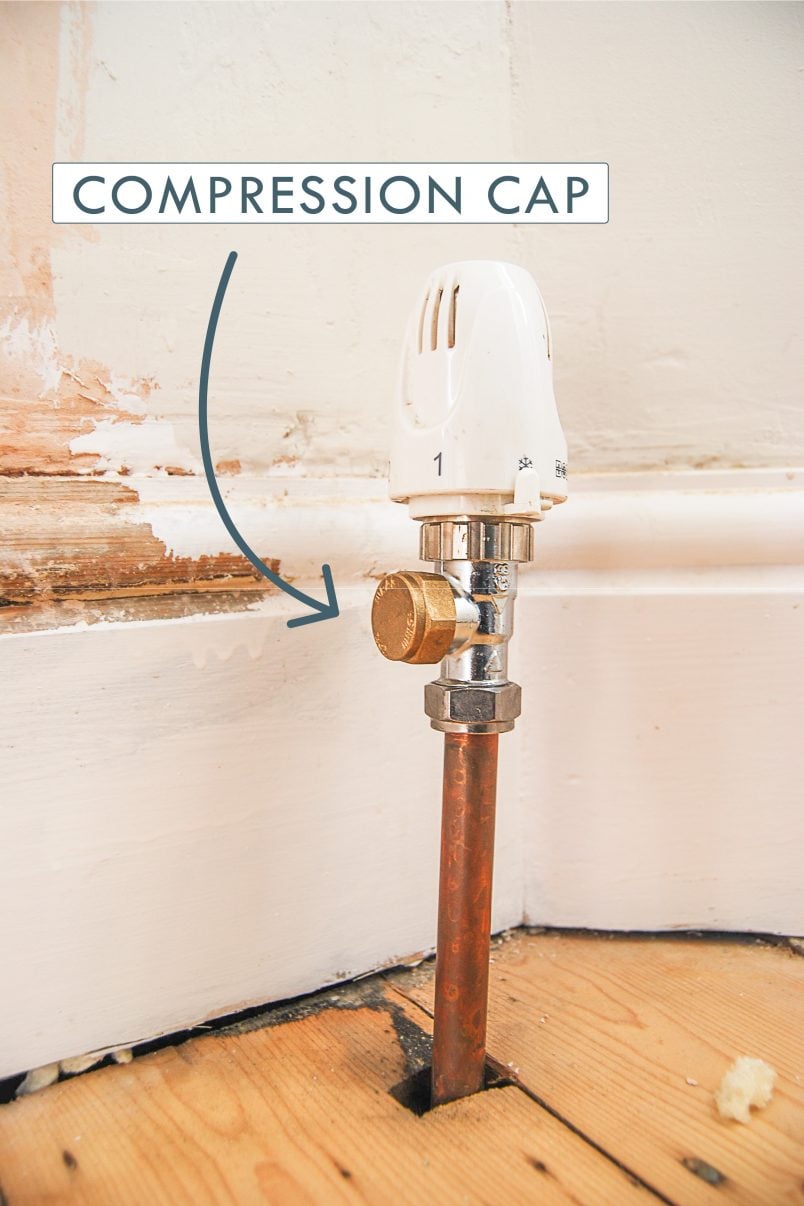
8. Secure the valves

To make sure that no water can escape when your radiator is off the wall (especially if you’re leaving it off for a while) screw a compression cap to the side with the thermostatic valve.

How To Remove A Radiator - Compression Cap

That’s all there is to it. It’s such an easy job that probably took about 20 minutes to complete and – as DIYers – it’s definitely something we’d recommend two people doing as it just makes life much easier when emptying the bowl.

Radiator removed off wall for painting and decorating

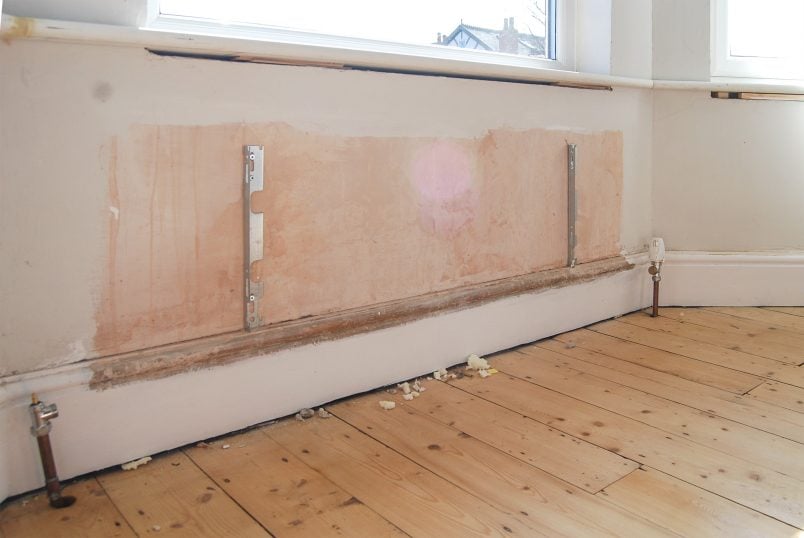
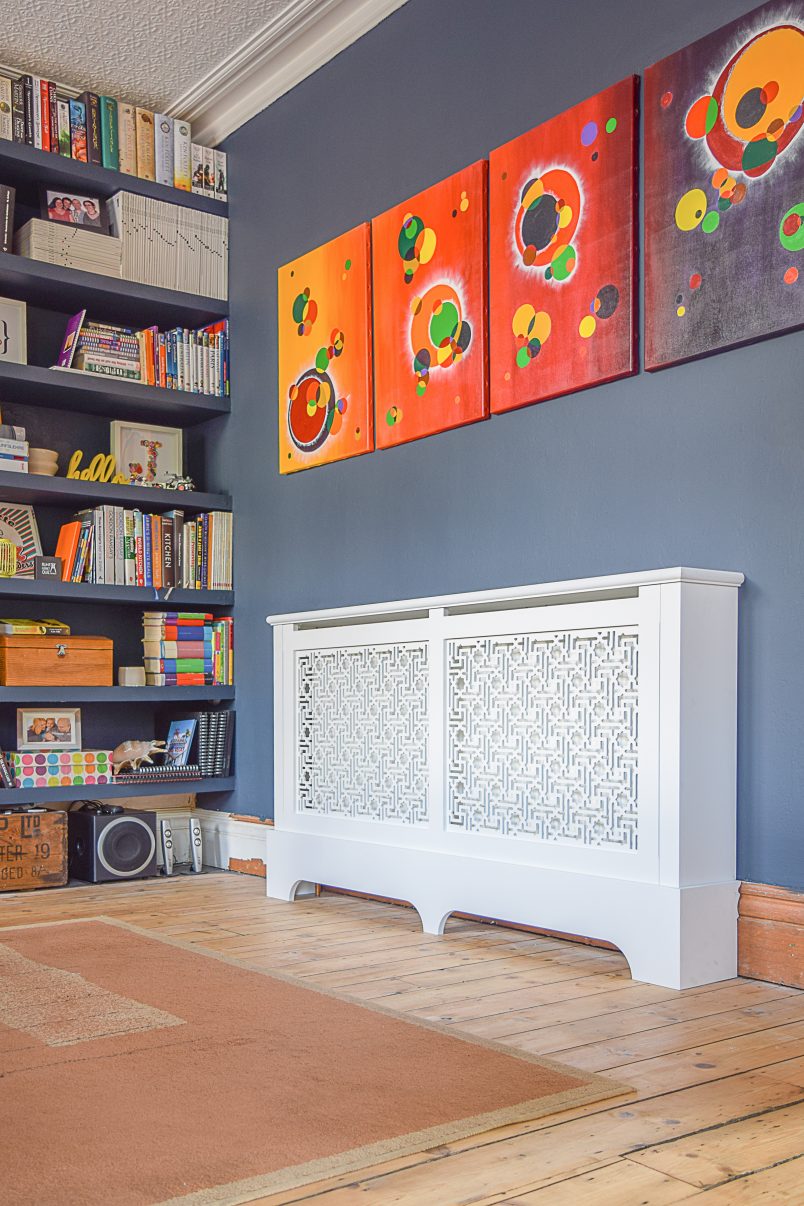
Now we can finally finish painting the wall and skirting board behind the radiator!

Have you ever removed a radiator? Have you ever tackled a project that turned out to be much easier than you expected?

If you like this post, you will love these ones, too!

Jali Besoke Radiator Cover
The Best Way To Hide An Ugly Radiator
How to stop heating pipes making noise
How To Stop Heating Pipes Making Noise
Master Bedroom Makeover | Farrow & Ball Inchyra Blue | Scott Armchair | Little House On The Corner
How To Paint A Radiator
Wood Burner and Dark Blue Walls In Edwardian House
Everything You Need To Know About Having A Wood Burner Installed

Christine 5 Comments

the PAST
the FUTURE

Subscribe To Our Newsletter

Sign up with your email address for secret projects, DIY advice & lots of fun!

Privacy Policy

Leave a Reply Cancel reply

Your email address will not be published. Required fields are marked *

This site uses Akismet to reduce spam. Learn how your comment data is processed.

Comments

  1. Paul martin says

    22/10/2016 at 14:19

    Nice one radiator is off no mess thank you

    Reply
    • Christine says

      22/10/2016 at 22:07

      Fantastic, Paul! Glad it worked well for you!
      Cx

      Reply
  2. Rae says

    17/06/2014 at 13:34

    If you use a large, deep roasting pan or one of those rectangular cheap ones, it fits against the wall and pipe better, and you can just use a cup to transfer water to a bucket when it gets half full instead of stopping the flow and potentially making a mess. Thanks for the tutorial!

    Reply
    • Christine says

      17/06/2014 at 14:04

      That’s such a clever tip! Thanks for sharing it, Rae!
      Cx

      Reply
Painting Checklist

Our Favourite Tools

*Contains Affiliate Links*

Things To Know

ABOUT US

CONTACT US

DISCLAIMER

Privacy Policy

Shop Our Home!

OUR FAVOURITE TOOLS

SHOP OUR HOME

Disclaimer

As an Amazon Associate I earn from qualifying purchases.

Please read our full disclaimer here!

Let’s Be Friends!

Keep Up To Date!

Subscribe for exclusive content and tutorials!

Thank you!

Copyright © 2022 · Little House On The Corner · This Website is powered by Cloudways and the Genesis Framework