Have you ever tried to plan a Pax wardrobe? Planning the perfect wardrobe can feel so overwhelming.
There are what feels like hundreds of components along with hundreds more different design options when it comes to planning a Pax wardrobe and, working out which storage options work best feels almost impossible.
Having just finished installing and extending our IKEA Pax wardrobes, we found out that it’s not as difficult as it initially seems! Once you get to grips with a few basics, you’ll quickly be able to design the perfect wardrobe for your needs, too.
Along with our tips for designing a Pax wardrobe, we’re also sharing 4 Pax design options – including the exact layout that we have – to give you some design options to get the most storage space out of your Pax wardrobe without all of the planning work!
Here are our top 7 tips on how to plan a Pax wardrobe:
1. Ignore the finishes, colours and door design options
When planning the wardrobe, don’t get distracted by all of the design choices and start by working out how you want it to function.
Almost all components are available in multiple finishes and whether you choose a door with a glass panel or a glossy patterned one, a black wardrobe or a white one doesn’t make a difference when it comes to how your wardrobe will actually work for you.
2. Work out what you want to store
Do you just want to store your clothes or will it be more multi-functional with a space for shoes and handbags or even things like towels, bedding and extra duvets?
Do you need lots of hanging space for dresses and trousers or would you prefer lots of shelves to stack things like T-shirts or jumpers?
Work out exactly what you want to store before starting to plan the layout of your wardrobe. This will make it much easier to decide on the type of storage you need and on what will work best for you.
3. Declutter but plan for more
You can never have too much storage space but there’s no point in planning the perfect wardrobe for items you no longer use or wear or use.
Be as thorough and ruthless as you can when having a good sort out. You may even be able to sell some of the clothes you no longer wear to offset the cost of investing in a new wardrobe!
As much as it’s important to plan for the items you have, it’s also important to think ahead. You want to make sure that your wardrobe is at least ¼ larger than it has to be to ensure that you have space to add any new purchases in the future.
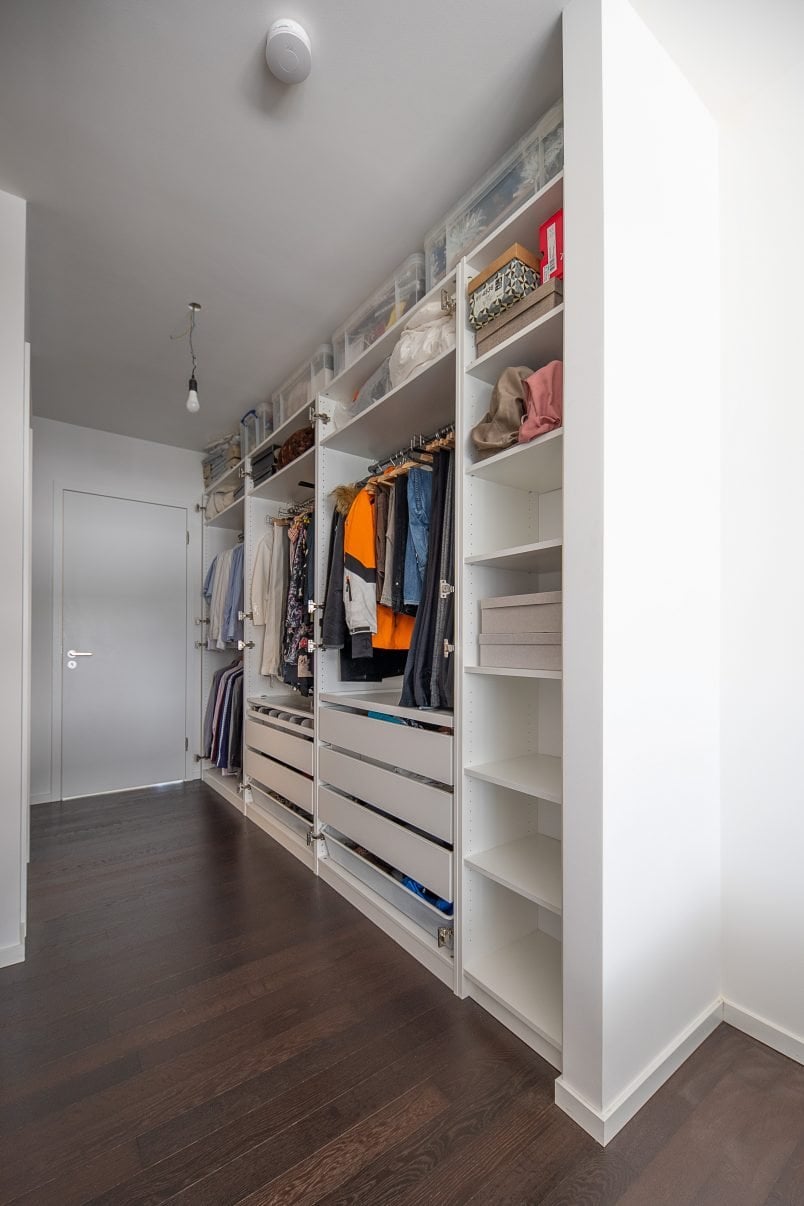
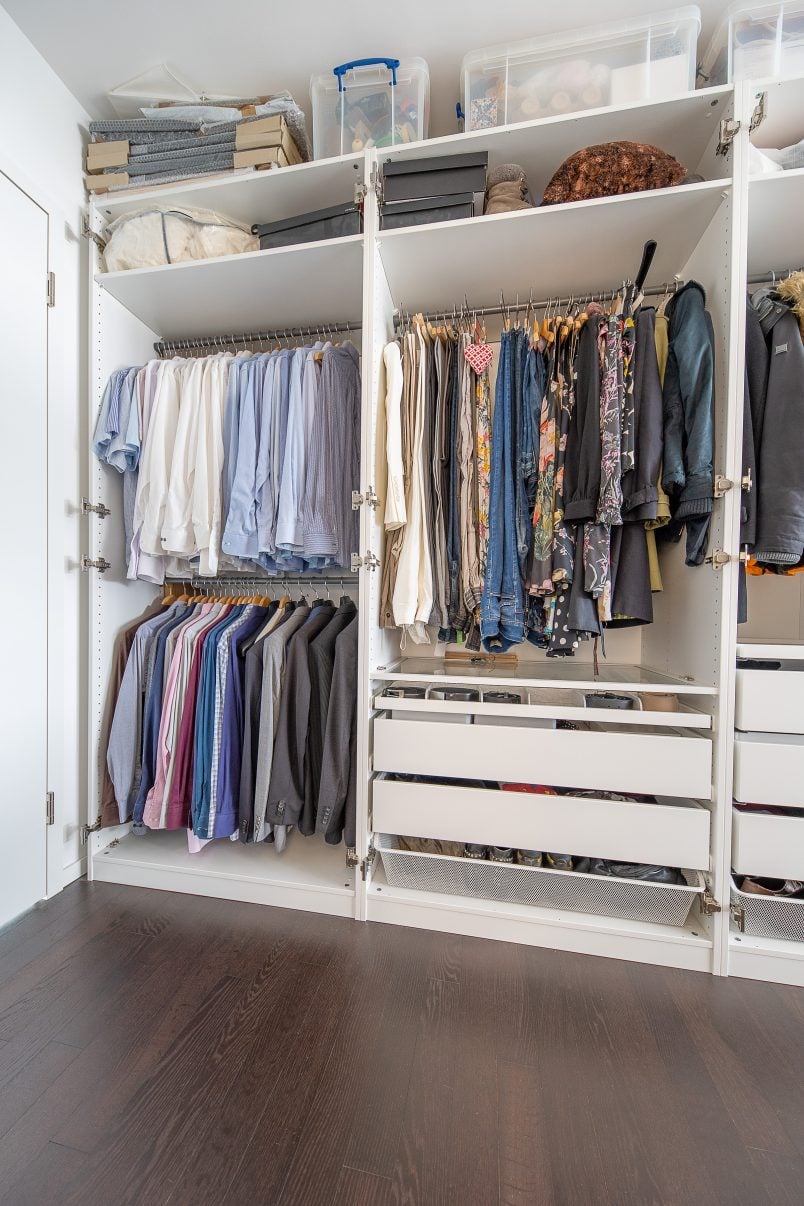
4. Hanging Space vs. Shelf Space vs. Drawers
Planning how much of each type of storage you’ll need is the most important part of planning your wardrobe. Each option has advantages and disadvantages as well as taking up more or less space.
Do you prefer to hang your shirts or do you fold them? Hanging your clothes generally takes up more space than folding and stacking them.
If you hang 10-15 shirts, for example, you’ll use about 50cm rail space but the same amount of shirts only take up 30 cm of shelf space.
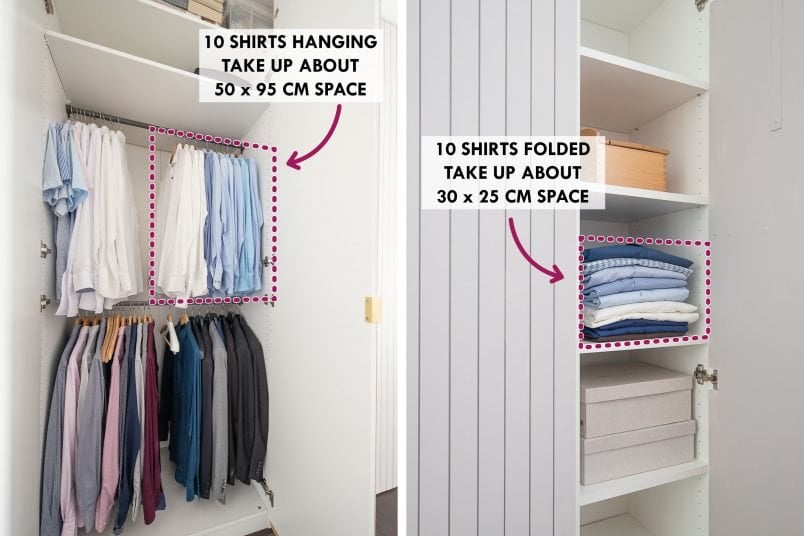
10 folded shirts take up about 0.2m² (30cm x 25cm) but the same amount of shirts on a rail will take up about 0.5m² (50cm x 95cm). That means you’ll need about 2.5x as much space to hang your shirts as you will to fold them.
It’s more practical to store things in drawers that you can pull out to easily access everything rather than having to rummage around at the back of a shelf. We store most of our T-shirts folded in a drawer so that we can have an overview of what’s there at a quick glance.
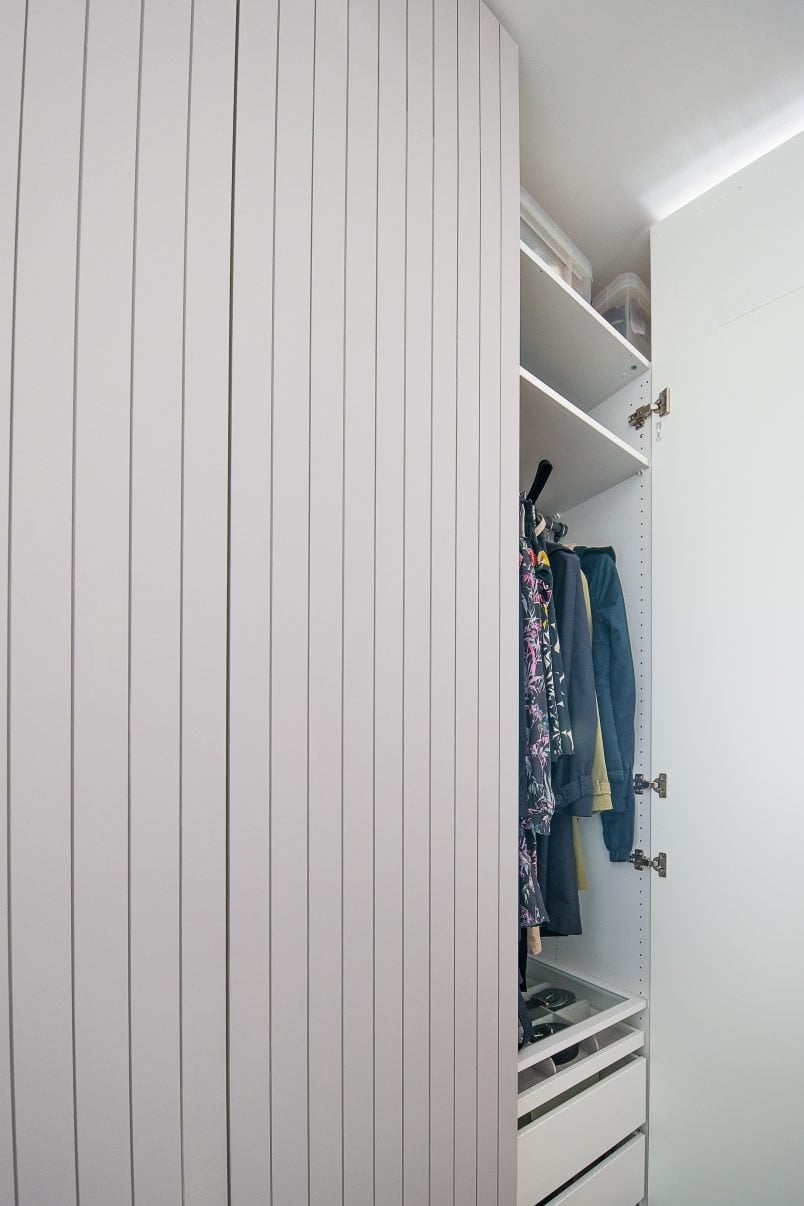
Just remember that when it comes to planning a Pax wardrobe, you can’t have a drawer at the very bottom because of where the hinges for the doors have to be placed – you can have a basket though!
Shelves can be practical, too and they are definitely the easiest way to stick to a budget when you plan a Pax wardrobe as the cost of things like drawers and pull-outs add up quickly.
We find that shelves are great for storing things like handbags and shoes but also bulkier items like throws and pillows.
5. Make The Most Of The Height
How high are your ceilings? How tall are you? We have the taller version of Pax (it’s available in 201cm and 236cm tall) but don’t forget that you’ll need your ceilings to be a bit higher to be able to stand up the wardrobe after assembling it.
I’m quite short, so I can just about reach the top rail in our wardrobe. There’s no way I’d be able to reach anything further up.
We use the top storage shelves for items we rarely use like spare duvets and uncomfortable shoes that we probably should never have bought (just don’t tell Jan!).
6. Extras
One of the great things about the Pax wardrobes is all the fixtures and fittings you can get to personalise your wardrobe to suit your space. When planning your wardrobe, definitely start with the basics like shelves, hanging space and drawers and leave the finishing touches till last.
Most of the “add-ons” are fairly small or slim so you can mostly just add them to the wardrobe without impacting your design or storage space too much.
The pull-out shelves with dividers are practical for storing smaller items like belts and the glass shelves add a classy feel while making it easy to see what’s underneath.
7. Hack it!
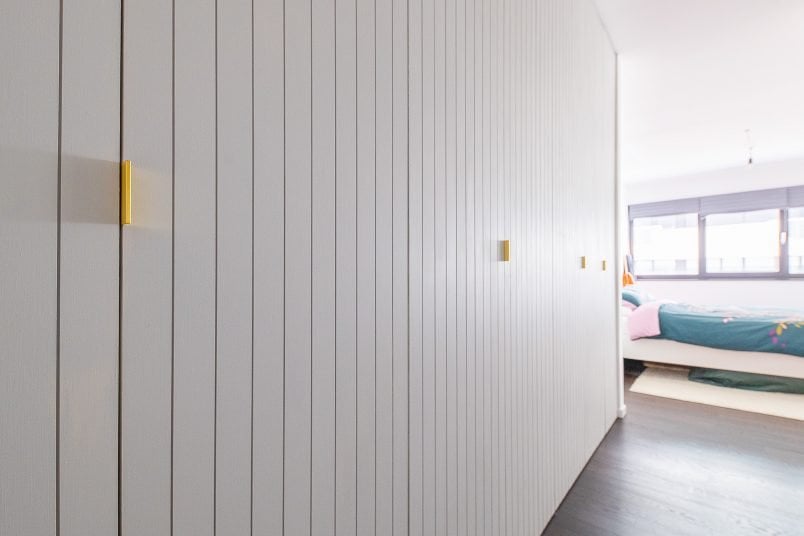
Adding a few bespoke touches to your Pax wardrobe can be a great way to make it work perfectly in your home.
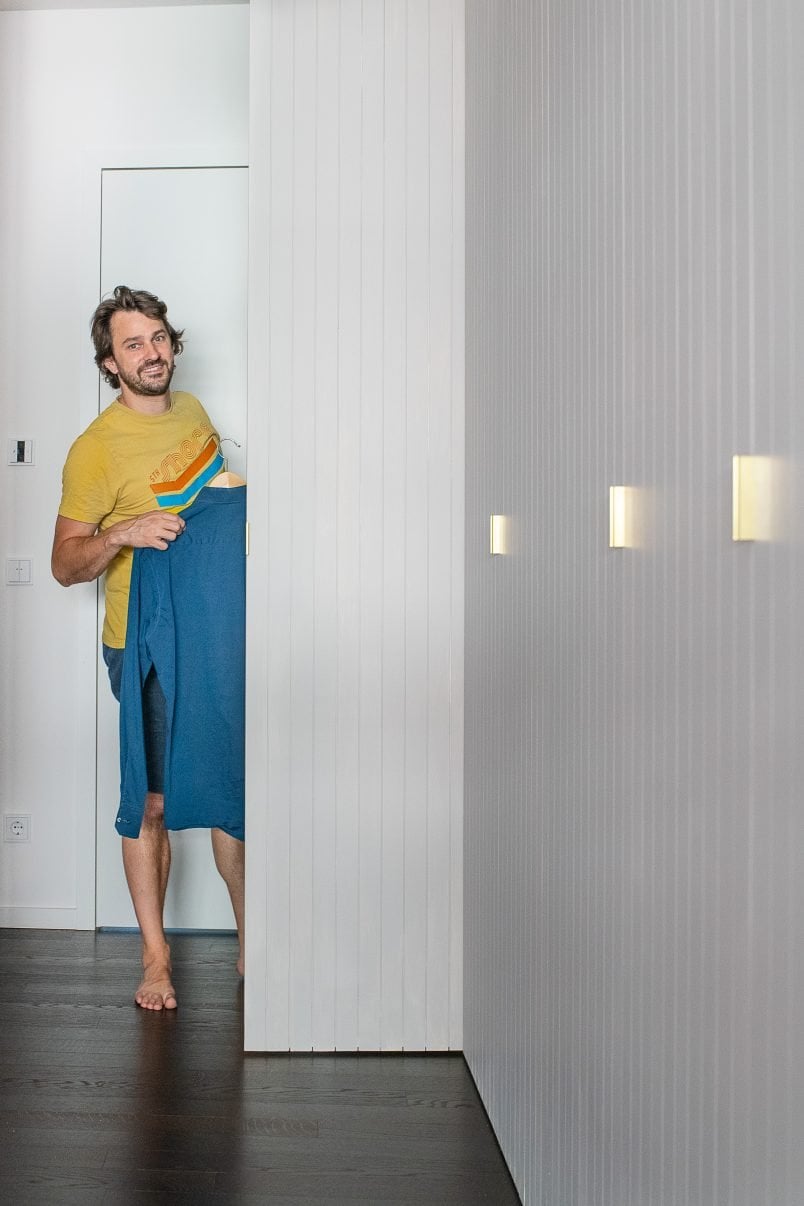
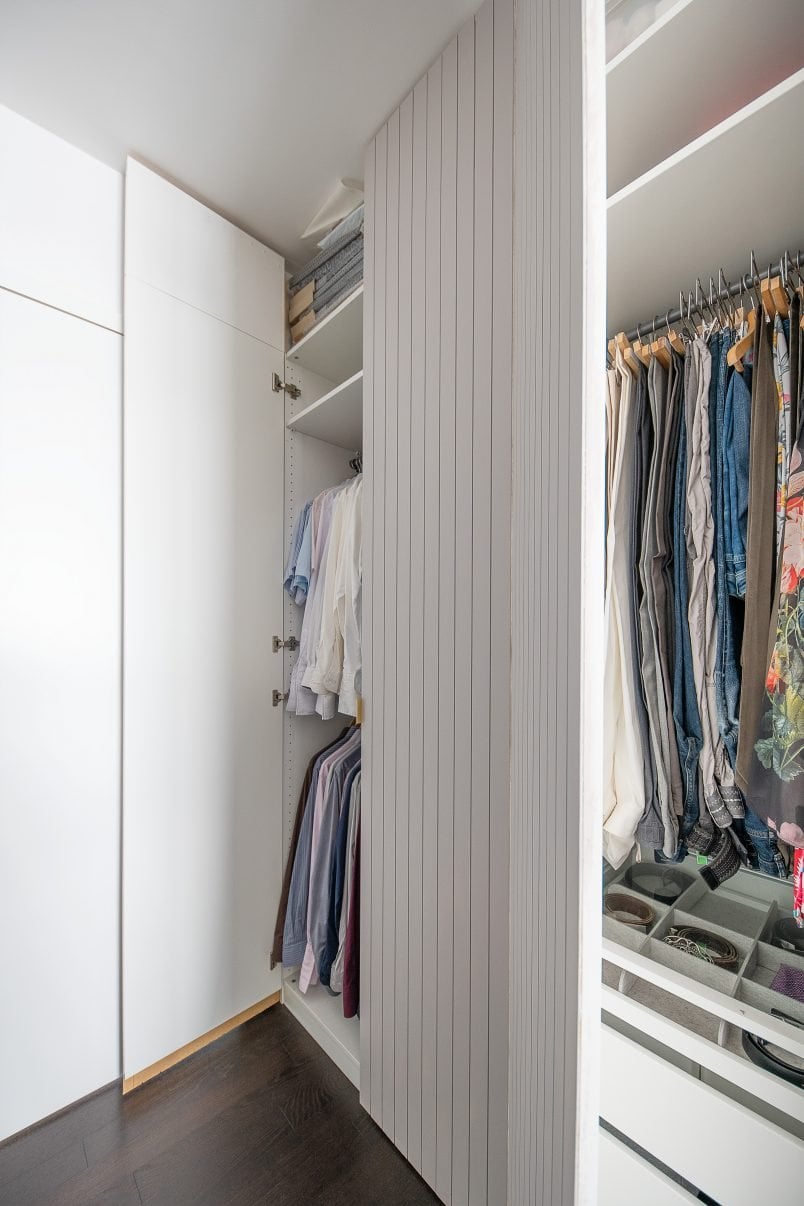
Our extended IKEA Pax wardrobes is one of my favourite projects ever. We added some panelling to the door to extend the Pax wardrobe right up to the ceiling giving us some much-needed additional storage space.
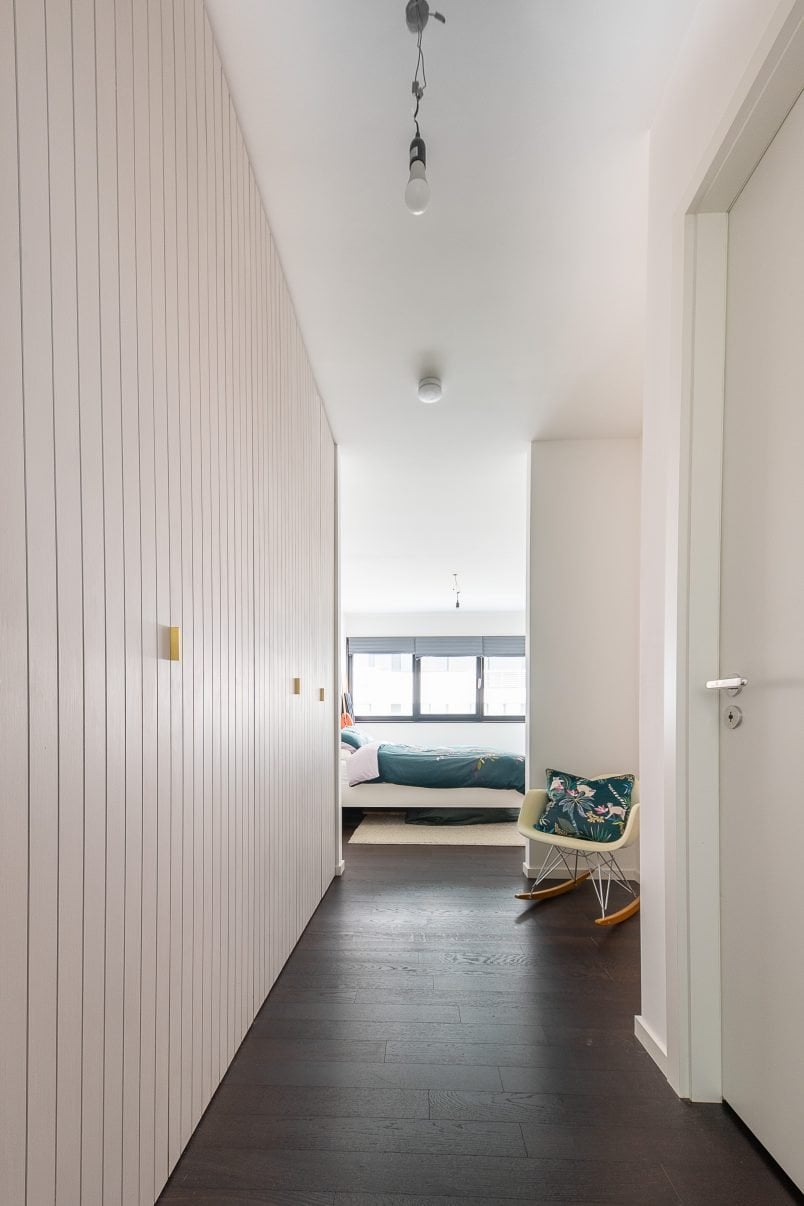
This would also be a great technique to use if you’re installing your Pax wardrobe in a room with a slanted ceiling as you can make it fit the space perfectly without much effort and create more storage space, too!
Here’s where you can read exactly how to extend a Pax wardrobe and how we made it fit perfectly in our alcove.
If you are still wondering about how to plan a Pax wardrobe and feel a bit overwhelmed? We’ve put together 4 design options that will give you a good starting point when planning your wardrobe.
Most importantly though, we’ve included a storage guide with each design option to give you an idea of how much you’ll be able to fit in them!
For Pax wardrobe option 1 – Work, Work, Work – you will need:
2 Pax wardrobe frames (100x58x236cm), 3 Komplement clothes rails (100cm), 1 Komplement mesh basket (100x58cm), 1 Komplement pull-out try (100x58cm), 1 Komplement glass shelf (100x58cm), 2 Komplement shelves (100x58cm) 2 Komplement drawers (100x58cm)
For Pax wardrobe option 2 – Maximum Storage – you will need:
1 Pax wardrobe frame (100x58x236cm), 2 Pax wardrobe frames (50x58x236cm), 1 Komplement clothes rail (100cm), 1 Komplement clothes rail (50cm), 2 Komplement mesh baskets (50x58cm), 1 Komplement mesh baskets (100x58cm), 2 Komplement shelves (100x58cm), 10 Komplement shelves (50x58cm), 4 Komplement drawers (100x58cm), 1 Komplement drawer (50x58cm)
For Pax wardrobe option 3 – His & Hers – you will need
3 Pax wardrobe frames (100x58x236cm), 4 Komplement clothes rails (100cm), 2 Komplement mesh baskets (100x58cm), 1 Komplement pull-out try (100x58cm), 1 Komplement glass shelf (100x58cm), 4 Komplement shelves (100x58cm) 5 Komplement drawers (100x58cm)
For Pax wardrobe option 4 – It’s About The Shoes – you will need
2 Pax wardrobe frames (100x58x236cm), 1 Pax wardrobe frame (50x58x236cm), 3 Komplement clothes rails (100cm), 1 Komplement mesh basket (100x58cm), 1 Komplement pull-out try (100x58cm), 1 Komplement glass shelf (100x58cm), 2 Komplement shelves (100x58cm) 2 Komplement drawers (100x58cm), 6 Komplement shelves (50x58cm)
What would your perfect wardrobe look like? What’s your favourite thing to buy at IKEA? Do you find that you never have enough storage space, too?
Leave a Reply