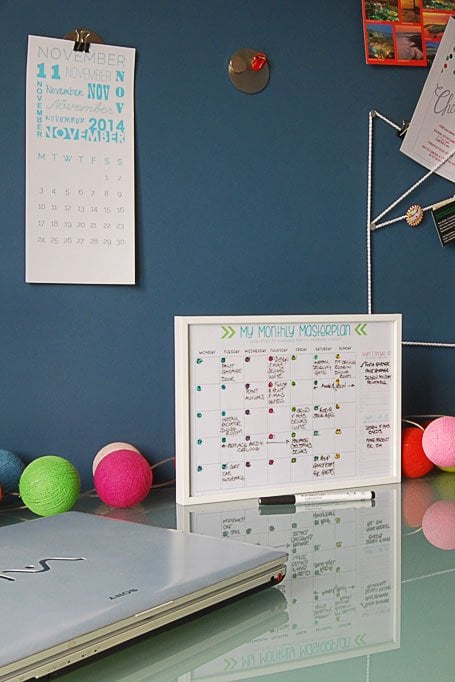
A while back we shared a few of the ways we like to stay organised and by now you’ve probably already guessed that I’m a list-keeping kind of person.
For us, lists are a vital part of keeping on top of things. I love them and always have a few on the go. They help me stay organized and on track, but most importantly they’re a place for me to mind dump.
In an attempt to be even more organised, this year I’m going to try to keep my list down to just one or two at a time.
Of course, our building projects have their own dedicated lists and we also have a very long general overview list of house-related jobs, but to keep on top of the day-to-day jobs I like to have a pen and paper list lying around that I can quickly add tasks to as and when I remember them.
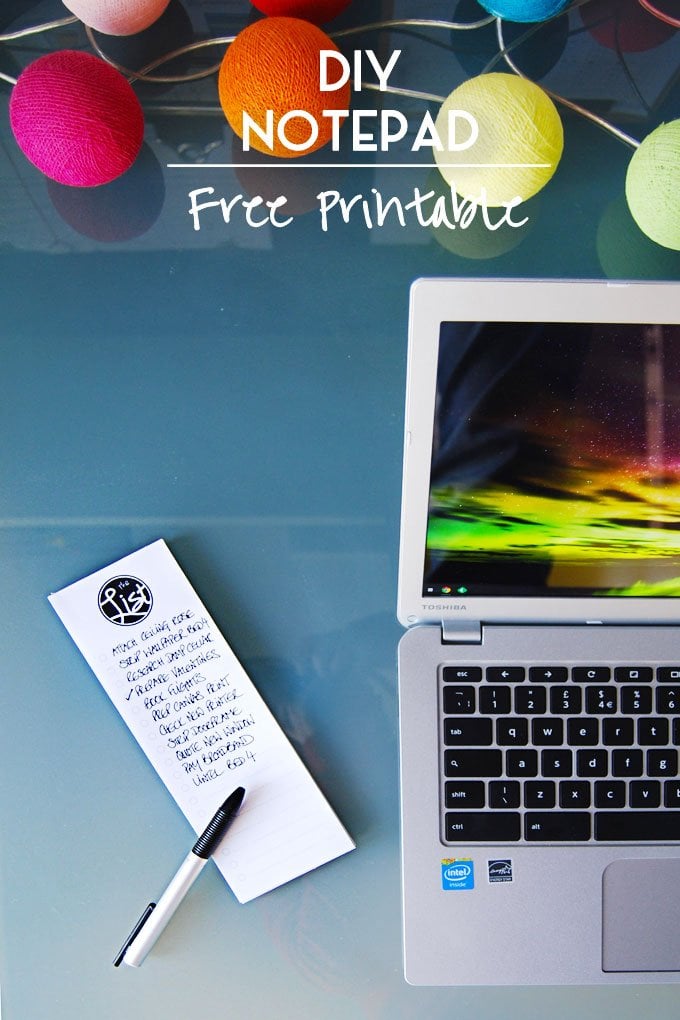
Although there are a million great notebooks and notepads already available, we thought it would be fun to create our own to-do list notepad.
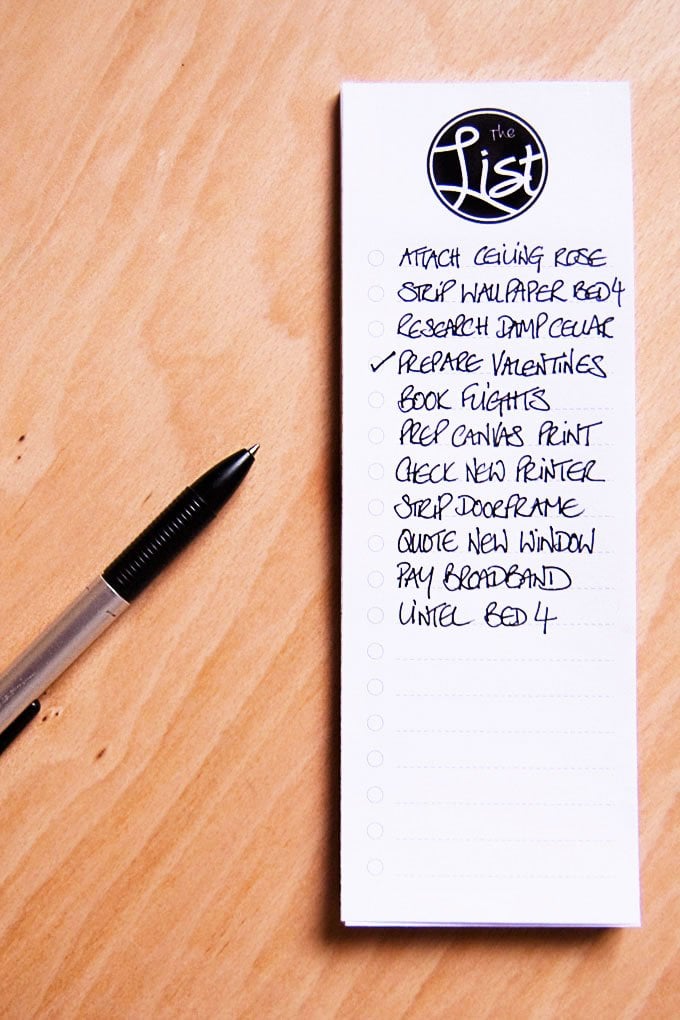
It’s a fairly minimalist and unfussy design with 18 lines for your to-do notes and a little box to check when you’ve completed the task. It’s about the list after all.
If you’d like to make one of your own this is what you’ll need:
This post contains affiliate links. We only recommend products we love and think that you will, too! Read our full disclaimer here.
- Paper (plain white printer paper will do)
- Printer (we used our standard home printer)
- Template (you could design one of your own or just download our free template here)
- Craft knife & ruler
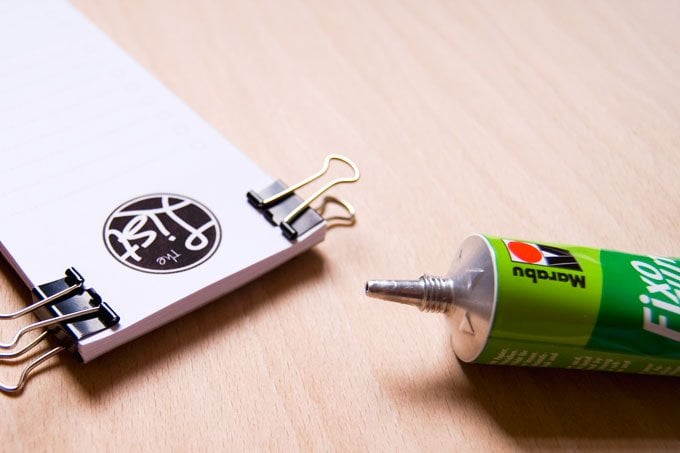
- Rubber cement (we used Fixogum rubber cement)
- Thick card for the back of the notepad
- Bulldog clips (or any others to hold your paper together while cutting and glueing)
This is how to make a DIY Notepad:
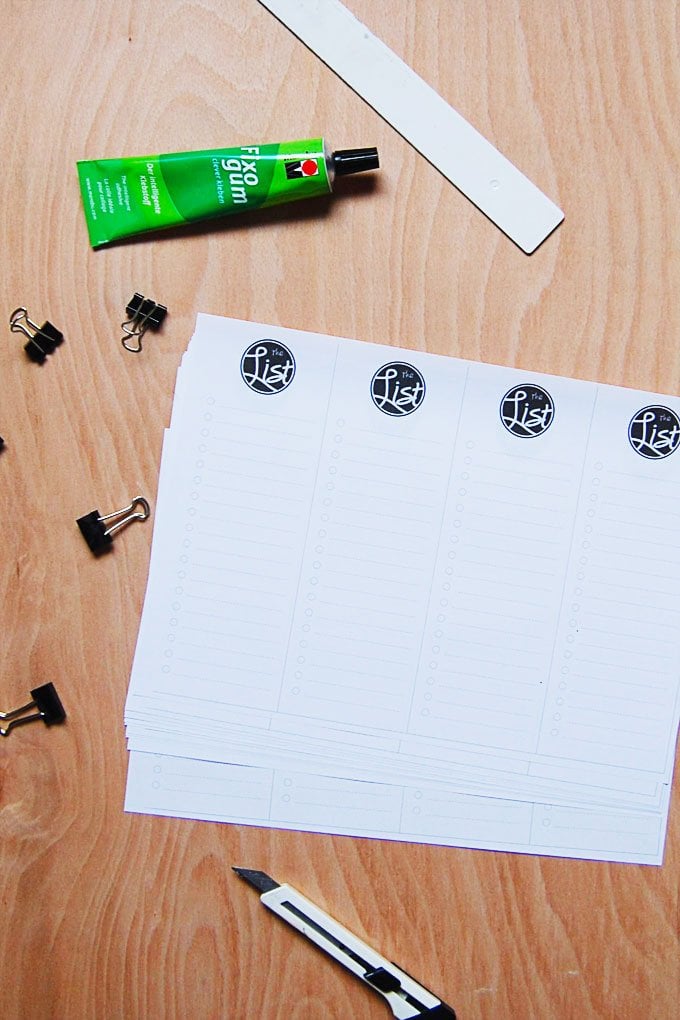
1. Start by designing your notepad template or downloading our printable here. To save paper and have a notepad that’s a practical size, we designed ours so that 4 notepad pages fit onto one piece of A4 paper.
2. Print your template onto some standard A4 printer paper. About 10 times should be enough, but you can, of course, print more or less depending on how thick you’d like your notepad to be.
3. Clip your sheets of paper together with a bulldog clip so that they can’t move and then cut your sheets to size with a craft knife and ruler. Depending on how sharp your knife is and how many pages you’re cutting, you’ll probably need to cut a few times to cut through all sheets.
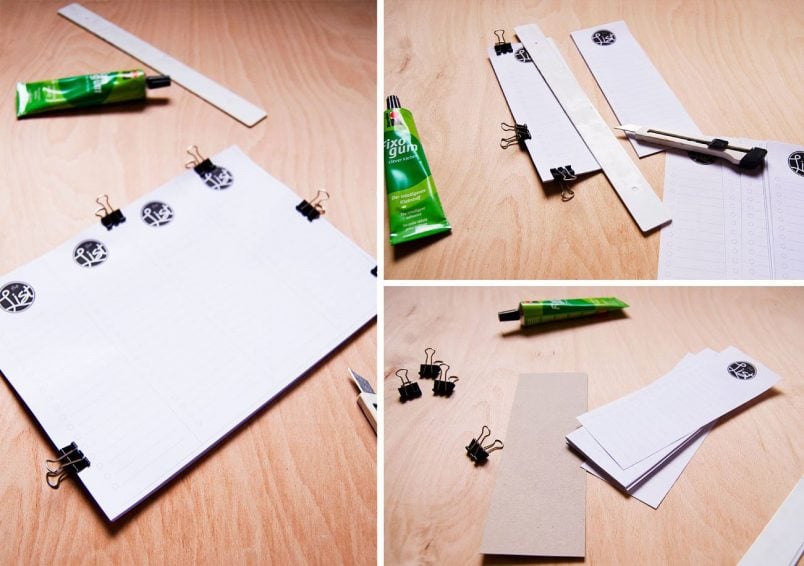
4. Cut a piece of thicker card for the back of your pad. Make sure it’s exactly the same size as your individual sheets of notepad paper.
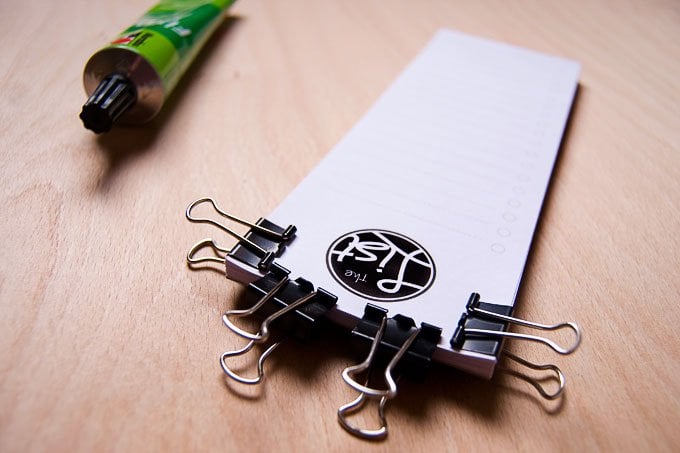
5. To achieve the typical tear-off pages of a notepad, we glued the pages together with some rubber cement. Clamp the pages and back of your notepad together, making sure that the top of your notepad is completely level and firmly pressed together. Then apply a coat of the rubber cement to the top of the paper.
Add some more clips to make sure that the layers of paper are completely pressed together and let the glue dry.
When the glue has dried, apply another layer of rubber cement to the top of your pad.
6. Now all you have to do is wait for the glue to dry and then remove the clips from your finished notepad.
I’ve already been using the notepad a lot and it’s great for keeping track of things that keep me busy. I always have it lying next to me on the desk, but you could attach a magnet to the back and stick it on the fridge, too. Or you could design personalised notepads as gifts for friends and family.
How do you stay on top of the jobs and projects you have to do? Are you a list keeping kind of person?
Devx says
I was using this useful list for 2 years then I lost your website I was about the freak out. This list is my favorite list to use thanks for sharing.
Christine says
Ohh, thank you so much! Glad to hear you like it!
Cx