The difference that a coat of new paint can make never ceases to surprise us. It’s one of the quickest and easiest DIY jobs that you can tackle, but in order to achieve a professional and flawless finish, there are a few things that you should consider.
As we get asked a lot of questions about how to paint things, we thought it would be a good idea to share a painting FAQ with you and today we’re starting with the basic prep work and tools needed.
Before you start
Where do I begin?
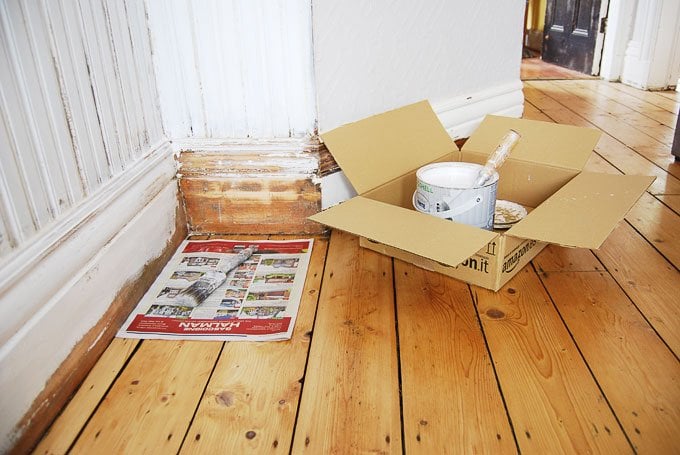
Start by getting everything prepared. It may not be the most fun, but it’s really important not to underestimate the importance of getting everything sorted. Get your tools and supplies ready and make sure the surface you’re painting is prepared.
We like to use an old cardboard box to place all supplies in while painting. That way you have everything together and it’s easy to move the box around so that it’s always where you need it.
How do I prepare my woodwork/walls/radiators/doors etc. for painting?
The most important steps when painting are cleaning and sanding! No matter what you’re going to paint, it’s important to make sure that the surface is sanded and dust-free so that there’s a suitable key (grip) for the new paint. Don’t skimp on prep if you want a good paint finish.
Are there any other preparations that I should carry out?
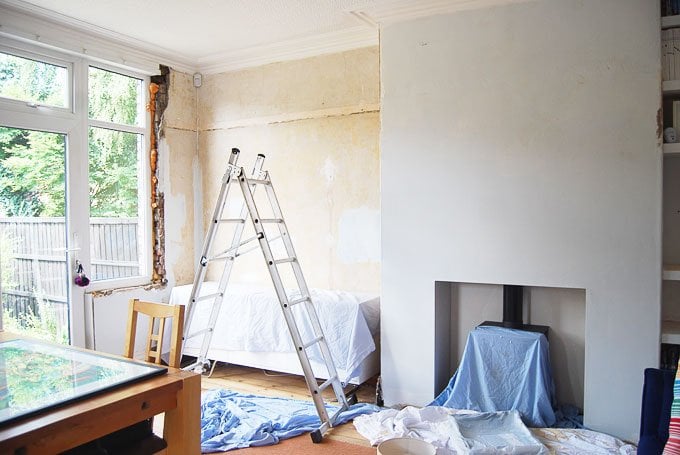
Cover your furniture, move rugs and cover the floor (especially if you’re painting ceilings!). Loosen or remove sockets and tape off any outlets, frames, etc. that you can’t remove.
Must-Have Tools & Supplies
What tools will I need?
Exactly what you’ll need will depend on the job you’re tackling and the kind of paint you’re using. There are so many tools available that you can easily spend a fortune on things you’ll never use or just lose track of everything you have. These are the tools that we have and that work for us.
This post contains affiliate links. We only recommend products we love and think that you will, too! Read our full disclaimer here.
#1 Brushes
For water-based paints, synthetic brushes work best, for oil-based paints a natural bristle should work best. There are however brushes that are okay to use for both types of paint, so always check the manufacturer’s label.
We’d always recommend buying good quality brushes. They last much longer than the cheaper ones (if you take care of them of course) and make painting much easier as they tend to hold the paint better and not lose bristles when painting – which can be really annoying. We personally have multi-purpose brushes – it just saves you from buying everything twice.
As a starting point, we’d suggest having a small selection of brushes in different sizes. You can always add to your collection at a later date if you find you need something else.
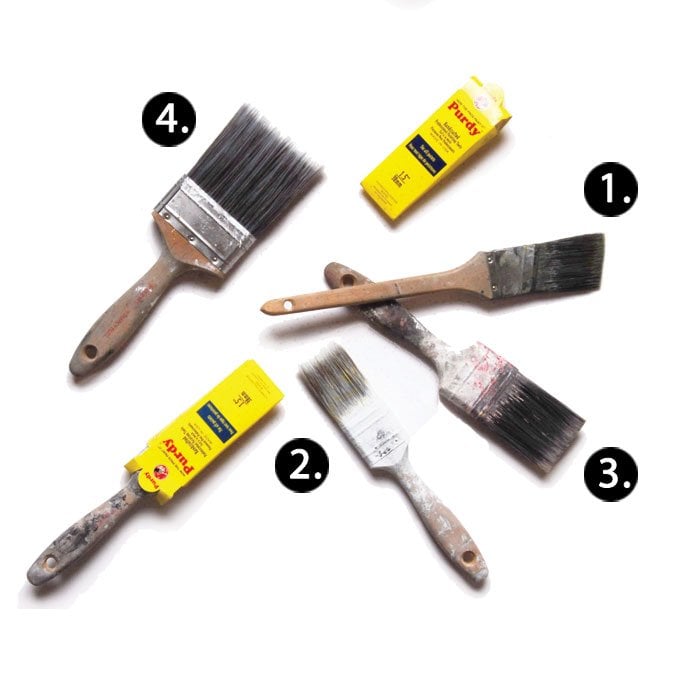
These are some of the ones that we have, use and are happy with:
1. Purdy Angled Brush 1.5”– Great brush for cutting in, great for painting woodwork and small areas.
2. Purdy Small Brush 1.5” – Smaller standard-sized brush, great for cutting in or painting smaller areas of both walls and woodwork like doors or touching up walls or furniture.
3. Purdy Medium Brush 2” – Larger-sized standard brush, great for painting larger areas like small walls.
4. Purdy Large Brush 3” (Optional) – We rarely use this large brush, but it is handy for quickly painting a medium-sized wall without having to get out a roller.
#2 Rollers
As a general rule, the longer the pile on the roller, the more texture the paint finish will have and the shorter the pile the smoother the finish will be.
We have a medium-sized short pile roller (we do also have a long pile one that we’ve only used once or twice) that we use for all interior walls and ceilings. Don’t forget that you’ll also need a holder for the roller and probably an extension pole, too.
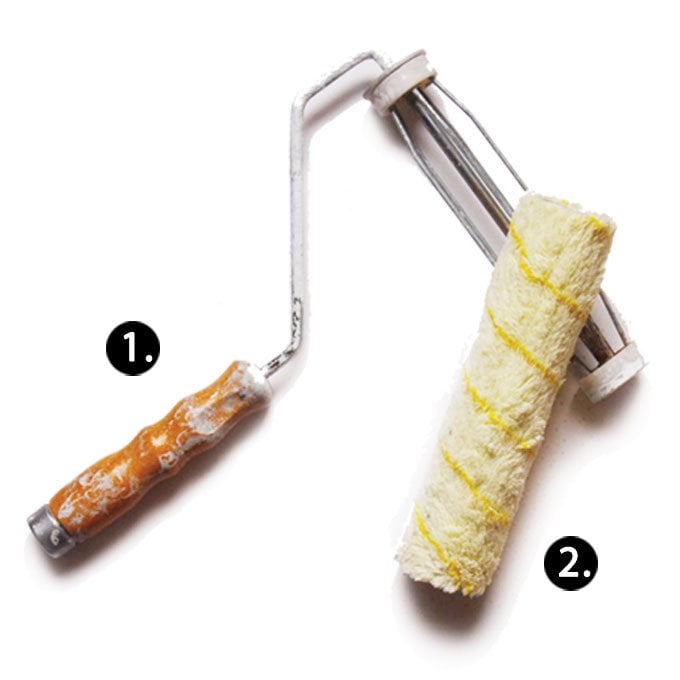
These are the tools that we have and use:
#3 Tape
We usually have 2-3 different types of masking tape, which may sound excessive but bare with us.
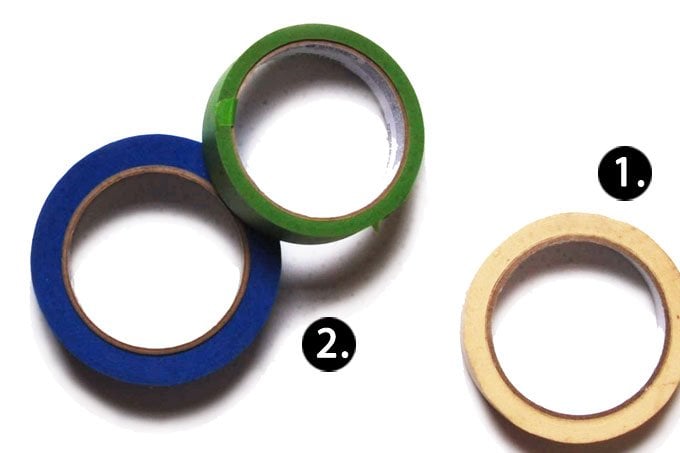
1. Cheap Masking Tape
We always have one really cheap roll of masking tape lying around. It’s great for temporarily taping dust cloths together or into place. It’s pretty useless for taping off areas on the wall though.
2. Frogtape &/or ScotchBlue
These are our two preferred tapes for taping off skirting boards, door frames, etc. It’s much more expensive than the cheap rolls of masking tape, but it does work much better. It’s also much better for achieving perfectly straight edges or stripes.
#4 Cleaners
Brush Cleaners. If you’re painting with solvent-based paints you’ll need a turpentine substitute or white spirit to clean the brushes when you’ve finished painting.
Old Rags. Just always keep old T-Shirts, bath towels etc. They’re perfect for wiping up any mess.
#5 Other Stuff
Roller tray. This is a must if you’re planning on using a roller. Pour the paint into the deeper part, dip your roller into it and then roll it over the ridged surface of the tray to evenly distribute the paint on the roller.
Plastic Bags or Bin Liners. Before adding paint, put your tray into a plastic bag. This way, when you’ve finished painting, you can just remove the dirty bag and your tray is completely clean.
Bags also come in really handy when you want to take a break. Just wrap your roller or brush tightly in a plastic bag to stop the paint from drying. We’ve even used this technique successfully when leaving our brushes overnight. Just don’t leave them too long, as your paint will still start to dry and make cleaning your equipment really difficult (or impossible).
Filler. Inevitably at some point, you’ll find a few holes that you’ll need to patch. For everything that we’ll be painting, we use this Red Devil Onetime Filler. The only time we use something else is occasionally when we’re filling holes in woodwork that we’re not going to paint.
Sandpaper. This is one item that you absolutely can’t do without. It’s one of the most essential tools you need when painting. We always have a selection of different grades of paper in our toolbox.
Caulk. Any gaps between the skirting board or around door frames will probably need filling. It’s important to fill them using acrylic caulk and not silicone as you can’t paint over silicone.
Ladder. Another tool that you can’t do without. When we first bought our house, we invested in a slightly more expensive ladder that can also be used as a platform.
We love the platform ladder that we have, as it’s so versatile and is particularly great when painting higher areas like cornicing and ceilings. and can be adjusted for a platform on stairs (which doesn’t work for us as our staircase isn’t wide enough).
So, you mentioned there are tools shouldn’t bother getting?
It’s obviously personal preference, but these are a few of the things we’ve bought but only ever ended up using once.
Brush Comb. For us, this seemed pointless. It’s almost impossible to get it through the bristles and overall just didn’t seem to make cleaning the brushes any easier.
Large Roller. This is a totally optional purchase, especially if you already own a medium-sized roller. Having a larger roller also means that you need a larger roller holder and possibly a larger tray, too. If you’re on a tight budget, this is an area where you can definitely save some money.
Little Paint Kettle. More to clean and messy to fill. If you do want a little container to carry small amounts of paint, we’d suggest using a clean old jar (and if you keep the lid, you can close the jar, too).
What are your must-have painting tools? Do you have any painting tips to share? Have you ever bought any tools or equipment that you wish you hadn’t bothered with?
Leave a Reply