Although our office is by far the smallest room in our house, it is one of the rooms that I spend most of my time in.
In the last year, the amount of work I do here has increased along with a load more paperwork that we have to keep on top of.
Staying organised in such a small space is essential, but with chaos slowly starting to take over, we had to come up with a better system to be able to keep on top of things.
In an attempt to stay organised and manage the day-to-day planning of our home improvement projects and blog, we had to come up with a solution that made it easier for us to keep an overview of the tasks ahead.
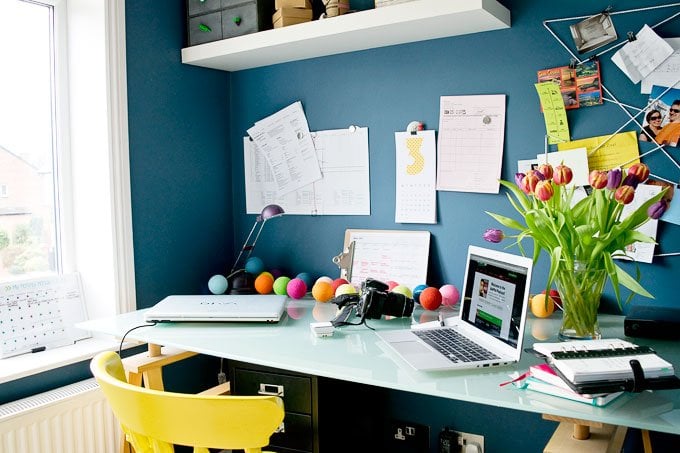
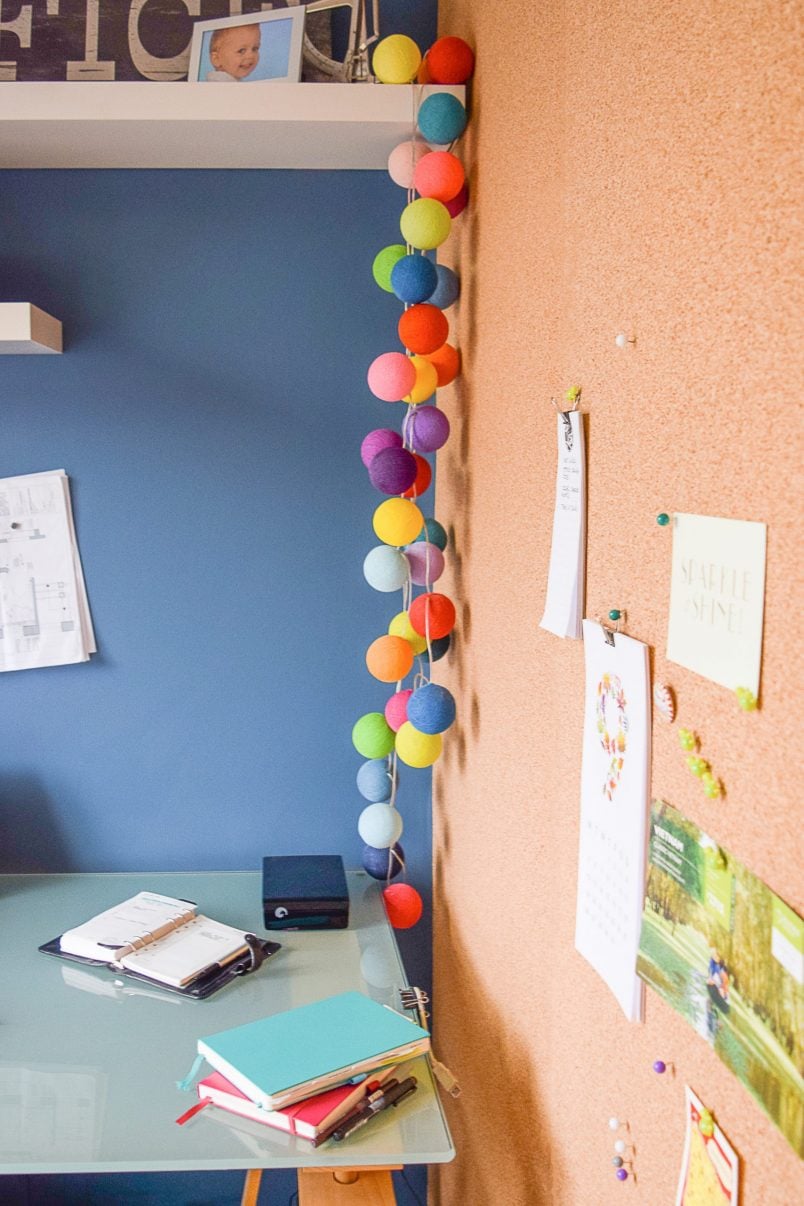
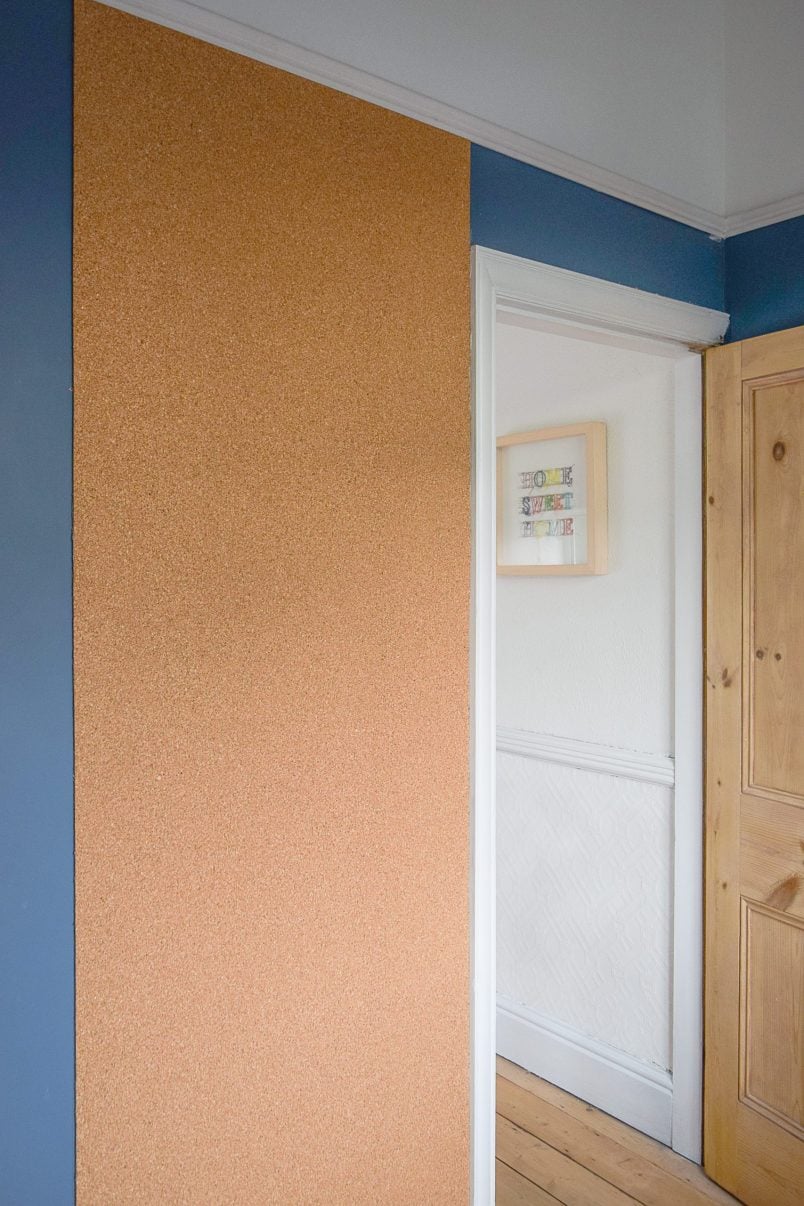
As we can’t magically make our office bigger, we’ve gone vertical and have installed a corkboard wall – but not just any corkboard wall.
Because of our small space, we knew that a standard corkboard wouldn’t cut it for us, so we went big and covered the whole wall in cork!
Not exactly a high-tech solution, but our DIY corkboard wall works well!
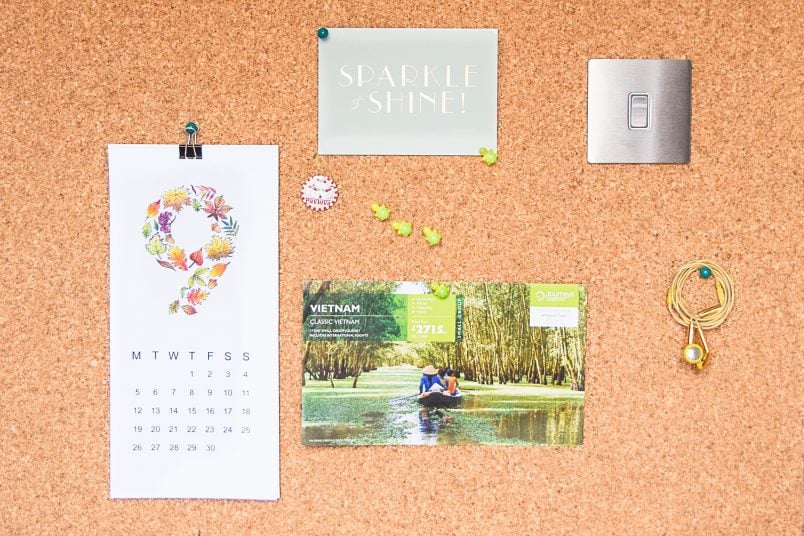
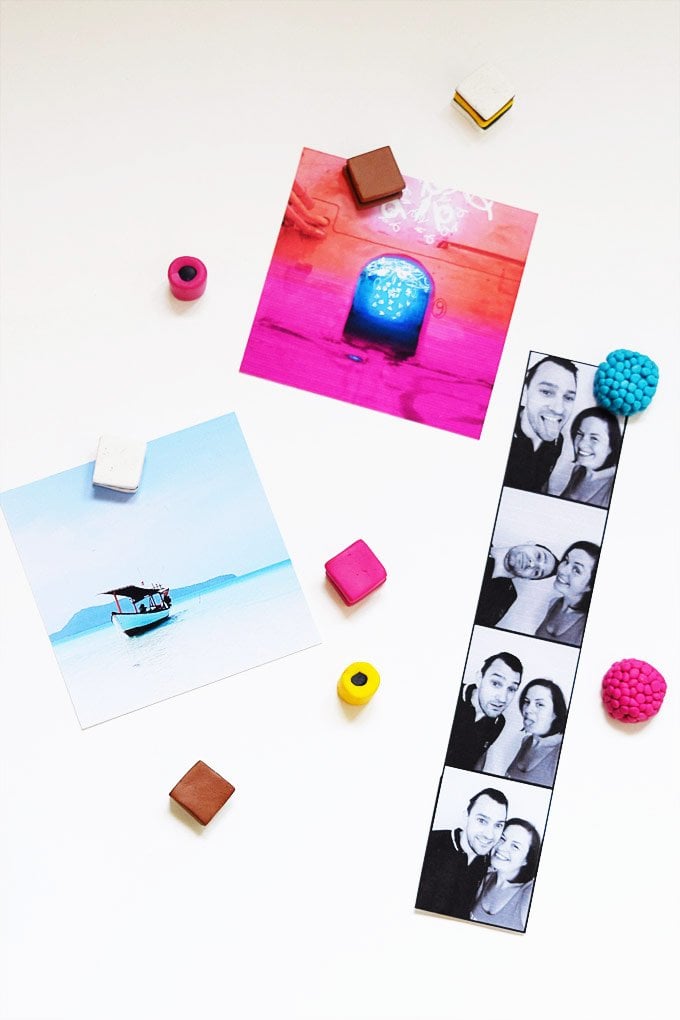
It’s easy to attach things that need doing, group items, collect samples and most importantly it helps me keep my desk free of clutter and tidy.

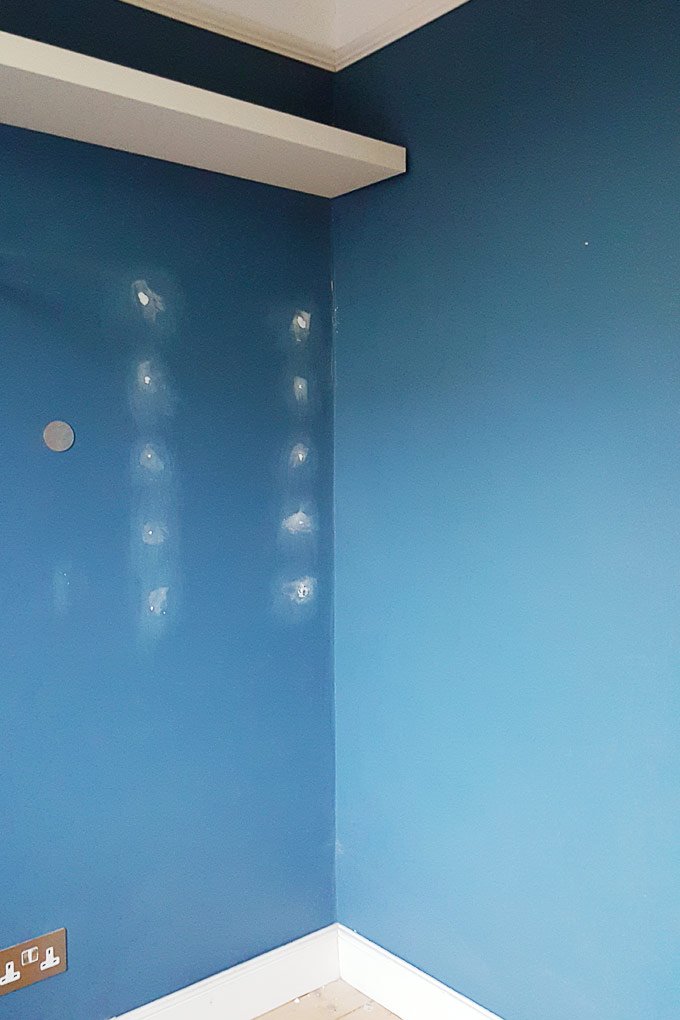
Installing the DIY corkboard wall was easy – most of the work as usual lay in the preparation which in this case involved emptying most of the room.
With so much stuff crammed into one space, it inevitably took a while.
I’ve seen larger cork boards made up of individual mats, but I didn’t want to see any seams and was worried that the finish would look like we’d just stuck a load of mats to the wall.
To keep any joins to a minimum, we used a large roll of cork with an adhesive backing instead of individual pieces.
We didn’t bother to prime or prepare the wall in any other way than making sure it was clean and free of dust and dirt. Using big sheets of cork is fiddly and definitely a two-man job.
Before starting to attach the cork, we drew a vertical line down the centre of our room. Whilst we want as few joints as possible, we didn’t want to end up with a slither of cork at one end of the room.
Working our way out from the middle of the wall ensures that the pieces on either end will be an equal size (which is what you should also do when you lay tiles, too).
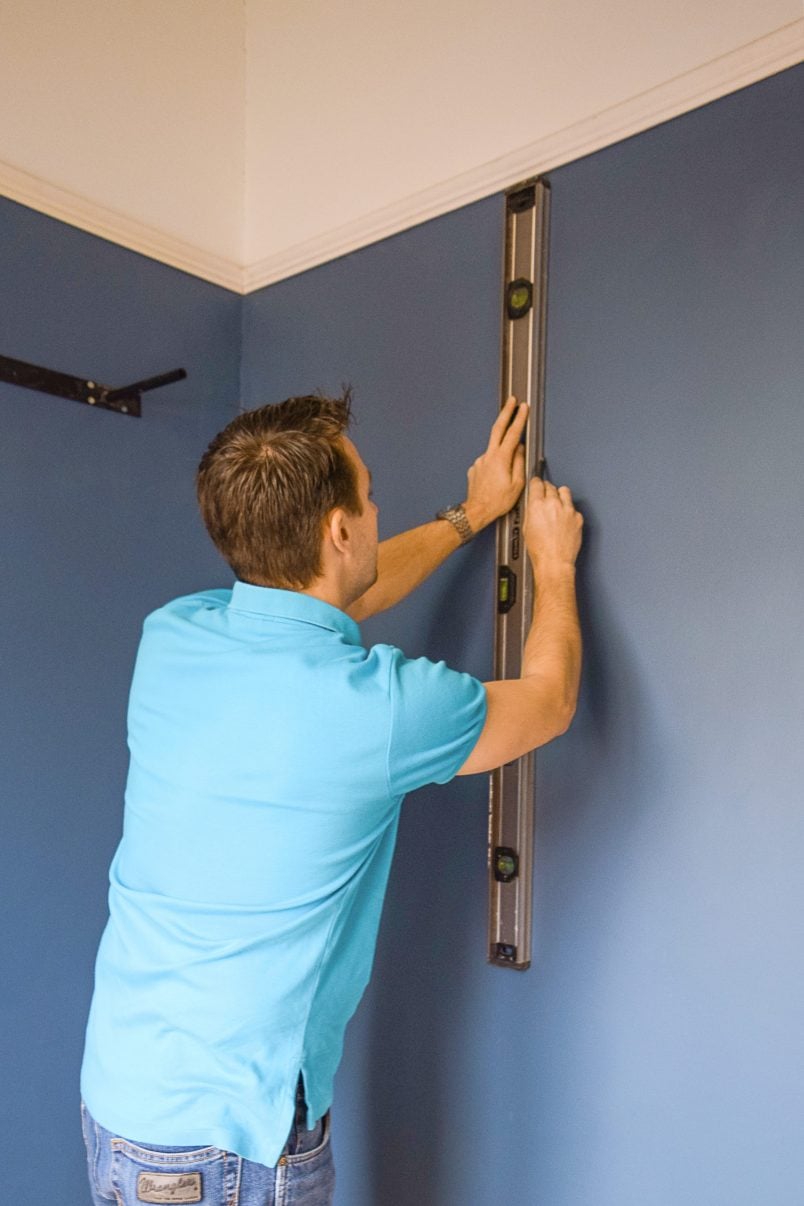
The vertical line down the centre of the room (our line is from the wall to the door frame) is also ideal for aligning the cork. None of our walls are straight, so having a line that we know is vertical makes it easy to get everything straight and level.
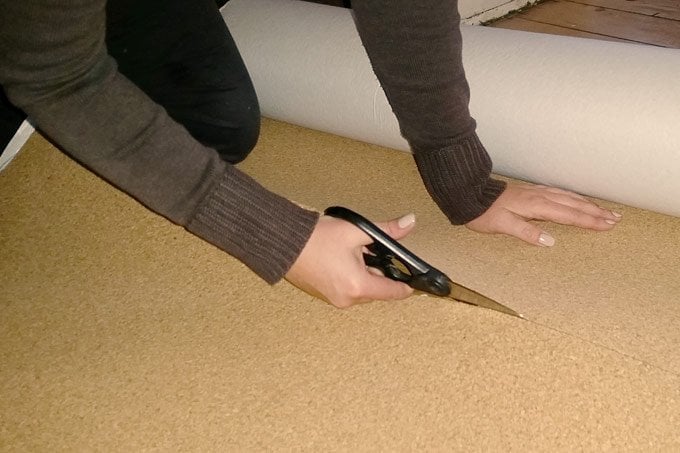
Then it was time to measure – never assume that anything is straight (we’ve learned the hard way). We used the central line as a guide for measuring and then just used some scissors to cut the cork to size.
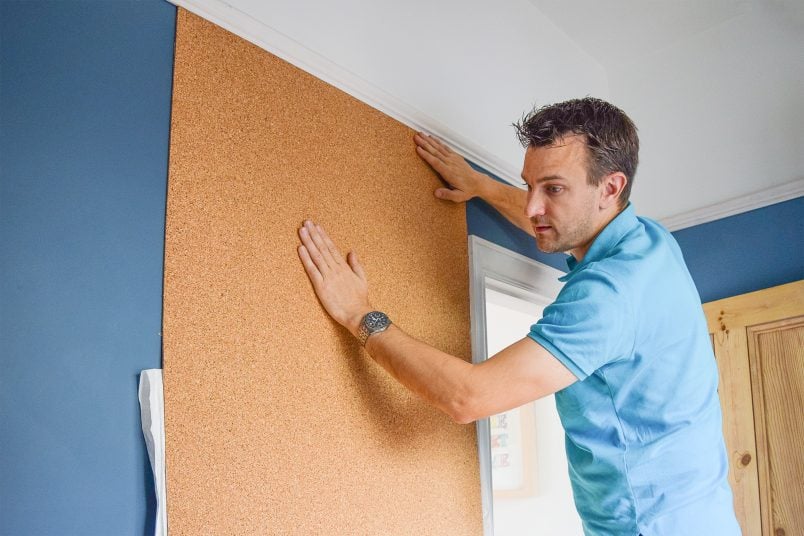
Next, we lined up the top of the piece of cork with our picture rail (which we know is level) and with the vertical line.
When we were sure that the piece of cork would fit, we peeled back the top of the backing and pushed the top of the cork to the wall.
When everything lined up, we started to pull back more of the backing while at the same time pressing the cork to the wall and making sure that it was smooth and lump-free.
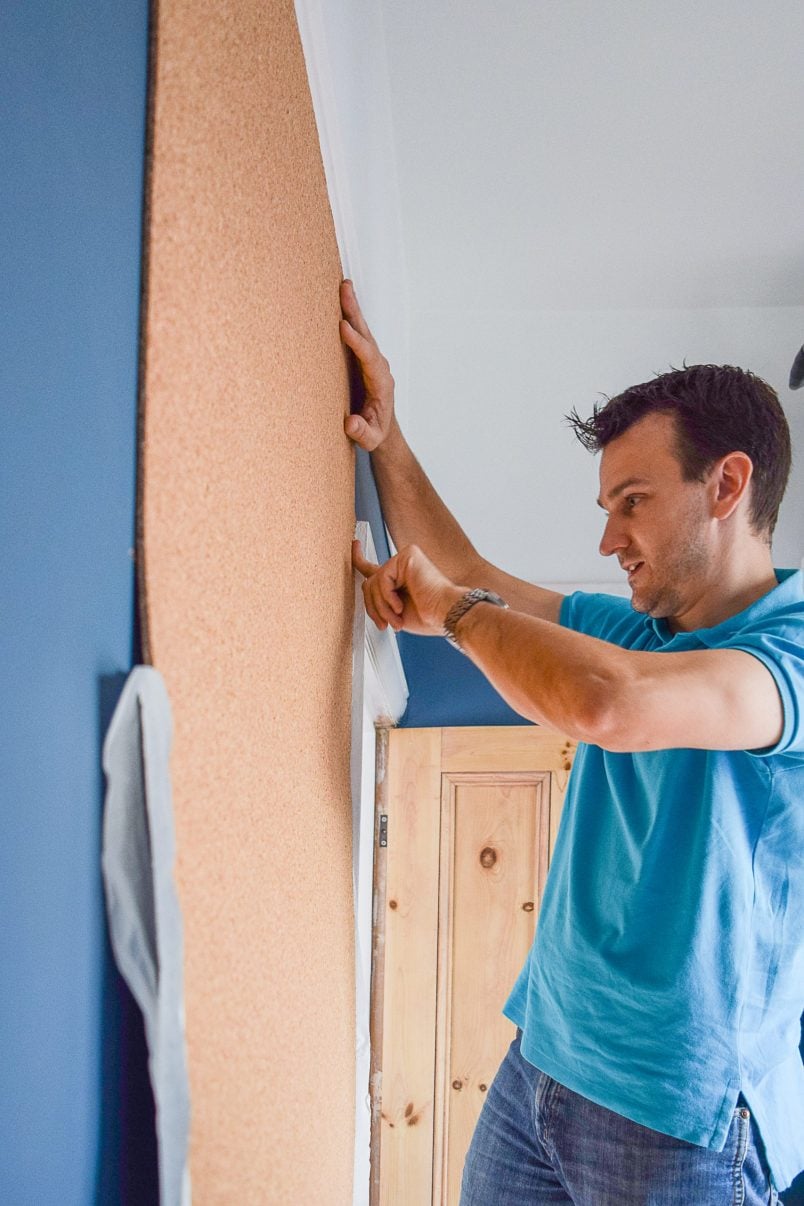
The first piece was the most difficult to attach – after that, it was just a matter of working our way around the room and lining up all other pieces cork pieces with the first.
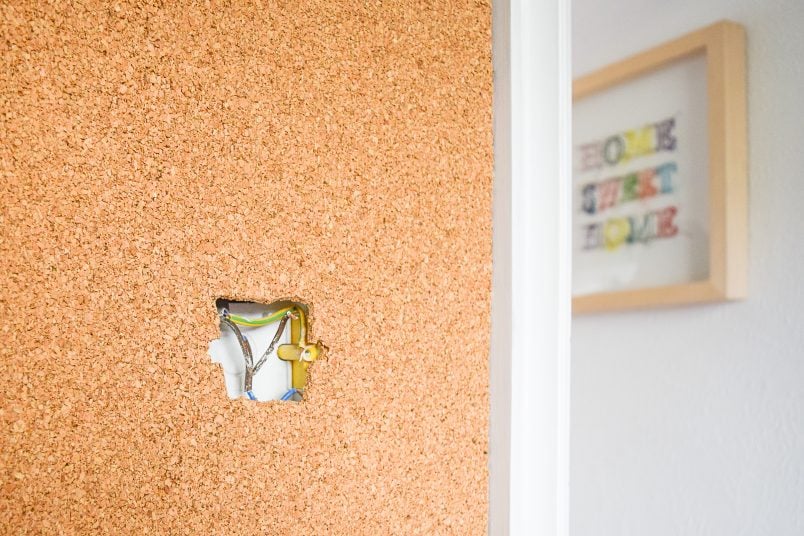
The only thing that was slightly more fiddly was cutting out the hole around the light socket, but even that wasn’t difficult to do. We removed the switch first (obviously turned off the electricity first, too) and glued the cork to the wall and over the socket hole.
It was easy to feel the position of the hole through the cork as it gave way slightly when you pressed it. With a craft knife, we then cut a small hole in the middle of the socket area.
Then it was just a matter of cutting more and more of the cork away until the socket was free and then reattaching the light switch.
We used a 5mm thick cork. We figured it would be strong enough to hold more pins and heavier items like our calendar and thicker brochures. Ideally, you may want an even thicker corkboard wall – I think around 7mm would be perfect – than that, but we didn’t want ours to be thicker than the picture rail above it.
We didn’t bother to back the cork as we’re not worried about the pins causing damage to the wall beneath. We figured that the wall will need repainting anyway if we decide that we don’t want the cork wall anymore, so filling a few small holes really doesn’t seem like a big problem.
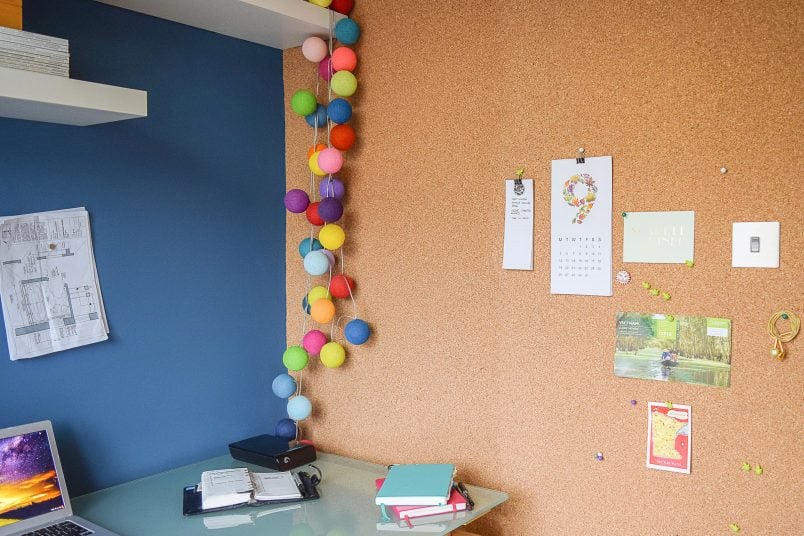
We’ve been using our DIY corkboard wall for a couple of weeks now and it’s already helping us to stay organized and keep a clear desk. Having such a large space to temporarily store things and have an instant overview of the tasks ahead is already making a big difference to my workflow.
How do you stay organised? Do you like to keep a clear desk? What does your ideal workspace look like? Do you have any tips for staying on top of the day-to-day tasks?
PS. If you’re looking for more corkboard wall ideas and you’d like a less permanent giant corkboard wall organizer, we’ve just shared this fun new DIY giant corkboard that’s completely flexible and moveable!
This post contains affiliate links. We only recommend products we love and think that you will, too! Read our full disclaimer here.
SHOP OUR DIY ESSENTIALS

If you like this post, you will love these, too!

Lauren says
large roll of cork with an adhesive backing
Please link it. I don’t see it here.
Christine says
It’s no longer available where I bought it, Lauren. I’m sure you’ll be able to google a similar product though.
Cx
Tamsyn says
Sorry, I see now that someone else asked the question ?
Christine says
No problem at all, Tamsyn – we’re always happy to help if we can! We ordered ours online and there are plenty of options available. If you can’t find one with a sticky back you can also use a cork adhesive to stick it to the wall.
Cx
Tamsyn says
Hi! This is fantastic! Can you recommend a company in the uk to buy the cork sheeting from?
Thank you so much
Wendu says
Where did you get the cork?
I just got a 50″ x 32″ map that I want to hang & be able to put pins in it.
Christine says
We ordered it online but we have also bought some at DIY stores. I can’t remember exactly where we got this cork but it’s not difficult to get hold of!
Cx
Munjoy Nuckchady says
hi there,
I recently bought cork sheet for a DIY Projects. what can i used to stick the cork on the wall…i am creating a sound proof studio 3 x 4 mt for Audio recording ….please advised
Christine says
We used self-adhesive cork but there are also cork adhesives available that you can apply to the cork to be able to stick it to the wall. If you google for cork adhesive you should be able to find a few options that will work for you.
Cx
Katey says
I love this idea! I do not see the link to purchase the corkboard though, am I missing it?
Christine says
There isn’t a link to purchase the corkboard. We only ever recommend products and companies we absolutely love and recommend and as much as the cork worked really well, we weren’t 100% convinced by the company we used. We always recommend doing your own research and I’m sure you’ll be able to find some suitable cork where you live!
Cx
Liz says
Is the cork already sticky with tape?
Christine says
The cork we used for this project already had a sticky back. You could easily use cork without and glue it to the wall instead. We tried another corkboard wall on a different project and used cork adhesive to glue it in place. You can read about how we made our diy giant corkboard wall here.
Hope That helps!
Cx
Sarah Hume says
Looks great!! I can’t find the link??
Christine says
Thank you so much, Sarah! What link are you looking for?
Cx
Jarrett Mills says
Looks good, I thought about doing this but with screws/wall fixings at multiple points. Is the the adhesive outrageously sticky? e.g. Do you think it would take a lot of the wall with it if you had to remove?
Thanks, J
Christine says
Thanks, Jarrett! It’S sticky but not excessively so. I would say it would cause a mess when removing it and it would definitely rip off a lot of the paint underneath but I think the plaster on the wall would be fine.
I’m not sure about screwing it to the wall as I’m not sure how easy it would be to attach or attach things to it if it isn’t fully glued to the wall.
Cx
matt bray says
i don’t understand how it was £40 for the whole wall? the link you gave is £59.99 for 5m x 1m sheet – am i missing something?
Christine says
We covered the wall a while ago so I can only assume the price for the cork has increased. We also had a lot of cork left over, so theoretically we could have covered something else, too.
The link is to the exact cork we used and at the time it was the best value cork we could find. It’s always a good idea to shop around though – you may be able to find it cheaper somewhere else.
Cx
Rotem B. says
I actually made one too, just finished last week!
A great way to make this project more budget friendly is replacing the cork sheets with a cheaper alternative… Cork coasters!
Christine says
This was a super budget friendly wall, Rotem! It only cost around £40 for all supplies and it was more than enough to cover our whole wall! The main reason that we opted for a sheet of cork is that we didn’t want to see any joins. I hate when you can see where things have been stuck together and just think it looks much cleaner and more professional if it’s one big wall of cork rather than a patchwork. Using one big sheet of cork was probably also much quicker than using individual tiles. Yep, you can call me lazy! ;)
Right, I’m off to check out your wall – can’t wait to see it! Thanks for sharing!
Cx
Rotem B. says
Wow, cork is so much cheaper in your area!
Everywhere I checked it was more than double the price you mentioned and ordering online would add a high shipping rate that would make it unaffordable as well.
Saving for college here… (:
I actually liked the brick-look result, so maybe I shouldn’t title it “affordable”, just a “different version”.
Thanks for commenting back!
I always appreciated bloggers that take the time to reply :)
Christine says
DIY is always about doing what’s right for you! Everyone has a different preference and the only person you ever have to really please is yourself! Glad to hear you love your wall!
Cx
Maaike says
Hi Christine,
Did you remove the corkboard when you moved out? If so, was it hard to remove and was the wall damaged in any way? I just received my cork rolls, can’t wait to get started :)
Thanks! Maaike
Christine says
Ohh, how exciting, Maaike! We didn’t remove the cork when we left so I’m not too sure how easy it’ll be to remove. Having said that I think you should be able to pull (possibly scrape) it off without too much difficulty. I assume that it will tear off the paint underneath but I think that the plaster underneath that should be fine.
Would love to see a picture when you’ve finished!
Cx
Christine says
Thanks Ayaz. Yes, we bought our cork online. There are loads of places to buy cork – it’s really easy to get hold of!.
Cx
TAZ says
Great idea!! I need one of this!! BTW where did you get the ball lights hanging from your shelf pls?
Christine says
Thank you Taz! We got the lights while on holiday in Paris. This is the shop where we bought them http://www.lacasedecousinpaul.com/en.
Cx
Lins @Boo & Maddie says
Such a great idea, you must be so pleased!! Having spent the entire morning today ploughing through mountains of paperwork that had built up I totally need some kind of new organisation system. It looks great X
Christine says
Thanks Lins! It’s working really well for us so far – although it is already covered in a load of junk and way to many things that need to be sorted!
Cx