At the beginning of every year, we set ourselves a few home improvement goals. It’s good to have a rough idea of what we want to achieve, and having something to aim for is also a great way to stay motivated.
Although it’s already November, we still have a lot of projects on our goal list left to complete. Needless to say, we’re not going to manage to complete them all, but we’ve just ticked one box off our list, and the back wall of our house has finally been repointed!
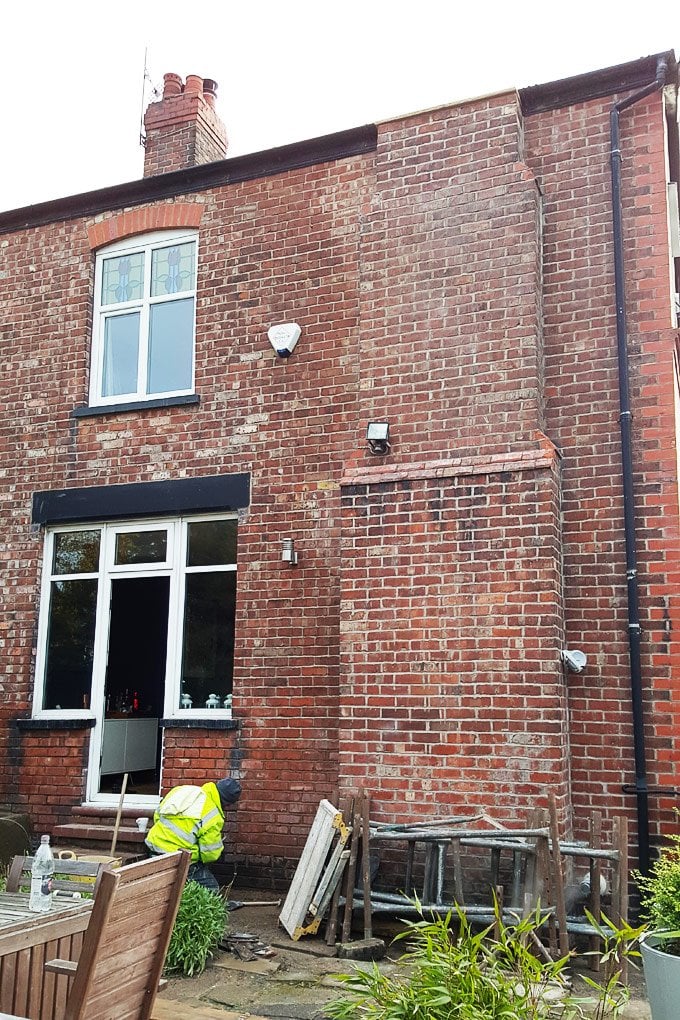
It may not be the most exciting project ever, but keeping your pointing in a good condition is a vital part of maintaining your home.
We repointed our front garden wall not long after moving in, and whilst it wasn’t a difficult thing to do, I found it indescribably boring. Repointing a low garden wall is also obviously different than repointing the whole side of a house, which is why we decided not to attempt this job ourselves.
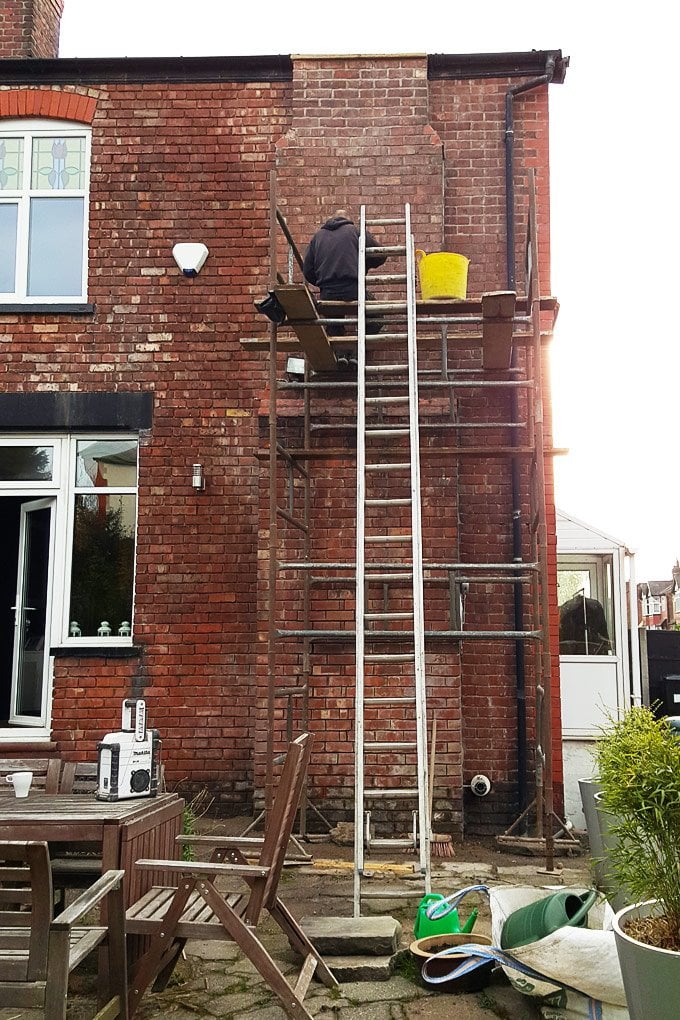
The materials aren’t expensive, but it is a time-consuming job, and it took a full week for our builder to finish the job. If we’d tried to do it ourselves, it would have taken at least twice as long, but knowing us, probably a lot more than that. This was definitely a job that we were happy to pay for!
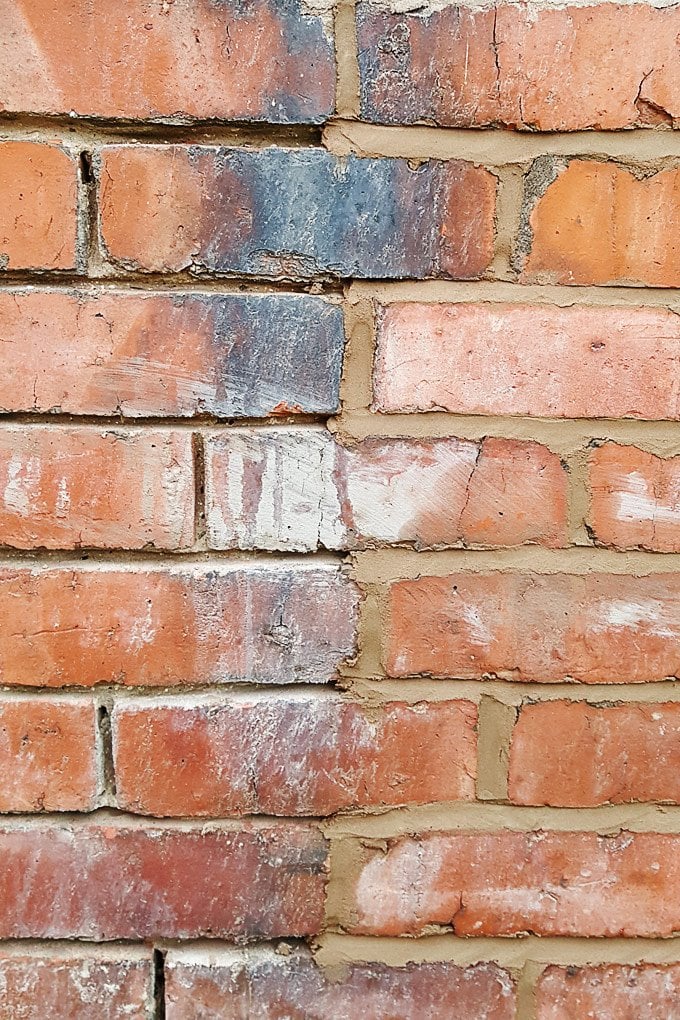
In general, when repointing, the old mortar between the bricks is removed to a minimum of the width of the joint. I knew the work would be messy, but I totally underestimated the amount of dirt that came out of our joints. Half of the garden ended up covered in dust and the windowsills had at least 3 cm of dirt on them by the time the joints had all been cleaned out.
Then, the joint is cleaned and hosed down before the pointing can begin. It’s important to use the right kind of mortar for your brickwork. There are a few different types, and a general rule is always to use a mortar that is softer than your brick.
It’s important to keep your pointing in good condition as water can penetrate, and if it freezes, it can cause a lot of damage to your brickwork. This is exactly what happened to our garden wall.
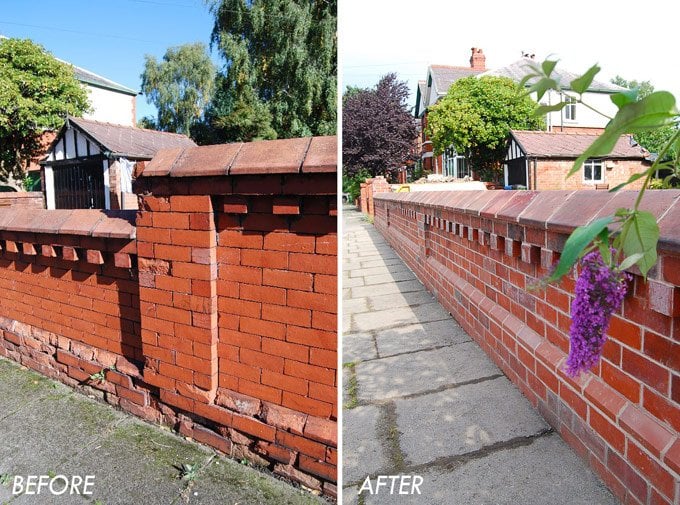
If the previous owners had maintained it, we would have probably just had to repair it in a few places, but the mortar had worn away so much that the bricks were already touching each other, and a lot of the bricks were damaged beyond repair from the penetrating and freezing water.
Having the wall repointed was expensive, and there are hundreds of projects that I would rather spend the money on, but I guess it’s just part of the fun of homeownership and maintenance that has to be done.
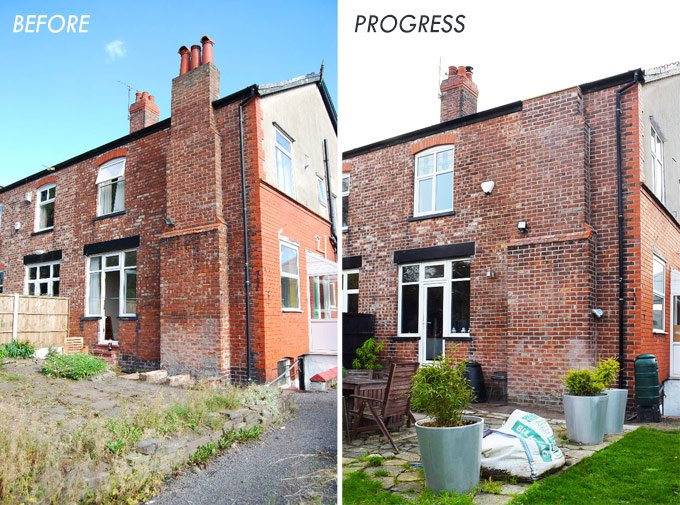
Admittedly, it’s difficult to see much of a difference between the before and progress pictures, but if you look closely, you can see that there’s a difference between our pointing and the pointing on our neighbour’s house. Now, there’s almost no difference between the two houses. This is a job that’s been on our to-do list since we first bought our home, and I’m so glad that it’s finally done!
What kind of home improvement projects do you like to splash your cash on? Are there jobs that you hate to spend any money on? Do you also have projects that never seem to get done?
Nluu says
I am glad to come across this blog. Thank you very much for detailing and sharing your experience, your skill and knowledge. We just moved to Liverpool couple months ago and waiting to get into our first home in the UK. The survey report showed us that we need to repoint our chimney. We thought we might as well have an additional sky light to make the kid’s room brighter.
Will you be able to share how much roughly to have a repointing job?
Thanks.
Christine says
Thank you for your comment, Nluu! I can’t remember what we paid for our chimney (we had other work done at the same time, too), but I would assume that it’ll only cost a couple of hundred pounds at the most. It’ll depend on your house and chimney though. If it can be easily accessed and there’s not to much work to be done, your builder may be able to work from a ladder. If you need scaffolding, the cost will obviously be much higher.
I’d recommend getting a few quotes and comparing them as the cost can vary significantly from builder to builder.
Have fun in your new home!
Cx
Lins @Boo & Maddie says
I totally and utterly sympathise with you on this one – we had to shell out quite a lot for damp proofing before we moved in and still need to get the non-attached side of the house all re-rendered at the very least. I don’t mind too much if we do stuff to the front of the house because at least in my head I feel like people will see it and it looks nicer but to the side and back is just a ballache. Well done though, it does look a lot better to me and at the end of the day, it’s peace of mind X
Christine says
I totally agree Lins. The projects that don’t actually feel like they improve the way you live are always the ones that are most painful to pay for. That said, if we (and you) hadn’t done the necessary home improvement works we both could have ended up with a lot more work and problems down the line. Yep, definitely worth it for peace of mind.
Cx
Tony says
The design of your rear chimney is rather odd. It looks like a chimney breast that would prefer to be completely inside the house. Were there two separate gutters before and are they connected now you have shortened the chimney stack? Did you keep the chimney pots and consider putting them back lower down or is there not enough space?
Christine says
Every house in the area has a chimney breast like it. It may look weird, but it’s all part of living in a house that’s over 100 years old.
Cx
Jessica@CapeofDreams says
This isn’t one of the exciting projects, but it’s a good one to have checked off your list. There is so much more to home ownership than people realize.
Christine says
I couldn’t agree more Jessica! At least it’s done now and should easily last another 20 years or so.
Cx
Kerry says
One of our neighbours in our previous home did his own re-pointing on the entire house and I kid you not, he spent MONTHS getting it done. After this, we knew this was not a DIY job we ever wanted to take on! Ours needs redoing in our new home, but I just can’t bear to spend that amount of money either! I need a kitchen and an oven and heating and just so much more! I think this is a job I’ll still be putting off for many years from now….
Christine says
Yep, I think we would have ended up working on it for months, too! :)
There’s always something better to spend your money on than pointing! Our bank balance is a lot lighter, yet our quality of living hasn’t improved. It’s so annoying, but we’d been putting it off for so long that it just had to be done now. Glad we’re not the only ones! :)
Cx