It’s no secret that I love being organised and one of my favourite projects that helped me stay on track in our last home was the DIY corkboard wall in our office. The room was tiny so going vertical and using the whole wall for mood boards and organising paperwork worked really well.

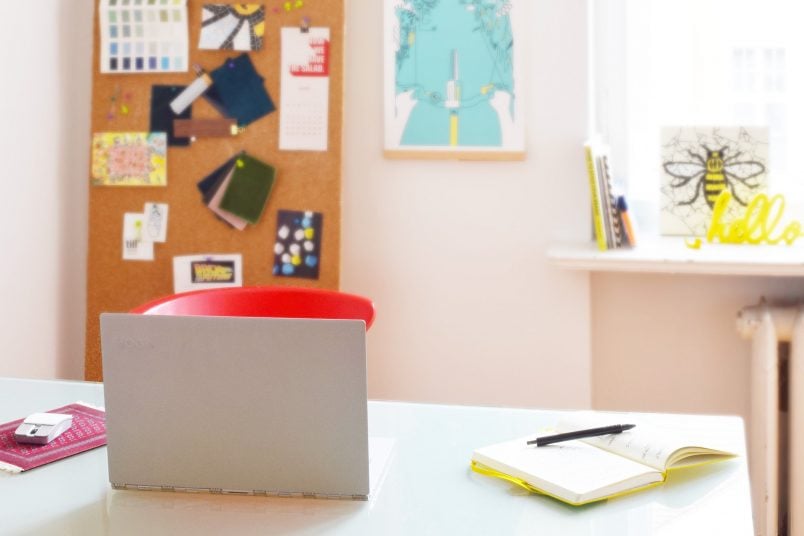
My new study is much bigger than the old one (more than 4 times the size!) and even though I certainly don’t need more space, I still miss my DIY corkboard wall. So, I decided to make myself a new version!
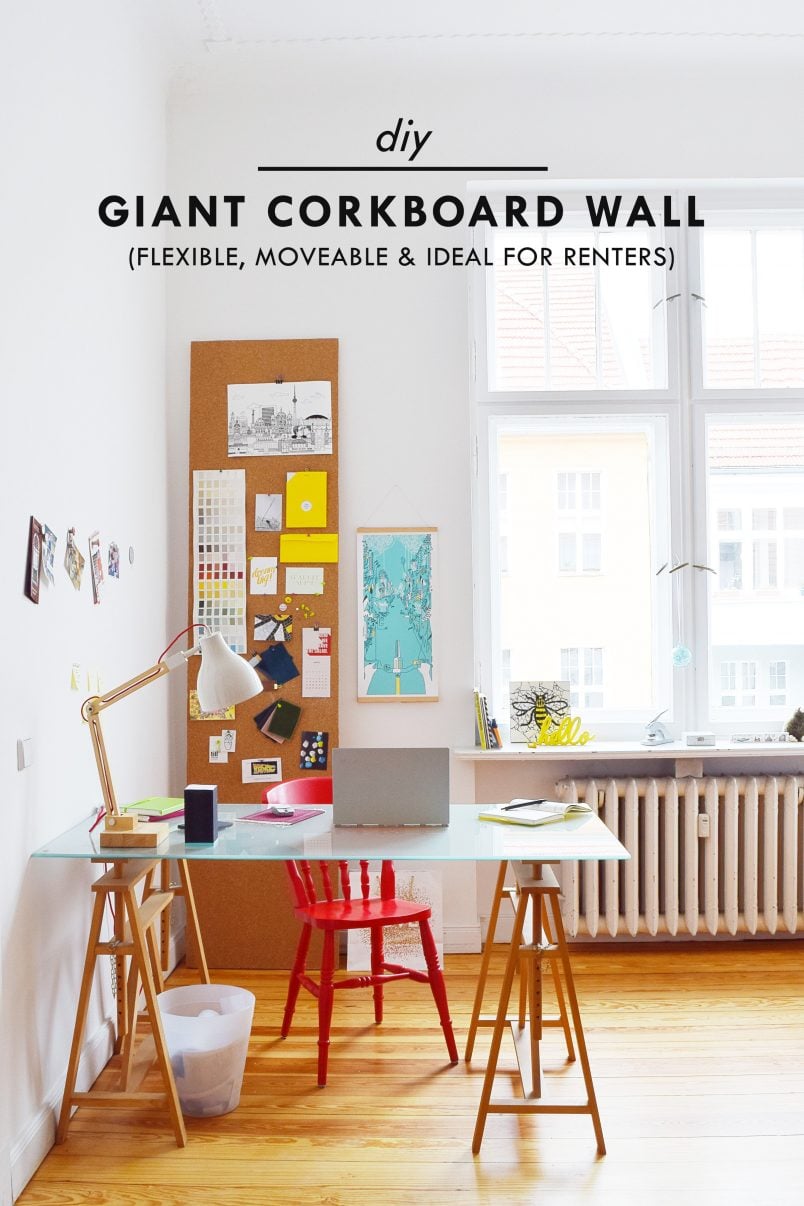
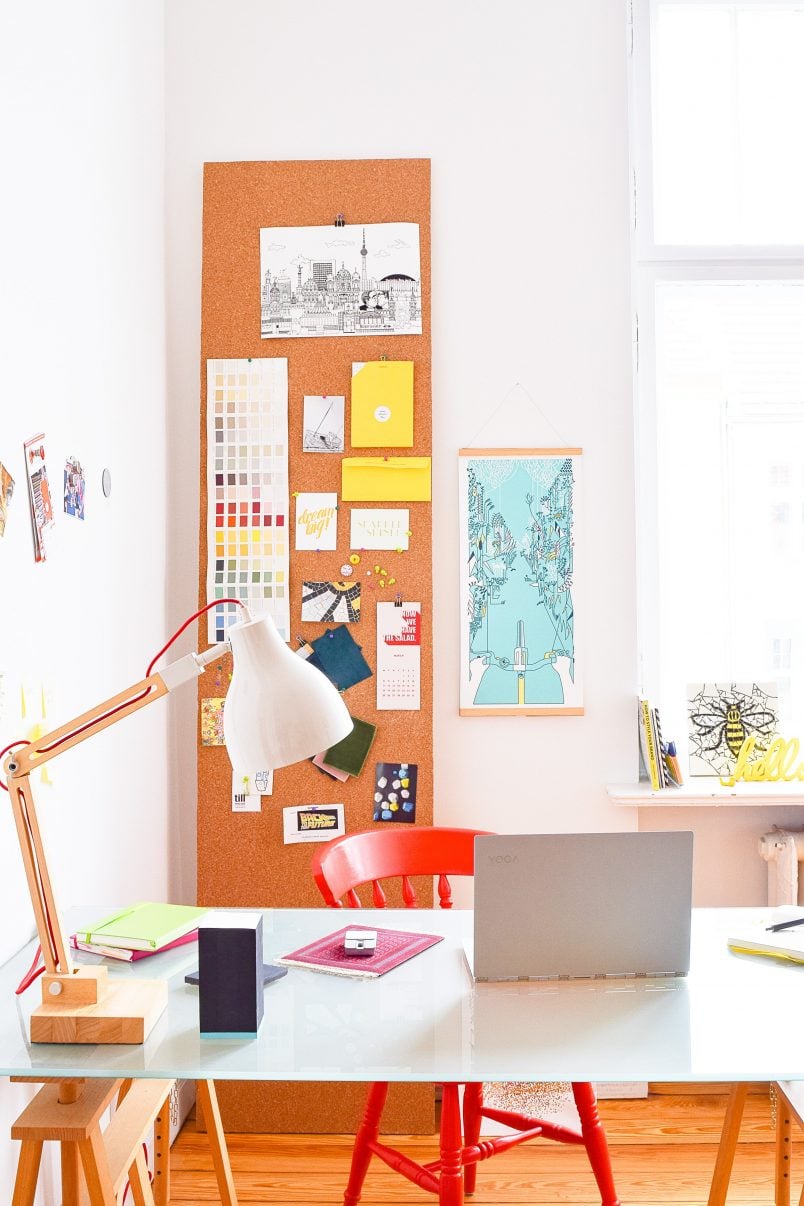
This new DIY corkboard wall is so much more flexible as it’s not actually stuck to the wall! It’s basically just a large piece of wood that’s covered with cork and leans against the wall.
Okay, so it may not be the most ingenious invention ever, but I think it looks fab and it really works well for us.
As much as I love pinning away on Pinterest (you should totally be following us there!) it is nice to be able to pin in real life, too.
If you want to make your own DIY giant corkboard wall this is what you will need:
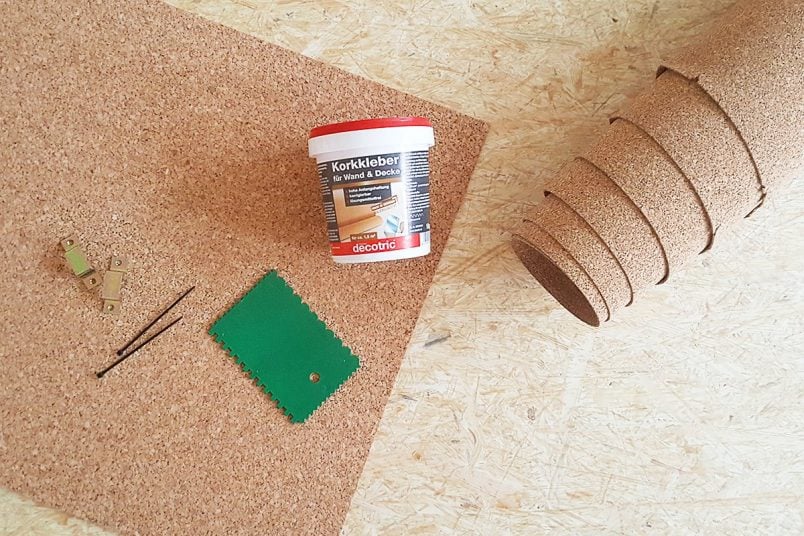
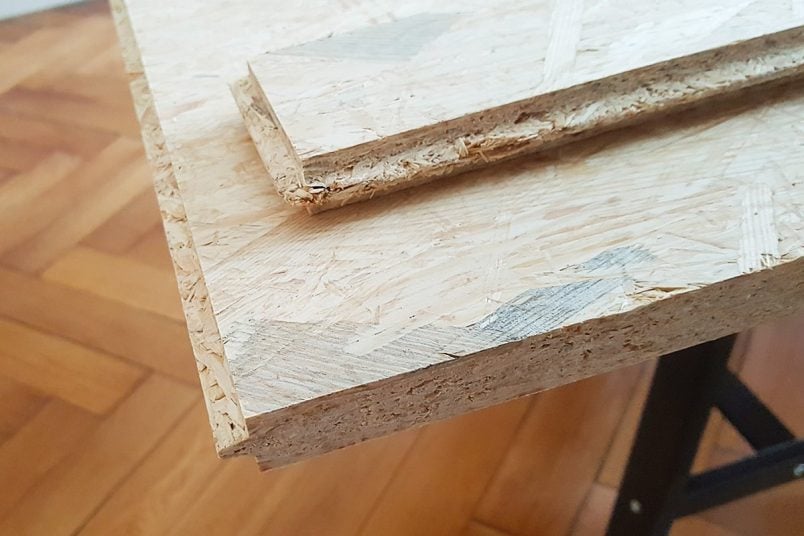
- Timber sheet – we used an OSB flooring board which is really cheap and sturdy
- Sandpaper (about 120 grit)
- Cork – 6 mm thick cork is the minimum thickness we’d recommend. If it’s thinner, the pins don’t have enough depth to hold well.
- Cork adhesive (try to use brown adhesive so that it’s less visible if you get some on the cork surface)
- Grout spreader
- Two metal brackets and a couple of cable ties (to secure the board to the wall)
- Optional: Circular saw – if you are using a flooring board as we did, you’ll have to remove the tongue along two edges
This is how to make a super flexible DIY giant corkboard wall:
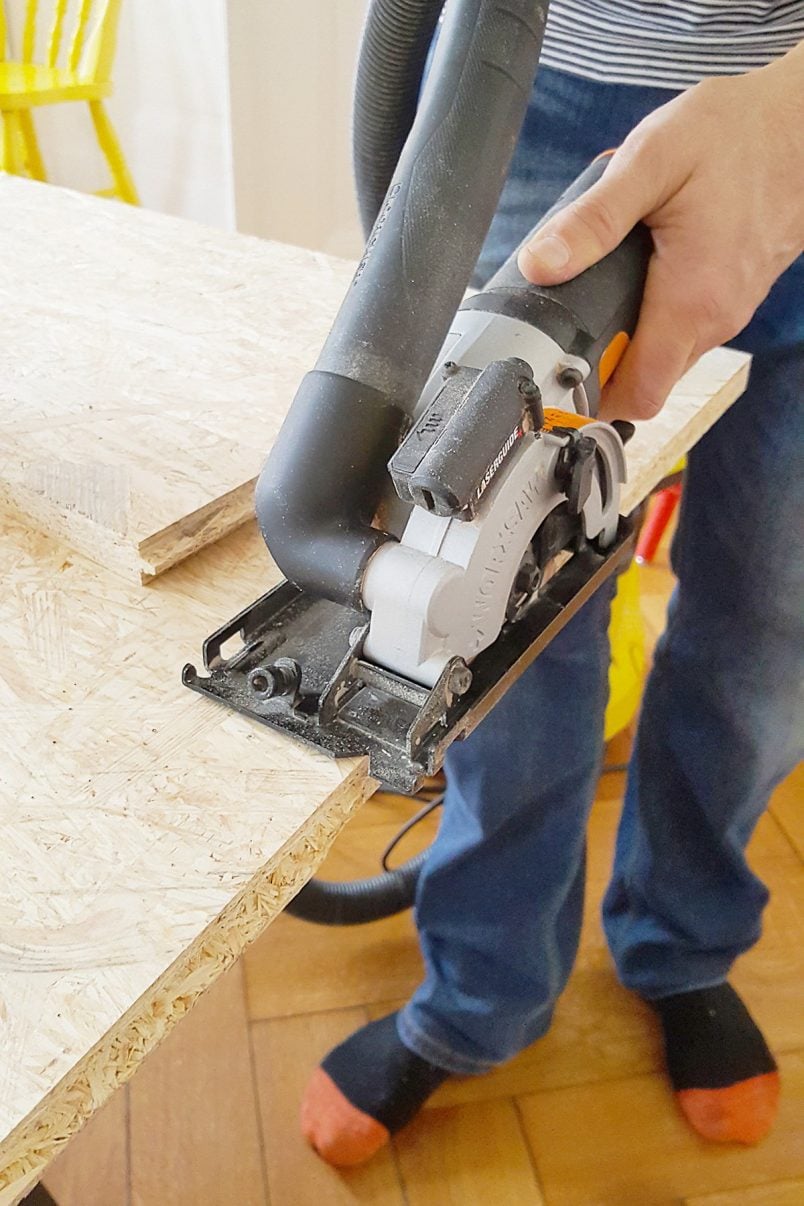
1. Cut The Backing Board To Size
As I mentioned in the supply list, we used a piece of USB tongue and groove flooring board because it’s cheap and sturdy. The size worked really well for us, too so all we had to do was to saw off a small strip to remove the tongue and give us a flat edge.
2. Sand Edges
As always when cutting any timber it’s a good idea to sand the edges of anything you’ve cut. OSB is pretty rough stuff so you’ll have to give it a thorough sand if you don’t want to risk getting any splinters!
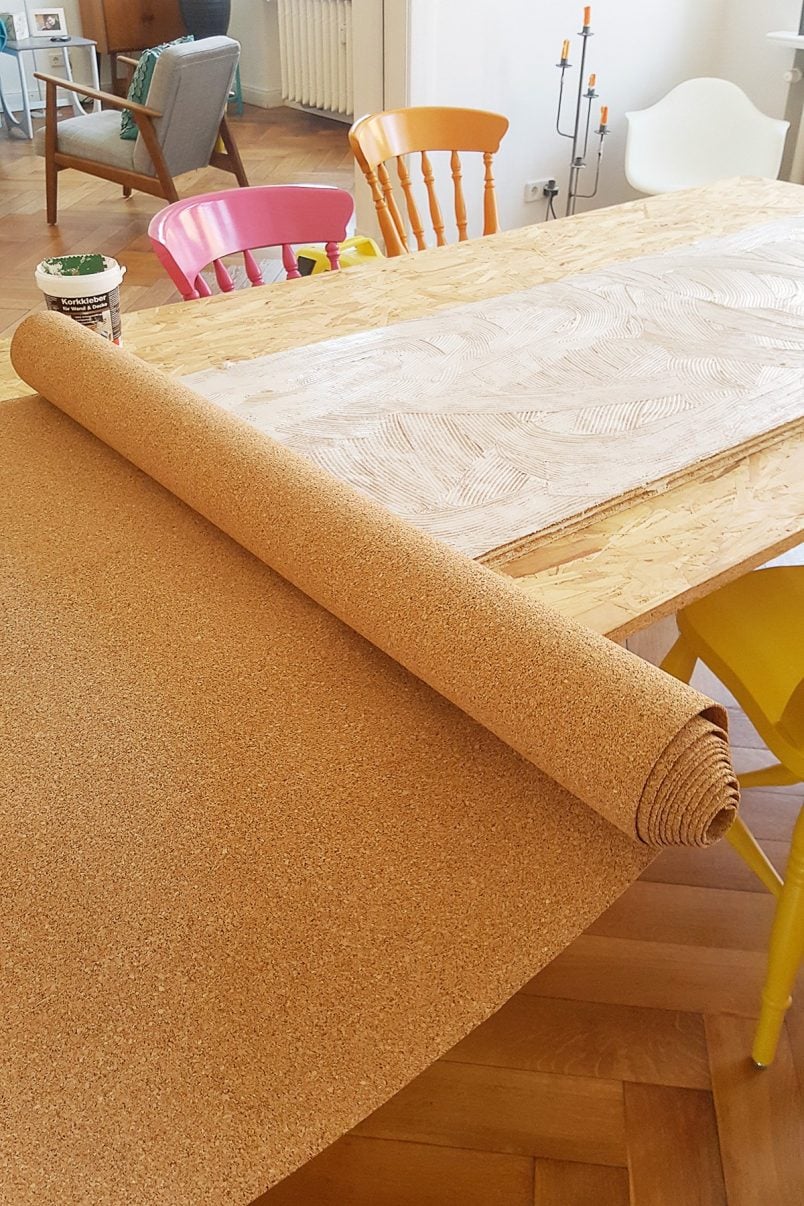
3. Attach The Cork
Cork rolls tend to be available with or without a sticky back so the next step will vary slightly depending on the type you use.
The cork roll we used to create our last DIY corkboard wall had a sticky back but the cork we used this time around didn’t which is why we used some cork glue to stick it to the backing board. The sticky back cork worked well (some of the corners did sometimes peel off slightly) but the glue is much much stronger.
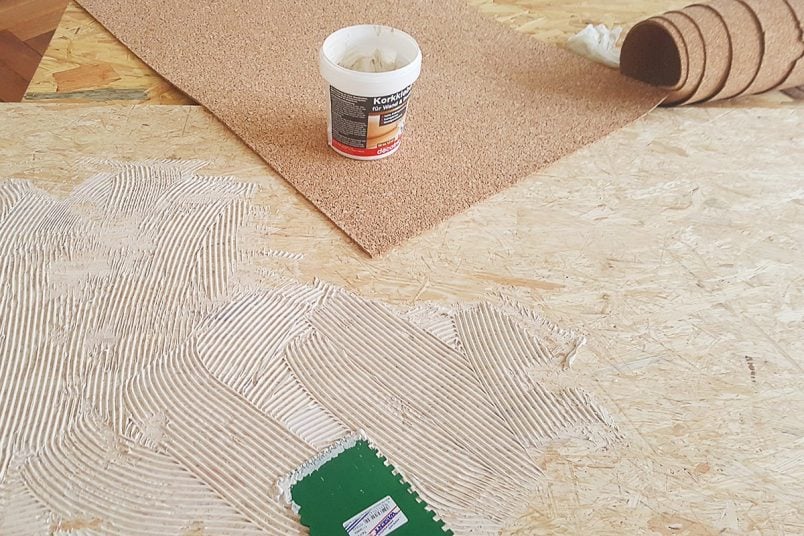
With a tooth-spatula thingy apply a thin layer of glue over the board and then lay your cork on top.
While the glue is wet it’s still easy to push the sheet of cork back and forth slightly to position it. The glue does dry quite quickly though so you’ll have to be fast!
Push the cork down firmly so that it sticks to the OSB backing board. When it’s dry, cut off any excess with some scissors.
Optional & what we did:
I was being super stingy as usual and we still had some really thin cork left from when I updated our pantry which I didn’t want to waste. As the leftover cork would have been too thin for a corkboard wall I used a patchwork of individual smaller cork pieces as a base before adding the thinner top layer. This helped achieve the desired thickness (our cork is 6mm thick).
You could, of course, just use individual cork tiles but I didn’t want to see any joins which is why I then covered them with the thin sheet of cork.
4. Attach To Wall
We’re always safety first kind of people so we would definitely recommend fixing the corkboard to the wall so that there’s no risk of it falling over.
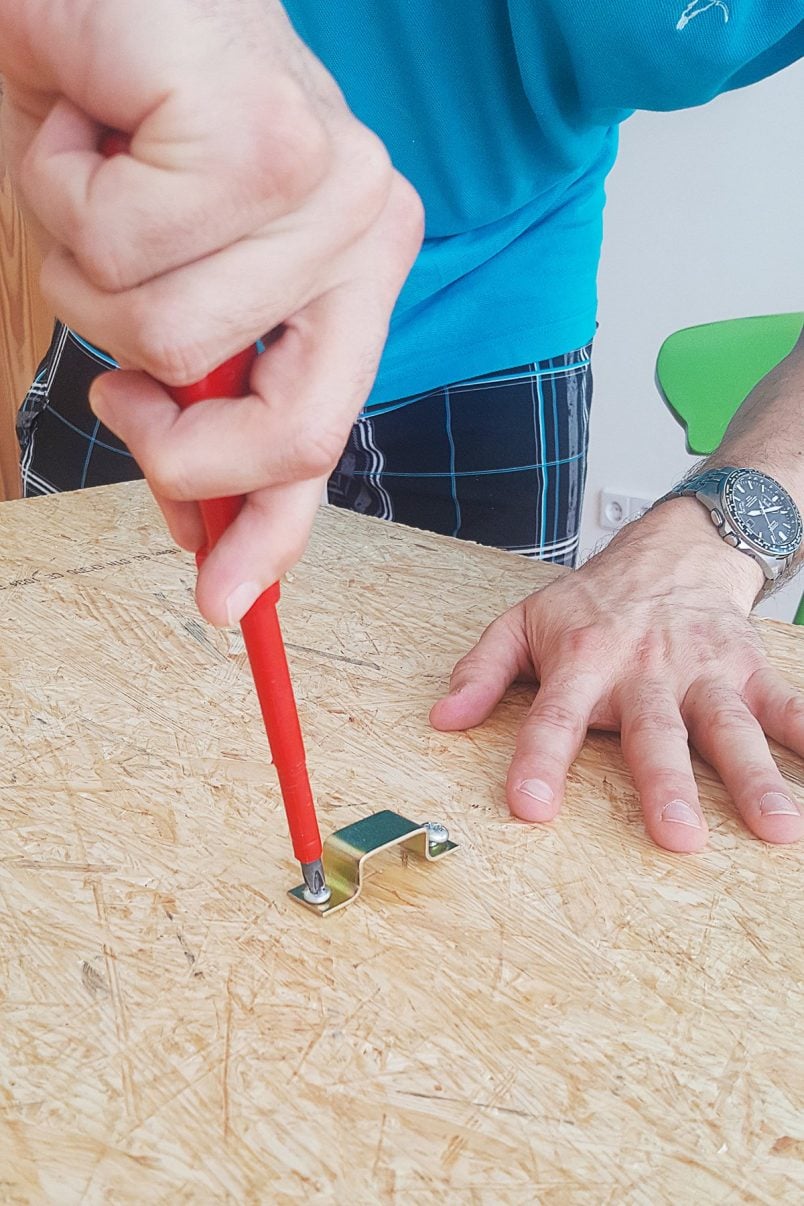
To do this, we screwed a small bracket to the wall and another to the back of the top of cork board. Then we just hooked them together with a cable tie.
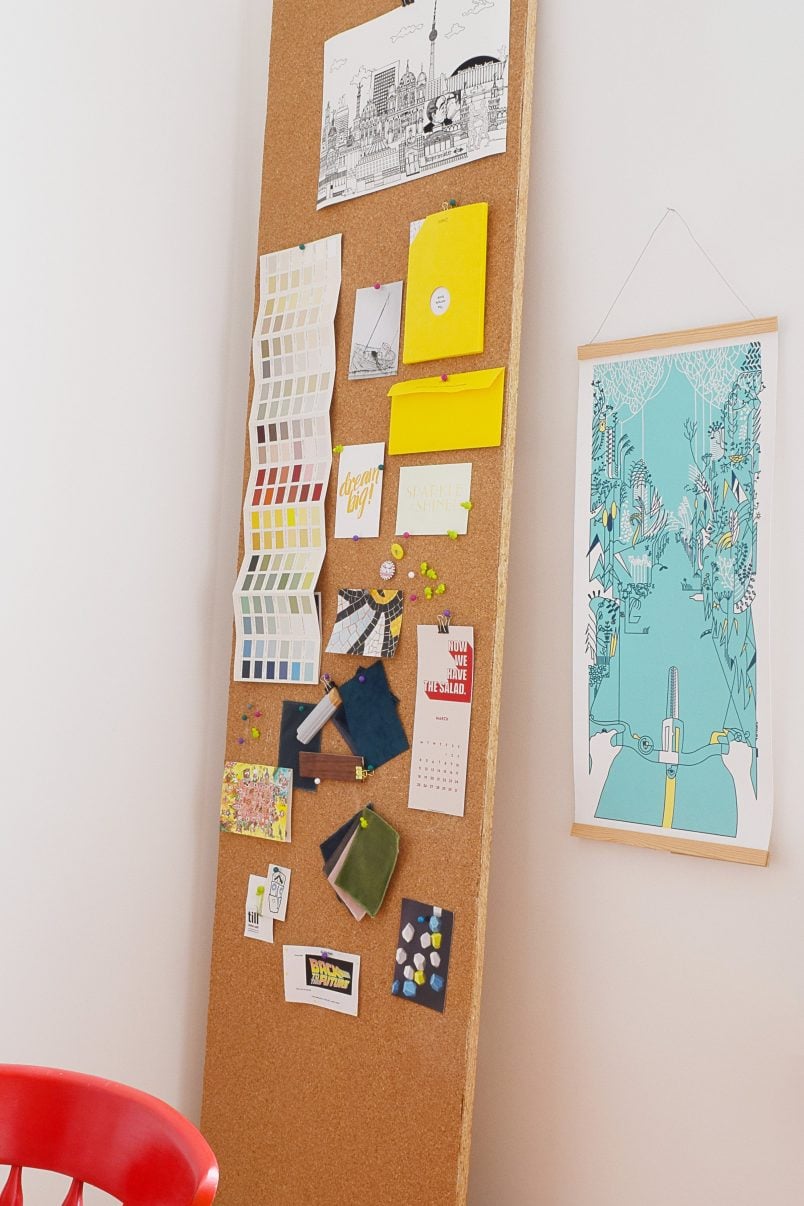
5. Pin Away!
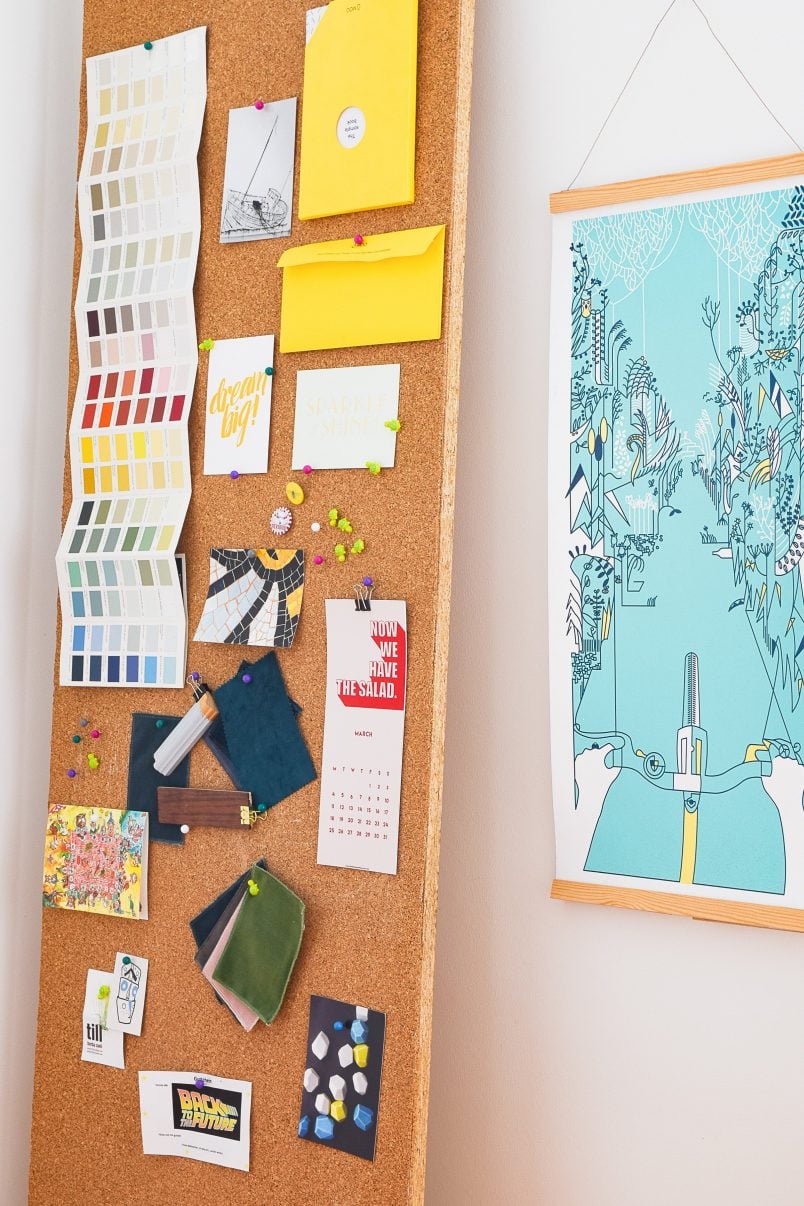
Well, I know we all love to pin on Pinterest but sometimes the real thing is unbeatable. I also like to collect things like fabric and tile samples when I’m planning a room so using a giant corkboard wall is a great way of being able to arrange both inspirational images, colour swatches and textures in one place.
As you can see this is a really quick and easy project to make and anything that helps leading a more organised life has got to be a good thing, right?
It’s also super flexible as I can easily move it around the room or, unlike our DIY corkboard wall in our house in Manchester, take it with me when we move (not that we have any serious plans on that just yet!).
It’s also a perfect solution if you’re a renter and aren’t allowed to attach anything permanent to the wall.
How do you like to keep organised? How do you go about designing a room? Do you create mood boards or do you just go for it and let things develop over time?
P.S. We’d love to know if you’ve ever made any of the projects we’ve shared here or if we’ve been able to help you with a DIY problem! It really makes our day to hear from our readers so feel free to send us an email to general@littlehouseonthecorner.com or tag any photos you share with #makecreatelove so that we can see your projects!
* This post contains affiliate links.
Jessica@CapeofDreams says
You read my mind. I was just thinking today that I would like to have a big cork board for the boys. I had a big one in my bedroom in high school and loved it.
Christine says
Haha, great minds…
It would be perfect for the boys – I’d definitely secure it to the wall then, though!
Cx