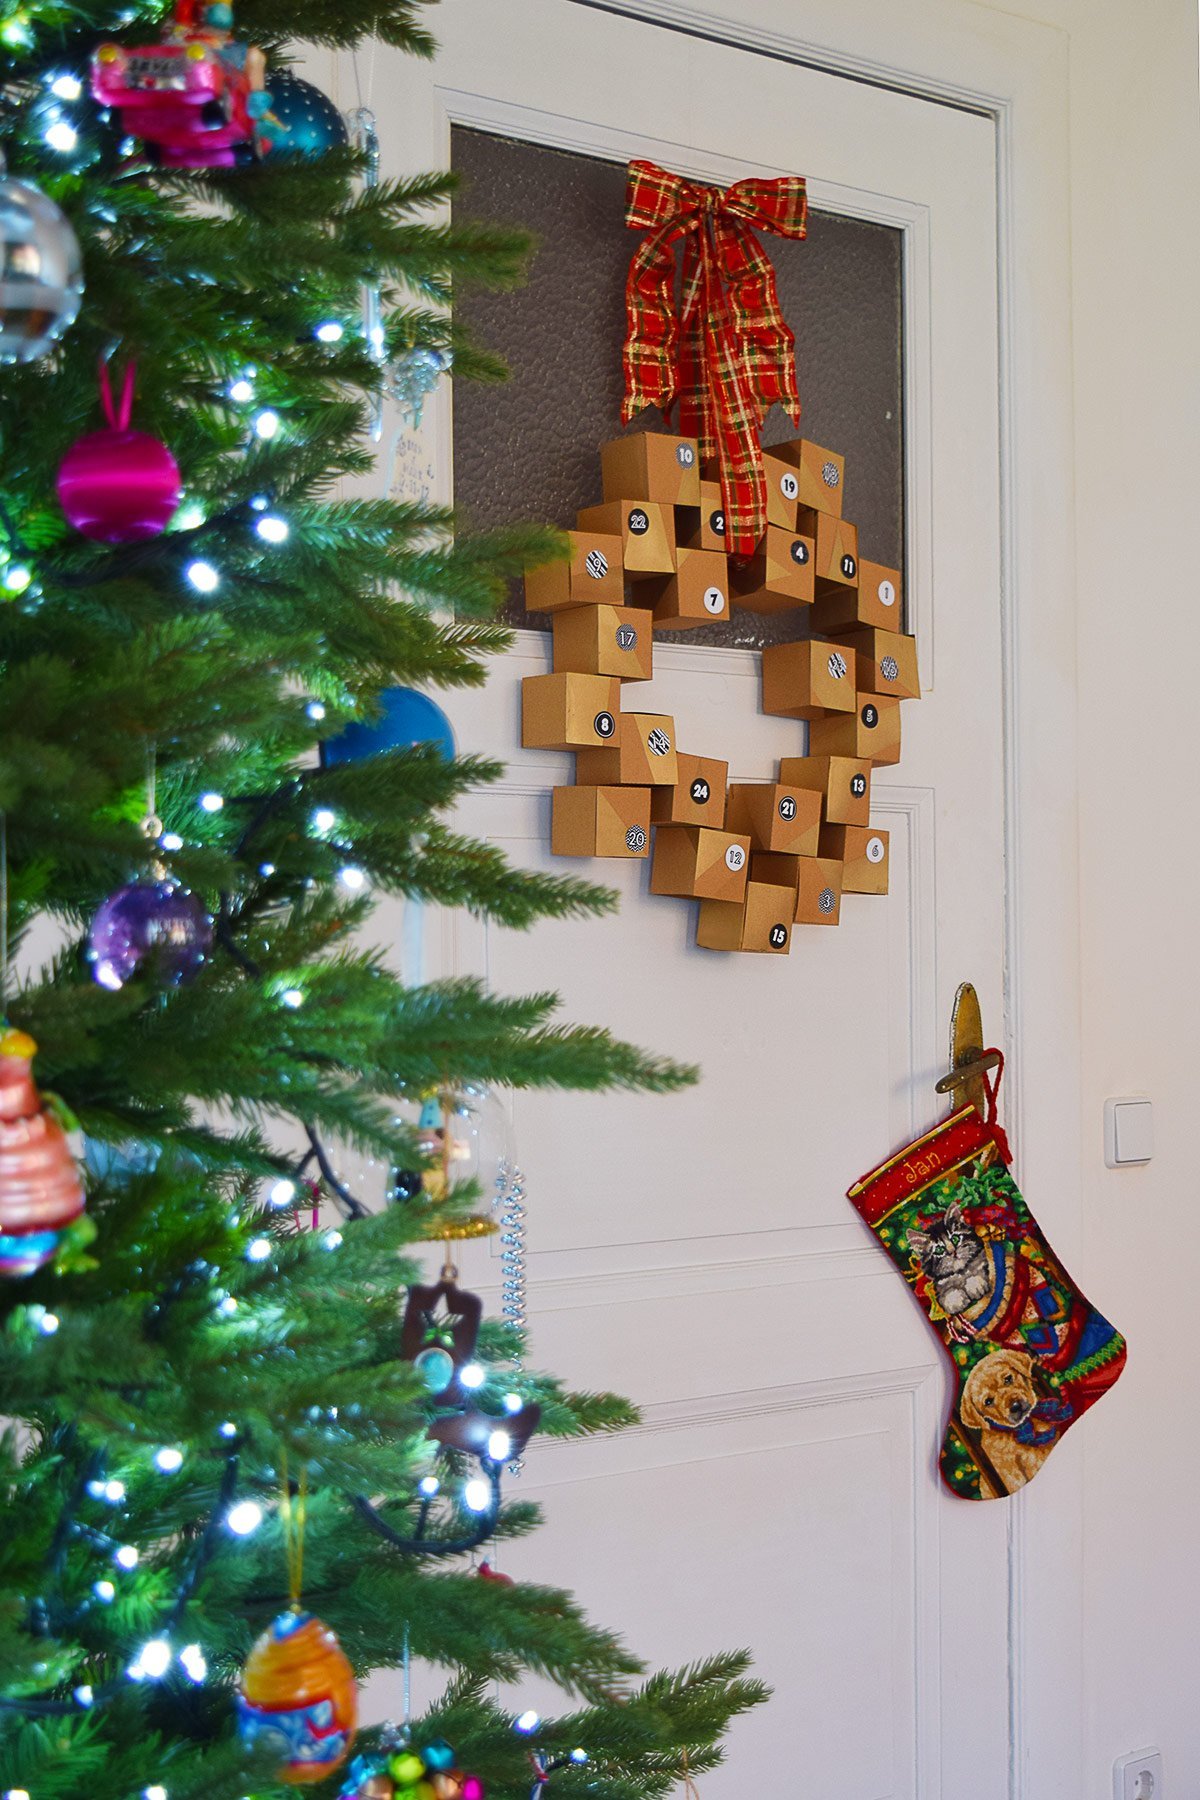
I love an advent calendar, and we’ve made our own for the last few years (you can see our 2016 DIY advent calendar here and our 2014 DIY advent calendar here), but I have to admit that I’ve left making this year’s DIY advent calendar wreath to the last minute.
Luckily, our DIY advent calendar wreath is a really quick and easy last-minute thing to make – it’ll probably take more time to fill it than to make it!
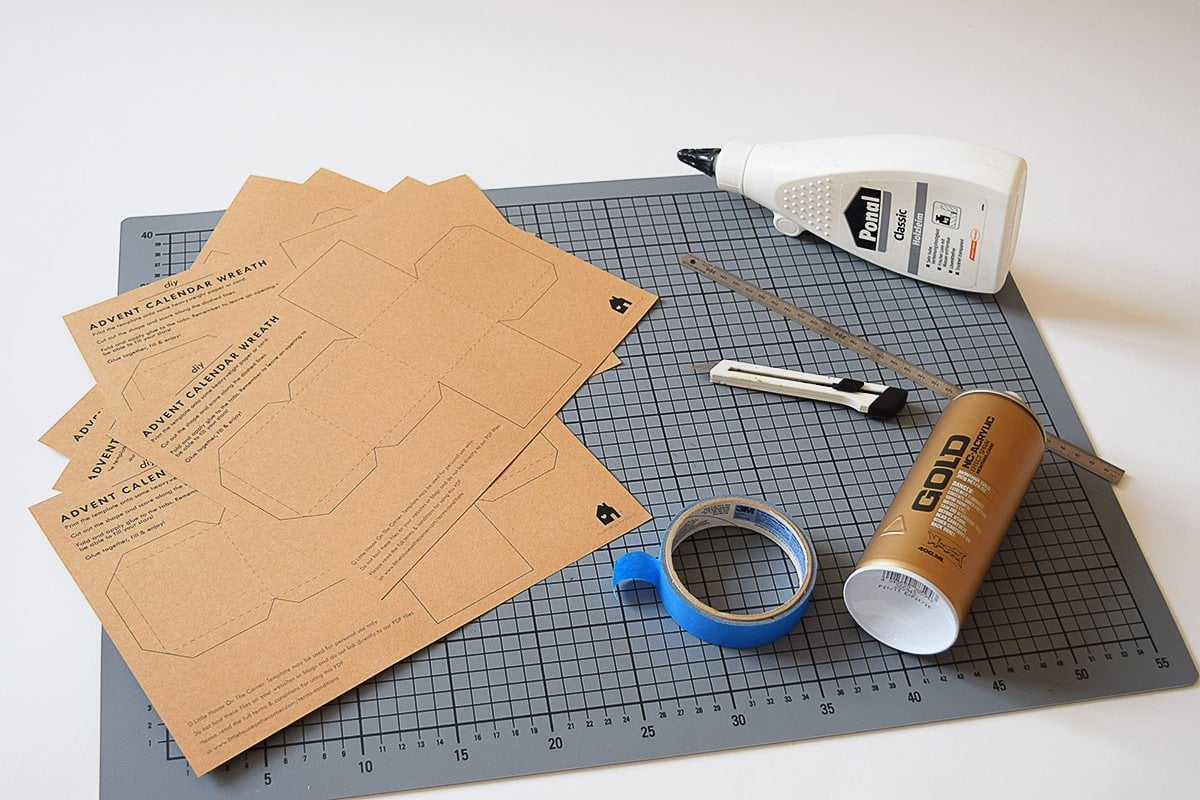
This is what you will need if you want to make a DIY Advent Calendar Wreath:
This post contains affiliate links. We only recommend products we love and think that you will, too! Read our full disclaimer here.
- 24 (or 25!) sheets of craft paper (we used 170g craft paper)
- Free printables for the boxes (enter your email address below to get them sent straight to your inbox)
- Craft knife & ruler or scissors
- Circular punch
- Glue (we use this glue for almost every DIY and craft project – it’s wood glue, really, but it works super well for all things crafty, too)
- Ribbon (not shown)
- Lots of gifts!
Optional:
- Gold spray paint (we love Montana Gold spray paints – they’re the best we’ve ever used!)
- Masking Tape
This is how to make the DIY Advent Calendar Wreath:
1. Download the free box printable and print it onto some thick paper. You’ll need 24 (or 25!) copies. I love the look of craft paper, but you could get really creative and print it onto whatever paper you like. If you have a Christmas colour theme you could print it onto something matching your Christmas decorations.
I personally love the idea of a multicoloured wreath, but being a minimalist at heart, I love the look of craft paper, too!
2. When you’ve printed the box templates, it’s time to cut them all out.
As always, cut along the solid lines and score along the dashed lines (which is where you’ll fold the box).
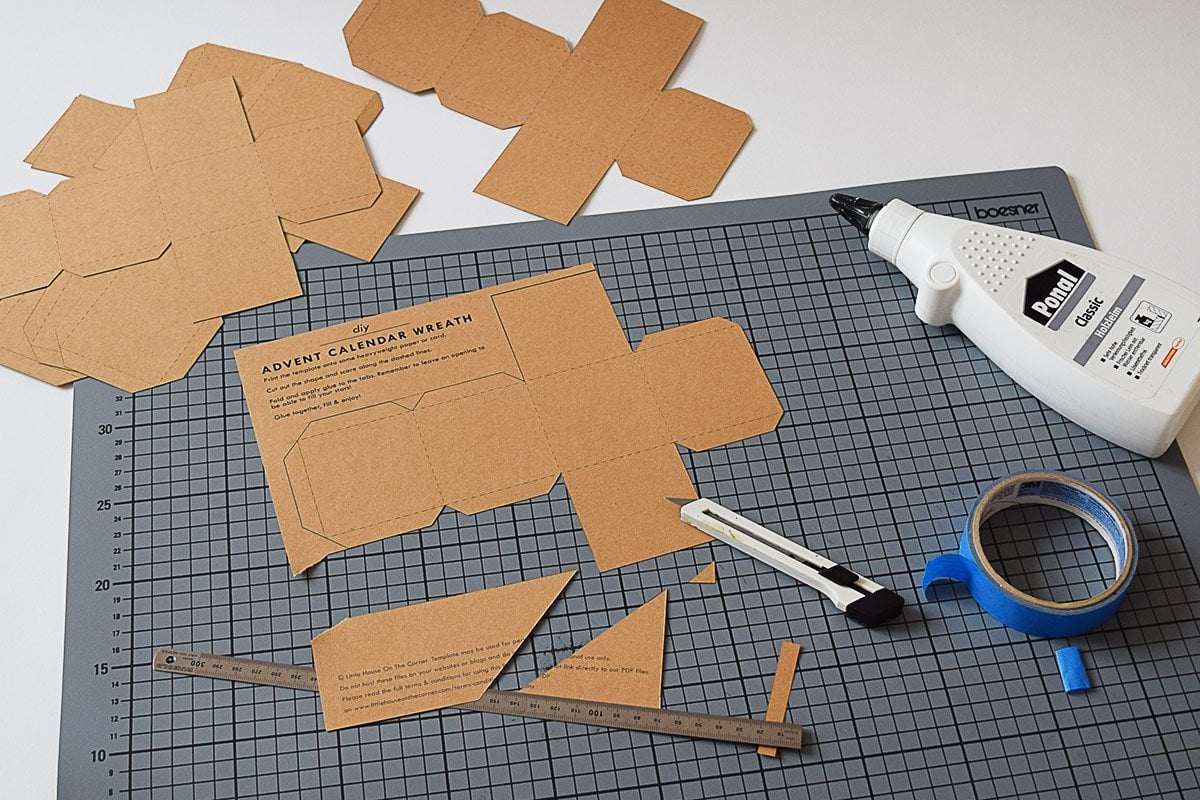
This is definitely the most labour intensive part of the whole project, and it does take a while to cut out all boxes. All I can say is grab yourself a drink (obviously nothing too alcoholic when you’re waving around a craft knife) and make yourself comfortable.
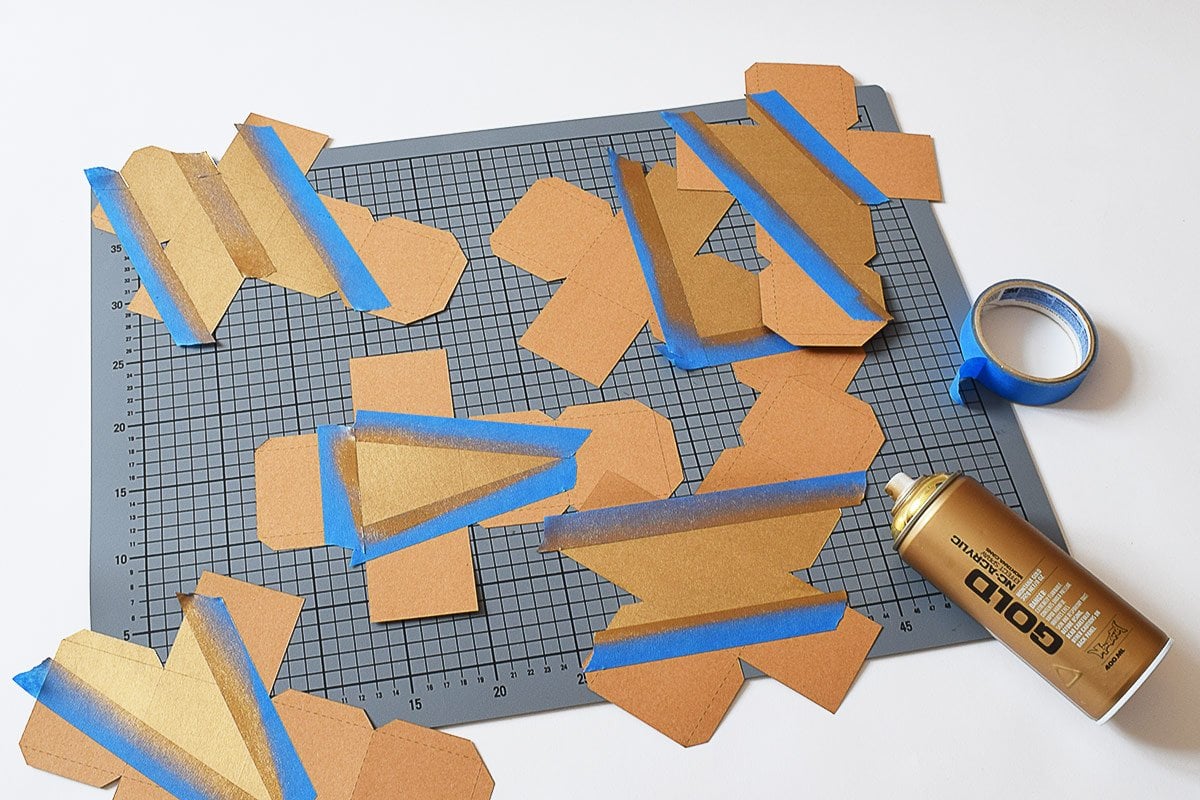
3. Now, the fun begins!
If you’re spray-painting the boxes, now’s the time to do it. Just mask off the area you want to paint and start spraying.
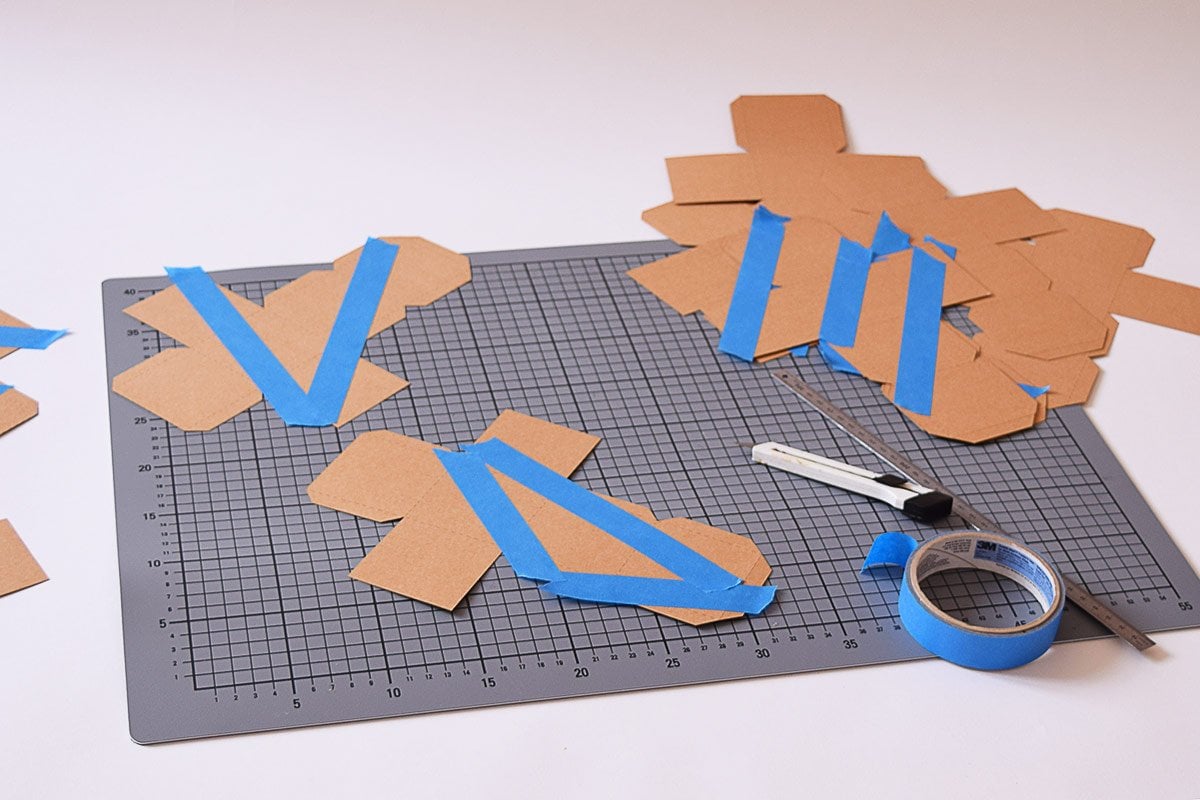
The spray does have a tendency to go everywhere, so don’t forget to cover the rest of the box and your surrounding work area if you don’t want everything to be gold!
4. When your boxes have dried, you can start to assemble them. For this, just fold along the dashed lines and glue the tabs to the inside of the box.
Don’t forget to leave the top open so that you can fill them and, more importantly, get to the gift!
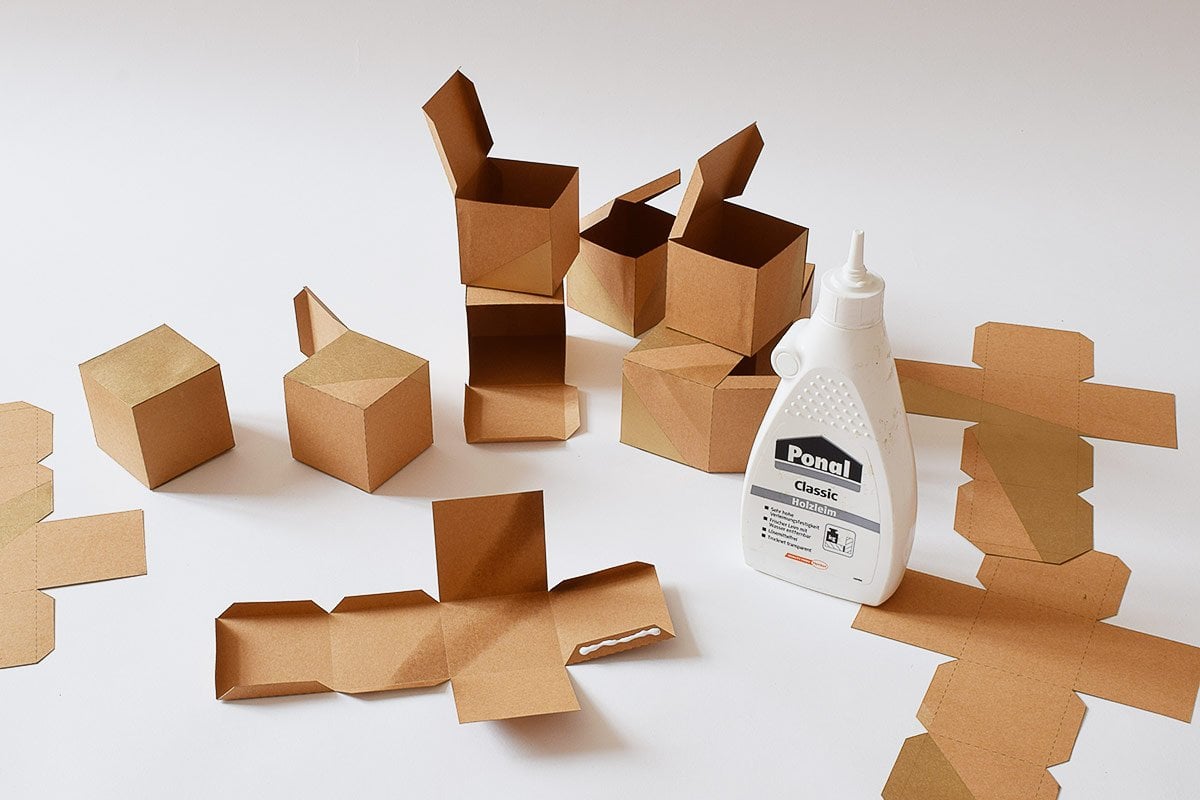
5. Roughly lay out the boxes in a circle and adjust the design until you’re happy. Then, glue the boxes together along the edges that meet. Don’t forget to make sure you can get to all of the gifts, though!

I totally admit that I accidentally glued one box on the wrong side, and I think Jan might be a bit disappointed when he tries to get to his gift. Ups!
6. Now, all that’s left to do is add the numbers and fill the boxes with gifts!
Print the numbers onto some paper. Then, cut them out with a circular punch (you could, of course, use scissors if you prefer) and stick them to the boxes.
7. The last thing to do is add some ribbon so that you can hang your DIY advent wreath!
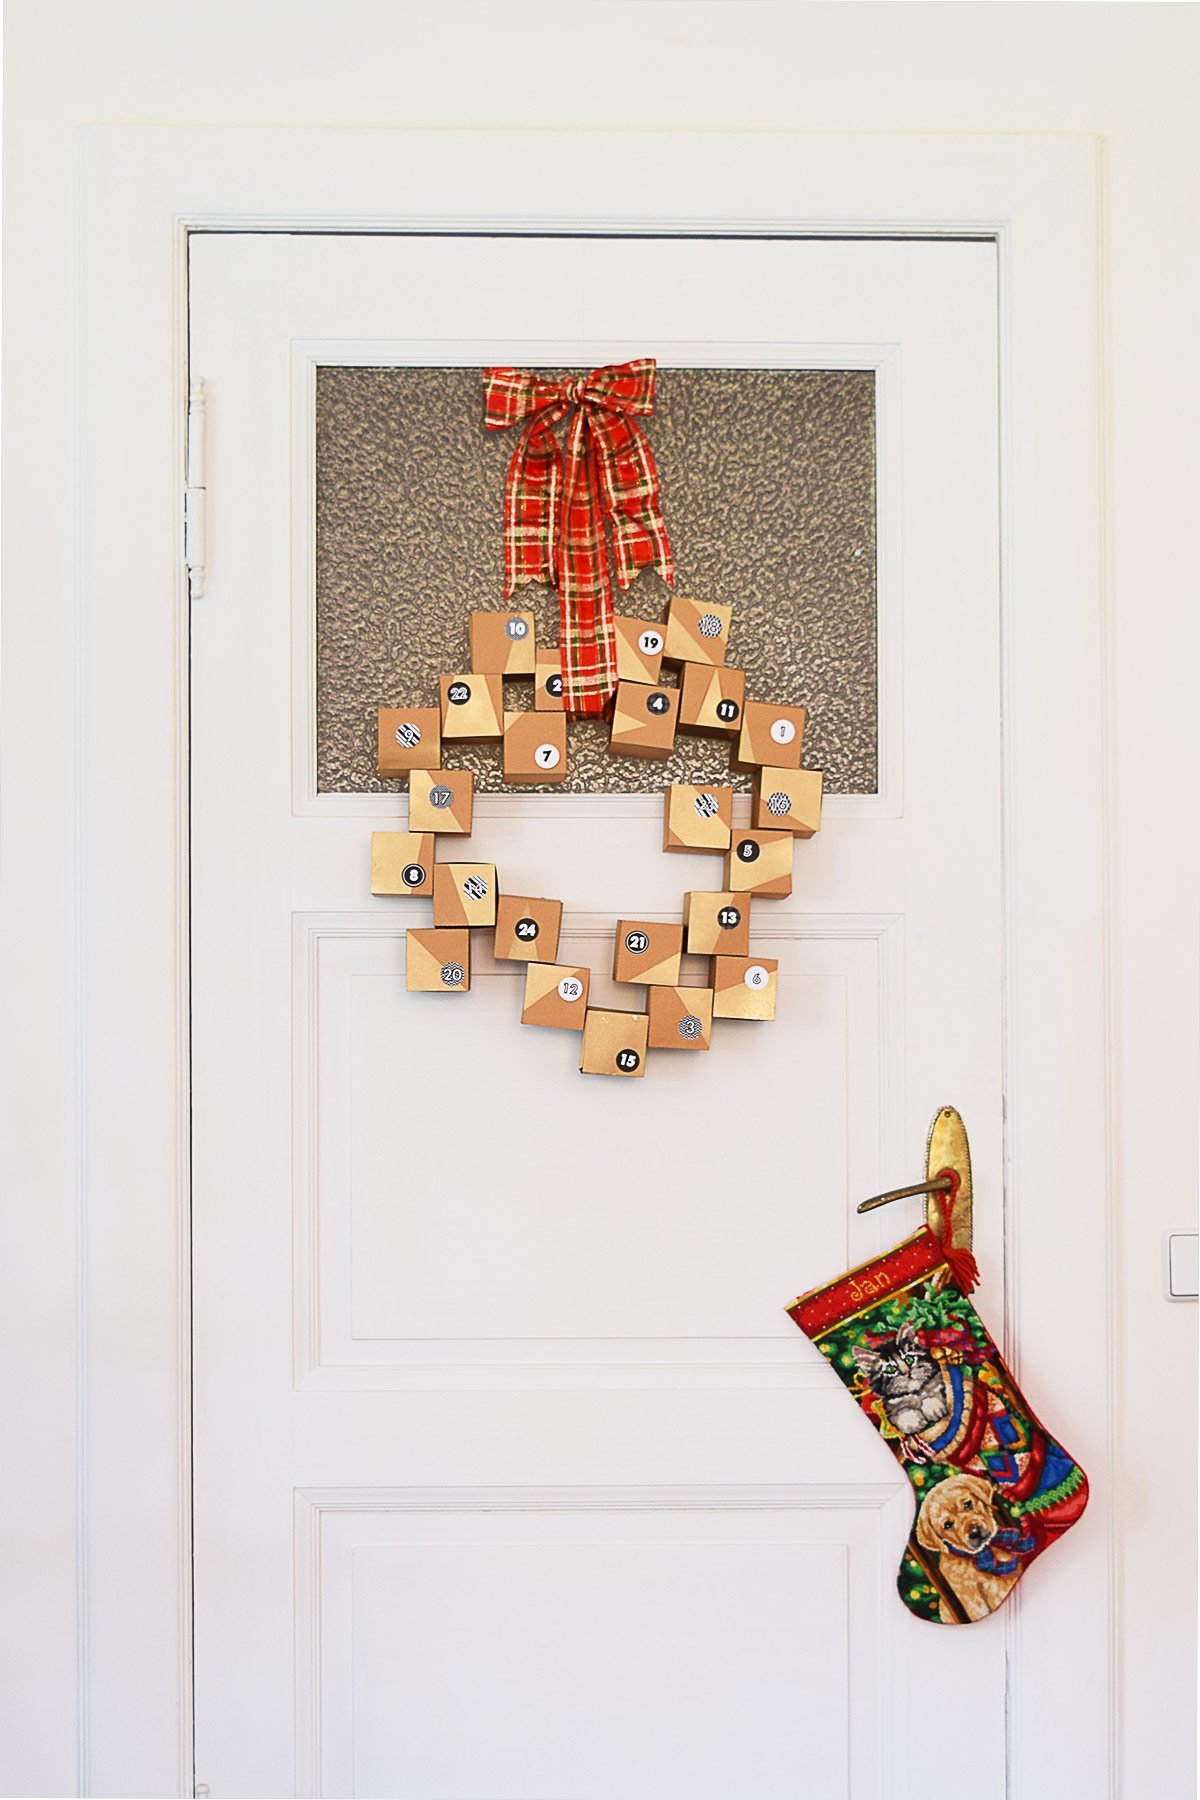
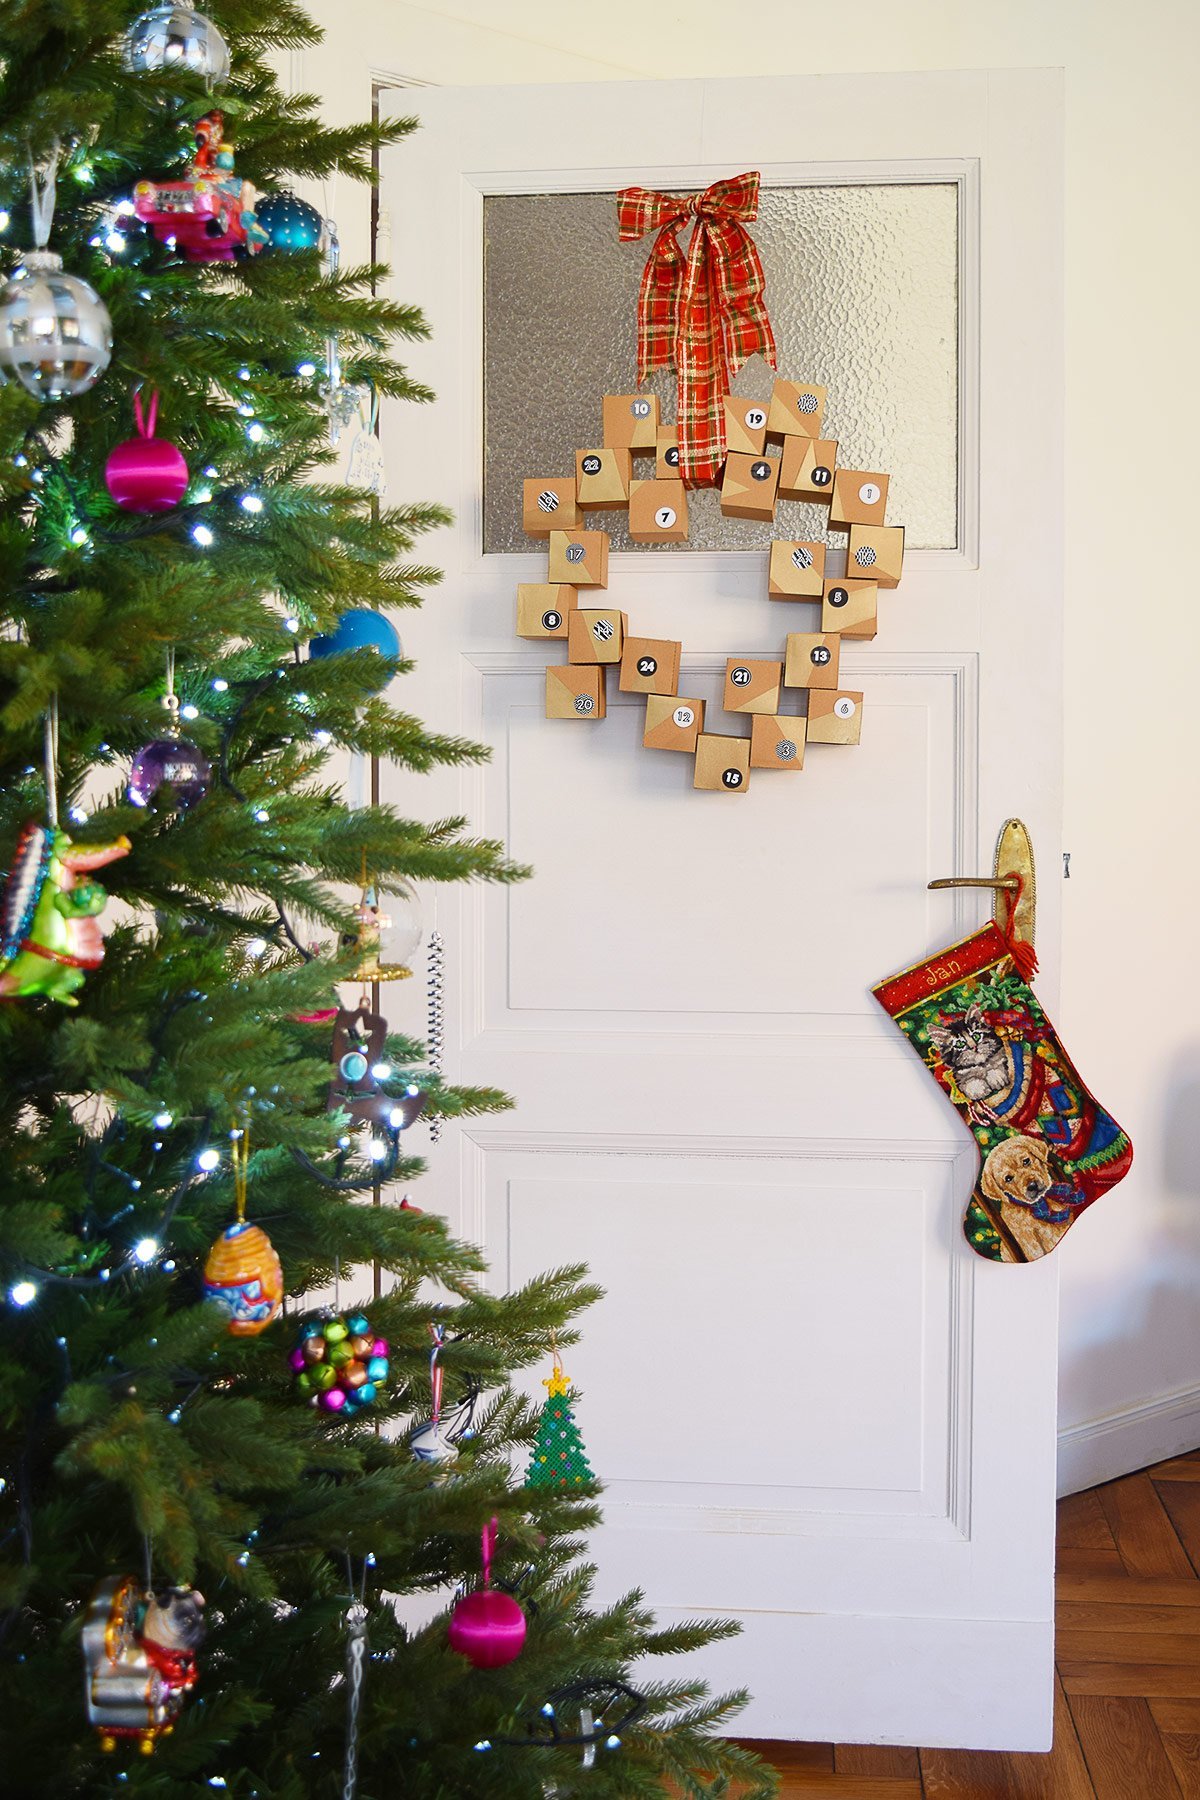
This is one of my favourite advent calendars that I’ve made so far!
The wreath is quite large, but the individual boxes are fairly small (they’re 6,5 x 6,5 cm), so the gift you add can’t be too big.
That doesn’t mean that you can’t get creative, though.
Some of the gifts I’ve included are much larger, and I’ve just hidden a part of the gift in the box. I obviously can’t tell you exactly what’s in them, as it would be a bit of a spoiler, but let’s just say that a lot of the contents aren’t exactly diet-friendly!
Do you have an advent calendar? What’s your favourite Christmas tradition? When do you start putting up your festive decorations? We put up our tree yesterday, and I’m pretty sure that everyone thinks we’ve gone mad! What are your Christmas wishes?


Lucy, Kent ~ England says
Before I was widowed our tree went up on Christmas Eve.
Now it goes up 21st December, a couple of close friends come to help and we put on cd’s of carols, warm non alcoholic punch, mince pies and set too. Decorations go back to 1980, each year where we were for Christmas is written on the box and if anyone stayed over. Each year a small gift is bought for the tree to replace any that get broken, the lights are 1980, 1990 and 2000, the Angel was redone in 1996. Apart from the tree there is a little scene of polar bears and penguins and some wooden cottages.
Getting out the decorations is like seeing old friends, my helpers ask about the stories behind the decorations and we share reminders of previous years decorating.
It’s not an upto the minute modern or themed Christmas set up, but it is full of warm and happy memories. Ornaments from loved ones and friends passed on, grown up, moved away and in one case bringing a child to see what they made for our tree as a child!
This year I’ll add a stained glass ornament made by me as well as something from my pottery class.
All decorations come down on 12th night (my late Mum in law’s Birthday and we have a drink for her), while writing another piece of history on the boxes.
Christine says
For me, putting up the Christmas tree is all about the memories, too, Lucy. Our tree isn’t what anyone could class as tasteful but we love it. We try to purchase a bauble whenever we’re on holiday which is why a lot of them are really special to us and remind us of fun memories, events and friends.
We usually put up our tree at the beginning of December and take it down before (or just after) the new year. Admittedly, it’s up super early this year but sharing an advent calendar without some festive fun wouldn’t be quite the same, would it?
Cx