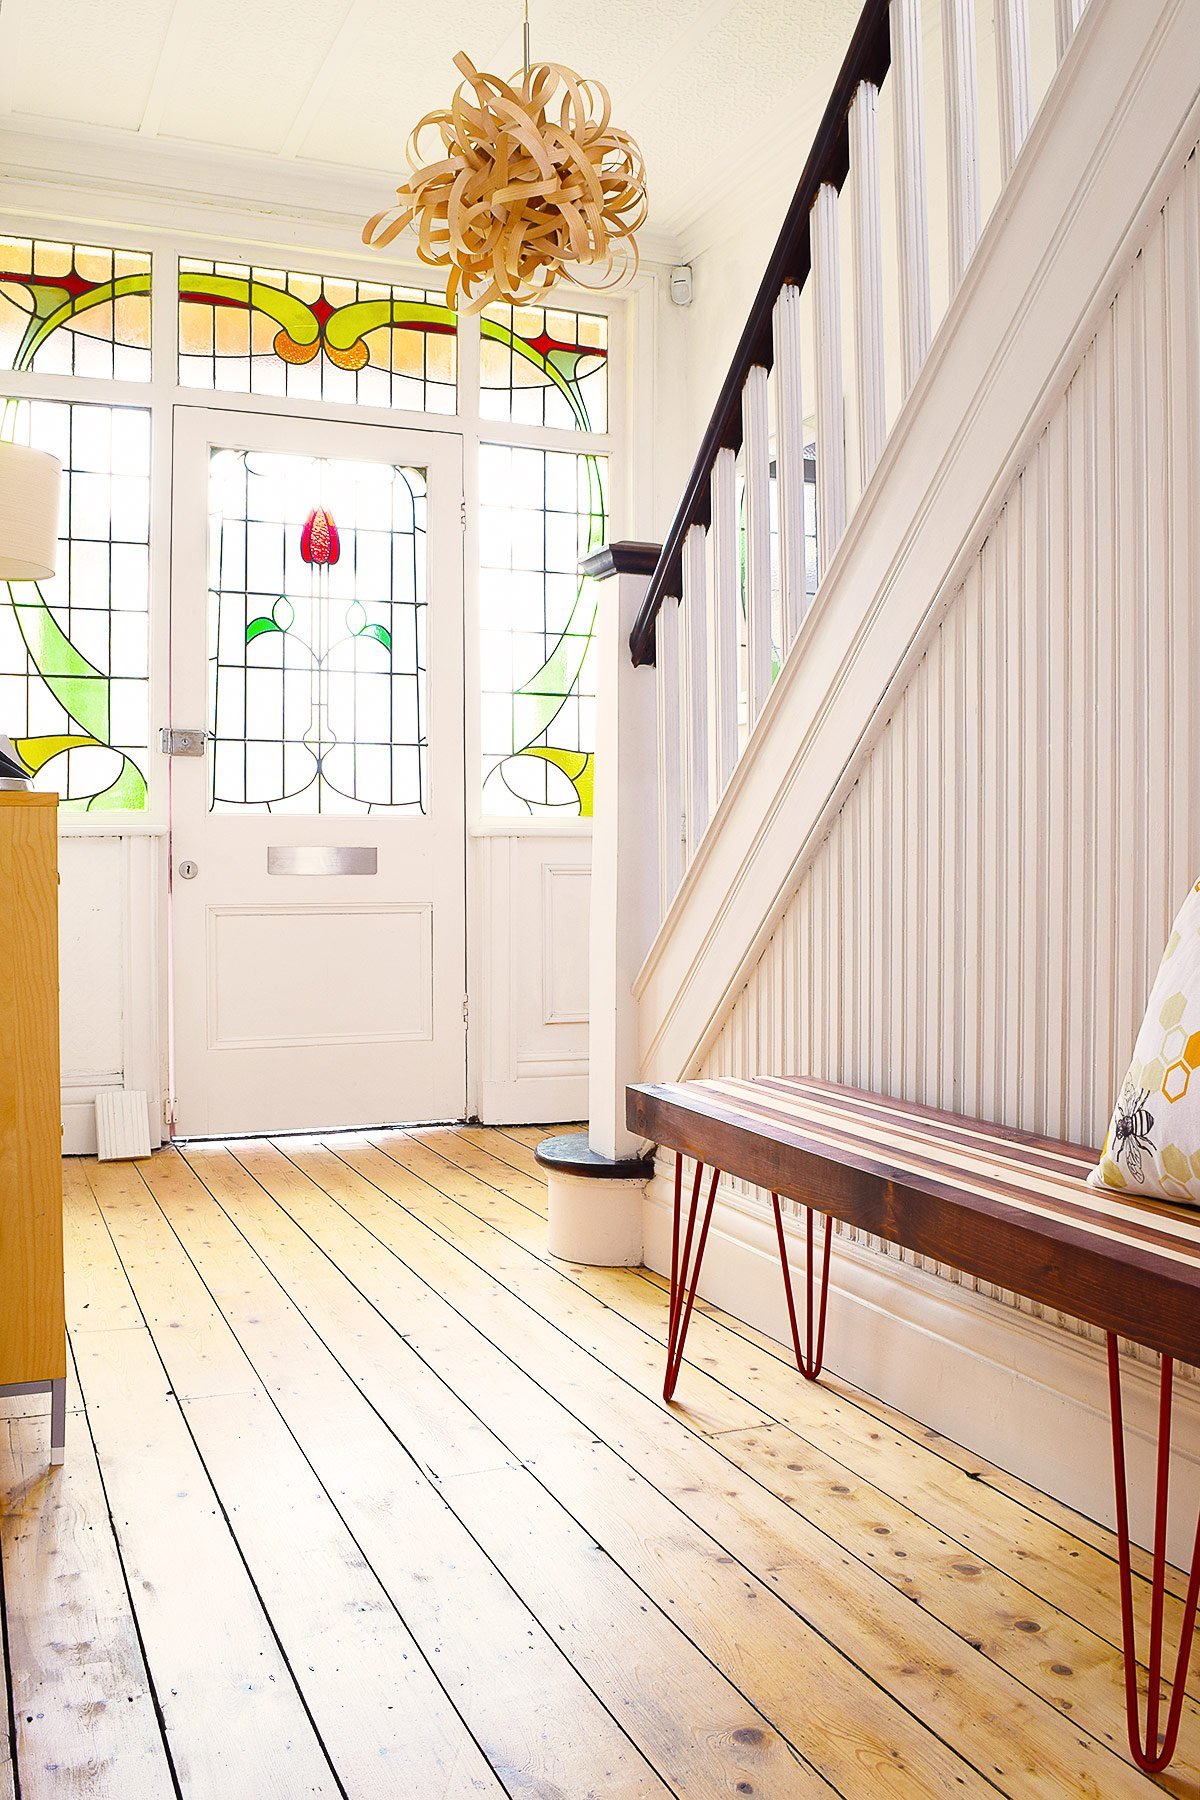
If you’ve been following this blog for a while you’ll know that I’m a complete sucker for original features.
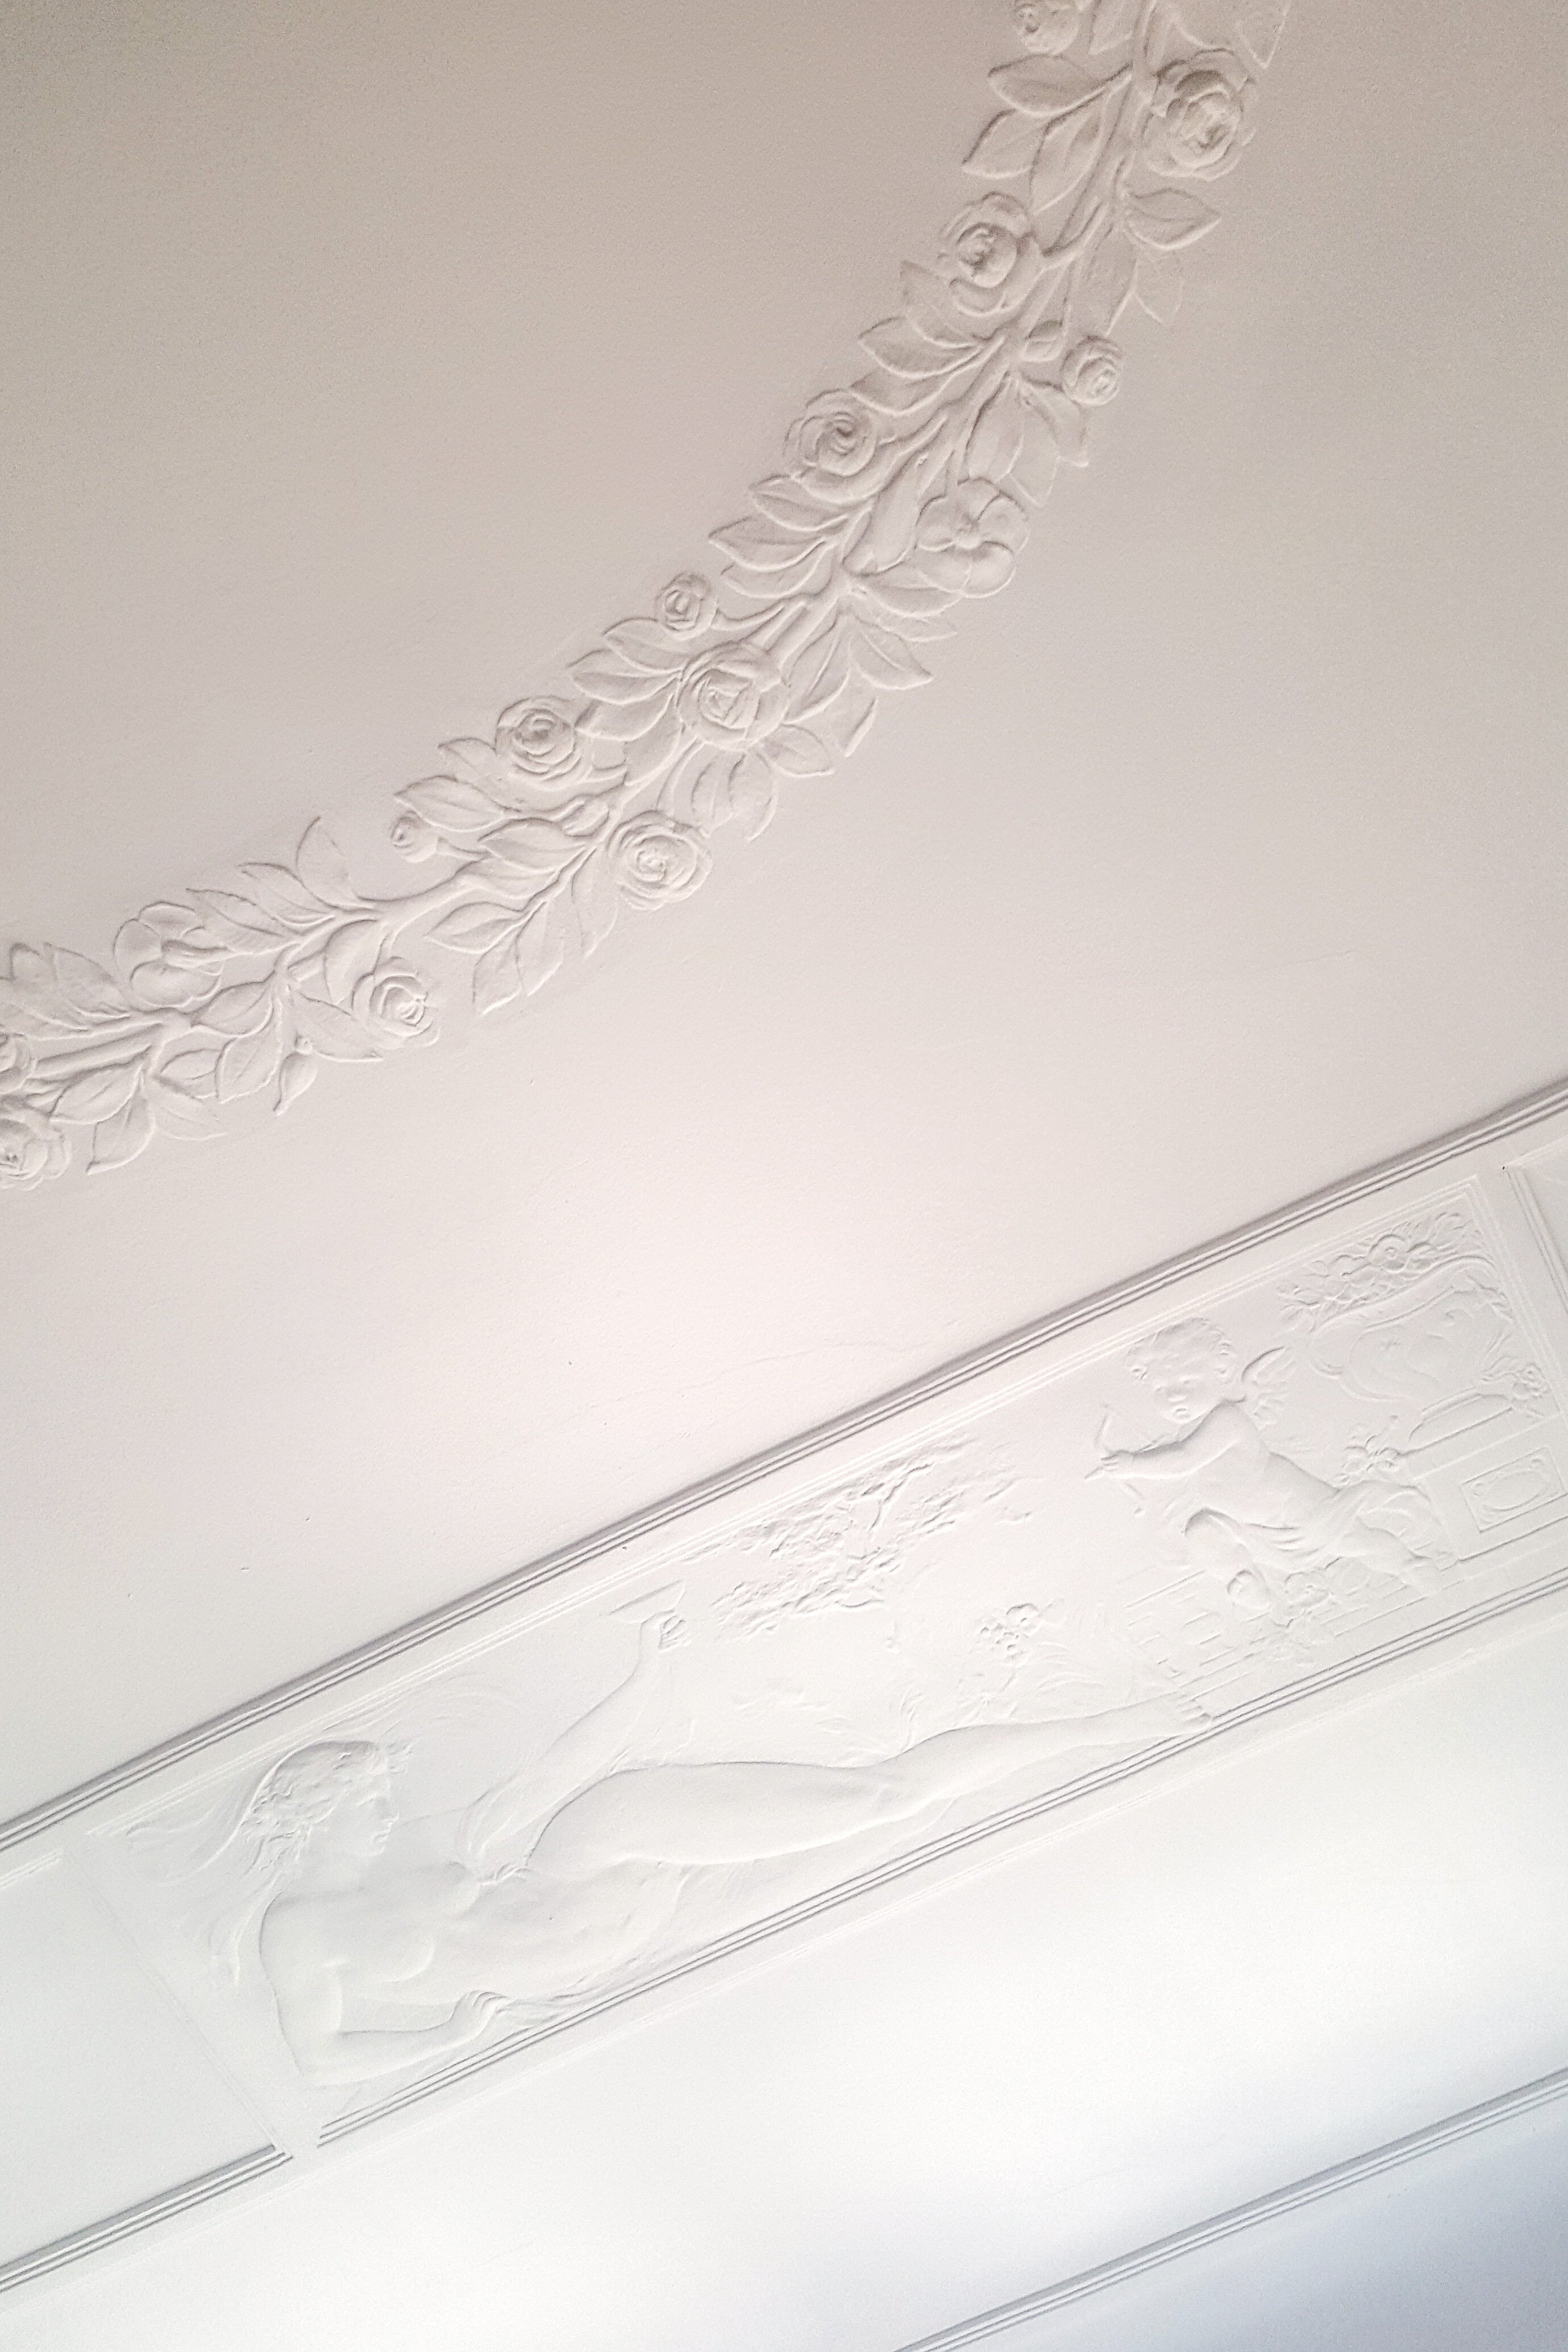
It’s the main reason that we bought our last home and, if I’m completely honest, I got so distracted by the amazing ceiling in this apartment, that it’s probably the main reason we purchased this home, too!
Let’s face it, who could resist naked ladies on the ceiling?
But the ceilings aren’t the only period features in our apartment. We’re lucky to have original floorboards, parquet flooring in the dining and living room, original windows, gorgeous ceilings and the original antique fridge!
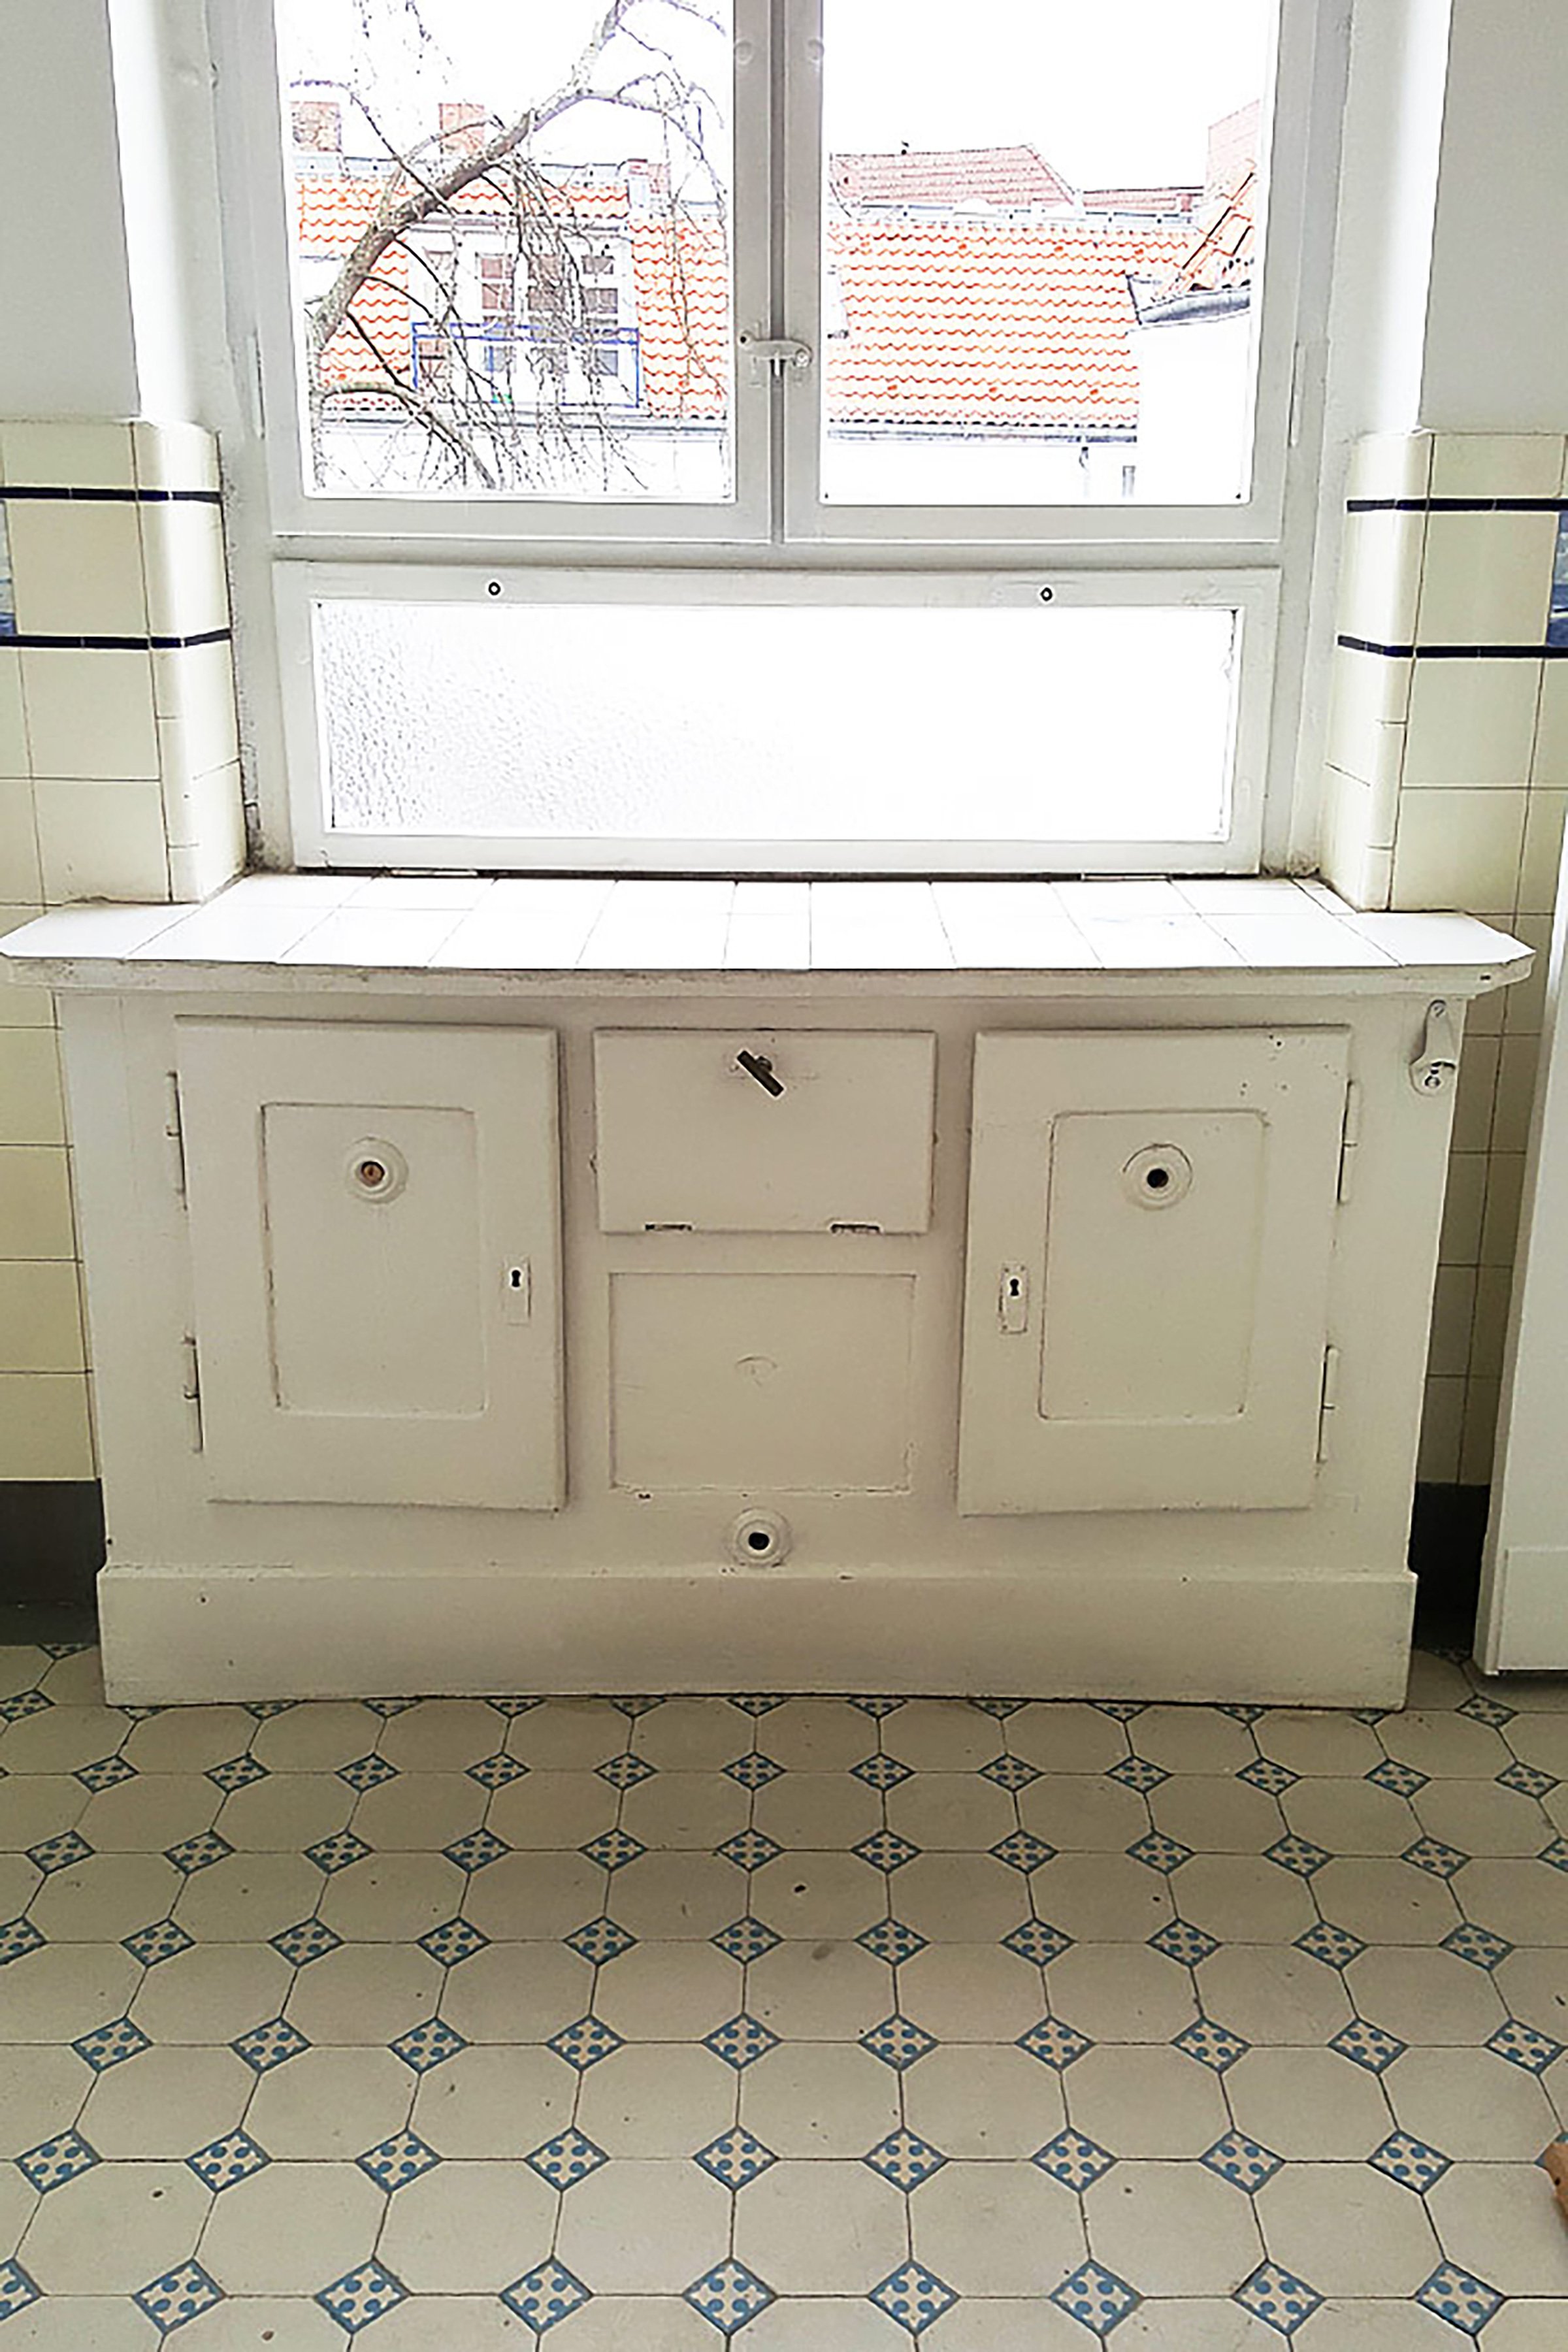
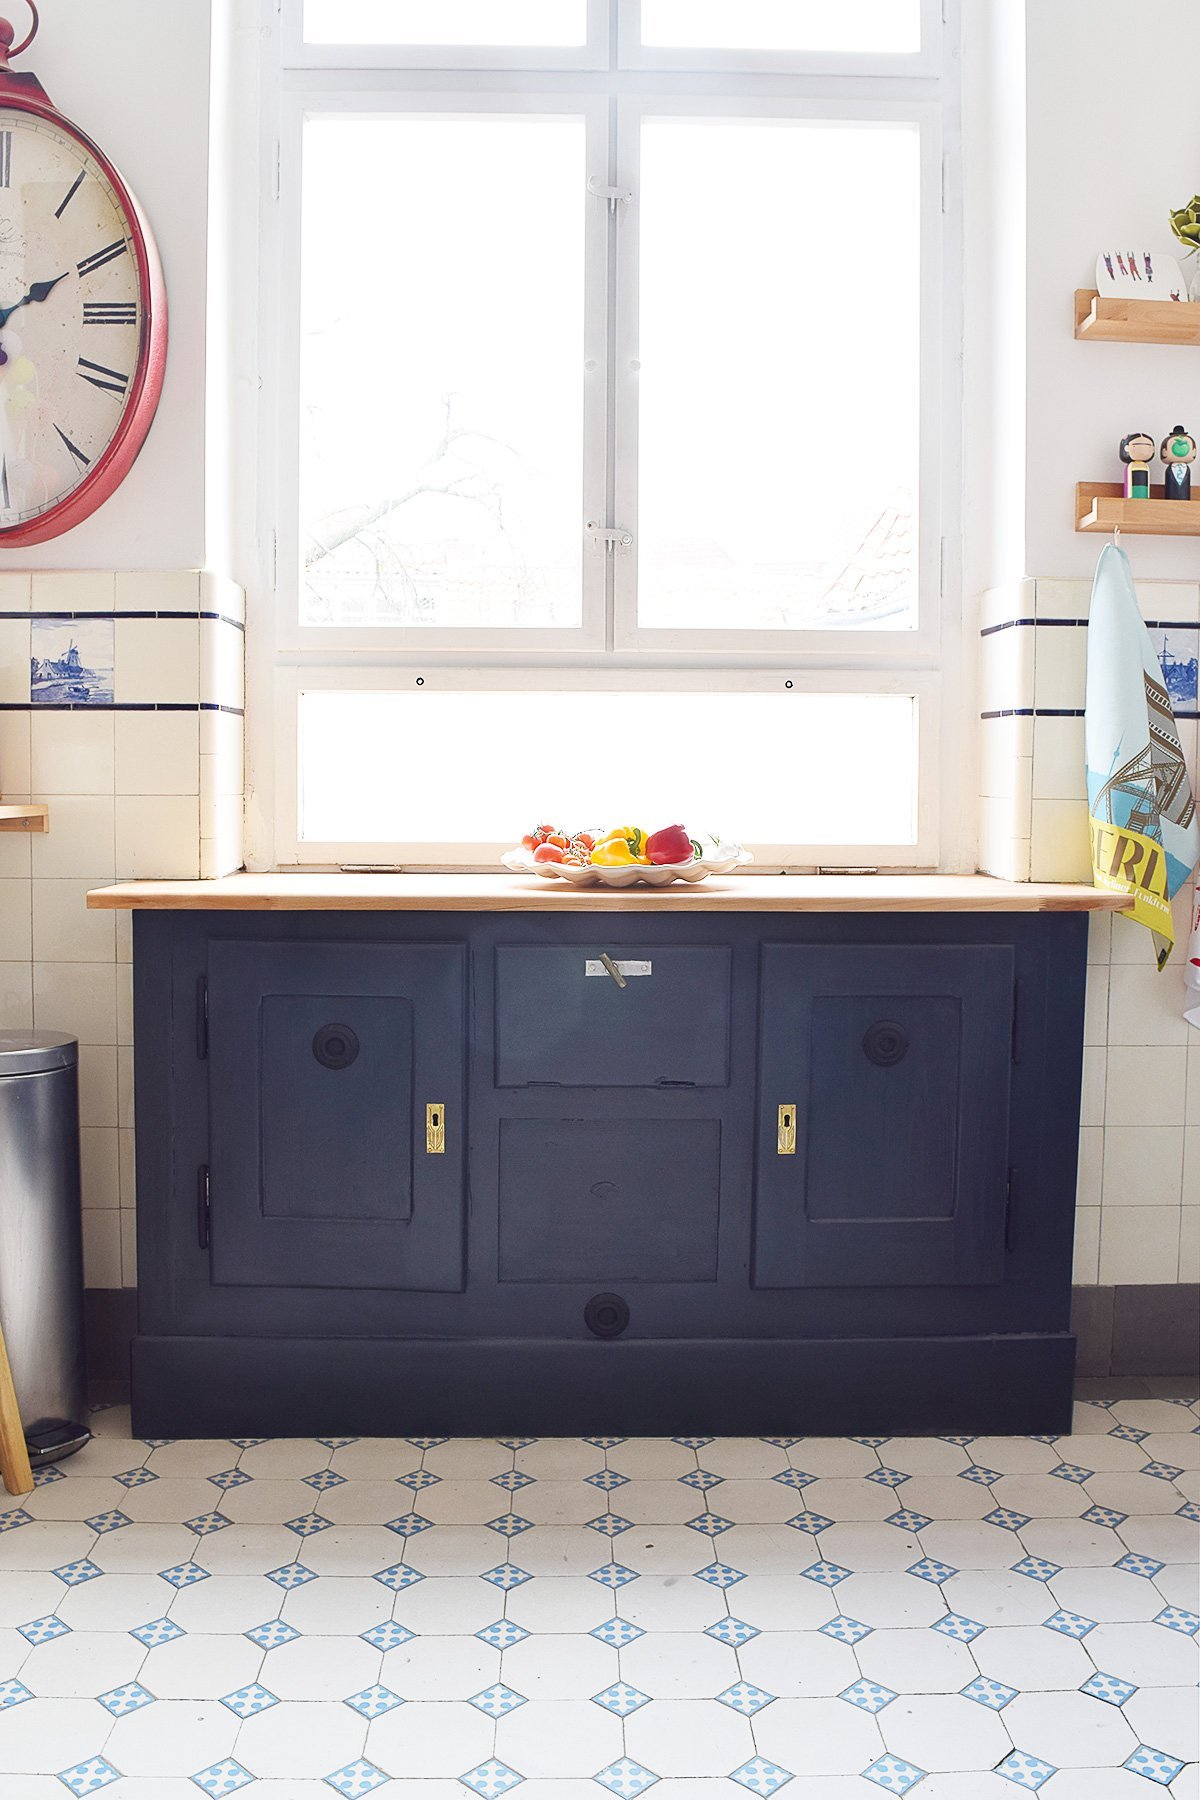
I have to admit that I wasn’t completely sure what the cupboard under our kitchen window was when we first viewed the apartment. It just looked like any other cupboard but we quickly realised that it was something much more special.

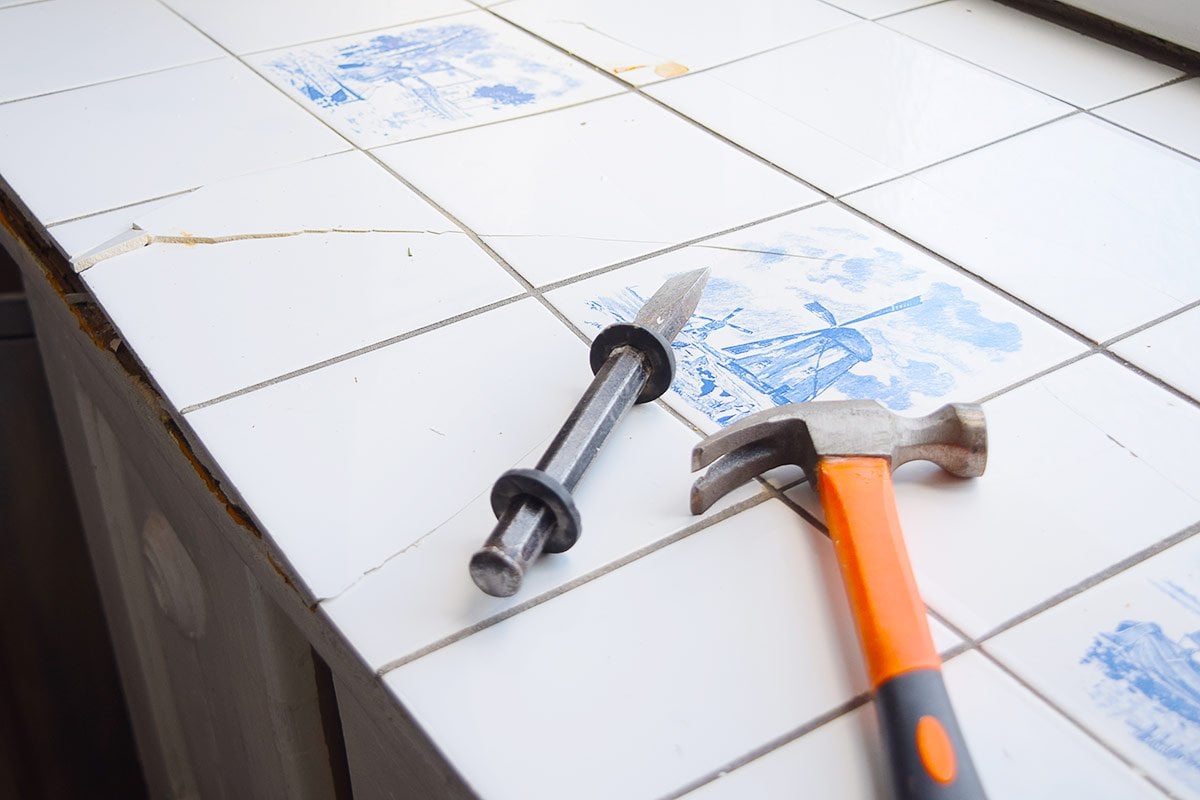
The problem was that the antique fridge was covered in countless layers of old varnish, the top had been badly tiled with cracking tiles that kind of mimicked the original tiles of our kitchen but were a bad match and just looked wrong.
Although we obviously aren’t ever going to use it as a fridge we also couldn’t justify leaving it looking in the sad and worn state that it was, especially as we gave the rest of the kitchen a full-on makeover!
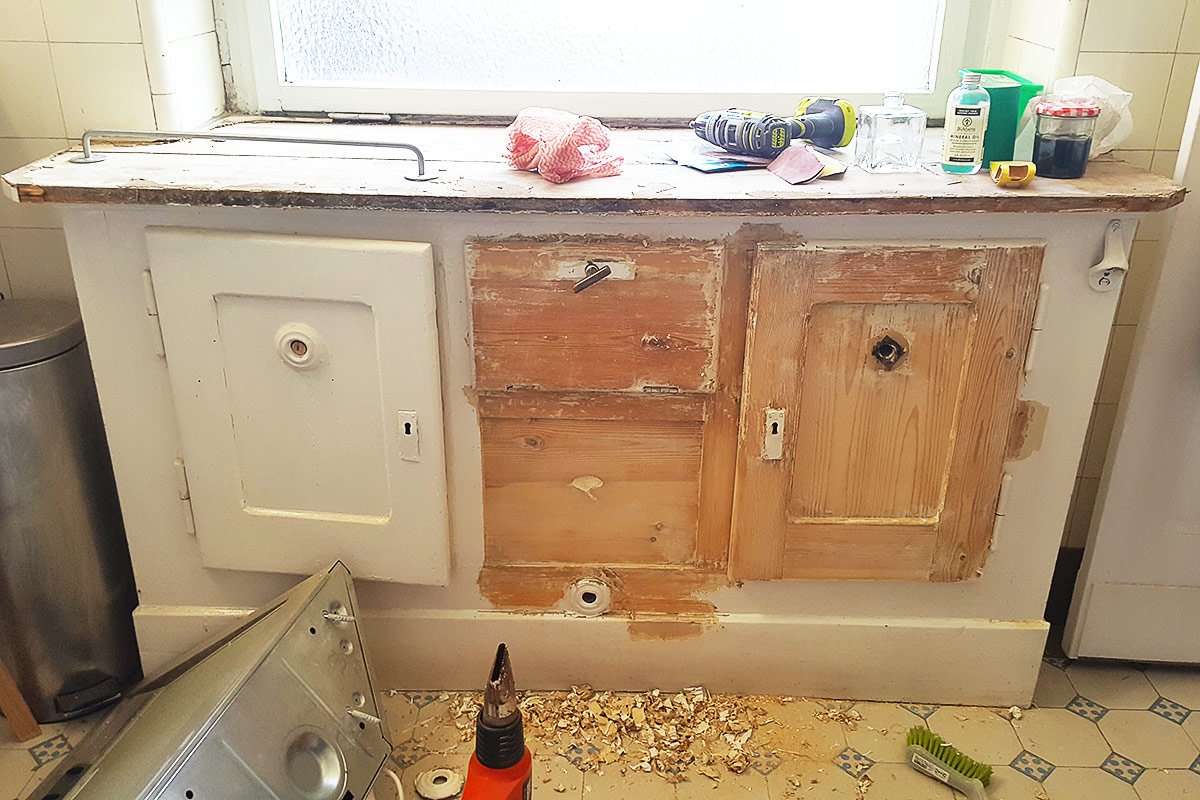
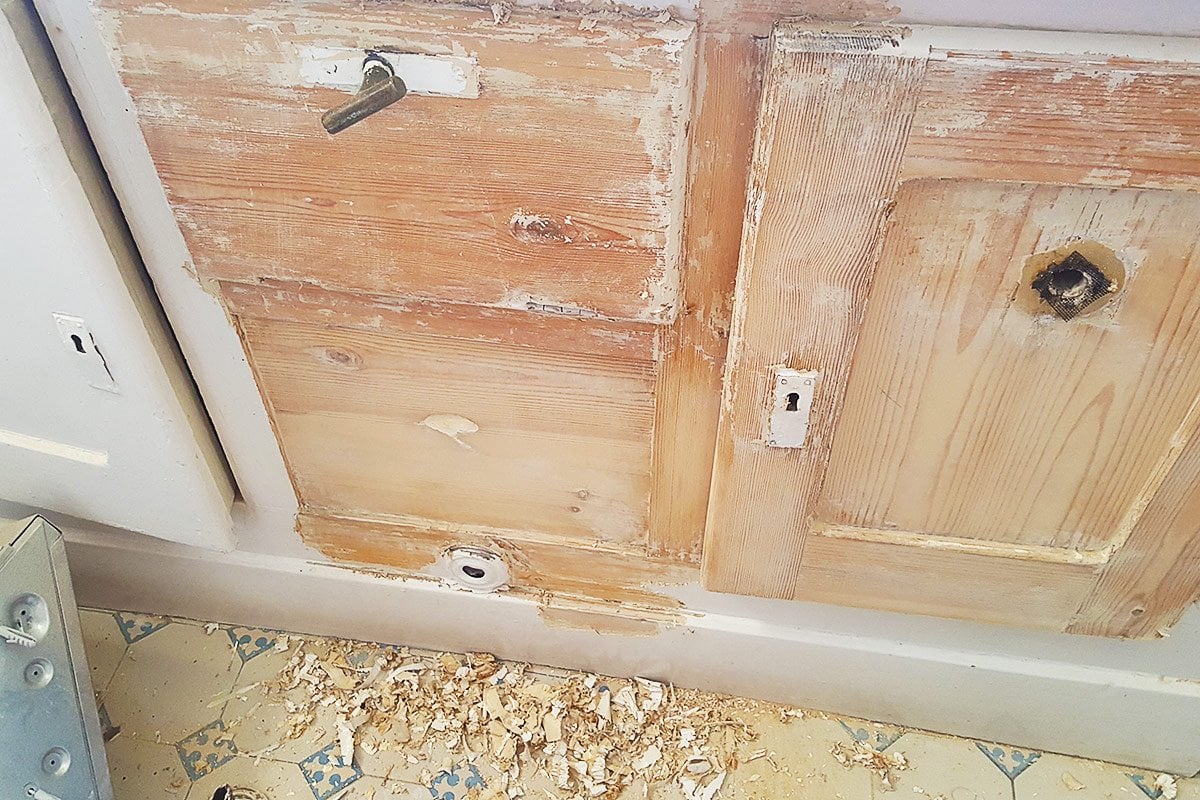
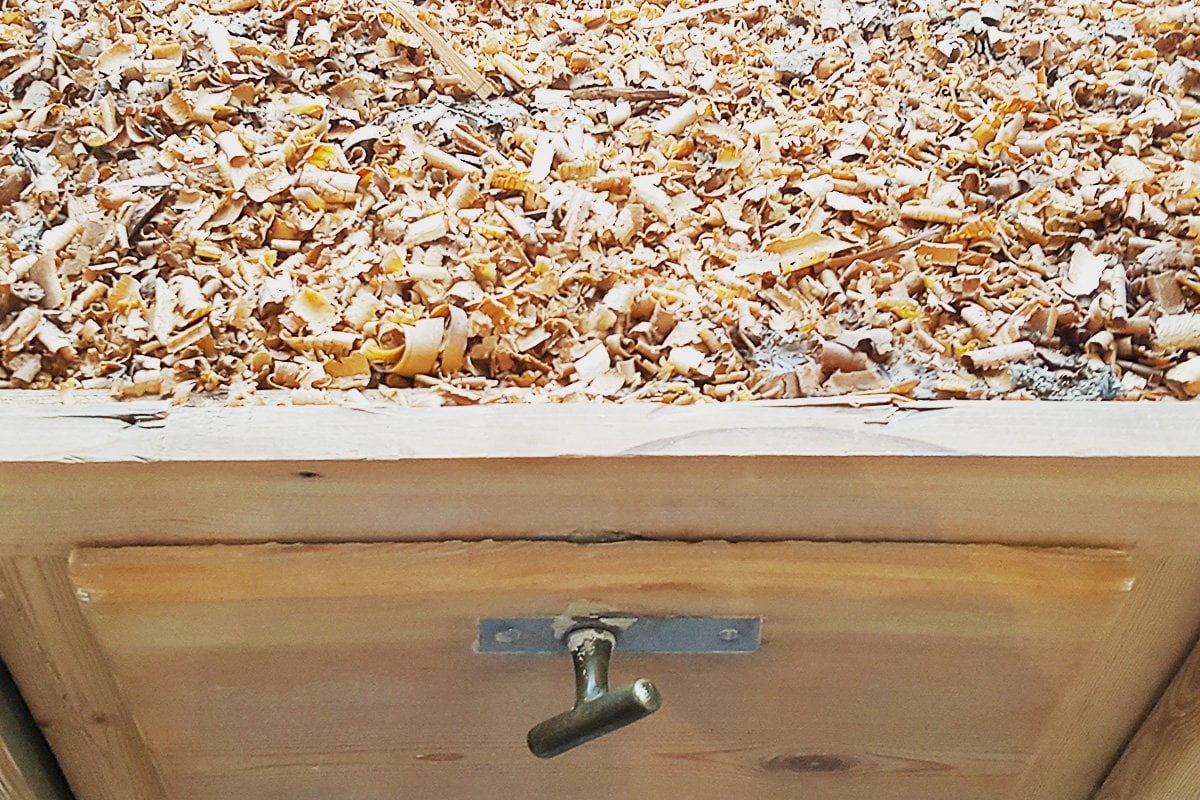
Given the state the fridge was in, we figured we’d have to go back to basics which annoyingly for me meant removing all of the old layers of paint and a lot of sanding.
It’s no big secret that I hate stripping paint! Yes, the first 10 minutes of heat gun action are weirdly satisfying but after that, it’s just boring and you end up covered in a mess of gooey and smelly paint. To put into context just how much boredom was involved, it took me 3 full days just to strip and sand the fridge!
Don’t get me wrong, I’m happy I went the extra mile and stripping paint is almost always worth the effort in the long run, it just doesn’t feel like it while doing the work! Oh, and if you’re planning on stripping paint, don’t forget to carry out a lead test first, especially in older properties – safety first!

As you can see we didn’t stop there.
After removing the cracked tiles from the top of the fridge we realised that the counter was made of scaffolding boards with a pretty large gap down the middle. It obviously couldn’t stay like that so we decided that we’d just replace the whole top with a counter to match the other new countertops in our kitchen.
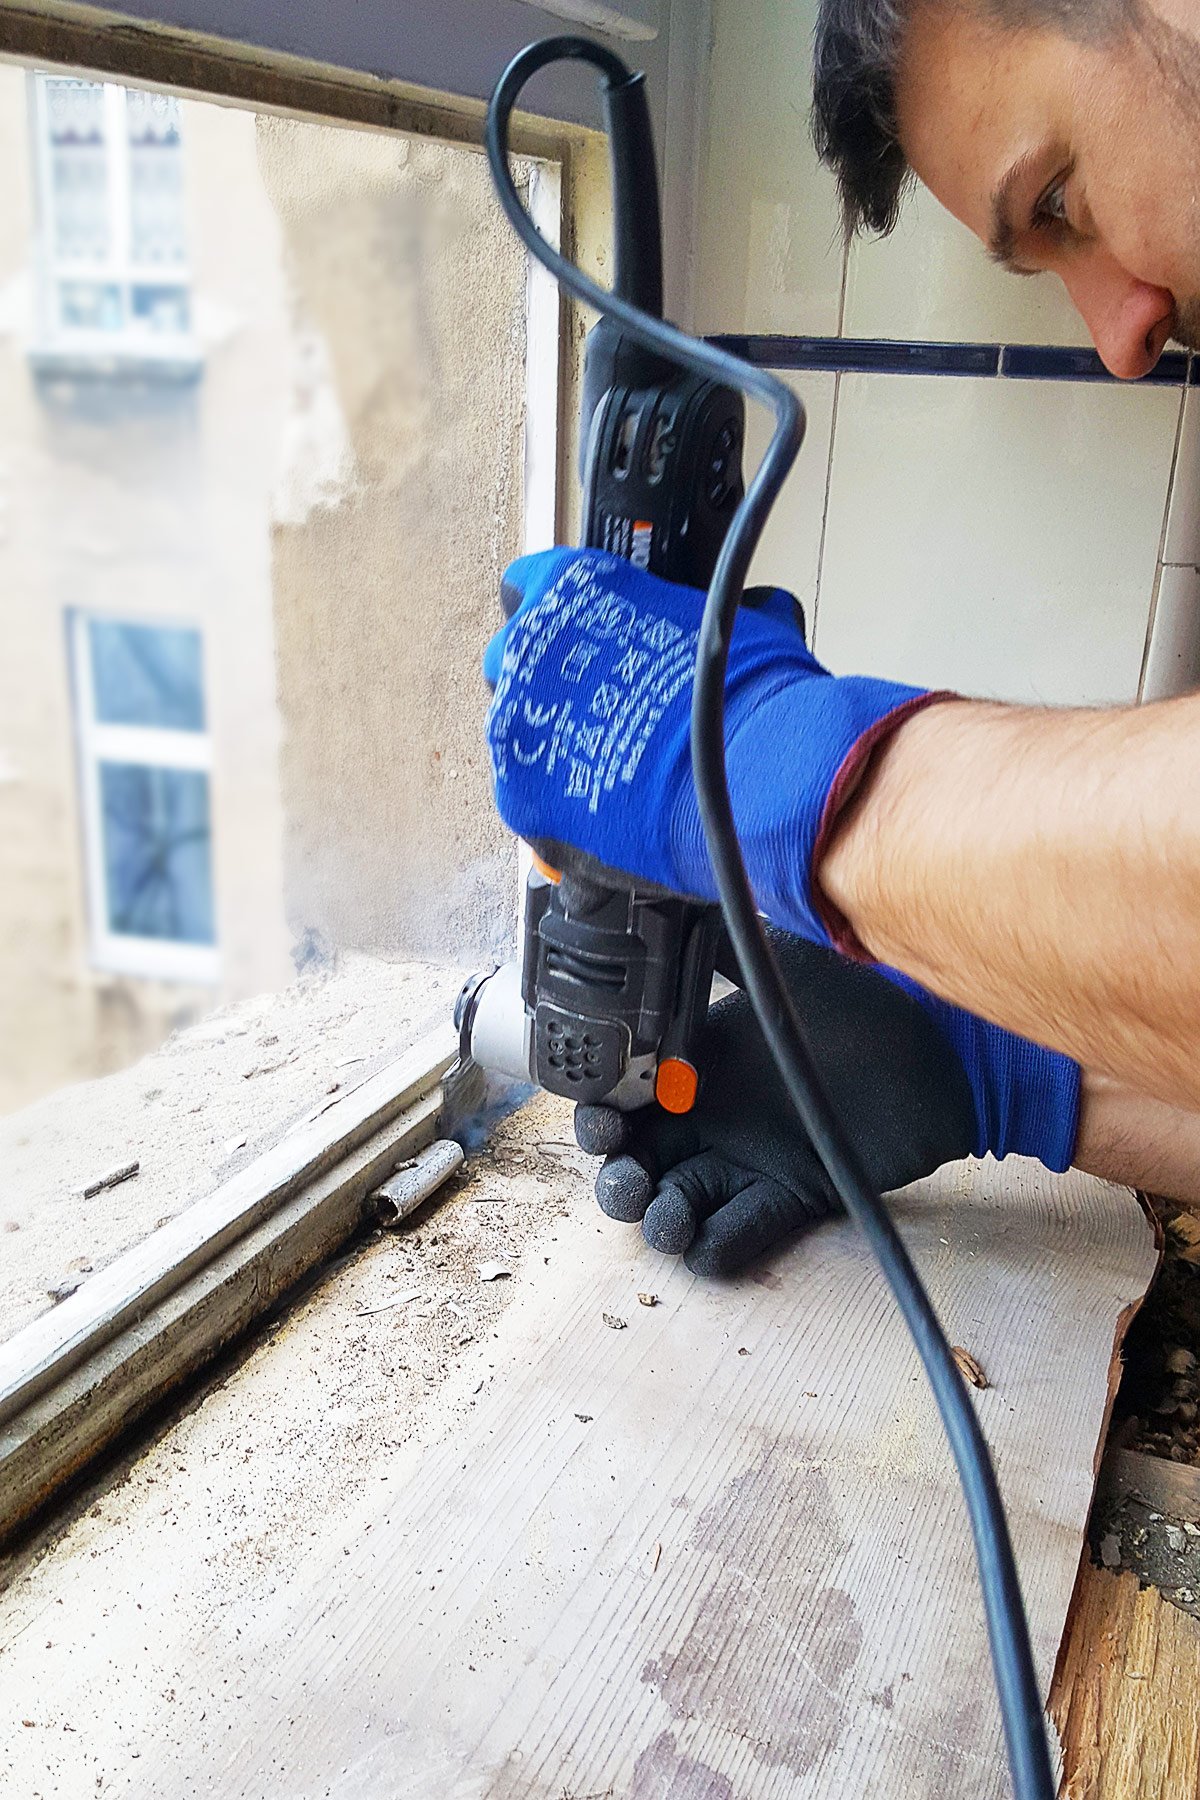
As you can probably guess, “just” turned out to be a bit more time consuming than we expected, especially when we realised that the fridge must have been installed before the window!
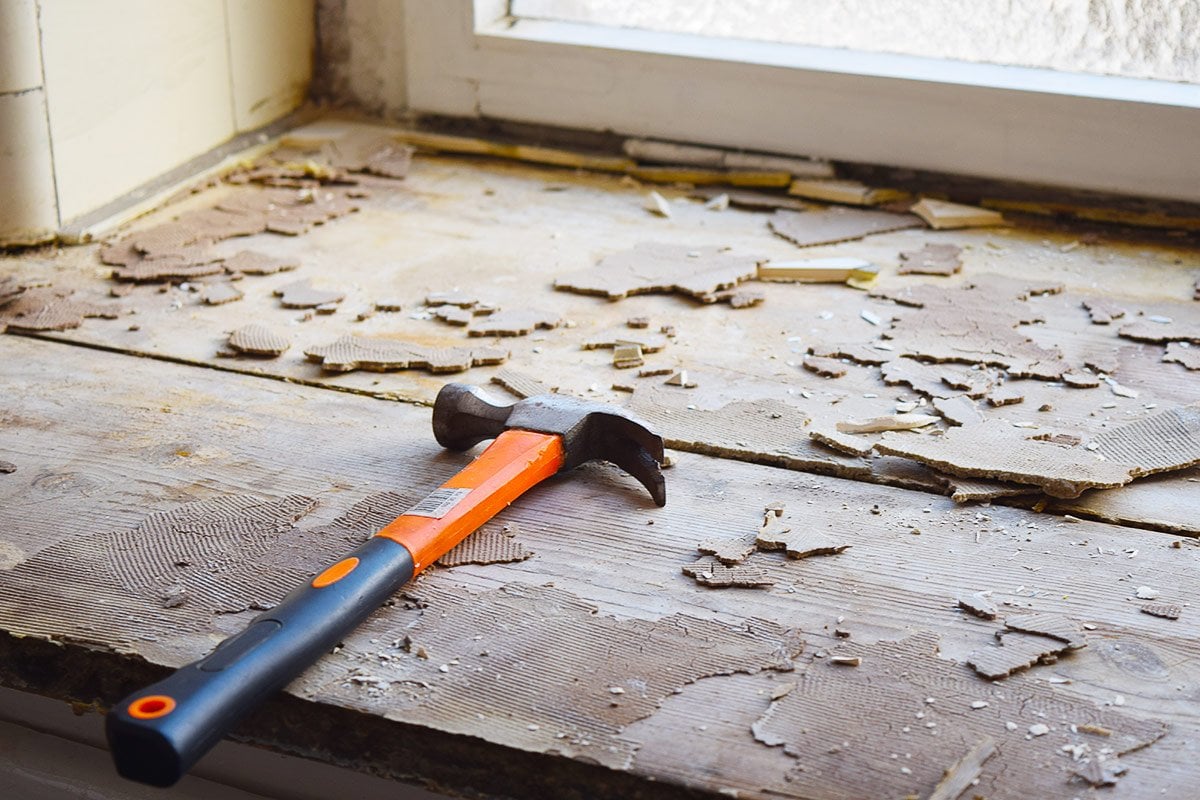
The front board was easy enough to remove but the back one slotted under the window so we had to cut it out. After cutting along the edge we thought we’d be able to pull out the board but it still wouldn’t budge. That’s when we discovered that it had also been nailed into place from the outside with huge rusty nails!
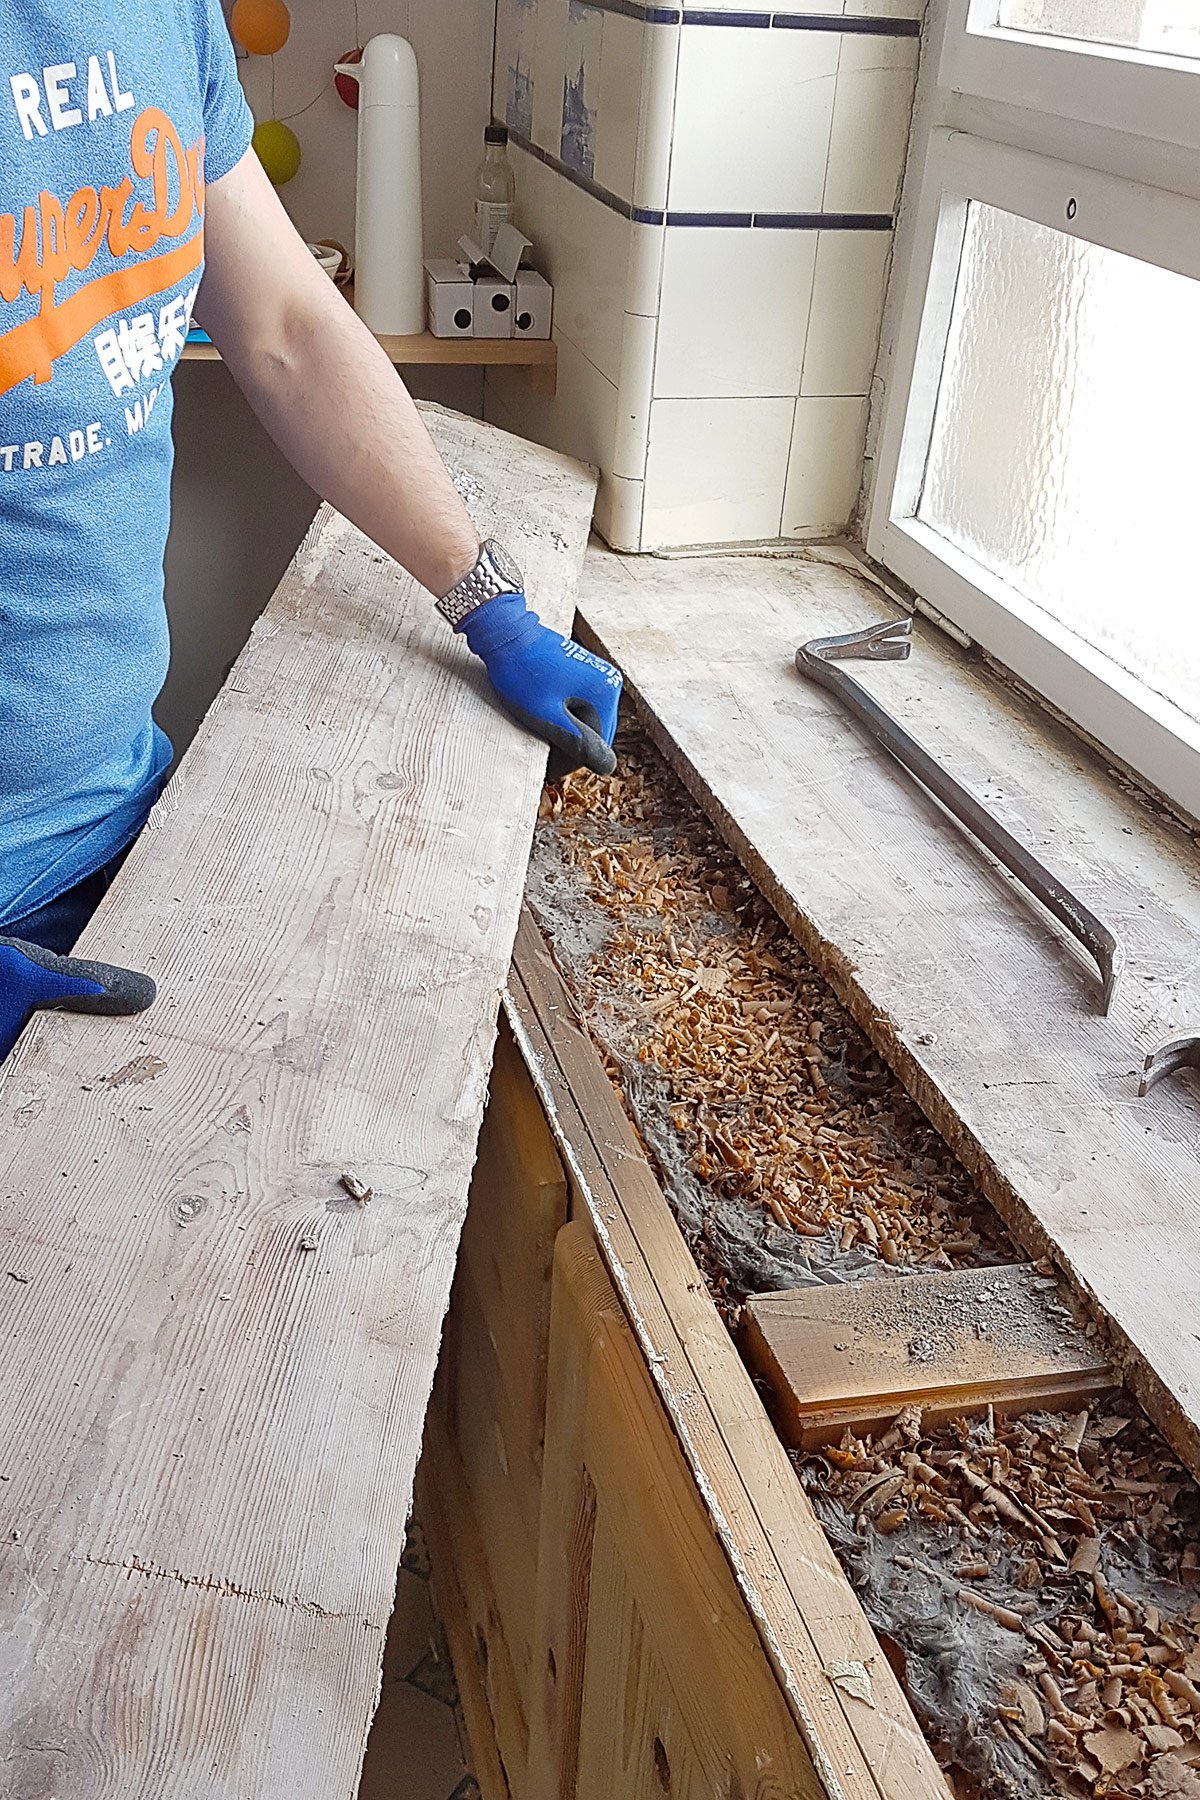
In the end, we managed to pry it loose with a crowbar but the whole we’ll “just” replace the top adventure took us more than a day to do! Oh, and prying something away from your window isn’t something I’d recommend. I was in a panic the whole time because the window was wobbling so much that I was convinced it would fall out!
Luckily, everything after that was pretty straightforward.
We used the old pieces of timber as a template to cut the new countertop and then just slotted it into place before sealing all gaps with some clear silicon.

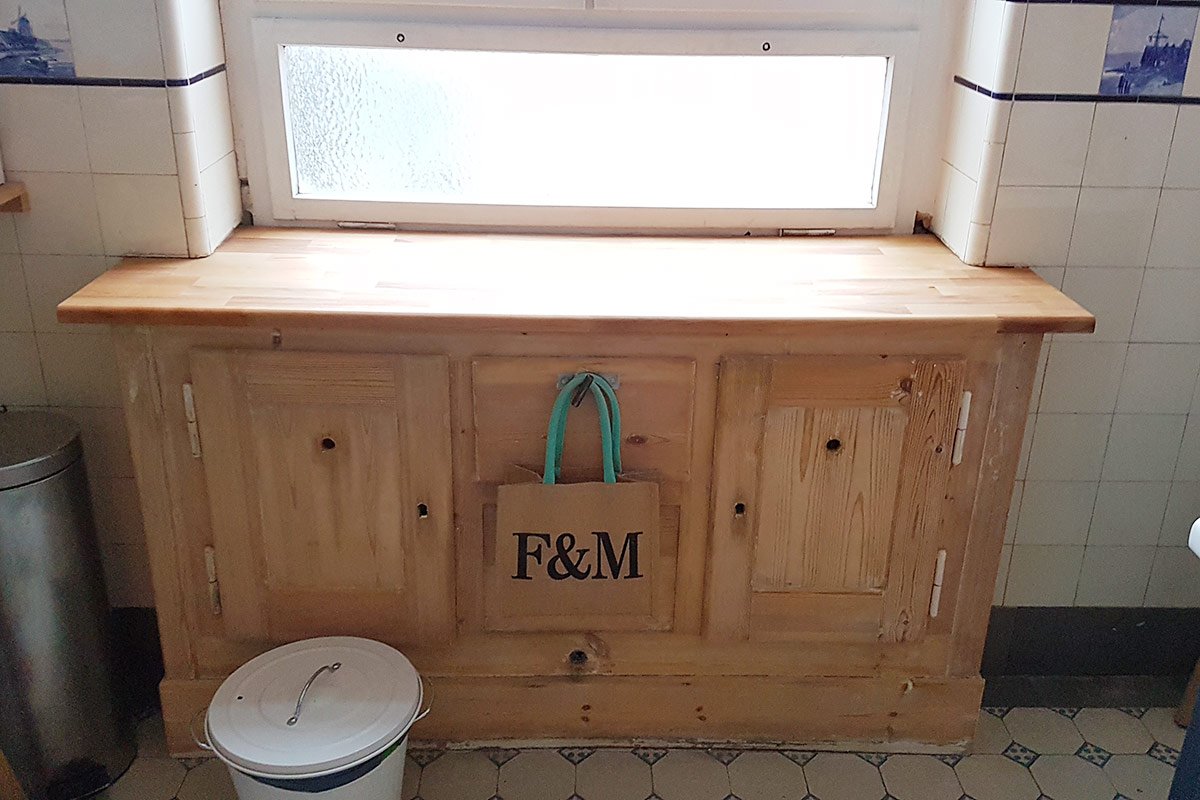
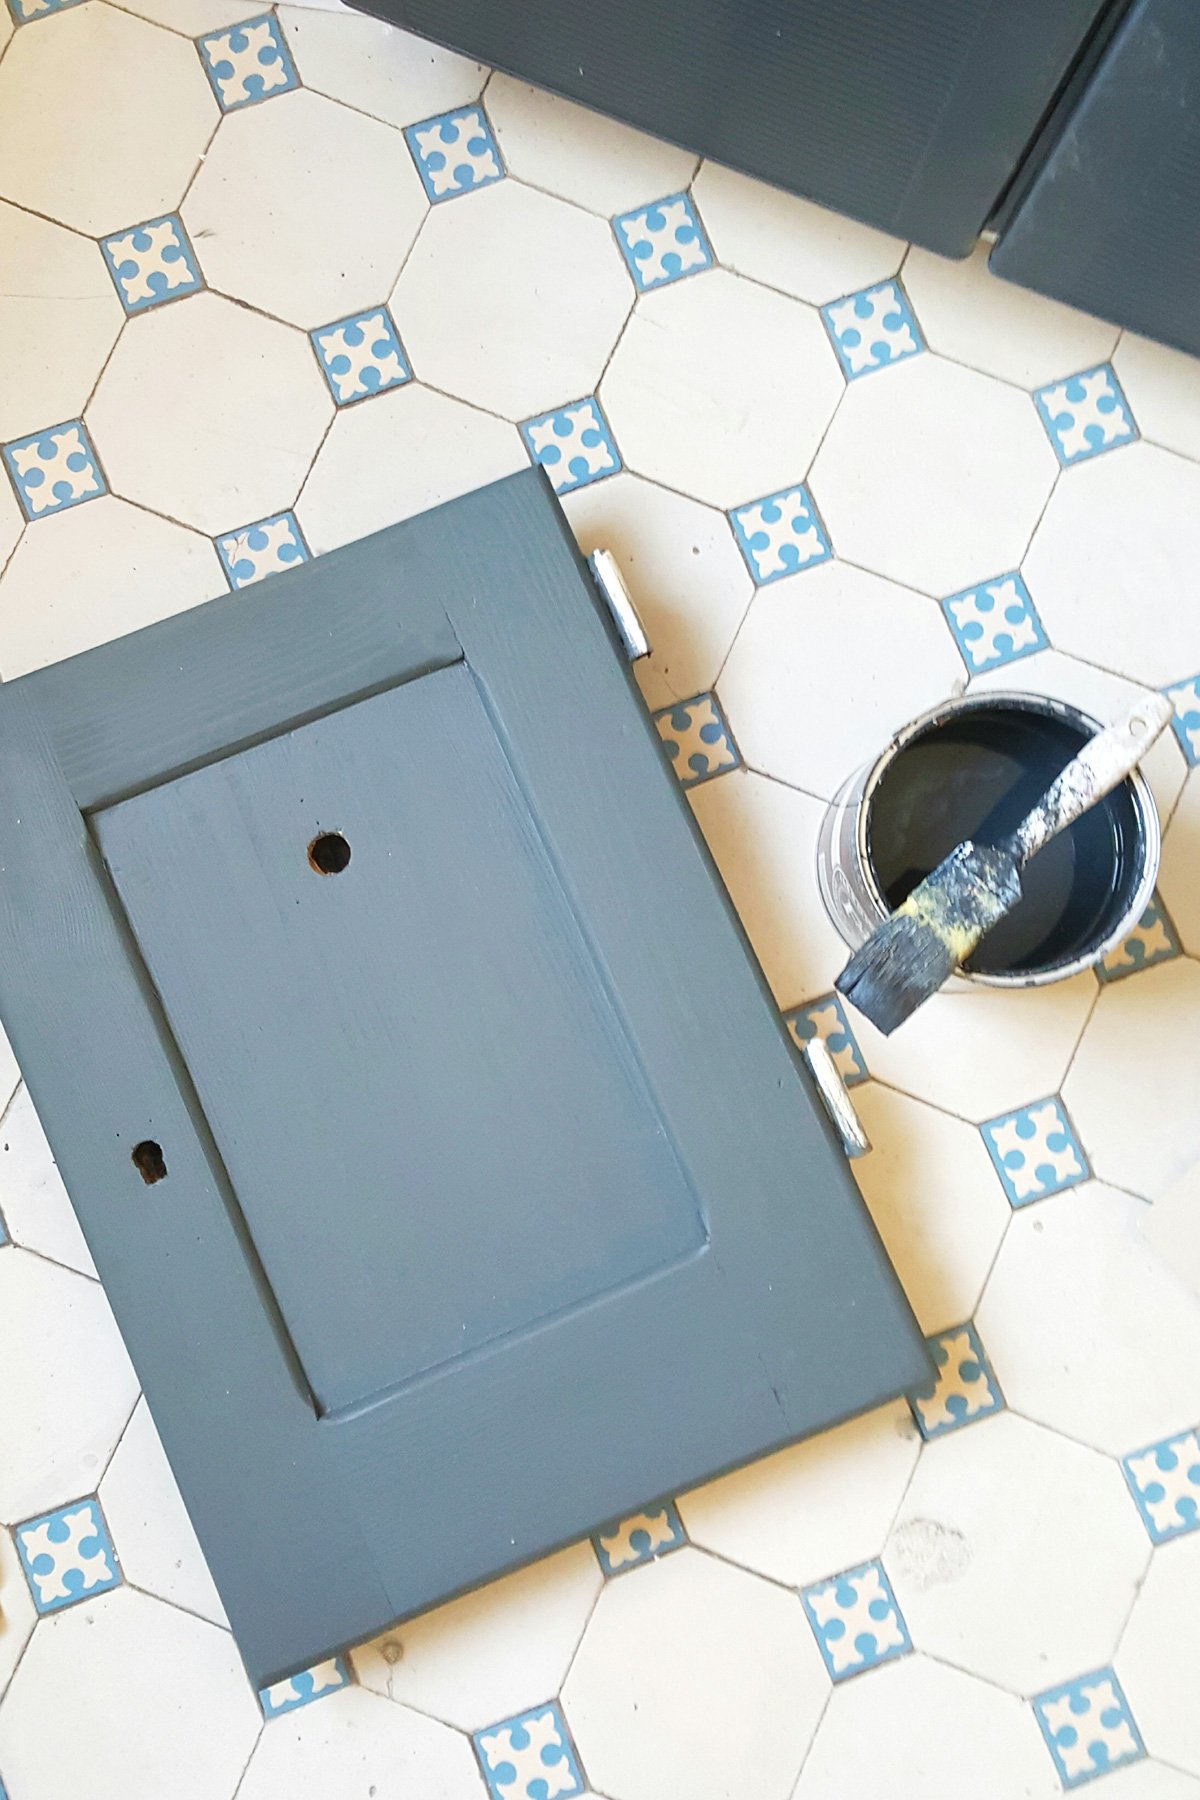
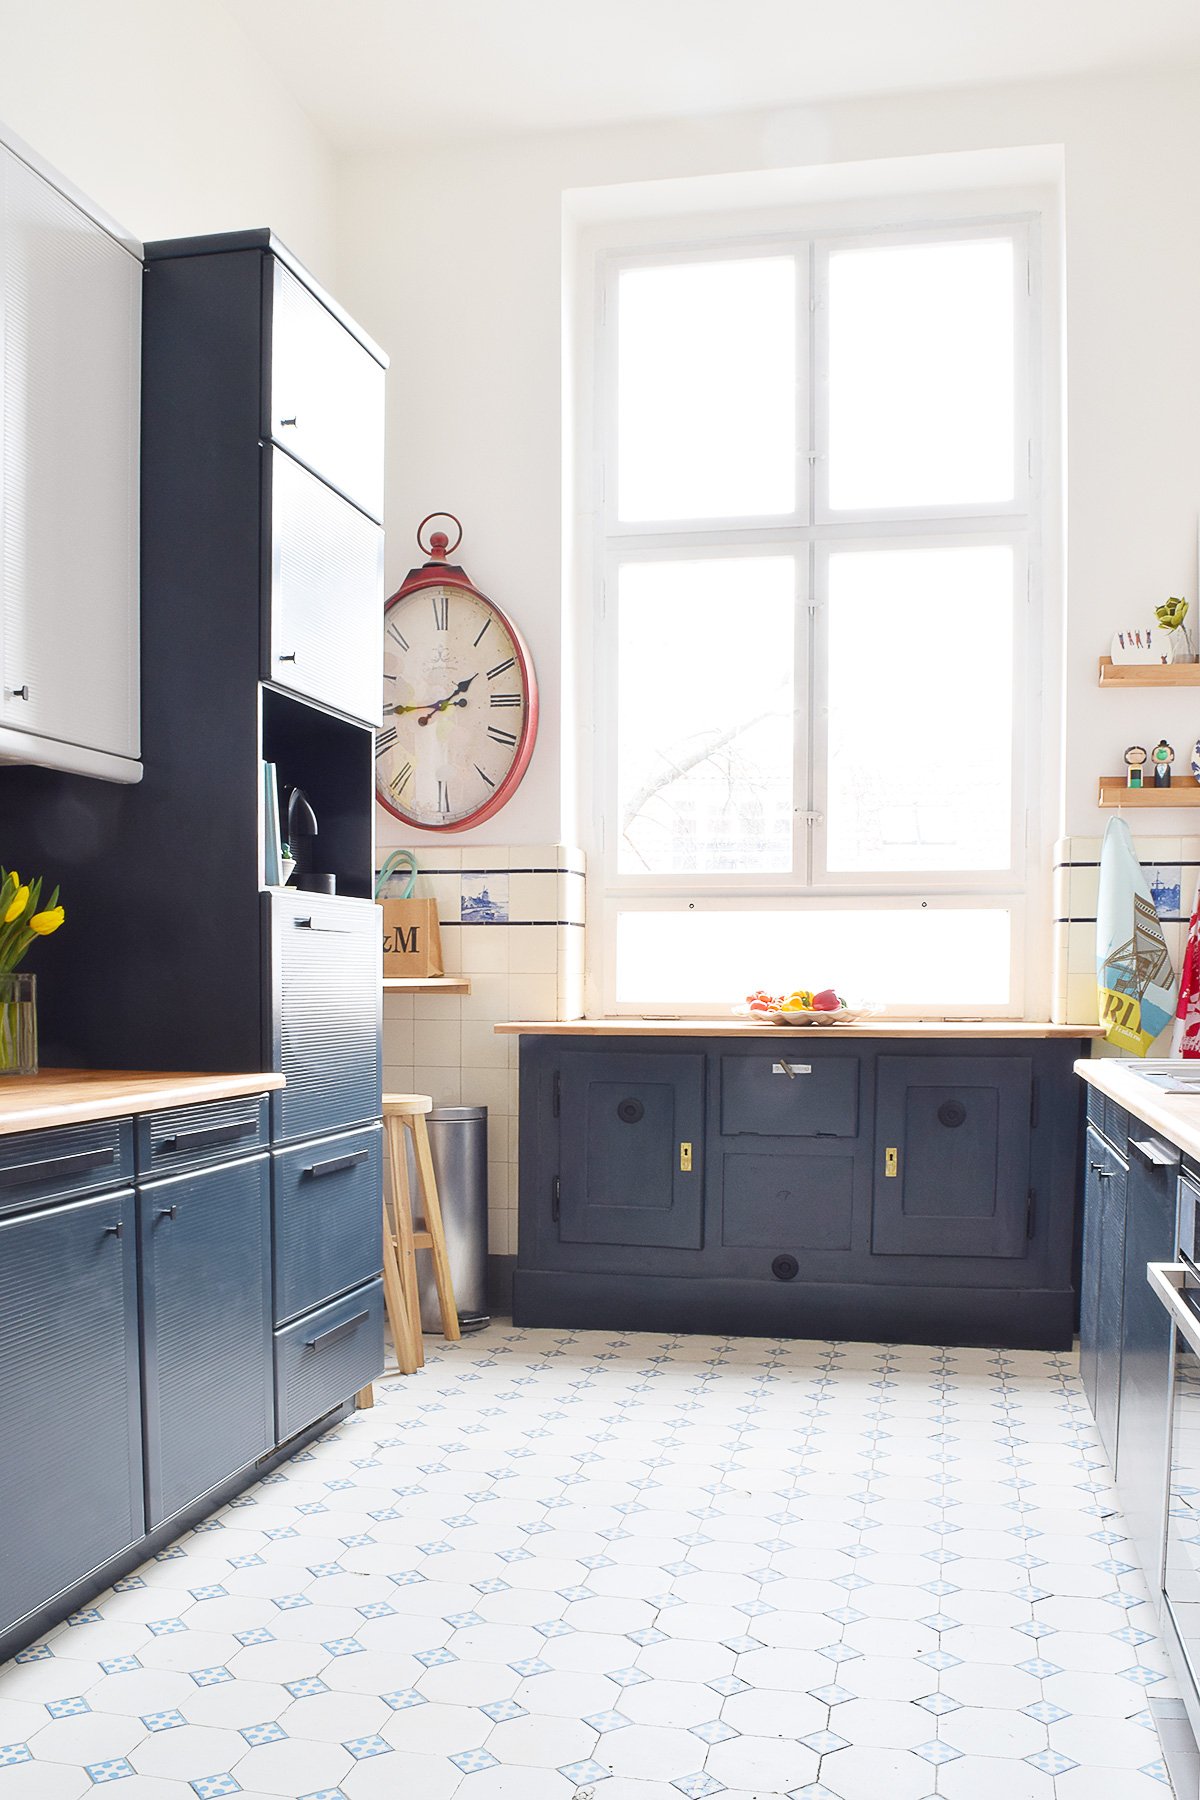
Then there was just a bit of painting left to do! We always use the same tried and tested technique for painting which is basically sand, clean, prime, sand, clean, paint, sand, clean, paint & sand. Yep, there’s a lot of sanding involved even when painting!
I have to admit that I already loved the colour of the primer (we used Farrow & Ball dark tones primer for wood which was kindly gifted to us by Farrow & Ball for a previous collaboration) that I was very tempted to leave it but in the end, I decided that the antique fridge had to match the rest of the kitchen so I painted it with Farrow & Ball Railings (gifted as part of a previous collaboration).

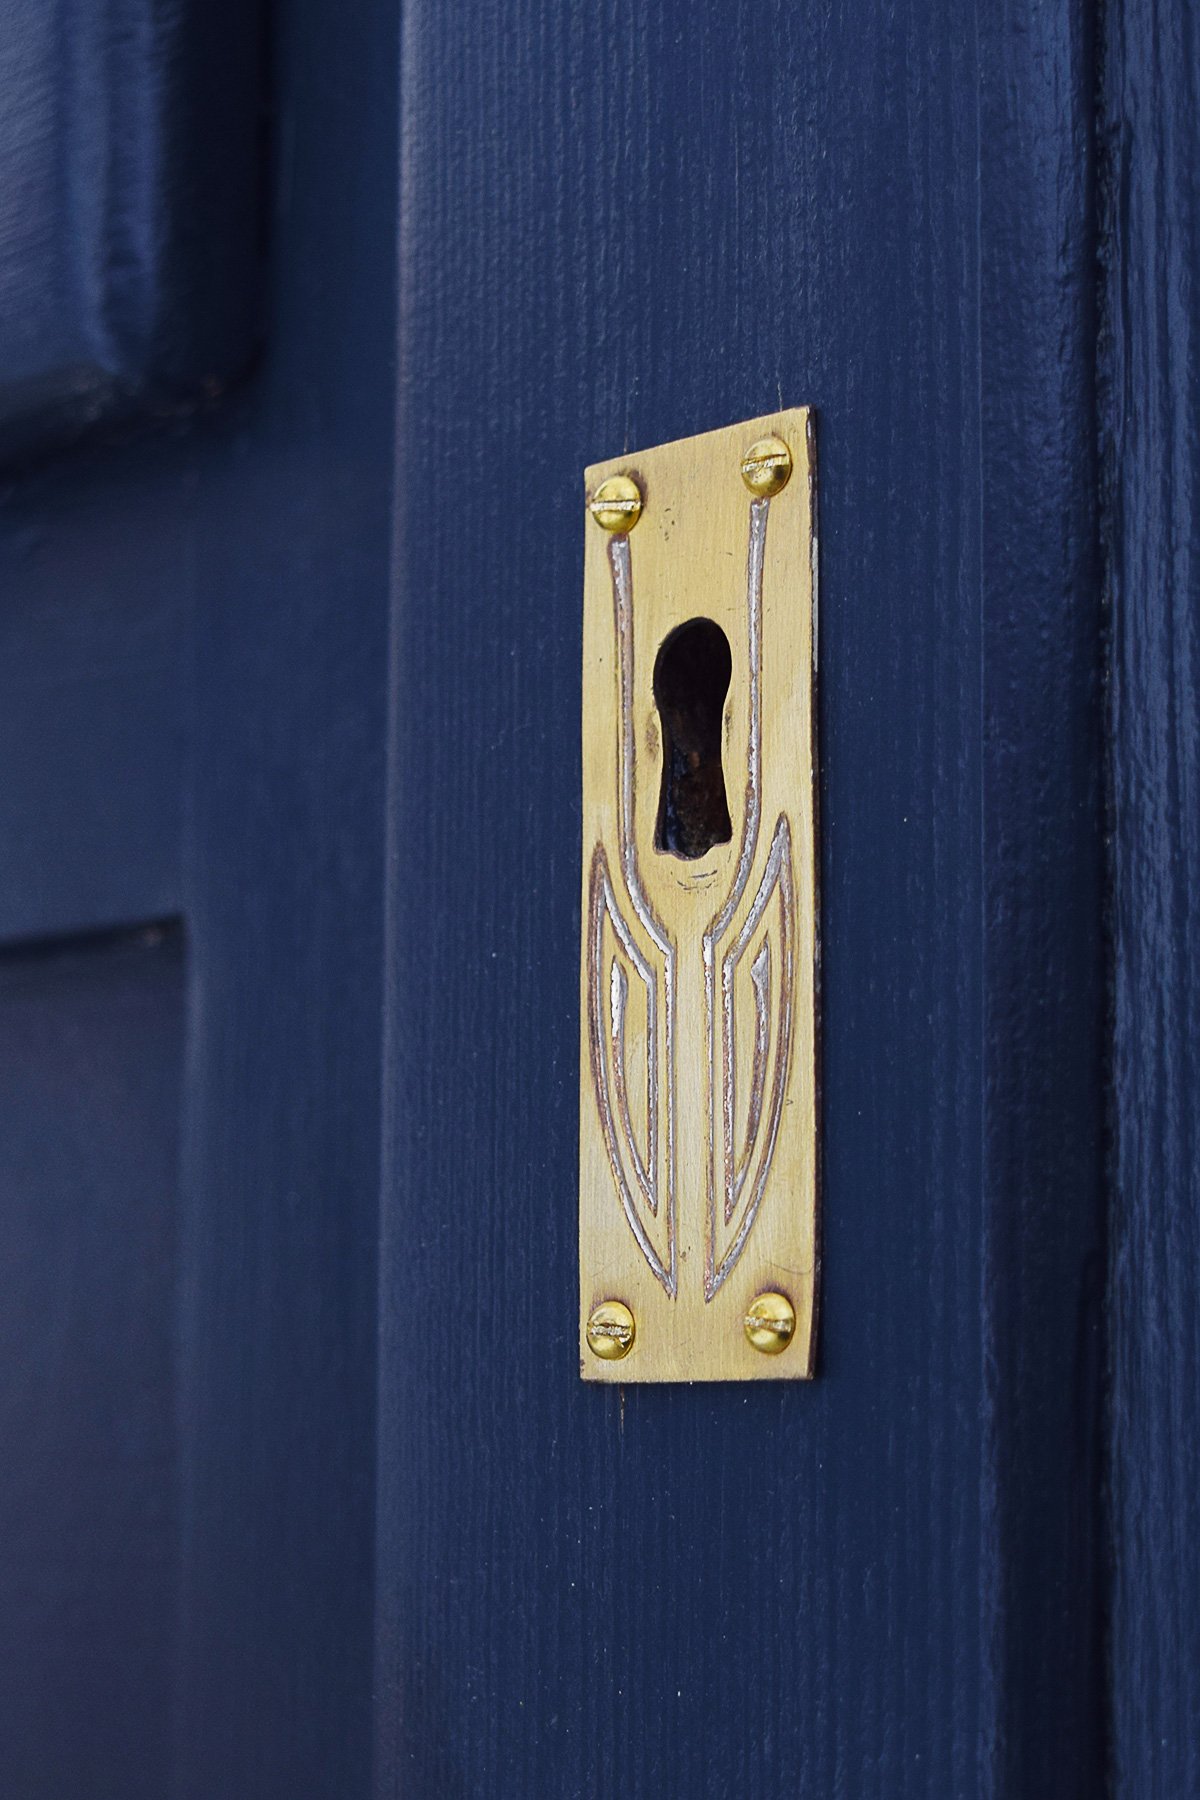
And, under all of the old paint layers, we even discovered these beautiful original brass key plates because after a bit of stripping they turned from this…
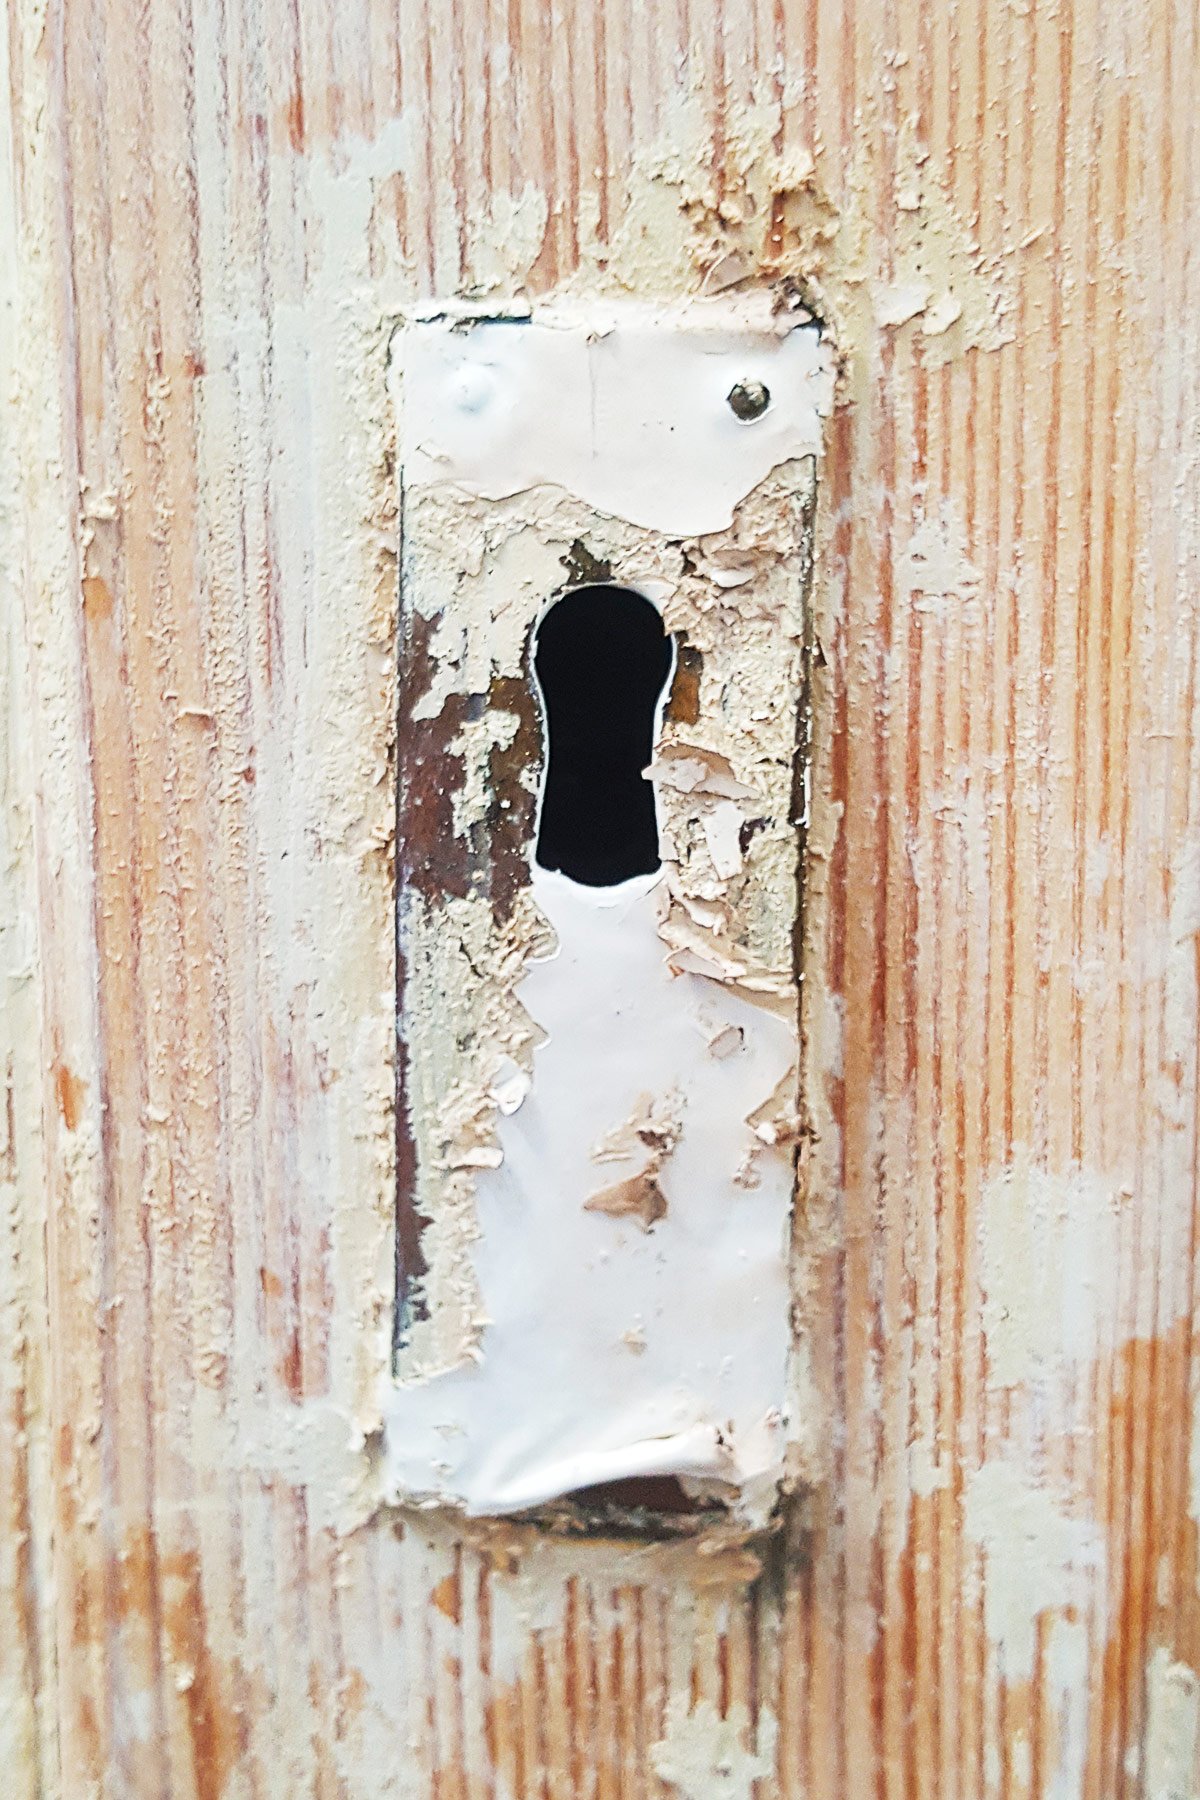
into this…
In terms of the inside of the antique fridge, it still looks the same as before. Just be warned – it’s not pretty.
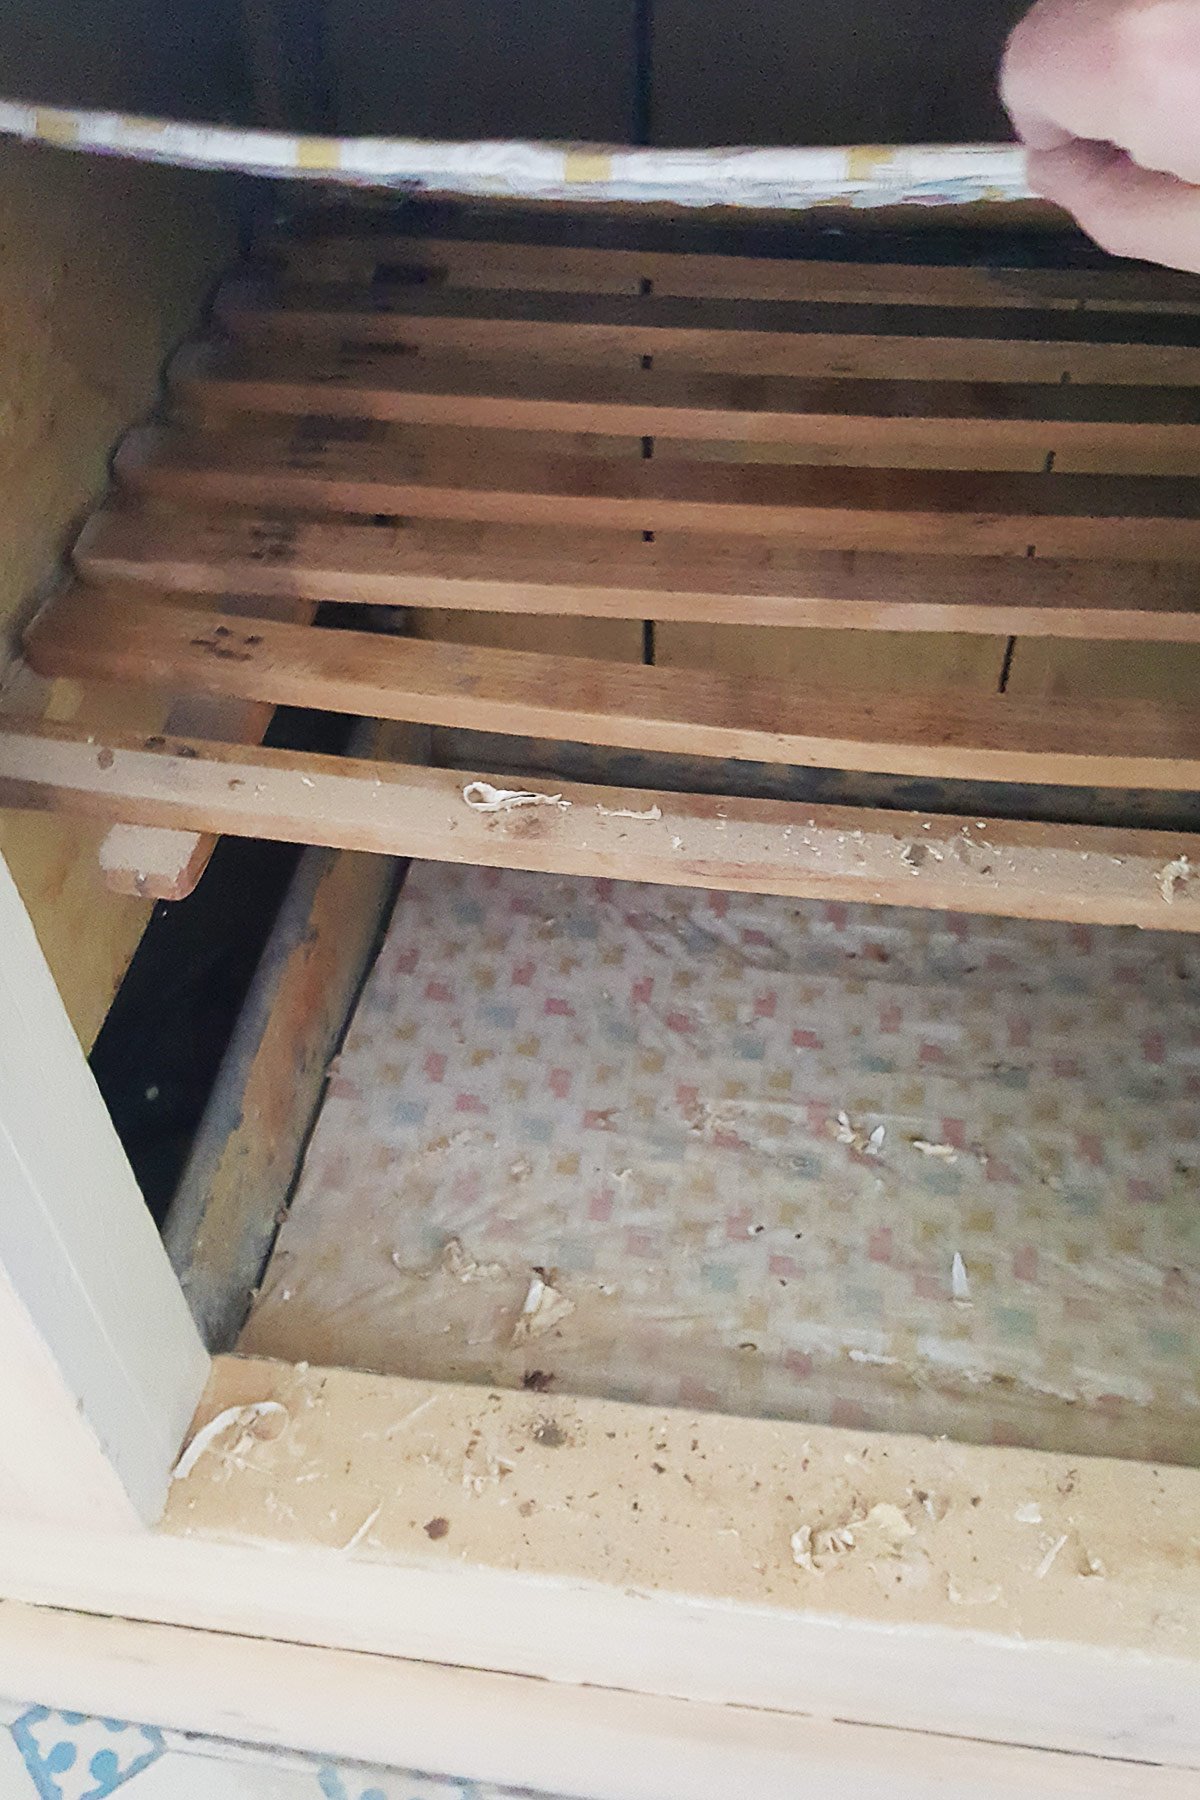
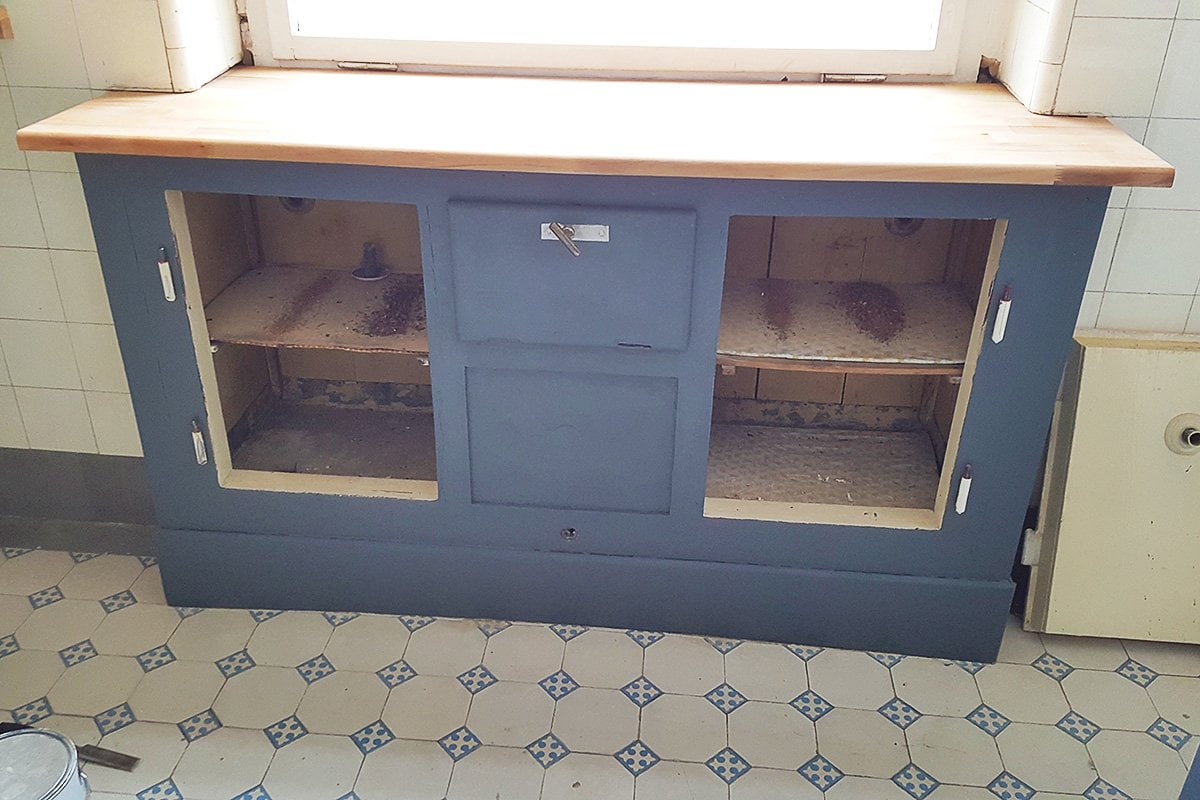
When it was first used the people living here would have had ice delivered which would have been placed into the top central part of the fridge. It would then cool the contents and the melded ice would drain through to the bottom where there would have been a tap to remove the water.
Although we’ll obviously never be using our antique fridge to cool food, it would be great additional storage. Having said that, we’ve not done anything to the inside as the antique fridge will ultimately have to be removed!
This is the spot where we’ll ultimately be adding another balcony to the apartment. It’s sad, especially as I love original features, but we will try to keep the fridge and somehow repurpose it as a cupboard.

For now though, it’s still a really useful space and let’s face it, you can never have enough counter space in the kitchen!
Have you ever had to remove an original feature in your home? Do you love original features as much as I do? What’s your favourite thing about your home?
Haley says
Wow, you did a fantastic job it looks amazing.
Christine says
Aww, thank you so much, Haley!
Cx
Anni Cariad says
What a FANTASTIC job! You guys work so hard at everything you do, and when you’ve finished, your projects look amazing. Just one question, why would you remov it to fit a balcony if you intend to move out? I’d enjoy it while I lived there and leave it for the next residents.
Again – brilliant work!
Warm regards,
Anni
Christine says
That’s a totally valid point, Anni! We will eventually move but we’re in no rush just yet and it will take us time to work out what’s happening next.
The balcony should add value to the apartment which is obviously always something that’s worth considering but there’s another reason that we might add a balcony – we might have to! Okay, so “have” is probably a bit extreme but basically, any balconies added to the house will all have to be added in one go, so if our neighbours below us want to add a balcony we will have to add a balcony at the same time. We could opt out but as it’s something that makes sense for the apartment in terms of usability and value, it would be silly not to. We also don’t want to annoy our neighbours ;)
Also, thanks for the compliments! The hard work definitely paid off and we’re really pleased with the transformation, too!
Cx