I’m so excited about our latest home improvement that I couldn’t even wait until the project is completely finished before sharing it!
If you’ve been following us for a while, you’ll already know that one of the projects that made the biggest difference to the look and feel of our Edwardian house in Manchester was sanding the floorboards.
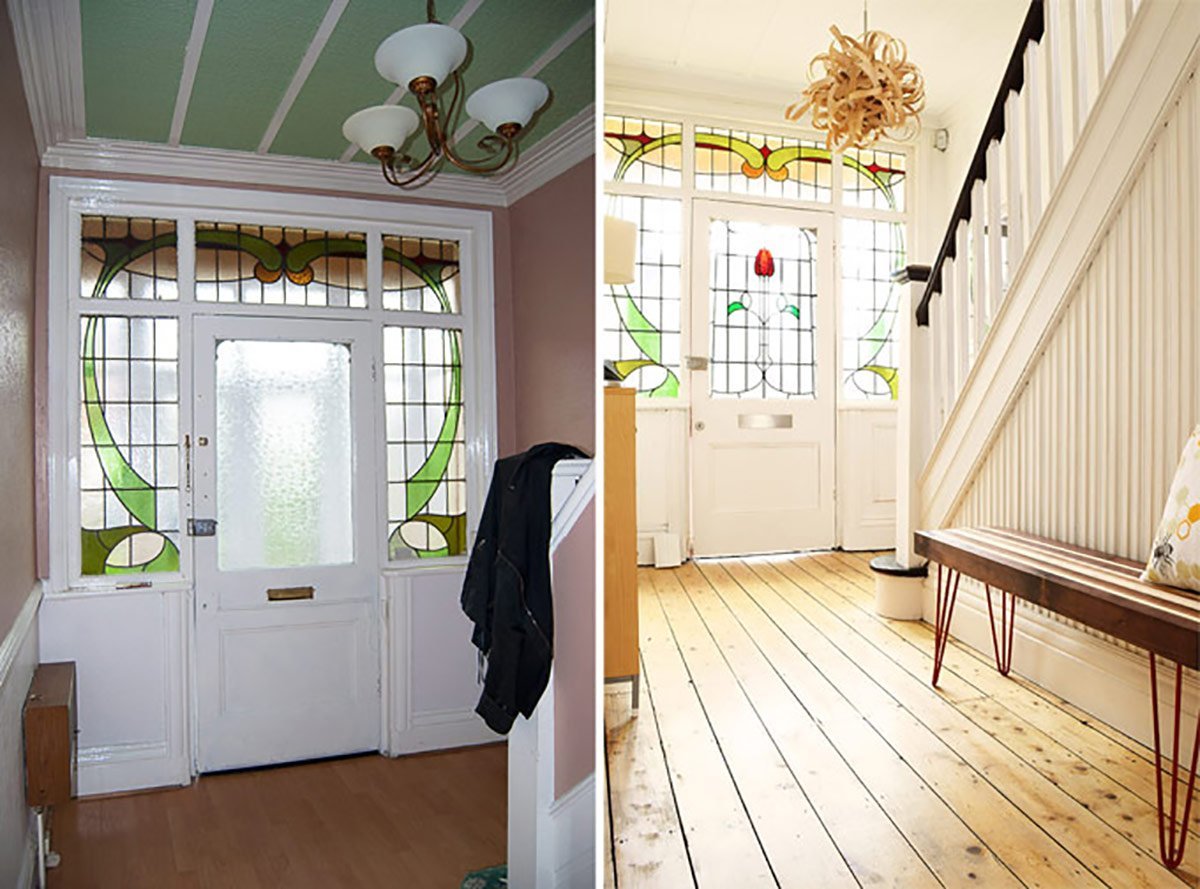
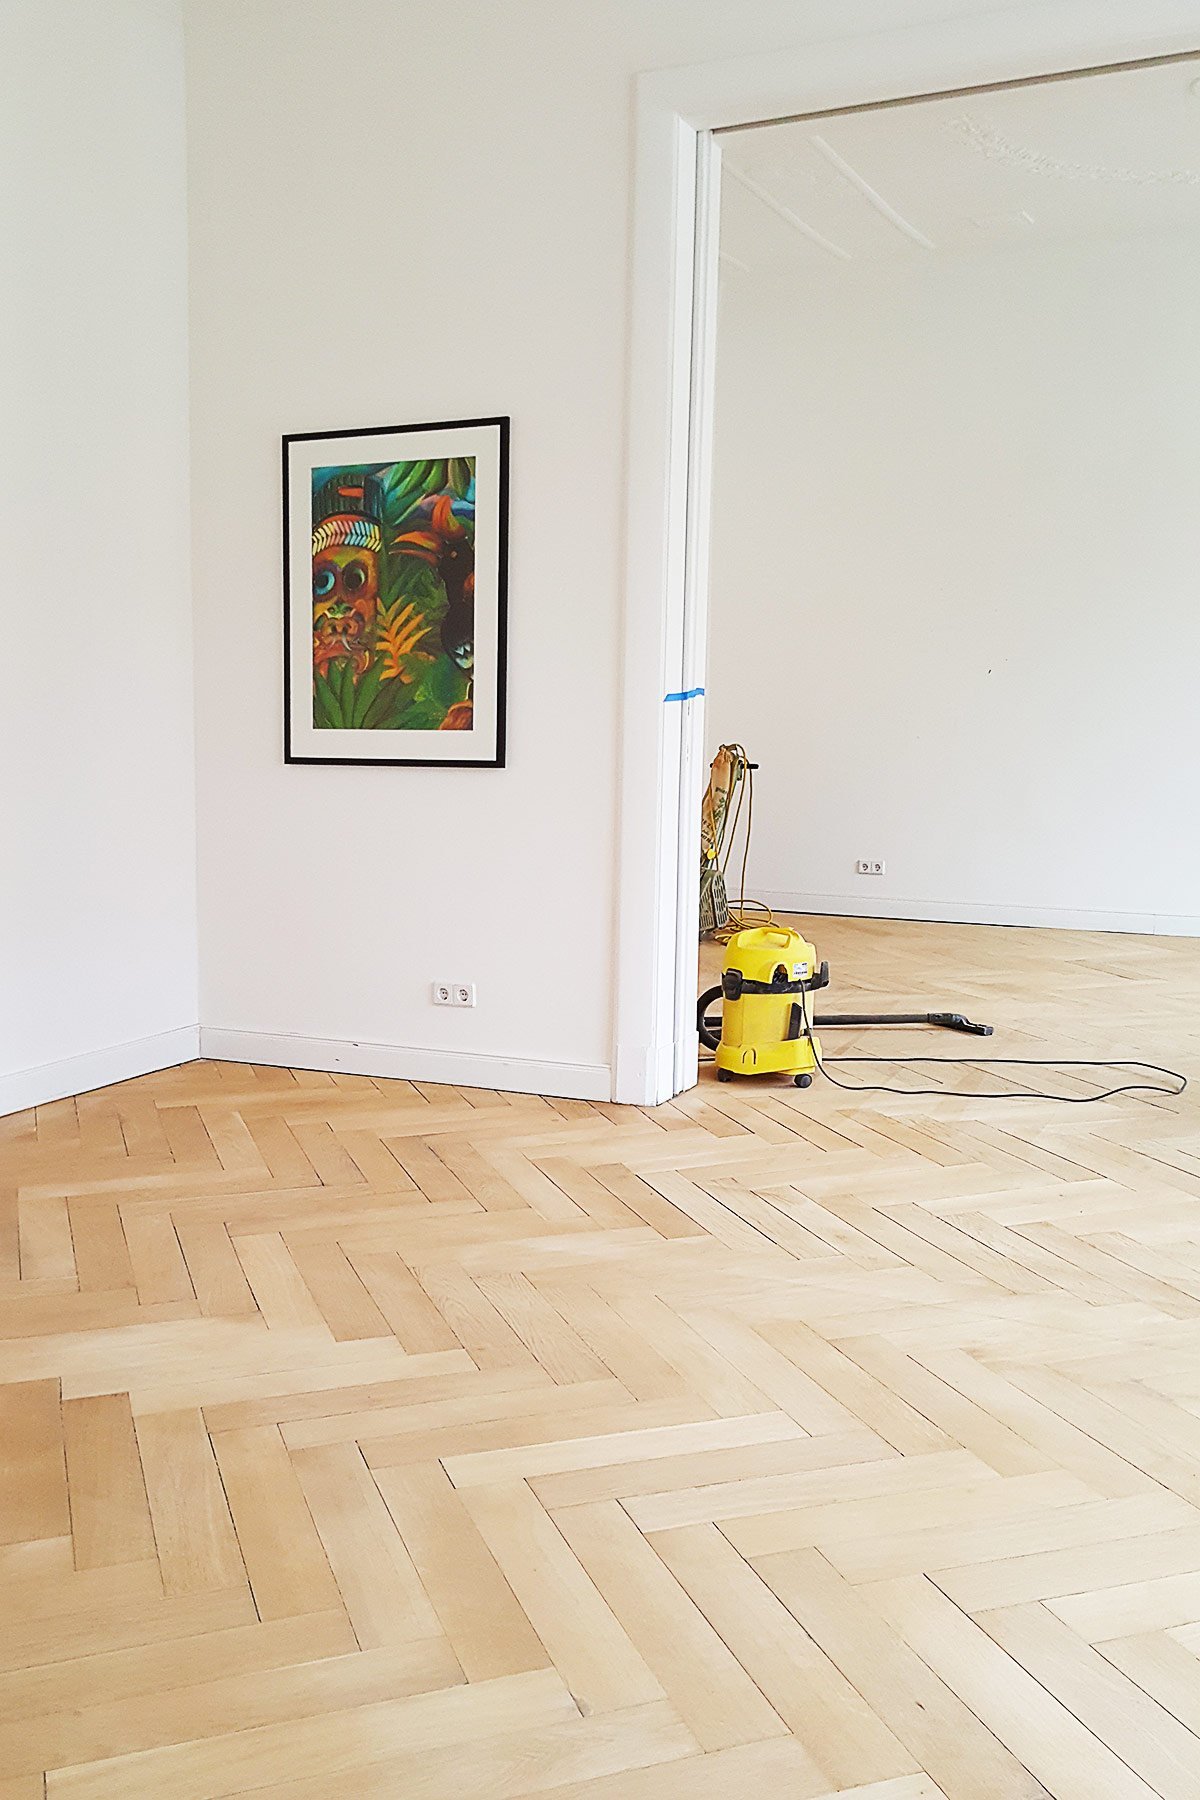
We sanded most of the floors in our house in Manchester over the course of a very full on weekend and whilst it was physically hard work it was such a worthwhile and rewarding project to do.
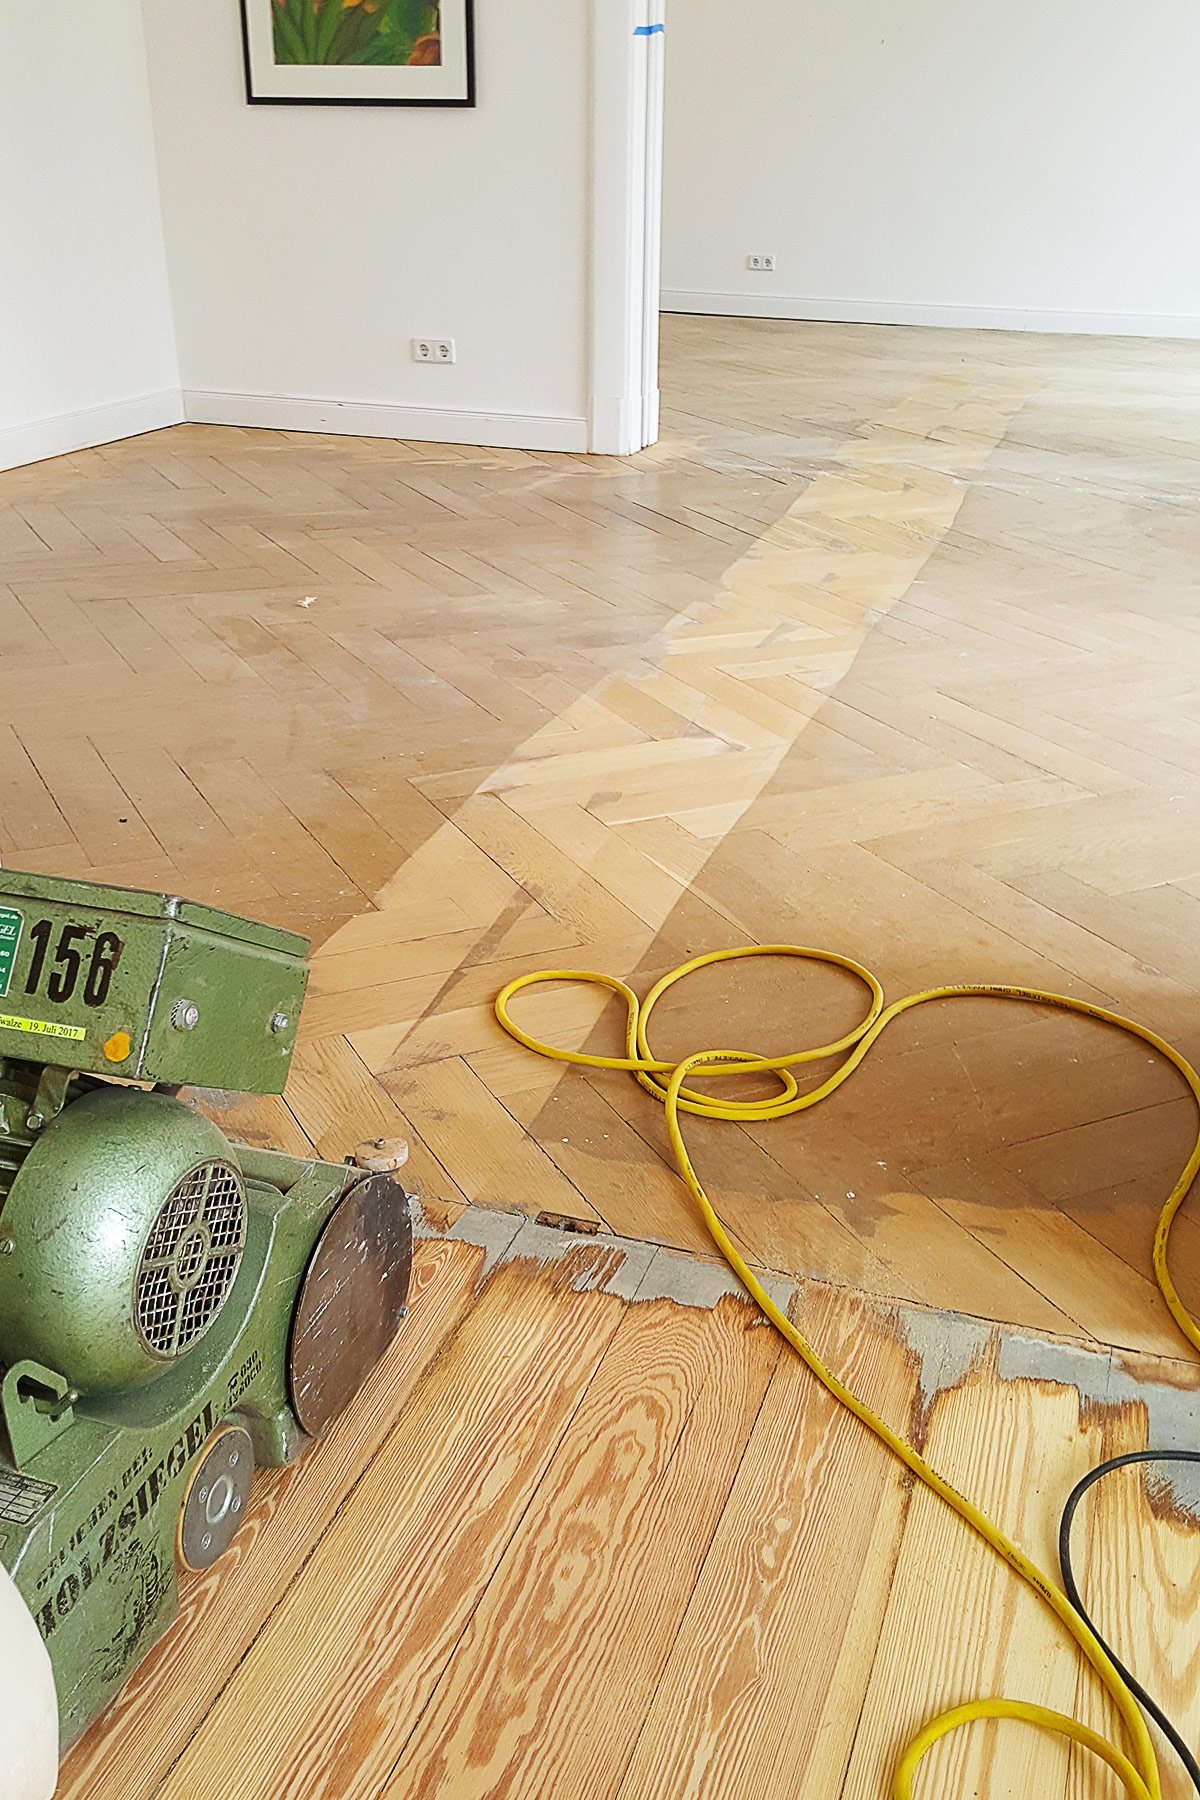
As much as I loved the result, I hated the work and swore it was a project that I never wanted to do again but I just couldn’t help myself and all of this week I’ve been busy sanding as much of the apartment as I could!
On the one hand, it feels like I’ve lost my mind even considering tackling a floor sanding project again but on the other, it was such an easy project to do and by sanding everything ourselves we saved a lot of money the first time around so we just couldn’t resist doing it all over again.
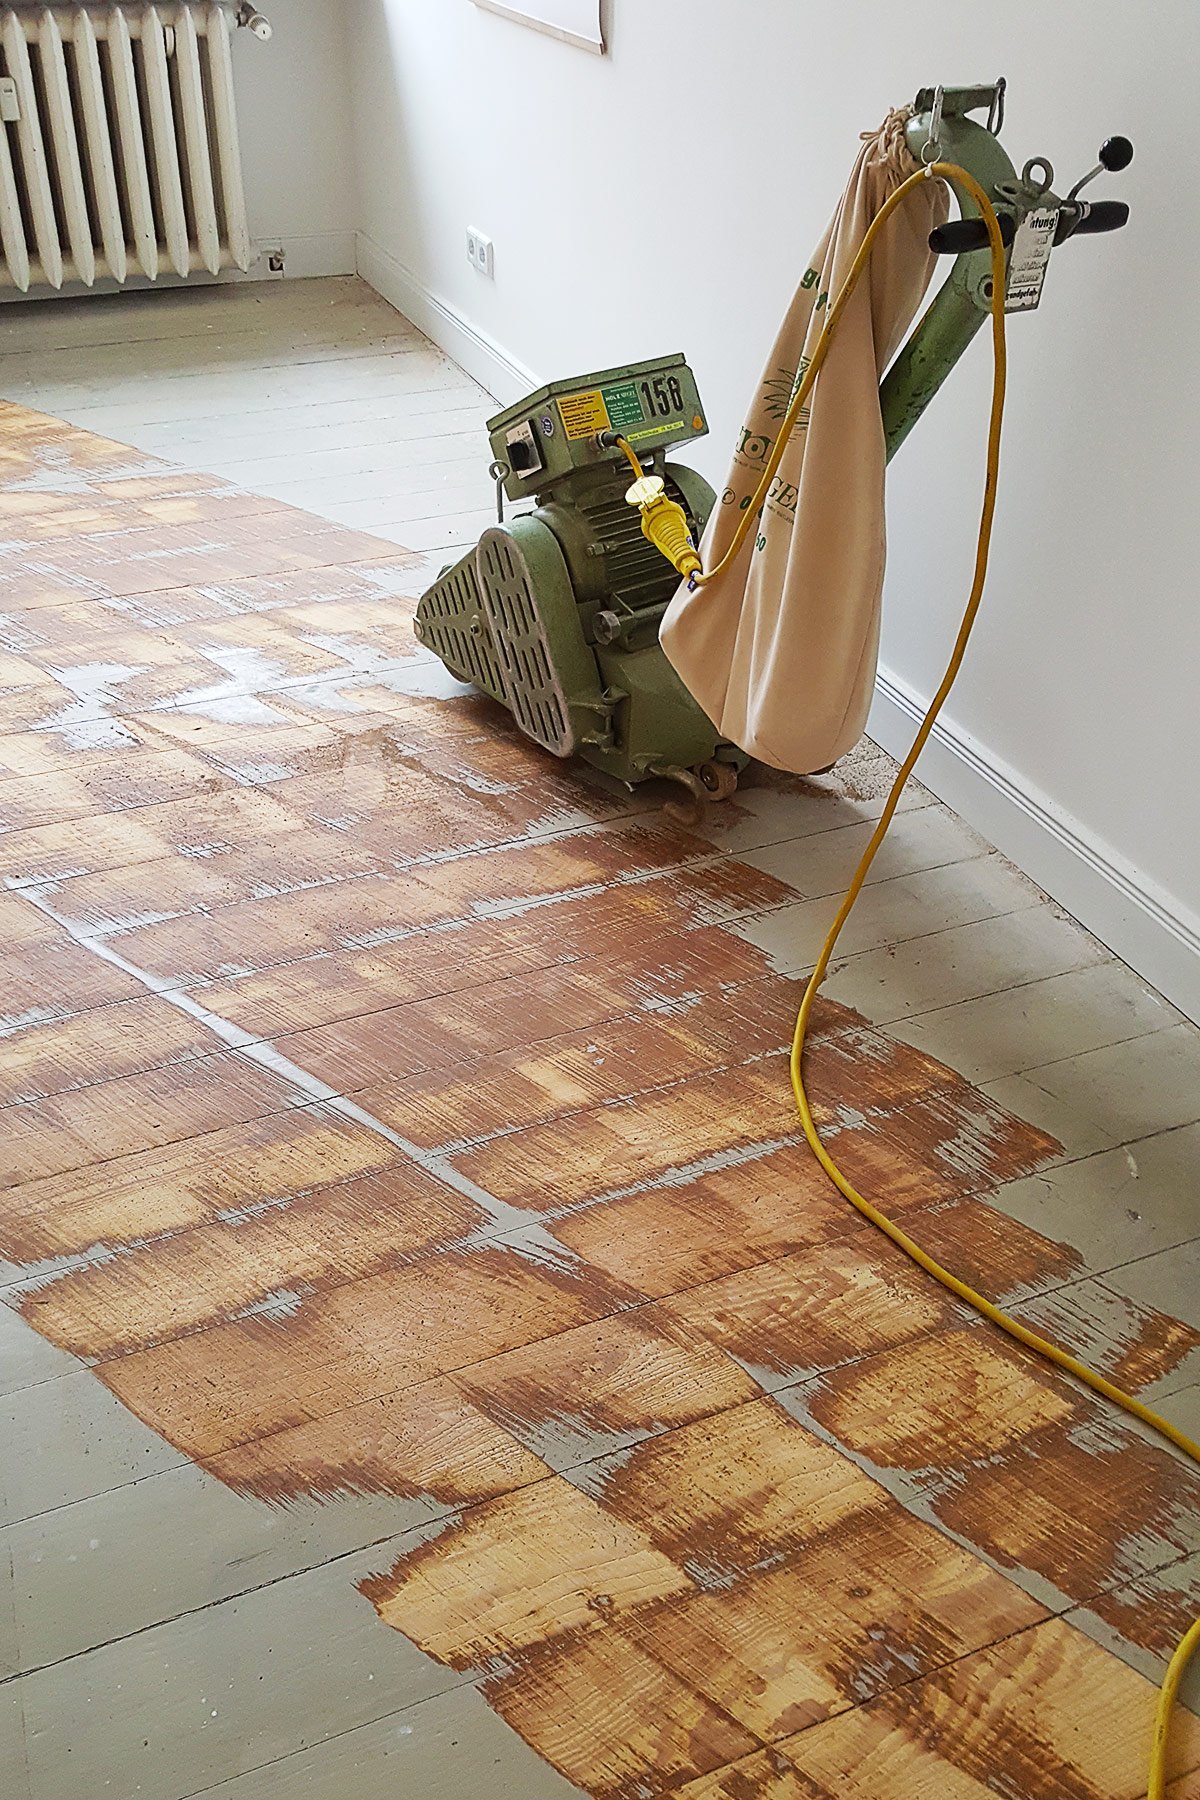
We learned a lot from our first floor sanding experience (I wrote a detailed and very honest post about what it really feels like to sand your floors and what no one on the internet seems to tell you which you can read about here). The biggest mistake we made was not changing the sandpaper enough times, especially when sanding the floors for the first time with the very coarse sandpaper.

Another thing we learned is that it’s a really dirty job. Okay, so that may not come as a big surprise but it’s amazing just how dusty everywhere gets even if you try to limit the dust to the area you’re in it still gets everywhere.
In an ideal world, we’d recommend sanding your floors as one of the very last jobs on your home improvement list. That way you can do any messy work and things like painting without worrying about messing up your beautiful new floors.
As usual, we ignored our own advice though and decided that sanding the floors should be one of the first jobs we undertake. It’s a bit of a tradeoff between having to be careful not to mess up our floors when we’re doing any other work but for me, the priority is being able to live in a clean apartment where I’m not constantly getting splinters in my feet!
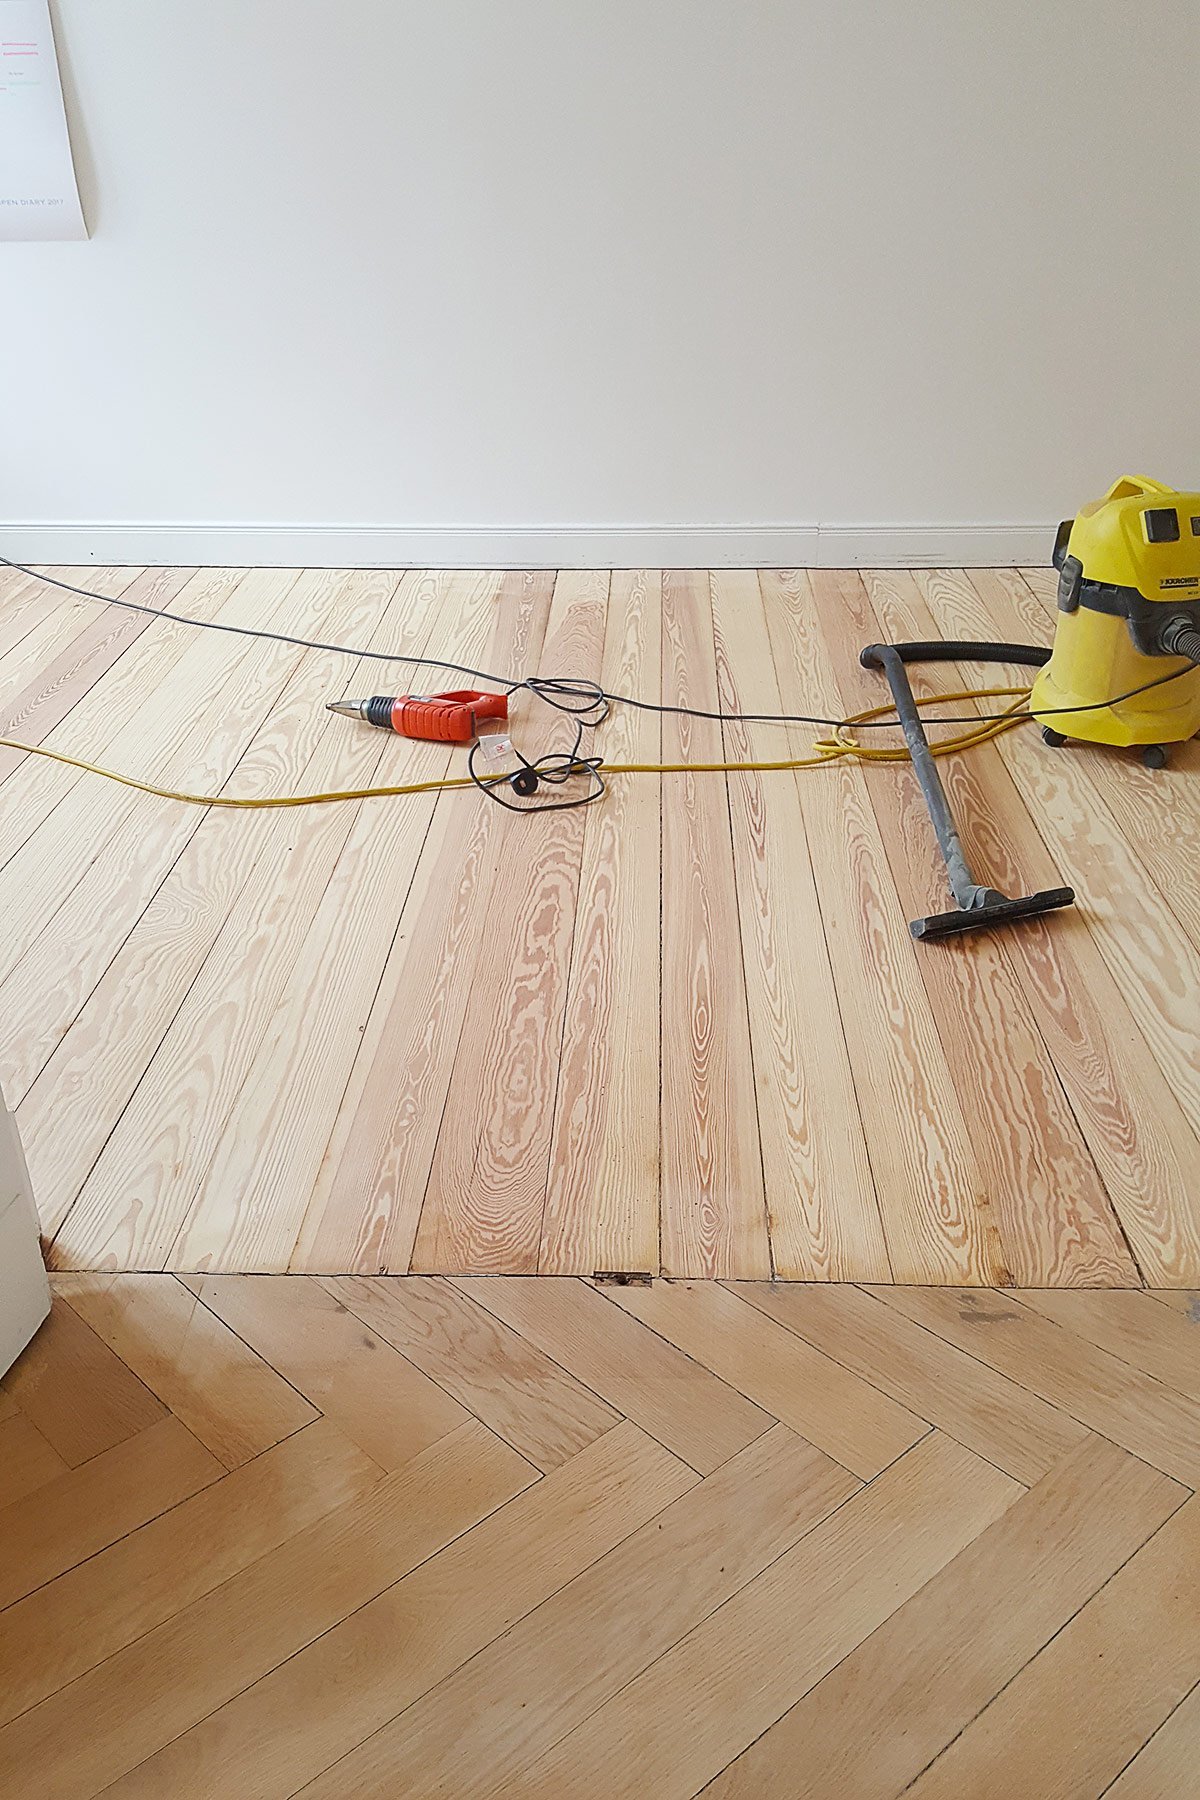
There’s still a lot more to do before I can even get close to calling this project complete and I already can’t wait to see what the floors look like once I’ve finished sanding and have oiled them!
Now we just need to keep going but we’re already soooo pleased with how it’s looking!
Have you ever sanded your wooden floors? Do you have a favourite before and after project? Needless to say, this one is probably going to rank pretty high on my favourite projects list (if I ever get it finished that is!).
FH says
They’re fine scratches but you can see them close up and will show with stain I’m sure! If a belt sander can do it that’s my preference- what a saga haha – thank you for your help xx
Christine says
Always happy to help! Just remember that any scratches will probably show up more when your floor is stained/oiled/varnished.
Keeping my fingers crossed for you!
Cx
FH says
Thank you ? Can this be done with a belt sander? I can’t face hiring another huge floor sander again as I have already gone through this process once. I am on my own and need to manage it now solo you see. Thank you Christine!
Christine says
I totally feel for you – it’s such hard work! It really depends on how much of the floor needs to be sanded and how deep the groves are. As annoying as it is to hear, hiring sanders will probably be quicker in the long run as they are much more powerful than home power tools.
Maybe have a break before you start sanding again and always try to remember that it’ll be worth it in the end. Sorry, I can’t be more help!
Cx
F says
hey christine, i have reclaimed boards that i have gone through a journey with so far! anyway, they have been sanded back somewhat but there is still splattering of dirt, old varnish on the edges and now swirl marks from my terrible sanding technique. what do you recommend i do to get that lovelier finish? the last grit used was 120 but i started at 40 but they still need a lot of work. also, what is the best way to remove the swirl marks! thank you in advance for helping and helping others with this. you star.
Christine says
From your description, it sounds like you didn’t sand enough with the coarser paper. We usually start with a maximum of 24 grit sandpaper and make sure that all dirt and varnish is completely gone before moving on to the finer grade papers. The finer sandpapers are basically just there to smooth your floorboards and get rid of all of the grooves you made with the coarse paper (which is what it sounds like you have left around the edges). Only use the 120 grit paper when you have completely finished your floors and you think that they are done. The 120 grit paper is really fine and will ensure they’re silky smooth. If you take a look at our post about the biggest floor sanding mistakes we’ve seen (you can read it here) you can see that our floors were really rough and full of grooves after the first step of sanding, too. It slowly disappeared when sanding with the finer grades (40grit, 80grit, 100grit).
Hope that helps & good luck with your floors!
Cx
HouseTreeBeast says
This is such a interesting post. We’ve just started our big renovation (of a historic Dutch house) and I’m still not sure on sanding the floors… This post helped with that a lot. I might even give it a go…
Christine says
It’s really hard work but it’s also really worth it! We also wrote a couple of posts about the floor sanding process when we sanded the floors in our last home. Maybe they’ll be of help to you!
Post 1 – How to sand floorboards
Post 2 – Everything you need to know about sanding floors
Good luck with whatever you decide!
Cx
HouseTreeBeast says
Thanks, I will start reading these as well. One other question: is there a floor beneath these wooden floors? And if so, is is insulated? I keep going back an forth on the insulation. Do you have any advice on this as well?
Christine says
There’s no floor under our current floors but we’re in an apartment on a higher floor so aren’t worried about insulation. In our last house, we did insulate under the floor – it would have just been way too cold otherwise. It’s what I’d always recommend doing (even if you lay another floor on top of the existing floor). We wrote a couple of posts about how we insulated under our floor. It was a super easy thing to do but we were lucky and had a crawl space and cellar below so we had easy access.
Cx
enc says
You’re very lucky, the wood apears to be in amazing condition. I guess you hire the sanding machine?
Christine says
It is – definitely super lucky! Yep, we hired the necessary machines. There’s just no way that a little sanding machine like the ones we own would be powerful enough to cope with sanding the floors.
Cx
Laura says
Saw an episode of Location Location Location the other day where they did a catch up and two young blokes had sanded their living room with small handheld machines! Dread to think how long it took them.
They look amazing, I only sanded one room – I was sad at the time that the floorboards weren’t in good enough condition to sand the rest of the house – until I started! Such hard work! Are you doing all the rooms in your apartment? They look in fantastic condition and it’s surprising what a difference sanding them makes, the room already looks brighter in the second photo.
L x
Christine says
Haha, I can’t believe someone would even attempt to sand a room with a hand sander – total madness! It probably worked out more expensive than if they’d hired a machine, too. The machine hire isn’t expensive, it’s the amount of sand paper that you need that adds up.
We’re really lucky that the floorboards are in such a good condition. Given that they’re over 100 years old it’s pretty amazing if you think about it! We are planning on sanding all rooms but not in one go!
You’re totally right about the brightness, Laura! Our apartment is already really light but it’s definitely even brighter now that the floor is sanded!
Cx
Meike B. says
Well, you could also do it this way :
https://fr.wikipedia.org/wiki/Les_Raboteurs_de_parquet
It’s very cheap, you only need pieces of window pane! And wine of course! It’s in France!
;-)
Greetings from Schwäbisch Hall
Meike B.
Christine says
Haha – love it! With the amount of wine I’d need to get through it, it may end up costing me more than hiring the sanding machines though!
Cx
Gabrielle says
Your floors look magnificent! This is our next home improvement project we will be tackling too. Having done it in a previous house I am not looking forward to the dust….. do you prefer oil to urethane?
Christine says
I don’t blame you – there’s dust everywhere!
We used varnish in our last home and are trying oil this time around. There are pros and cons to both but oil is a more natural finish which we think will work particularly well with the parquet floor. I’ll share an update on how it looks/feels as soon as I’ve actually oiled everywhere! ;)
Cx
Claire says
They look like they’re in really good condition! Fabulous job, it’ll make such a difference to the apartment.
Christine says
Thanks, Claire! They’re in an amazing condition – so lucky!
Cx
Kerrie says
Looks absolutely amazing, no wonder you couldn’t wait to share. Are you leaving them their natural colour or are you tinting any of it?
Christine says
I know – we’re so pleased with how they’ve turned out so far. We’re planning on leaving it the natural colour. It’ll be a bit darker when oiled anyway.
Cx