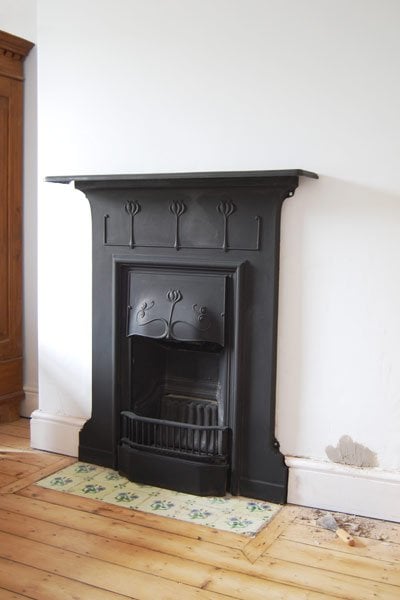
Yay, we managed to install the fireplace in our guest bedroom! But, we broke our wall in the process, boo! But let’s go back a few steps… This is what the room looked like before we reinstated the fireplace.
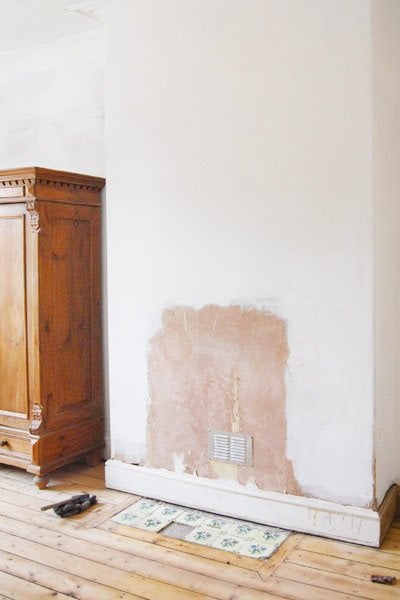
When we removed the horrible laminate floor, we were excited to find that the original (but really damaged) hearth tiles were still in place. Not only are they really pretty, but they also helped us work out the exact position and size that the fireplace would have originally been.
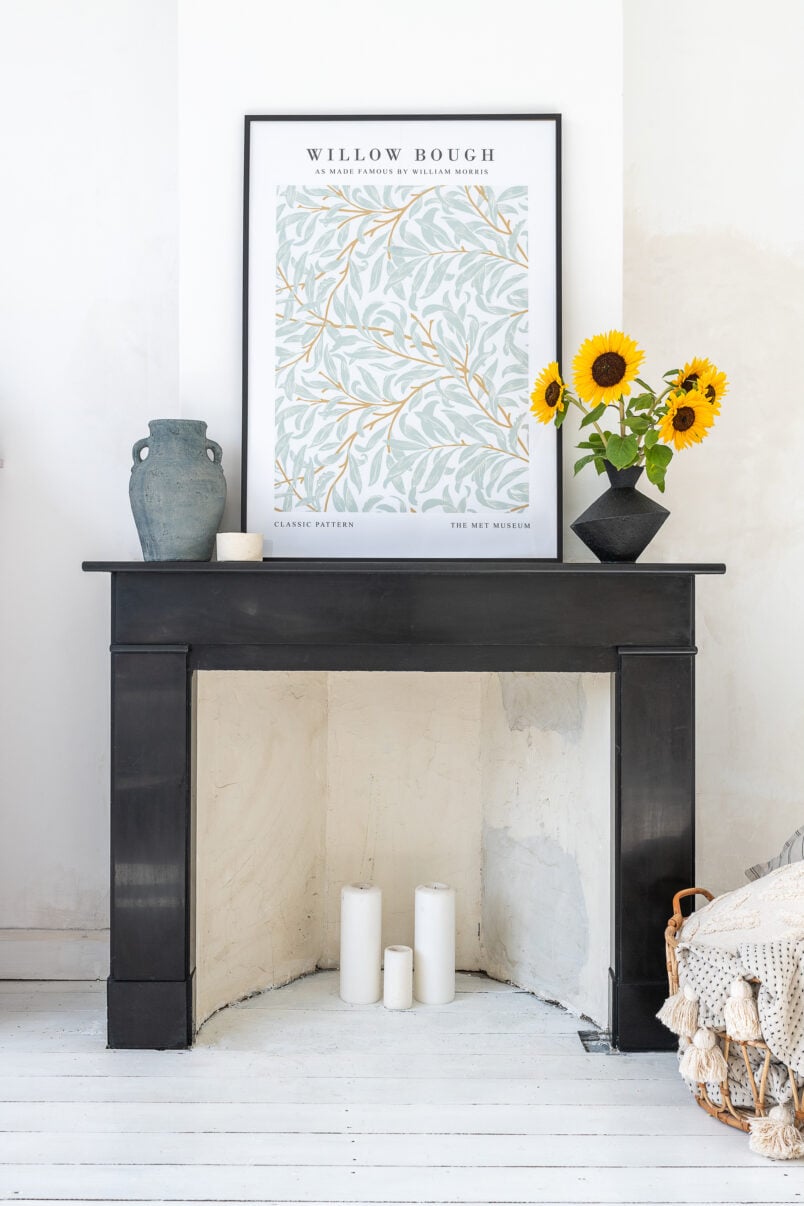
Now if you’ve been following us for a while, you will probably already know, that we actually already have a fireplace that we want to install here. It’s the one that we temporarily installed in the dining room (basically to cover the huge hole in the wall).
We bought it from one of our neighbours who had it lying around in his cellar for an absolute bargain price of £100! We had a quick measure before we bought it and thought the size would look right in our guest bedroom.
Now, after buying it, restoring it and then doing a bit of research – we found out, that it’s the exact same fireplace that would have been in that room originally! Unbelievable!
Okay, so back to the guest bedroom.
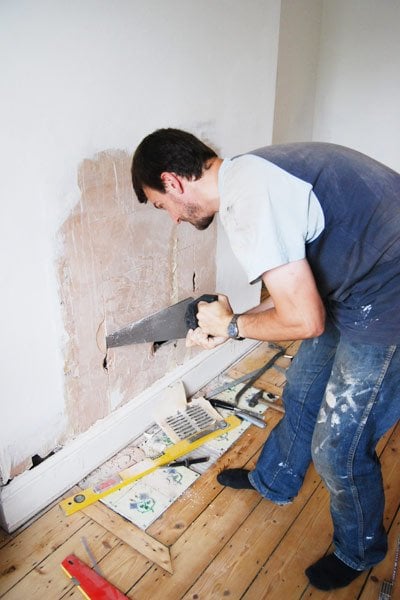
We started by working out the size of the opening we had to prepare. Luckily the original opening had just been boarded up, so we could just saw through the plaster.
Cutting the plasterboard was easy, cutting the skirting was a slightly more difficult process. Basically, we used a Dremel to cut away the skirting in the shape of the base of the fireplace.
You’ll have to excuse the lack of photos of this step – we were much too busy swearing, cursing and shouting at each other because it was a real pain to do.
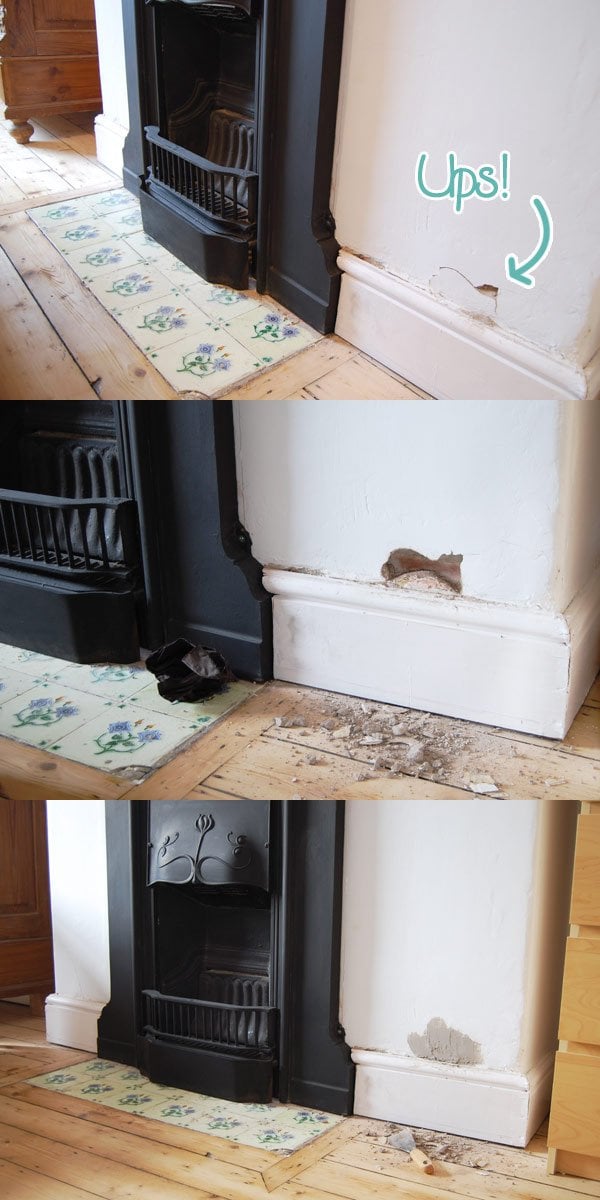
After a load of chopping and a lot more swearing, we finally got the fireplace to slot into the space. The only problem, was that because of chopping away at the skirting, we ended up damaging the plaster – quite a lot.
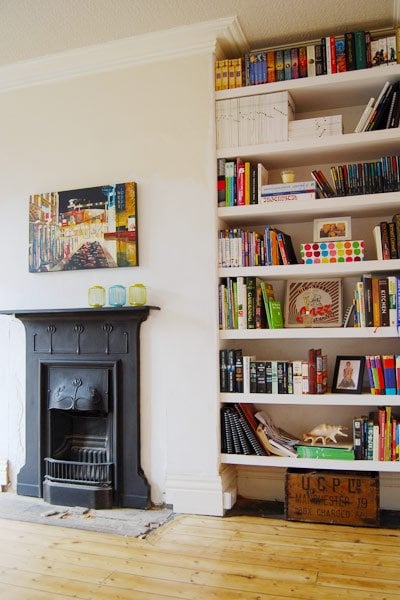
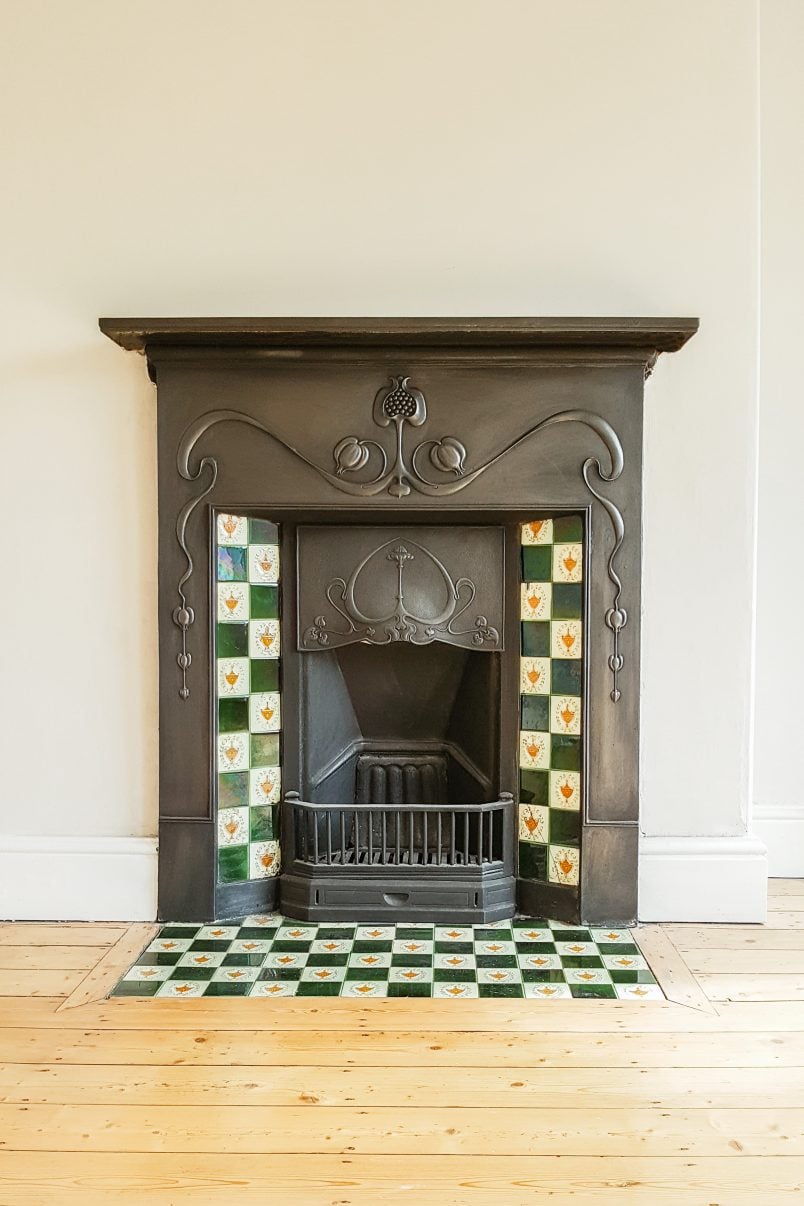
So, after a bit of remedial work (it still needs sanding and painting) this is our newly installed fireplace – that would have been there originally.
We should probably point out, that we aren’t ever planning on using this fireplace and that it isn’t installed to meet any necessary regulations. It’s purely decorative.
Our bedroom To-Do list is finally starting to get a bit shorter. In addition to a load of little jobs like finishing repairing the plaster, caulking and painting the picture rail, and replacing the broken hearth tiles, we still have a few more major upgrades to complete, like replacing the window and radiator.
All in all the room is finally starting to take shape! We better get a move on, as my sister arrives on Friday!


Aimee Hardy says
Hello! So grateful for all your posts that have been so helpful to us through out DIY. We are installing one also just for decorative purposes; can I ask, did you use anything to actually attach it to the wall or is the idea that it just sits in the insert hole? We are struggling to find out! Thanks so much.
Christine says
Thank you so much, Aimee! The fireplace has a couple of holes in it to be able to screw it to the wall. If you look closely at the last picture, you can see that there are two at the top outer edge (about the hight that the flower pattern stops) and two at the bottom outer edge (where the bottom shape turns into the vertical line). We just screwed it to the wall and touched up the screws with some black paint so that they wouldn’t be visible.
Cx
Aimee Hardy says
Thanks so much! I definitely didn’t notice those before :D
Christine says
No problem & have fun installing your fireplace!
Cx
Gav says
I love this, and hope to do something very similar in our bedroom
Does this open the room up to additional drafts from the chimney?
G
Christine says
That sounds like a great plan, Gav. Yes, it causes more draught but you can get draught excluders that are specifically designed for chimneys. You can get blow up ones (that are good if you occasionally use the fire as they will pop and not set on fire if you forget to take it out) and wool ones. Just have a quick google and you’ll be able to find loads of options.
Cx
rachel welsh says
Looks amazing!! Quick question where did you buy the bolts from?? Been looking everywhere for some black bolts to fit my decorative fireplace and can’t find them anywhere! xx
Christine says
Thank you so much, Rachel! We didn’t use anything special at all – we just used normal bolts which we then painted black!
Cx
Natalie says
So glad I’ve stumbled upon this blog, this is exactly (including your post on restoring the original fireplace) the process I’m about to take on in our guest bedroom. I think I’ll be heading straight home and lifting the carpet to if there are any hearth tiles! Great job!
Christine says
Thanks, Natalie! Glad you found your way over to us! It’s messy work but it’s soooo worth it! Keeping my fingers crossed that you find some lovely hearth tiles.
Cx
Fay says
Hi guys. We’ve just reopened a chimney to install a reclaimed tiled cast iron fireplace. How did you fix it to the wall? I’ve read people using a kind of wooden baton but not sure what alternatives there might be.
Christine says
Our surround is just attached with screws and wall plugs. There were holes in the surround specifically for them. It really wasn’t complicated but do remember that if you’re planning on using it you’ll need to have it fitted by a professional and you’ll need certificates to comply with building regs.
Cx
Danielle Smith says
Hi Christine I’m currently installing a cast iron fireplace into my chimney breast in my master bedroom and I’m just wondering did you have to put anything on the bricks of the chimney? Or did the fireplace just fit straight into it?
Danielle
Christine says
Our fireplace fitted into the slot and was purely decorative. You can see what it looked like in this post where we had a wood burner installed.
Basically, the size of the opening doesn’t matter too much as long as you have a lintel that supports the chimney breast.
Please remember that there are certain rules if you’re planning on actually using the fireplace. It has to comply with building regulations and has to be installed by an approved installer. If you don’t have the right paperwork, it could invalidate your insurance!
Cx
Lauren says
Hi guys. I notice before you opened the fireplace up, there was a small vent in the wall. Could you tell me, do you need to keep the chimney breast ventilated, even thought you’re not using it? Does the fireplace you’ve installed have any ventilation or is it solid. Thanks so much x
Christine says
It’s REALLY important to keep the chimney breast ventilated and it doesn’t matter if you are actually using it or not! If the chimney breast isn’t vented, it will cause condensation which will ultimately lead to damp. The fireplace that we installed in our guest bedroom is open under the hood but, so that the chimney breast still has enough air flow to stop any condensation.
Cx
PS. There are prettier vents available than the horrible white plastic one that we used to have in the chimney breast.
caitlin says
YAY! That looks really good. Love it. -Caitlin
Christine says
Thanks Caitlin! We’re slowly getting there…
Cx
Magali@TheLittleWhiteHouse says
It looks lovely! I don’t understand why people would get rid of such a treasure, but good for you!
Christine says
Thanks Magali! It’s weird that someone at some point would have ripped out that exact same fireplace. I guess it wasn’t in fashion for a while…
Cx
Marie Roxanne says
so… how did the neighbor get the fireplace in their basement?
Looks great! I think it’s a very pretty decorative piece, like a painting, only better!
Christine says
Thanks. I think he’d bought it to install in a room, but never got round to doing it.
Cx