Now that we can finally start thinking about entertaining again we’re sharing how to make this super easy and quick DIY charcuterie board that’ll make your guests feel extra special.
This DIY serving board is a super quick and easy project and, from start to finish, it takes less than an hour to make! It’s a perfect beginner-friendly project as you don’t need many tools and the few you do need are really easy to use!
Charcuterie boards are super popular at the moment and it’s easy to understand why. They’re versatile, look impressive, are ridiculously easy to create and take the stress out of entertaining as you can do all of the prep work before your guests arrive.
This is what you will need to make your own DIY charcuterie board:
This post contains affiliate links. We only recommend products we love and think that you will, too! Read our full disclaimer here.
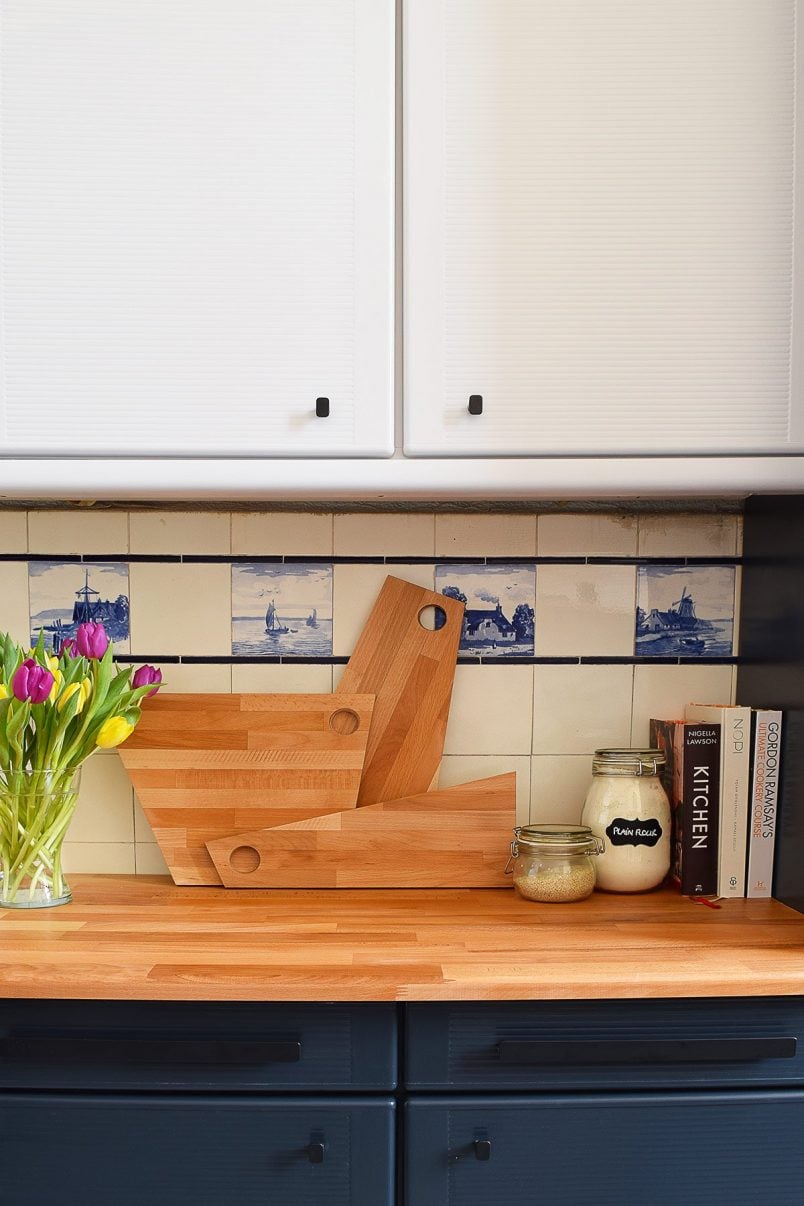
- Piece of hardwood timber – the size will depend on how large you want your serving platter to be – we used an oak board that’s 800mm x 600mm x 20mm (thicker timber would work well, too)
- Jigsaw (make sure to use a blade that’s suitable for hardwood!)
- Palmsander
- Sandpaper (about 120 grit and 240 grit)
- Router – this is optional but we’d recommend it. Good routers can be expensive though, so we hired one for this project.
- Food Safe Mineral Oil
- Pencil, rope, tape measure and a nail
This is how to make a DIY XL Serving Board:
1. Measure & Mark The Shape Of Your Serving Board
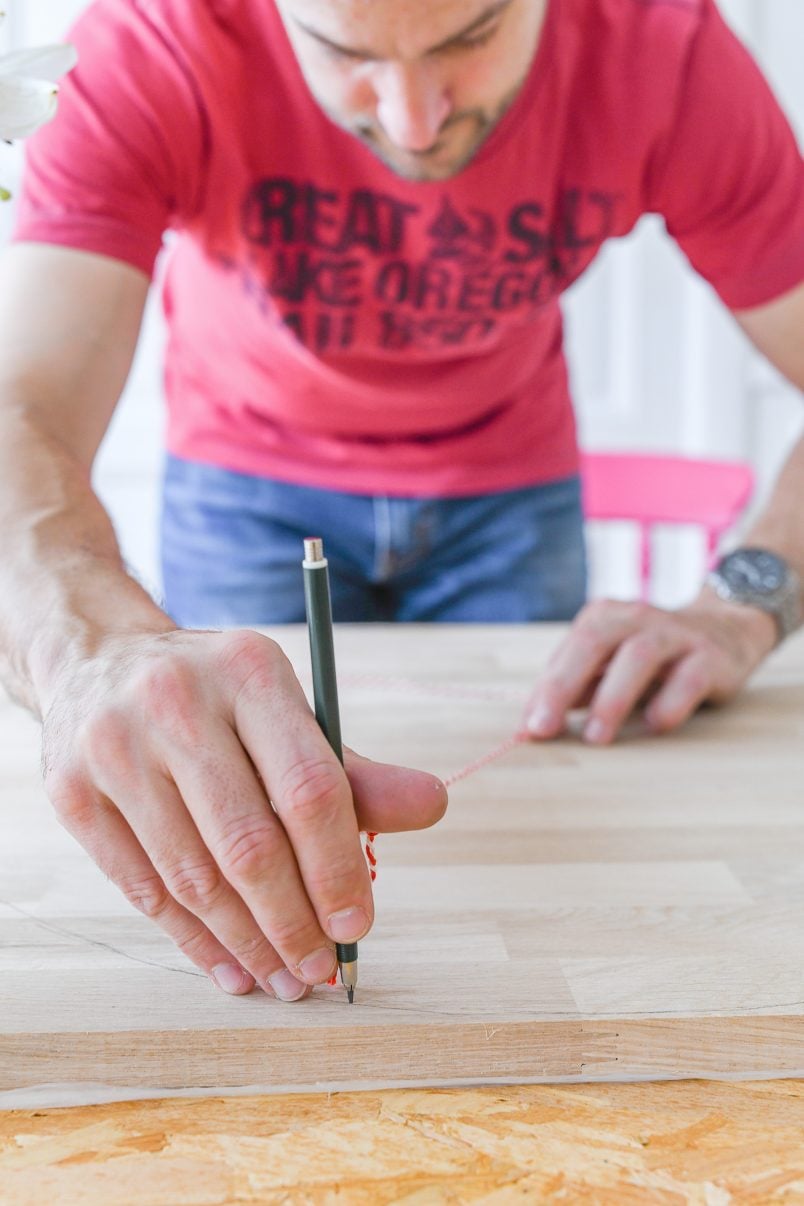
Start by drawing a circle onto your piece of timber. We wanted our board to be really large so drew a circle with a 60cm diameter.
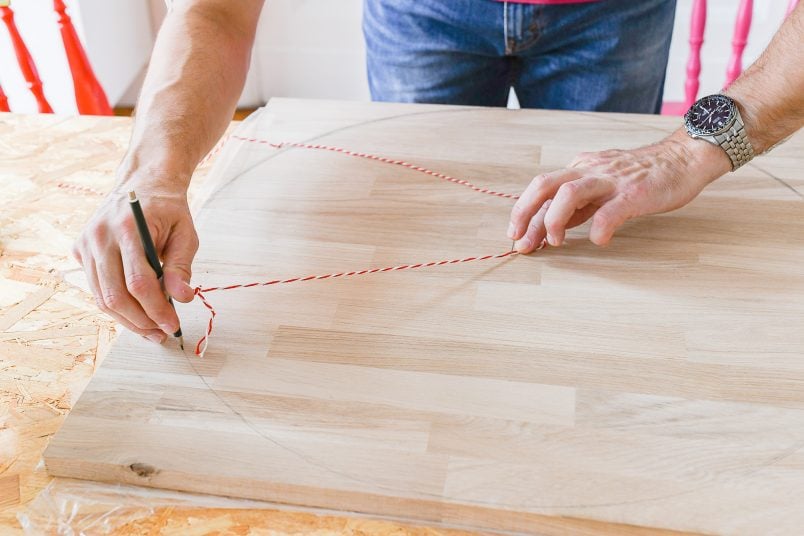
To draw a large circle, measure to find the centre of the board and lightly hammer a nail into it. Then, tie a piece of string around the nail and around your pencil that’s as long as the radius of your round serving board.
Now, pull the pencil so that the rope is taut and draw a circle over your serving board.
The shape you cut your DIY charcuterie board is totally up to you. It obviously doesn’t have to be round and we’d recommend basing the size on the timber that’s available.
Large timber pieces can be really expensive, so have a rummage in the remnants section at your DIY store to find a piece of timber that’s roughly the size you’d like your board to be. They often have great pieces of timber offcuts at a fraction of the price.
2. Cut Out & Sand The DIY Charcuterie Board
Once you’ve drawn your circle (or whatever shape you want), it’s time to cut out your super-sized serving board with a jigsaw.
Jigsaws are easy to use and you’ll find that you’ll achieve the best result if you really take your time while cutting. Just follow the line you’ve drawn and try to cut as precisely as possible.

It’s also important to use the right kind of blade for the type of timber you’re cutting. I initially tried to cut out the circle with the standard blade that was already attached to my jigsaw but it barely made it through the hardwood and even ended up burning it slightly.
After a quick visit to our local DIY store and some better blades that are suitable for hardwood, it was really easy to cut through the timber.
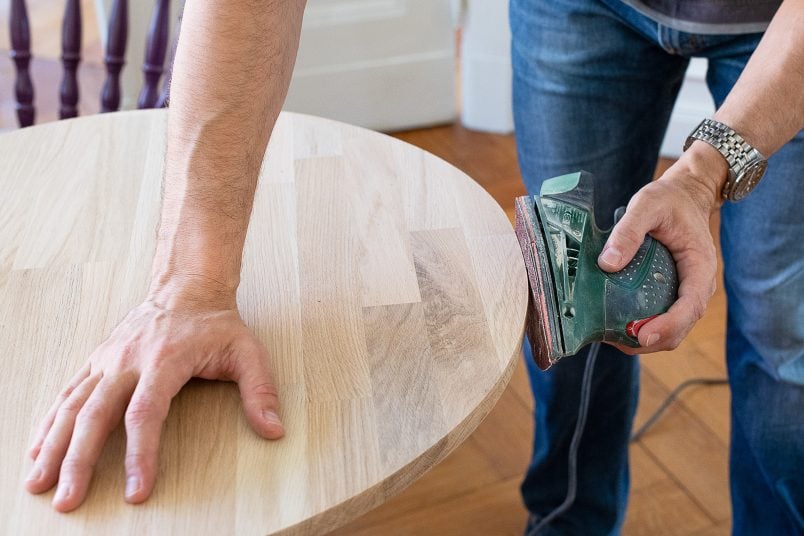
When you’ve cut out the shape, sand the edge smooth with a palm sander and 120 grit sandpaper. This only takes a couple of minutes and you can easily do it by hand if you prefer.
3. Optional: Round Edges
To give the giant DIY serving board a more professional finish, we decided to round the edges with a router. This gives the edge a lovely rounded profile that looks and feels great.
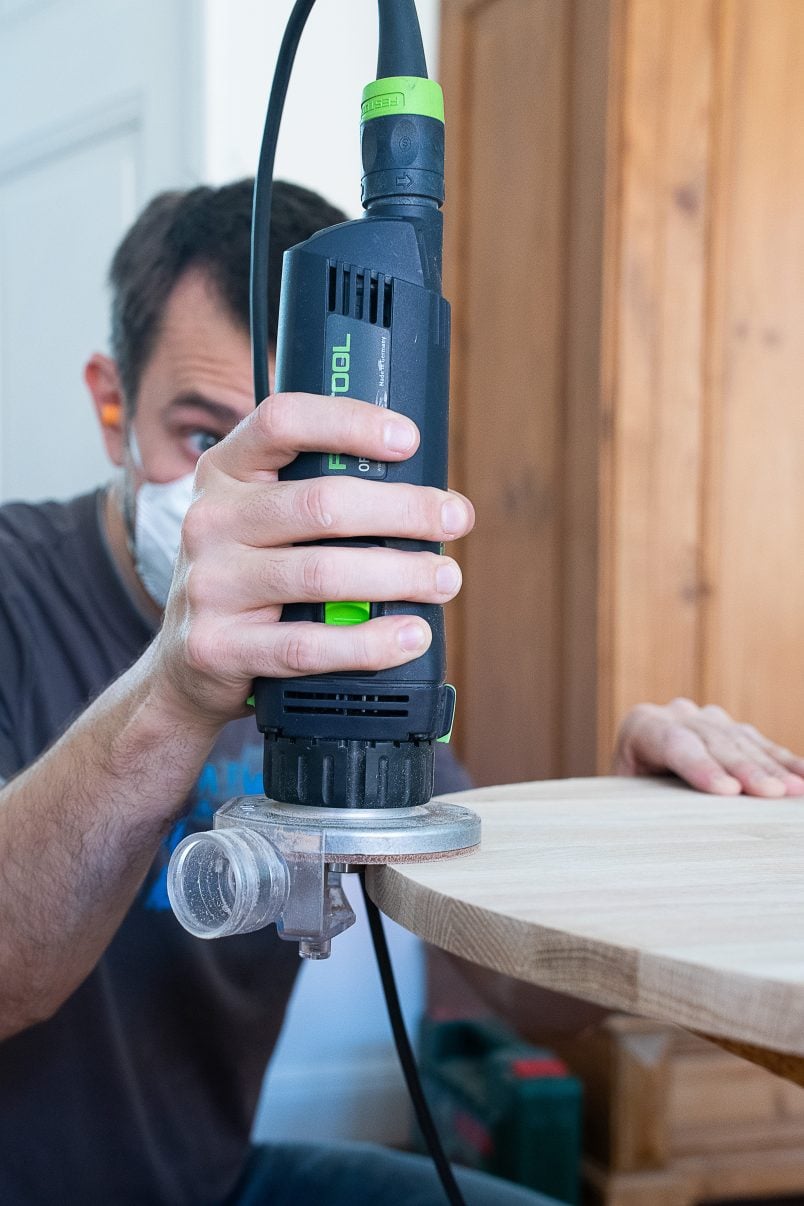
We don’t own a router and hired one to make this DIY serving board. We always recommend borrowing or hiring tools that you’ll only rarely use as they can be very expensive and there’s no point investing in something you’ll almost never use.
Having said that, we absolutely loved the router we hired and would love to have one. If you fancy a splurge, we’d highly recommend it but it is really expensive.
If you don’t want to hire a router, you could instead sand the edge to give it a very slight curve and remove the sharp edge.
4. Oil The Board
To finish off you’ll have to oil the board. This will give it some protection and will also bring out the grain of the wood.
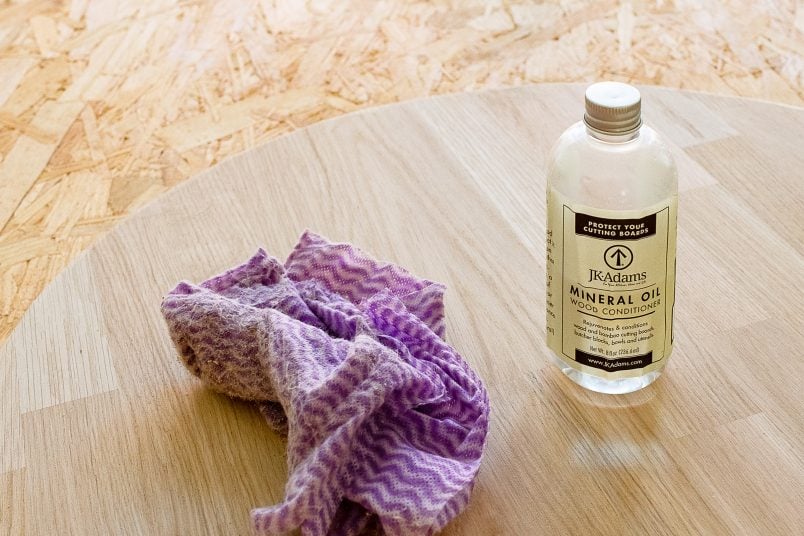
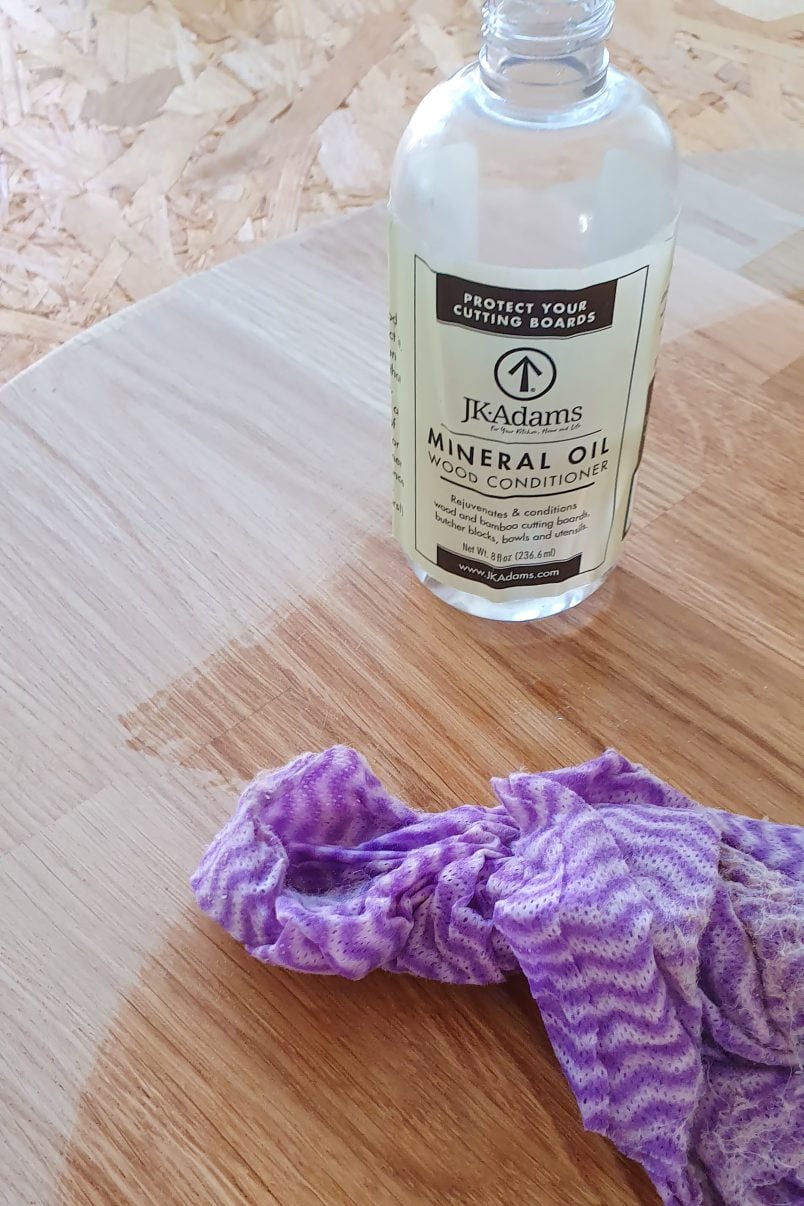
Pour some mineral oil on the board and rub it over the surface of the wood with a soft cloth. After the first coat of oil, the grain of the wood will rise slightly, so give it a light sand to smooth the surface before cleaning it and oiling it again.
As you’ll be placing food directly on the board, it’s important to use an oil that’s food-safe. We use the same mineral oil for all of our chopping and serving boards which is easy to apply and looks great.
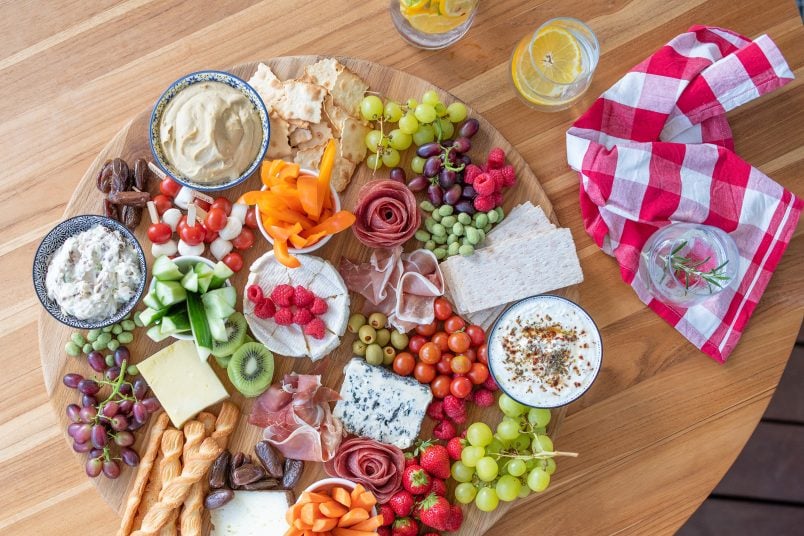
And that’s it – you now have your very own DIY extra large serving board!
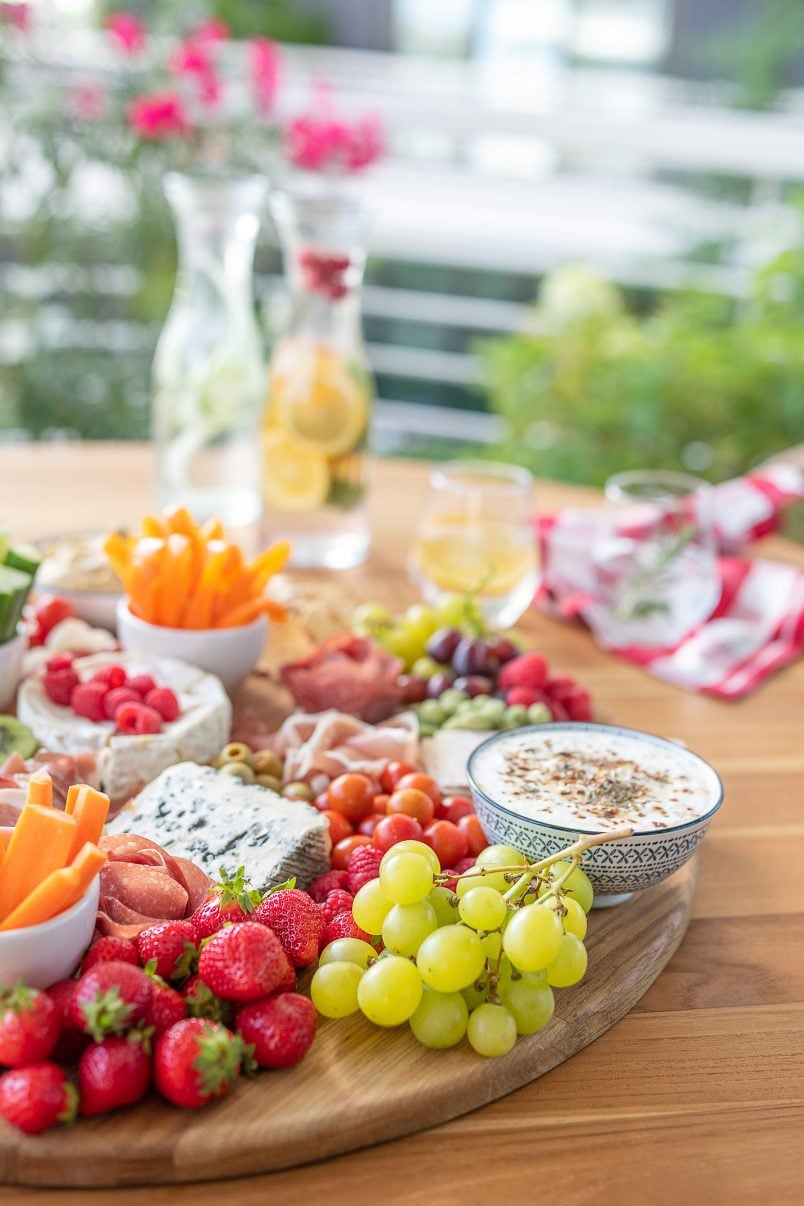
A super-sized serving board is a great addition to have in your home as it’s so versatile. We use it as a charcuterie board when entertaining but also serve things like a full Sunday lunch or Pizzas on it.
We even used this giant DIY serving board on Christmas Day when it was piled high with turkey, pigs in blankets and countless roast potatoes.
And, while I’m on the subject of Christmas, wouldn’t it make a great gift, too? You could make charcuterie boards in all different shapes and give them to the people you love.
Large wooden serving boards can be really expensive but this DIY serving board is extremely budget-friendly and only cost about 30€ to make. Definitely a bargain for such a large wooden serving board.
3 Things To Know About Charcuterie Boards
What kind of wood do you use to make a charcuterie board?
We recommend using hardwood because it’s, as the name already suggests, much harder than something like pine or fir. Yes, it’s more expensive but when you’re making something like a serving board it’s important to use timber that’s dense. After all, you don’t want your new board to be covered in knife marks after just a couple of uses.
How do you care for a wood charcuterie board?
There isn’t much maintenance involved at all. Just clean it with some soapy water after using it. Whenever it looks a bit faded or dry, we give it another coat of oil. That’s all there is to it!
What can you serve on a charcuterie board?
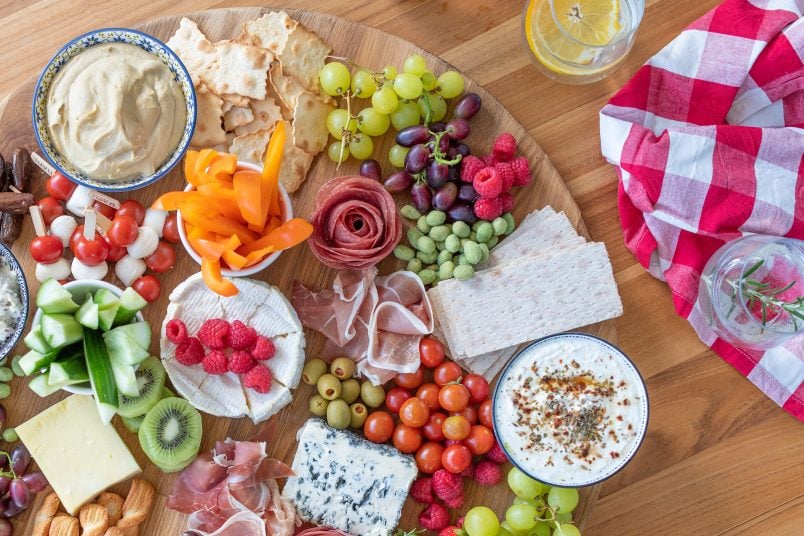
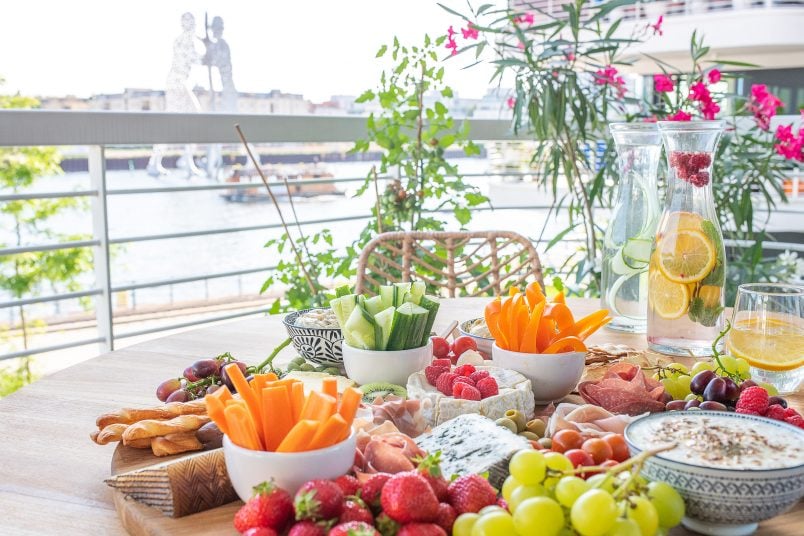
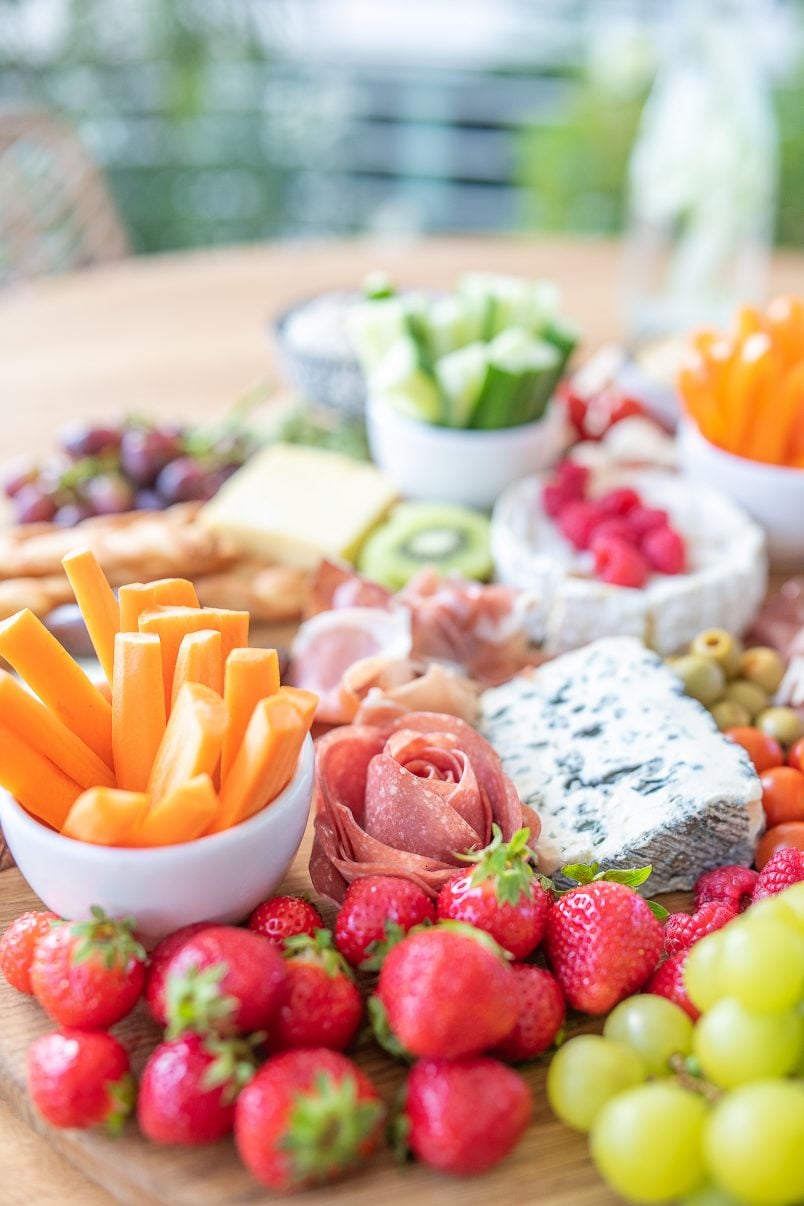
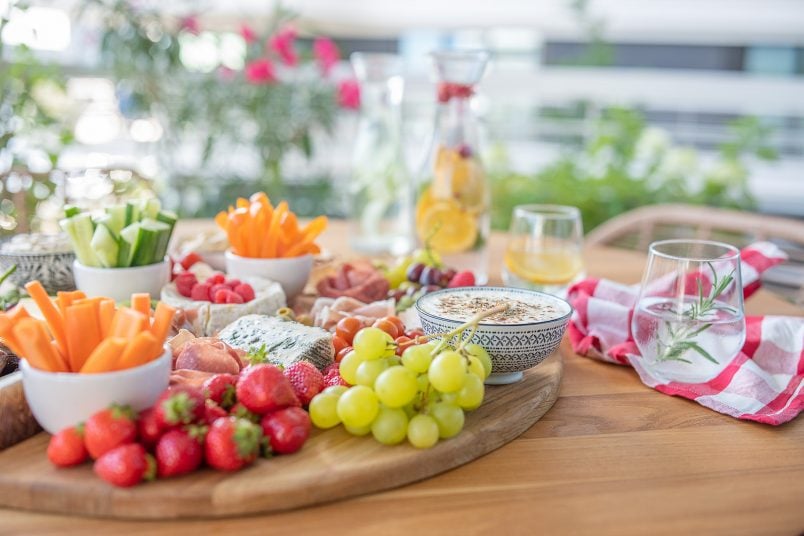
Whatever you want! Things that work well are meats and cheeses, fresh and dried fruit like figs, dates, strawberries and raspberries, crudites, nuts, crackers and breadsticks, olives, pickles, chutney and dips.
It’s good to have a mixture of textures, colours and different heights to add interest. Meats and cheeses can be expensive so add more budget-friendly things like vegetables and lots of dips. Just make sure that it’s as full as possible for a super luxurious and inviting look.
Have you ever made a charcuterie board? Are you entertaining again? What’s your favourite thing to serve at parties?
If you like this project, you will love these ones, too!

DIY Giant Charcuterie Serving Board

Materials
- Large piece of 20mm thick hardwood timber
- Sandpaper
- Foodsafe mineral oil
Tools
- Jigsaw
- Router
- Pencil, rope & tape measure
Instructions
- Draw a circle onto your piece of hardwood timber using a rope and pencil.
- Cut out the circle with a jigsaw.
- Round off the edge of the board with a router for a more professional finish.
- Sand all edges and the surface of the board until it's completely smooth.
- Oil the board with some food-safe mineral oil and let it dry completely before using your new giant charcuterie board.
Recommended Products
As an Amazon Associate and member of other affiliate programs, I earn from qualifying purchases.
Leave a Reply