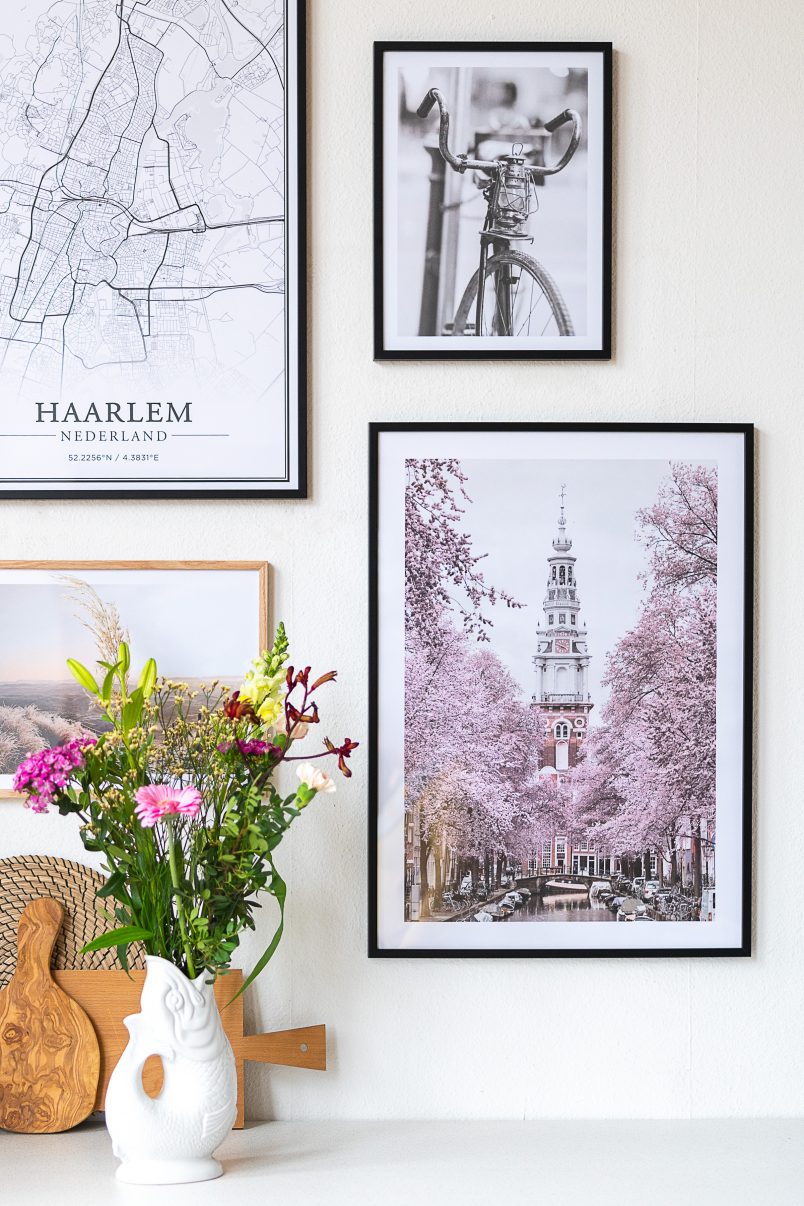
With so many big and bare walls in our new apartment, I’m going into art overdrive at the moment and can’t seem to stop myself from buying fab new prints and paintings.
Framing all of this new art could easily turn out to be really expensive and with an almost endless list of home improvements to tackle we’ve come up with a money-saving way to hang our arty finds – DIY poster hangers!
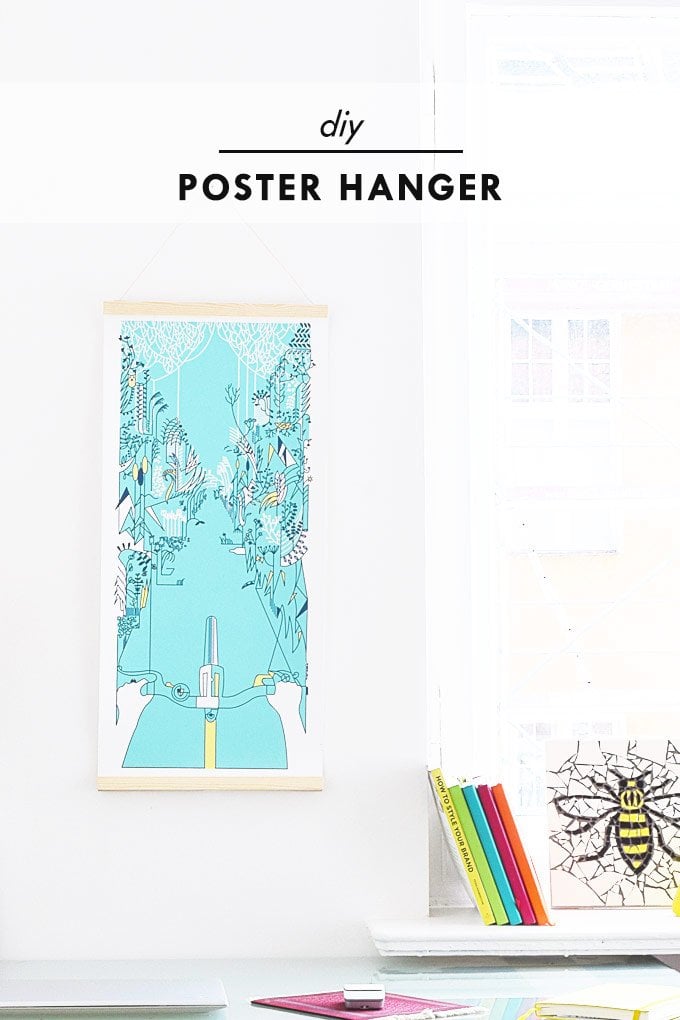
Yes, having a picture framed professionally is a great way to protect your art and show it off at it’s best but I love how these DIY poster hangers have a more relaxed look, too.
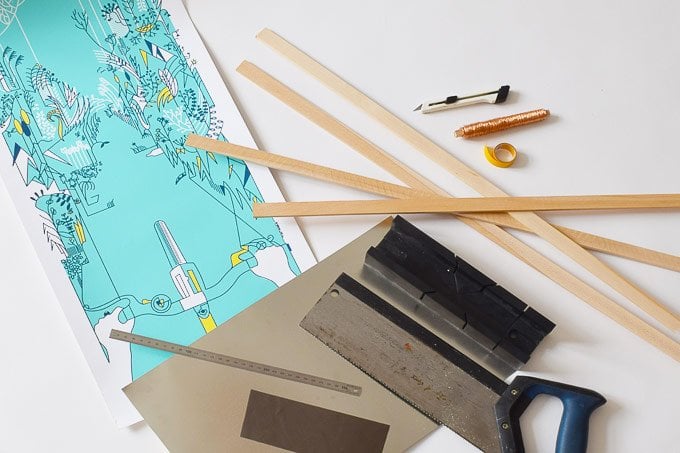
This is what you will need to make your own DIY Poster Hangers:
This post contains affiliate links. We only recommend products we love and think that you will, too! Read our full disclaimer here.
- A poster (well, doh!)
- Strips of timber – we opted for beech strips in a thickness of 20 x 5 mm
- Sandpaper (about 120 grit)
- Magnets – we now always use these ones. They’re pricey but super strong and they are the best we’ve ever used.
- Glue or double-sided tape
- Tape
- Very thin metal sheets (make sure you can stick magnets to them!)
- Wire or cord (to hang the poster – we used copper coloured wire)
- Fine saw (& mitre box if you want to be really precise)
This is how to make the DIY Poster hangers:
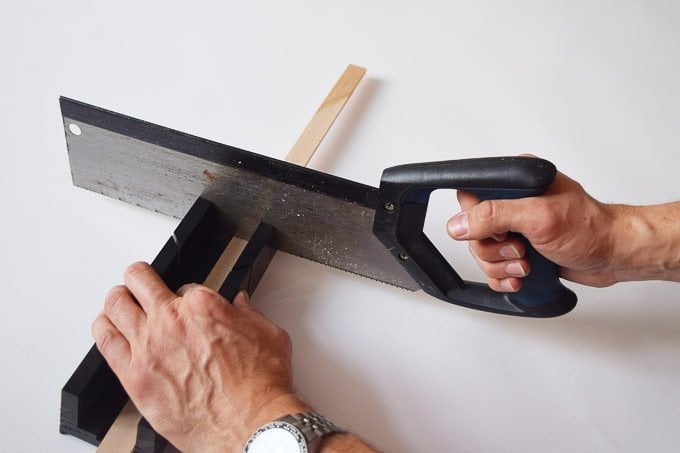
1. Measure the width of your poster and cut the four strips of timber to exactly that length. Make sure that all pieces are exactly the same length and that the edge you cut is nice and straight!
When you’ve cut the strips give all edges a quick sand to remove any rough edges.
2. Cut off strips of your magnets and stick them to two of the four strips in regular intervals. You could stick magnets to the full length of the strip but we were being stingy and there’s really no need as they’re really strong.
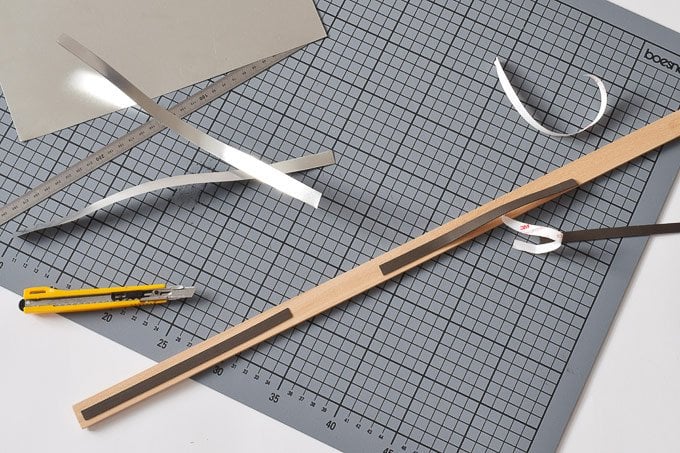
3. Stick the metal sheet to the other two strips of timber that you didn’t glue the magnets to. Alternatively, you could stick magnets to all of the strips but they’re a few millimetres thick and I wanted to keep the distance between the two pieces of timber to a minimum which is why I opted to use the thinner metal sheets instead.
4. Next, stick the wire to hang your poster to one of the strips of wood with some tape. You won’t see any of this later on, so it just has to hold and it doesn’t matter if it’s not particularly pretty.

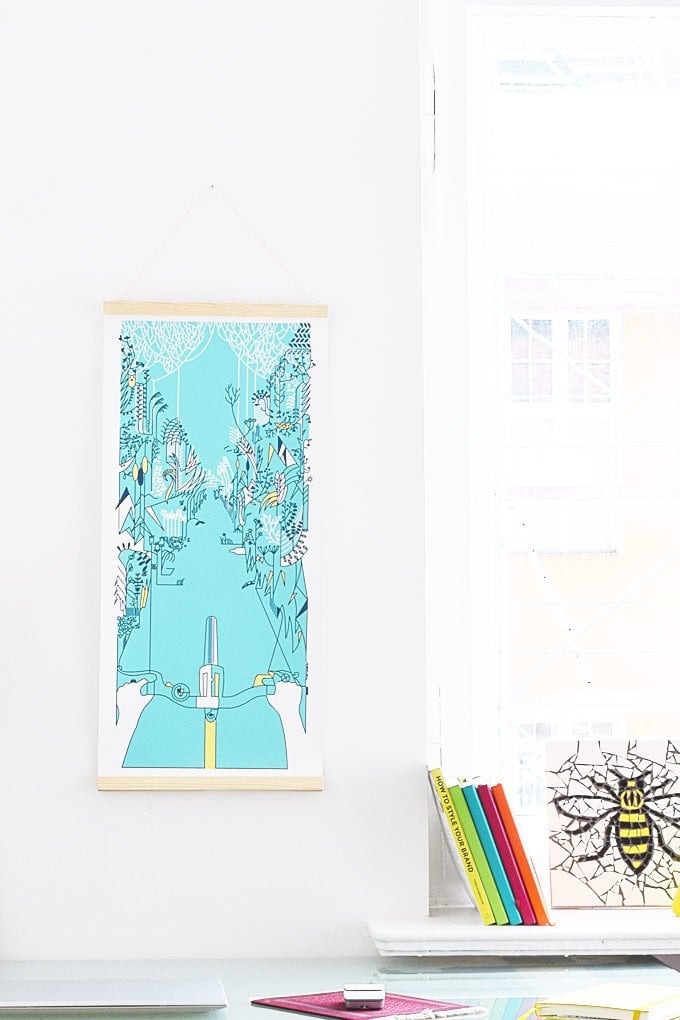
5. All that’s left to do is attach the DIY poster hangers to your artwork. Place your painting or picture on the wooden strips – one at the bottom and one at the top – then just hold it in place with the second two pieces of timber. The magnets will hold everything together and the poster hangers should just snap to each other.
6. Your DIY poster hangers are now done! The only thing left is to hang your picture!
This whole project took less than 15 minutes to do and cost less than £5 for the material.
I thought I was being really clever making my own hangers but I should have realised that there are already loads of great tutorials on how to make DIY Poster Hangers being shared on the internet. I guess it’s almost impossible to have an original idea anymore!
Now, if you’ve been following us for a while you’ll already know that I have something of a nail, screw and general fixing phobia. It’s not that I have a problem with the actual fixings, it’s just that I hate seeing how things are attached. Why, why, why would you ever want to see screw heads if you can hide them?
For me, the whole point of using a poster hanger is to have a flexible and interchangeable way of hanging art but the tutorials I saw all involved nailing the timber poster holders together with nails.
This makes the hangers really permanent and depending on how you nail could also damage the poster as you may have to nail through it which is a total no-no for me.
Having said that, this could be a great method of making DIY poster hangers if you wanted to create something more permanent and they would be even cheaper, too, as you wouldn’t have to use any magnets (which are the most expensive bit of this project)!
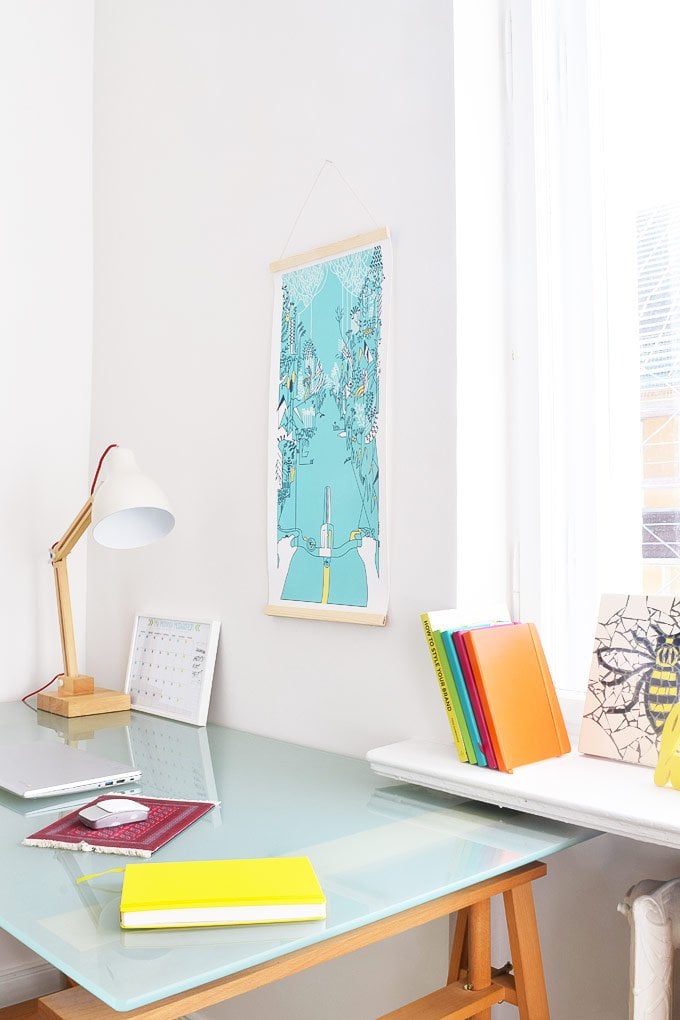
I’m really pleased with how this little project turned out. Most of my art will probably always be in picture frames but I really like the more relaxed and less permanent look you get by hanging your art with these DIY poster hangers.
How do you like to hang your pictures? Have you ever bought art and realised that it cost more to have it framed than it cost to buy the picture itself? (We’ve done that twice!) What are your favourite places to find new art? Let us know, we’re always on the lookout for more!
If you like this project, you will love these ones, too!
elizabeth says
Love that poster! Where did you get it?
Christine says
We love it, too. We bought it on holiday in Budapest. It’s by Nemesanita (www.nemessis.hu).
Cx
Lucy says
I love this DIY! Would it be OK for photographs too? Have blown up a few of our holiday photos in a large size to hang in our hallway, but finding decent frames in the right size seems to require more money than we’d like to spend!
Christine says
I think it would totally work for photos, Lucy! Frames can be sooo expensive and this is a great budget option. The only thing I would say is that if your paper is really thick you’ll definitely have to use strong magnets.
Cx
Elisa says
Feel free to do any vacuuming or washing on Sundays. I’m from Berlin and it’s not an issue. You’ll get a away with the odd nail too but any noisy activity over 30min gets you in the bad books of you have elderly neighbors.
The flat is beautiful by the way!
Christine says
Good to know & thank you, Elisa! Most of our neighbours are older so we’re mindful of not annoying them too much – especially at the beginning! They’re going to have to put up with a lot of DIY so we’ll try to keep them as happy as possible with the little things!
Cx
Kerrie says
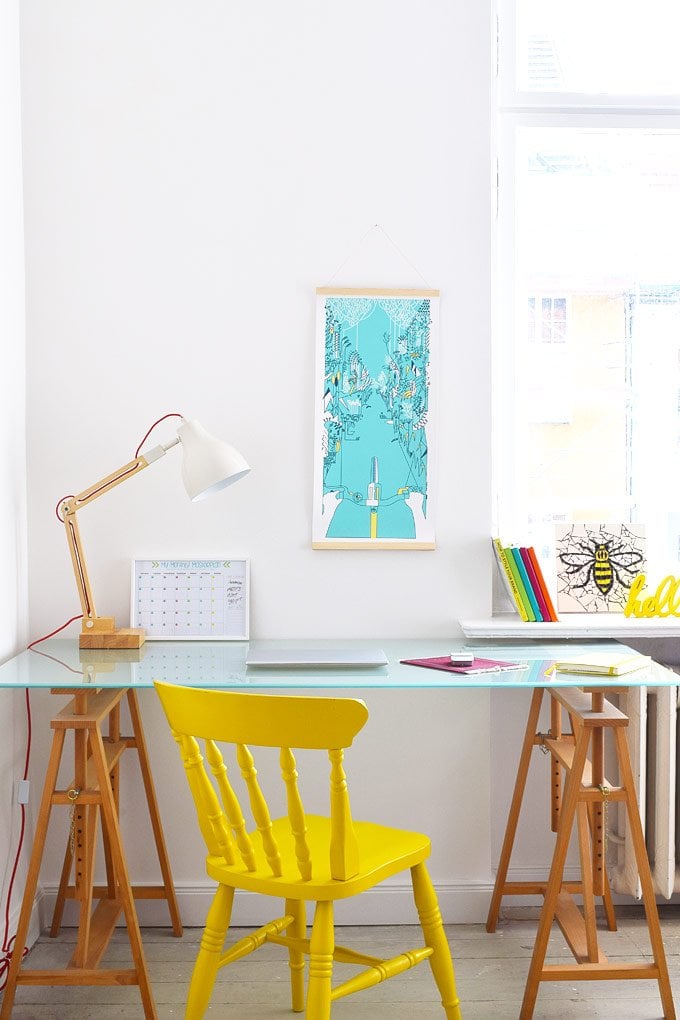
Gee I love the styling you have in the last photo. The little pops of yellow are just right ?. Great the way you could alter the table height to fit in under the window, hopefully you have a chair to fit the height too.
I love love love “stuff” on my walls so I applaud any methods people have to make this happen & look good, cheers
Christine says
I’d never thought of myself as someone who styles rooms but you’re totally right about the yellow working really well. It’s a total coincidence though as that’s what my desk really looks like (although I did give it a tidy before taking the picture)!
Randomly my desk is always at that height. It can be adjusted but again it was lucky that it fitted just under the window sill. I love being able to look out of the window when I work. There’s not a huge amount to see from the angle I’m sat at but even just having that connection to the outside makes me feel more relaxed and less alone (that sounds sadder than it’s meant to!).
Cx