My love affair with all things concrete goes back a long way. I started my first concrete experiments about 12 years ago. I know concrete is still a bit of in-thing, but I’ve always loved it. Until now, I hadn’t been able to convince Jan that our home needed a few concrete items, but I’ve finally managed to sneak in this little project. Let’s face it, what else are we going to do in this miserable wet weather than get crafty!
There are loads of tutorials for similar concrete letters out there, but most of them seem to be made out of just cement and not concrete. We also didn’t want to use quick setting concrete, as we wanted a smooth & even finish and decided that we’d achieve a finer consistency by mixing it ourselves.
So, after a bit of experimenting, this is what we’ve come up with.
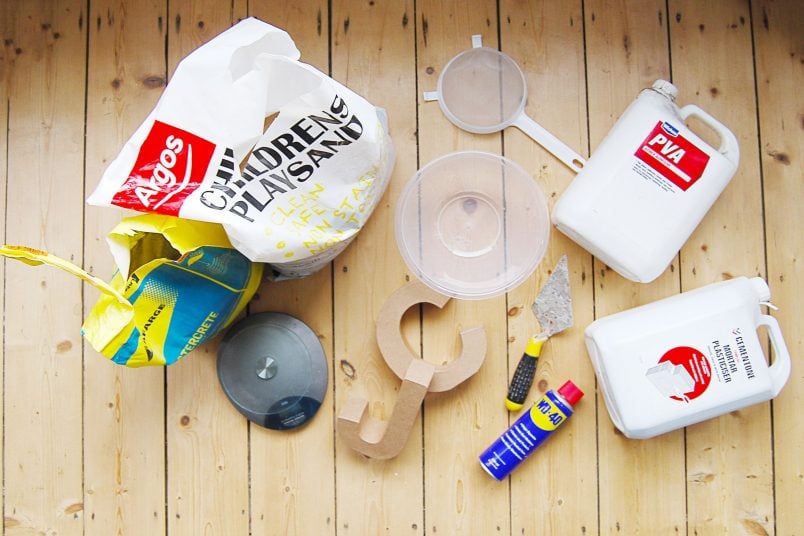
This is what you will need:
This post contains affiliate links. We only recommend products we love and think that you will, too! Read our full disclaimer here.
- Mould – we used cardboard letters
- Sand – we used children’s playsand as it’s really fine
- Cement
- PVA
- Water
- Plasticiser – enables you to put less water in the mixture. The more water you have in the mixture, the more it will shrink
- Sieve (optional)
- WD40
- Trowel
- Craft knife (not shown)
- Mask and gloves – you should always wear protective gloves and mask when working with concrete. You really don’t want to be inhaling any toxic concrete dust! (not shown)
- Sandpaper (optional)

This is how to make DIY concrete letter bookends:
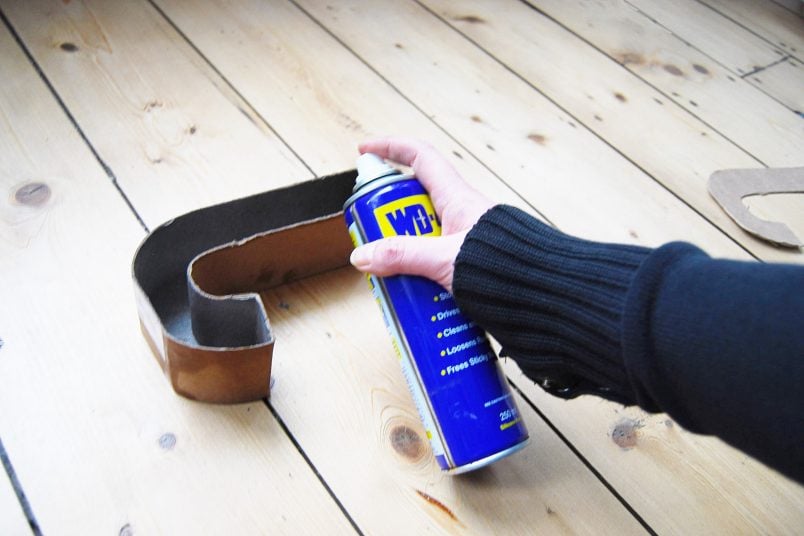
#1 Start by preparing your mould. As we’re using cardboard letters, the first step is to carefully cut away the back of the letter with a craft knife and remove anything that’s inside it.

#2 Spray the inside of the mould with WD40. It’ll provide a kind of slippery layer to the mould which will stop the concrete sticking to it.
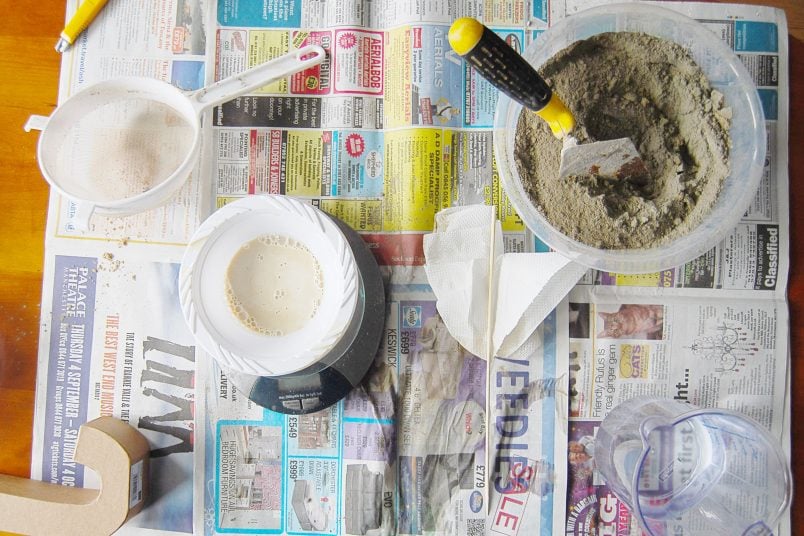
#3 Weigh out your ingredients as exactly as possible. The ratio of sand to cement should be 60% to 40%. In addition, we used a few more additives like plasticiser (2%) PVA (2%) and water.
In numbers, these are the amounts that we used to make both letters.
- 1680g Sand
- 1120g Cement
- 44g Plasticiser
- 44g PVA
- Water
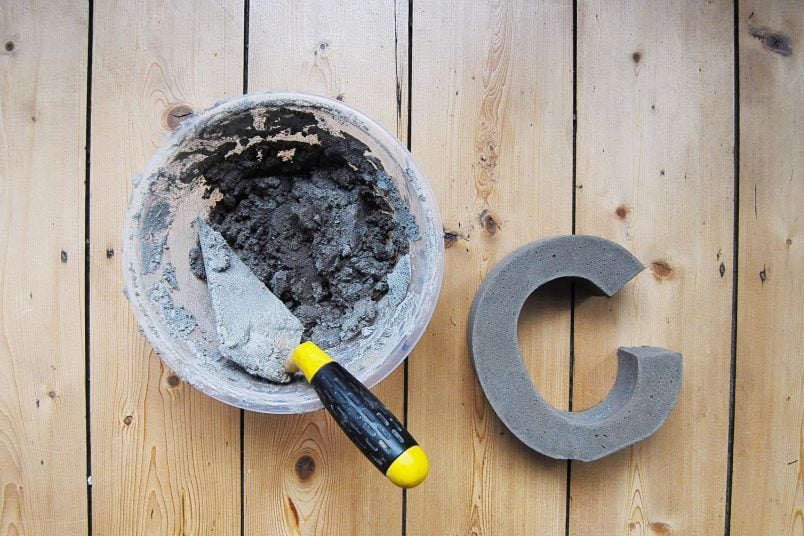
Start by combining the sand and cement. We sieved the concrete, to make sure that the mixture is completely lump free. In a separate container combine the plasticiser, PVA and some of your water. Then, combine the two mixtures along with more water and mix well. (You want the mixture to be quite stiff and not too sloppy. The plasticiser allows you to use less water than would normally be necessary. If the mixture is too sloppy, it will soften the cardboard too much and your mould will warp.
#4 Give your mould another spray with WD40. Then, using your trowel, fill the moulds with your concrete mixture. Make sure you really squash the concrete into the shape and that you get it into each corner. After filling it about halfway, tap down the mould a few times to remove any air bubble and make sure that the mixture distributes evenly. Another reason for mixing your concrete yourself, rather than using the ready mixed variety, is that you will have much more time to work with it before it starts to go off. You can really take your time and make sure that the mould is completely filled. When the mould is full, finish off by smoothing the surface with your trowel.
#5 The concrete needs to be shaken to remove any air bubbles. We obviously don’t have any professional concrete vibrating tools flying about our home, so came up with this really high tech solution – put it on the washing machine during the spin cycle. Seriously. I know it sounds bonkers, but it really works.
#6 Now for the hardest part of the process – don’t touch it! The concrete will crack otherwise. Leave it for at least 48 hours, but ideally, you will leave it for at least 60 hours. Then you can peel away the cardboard mould. Because of the coat of WD40 it should come loose pretty much straight away, but if not, just wet the cardboard mould and it should soften and easily come away from the concrete. Don’t try to move the moulds any sooner, as you will crack the concrete (trust me, we tried)!
#7 This step is optional, but because we were aiming for a really smooth texture, we finished off by giving both letters a sand with some fine sandpaper.
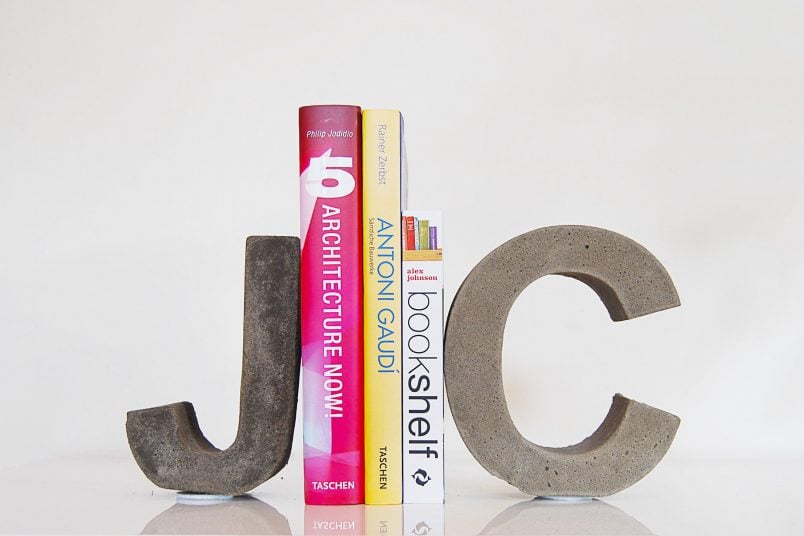
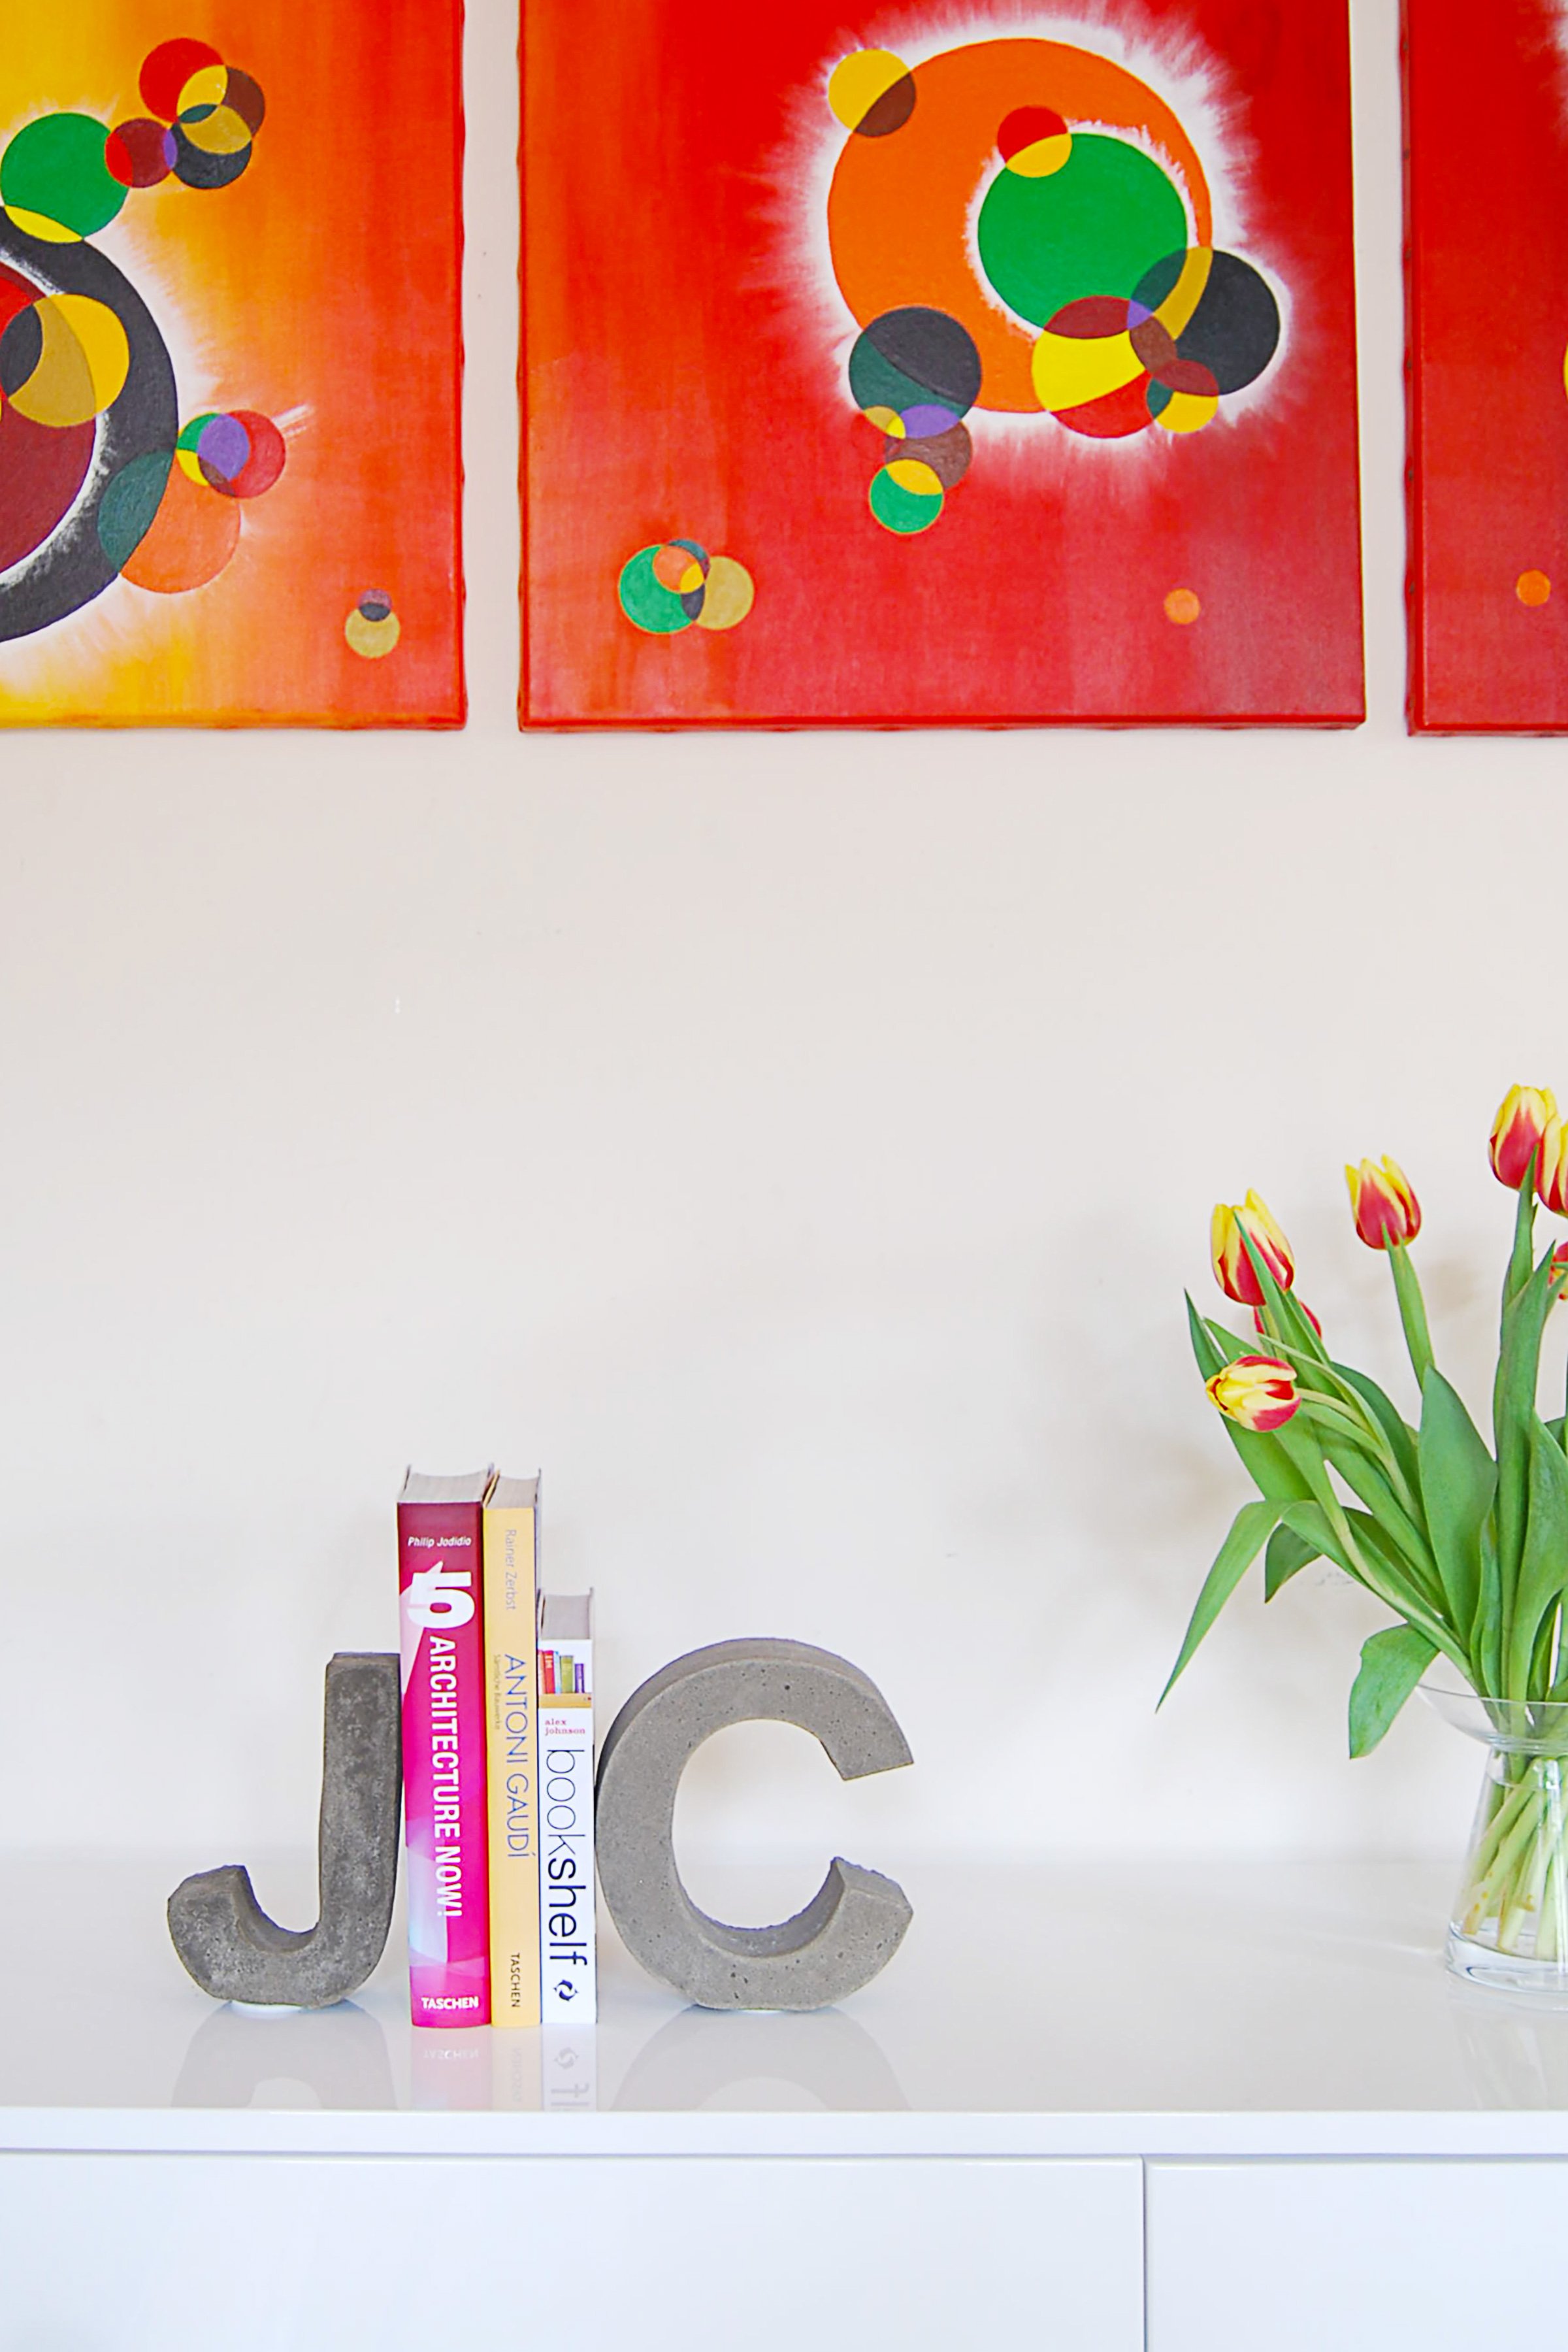
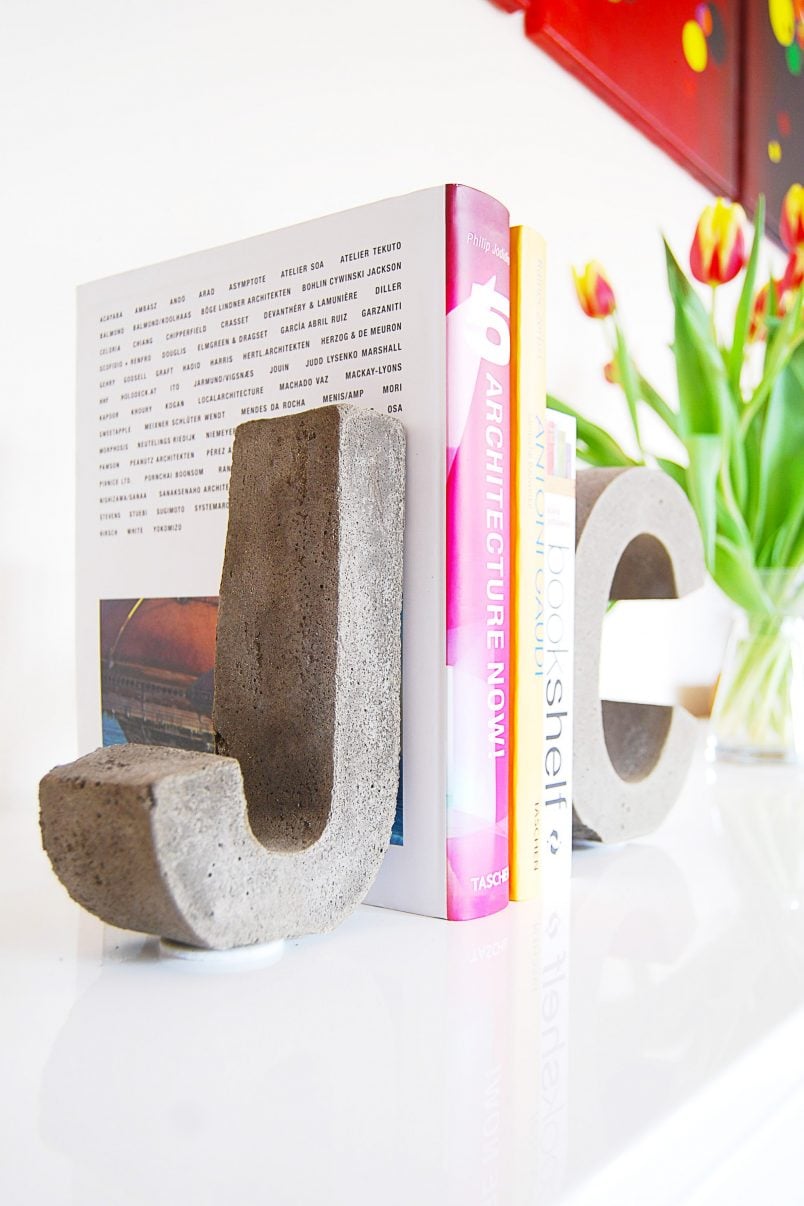
I know that it’s only a small concrete addition to our home, but this is only my first step of slowly introducing it. I love how these DIY concrete letter bookends turned out and already have a few ideas for some more projects using concrete.

Have you ever made anything with concrete? Or have you ever made your own DIY concrete letter bookends? We’d love to make some more concrete items – do you have any suggestions?
Clive says
You can use a small abount of washing up liquid as a plasticiser as its not for use in construction. It slightly softens the concrete mix.
Christine says
That’s good to know, Clive! Thanks for sharing!
Cx
Mayku says
These are so neat! We’ve been looking for new concrete projects and may have to give these a try! Have you tried using coloured concretes at all? We recently made concrete soap trays and our next mission is to do them in pastel colour concrete! (Painting them isn’t working sadly).
Christine says
Thanks! We’ve not tried coloured concrete yet but it should be easy to mix as it’s just a matter of adding colour pigments into the mixture. I love your soap dishes but I’m even more impressed by the Formbox – what an amazing invention!
Cx
Jason Roland says
These are such a great custom gift idea.
Michelle says
What kind of cement did you use? Or concrete??
Christine says
I’m not exactly sure what you mean, Michelle. We just used standard cement from a DIY store to make the concrete. Concrete is made out of cement, aggregate (in this case sand for a finer finish) and water.
Hope that helps!
Cx
ann green says
Love this project and excited to try with my kids. But can’t find plasticizer, not even at our Home Depot. Amazon has a 1 lb bag for $30-ish which is expensive. Can you tell me where to buy pasticizer and perhaps a brand? Is it really around $20/lb? Thanks!
Christine says
Thanks, Ann! If you can’t find the placticizer, just leave it out. I think it will probably work just as well and really isn’t worth spending a lot of money on! Just make sure not to use too much water. The more water you use the more brittle the finished concrete will be.
Concrete and cement are caustic and harmful to your skin, so don’t forget to wear gloves! It also gets very hot when it dries, so no sticking fingers in it! Basically, be super careful, especially if you’re doing the project with children.
Happy crafting!
Cx
Ps. We’d love to see the result when you’re done!
Brittany says
I love this idea! I am making some planters this weekend and know I will have some concrete left over. Where did you find the cardboard letters? I’m going to see if my Michaels has any in stock after work.
Christine says
Sounds like it’s a perfect little add-on project for you, Brittany. We picked up our letters at a local craft store. They really shouldn’t be difficult to get hold of and they’re definitely available over on Amazon.
Happy crafting!
Cx
rosalind says
THANK YOU FOR POSTING THIS! I have to do a garden at the local firestation and I wanted to put letters saying PFD! I looked high and low for molds for this…and its the the simplest solution! To think I was about to shell out $30 per letter for a mold! I love the washing machine idea!!! LOL… I actually made myself a mini “shake table” out of a vibrating motor and a tire. This stuff is heavy so I won’t be lifting it to put it into the house only to carry it out. But that is an awesome idea if you are doing small stuff! Thanks for putting this online! You are awesome!
Christine says
Thank you Rosalind! Glad to hear that we could help!
Cx
Sue Wyman says
Where can I purchase molds to make concrete lettering. I would like to reuse molds so they should be strong? I would like for them to be between ten and twelve inches tall and about two to three in depth.
Christine says
We purchase our moulds at a local craft store but they really aren’t difficult to get hold of (Amazon definitely has some, too). The ones we used were cardboard so you wouldn’t be able to reuse them, though.
Cx
Gabriel Vaning says
Just to let you know that your volumes of plasticiser and PVA are significantly less than 4% each – just under 1.6% each, according to the measurements that you provided. The lesser amount is the better choice. :)
When casting in soft, cardboard moulds, it may help to put the mould in a tray and fill the volume outside of the mould with sand, to stop the mould deforming while pouring and consolidating the mixture. Yours have retained their shape surprisingly well. Kudos to the manufacturer!
Christine says
You’re totally right Gabriel. Together they should make up about 4%, not individually.
We didn’t have any problems with the mouls deforming, but we did make sure that the mixture was fairly dry. Great tip if you do have that problem though! Thanks for sharing.
Cx
Tala says
Great idea!! I really love your blog. This is a great article!
Jan says
Thank you so much Tala! We made a concrete picture frame, too.
J
Galina says
Hi,
I would really like to try this project, but where to get a letters moulds?
Do you purchase from somewhere or make it your own?
Christine says
We bought the letter moulds. We gpt ours here: http://www.fredaldous.co.uk/large-kraft-letters.html, but they shouldn’t be hard to get hold of.
Hope that’s some help – would love to know how your letters turn out!
Cx
Christine says
Have just seen some cardboard letters at Hobbycraft, too.
Cx
Jim says
I made some stepping stones for our lake home with my grand kids names on them. Using the same concrete mixture and a 14 inch plastic pot drip plate. I purchased 2′ black wooden letter of the kids names and filled the plate with concrete and after getting the bubbles out and leveling it out I set the letters in the concrete and pressed them down even with the top of the mold.
Christine says
That sounds so cool, Jim! Definitely an idea that’s worth pinching! ;)
Cx
Dom Cececre says
Hi – Cannot wait to try this. Please can you just confirm when the concrete should go on top of the washing machine? When it is mixed in the bucket (post placing in the moulds) or when it is in the moulds?
Thanks so much,
Dom
Christine says
Glad you like it, Dom! The already filled moulds should go on the washing machine. The vibrations of the spin cycle should be enough to shake the concrete in the moulds and remove any airbubbles. It’s really a step that you don’t have to do though! We were just being picky as usual and were trying to remove as many bubbles as possible. If you’re not too bothered about the odd airbubble, you can just fill the moulds, bang them on the counter a few times (to remove any big air pockets) and then let them dry.
Happy crafting!
Cx
Dom says
Thank you so much Christine for getting back to me so quickly. Great – I am going to try this at the weekend.
Thanks again,
Dom x
KarenAnita says
You’re so creative!
I have a cardboard K & J already as we used them for our wedding. Might dig them out and give this a try :) Really love this idea! xx
Christine says
Aww, thanks! It was really easy to do, I’d definitely give it a try – especially as you already have the cardboard letters!
Cx
Jessica@CapeofDreams says
I really like your bookends and might have to try this project. I made concrete leaves to decorate my yard a couple of years ago. It was a fun DIY.
Christine says
Thanks, Jessica, we’re really happy with how they turned out, too. The “J” isn’t quite as perfect as I’d like as the concrete was a bit too wet, but that’s probably just me being a perfectionist.
Cx
PS. Love your leaves – especially the Hosta. Definitely an idea to steal!
Julia says
very clever idea,
Christine says
Thanks, Julia! There are loads of similar projects around Blogland though!
Cx
Poetical says
Have you tried house numbers? How would that weather?
Christine says
The company where we bought our stainless steel house numbers actually concrete house numbers. We haven’t tried any ourselves, but it should work well for them, too – I’d be tempted to seal the concrete to make sure that it’s extra weatherproof.
Cx