Did you see our fun new Instagram photo art that we shared last week? We absolutely love how it turned out but that’s not the only new arty addition in our home.
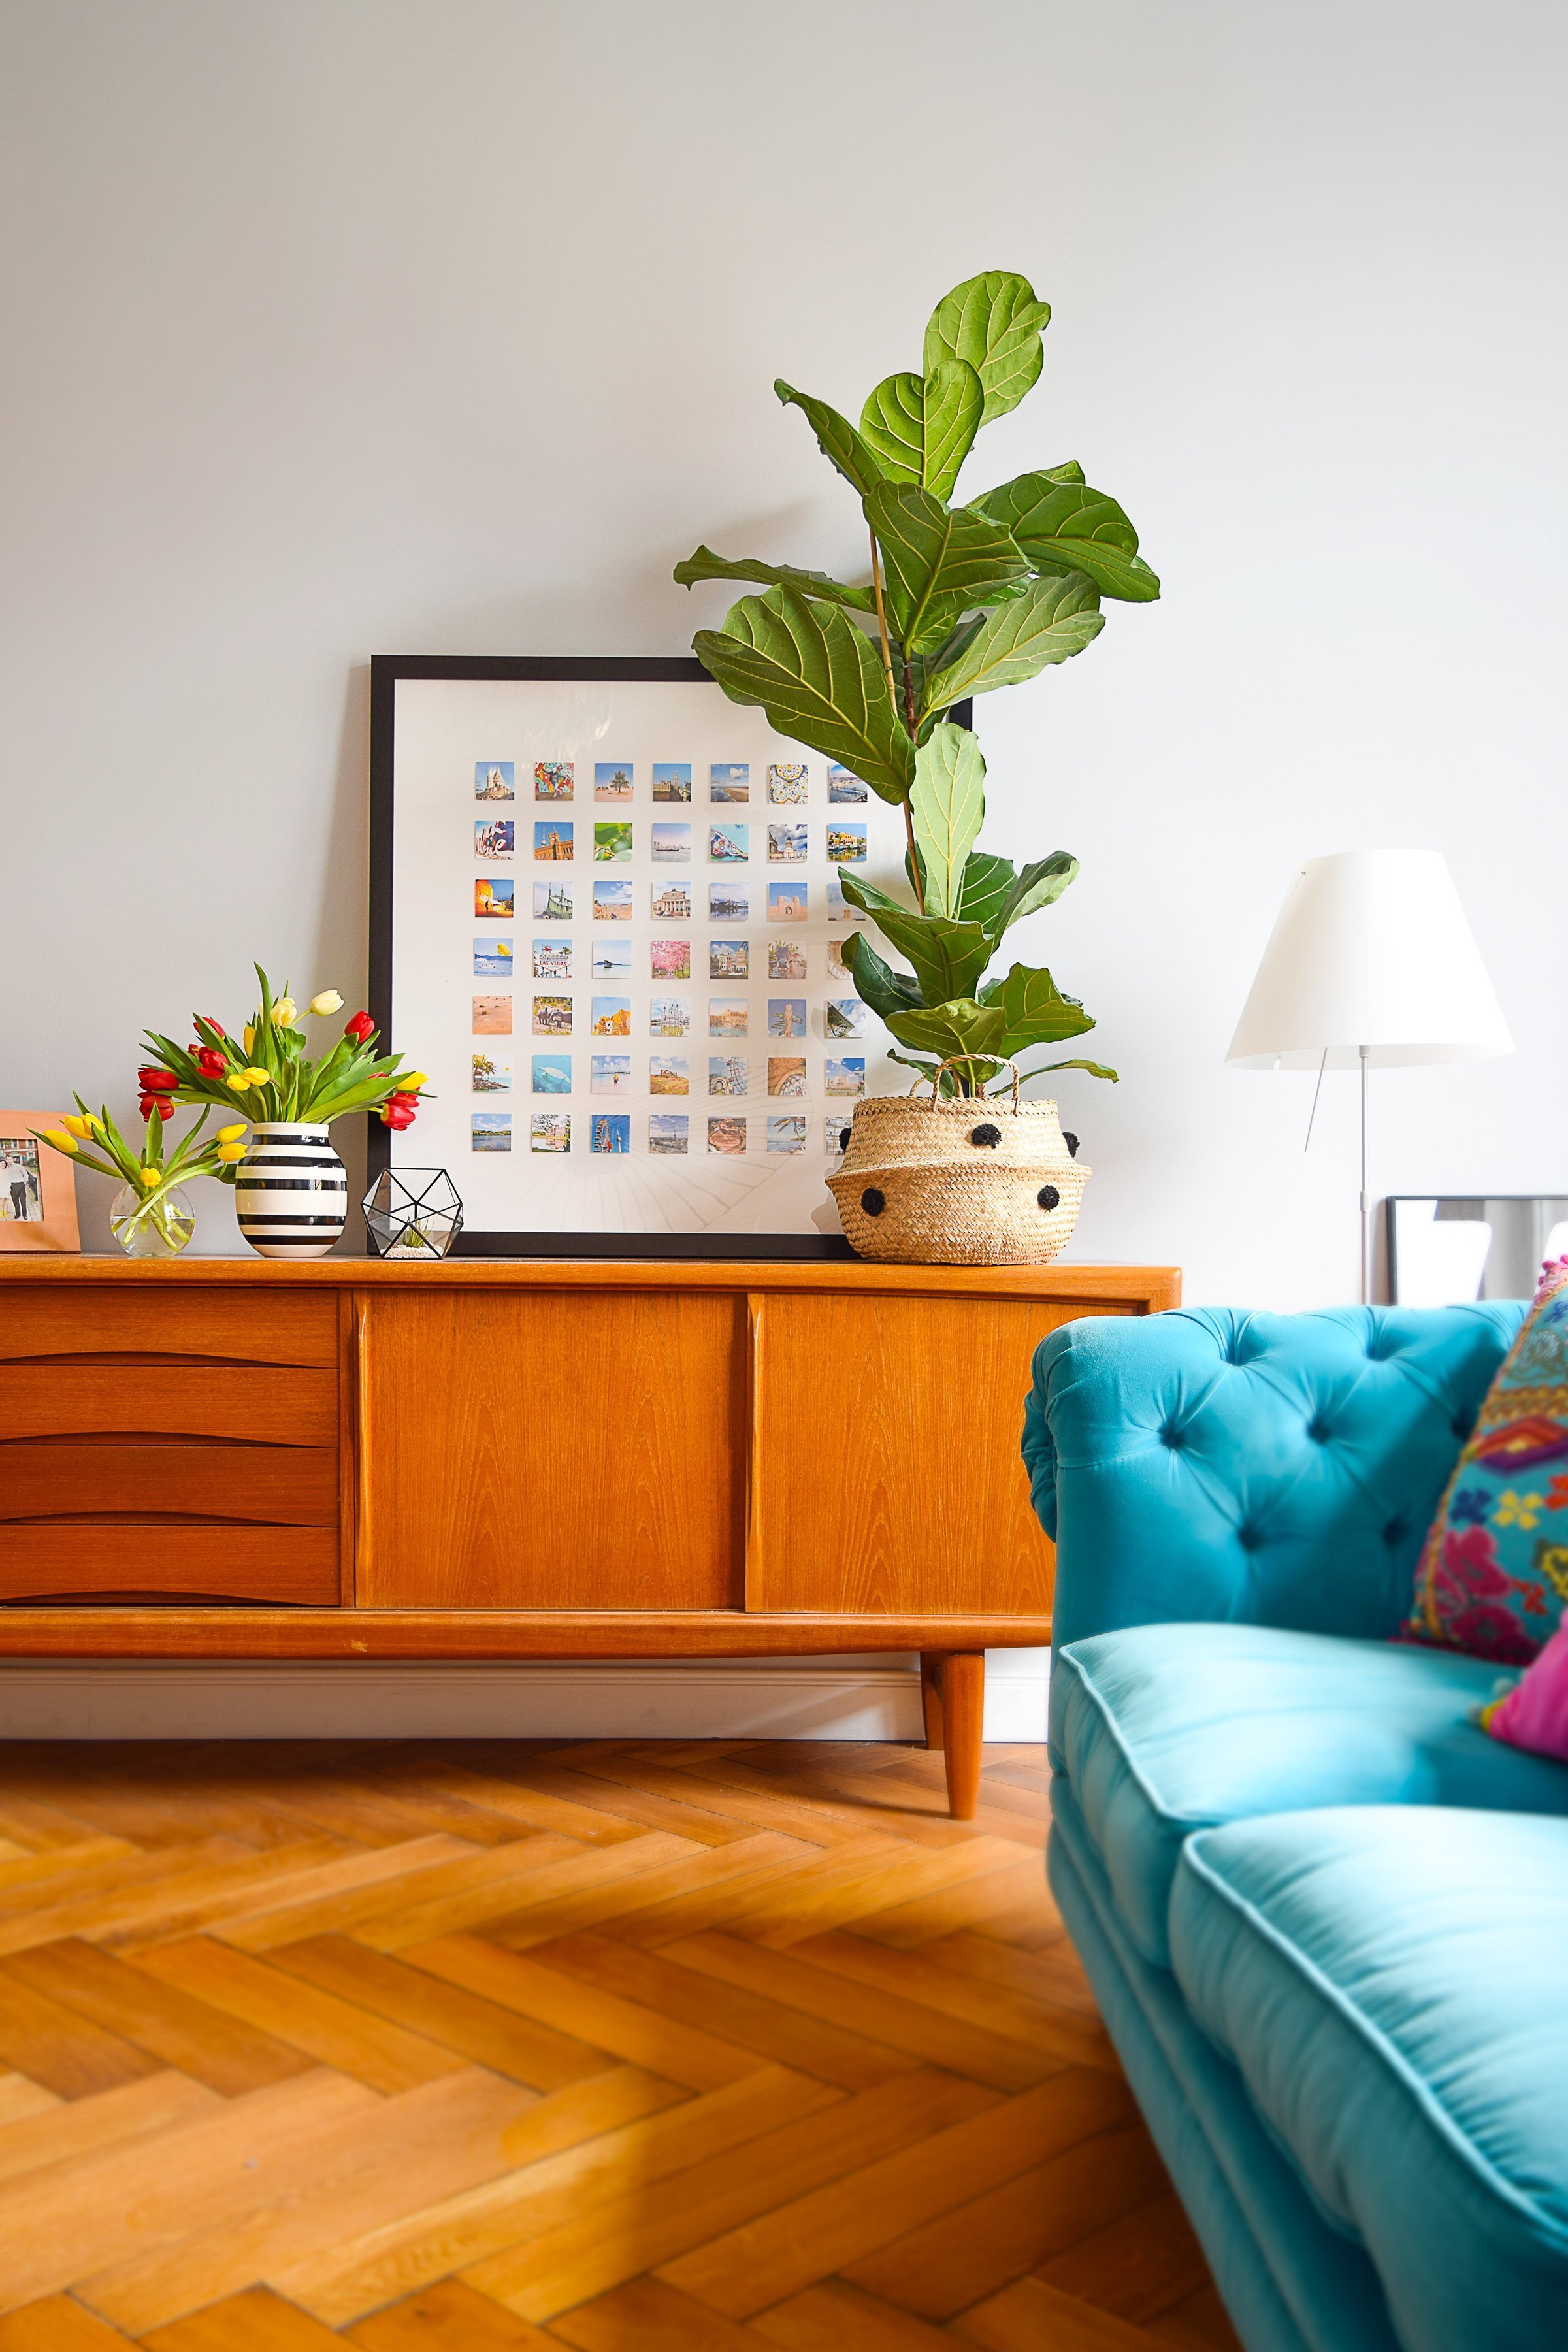
With so many still very blank walls to fill, we’ve been getting creative and my new favourite arty craft is flower pressing. Admittedly, this could have something to do with the fact that I’m feeling all spring-like and can’t walk past a flower shop without buying some tulips!
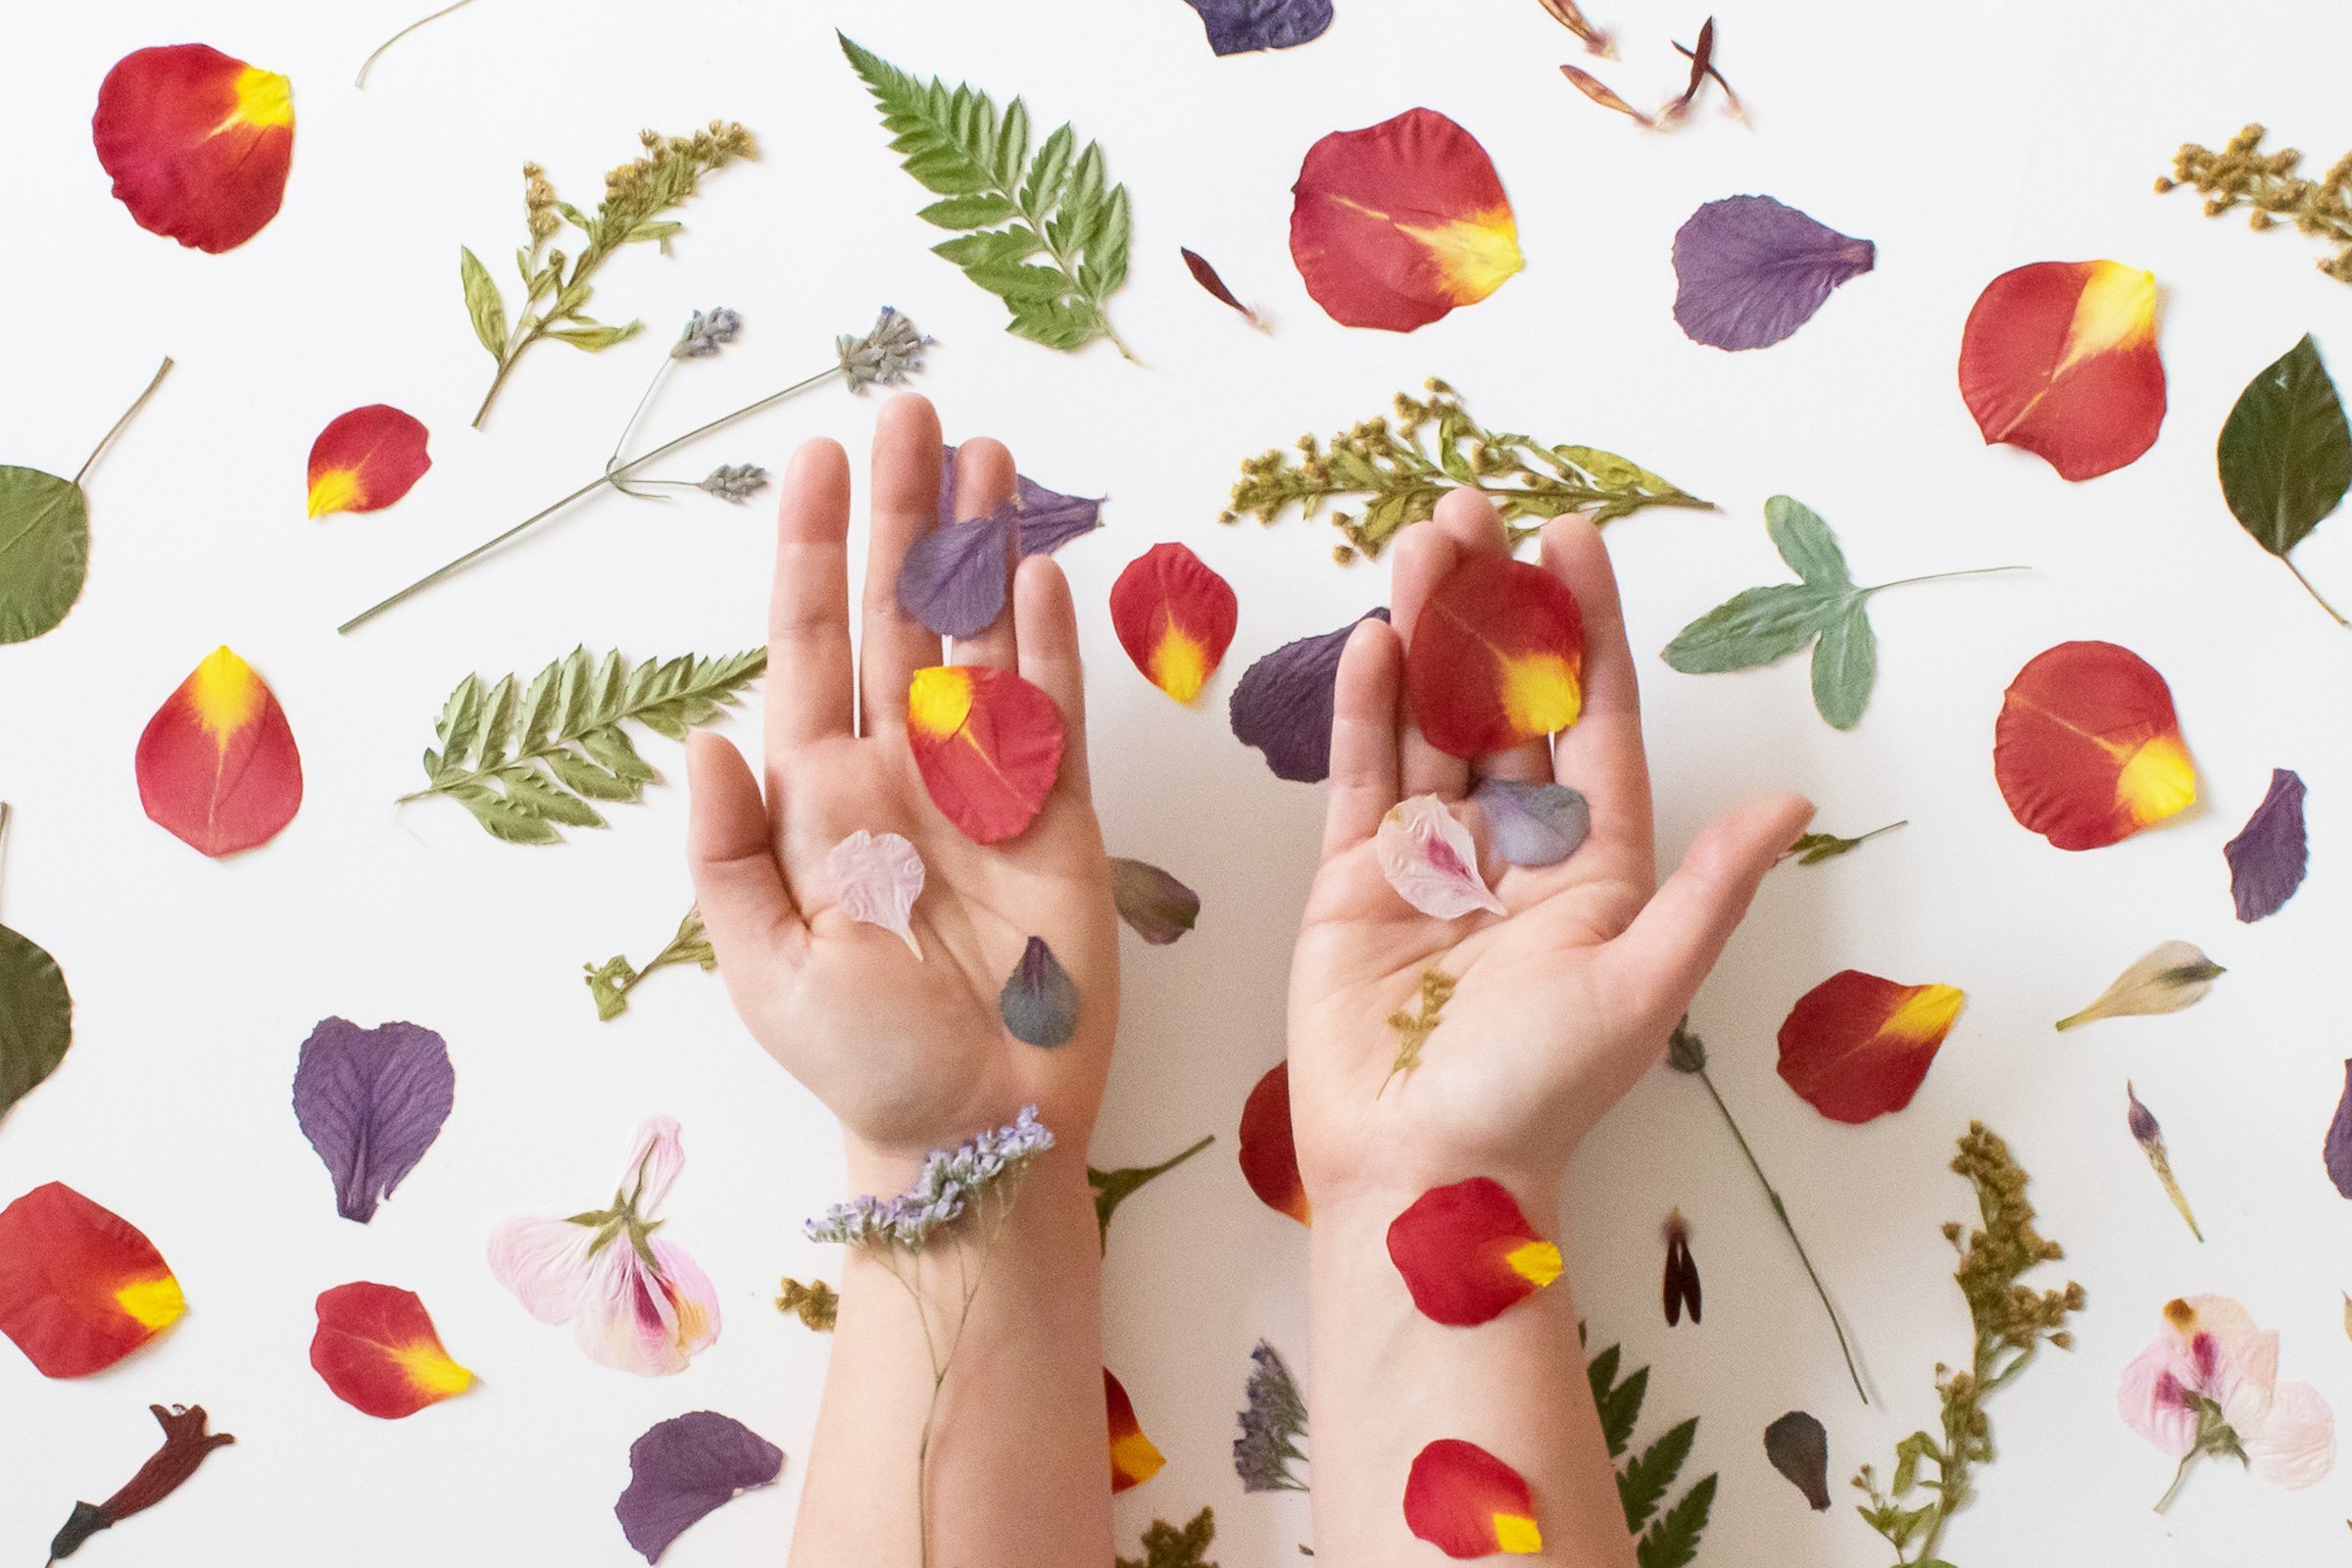
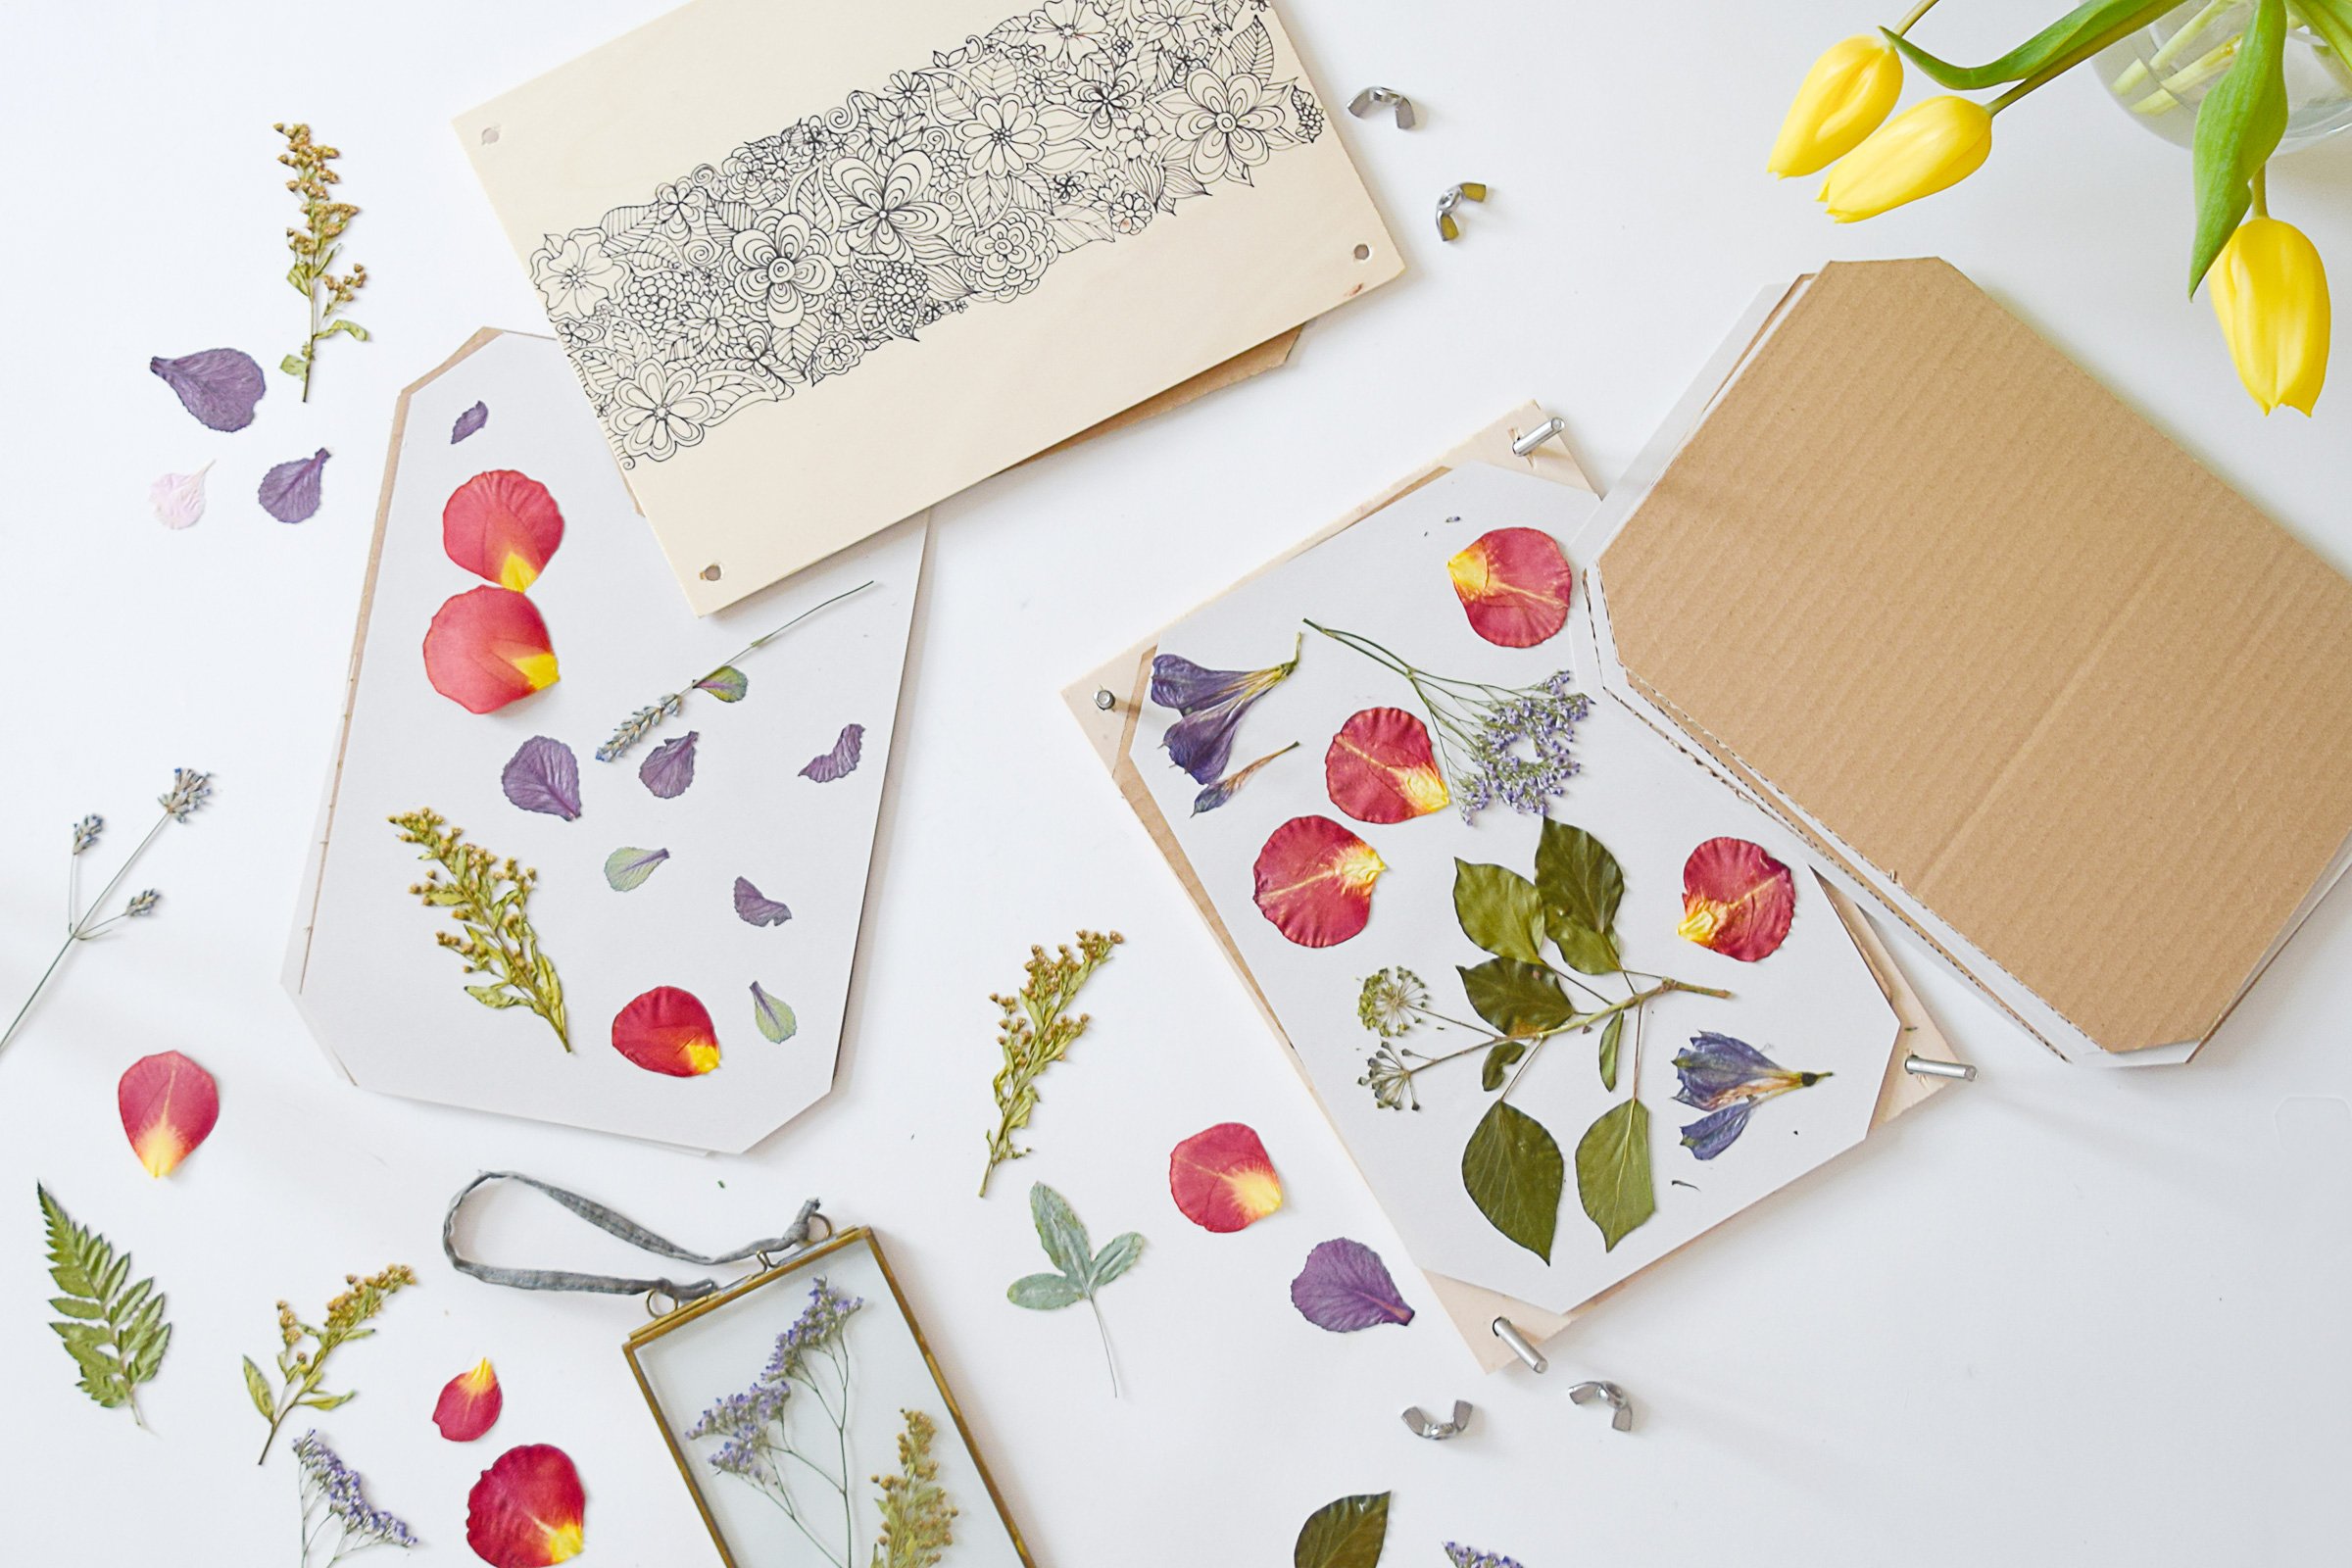
Pressing flowers is such an easy thing to do and we love the natural textures and organic look it adds to any room. Best of all, these are flowers and plants that even I can’t manage to kill!
We built our flower press ourselves and it has to be one of the easiest projects ever to make and it cost less than 5€ to build!
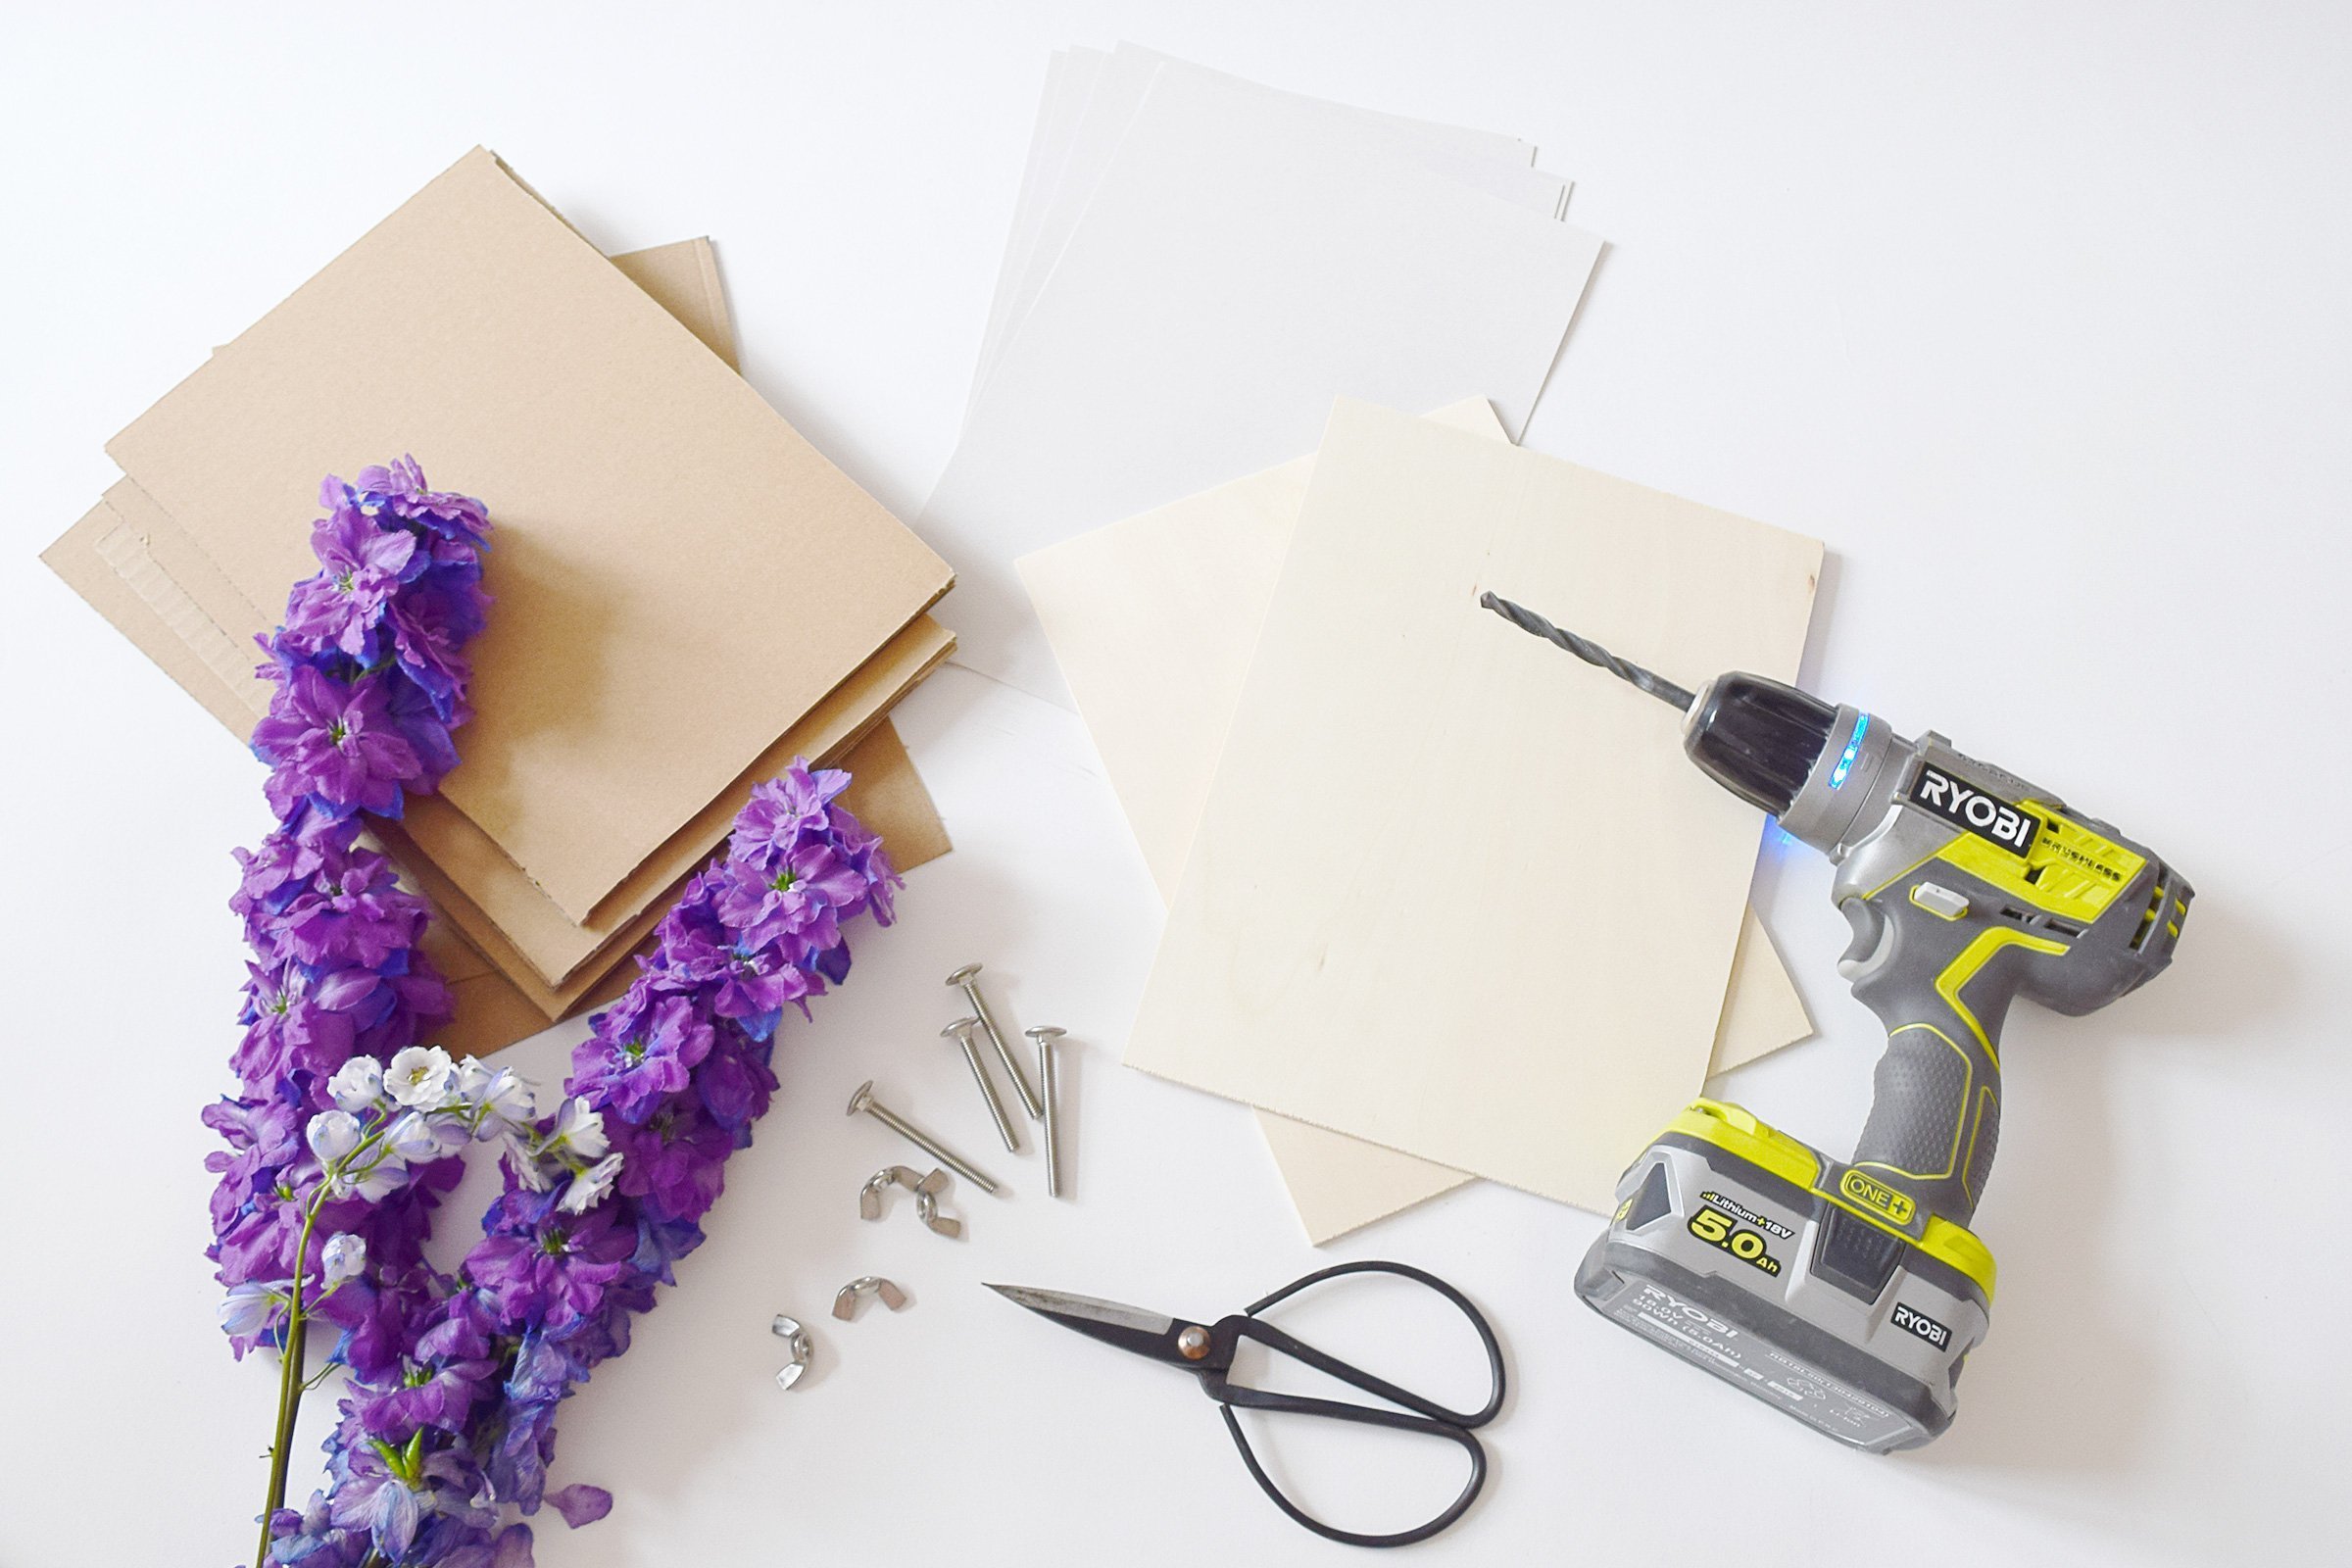
This is what you will need to make a DIY flower press:
This post contains affiliate links. We only recommend products we love and think that you will, too! Read our full disclaimer here.
- Two pieces of A4 plywood – We bought ready-cut plywood but you could also get it cut to size at most DIY stores
- Blotting paper
- Corrugated cardboard (we just used some old cardboard boxes)
- Drill & drill bit (which is slightly larger than your machine screw diameter)
- 4 machine screws (ours are 8 cm long) and 4 wing nuts
- Craft knife
- Lots of flowers, leaves and other fun things to press

This is how to make a DIY flower press:
1. Cut
We wanted our press to be quite large to give us more flexibility to be able to press bigger leaves and flowers so we used some ready-cut A4 pieces of plywood but you can, of course, make the DIY flower press any size you want by cutting the timber board with a circular saw (or by getting it cut at the DIY store where you purchase it).
2. Drill
Drill a hole into each of the four corners of the first board. Don’t drill too close to the edge as the wood could become too weak. Our holes are about 1.5 cm away from the edges.
When you’ve drilled the holes through the first board, lay it on top of the second one and use the already drilled holes as a guide to drill the holes in the second board.
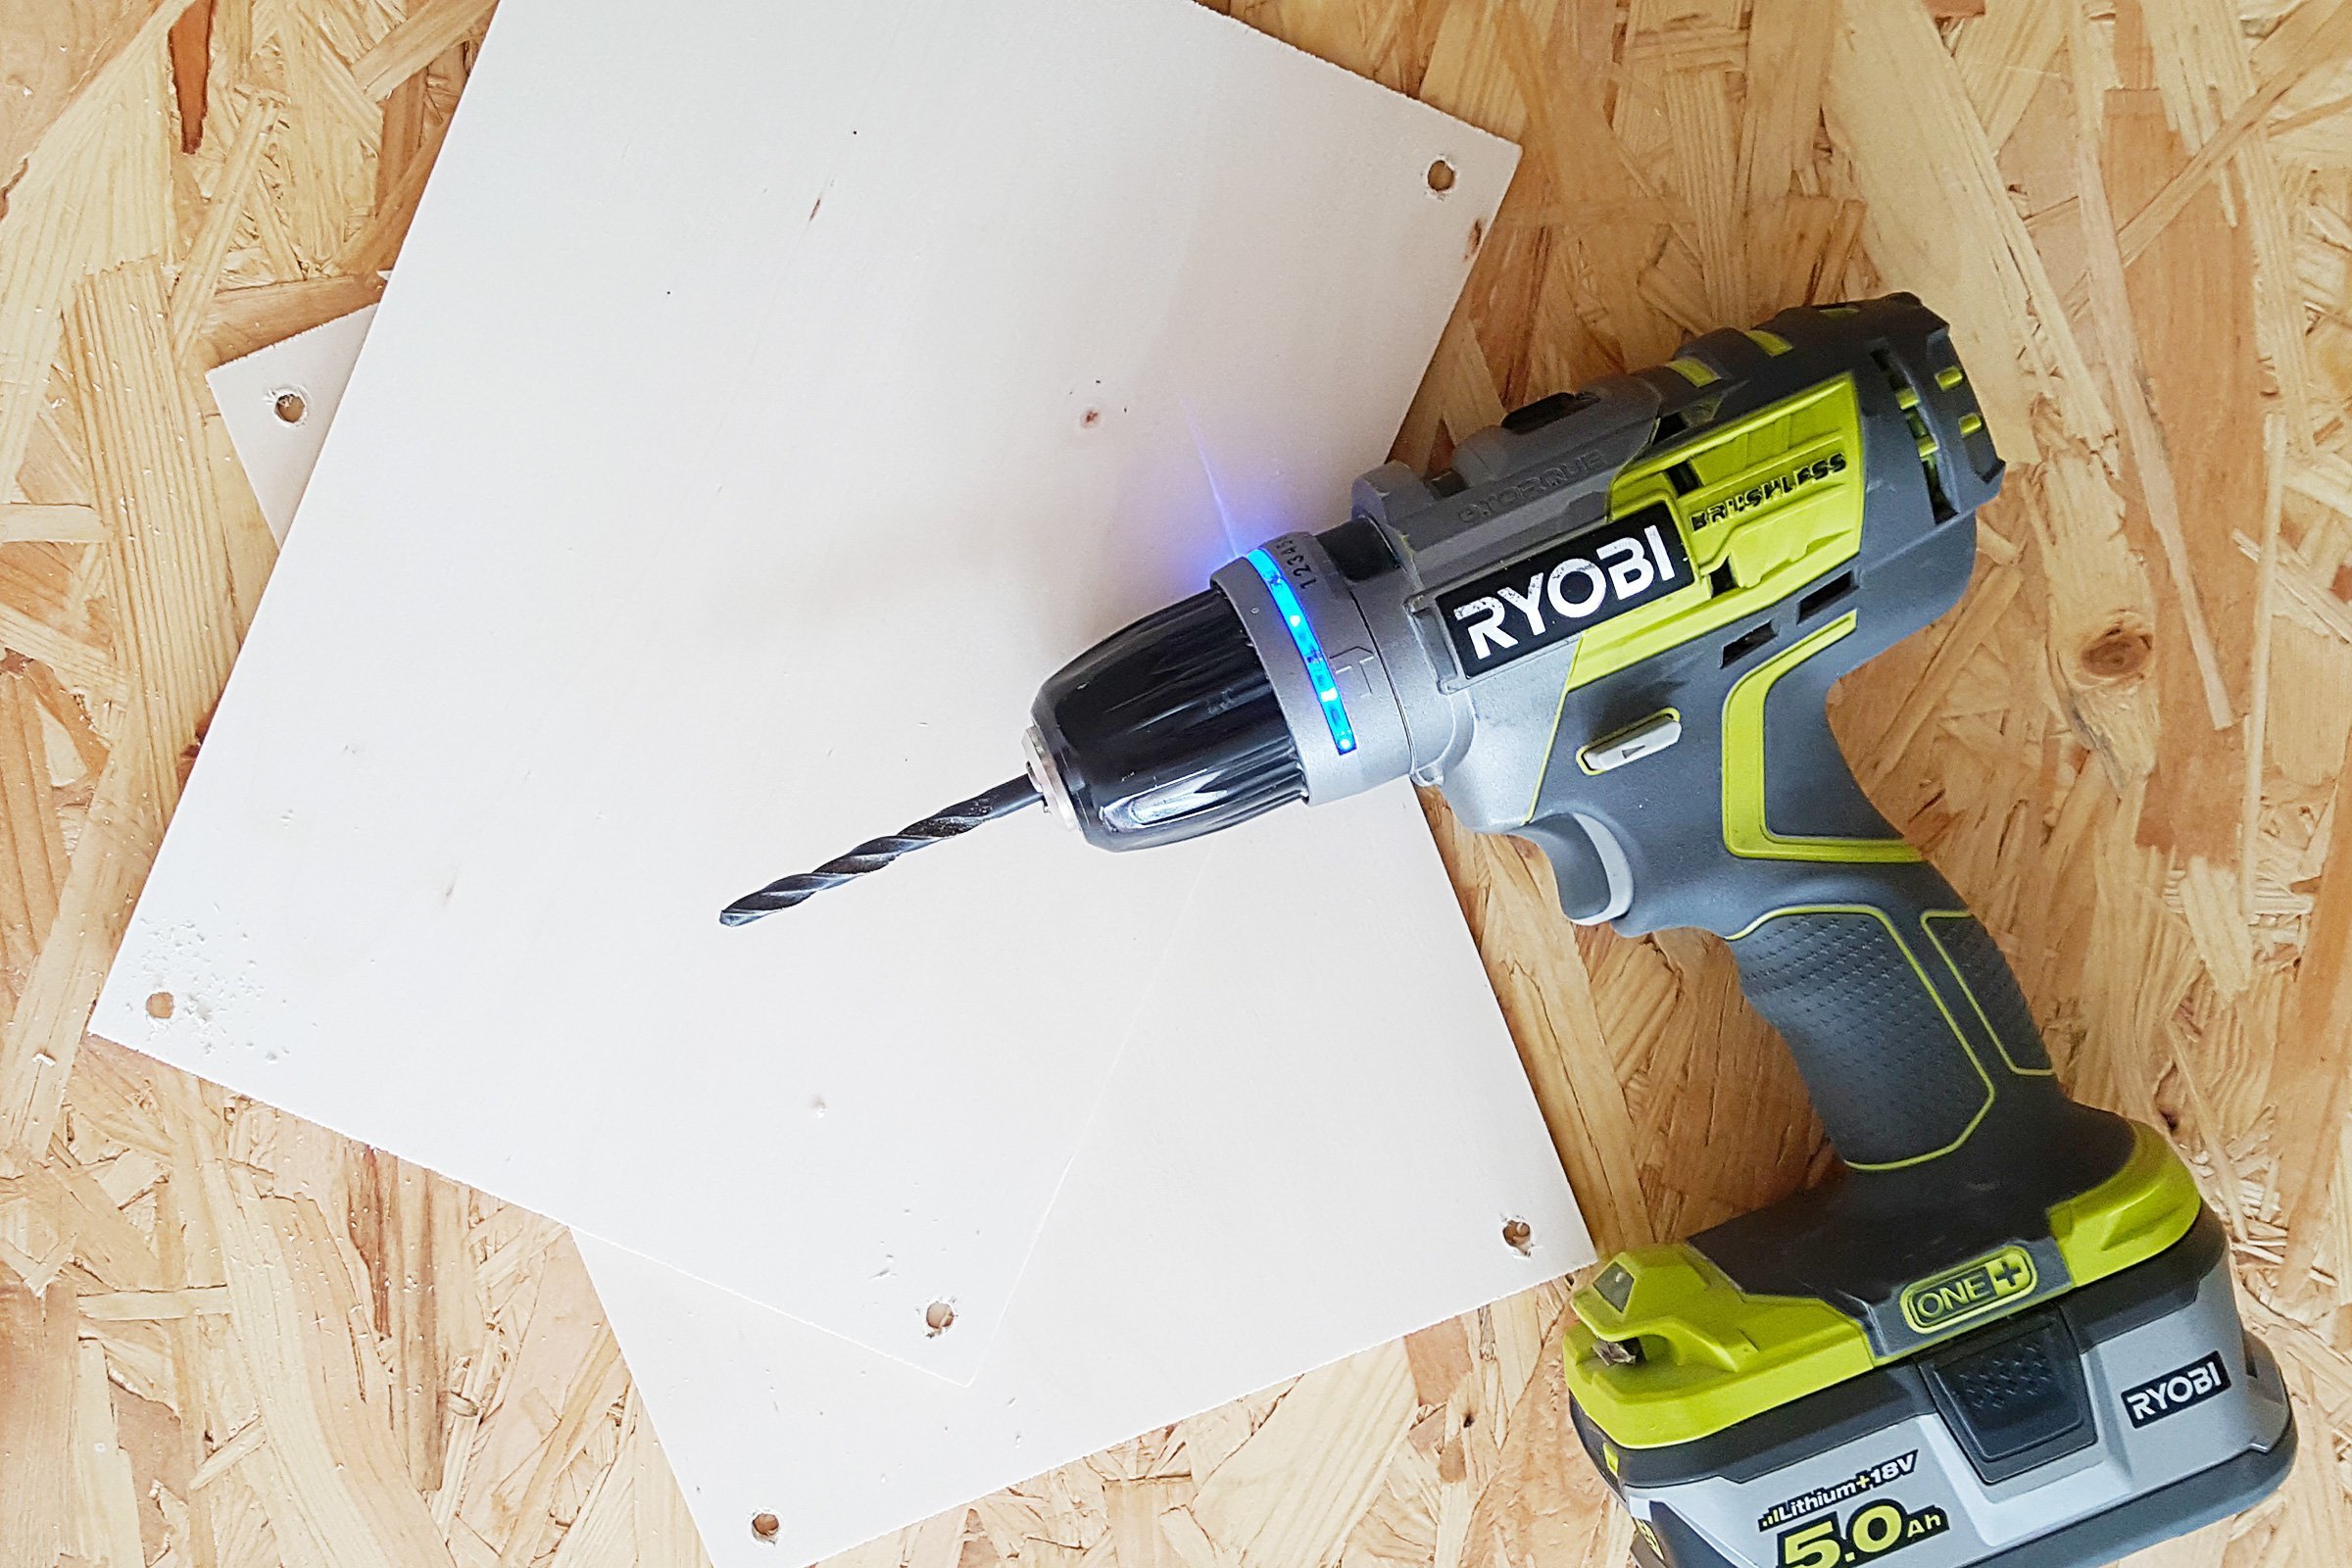
When you’ve finished all cutting and drilling, give the boards a quick sand with some sandpaper (around 120 grit) to make sure the edges are completely smooth. Then push the four bolts through the holes of one of the boards.
3. Cut & Fill
Now that you’ve prepared the actual press it’s time to start filling it.
Cut the corrugated cardboard into A4-sized pieces and trim the corners at a 45° angle. Then cut off the corners of the inkblot paper at a 45° angle.
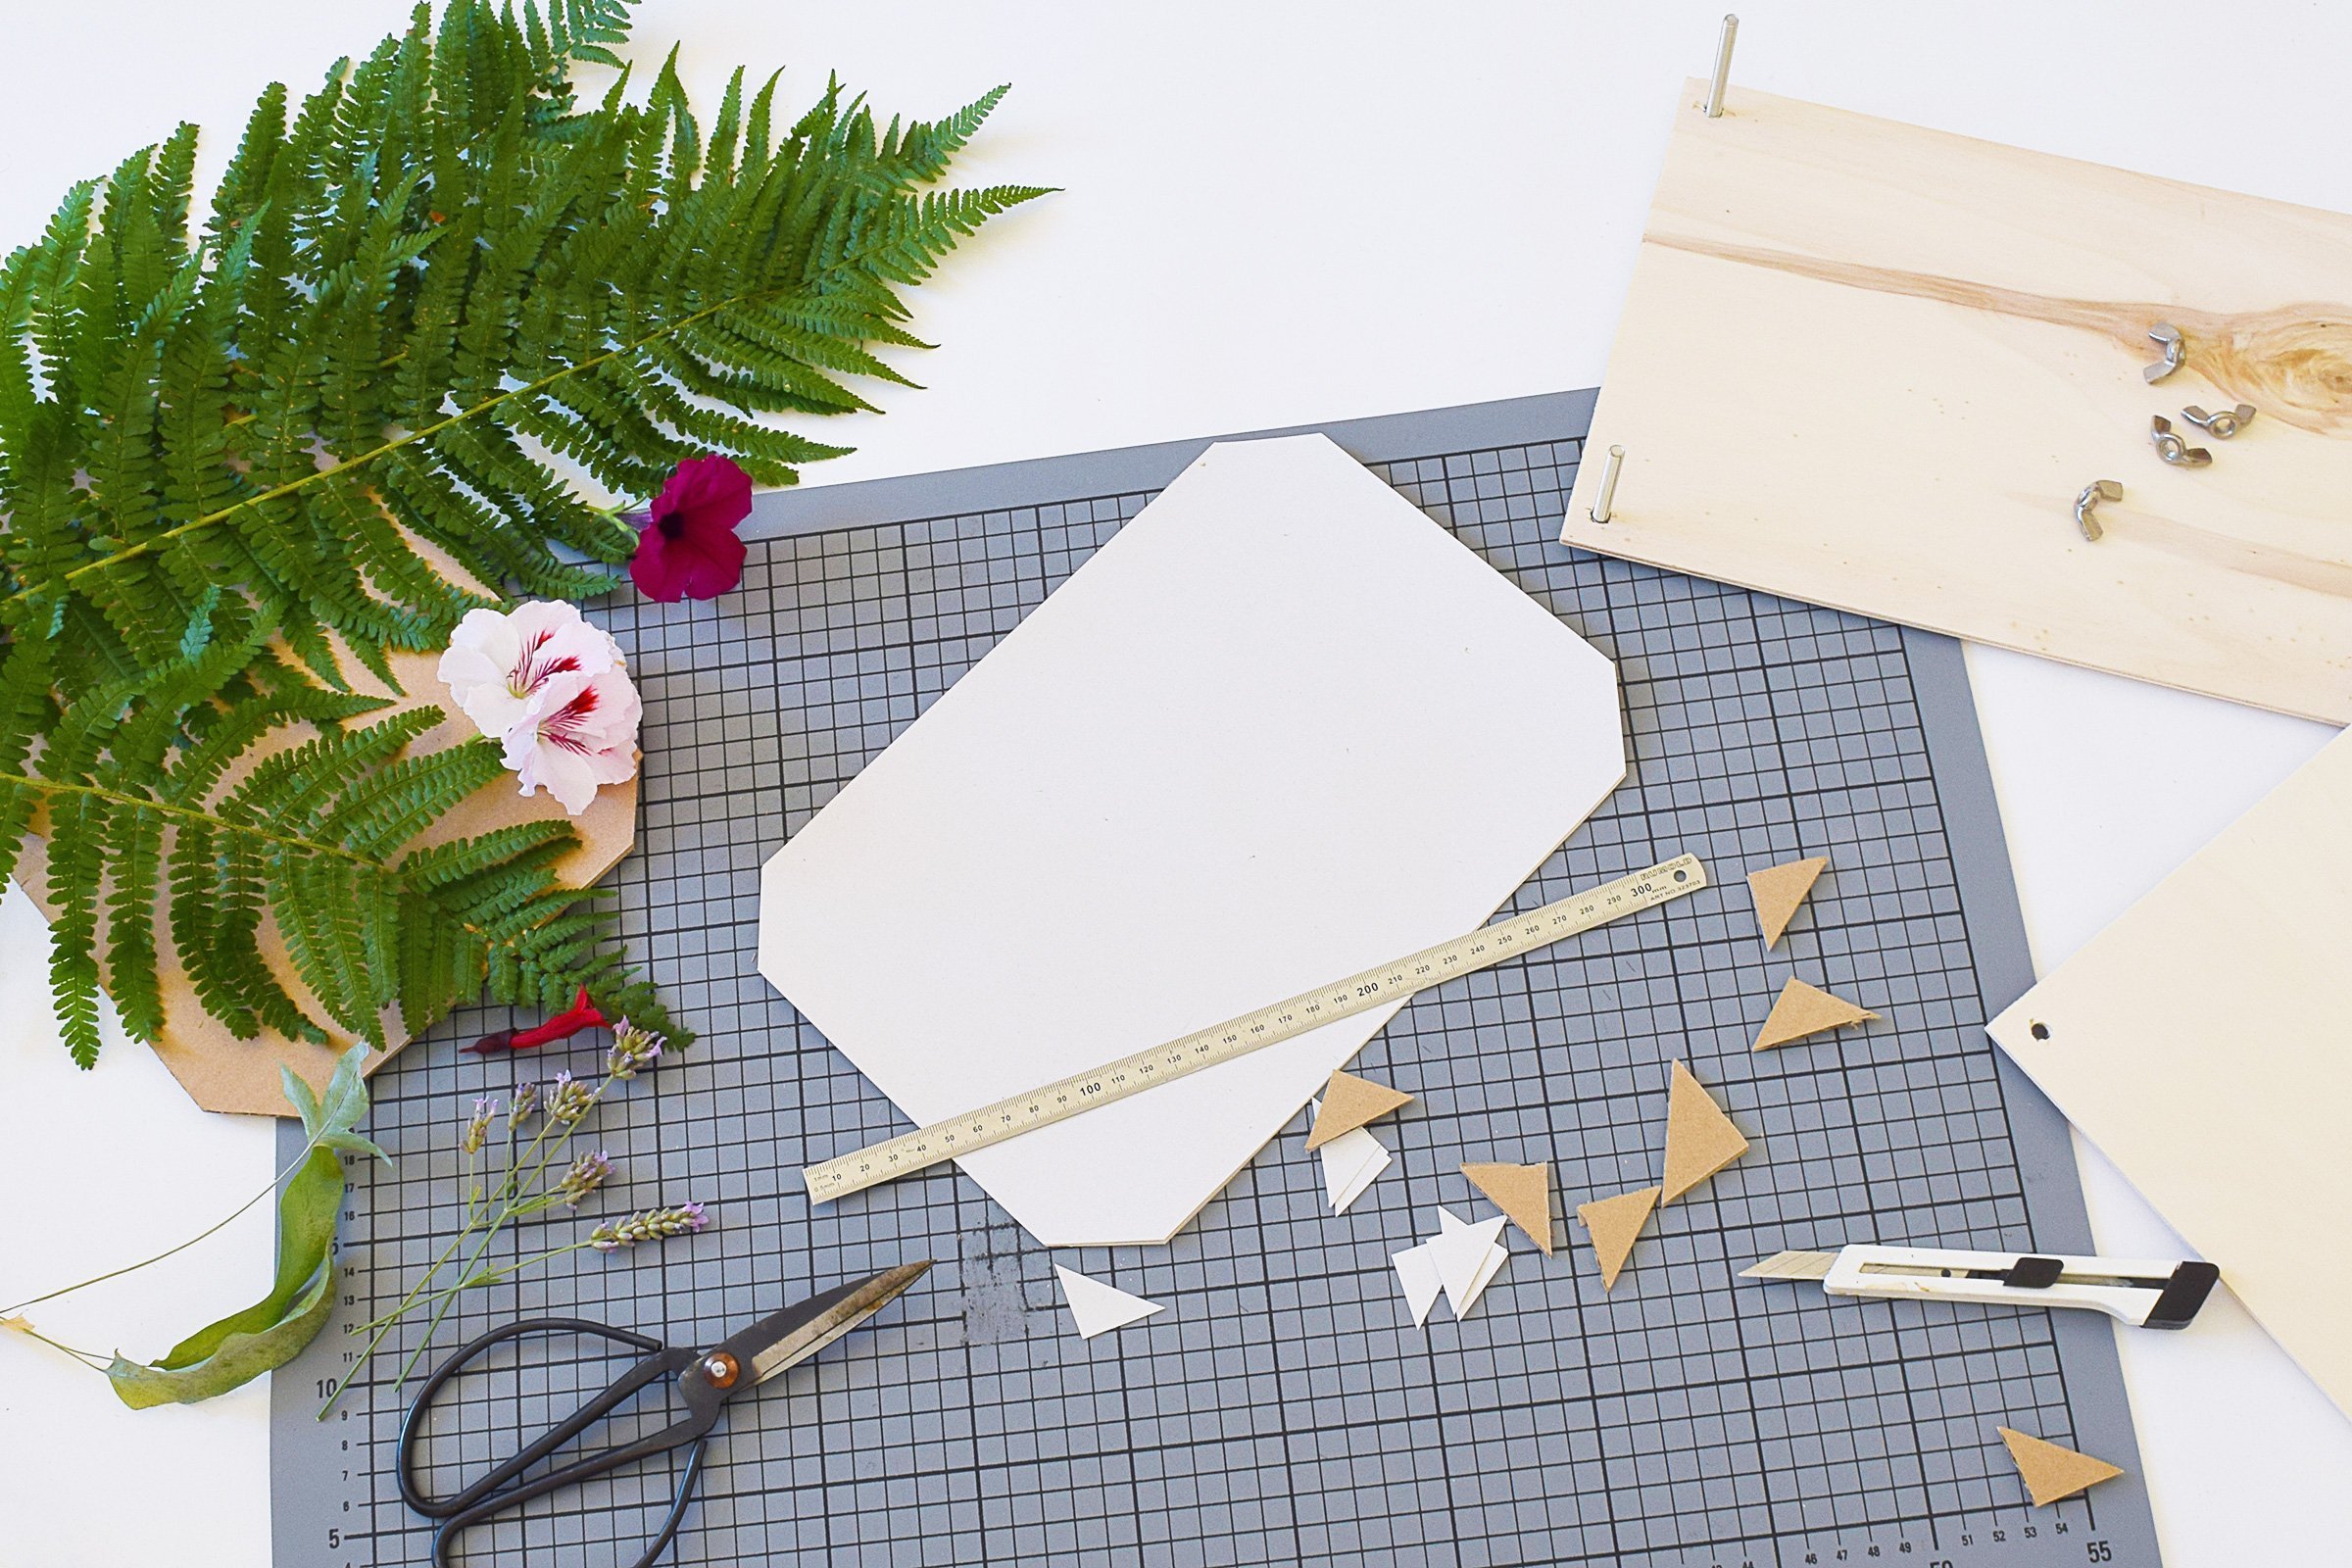
The reason you’re cutting off the corners is so that the cardboard and paper can fit past the bolts in the corners of the press.
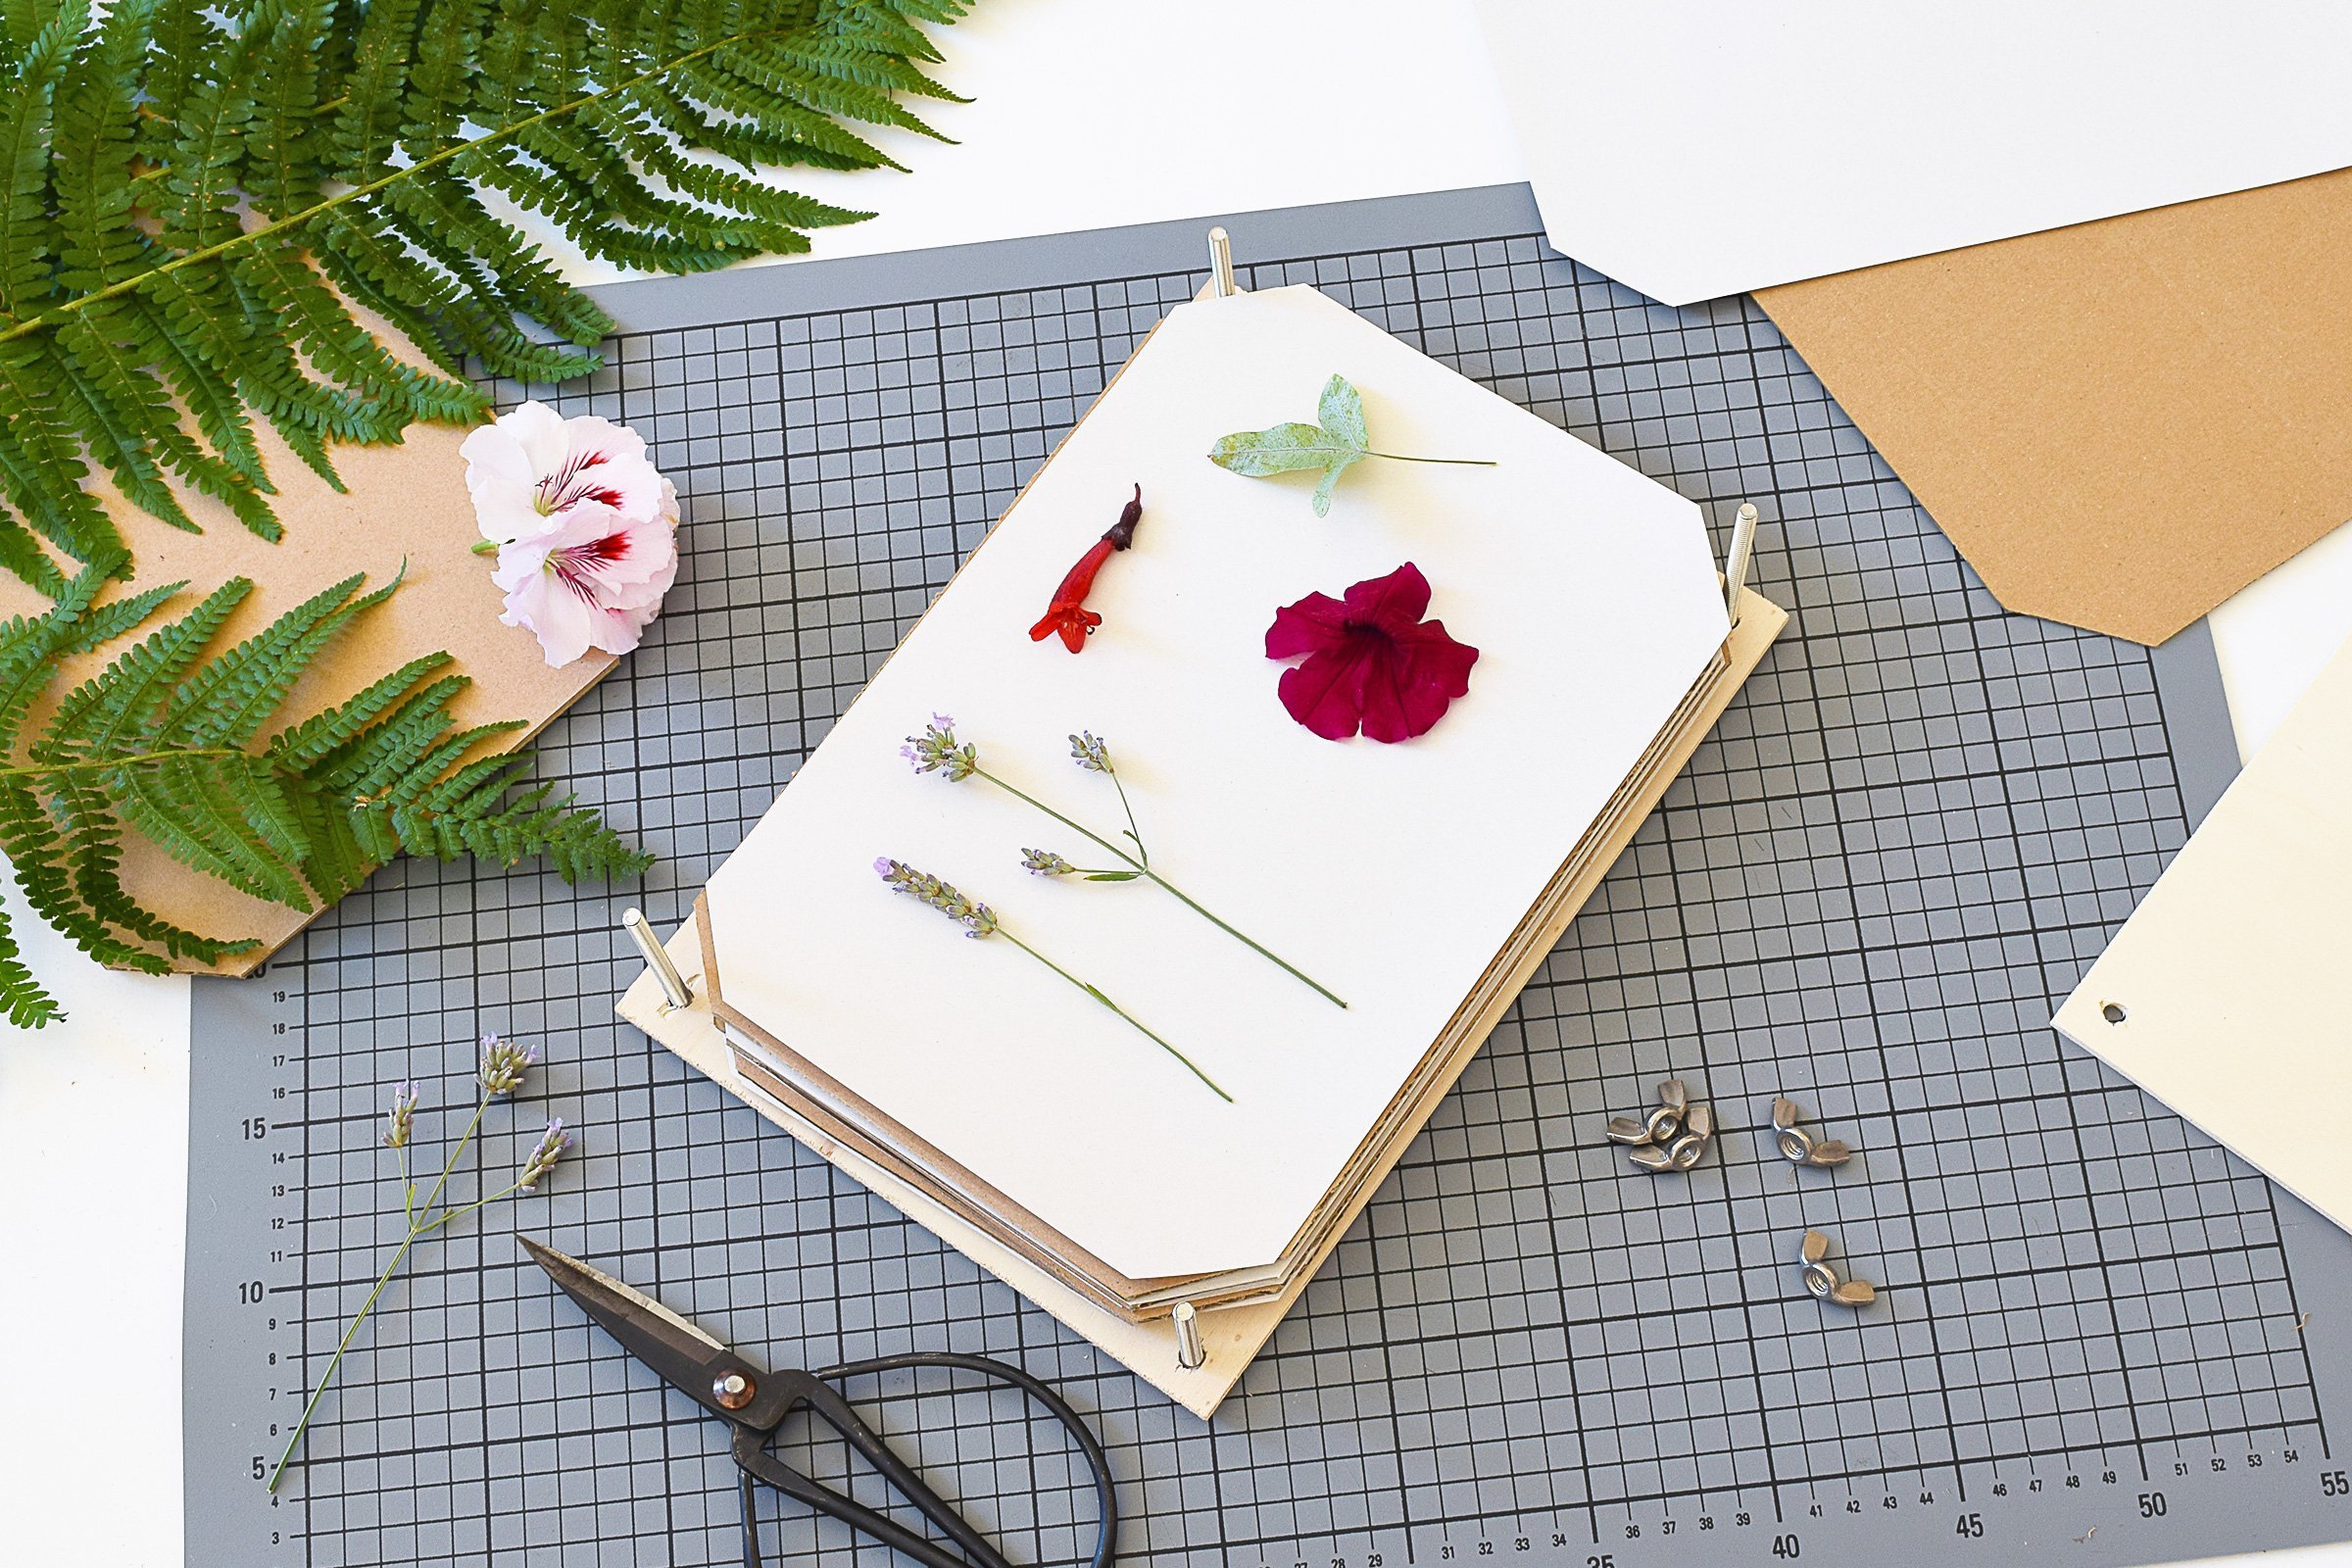
Then start to layer your press. Start with a piece of cardboard, then add two pieces of paper followed by another piece of cardboard. Continue alternating between a piece of cardboard and two pieces of paper until you have a thick wad of paper and card and your DIY flower press is full.
4. Add top & decorate
Finally, add the top piece of wood and screw it down with the wingnuts.

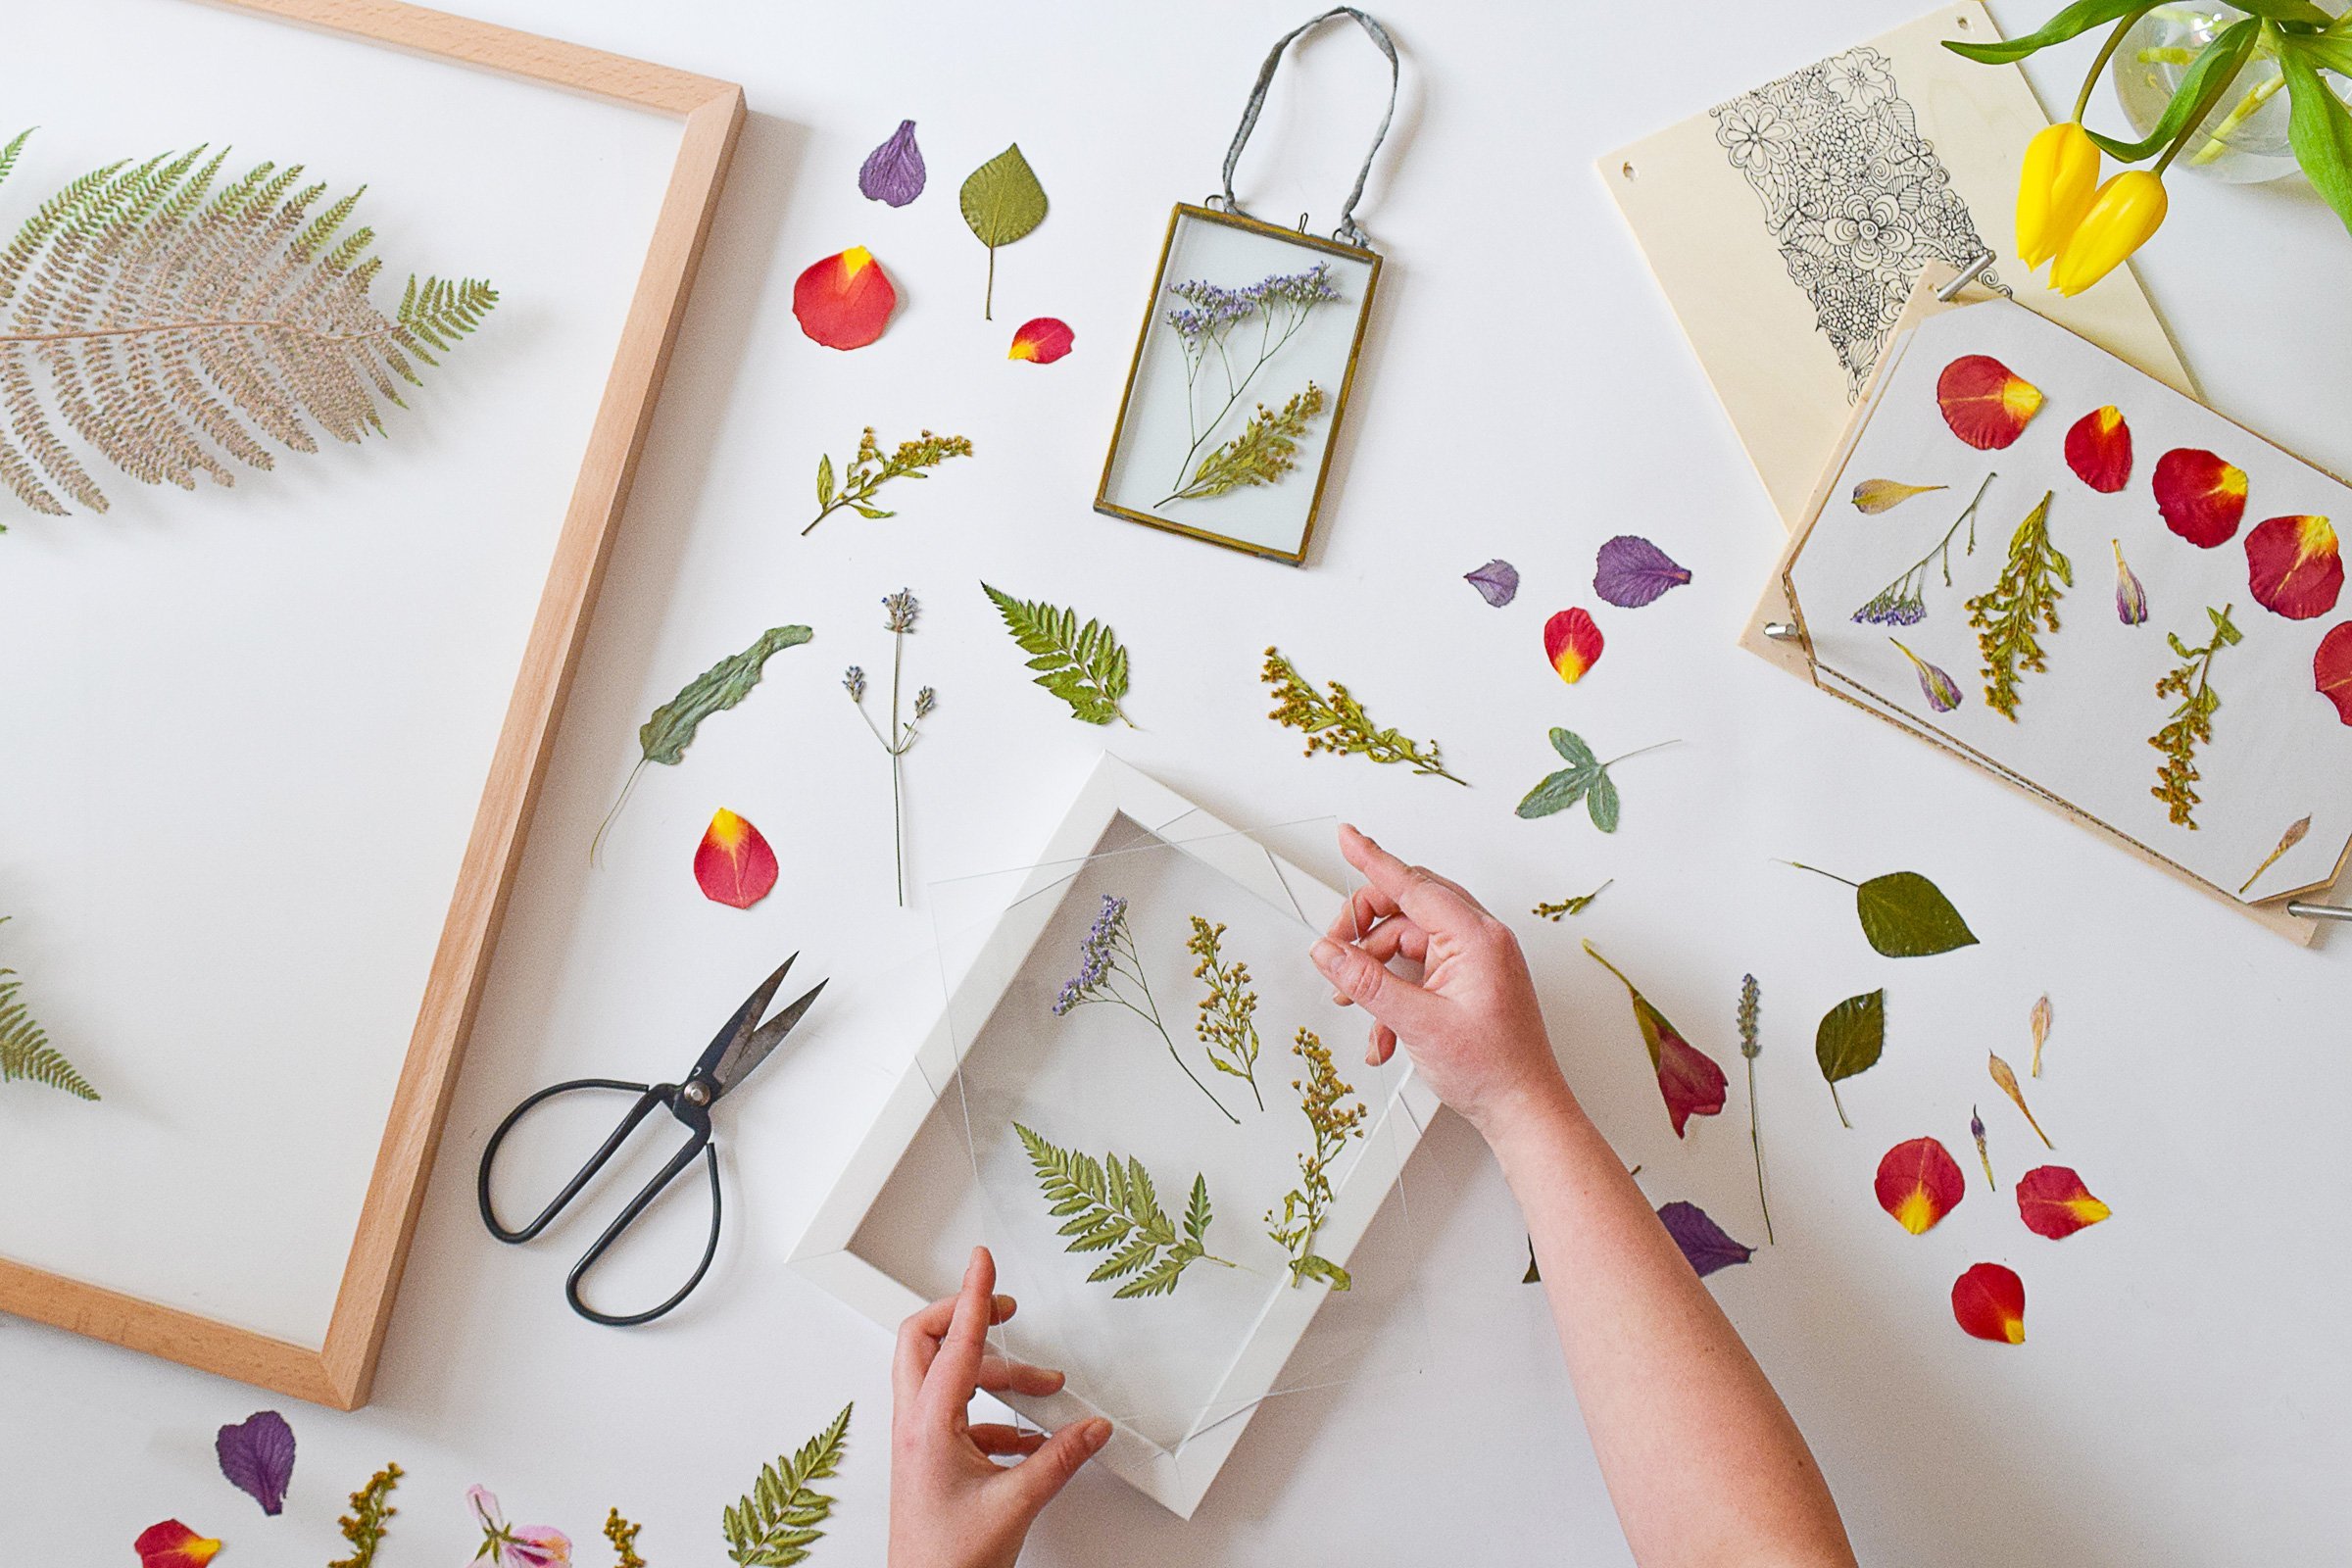
As you can see, we decorated the top of the press, too. Again, this is totally optional but I think it adds a nice personal touch.
5. Fill & enjoy
The only thing that’s left to do is fill the press with some lovely flowers and leaves for pressing.
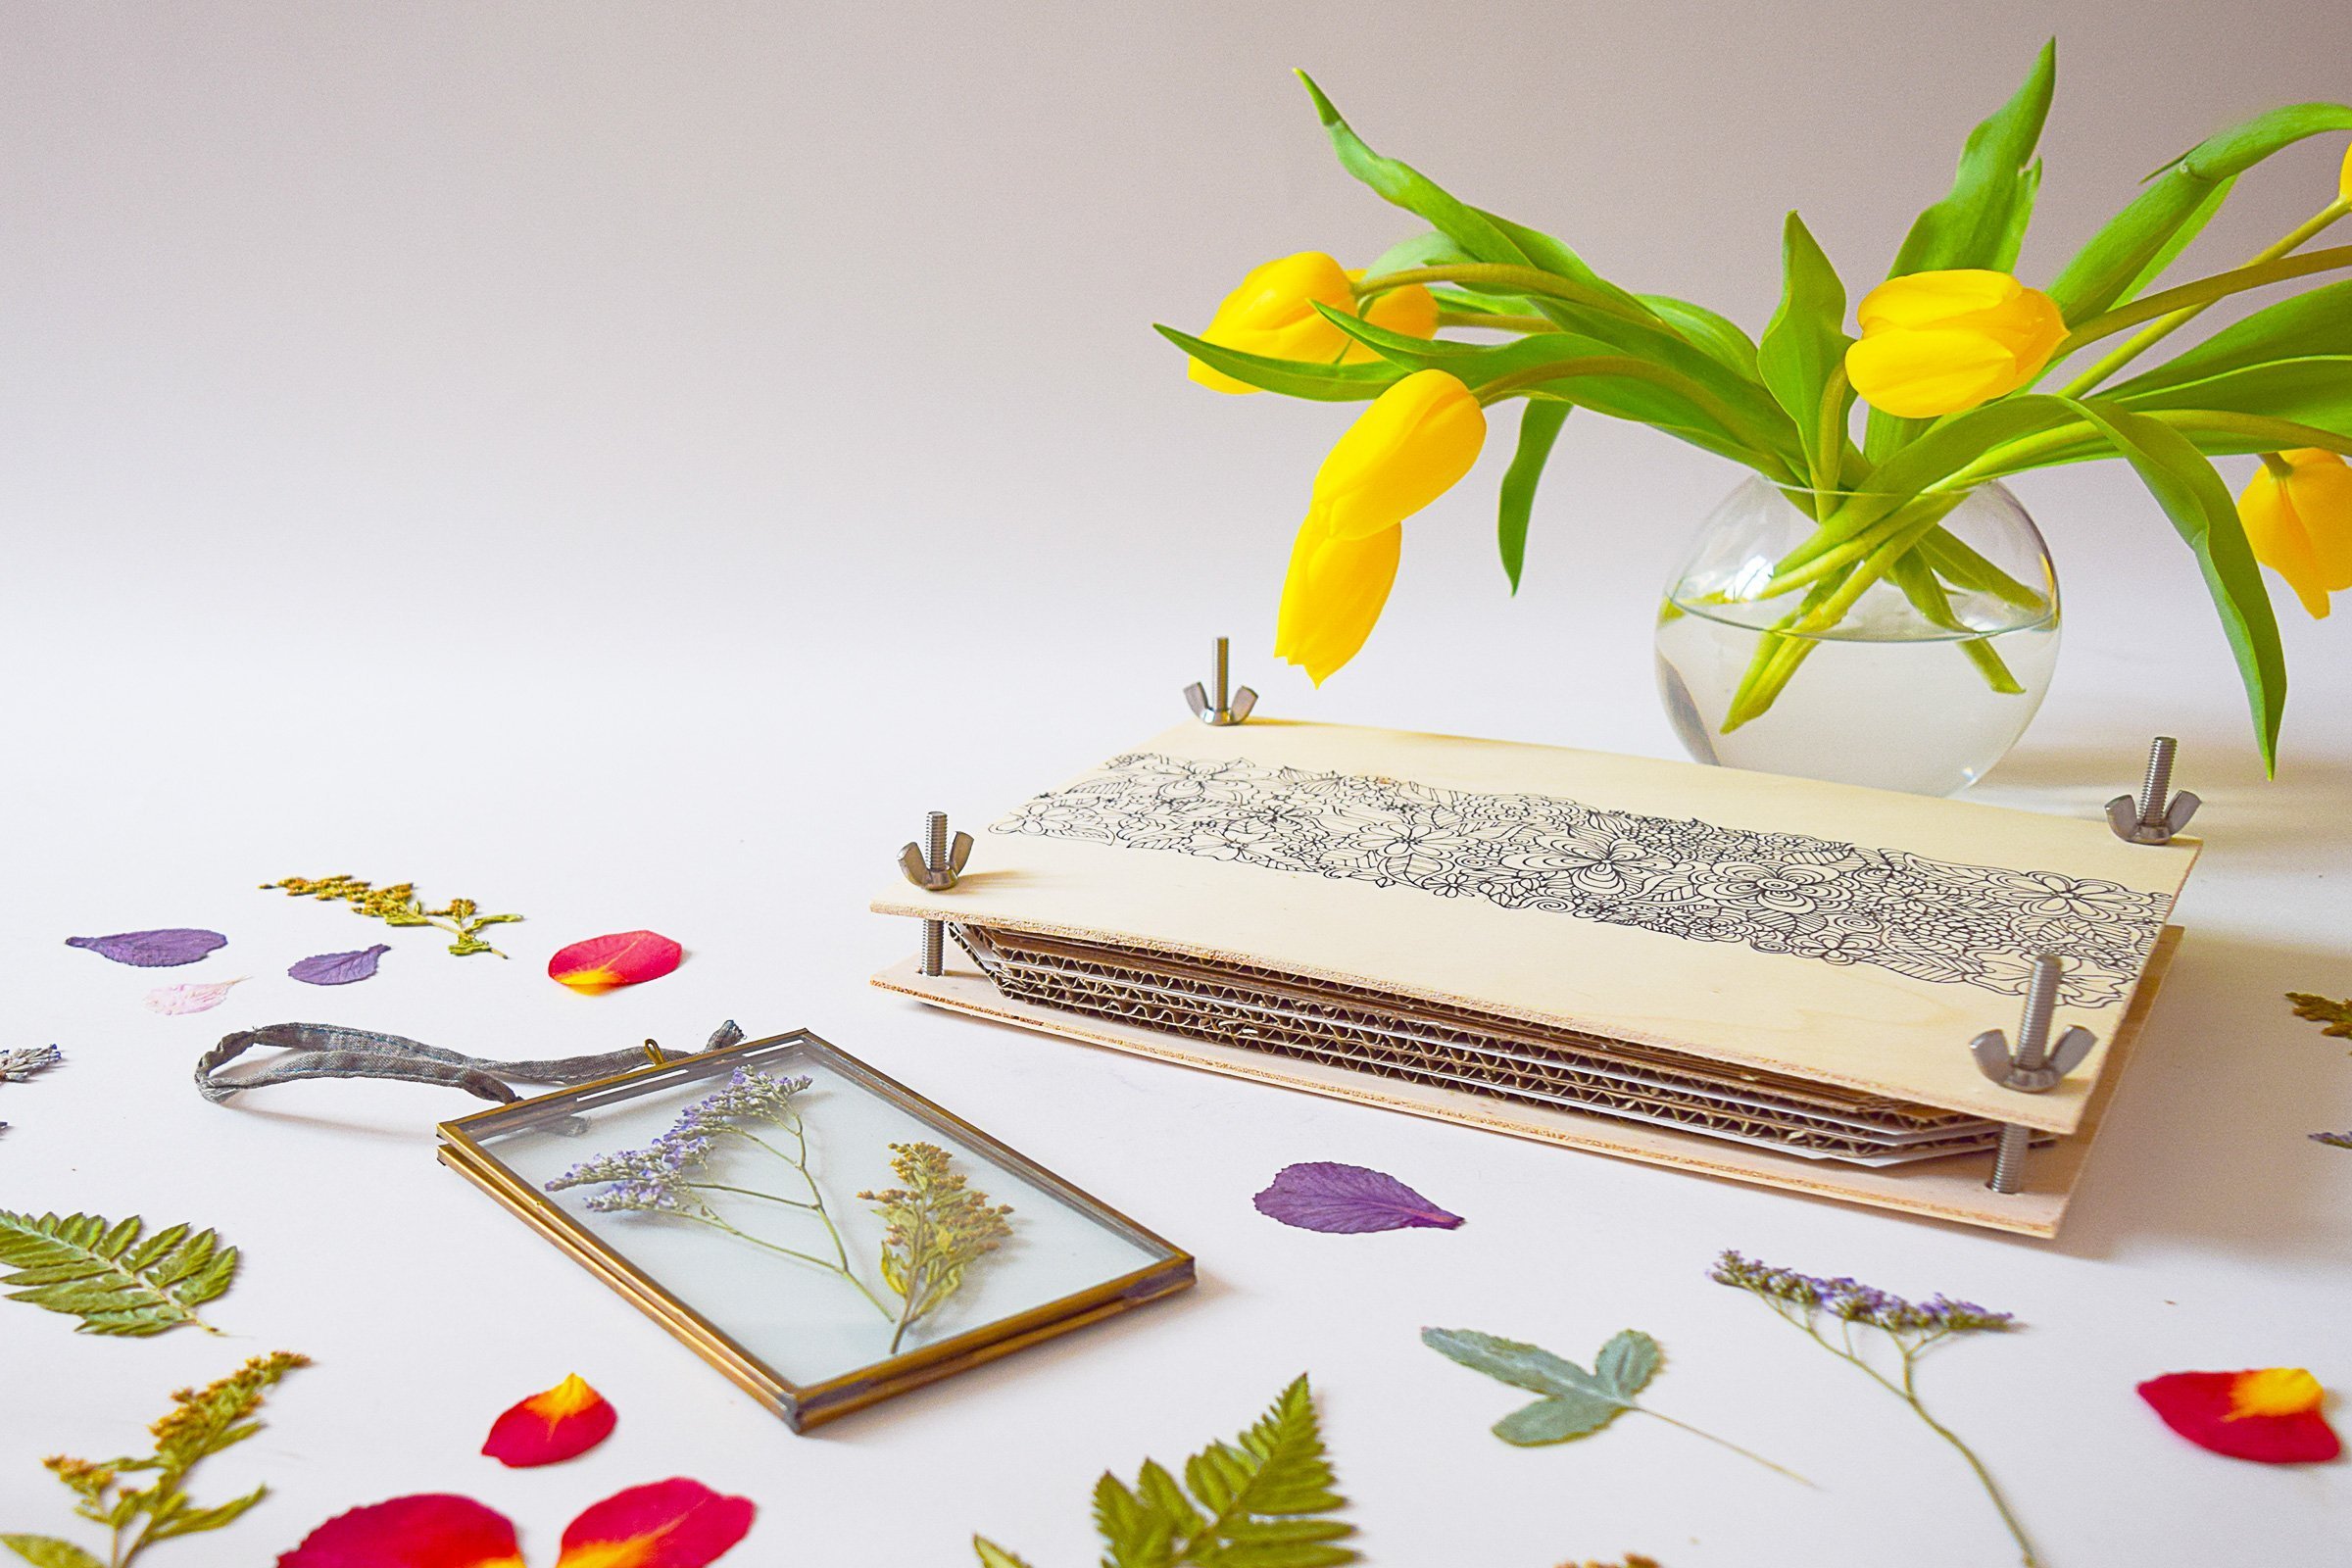
Place the flowers between the two sheets of ink blot paper and layer with the cardboard before screwing down the top of the press. Depending on the flowers I’m pressing, I like to leave them for a couple of weeks to dry out thoroughly. I also tighten the screws every now and then so that the flowers get firmly pressed down.
Not all flowers press equally well but seeing the different results and experimenting with different foliage is all part of the fun!
Wouldn’t some framed pressed flowers make a great gift?
I really enjoy pressing flowers as it’s a super easy way to be creative and it’s pretty much free, too! What better way to make some of the prettiest and cheapest art you can possibly get?
Have you ever tried pressing flowers? Do you love to receive handmade gifts as much as I do? What’s your favourite kind of craft?


Jane @ Modern Housewives says
This looks great, thank you for sharing the tutorial! We grow many beautiful flowers in our garden, and it would be cool to preserve parts of them in such a nice way. It’s also an amazing way to introduce some nature to the indoors. My daughter is a big fan of DIY, I’m sure she’ll love this idea and it’s what we’ll be doing next weekend.
Christine says
Thank you so much for your lovely comment, Jane! Totally agree that it’s a great way to incorporate nature into your home. We’ve even taken flowers at the end of wedding receptions which we’ve later gifted back to the happy couple. Flowers are such an amazing gift and it doesn’t matter if they’re fresh, pressed or dried. Happy crafting!
Cx